To stay up to date, remember to subscribe to our YouTube channel!
SUBSCRIBE ON YOUTUBE
Every day we work with various types of files in our operating system and accidentally or not or even by running some programs and applications it is possible that some of these files are deleted. Windows 10// handles two kinds of deletion which are:
Classes
- Press the Delete key or right click and choose delete which when that file is deleted in Windows will be sent to the Recycle Bin but it is not permanently deleted and its recovery is simple (within a range of 30 days).
- Safe deletion which when the Shift key is pressed during file deletion will cause the file to be permanently deleted without going to the Recycle Bin.
To help us recover files that have been deleted and are no longer in the Recycle Bin, Microsoft has developed the "Windows File Recovery" utility, which is an application with which we can recover files that have been deleted due to system crashes or user errors provided they have not been overwritten by new data, the use of this utility will be done from the command prompt..
Characteristics
Some of the features of this utility are:
- It allows you to recover files in JPEG, PDF, PNG, MPEG, Office files, MP3 & MP4, ZIP and more formats.
- It is capable of recovering information from devices such as HDD, SSD, USB, and memory cards.
- Supports NTFS, FAT, exFAT and ReFS file systems.
TechnoWikis will explain how to use this utility and thus recover those files deleted accidentally or intentionally.
How to recover deleted files in Windows with Windows File Recovery
Step 1
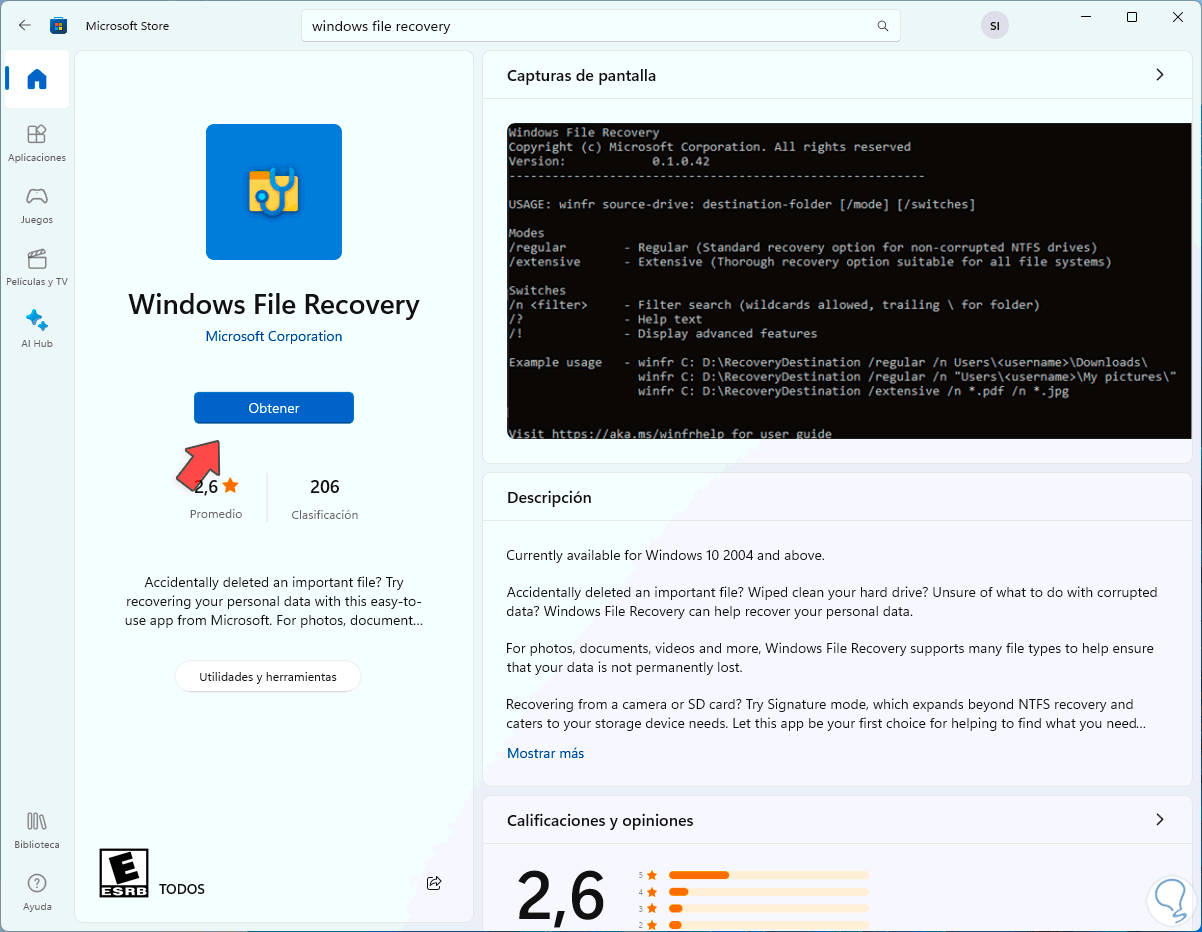
To start we open the Windows Store and there we are going to look for "windows file recovery":
Step 2
We select the utility and click on "Get" to install it:

Step 3
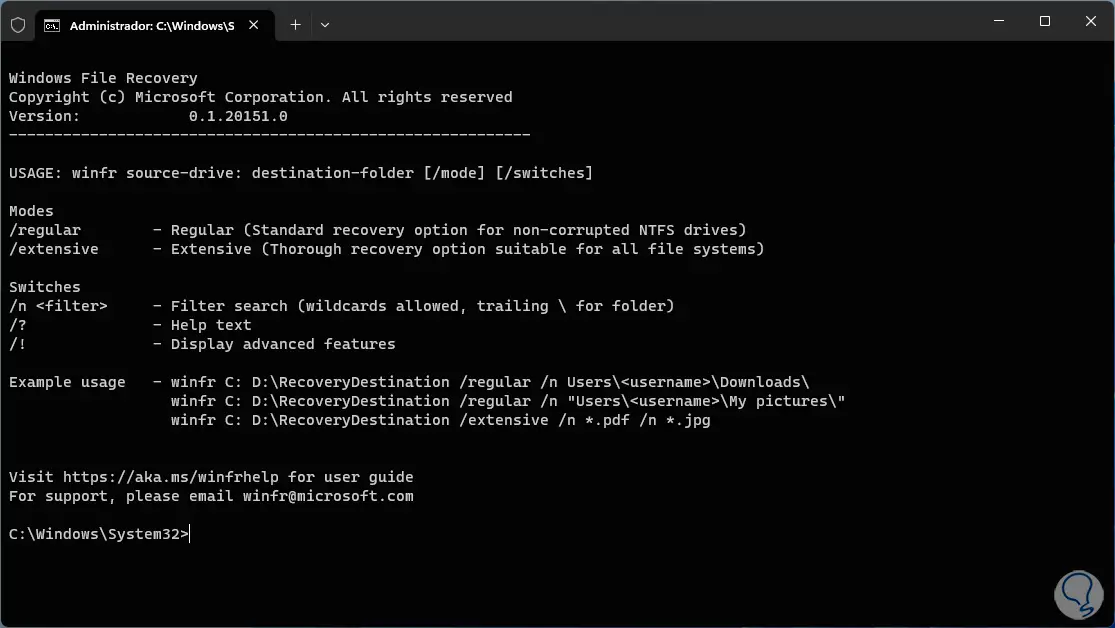
When the process is finished, we are going to click "Open" to open the command prompt console with a brief summary of the utility:
parameters
The parameters and mode of use of Windows File Recovery are:
- /Regular – Indicates normal usage mode which is the standard recovery option for non-failing NTFS drives.
- /Extensive (extensive): is the extensive mode which is an extensive recovery option compatible with all file systems.
- Filter /n<> – Is responsible for finding a file defined with a file name, file path, file type, or wildcard characters for execution.
- /Ntfs: It is the NTFS mode, it has a fast recovery for NTFS drives that do not have master file table failures.
- /Slice: This is the slice mode which acts as recovery for NTFS drives through file record segments.
- /Signature – This signature mode is a recovery option for all file system types that have file headers.
- /# – These are the supported file types and signing mode extension groups.
- /p:<folder> – Allows you to store a recovery log file in a location other than the default location of the recovery drive.
- /u: recover undeleted files.
- /K – Retrieves system files.
- /G – Retrieves files without primary data streams.
- /e:<extension>: indicates the file types to be filtered.
- /s:<> – Specifies the number of sectors on the source device.
TechnoWikis will explain which mode to use based on the need:
- For NTFS that has been recently deleted use Regular mode.
- For NTFS removed a certain time ago we will use the Extensive mode.
- For NTFS with a damaged disk we must use Extensa.
- For NTFS where a disk has been formatted Extensive should be used.
- For FAT and exFAT we will use Extensa.
Step 4
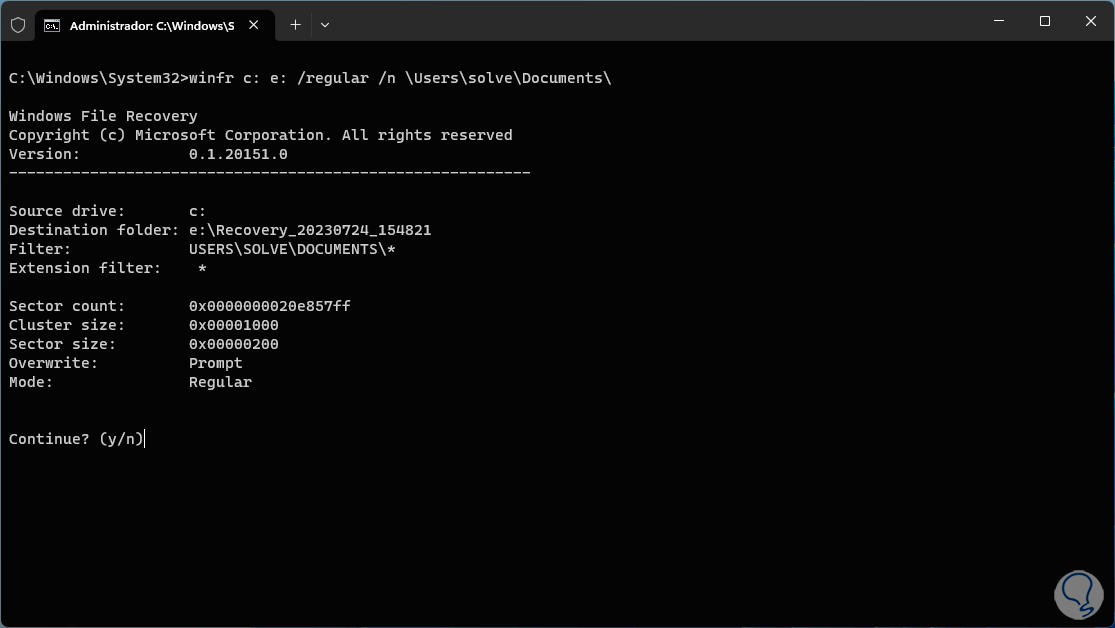
Now we are going to use the utility, in the terminal we are going to use the regular mode with the following syntax:
winfr C: destination_letter: /regular /n \Users\<user>\folder\
step 5
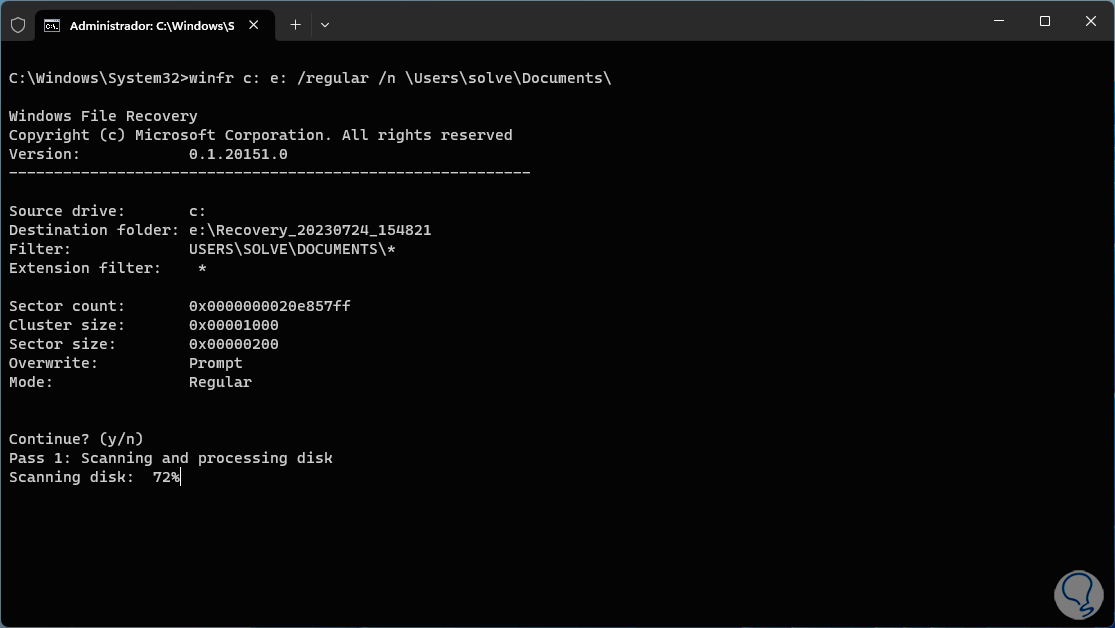
Pressing Enter will read the variables of that route and we must confirm the process to carry out the analysis with the letter "y":
step 6
Once the scan is finished it will be possible to see or not the recovered files:
step 7
After this we open the File Explorer and check the folder created with the recovered items:
step 8
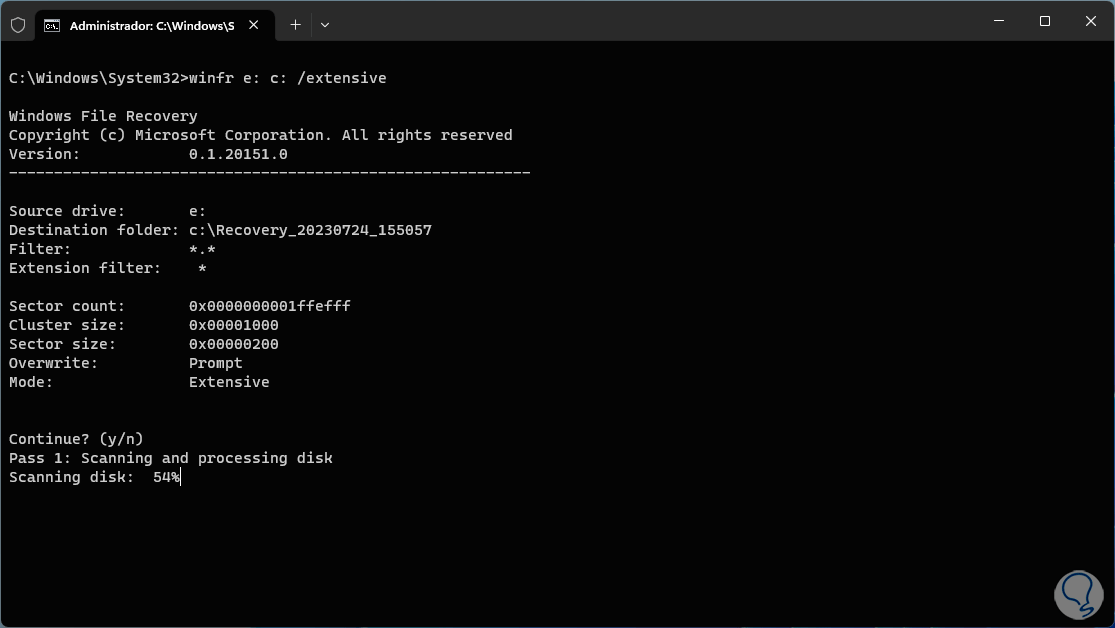
Now, in the terminal we are going to execute the following command to make use of the extensive or Extensive mode:
winfr destination_letter: C: /extensive
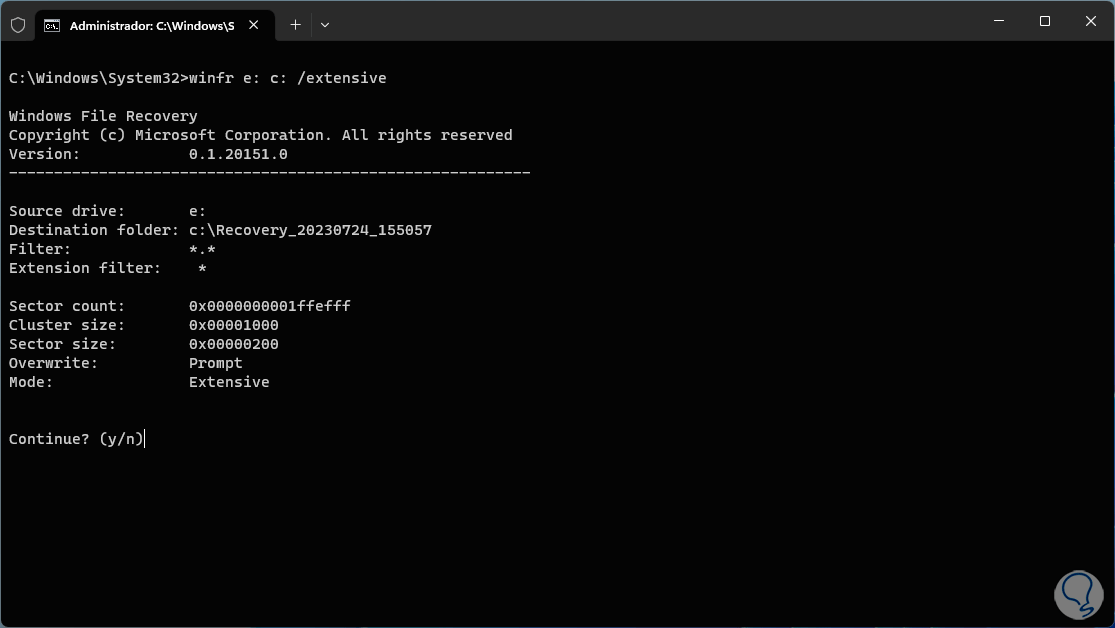
step 9
We confirm the process to start the analysis. There we wait to see if the system returns results.
step 10
It is possible to recover files of a particular extension, for this we execute the following command on the screen taking into account the type of file and the origin:
winfr C: destination_letter: /regular /n *.extension /n *.extension1
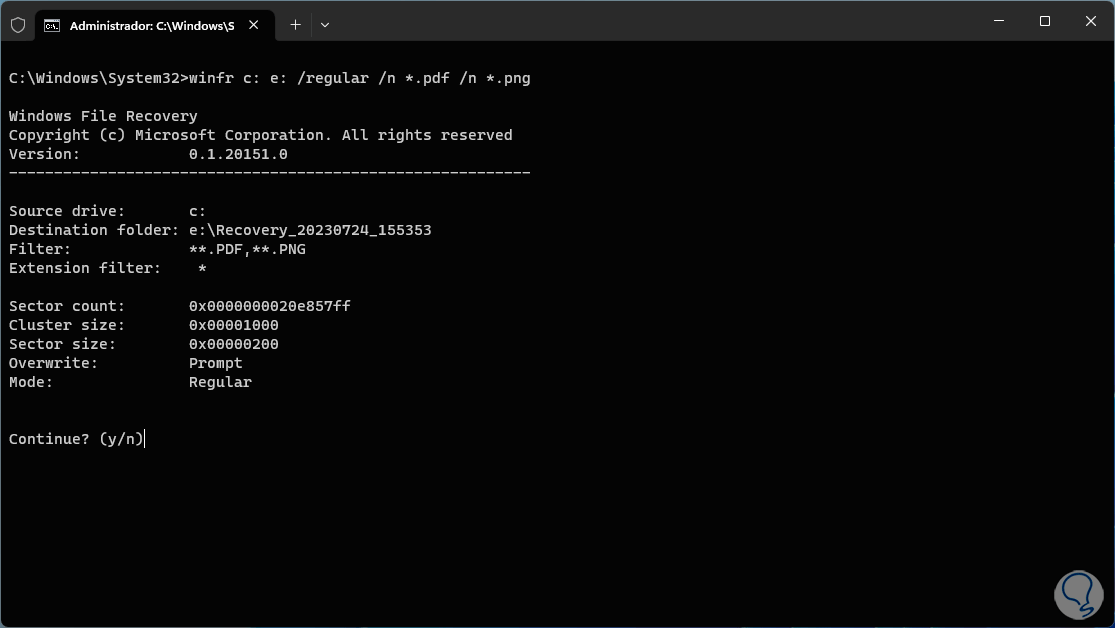
step 11
We confirm the process:
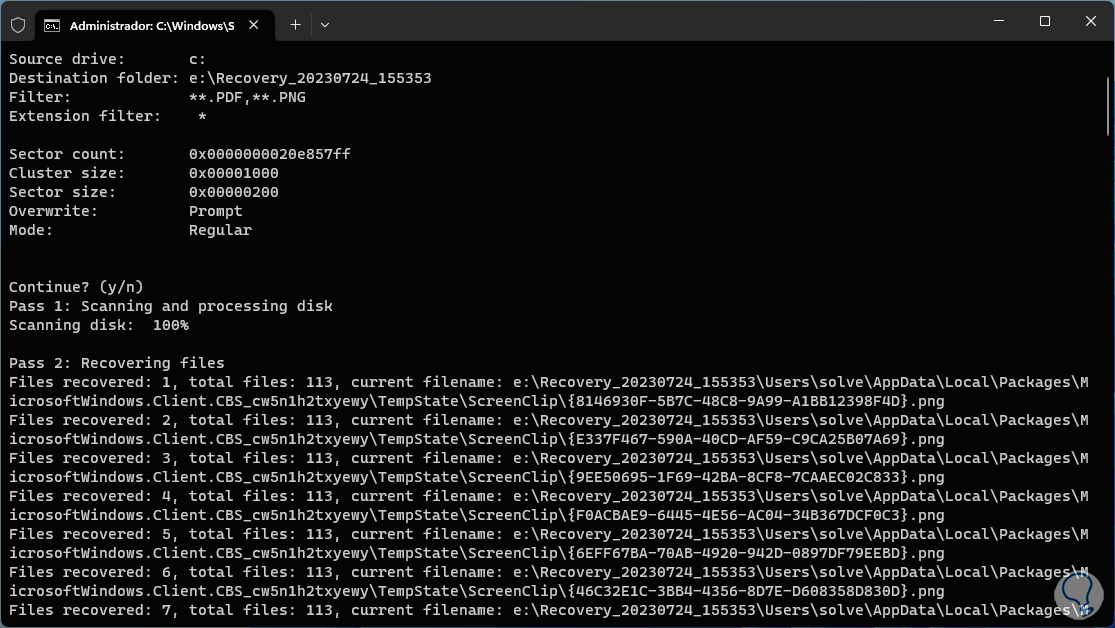
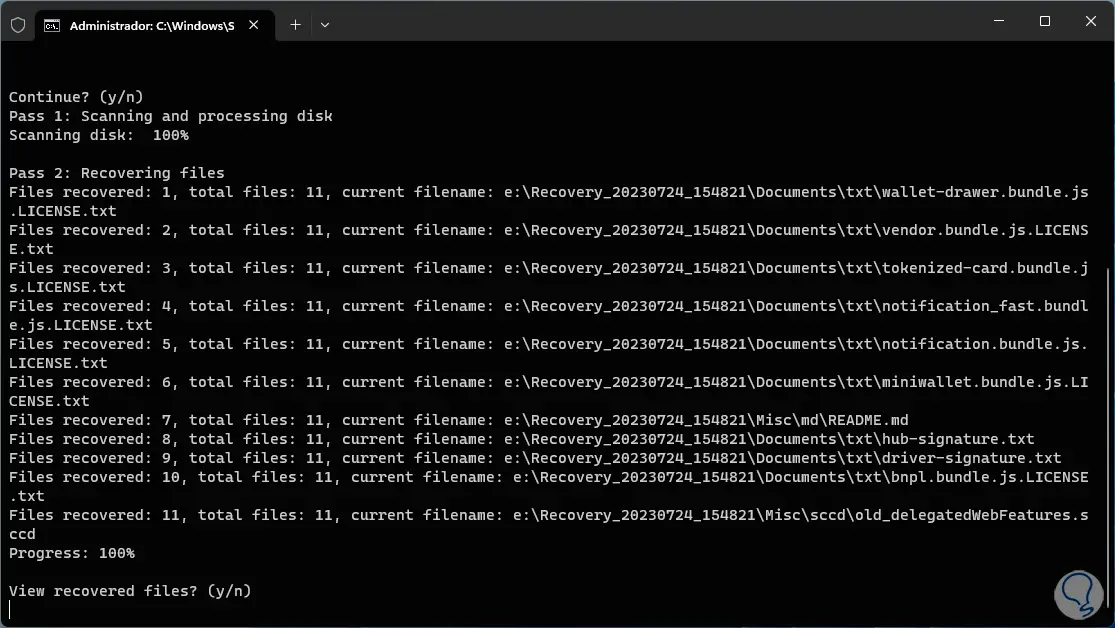
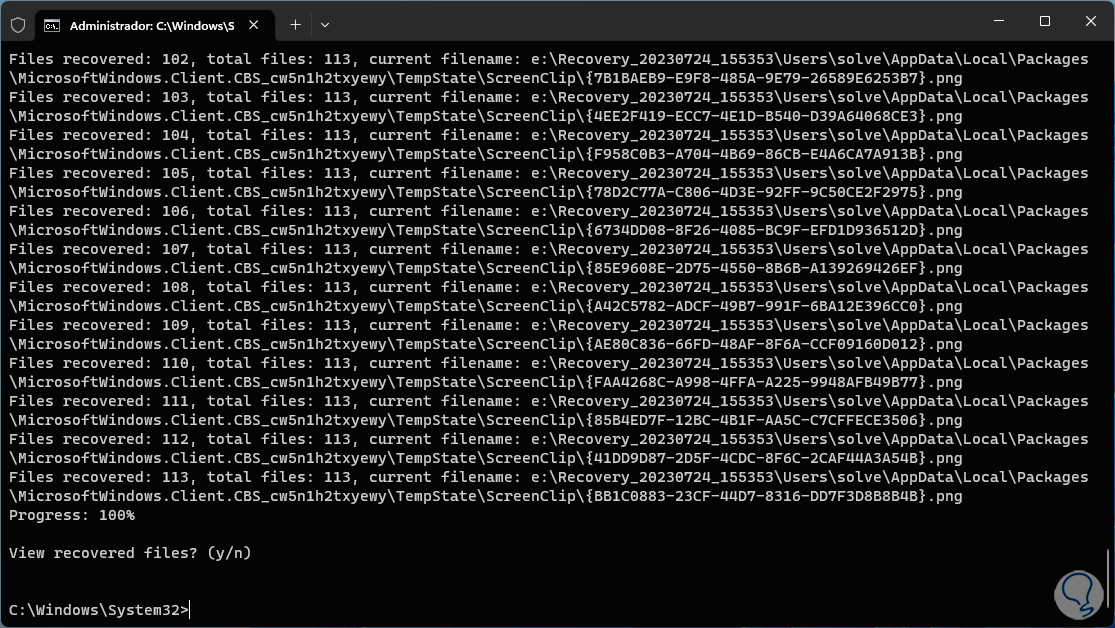
step 12
We will see each item that is retrieved, we wait for it to finish:
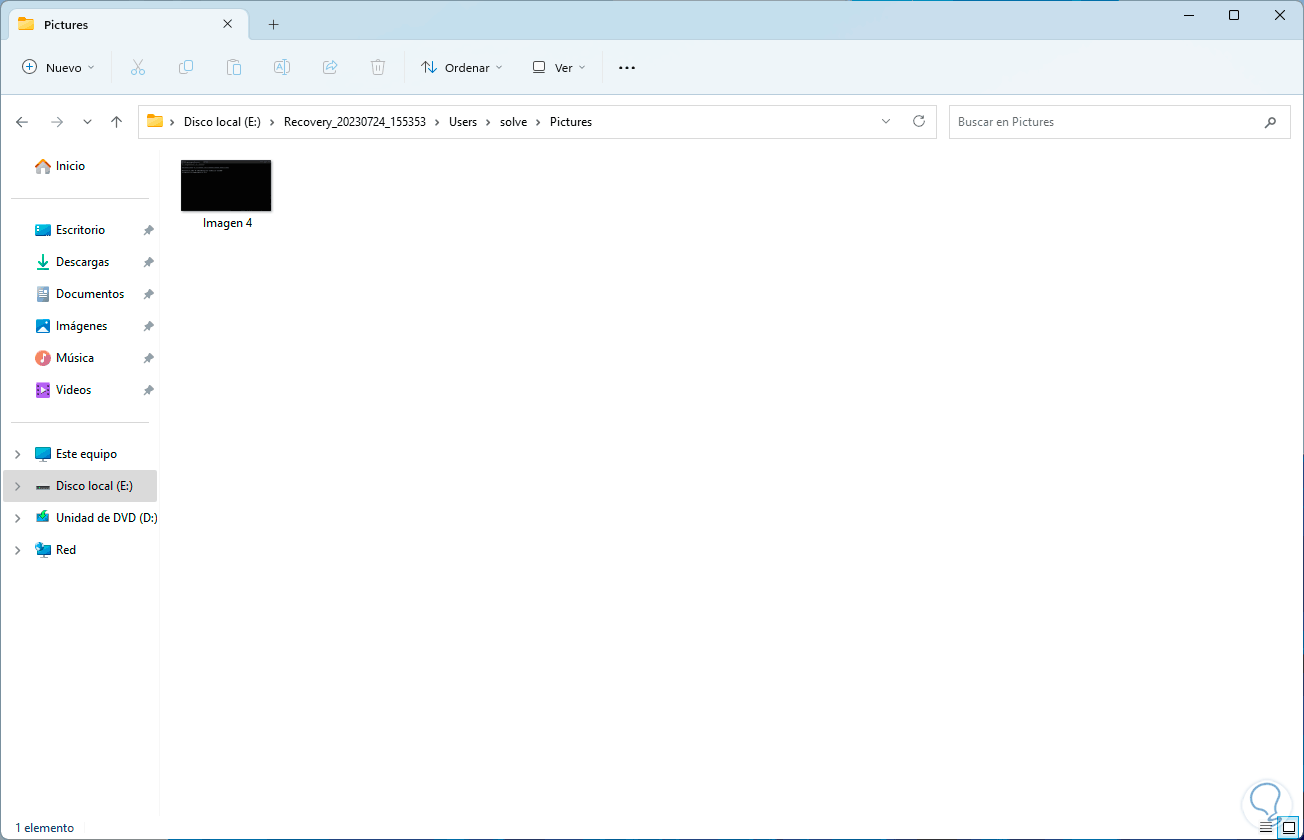
step 13
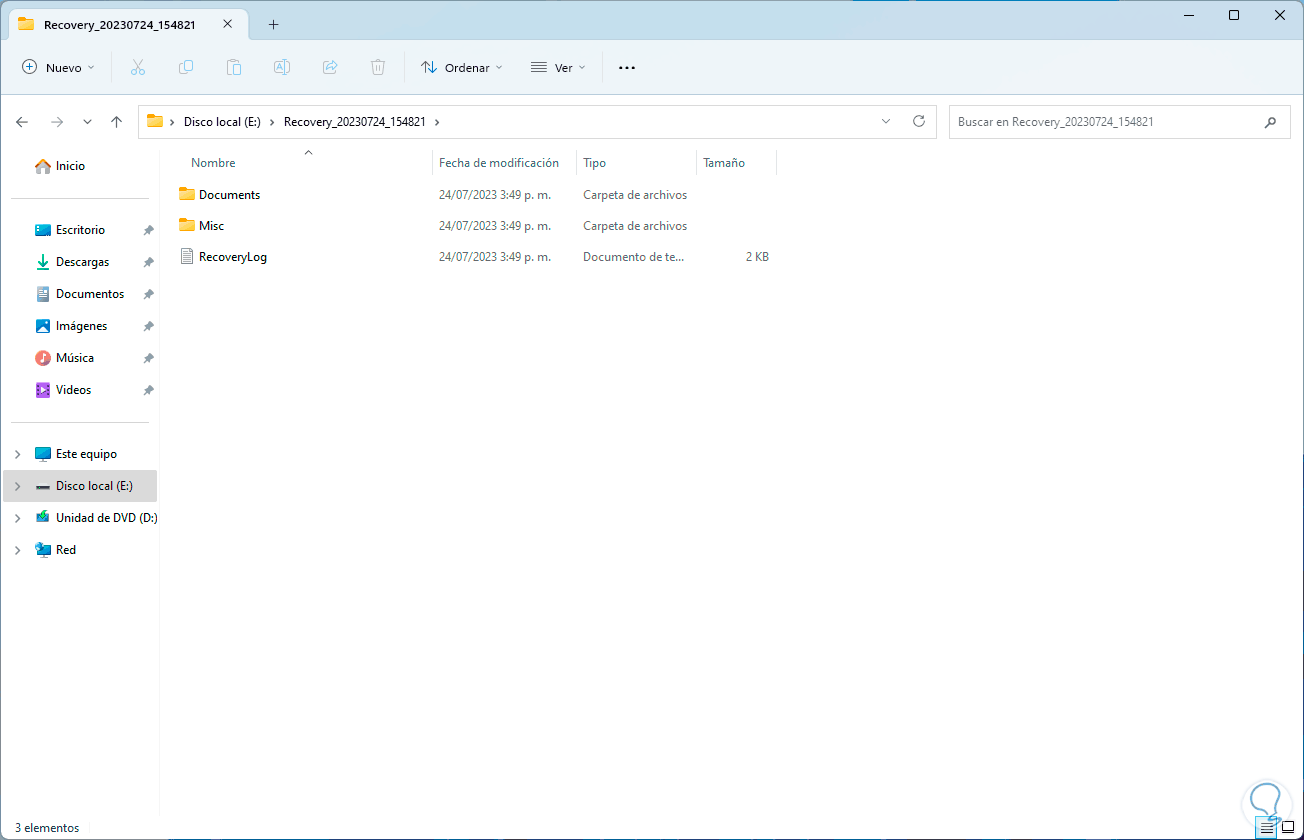
Check in File Explorer for recovered files:
step 14
You can indicate a string with a specific value, for example we can execute the following:
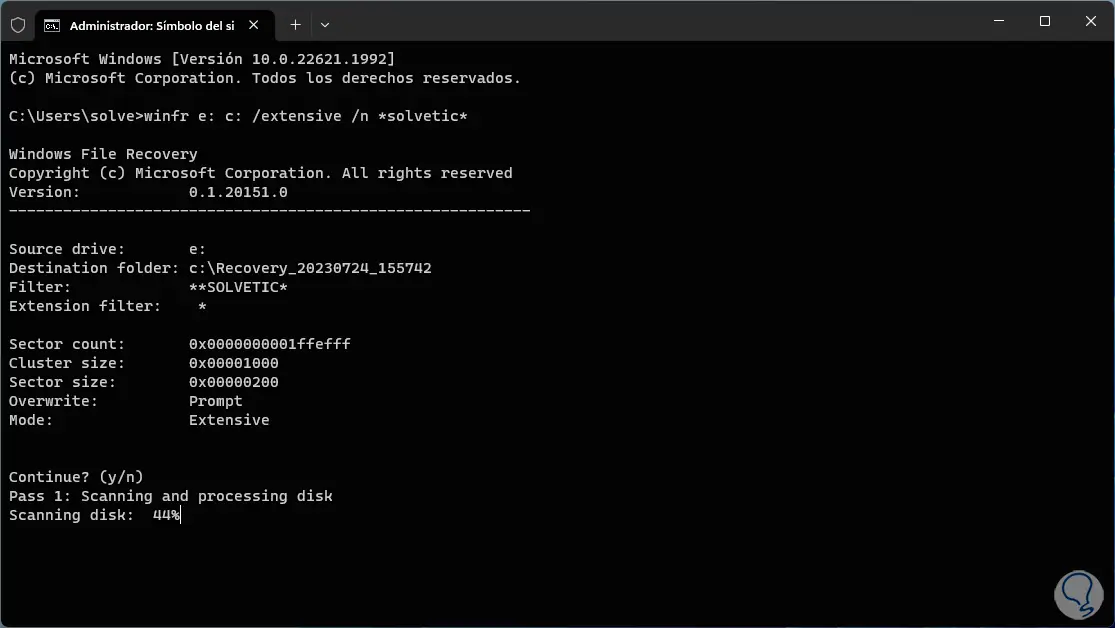
winfr destination_letter: C: /extensive /n *name*
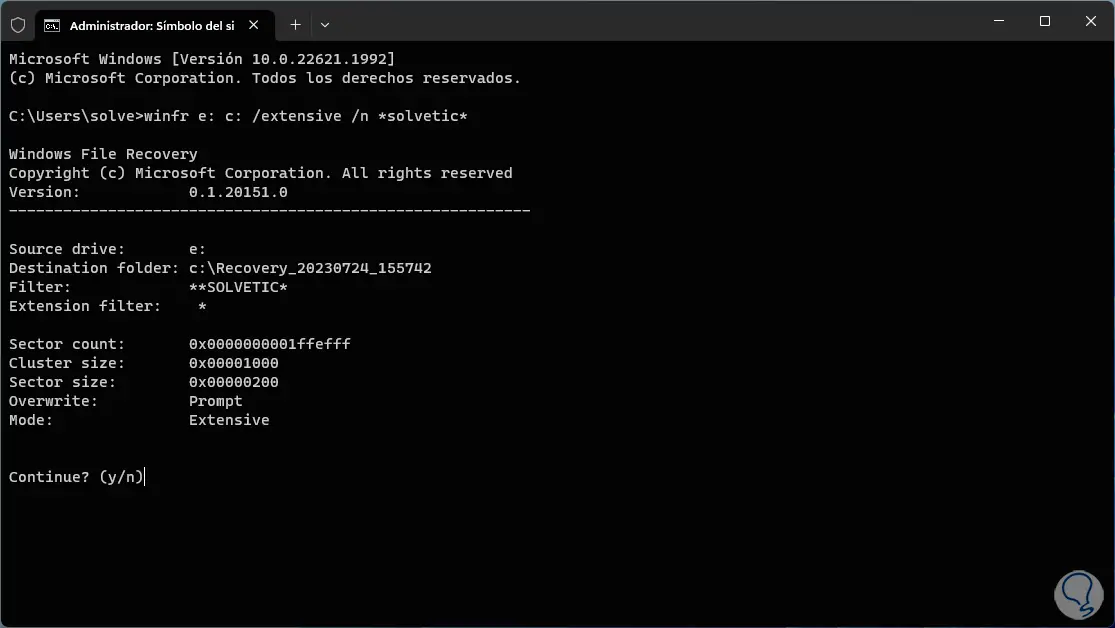
step 15
We confirm the process and wait for the analysis to be carried out:
Note
If the analysis is very long and reaching the end is not required, you can use the following keys to end the process.
Ctrl + C
This is the way to use this valuable utility to recover our files in Windows.