The user is a fundamental piece in macOS since it has its own profile to access the general system and open applications, make changes to the configuration and many other tasks based on the permissions assigned to it. One advantage that macOS offers us is the creation of various user accounts so that various profiles can be managed based on need and it may happen that at some point it becomes necessary to merge two accounts into one. This is due to administrative issues or simply because a user will no longer be available but their information is still necessary..
The method that allows you to join accounts in macOS, and that TechnoWikis will teach you, consists of merging the user's local files and as an initial advice TechnoWikis recommends you export elements such as images, contacts, calendars, notes, Safari favorites, etc, since the account merge encompasses only the Home folder. This export can be done through iCloud Sync or create an Apple ID and synchronize all the data associated with the account.
Now we will see how to join the two accounts in macOS..
To stay up to date, remember to subscribe to our YouTube channel! SUBSCRIBE
How to join two accounts (merge) on macOS
Step 1
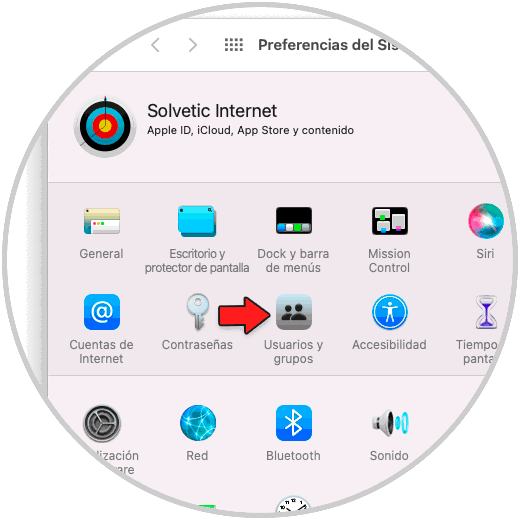
We open System Preferences from the icon in the Dock or from the Apple icon, we will see the following. We click on "Users and groups" and the following will open:
Step 2
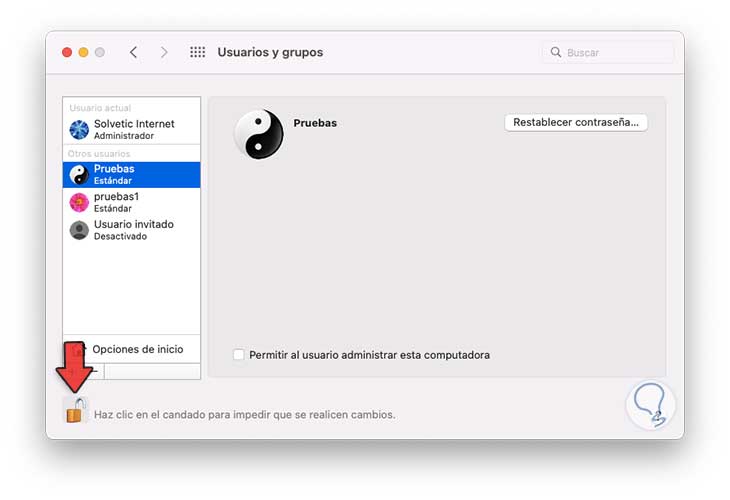
We click on the lock icon and enter the administrator password to edit the users, now we select the user to delete:
Step 3
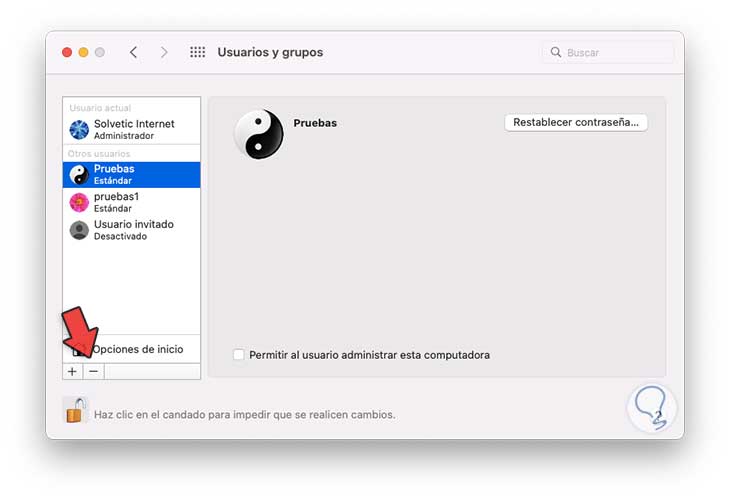
We click on the sign – located at the bottom to delete this user and the following window will open:
Step 4
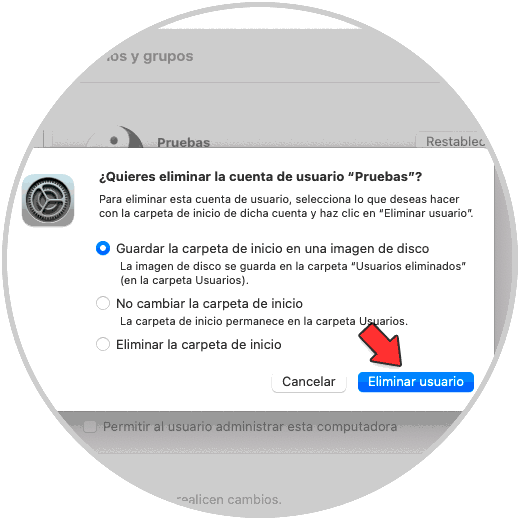
We activate the box "Save the home folder in a disk image" and click on "Delete user", we wait for the user to be deleted:
step 5
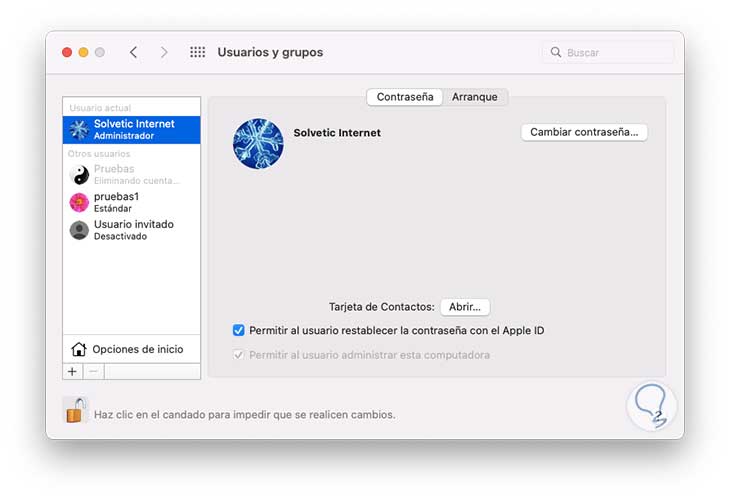
We see that the user has been deleted from macOS:
step 6
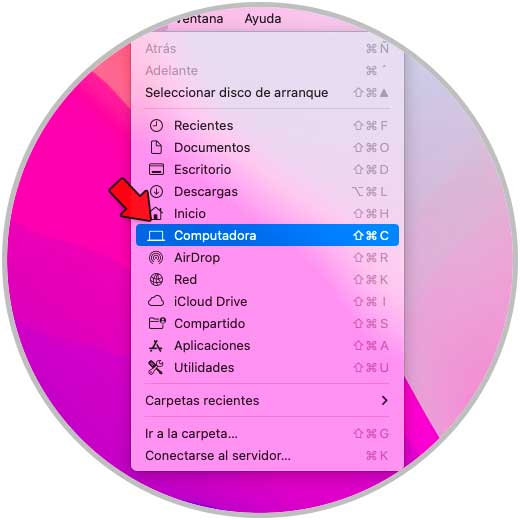
In the Finder we go to the menu "Go - Computer":
step 7
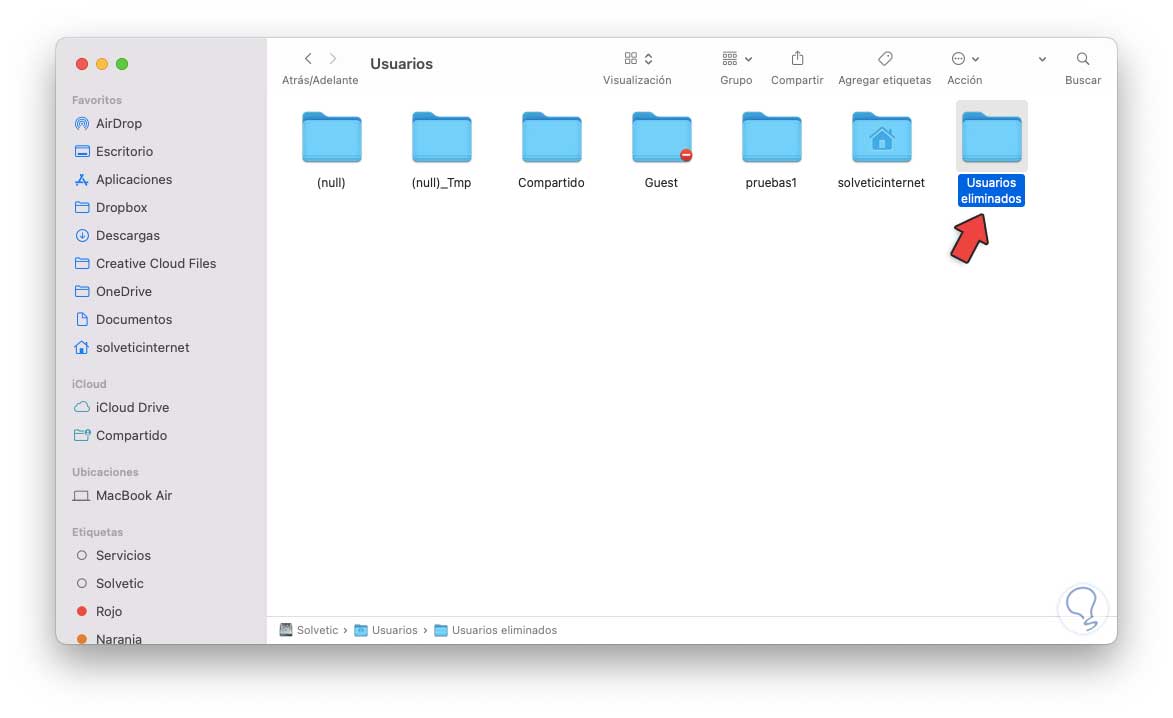
In the opened window we double click on the drive, then in "Users" we click on "Deleted Users":
step 8
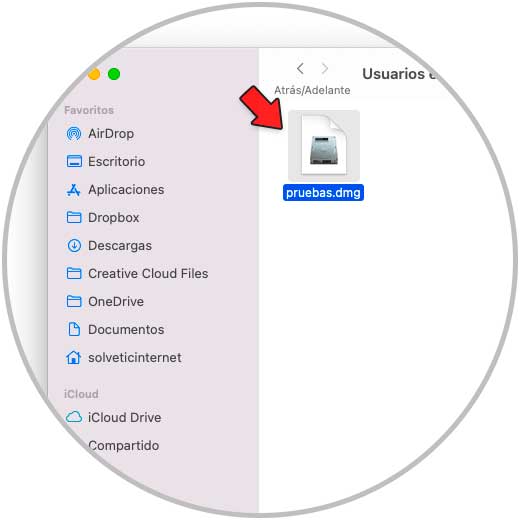
When accessing there we will see the dmg image of the deleted user and that we created during the initial process:
step 9
We double click on the image to access the user folders:
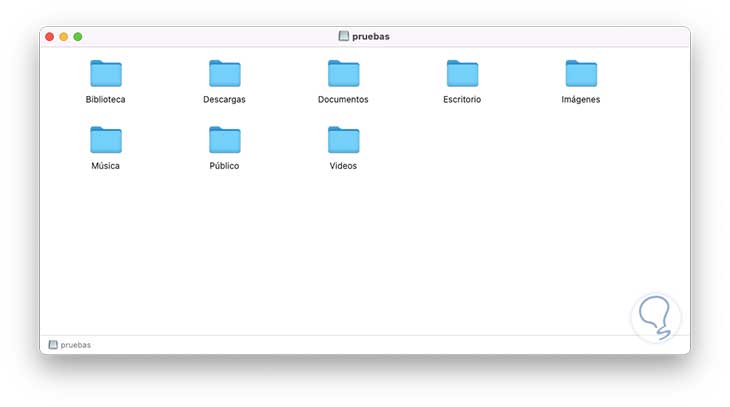
So you can use both accounts in one in macOS.