Excel is one of the most versatile programs for working with numerical data, dates, text and much more with the functions and formulas that help comprehensive management of each data, it is normal that at some point it is necessary to print the content of the data in the spreadsheet and at the time of printing we will see disorder or that the data does not add up as necessary..
Many times we have quite large sheets in Excel and it is complicated to configure them to know how we can print everything well, avoiding that our data moves and something is left out of the print. That is why TechnoWikis has this tutorial to teach you how to print in Excel in a simple and functional way.
To stay up to date, remember to subscribe to our YouTube channel! SUBSCRIBE
How to print a sheet in Excel
Step 1
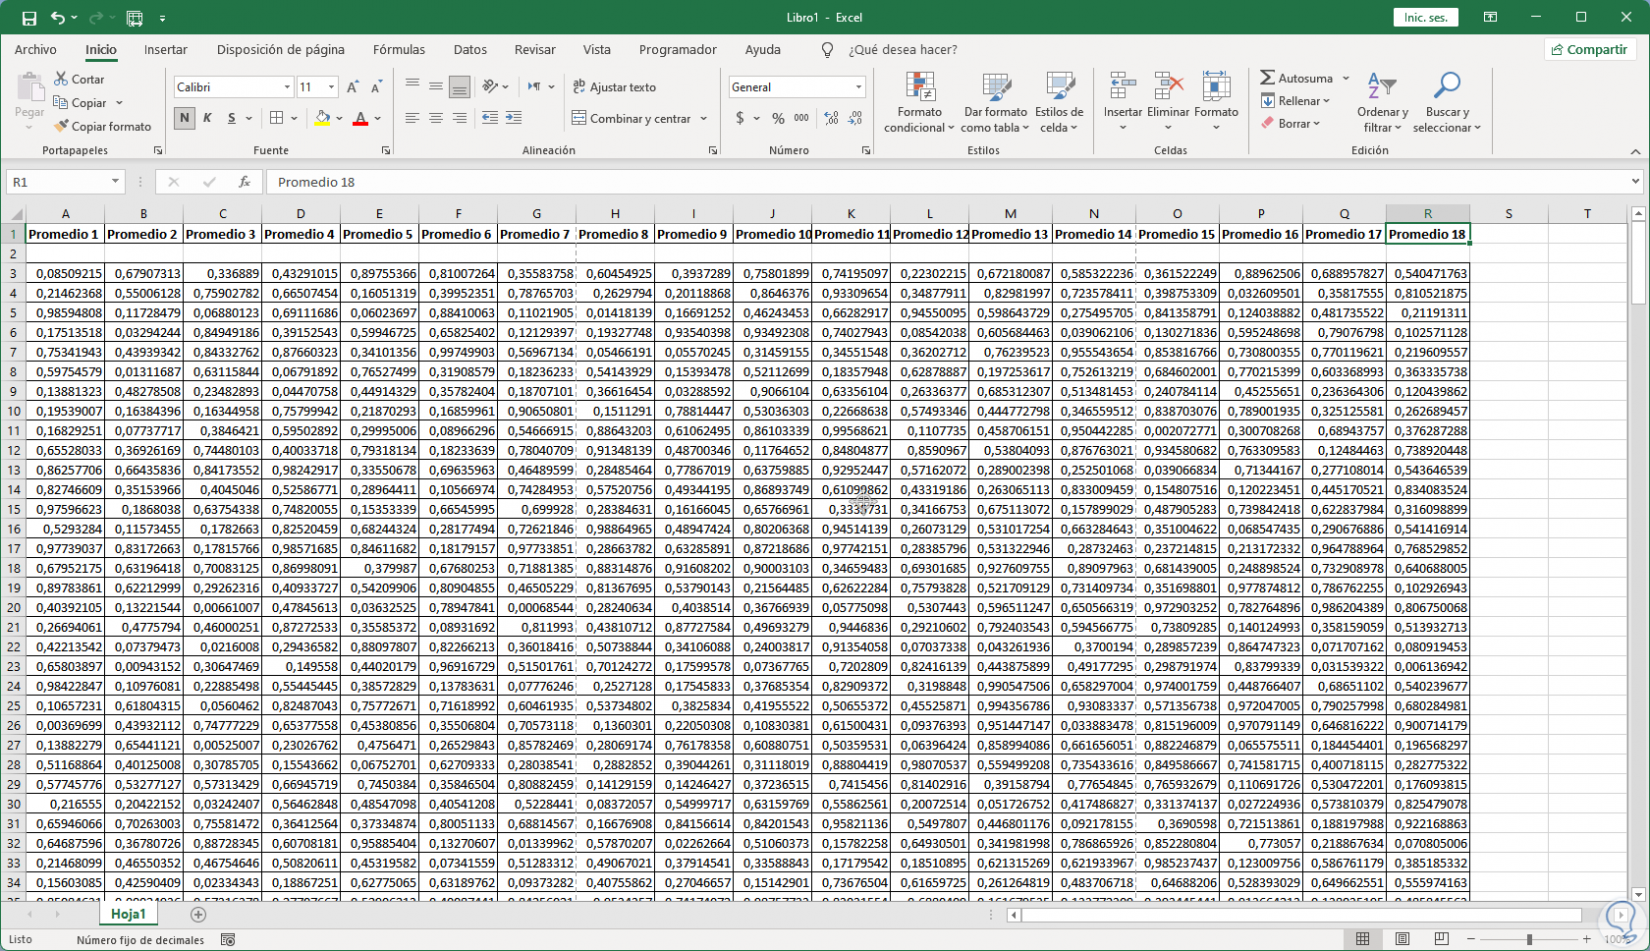
We open Excel to see the data to print:
Step 2
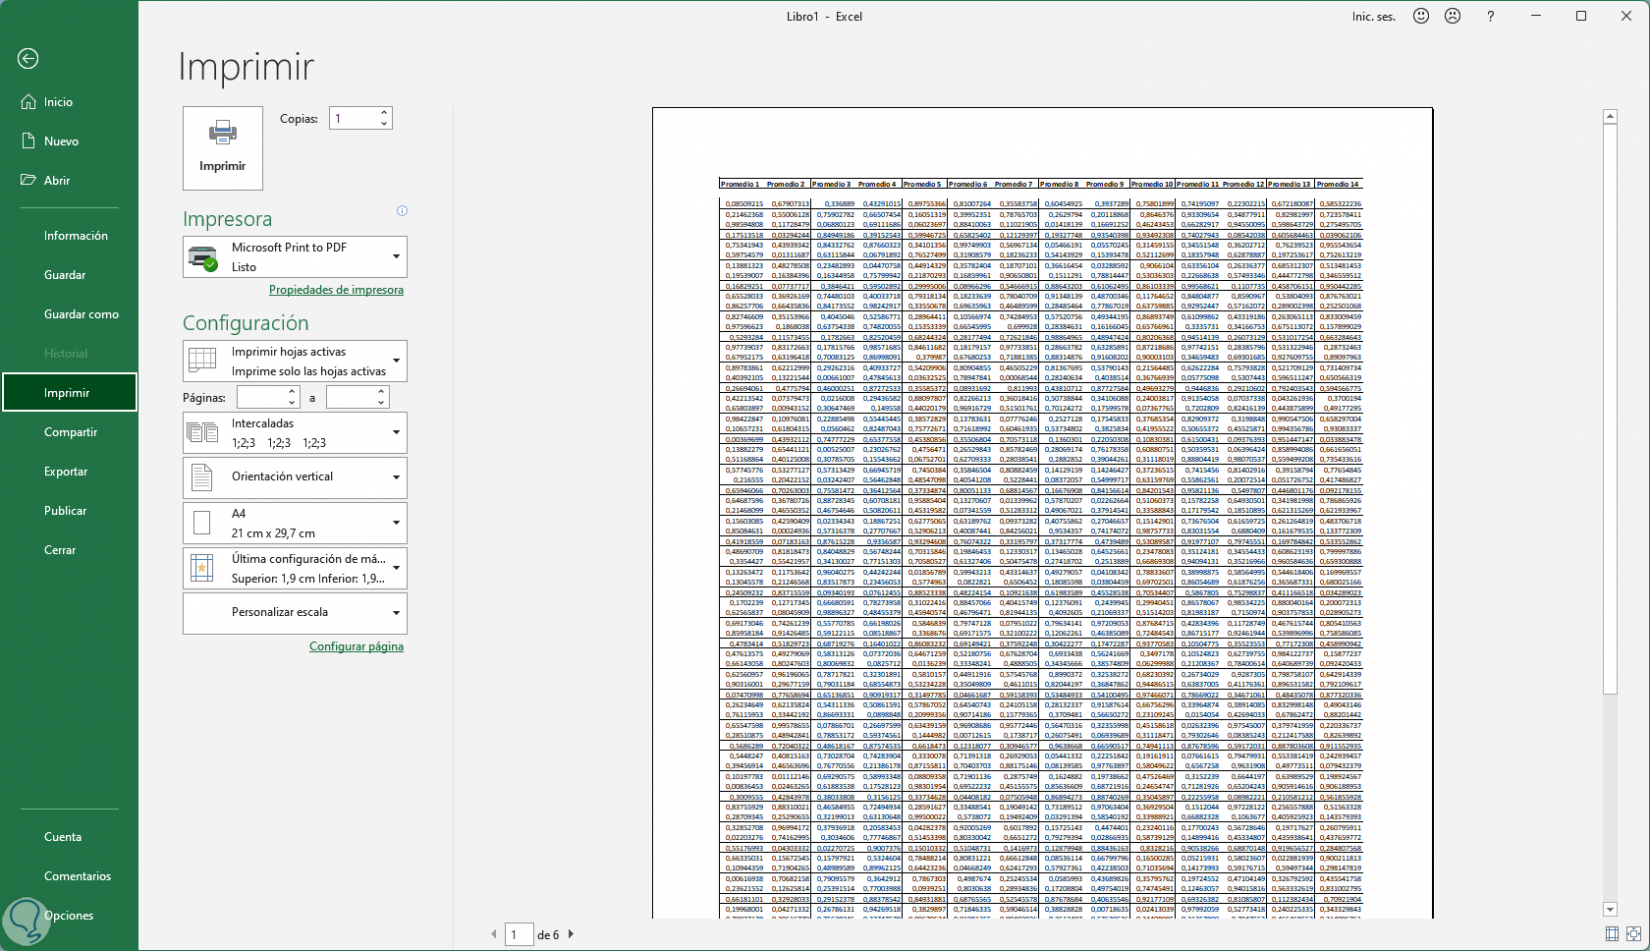
We use the following keys to access the print preview:
Ctrl + P

Step 3
It is possible to see that the data is not organized based on the sheets in which we work and other elements of said data.
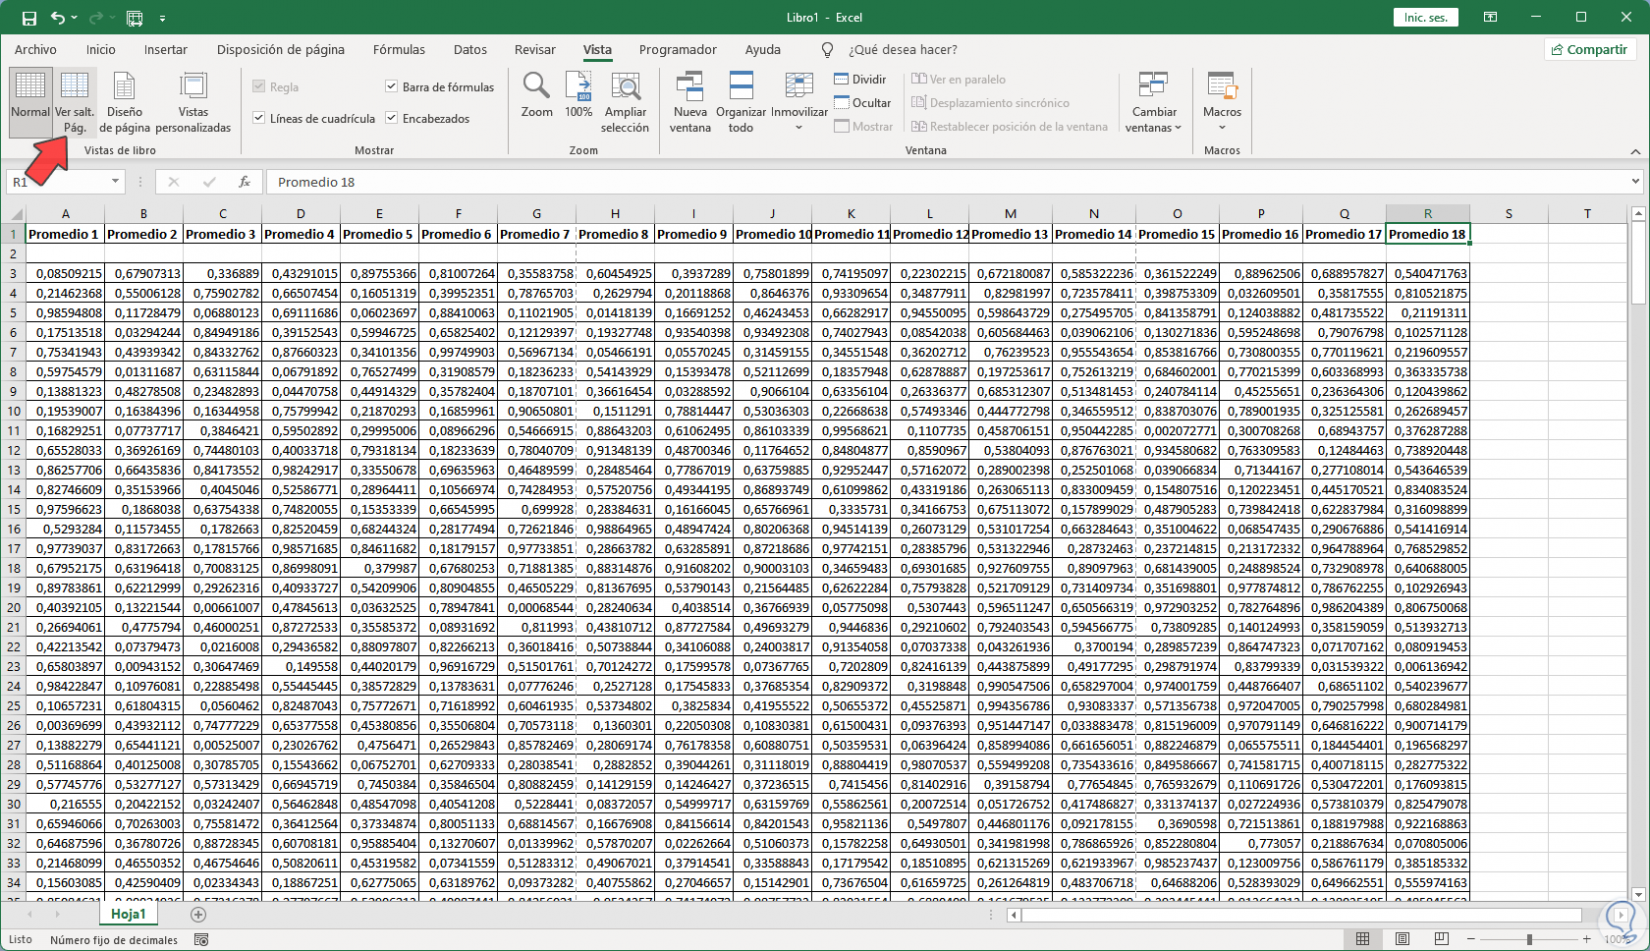
In the "View" menu we click on "Page Break View":
Step 4
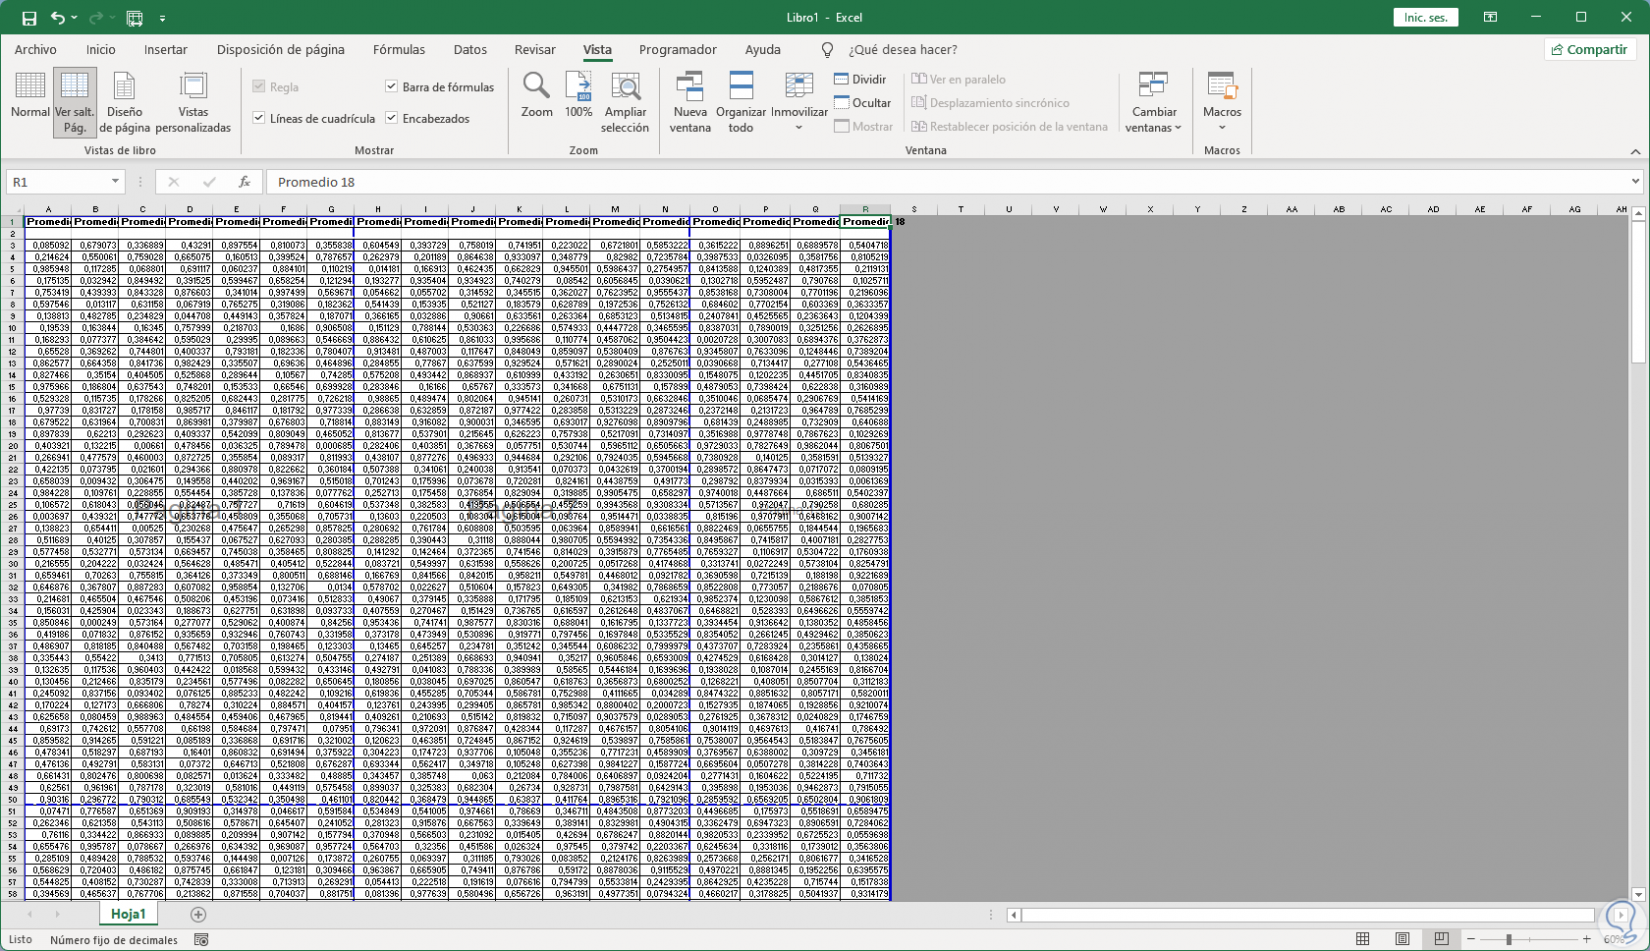
We will see the following structure:
step 5
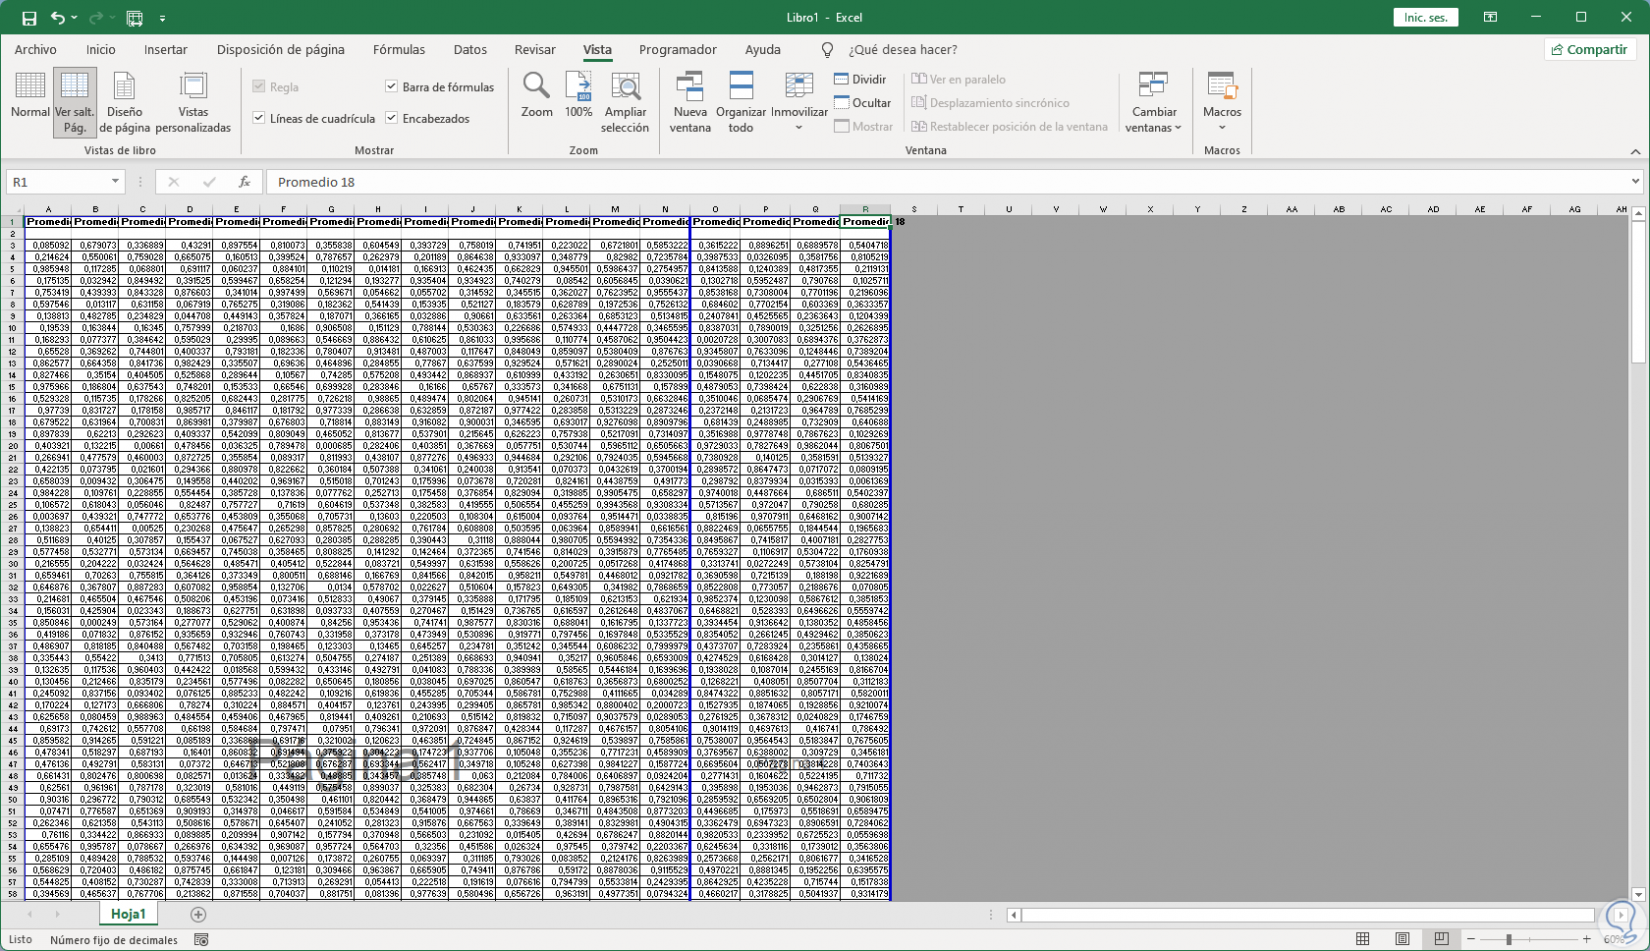
There we see each page that makes up the data and the print area is the area covered by the blue lines, what we see in gray is content that will not be printed, we can adjust our data by clicking on the blue line and dragging it to where we want be printed:
step 6
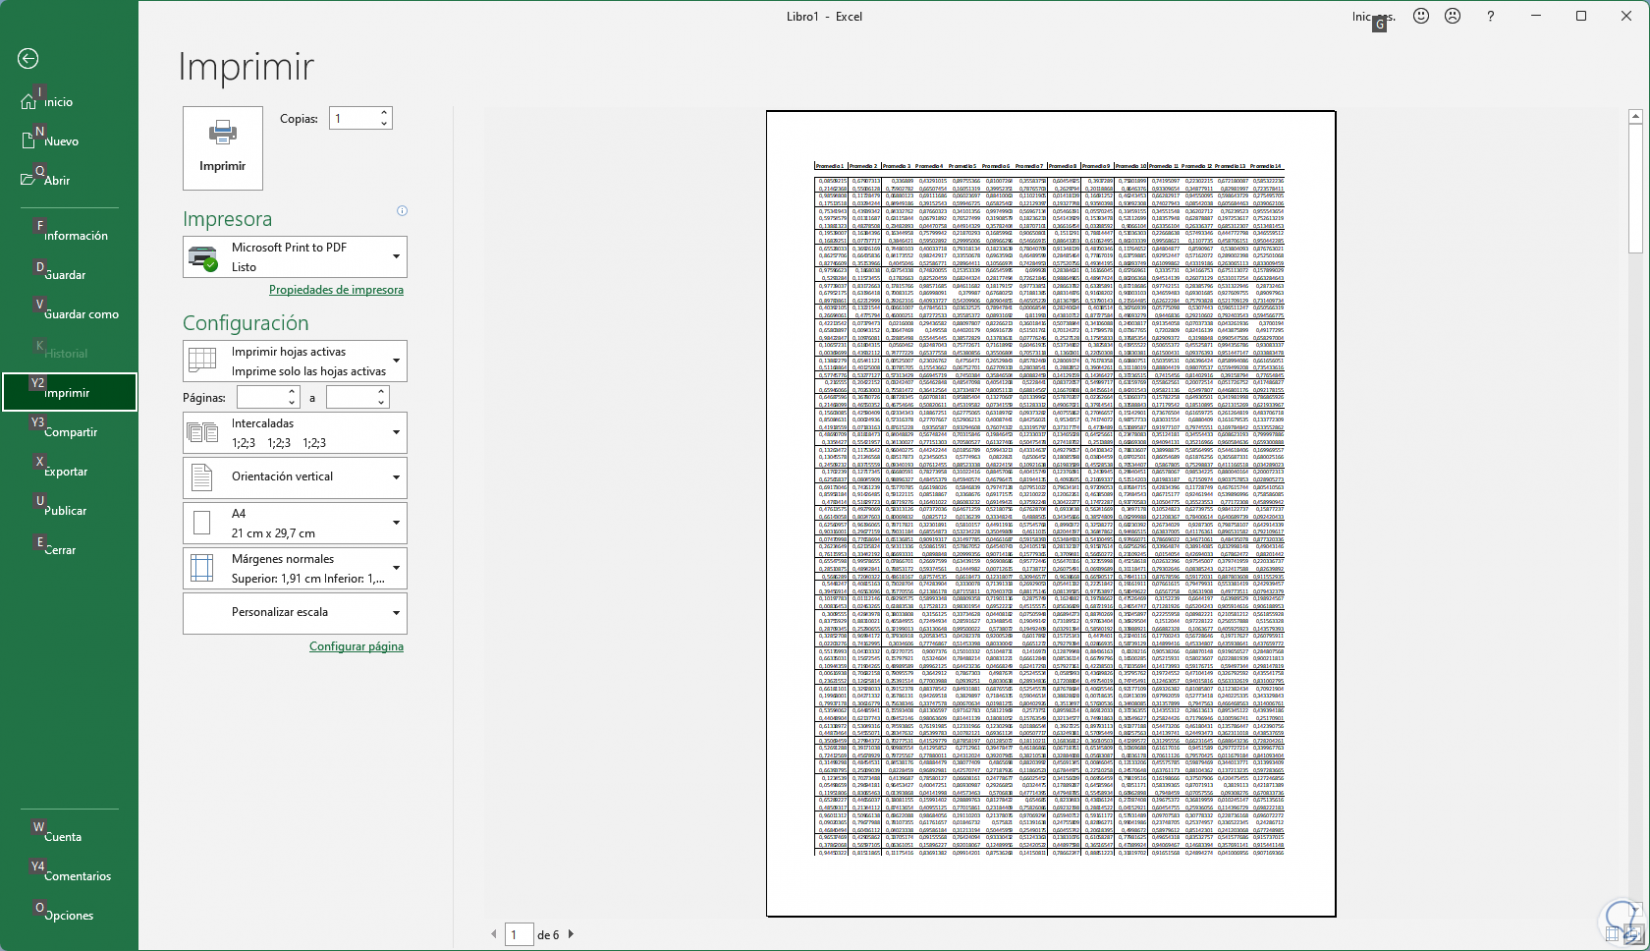
We use the following keys to access the print preview and we can see how the print area has been extended based on the defined print area:
Ctrl + P
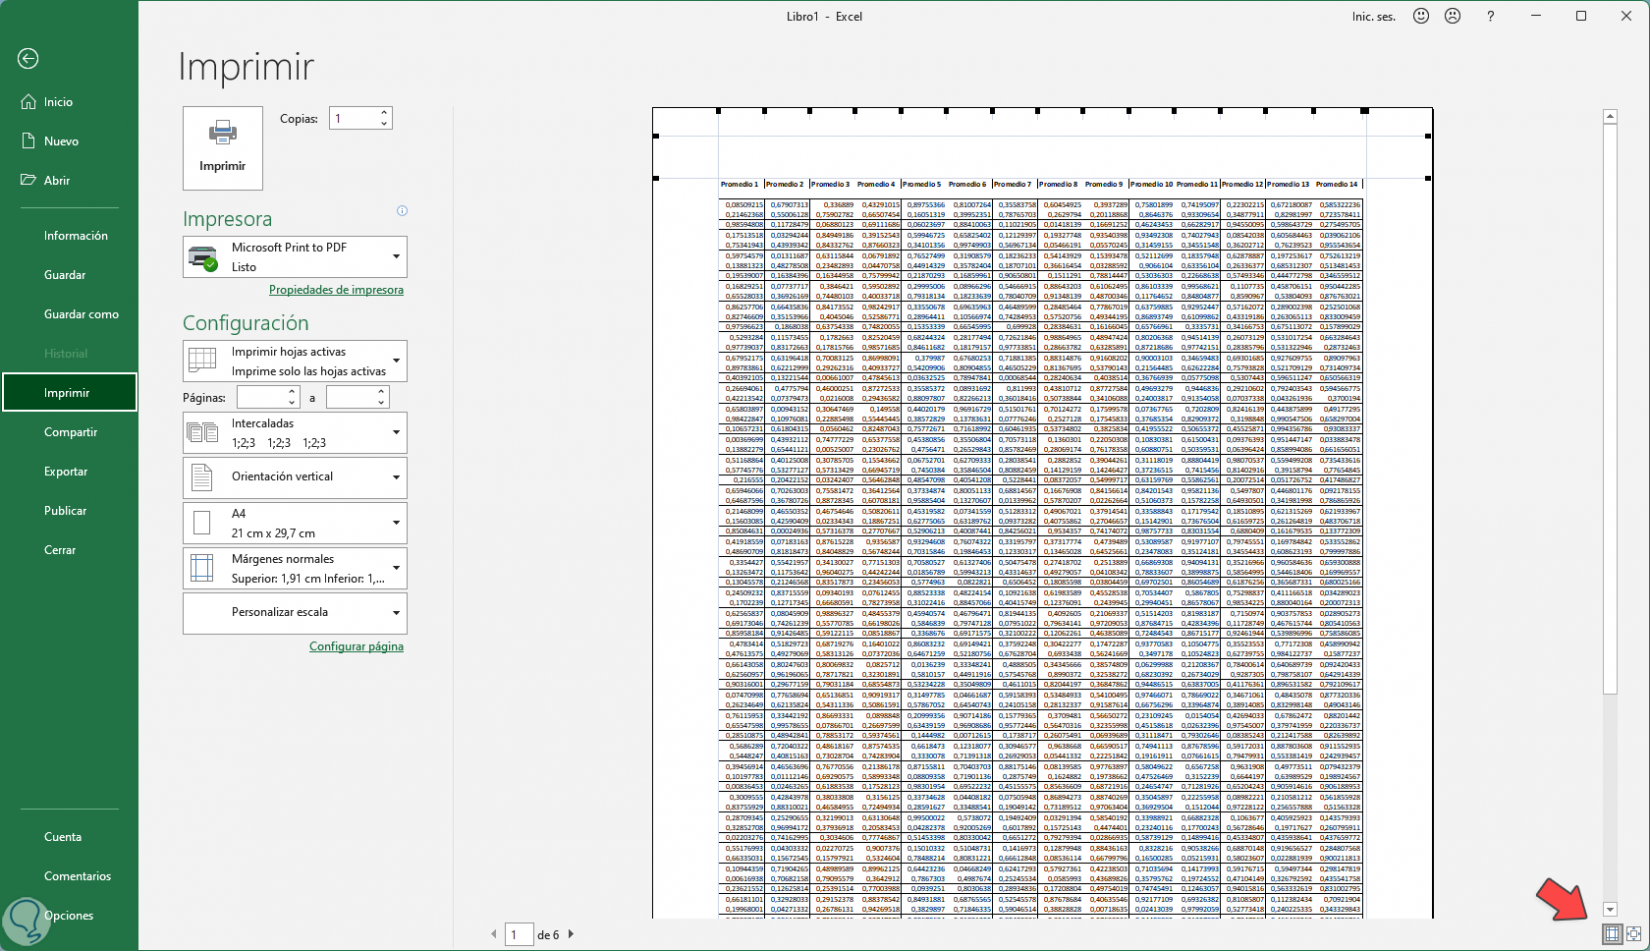
Step 7
There we can click on the zoom icon located at the bottom to see the design better:
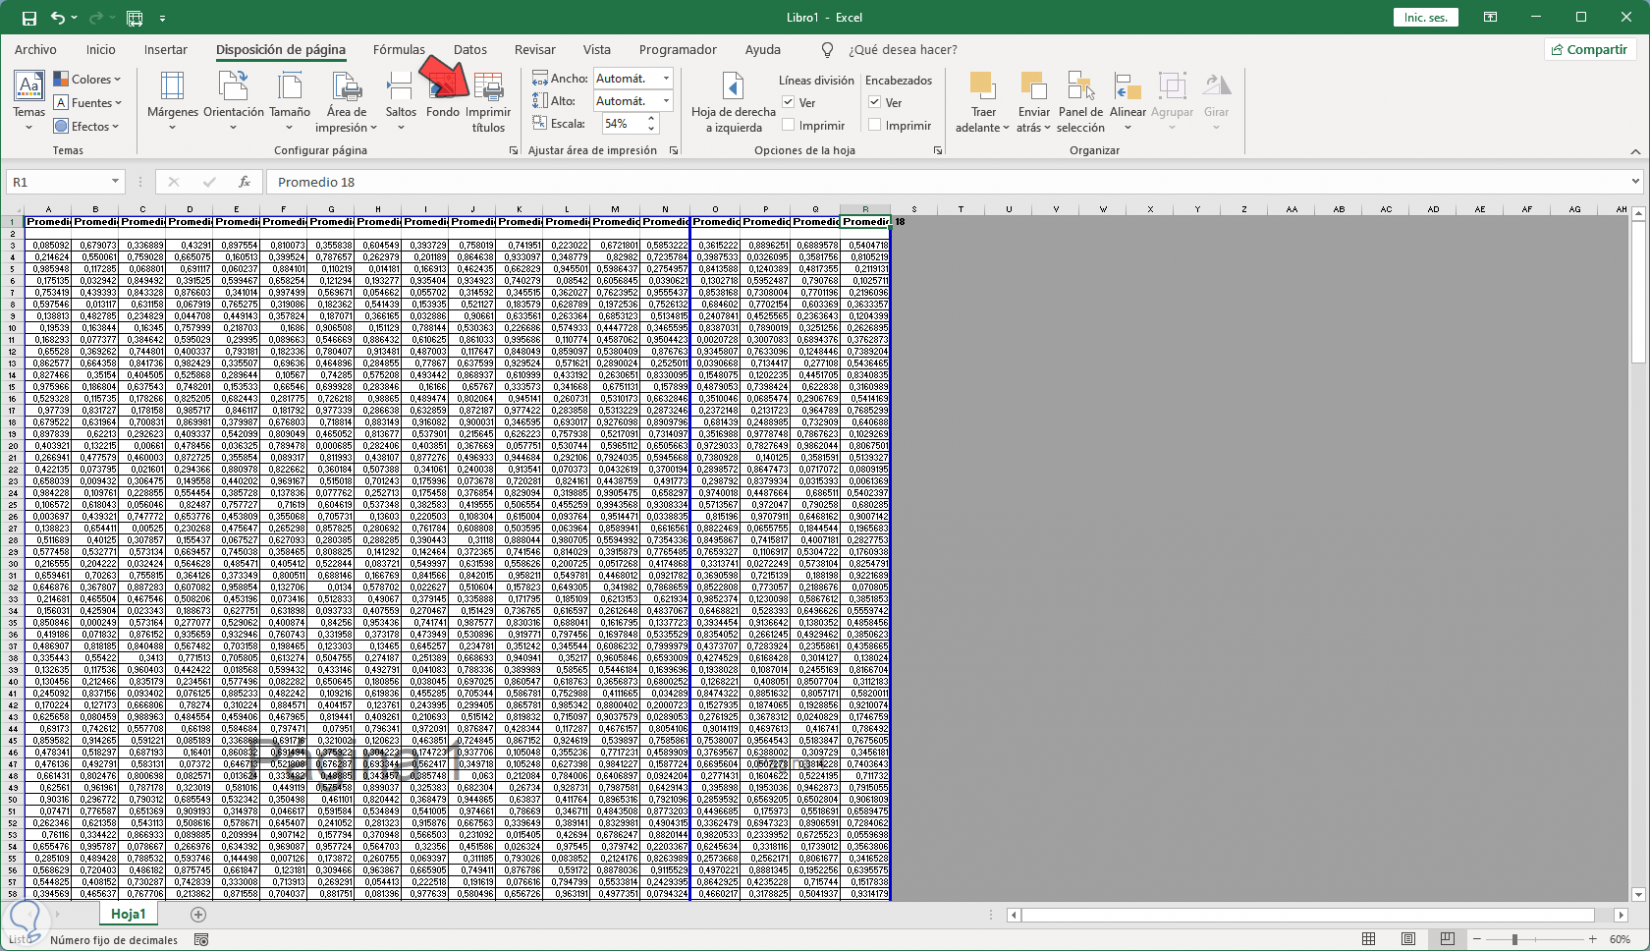
step 8
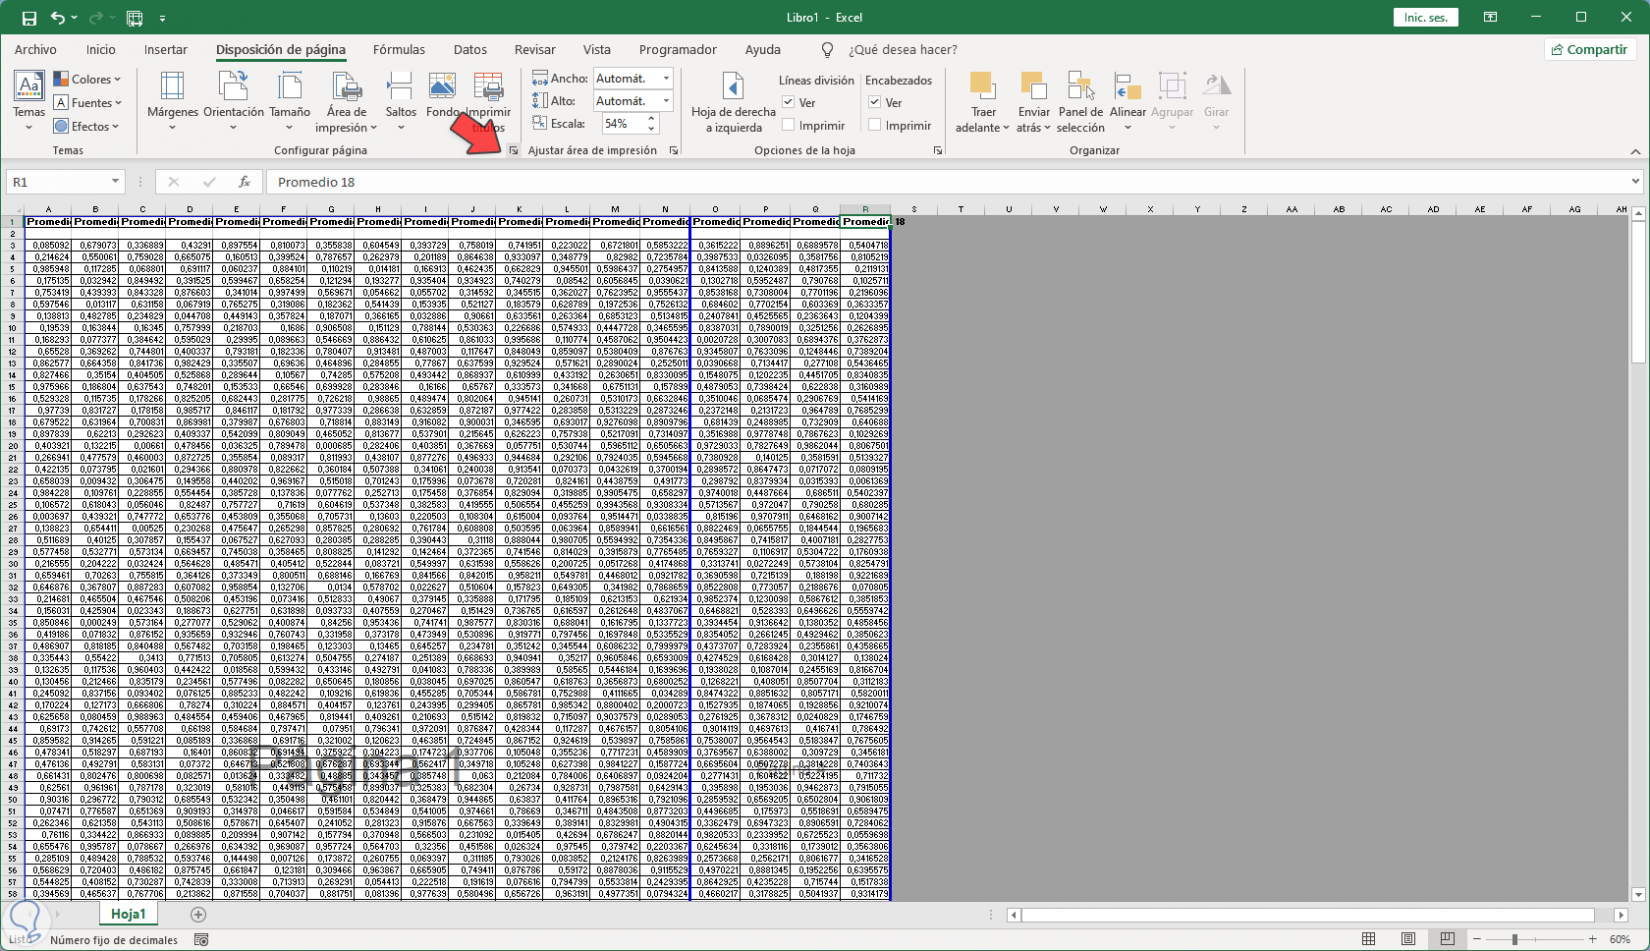
We return to the spreadsheet and in the "Page layout" menu click "Print titles":
step 9
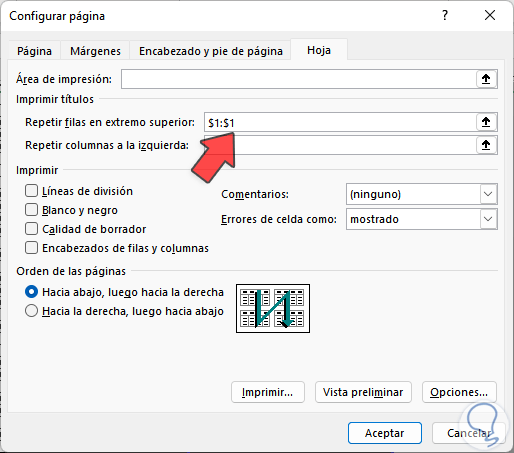
The following popup will open:

step 10
We click on "Repeat rows at the top" and then select the title row:
step 11
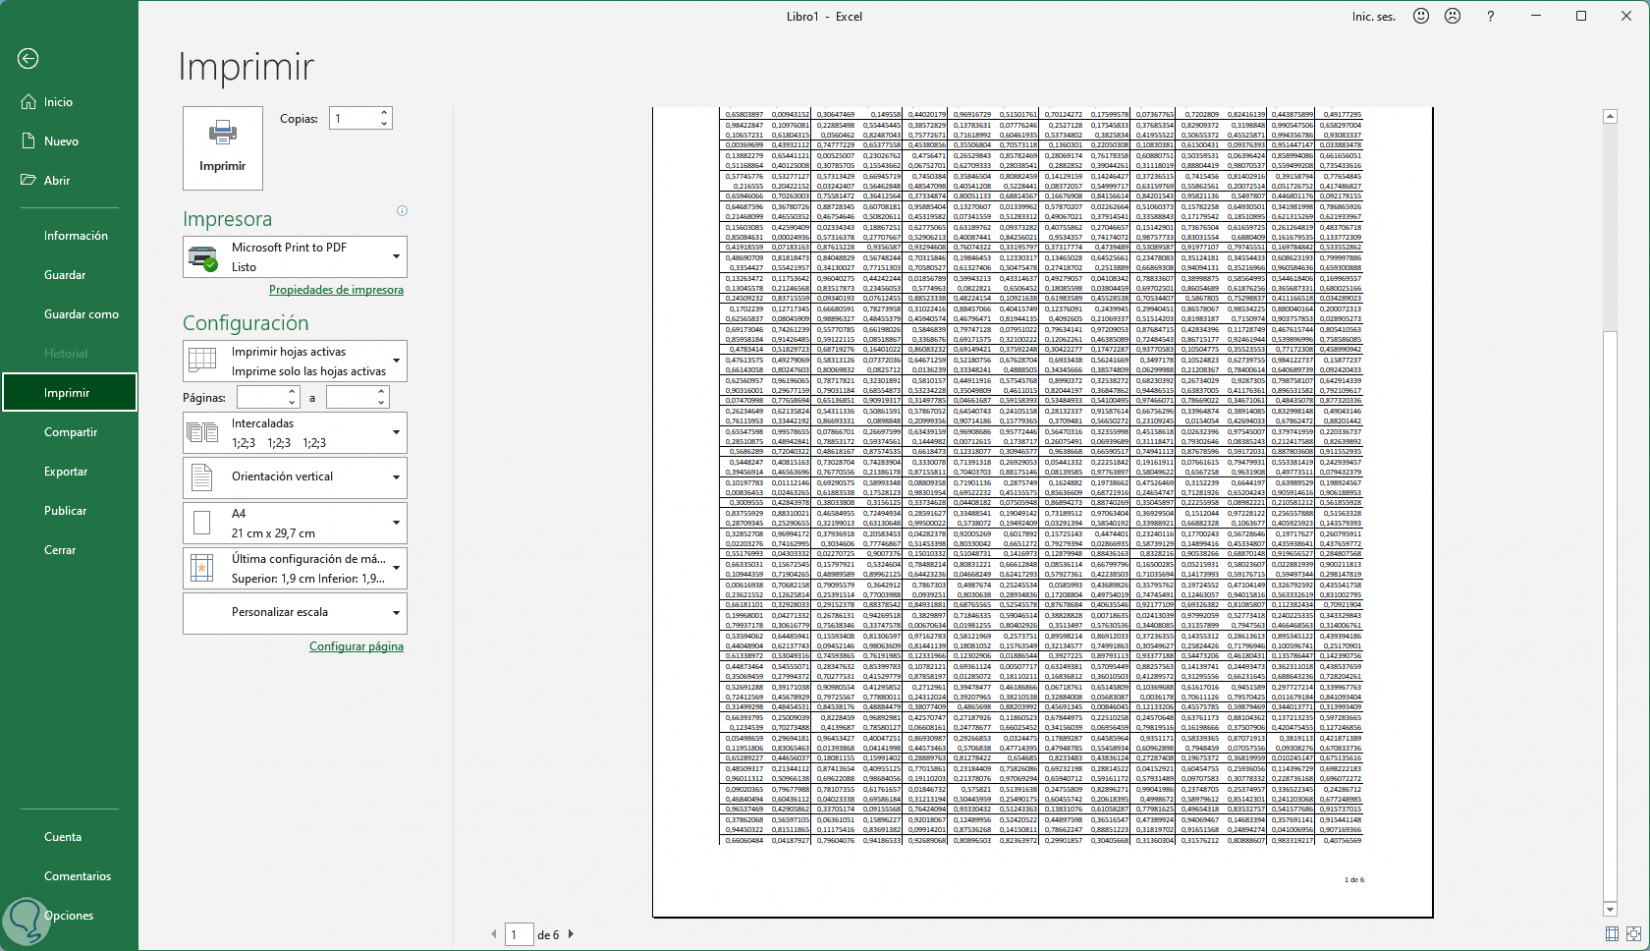
We apply the changes, and to access printing we can go to "File - Print":
step 12
All spreadsheets will have the title:
step 13
We go back to the sheet and in the "Page Layout" menu we click on the "Page Setup" icon located at the bottom:
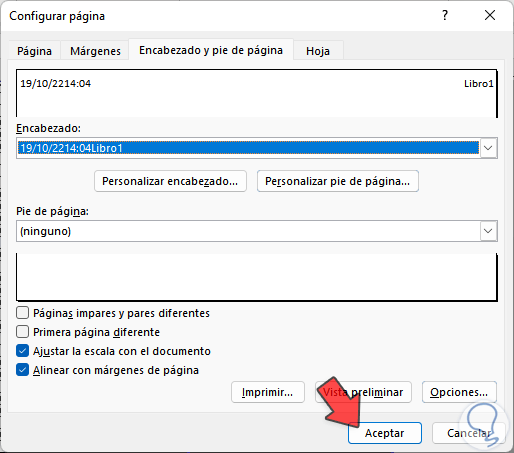
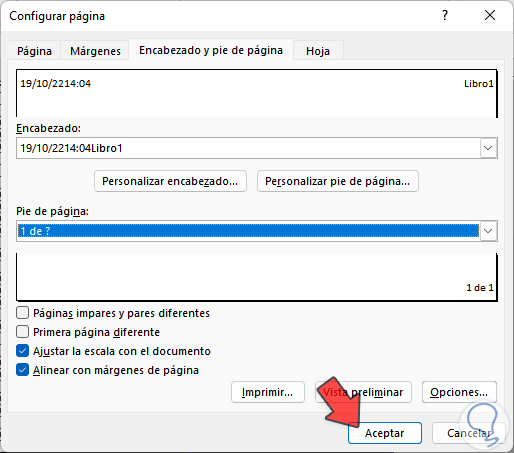
step 14
In the displayed window we go to "Header and footer":
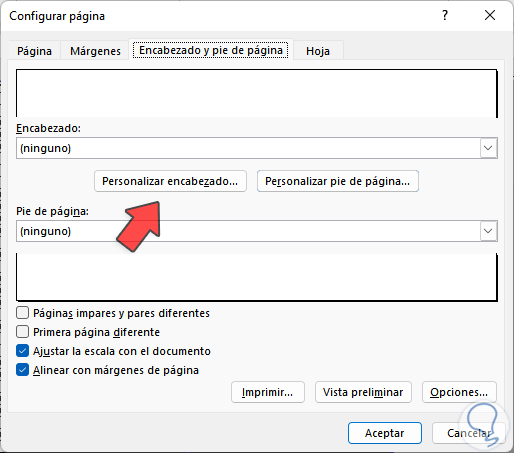
step 15
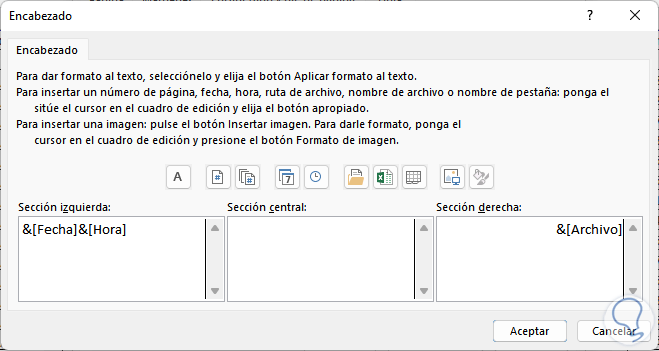
We click on "Customize header" and configure:
- In "Left section" we add Date and Time
- In "Right section" we add File name
Note
To add this data we click on the respective buttons.
step 16
Apply the changes:
step 17
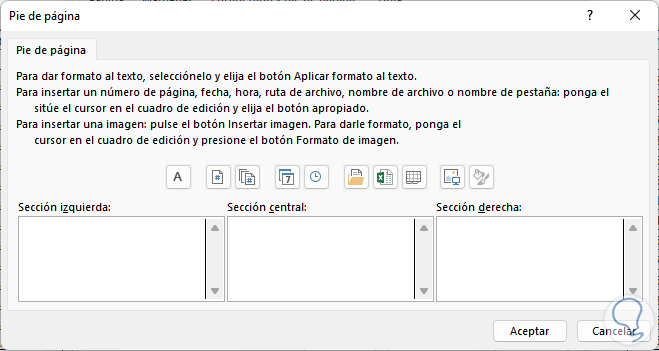
We click on "Customize footer" to see this:
step 18
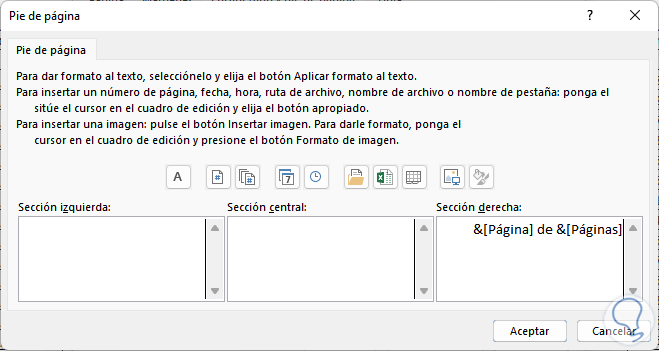
In "Right Section" we add Page Number, then leave a space and write "of", add Sheet Number:
step 19
Apply the changes:
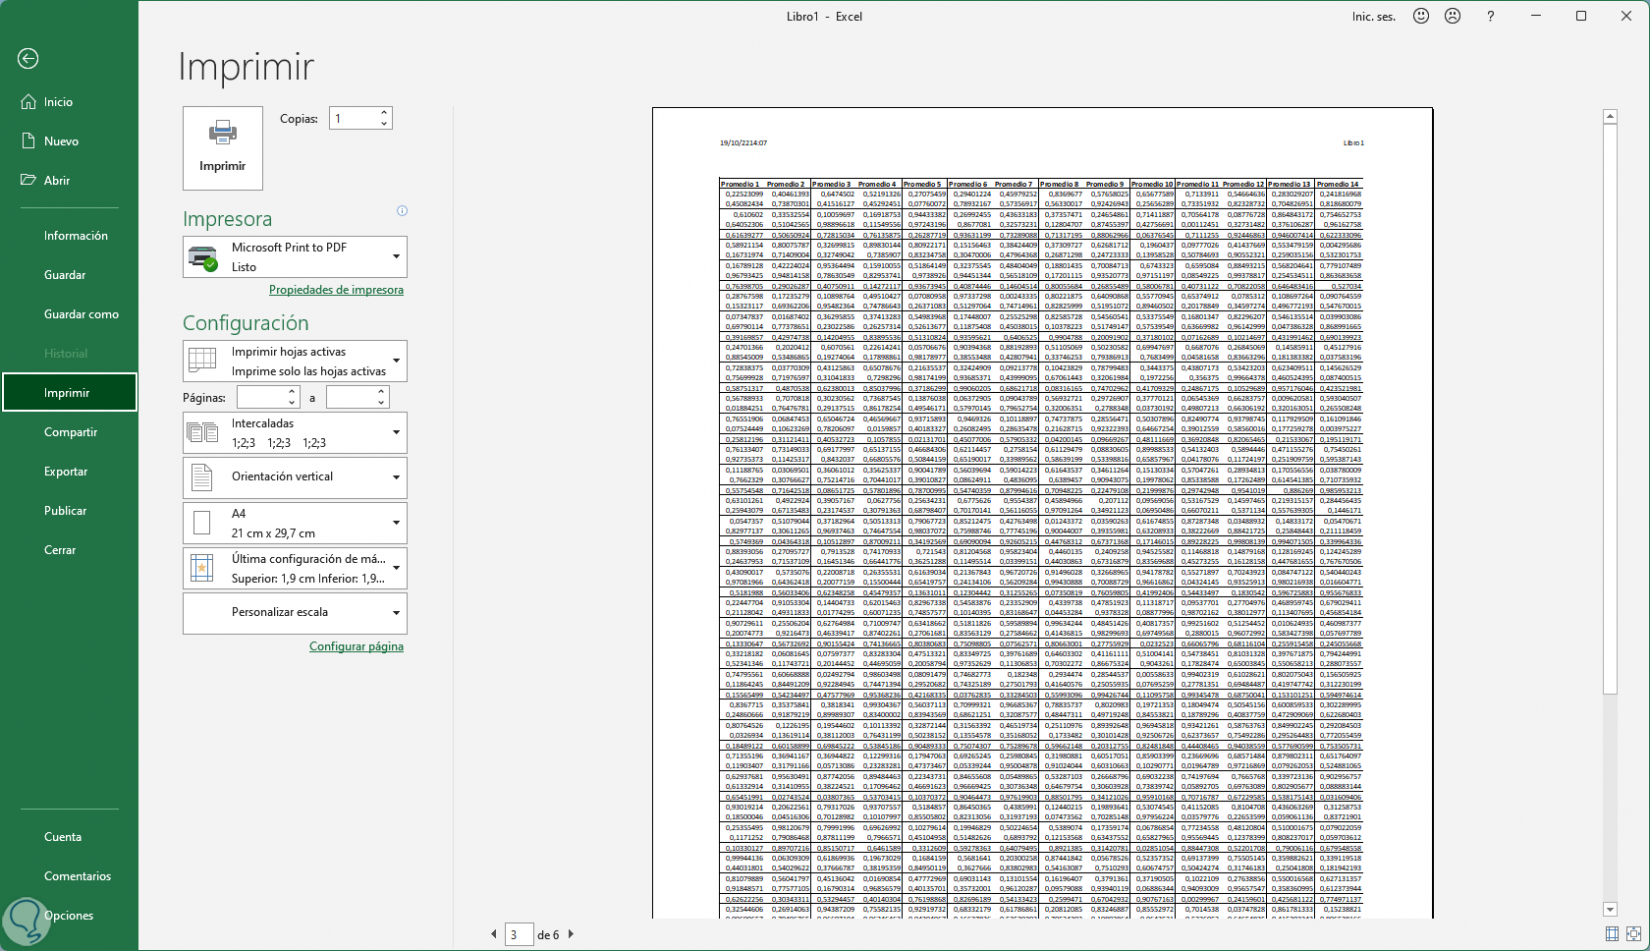
step 20
We apply the global changes and use the following keys to see the new form of printing:
Ctrl + P

step 21
Now we will see in all sheets the header and footer as configured:
step 22
Let's go to each sheet to validate this:
This is the ideal way to print Excel sheets with the required data..