Excel gives us the opportunity to work with multiple types of data which range from texts to dates through pivot tables and more, these data can cause problems in the operation of formulas and functions if they are misconfigured, one of the tasks that a simple The view may seem complex when there is a user's name in a cell and, therefore, it is not separated, which would affect certain data filter tasks..
Doing the process of separating name and surname manually is tedious if there is enough data, for this reason TechnoWikis has the solution to separate this data in a simple way in Excel. Thus, when we have a large list of people with their names and surnames, we will be able to do a tedious task such as separating names and surnames into different columns quickly from Excel with some of the methods described today.
To stay up to date, remember to subscribe to our YouTube channel! SUBSCRIBE
1 Separate first name from last name in Excel with Text Function in columns
This is one of the simplest ways to have the first and last name separated in the spreadsheet, Text to Columns is a method to divide content into multiple cells quickly and functionally..
Step 1
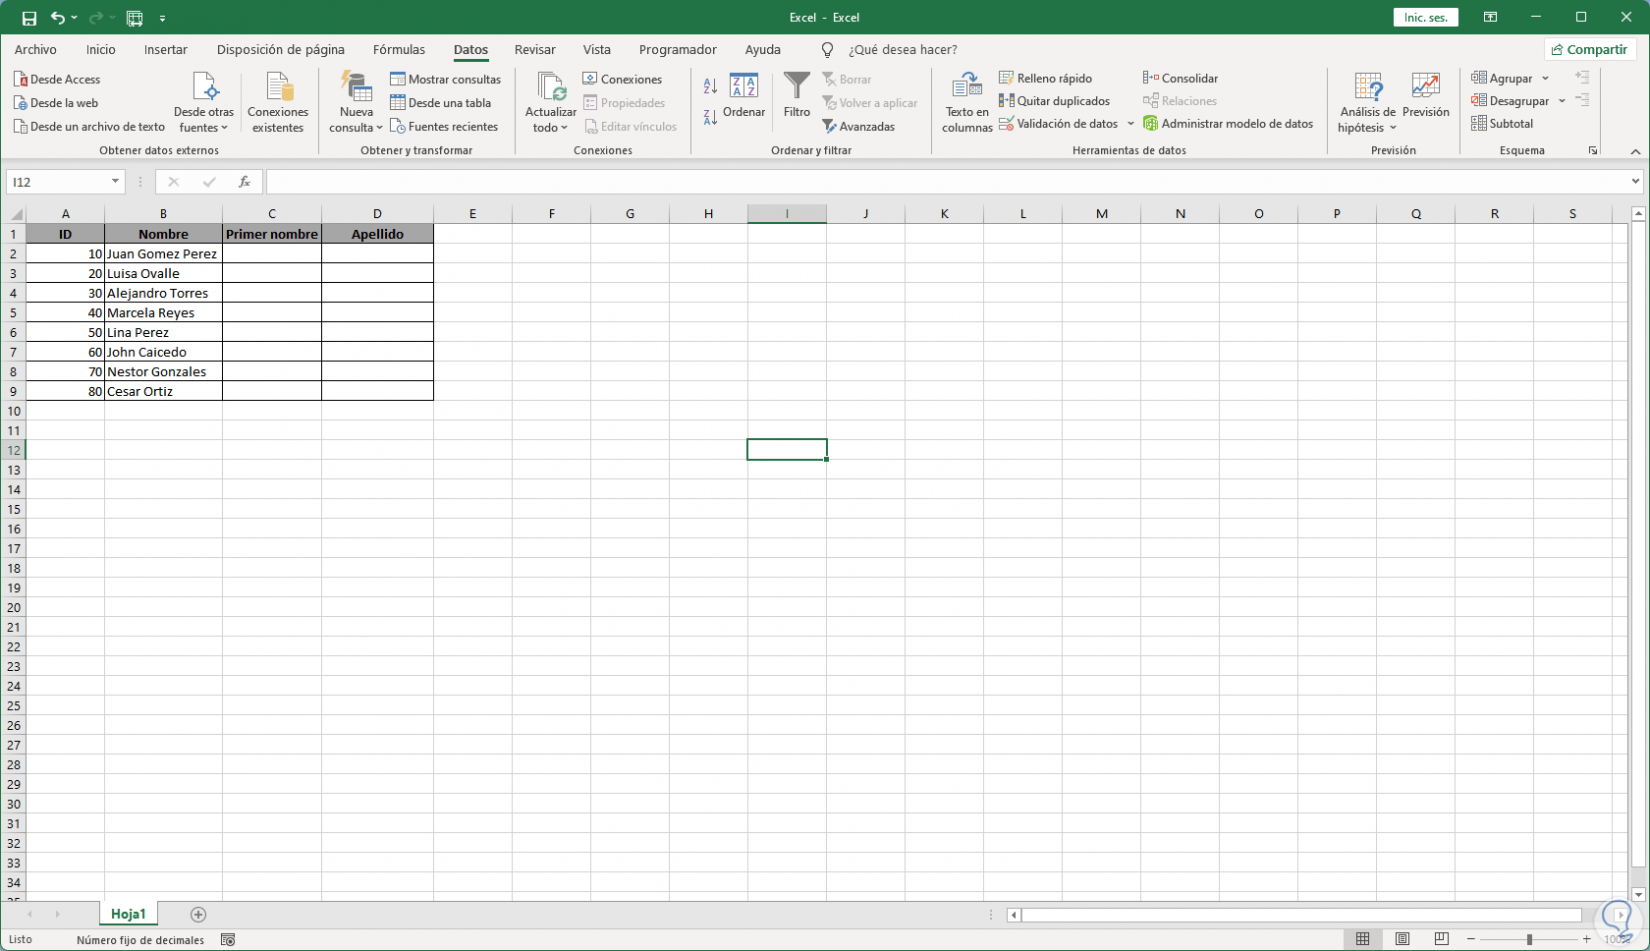
We open Excel to see the content:
Step 2
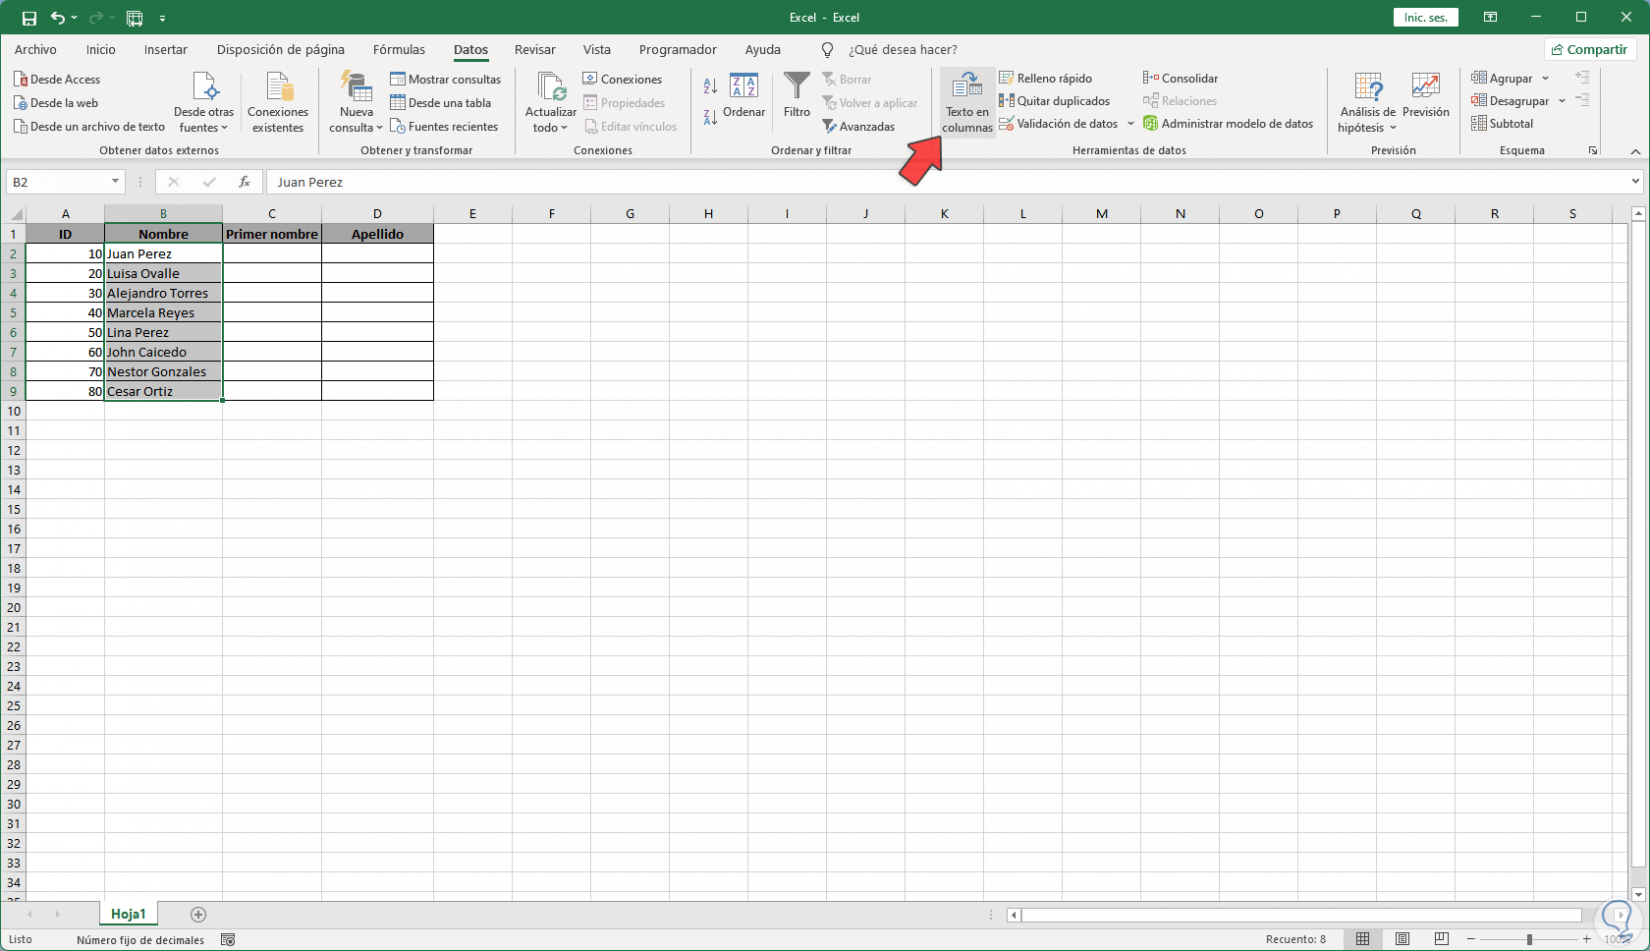
We select the cells with the names and surnames:

Step 3
In the "Data" menu we click on "Text in columns" located in the "Data tools" group:
Step 4
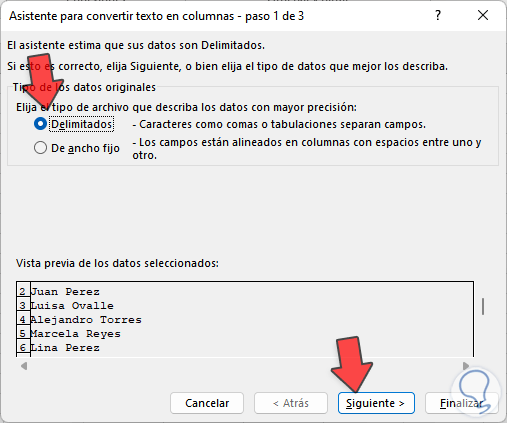
The following wizard will open. We activate the "Delimited" box, we click Next:
step 5
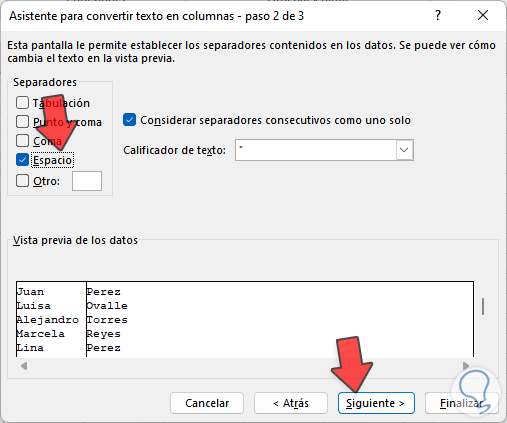
In this section we activate the boxes "Space" and "Consider consecutive separators as one":
Step 6
Space allows the data to be in separate cells, we click Next to see this:
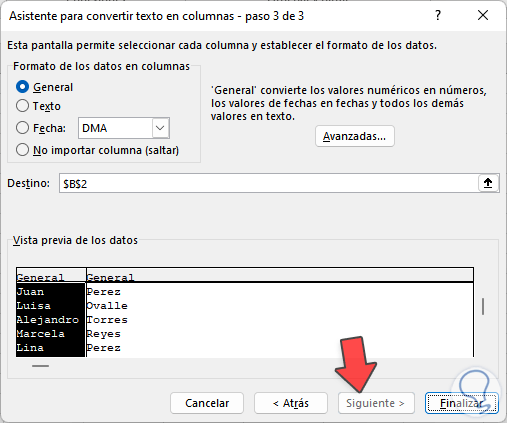
Step 7
In "Destination" we select the cell where the name goes after executing the process:

step 8
We validate that it is in the respective cell:
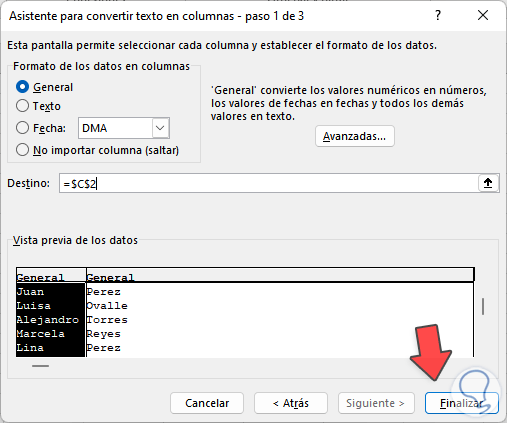
step 9
We apply the changes and we will see the following message:
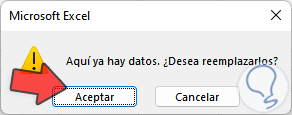
step 10
We click OK to see the separate names and surnames:
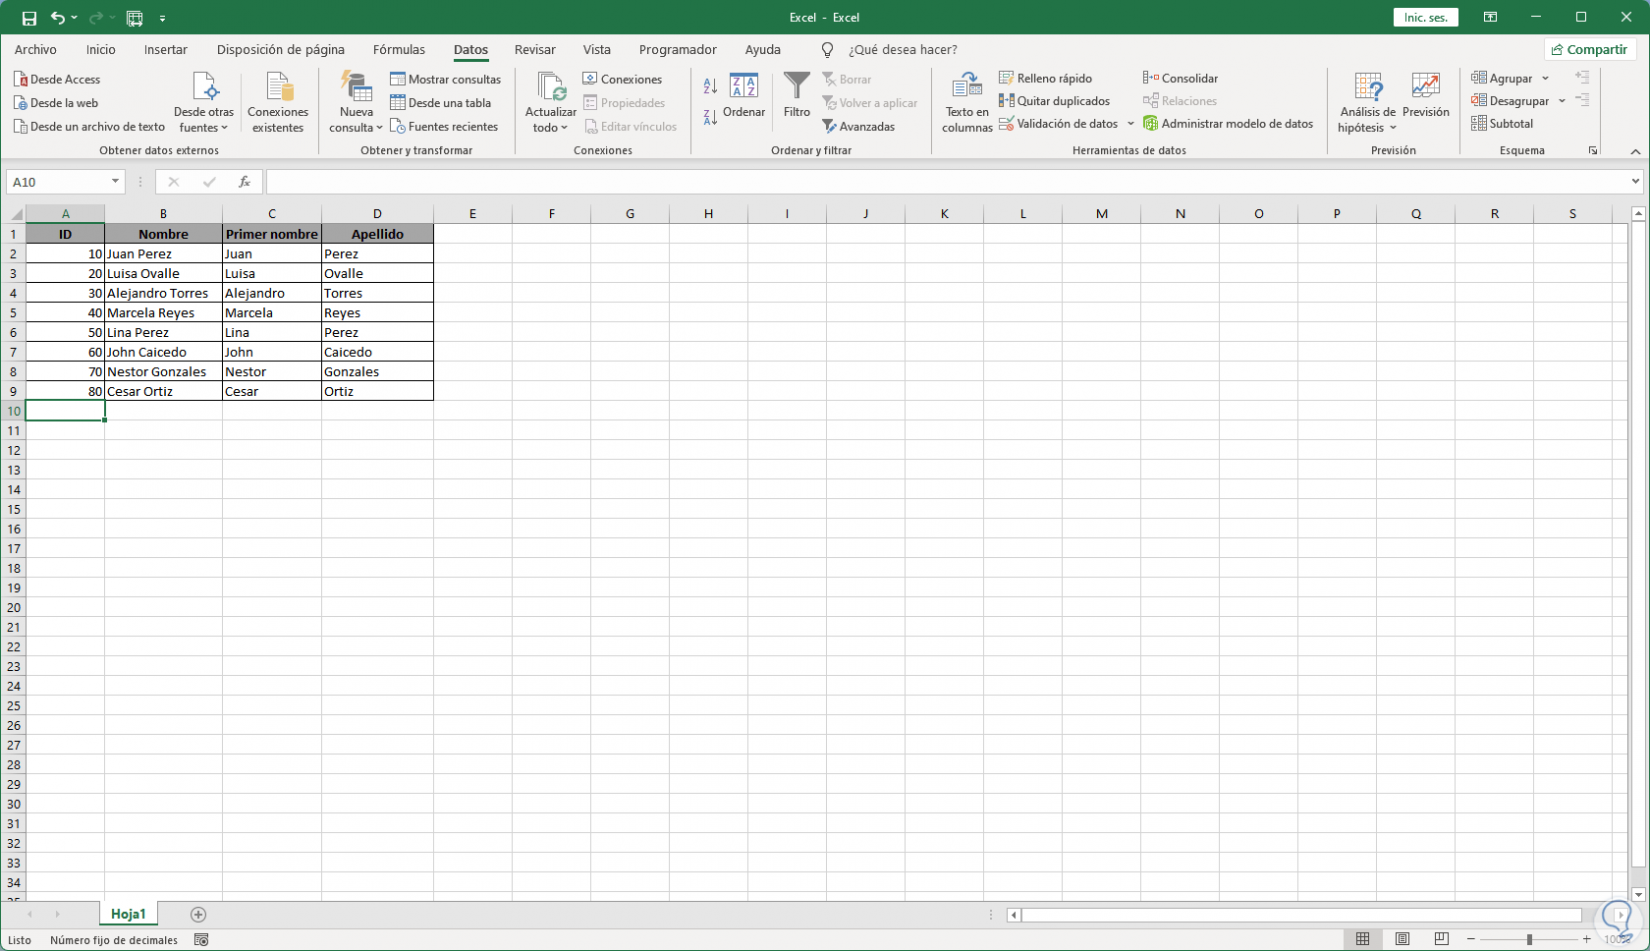
2 Separate first name from last name in Excel with Quick Fill Function
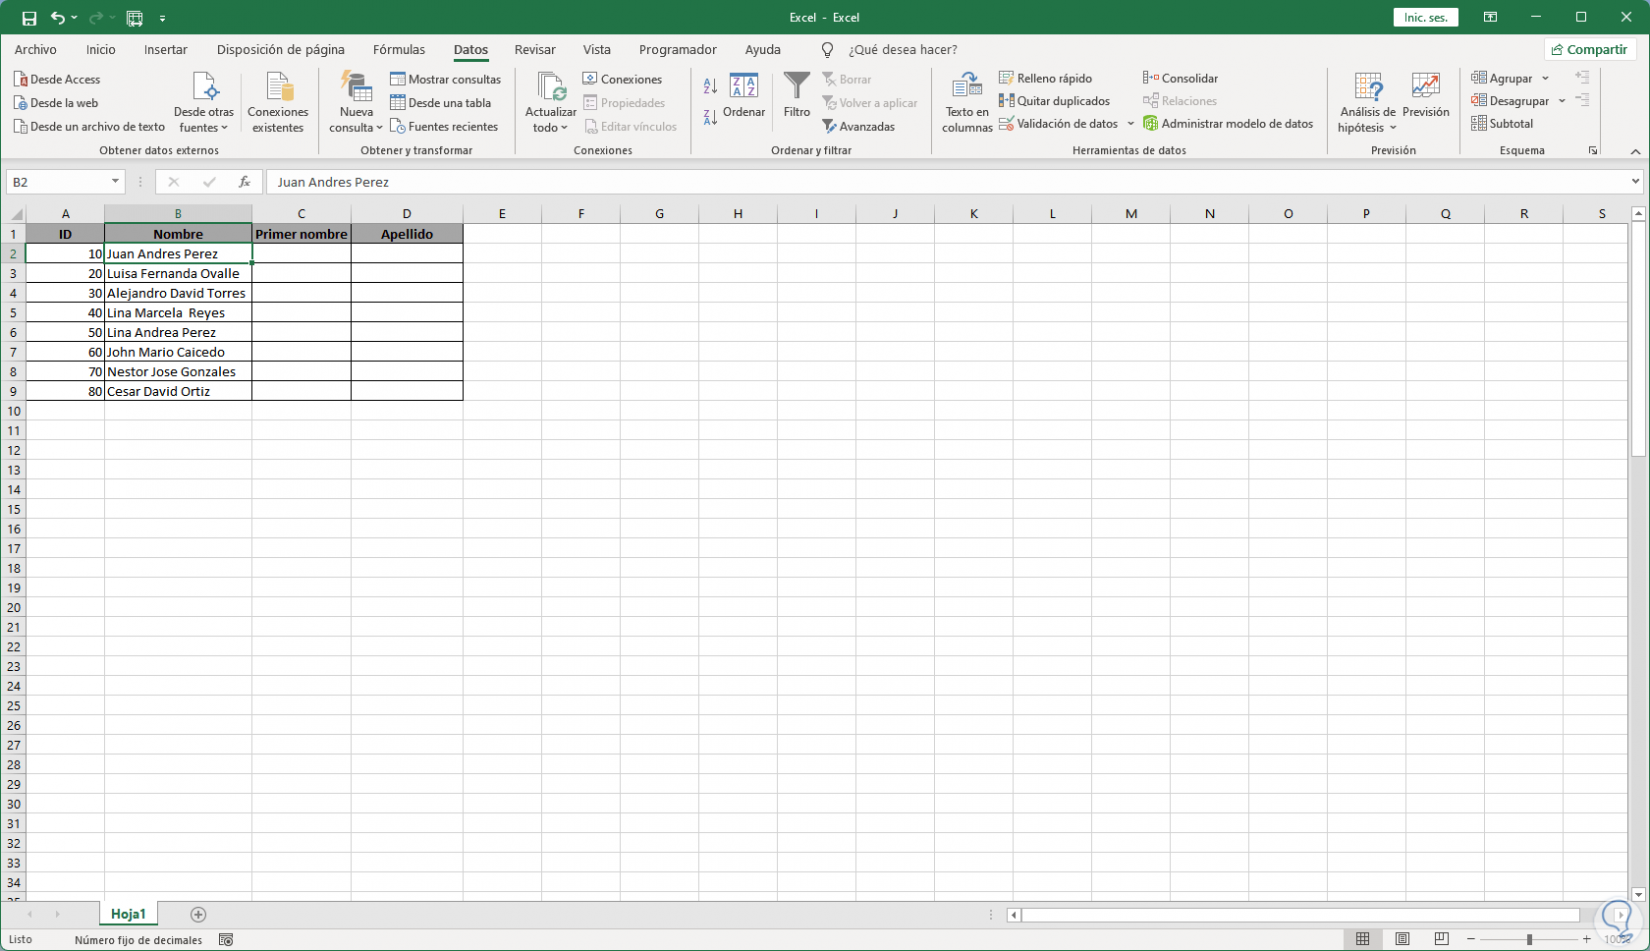
Step 1
Quick fill is a method to automatically fill in the data based on a pattern in the source cell, we open Excel to see the names and surnames:
Step 2
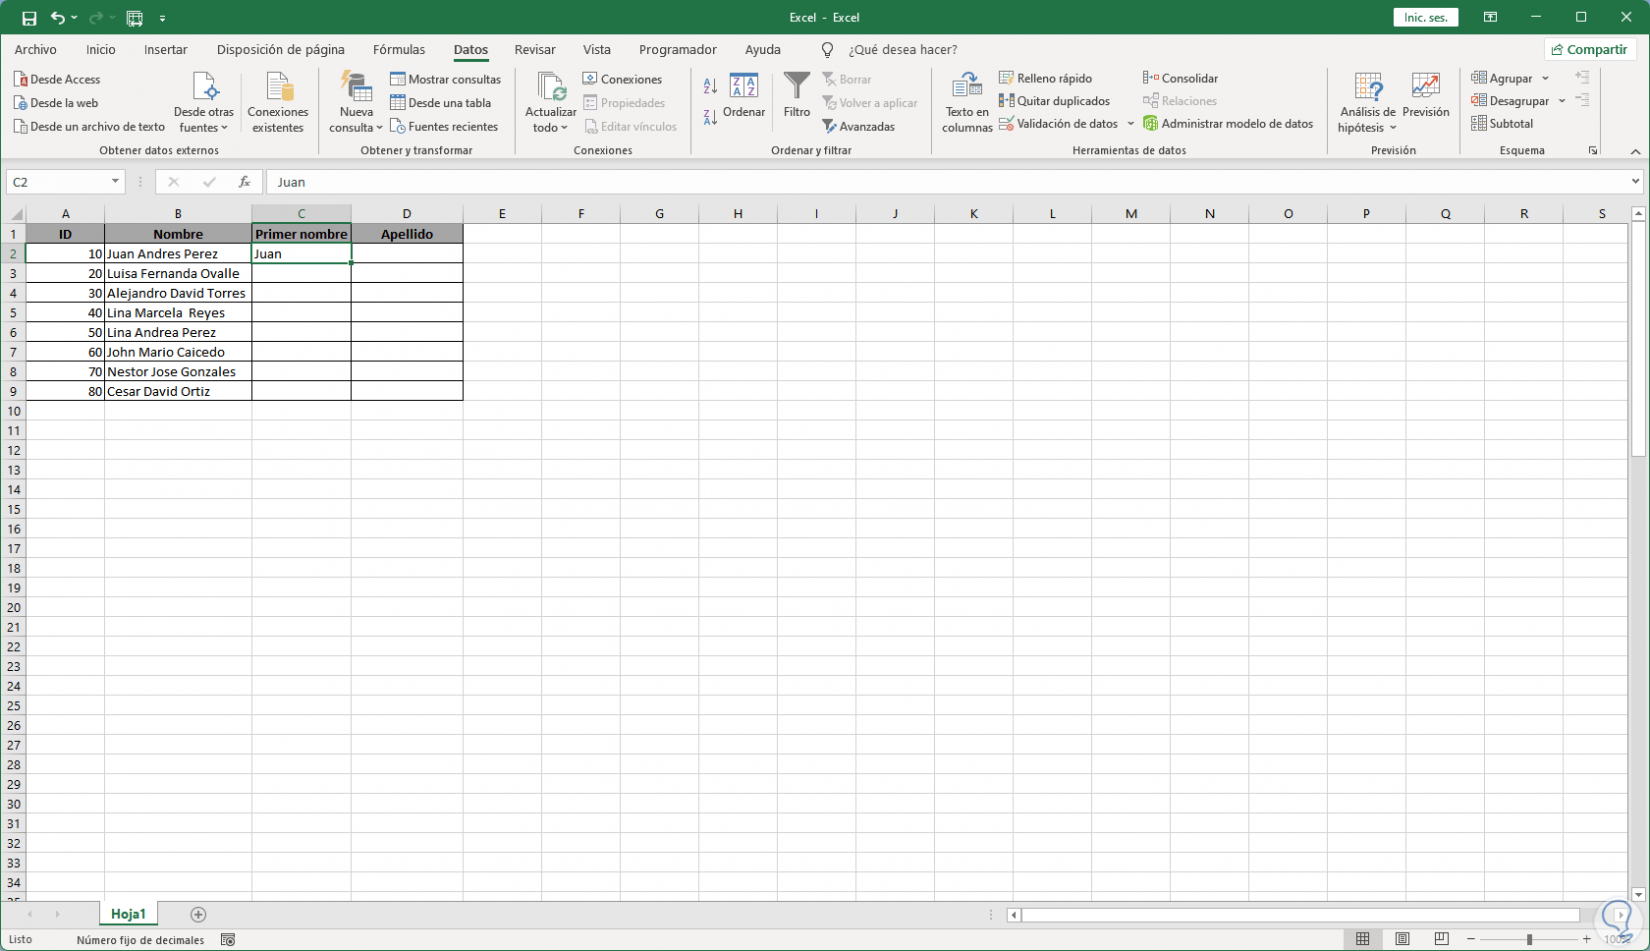
In the respective cell, in this case cell C2, we manually enter the name:
Step 3
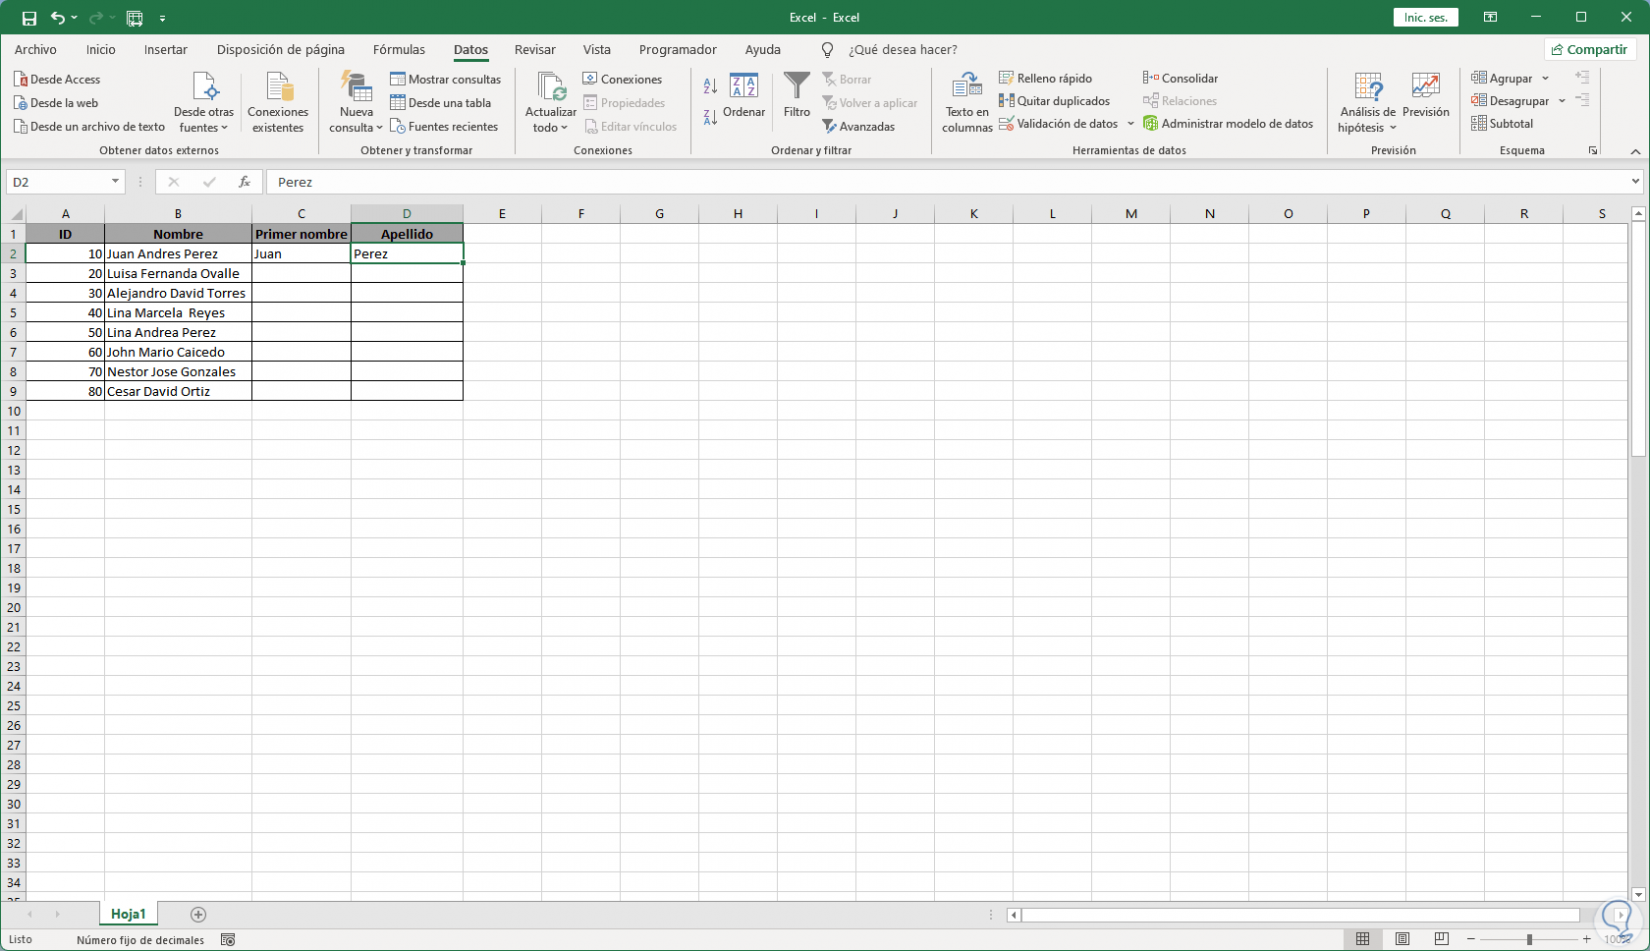
In this case, in cell D2 we manually enter the last name:
Step 4
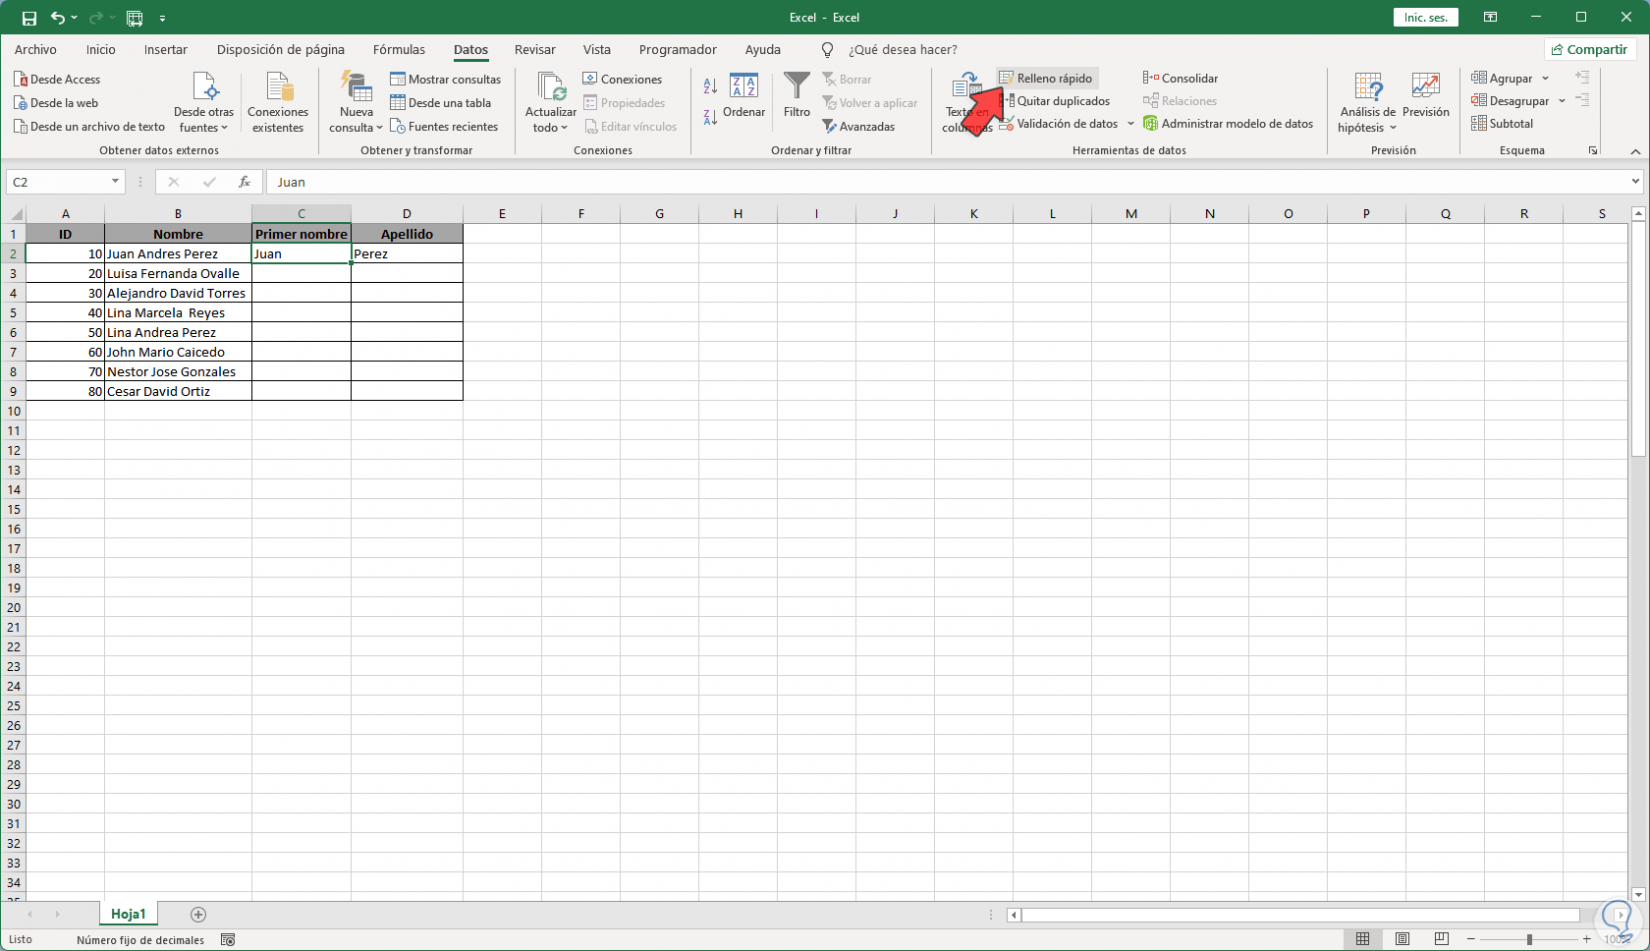
We go to the "Data" menu, select the name cell and click on "Quick fill" located in the "Data tools" group:
step 5
By clicking there we will see that the pattern of the name is replicated in the active cells:
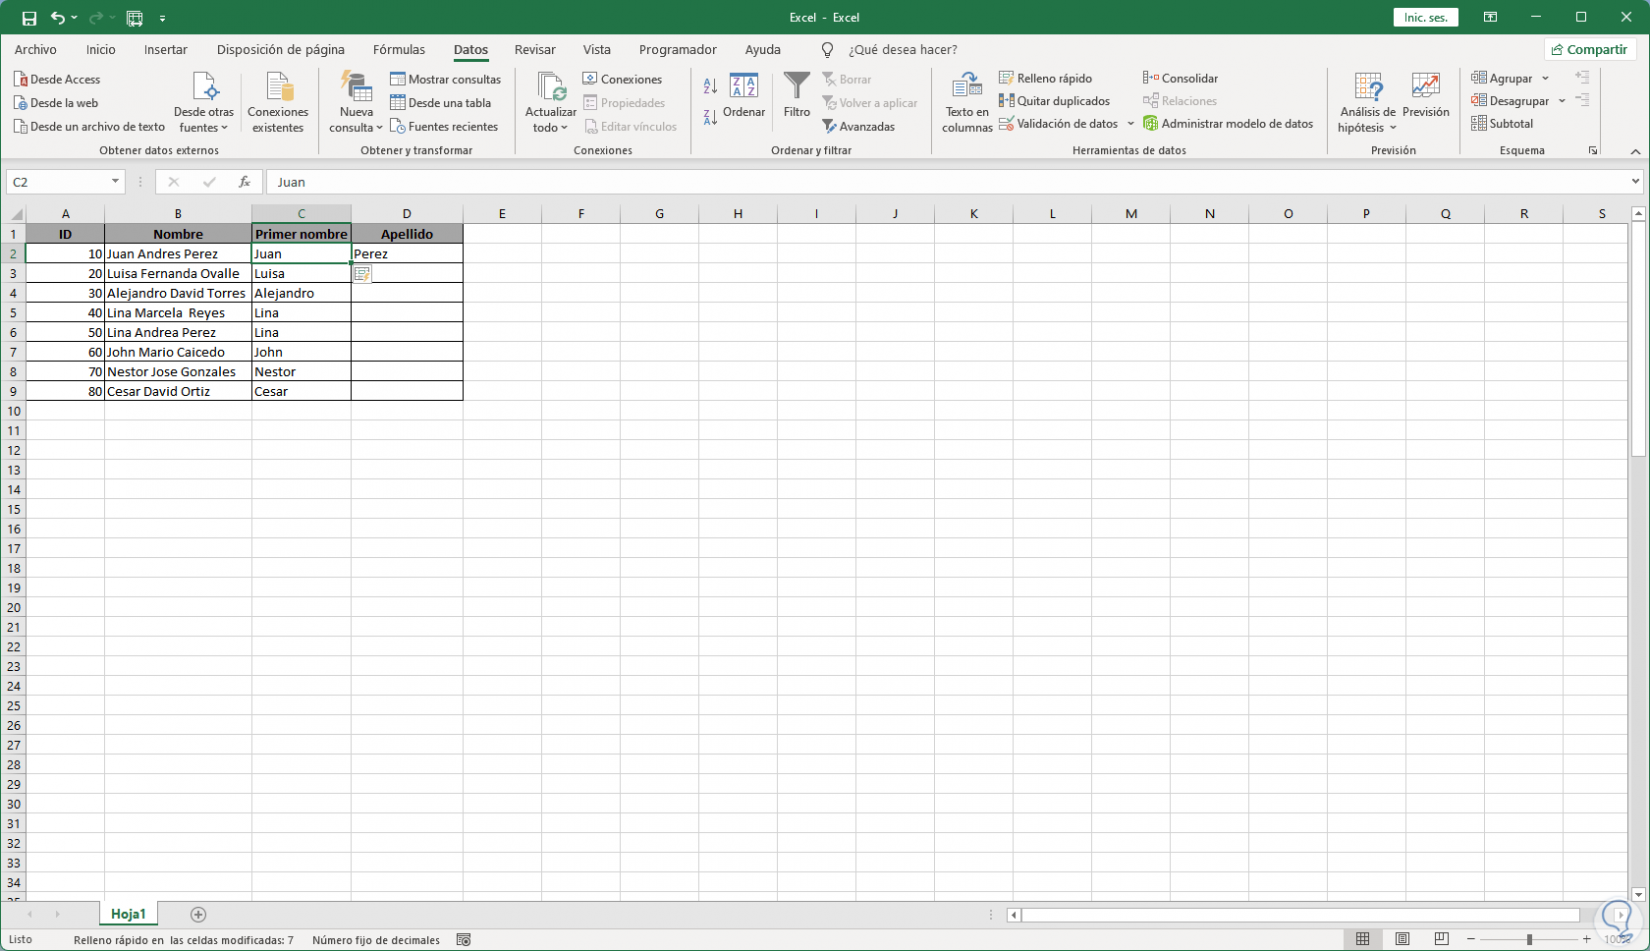
Step 6
The names will be automatically completed as we can see, we repeat this process for the last name:
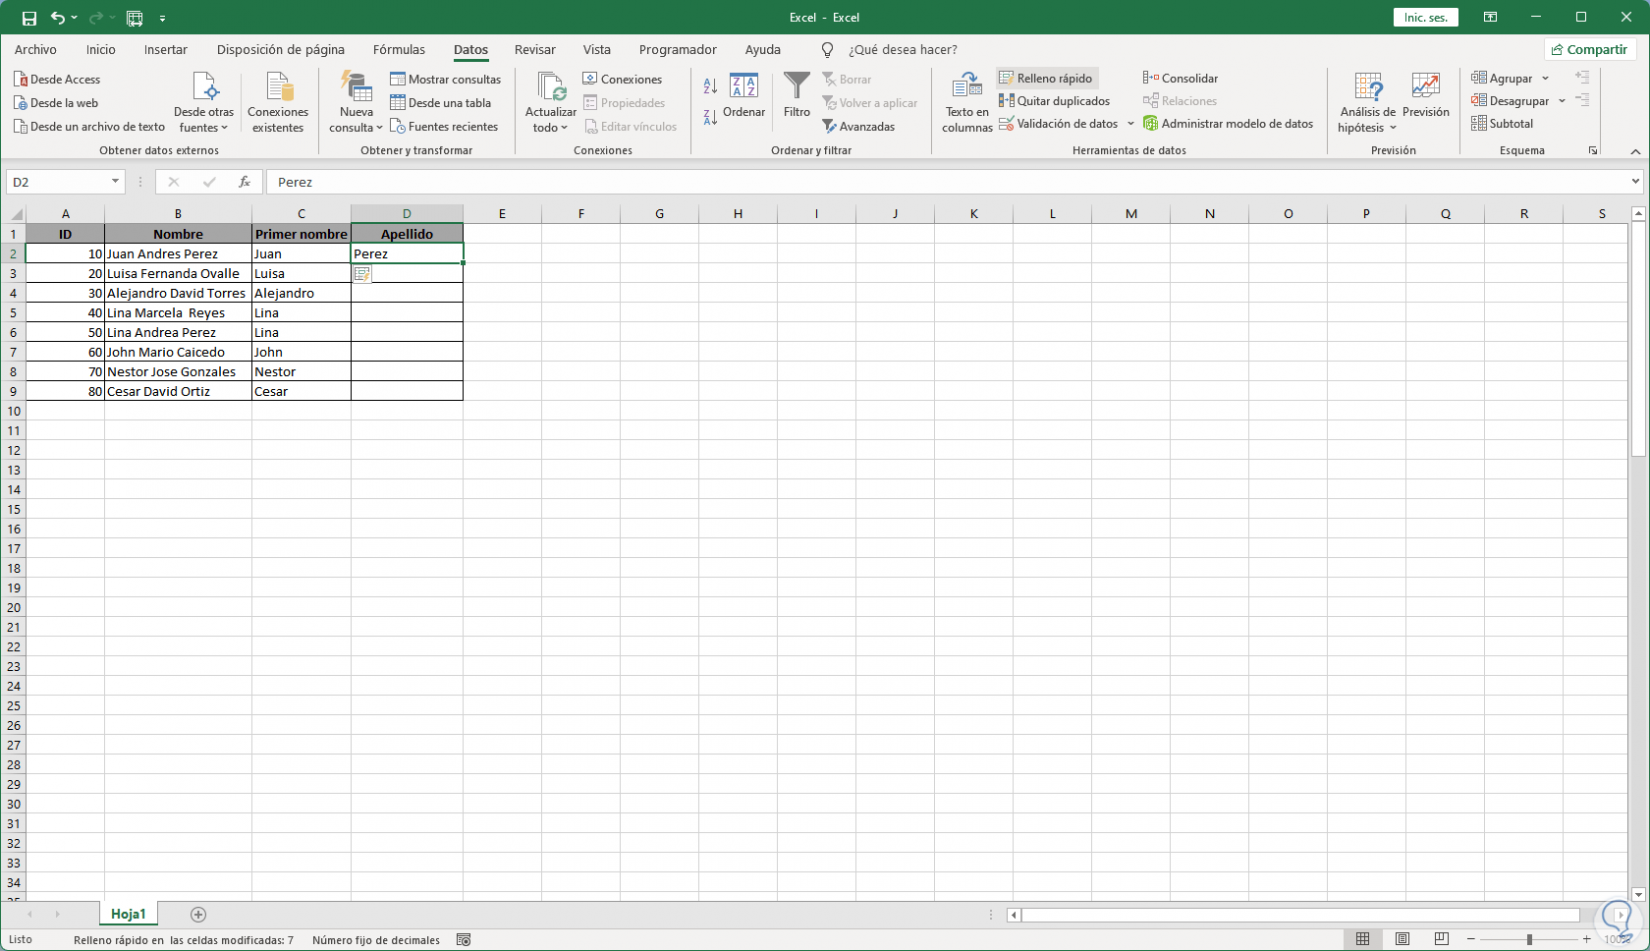
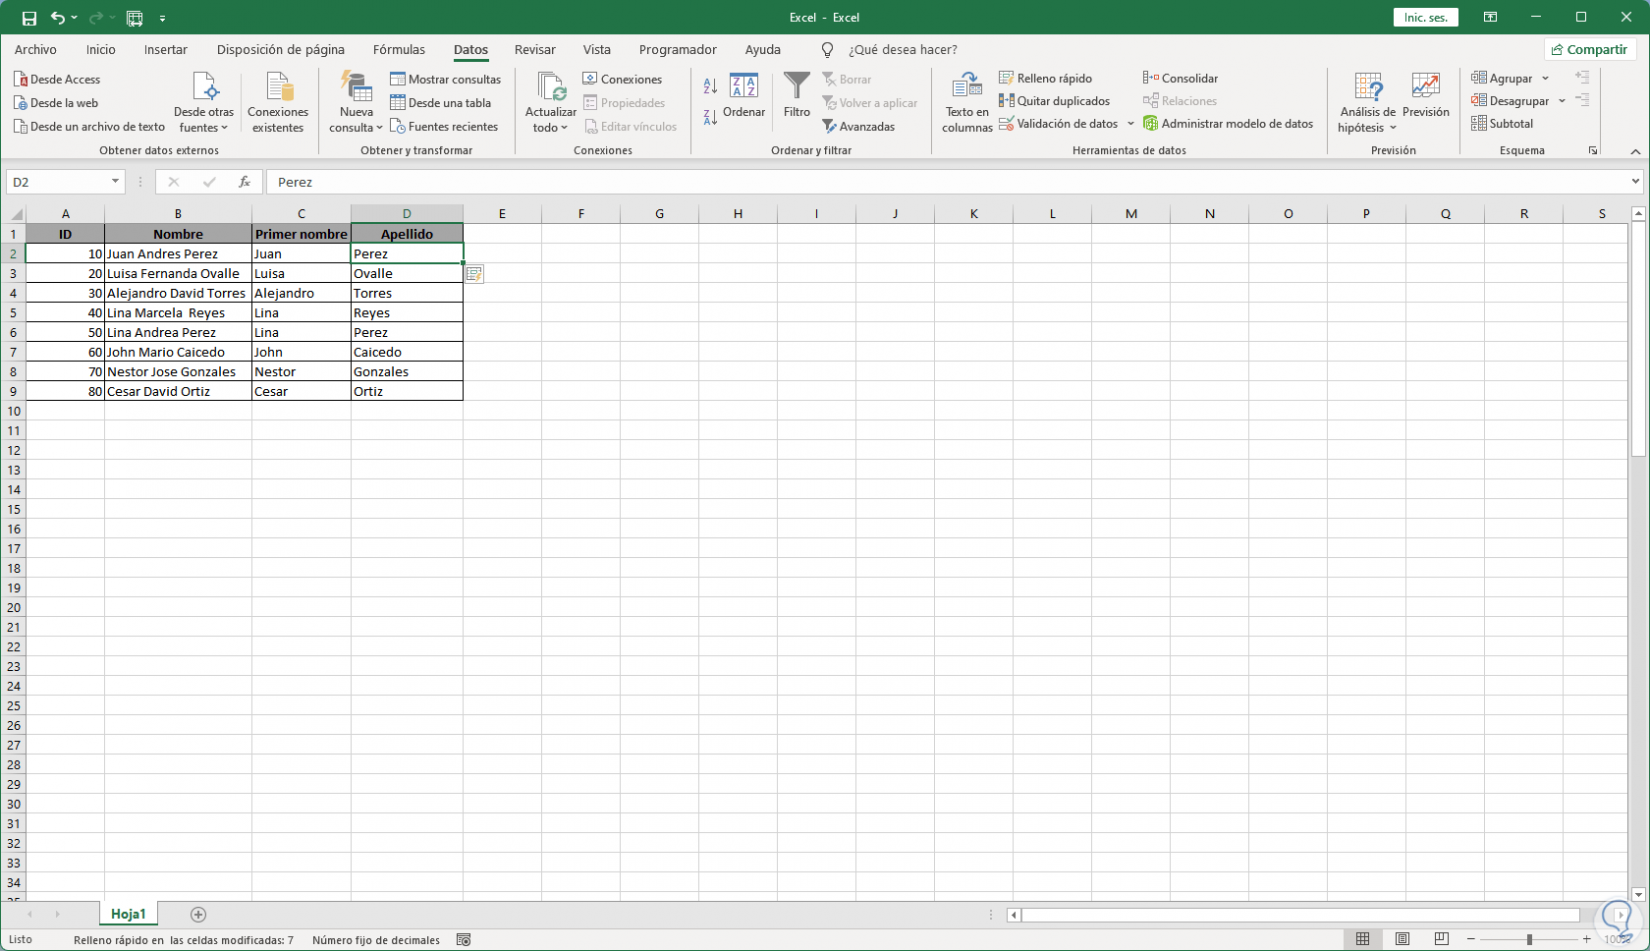
Step 7
Clicking Quick Fill will add the last name to the active cells:
3 Separate first name from last name in Excel with Left and Right Function
The Left and Right functions in Excel are used to obtain data, the Left function is responsible for returning the first character or characters of a text string based on the number of characters indicated and the Right function will return the last character or characters of the string of text based on the number of characters that we indicate.
Step 1
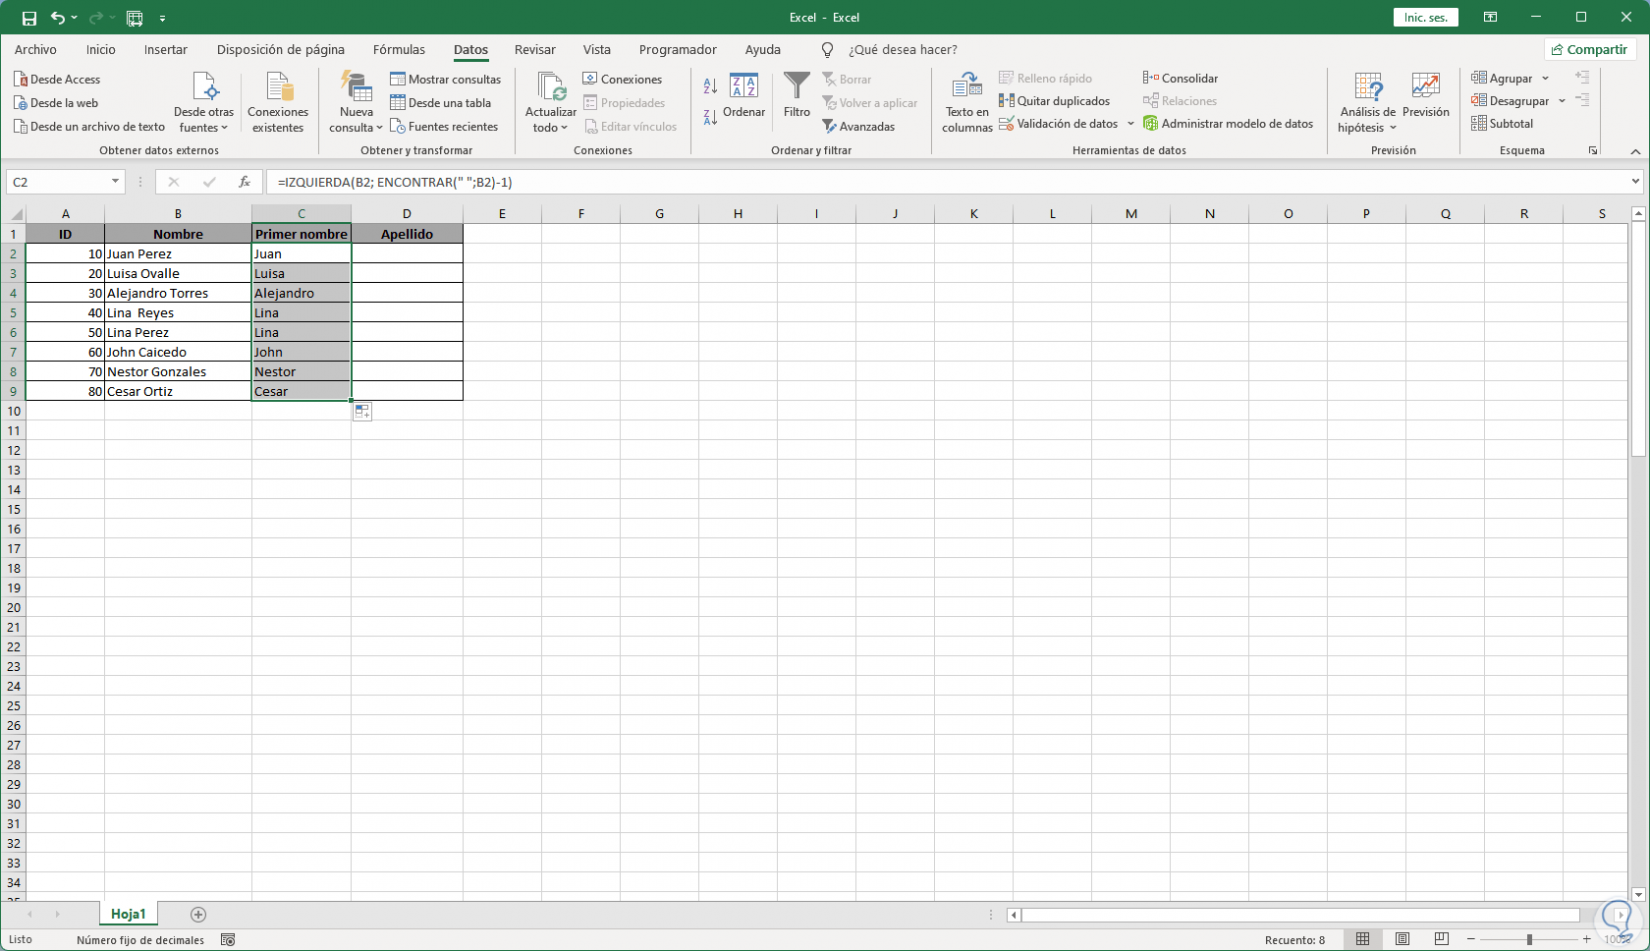
Open Excel to see the data to work with, place the cursor in the name cell and execute the following syntax:
"=LEFT(B2; FIND(" ";B2)-1)" Note
Cell B2 should be replaced with the name cell.
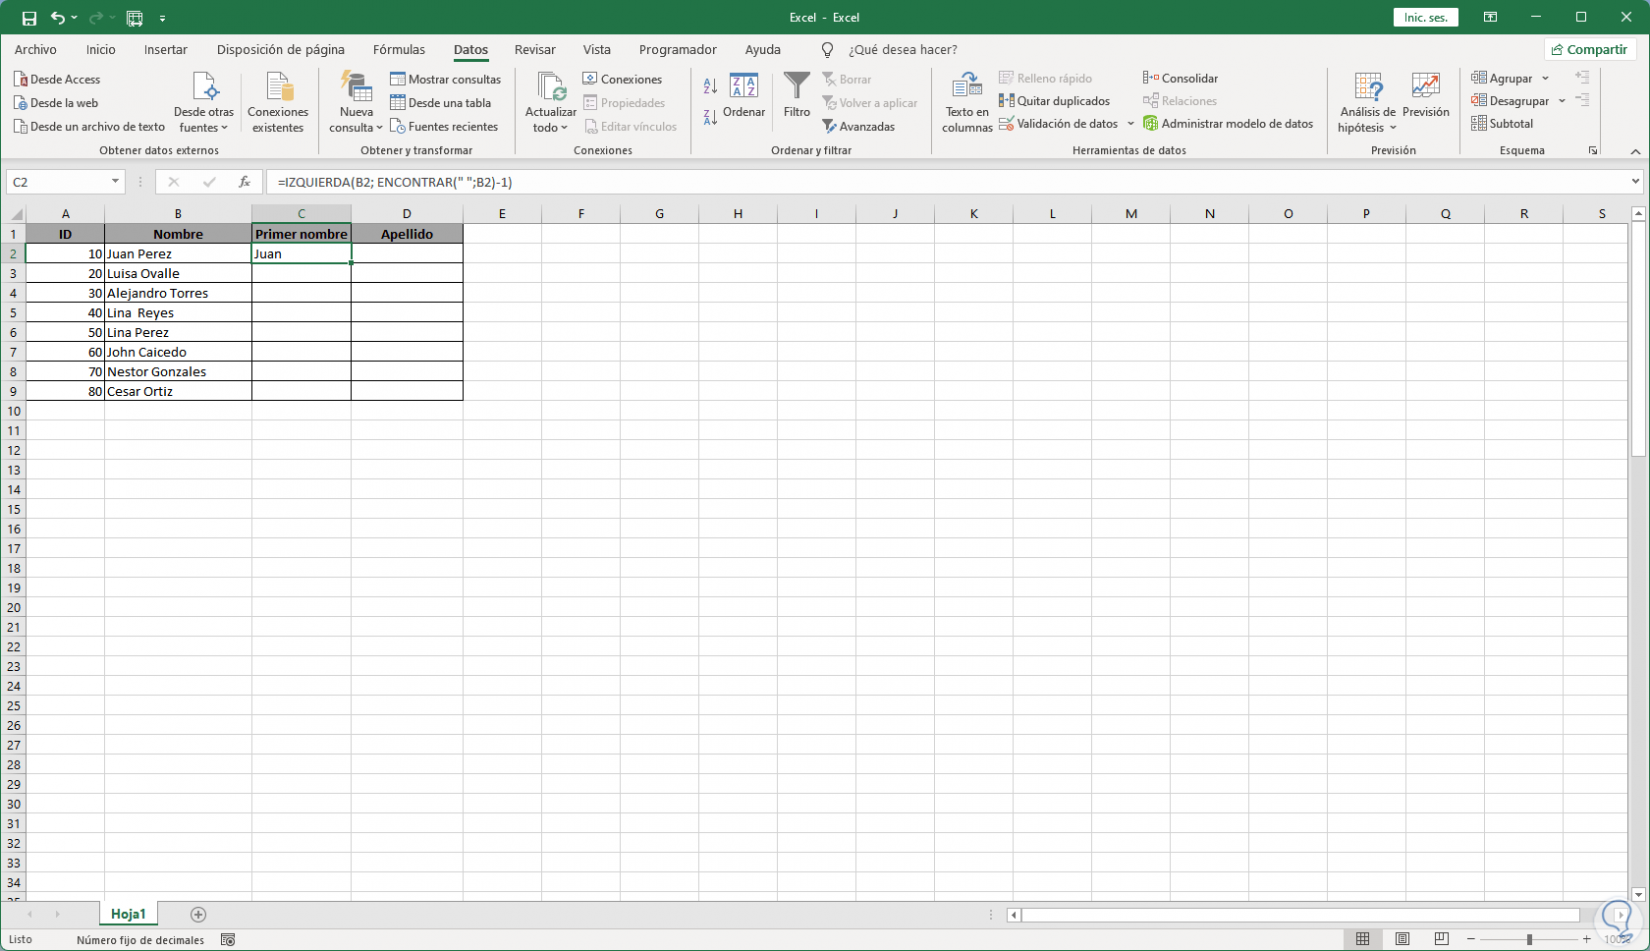
Step 2
We see that the name is obtained, we drag this formula down to the other cells:
Step 3
We place the cursor in the name cell and execute:
=RIGHT(B2;LENGTH(B2)-FIND(" ";B2)) 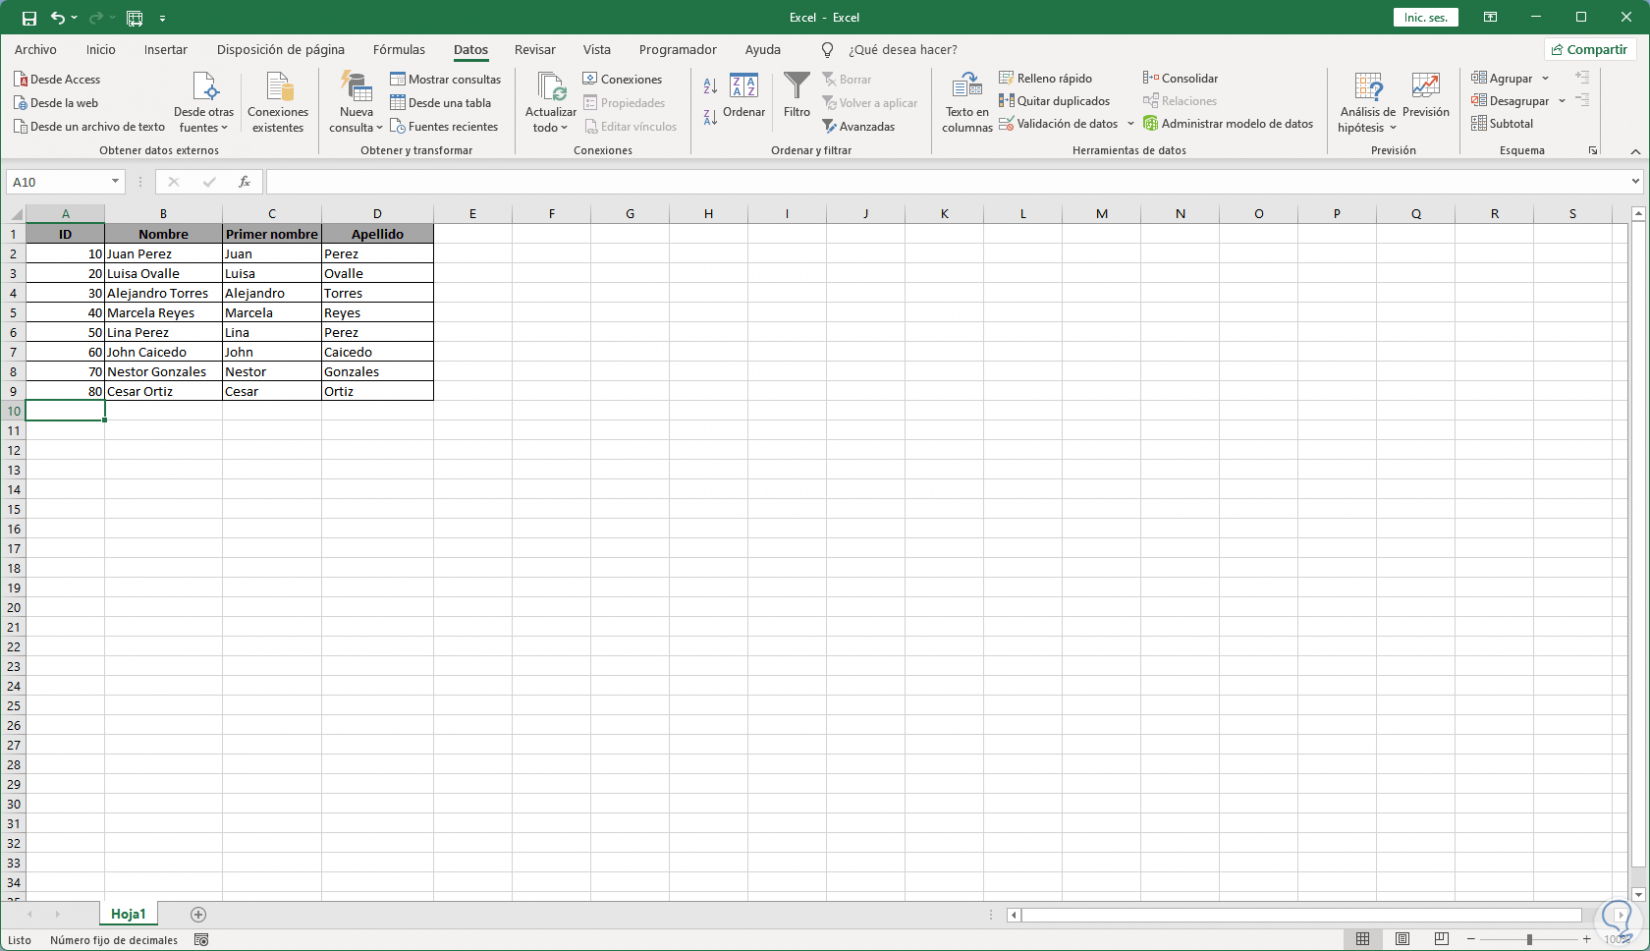
Step 4
Now drag this formula down to the other cells. The syntax " " implies that the filter reaches only as far as the space.
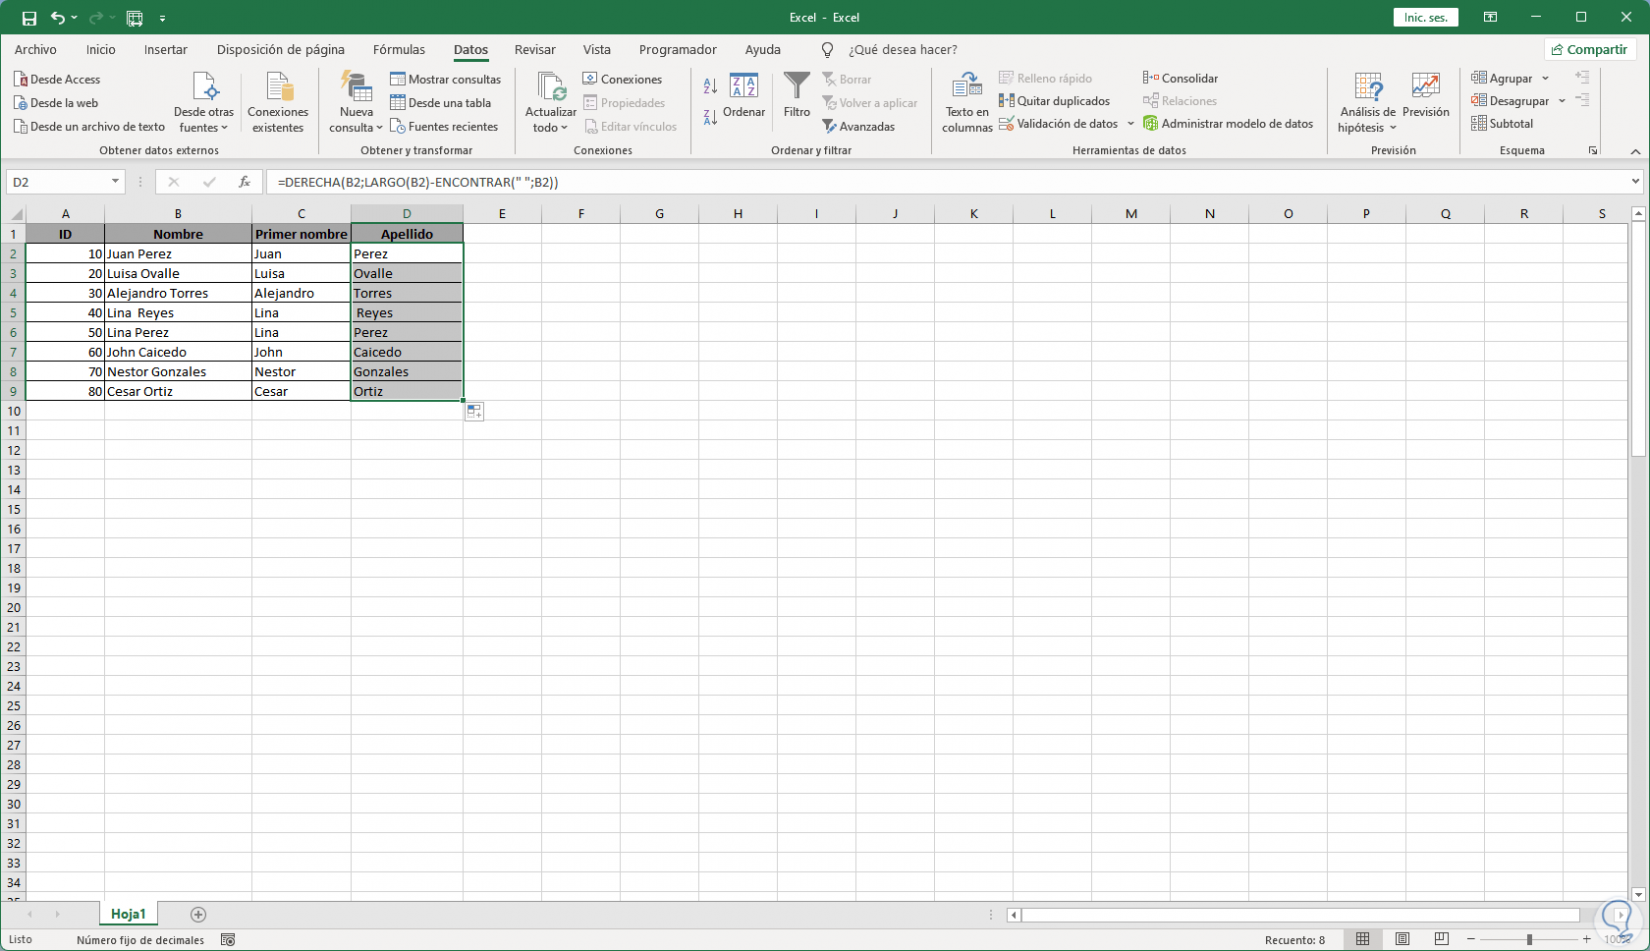
Using any of these options it will be possible to obtain the name and surname separately in Excel..