One of the best known and most used browsers in the world is without a doubt Google Chrome. This browser is made up of a wide set of functions and features that differentiate it from the rest and as such it is available to be used on Windows, Linux, macOS, Android, iOS, etc., which shows us its versatility. Some of the main features of Chrome are:
- Easy to sync Chrome across multiple devices where you're signed in
- Improved tabs feature with new options to use
- Allows you to use multiple profiles in one session
- Thousands of plugins available
In macOS we know that the default browser is Safari, which over time has improved its user experience, but it is still possible that we want to use Chrome in macOS for our search tasks..
TechnoWikis will explain two methods to install Chrome on macOS.
To stay up to date, remember to subscribe to our YouTube channel! SUBSCRIBE
1 Install Chrome on Mac from .DMG file
Step 1
This is the natural method to install the Chrome browser on macOS, for this we go to the following URL:
Chrome
Step 2
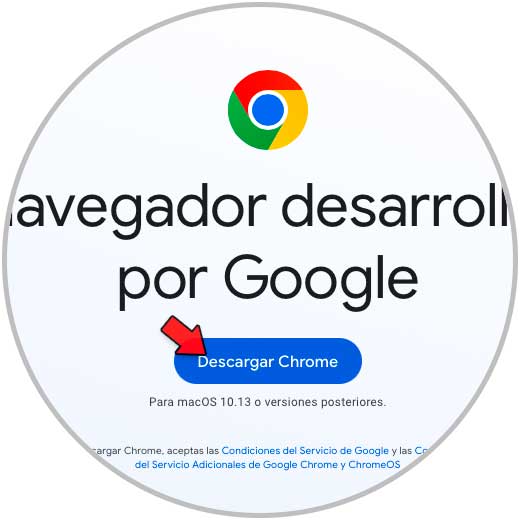
We download the macOS version and in Safari we will see the following:
Step 3
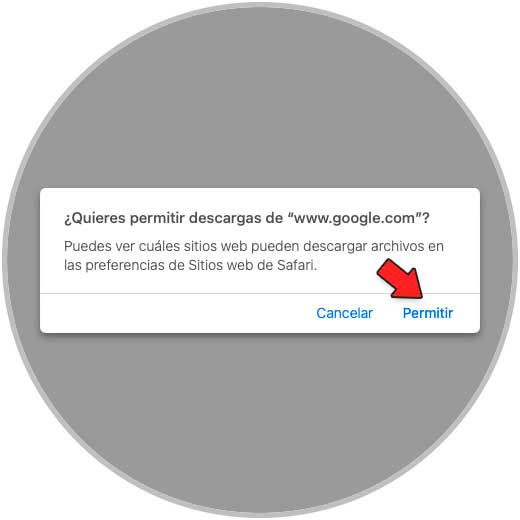
We click on "Allow" to proceed with the download of Chrome:
Step 4
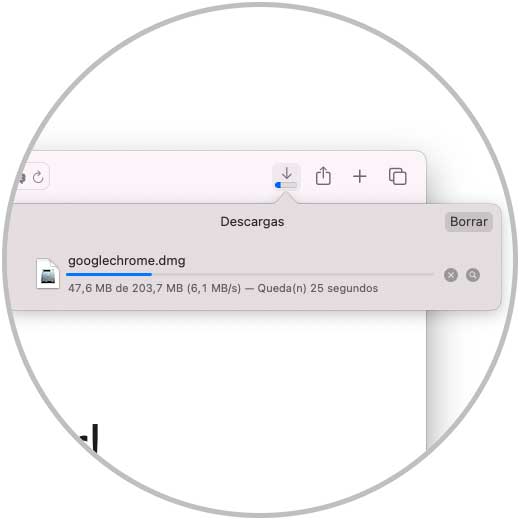
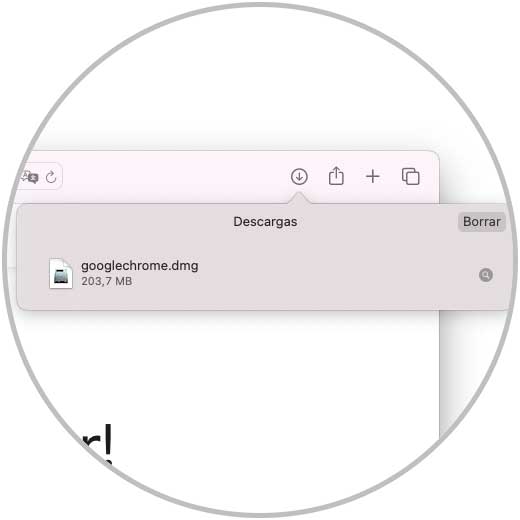
We wait for it to finish:
step 5
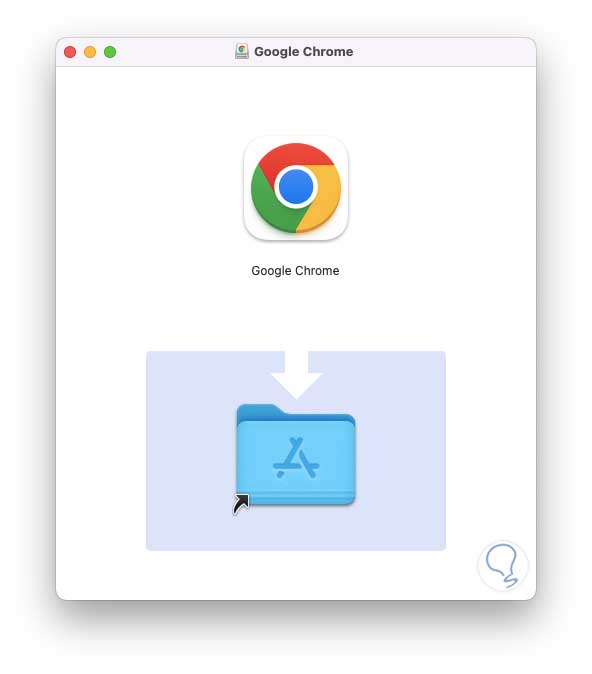
We double click on the .dmg file to see the following:
Step 6
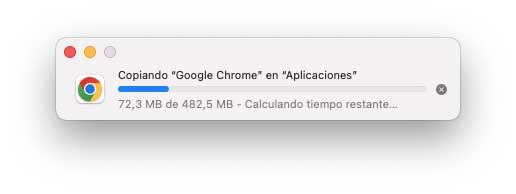
We drag the Google icon to Applications to install it there and wait for it to be copied:
step 7
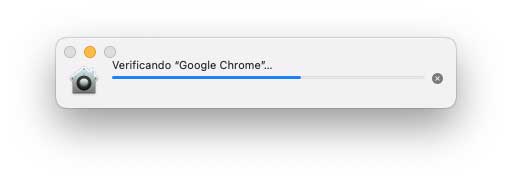
We double click on Google Chrome and hope that it is verified:
step 8
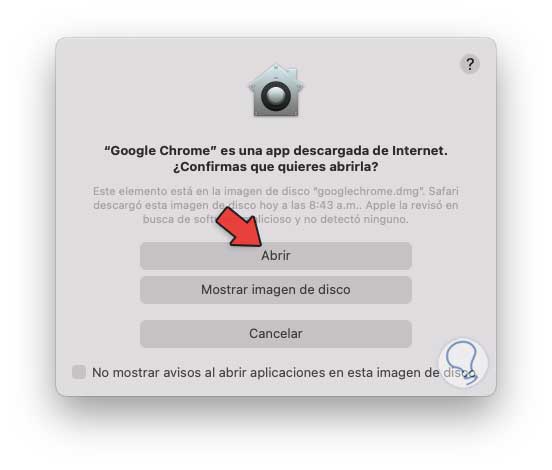
Then we will see the following message:
step 9
We click on "Open" and when accessing Google Chrome a pop-up window will open where we can define if it will be the default browser and for the statistics issue:
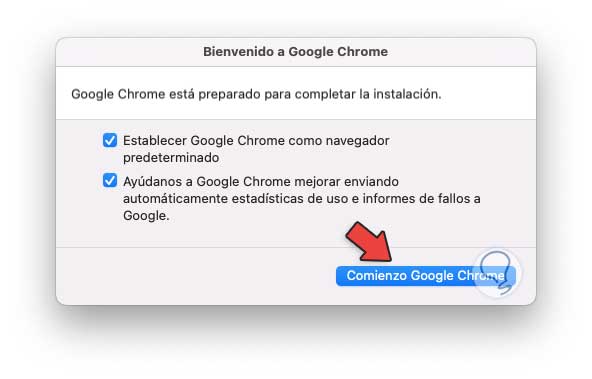
step 10
We click on "Start Google Chrome" and pop-up windows will be launched on the desktop to authorize notifications:
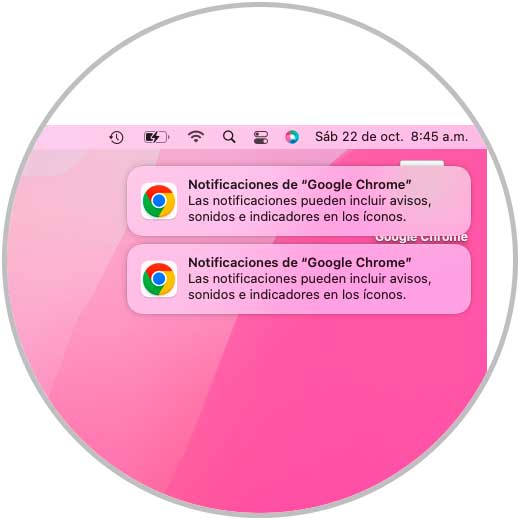
step 11
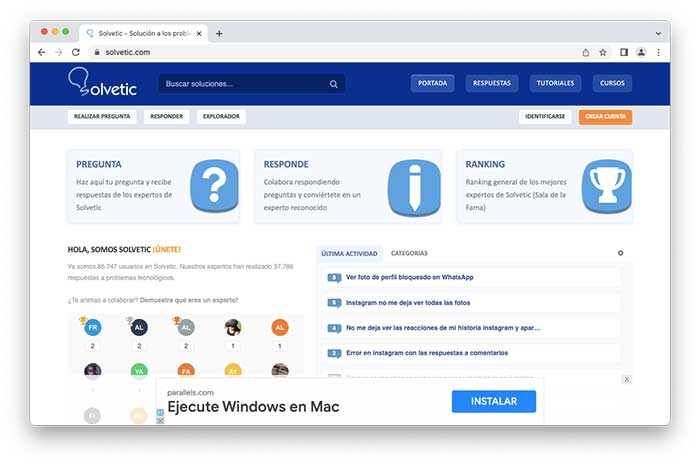
You will have access to Google Chrome:

step 12
There it will be possible to go to the desired sites:
2 Install Chrome on Mac from Terminal
For this case we must have HomeBrew installed on macOS, for this it is possible to visit the following link:
Homebrew macOS Monterey
HomeBrew is an application with which it is possible to install applications that are not integrated in the system, HomeBrew will install each package in its respective directory using the method of symbolic links to the files in the /usr/local path..
Step 1
If you don't have it installed, run in the terminal:
/bin/bash -c "$(curl -fsSL https://raw.githubusercontent.com/Homebrew/install/HEAD/install.sh)"
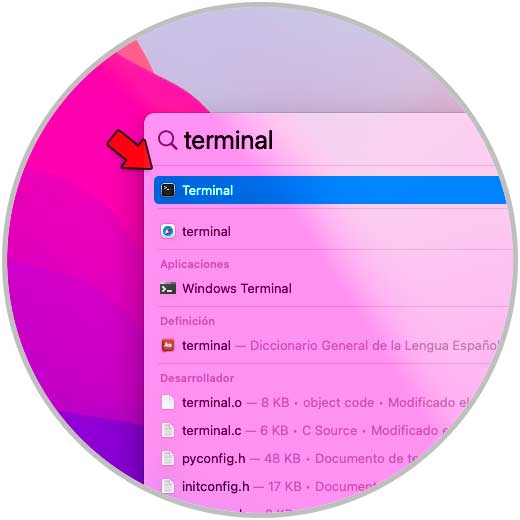
Now we open the macOS terminal:
Step 2
We execute:
brew install --cask google-chrome
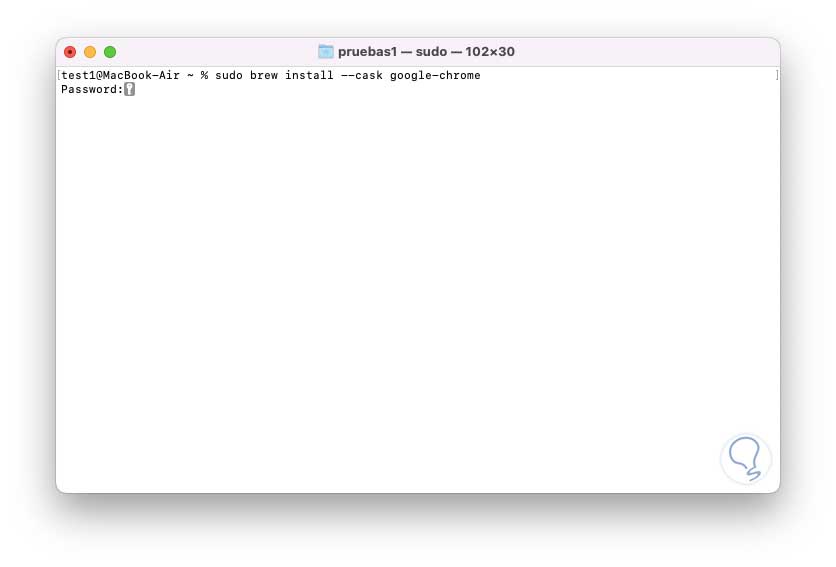
Or we can use sudo for permission issues:
Step 3
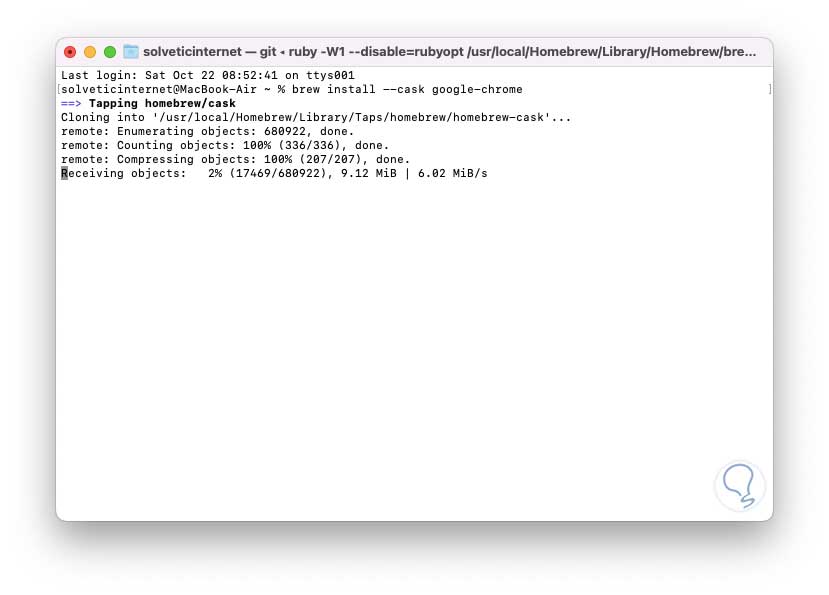
Executing it will start the Brew process:
Step 4
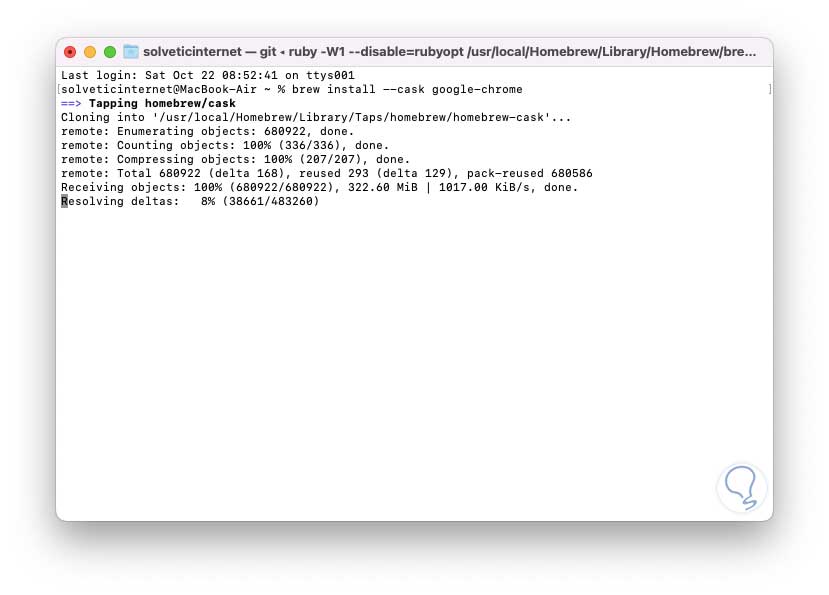
We expect each of these steps to be completed:
step 5
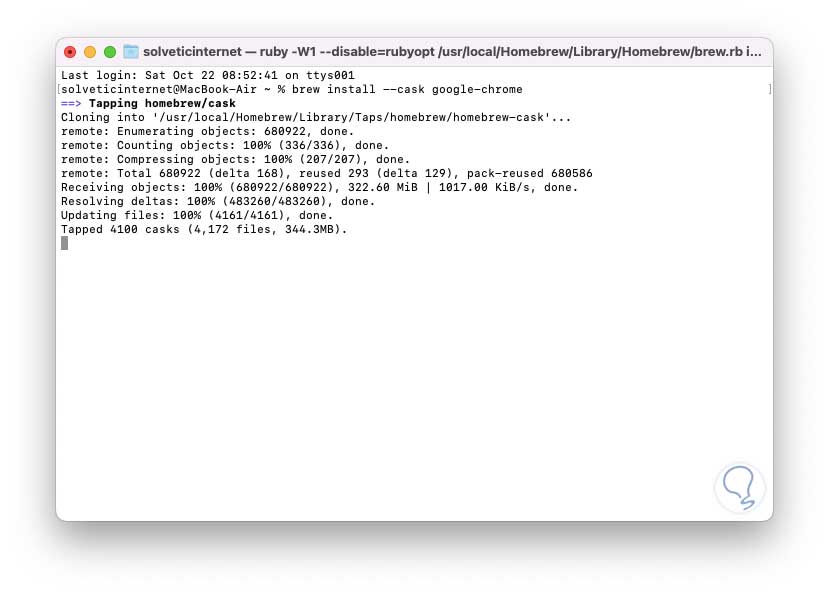
HomeBrew makes use of an internal process of updating and downloading plugins so that everything works as expected:
Step 6
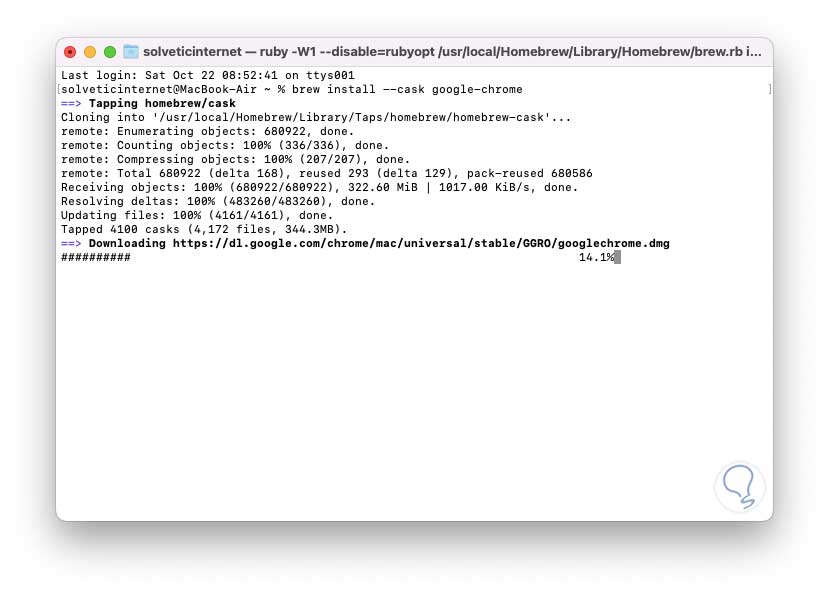
After this, the Chrome download process will start in its stable version from the official site:
step 7
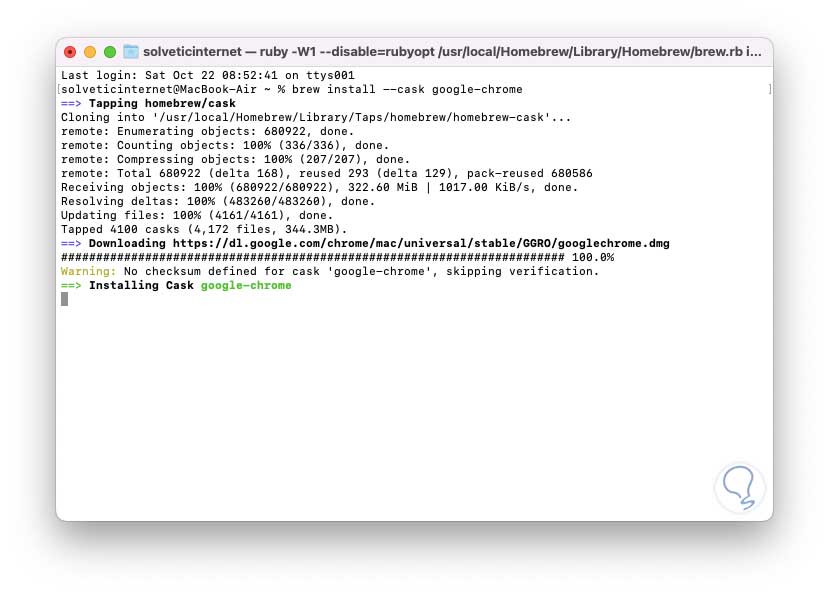
Once downloaded, Chrome will be installed:
step 8
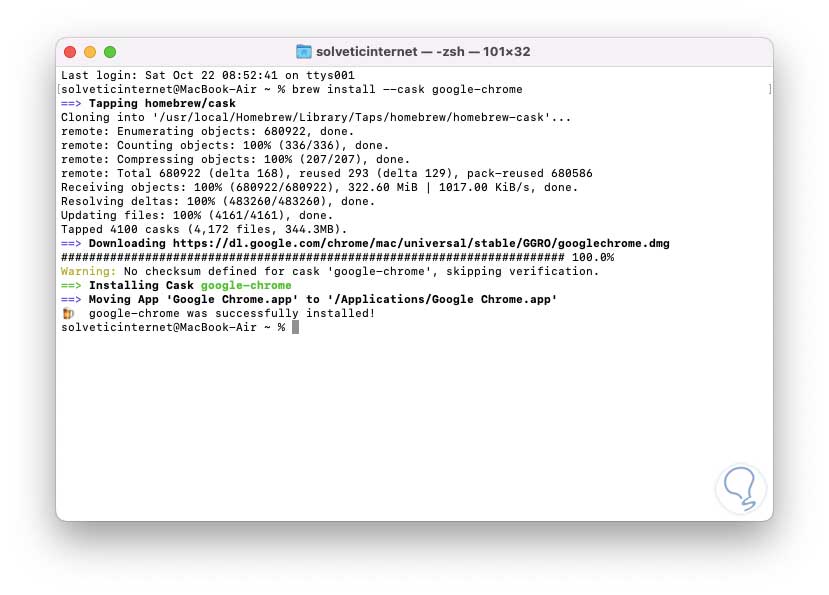
We wait for the process to finish:
step 9
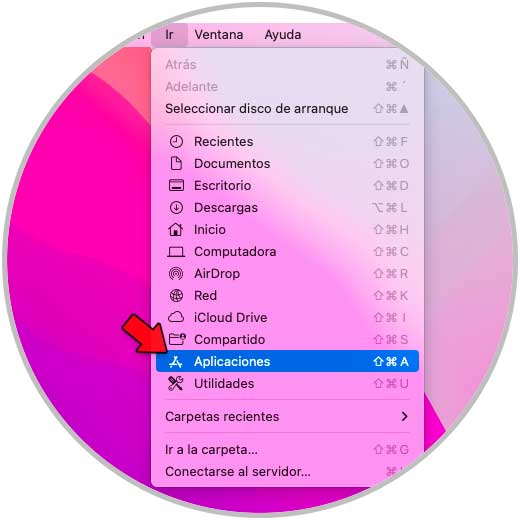
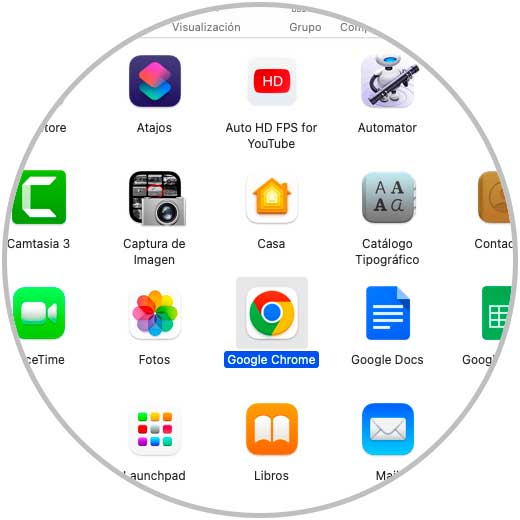
We access Applications:
step 10
We open Google Chrome from there:
step 11
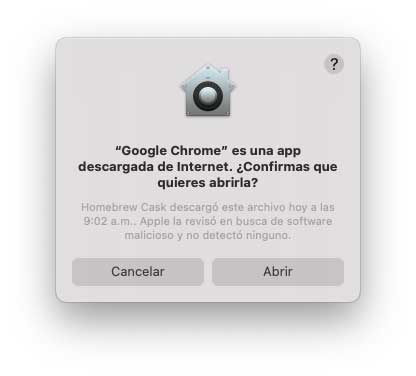
Google Chrome must be verified:

step 12
Then we will see the following message:
step 13
We click Open and now we will have access to Google Chrome:

With any of these methods we can download and install Chrome on macOS and thus have one of the most popular browsers today for web browsing issues.