To stay up to date, remember to subscribe to our YouTube channel!
SUBSCRIBE ON YOUTUBE
We know very well that macOS and Windows are a priori incompatible systems due to their file systems, while Windows uses NTFS, macOS uses APFS, the file system is the basis for all read and write operations with which you can have access to data and libraries. As they are different, it will be impossible to use macOS applications and elements on Windows and vice versa..
To help mitigate this impact, we have a utility called UTM which helps us virtualize Windows 7/8/10/11 in macOS with all its functions as if we were in front of a PC with this system.
What is UTM
UTM is an emulator for virtual machine systems and hosts that integrates the functions of iOS and macOS. UTM is based on QEMU, which gives us the possibility of running Windows and Linux environments on a computer with macOS.
Some of its features are:
- It has more than 30 compatible processors, this covers x86_64, ARM64 and RISC-V
- Offers full system emulation (MMU, devices, etc.) via QEMU
- JIT based acceleration using QEMU TCG
- VGA graphics mode thanks to SPICE and QXL
- Compatible with USB devices
- Integrate a frontend designed from scratch for macOS 11 using modern APIs
- It will be possible to create, manage and run virtual machines from the device
- Allows you to run x86/x64 on Apple Silicon and ARM64 on Intel
- UTM is only available for macOS and Apple platforms
TechnoWikis will explain how you can use UTM to use Windows on macOS..
How to install Windows on macOS with UTM
Step 1
The first thing will be to download the Windows ISO image, in this case 11, to do this we go to the following link:
Windows 11
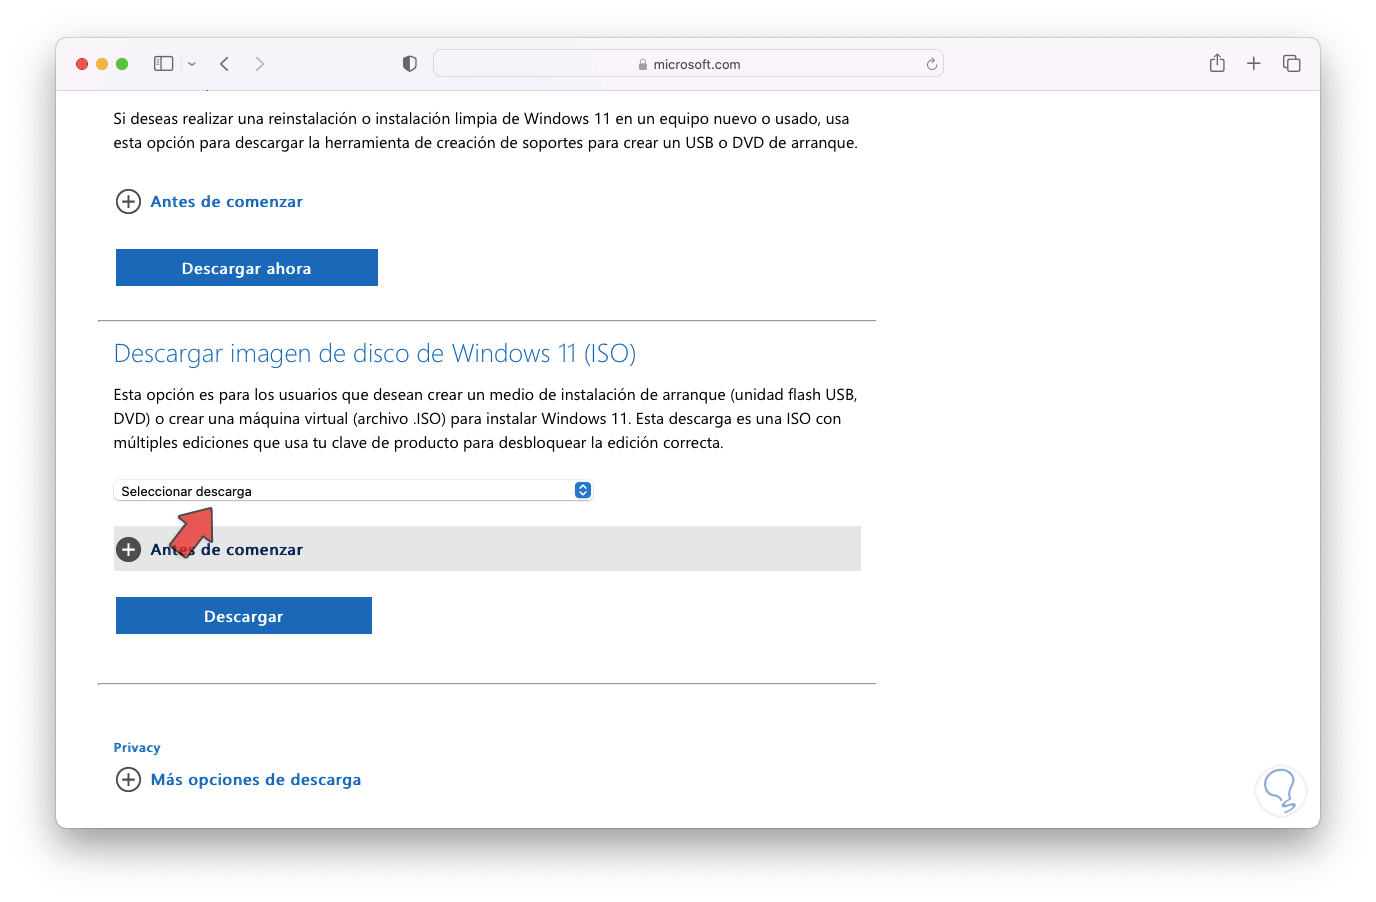
Step 2
In “Select download” we choose the most current version of Windows 11:
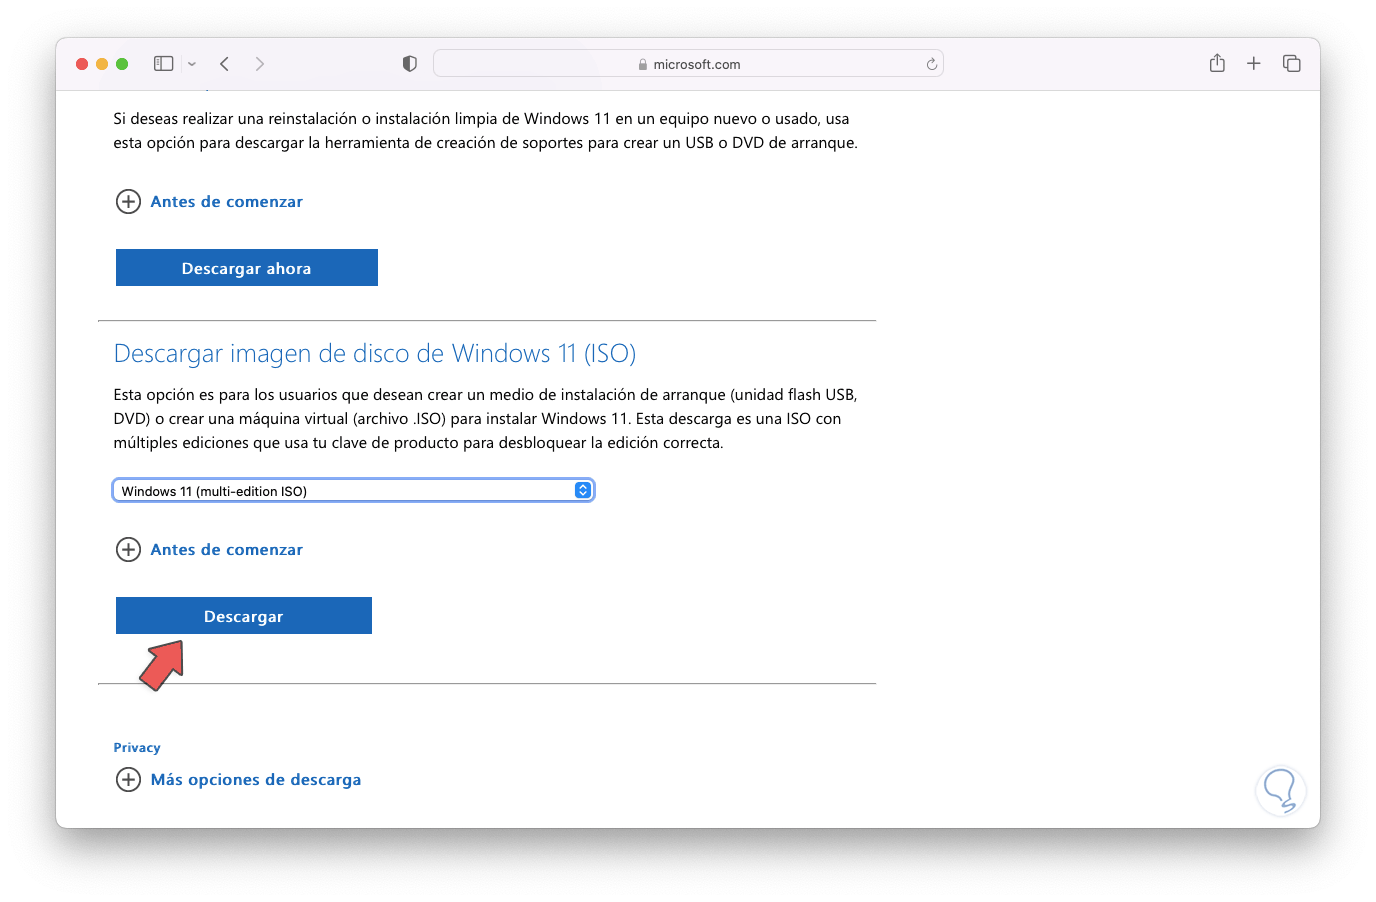
Step 3
We click on “Download” and select the language for the ISO:
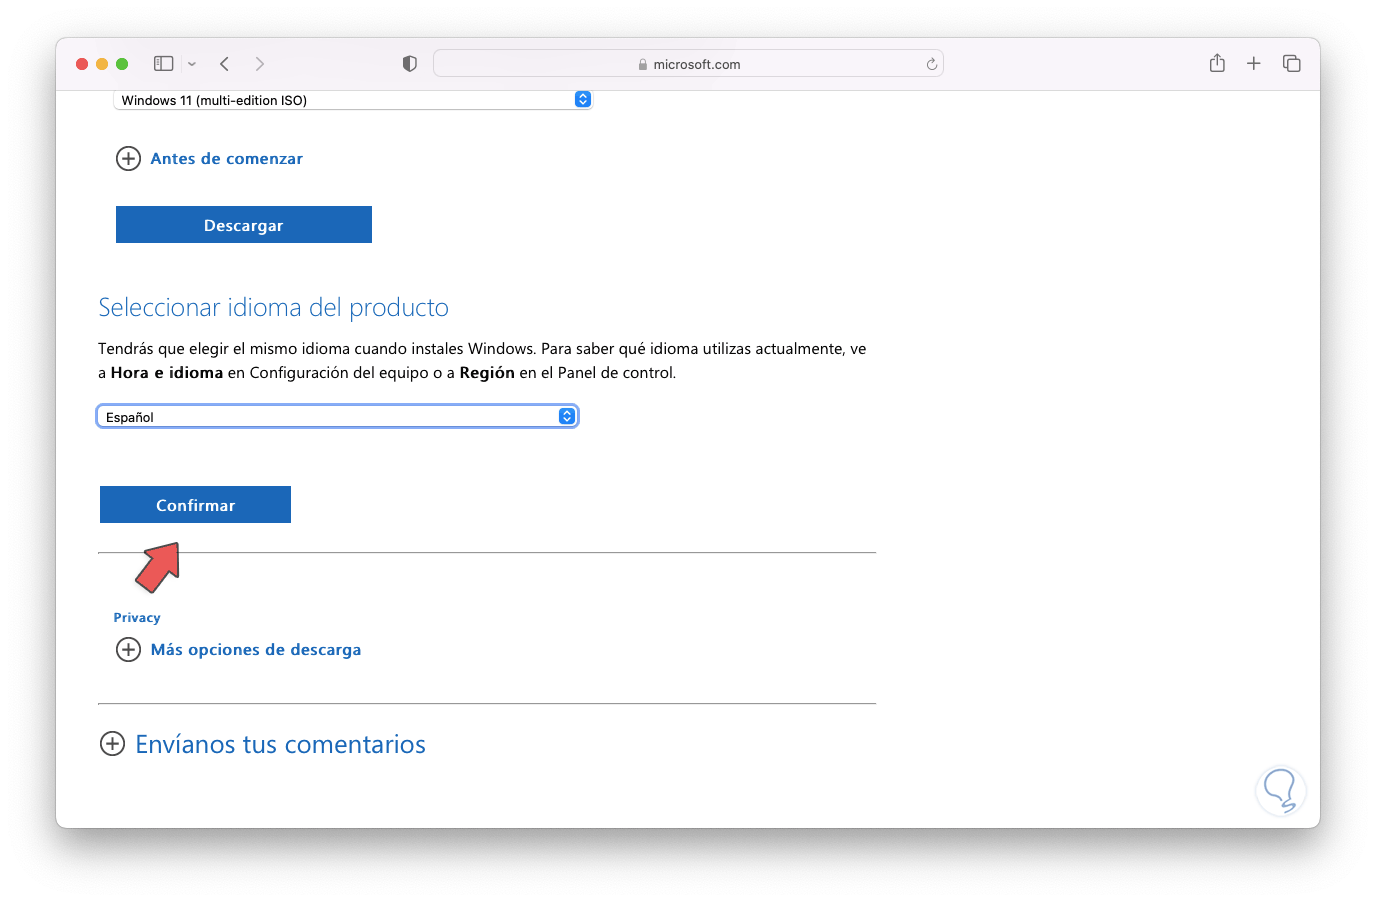
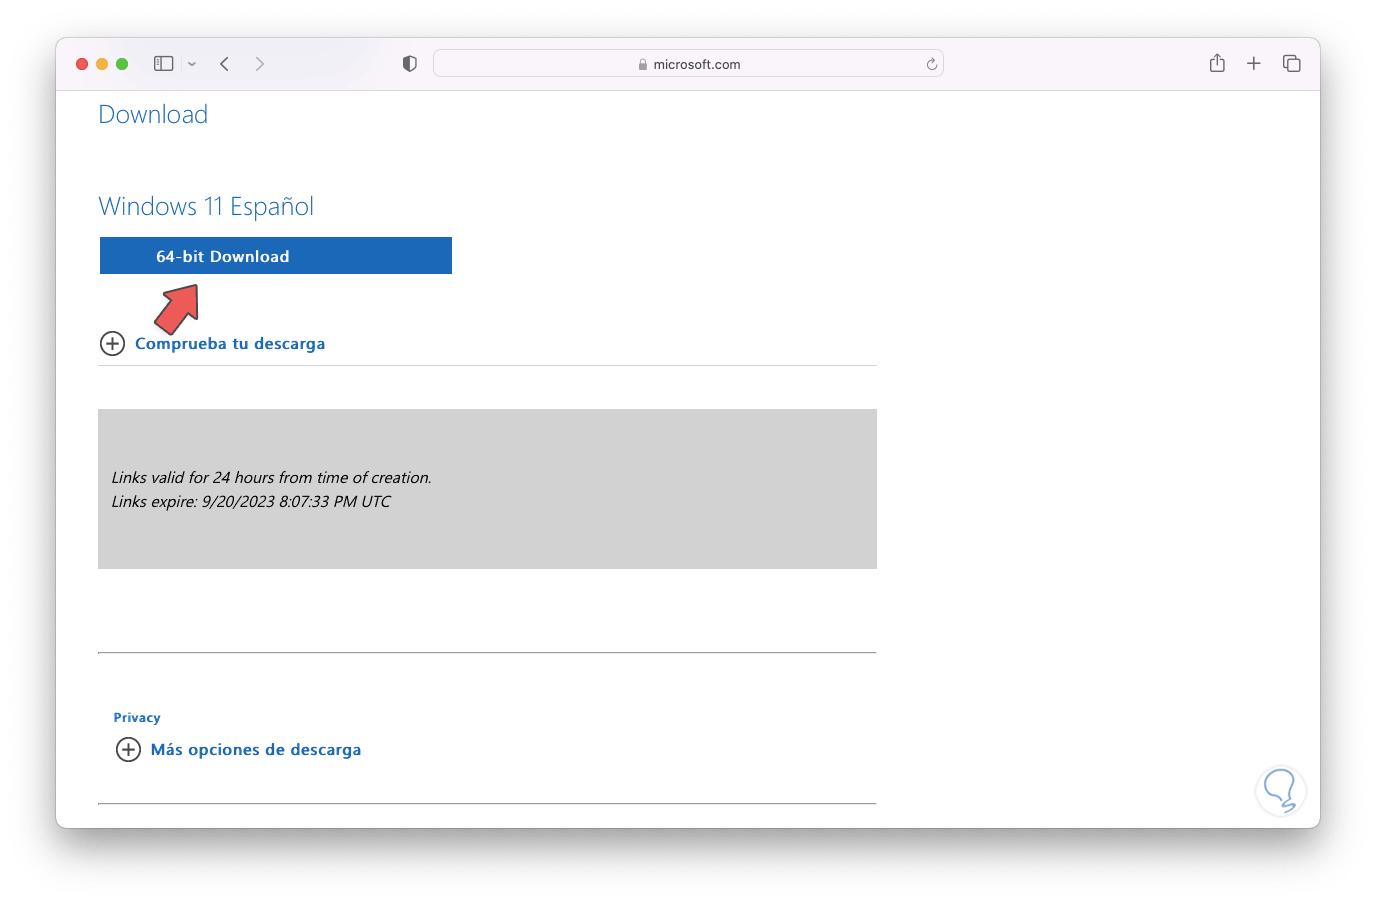
Step 4
We click on “Confirm” to access the download link. There we download the ISO.
Step 5
Then, we will go to the following link to download UTM:
UTM
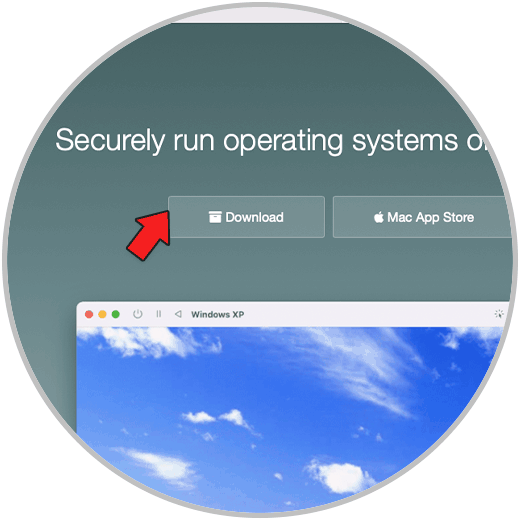
Step 6
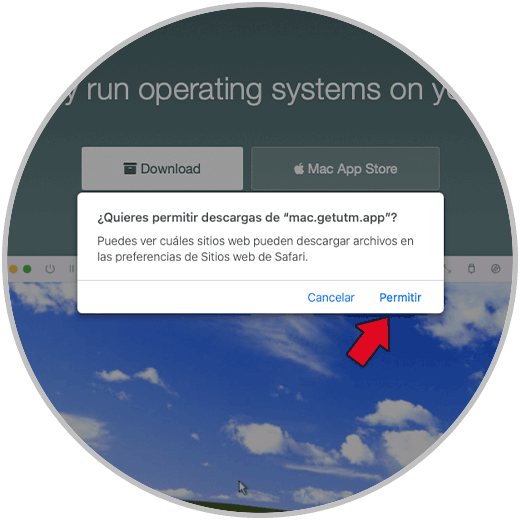
We click on “Download” to download this file, you can see the following message. We click on “Allow” to download.
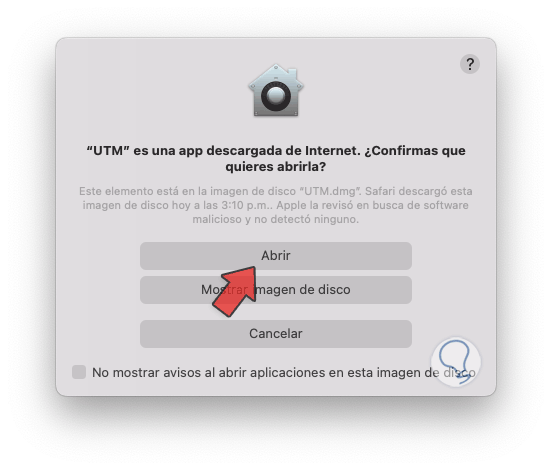
Step 7
Then we double click on the file so that the following opens:
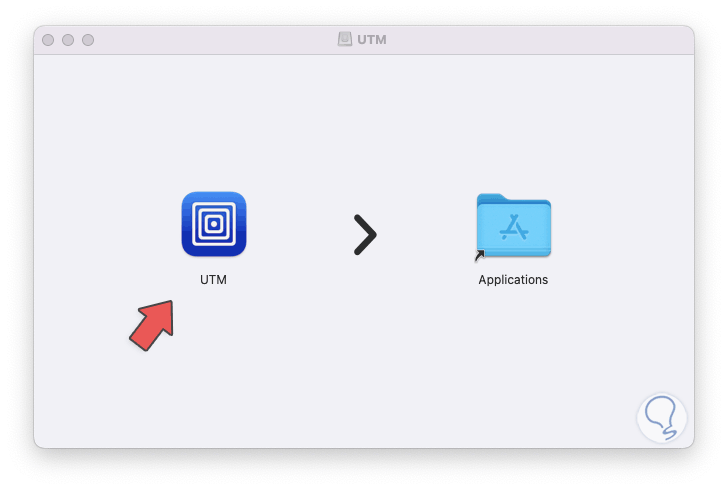
Step 8
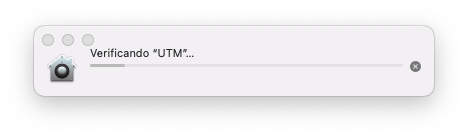
There we move the UTM application to applications, then we double click on UTM and wait for the validation to be carried out to check its content:
Step 9
After it will open the following:
Step 10
There we click on “Open” and we will see the following:
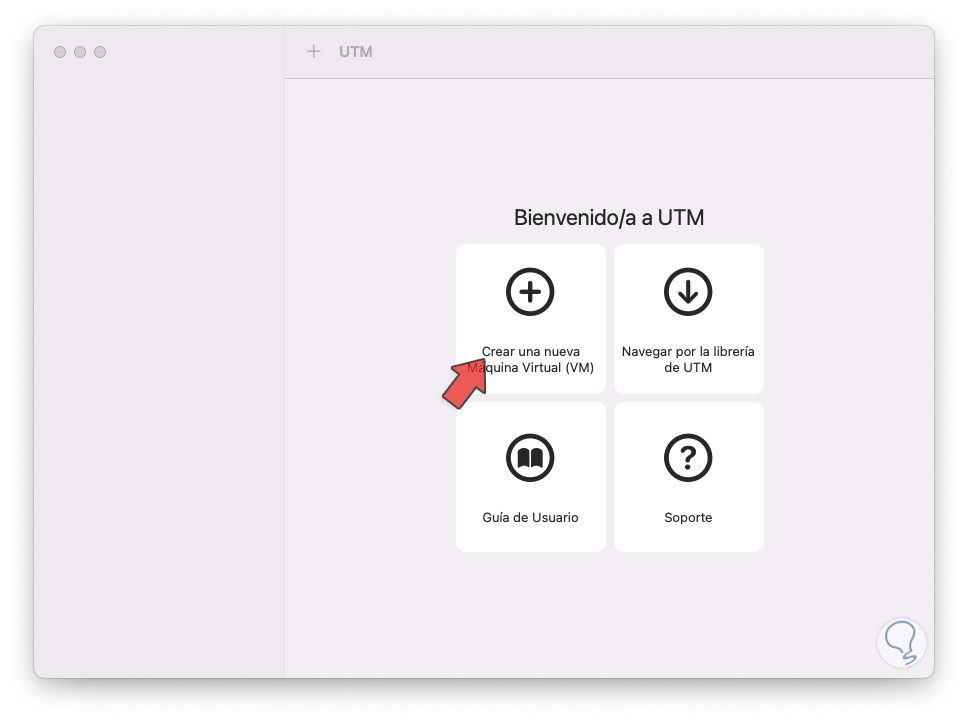
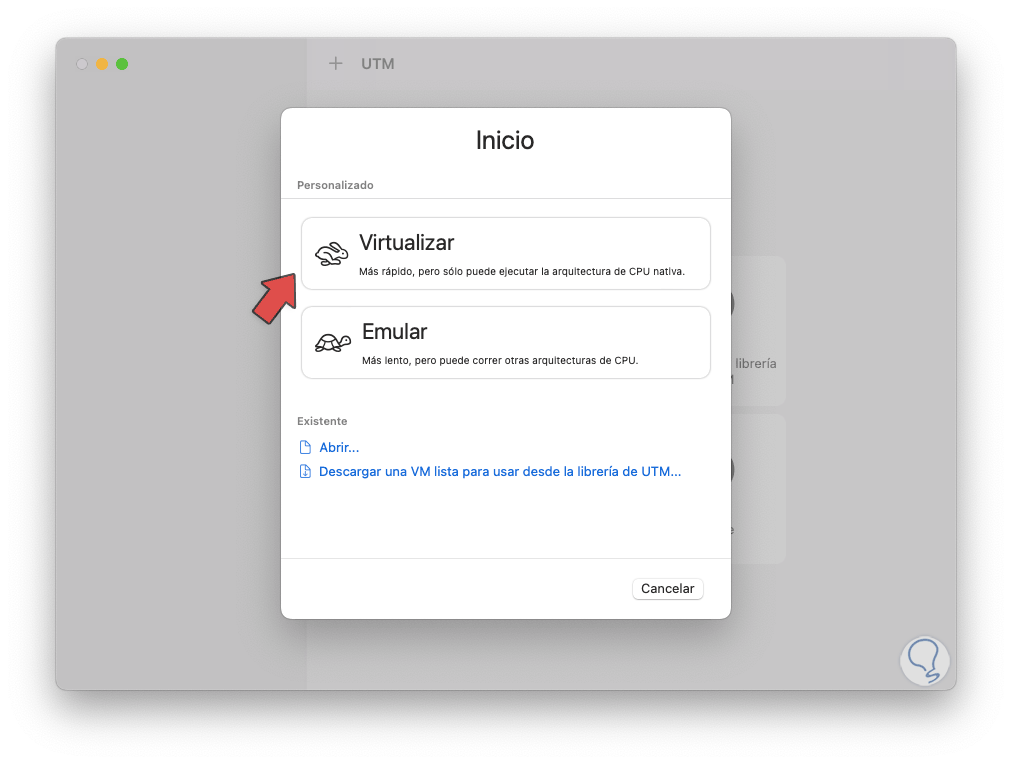
Step 11
Here we click on “Create a new virtual machine (VM)”, then click on “Virtualize”:
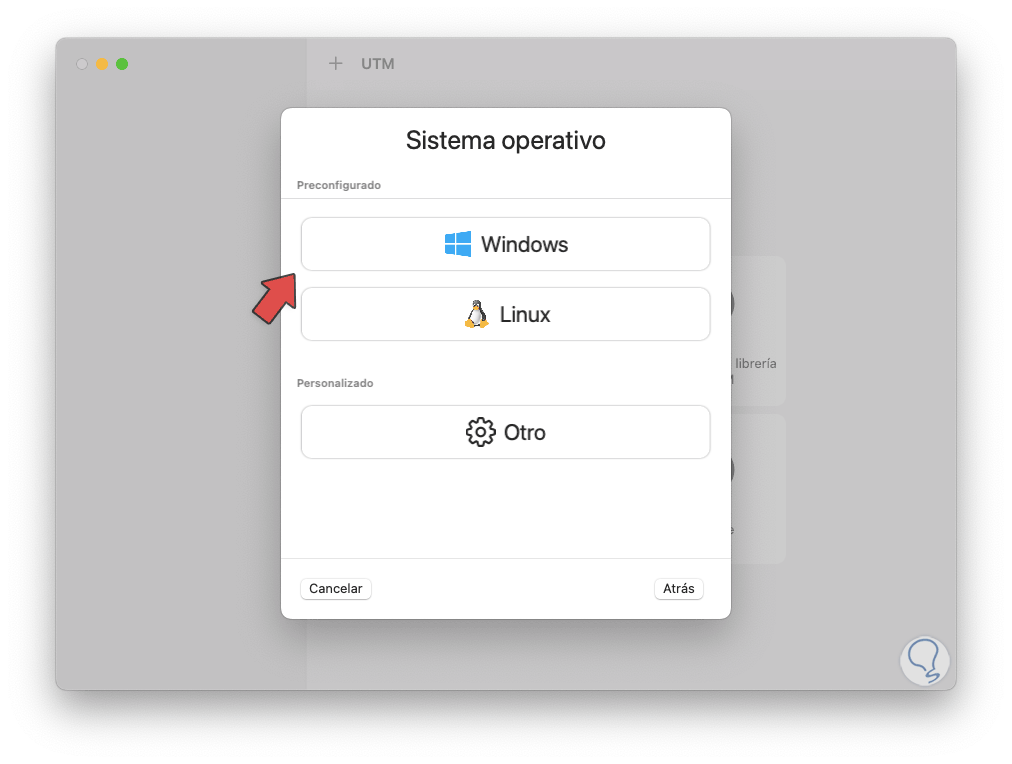
Step 12
Now, we click on “Windows”:
Step 13
Then we will see the following:
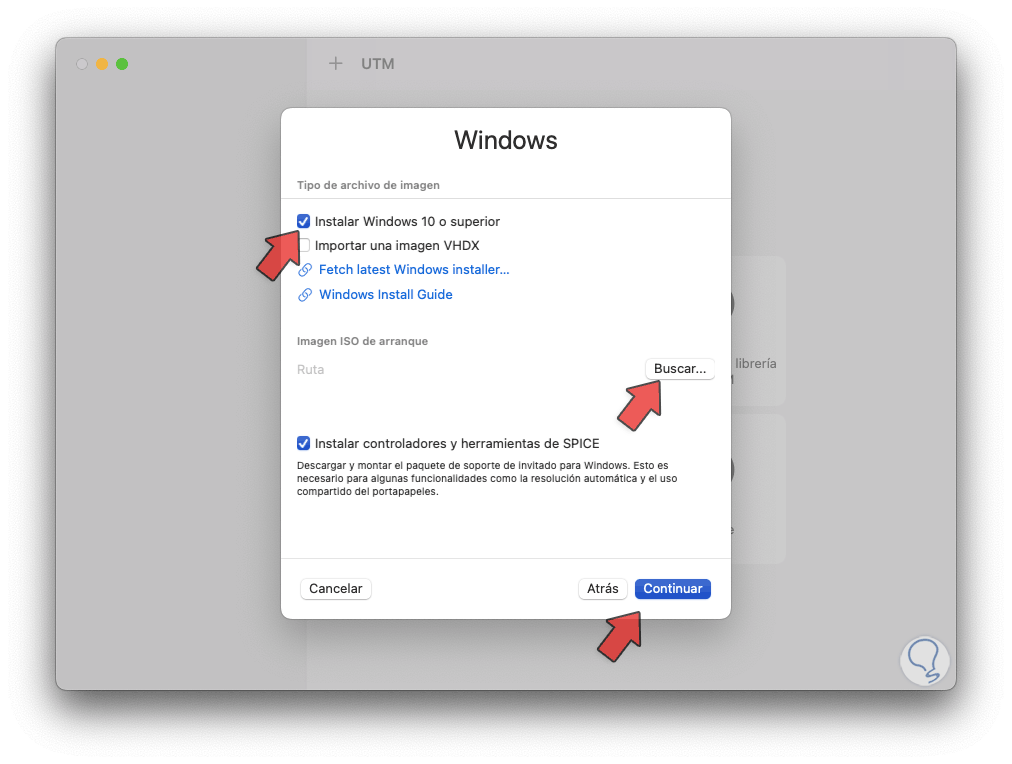
Step 14
There we click on “Search” to select the ISO image that we have downloaded:
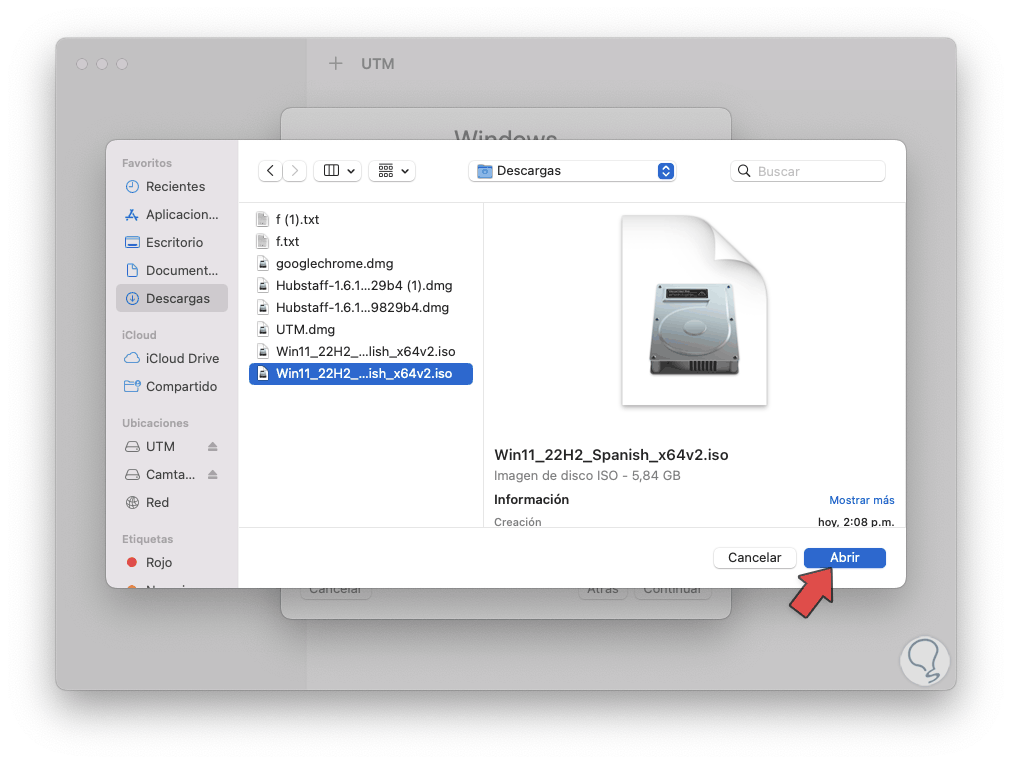
Step 15
We click on “Open” to add it:
Note
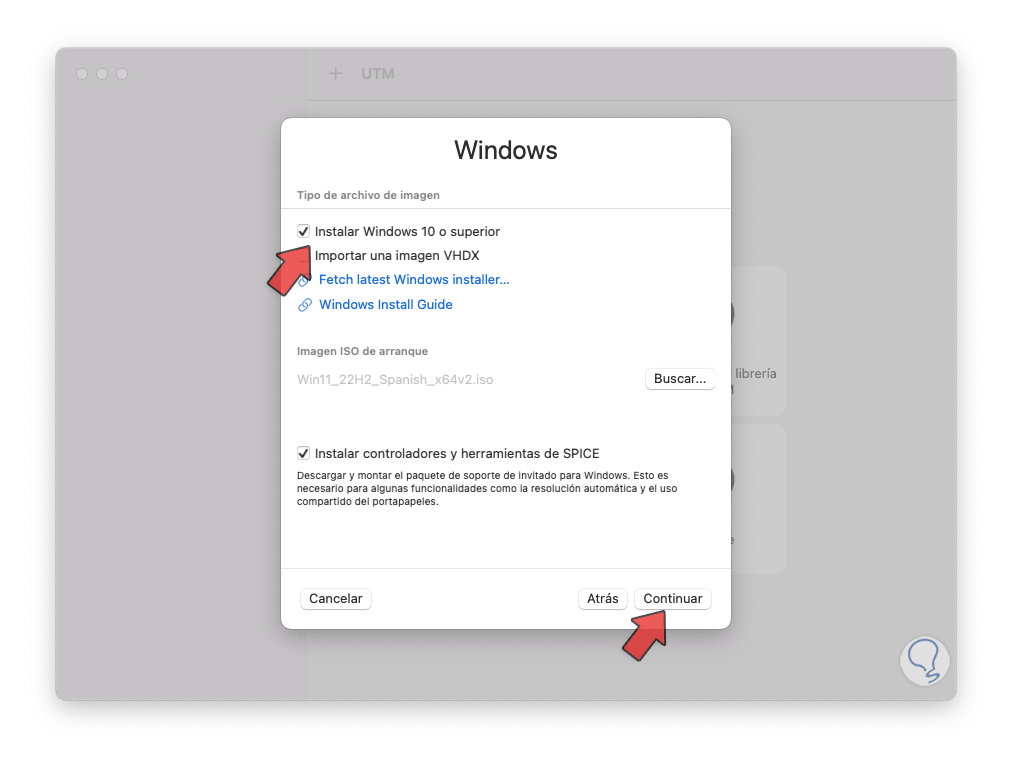
We must confirm that the “Install Windows 10 or higher” box is active.
Step 16
We click on “Continue” and now we define the RAM memory to use:

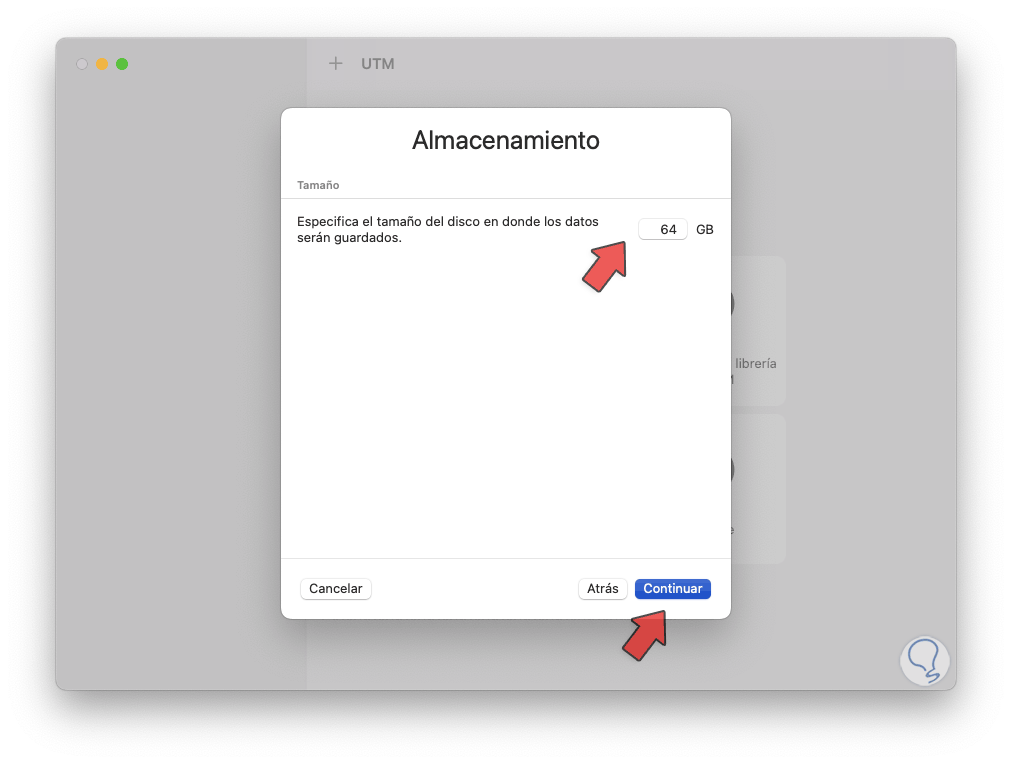
Step 17
Then we define the amount of virtual hard disk space:
Step 18
Then we can configure a shared directory between Windows and macOS:
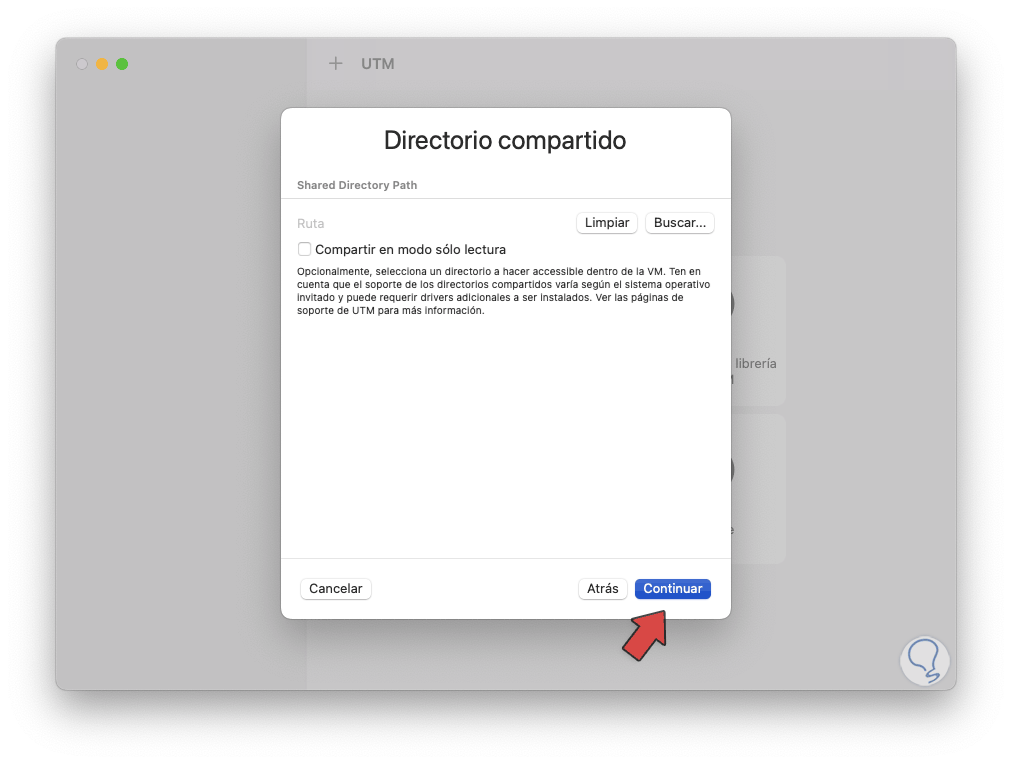
Step 19
We click on “Continue” to see a summary of the machine to be created:
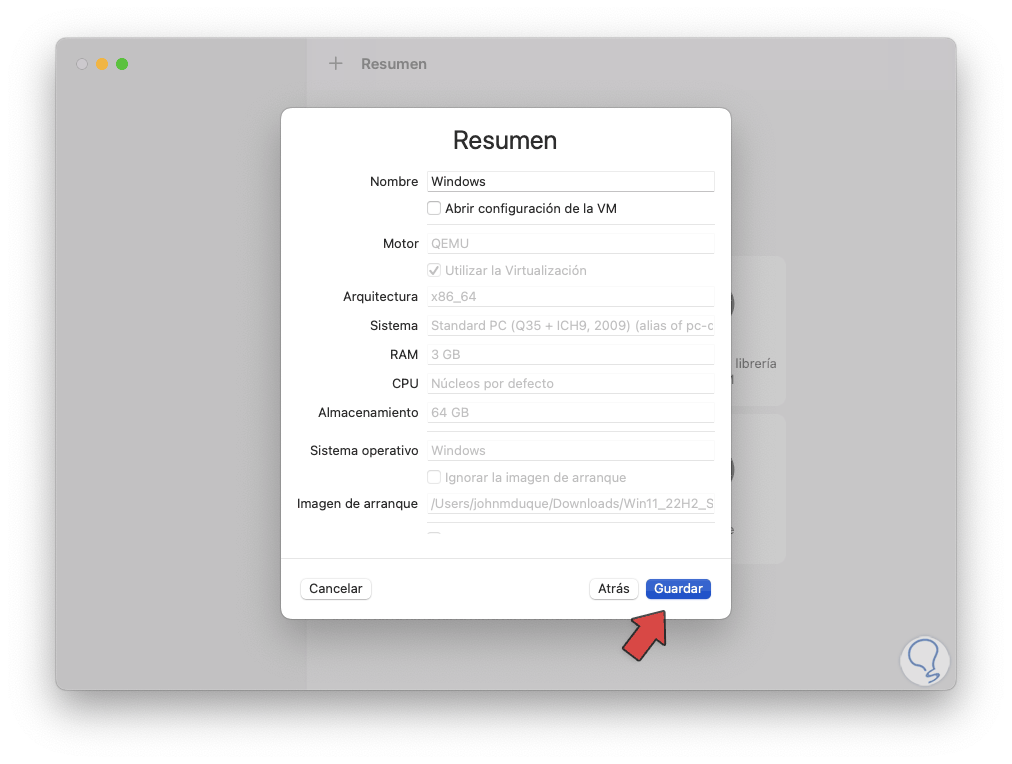
Step 20
We click on “Save” to complete the creation process:
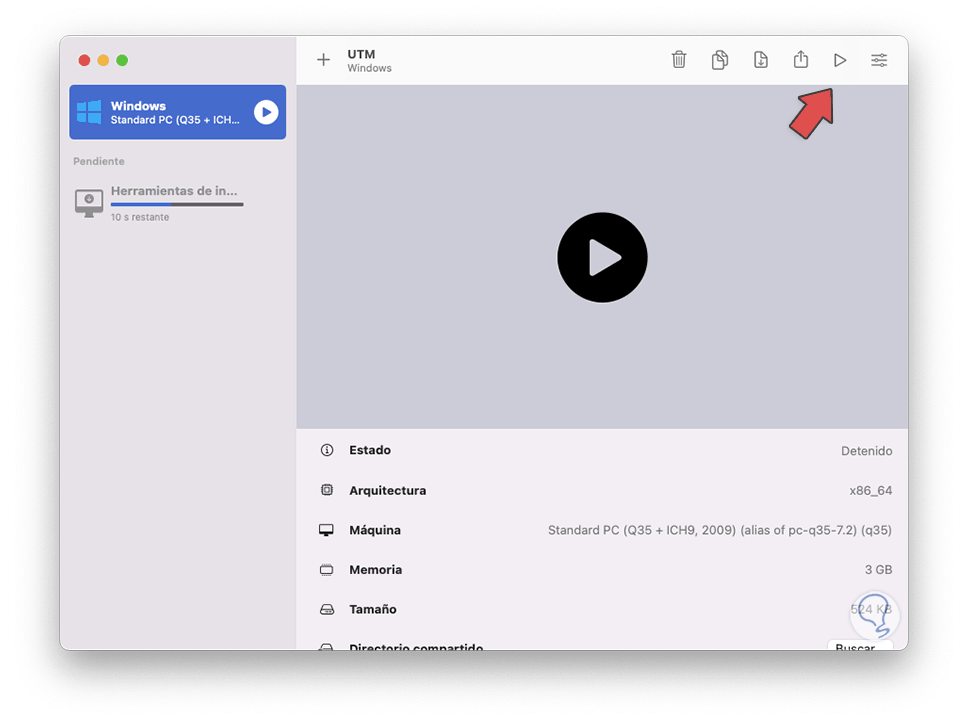
Step 21
Now we click on the play icon to start the virtual machine:
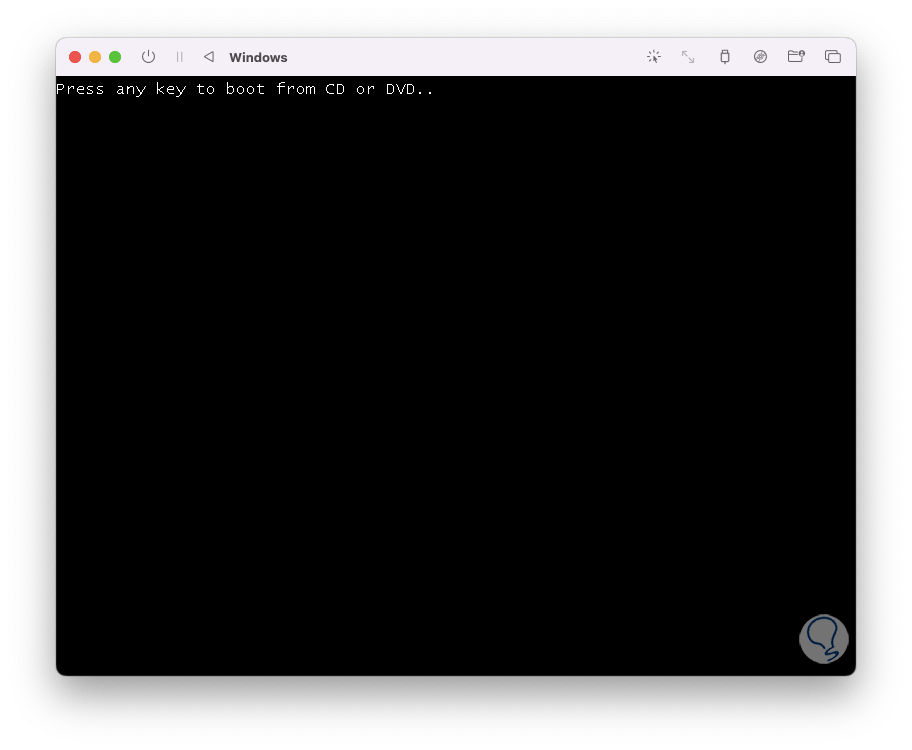
Step 22
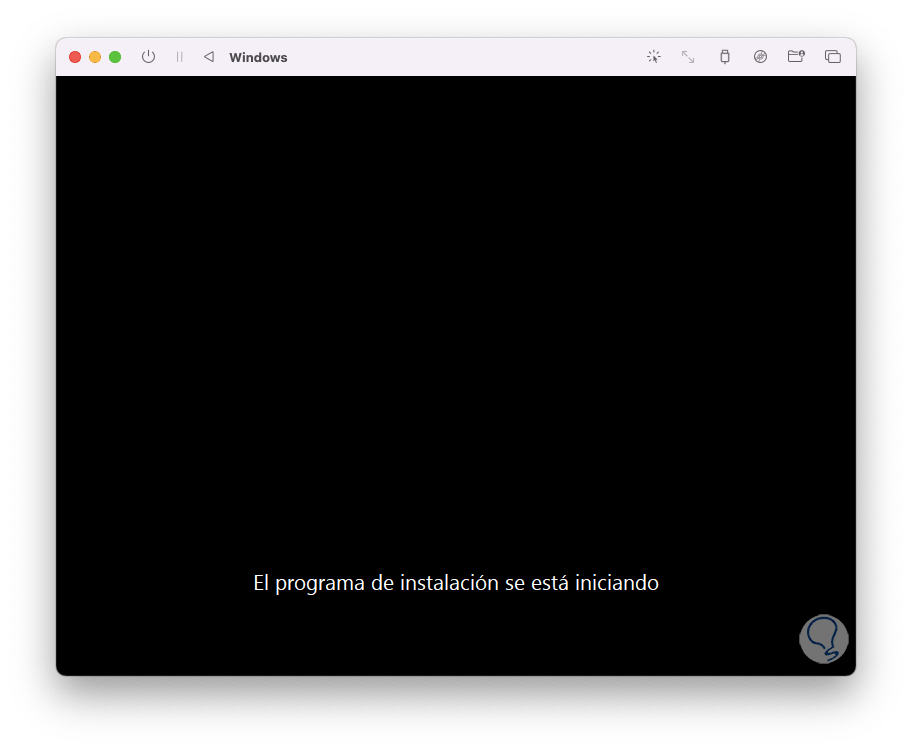
There we press a key to access the Windows installation wizard, first the environment will be loaded:
Step 23
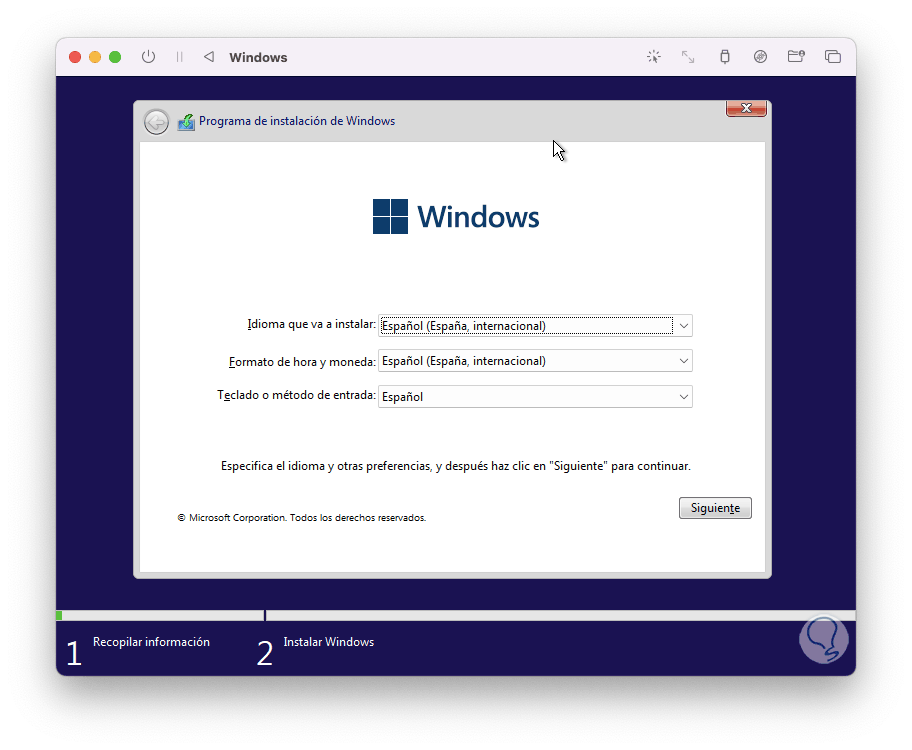
The already known Windows process will start:
Step 24
Then we are going to configure the initial system values:
Step 25
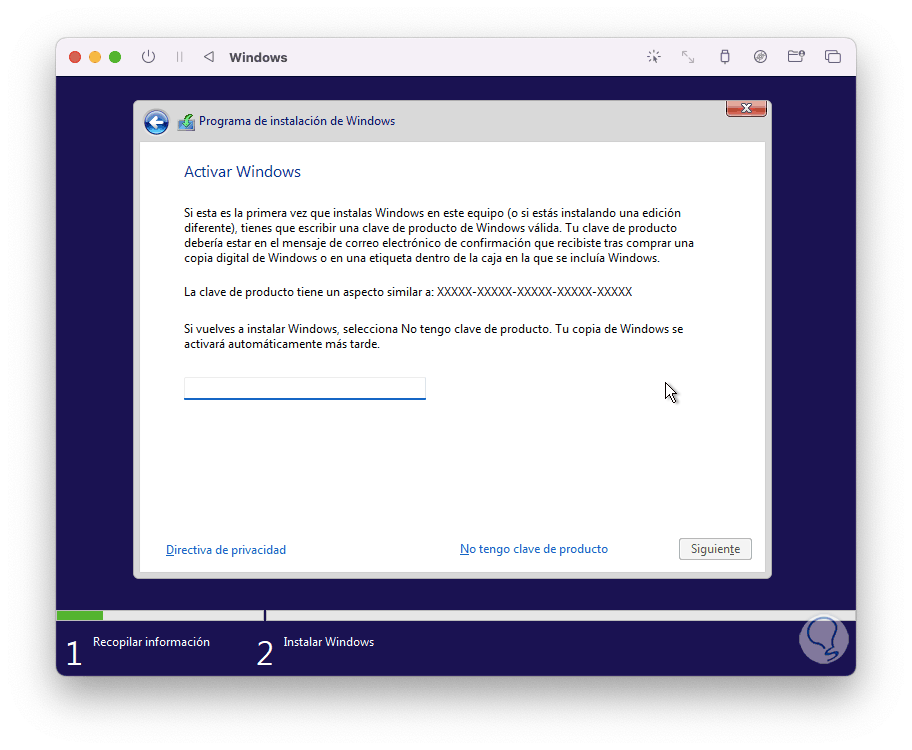
We click on “Next” and it will be possible, if we have it, to enter the product key:
Step 26
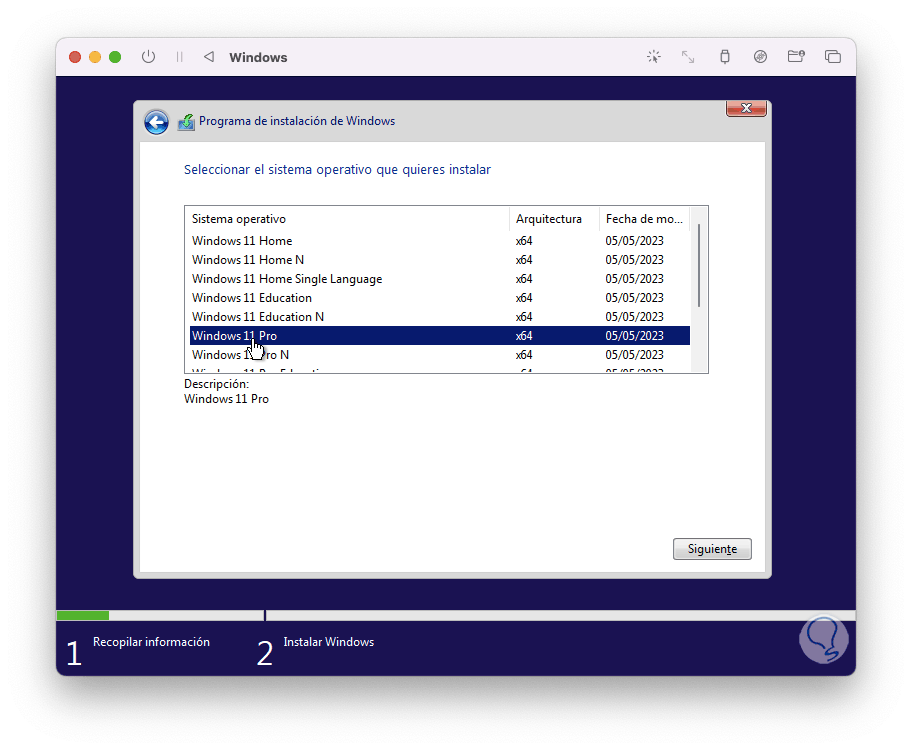
Now we select the edition of Windows to install:
Step 27
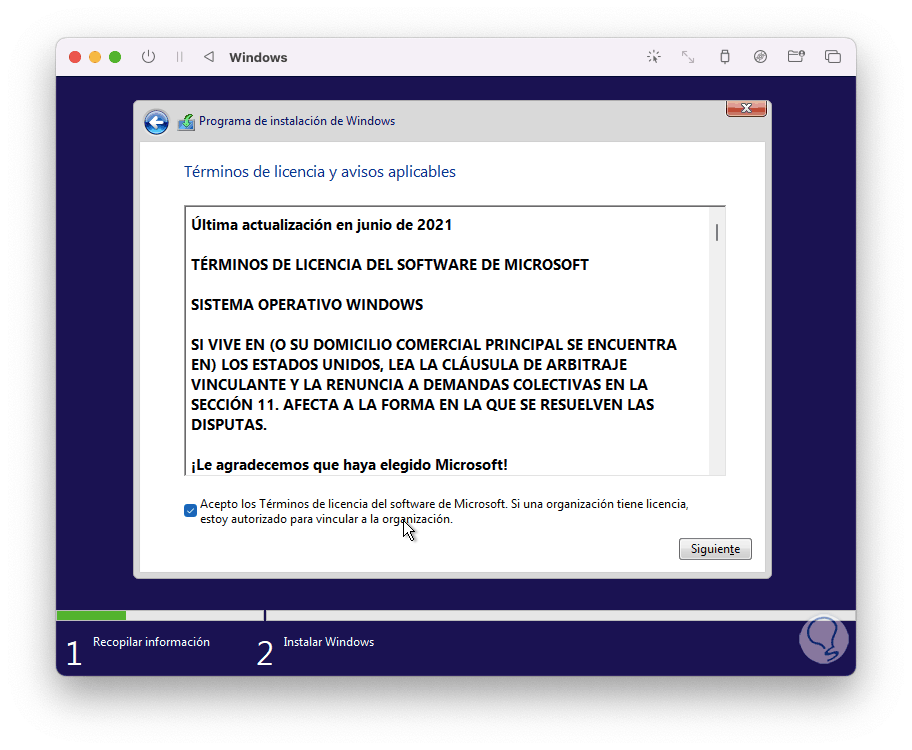
After this we accept the license terms:
Step 28
Now we select the disk where Windows will be installed:

Step 29
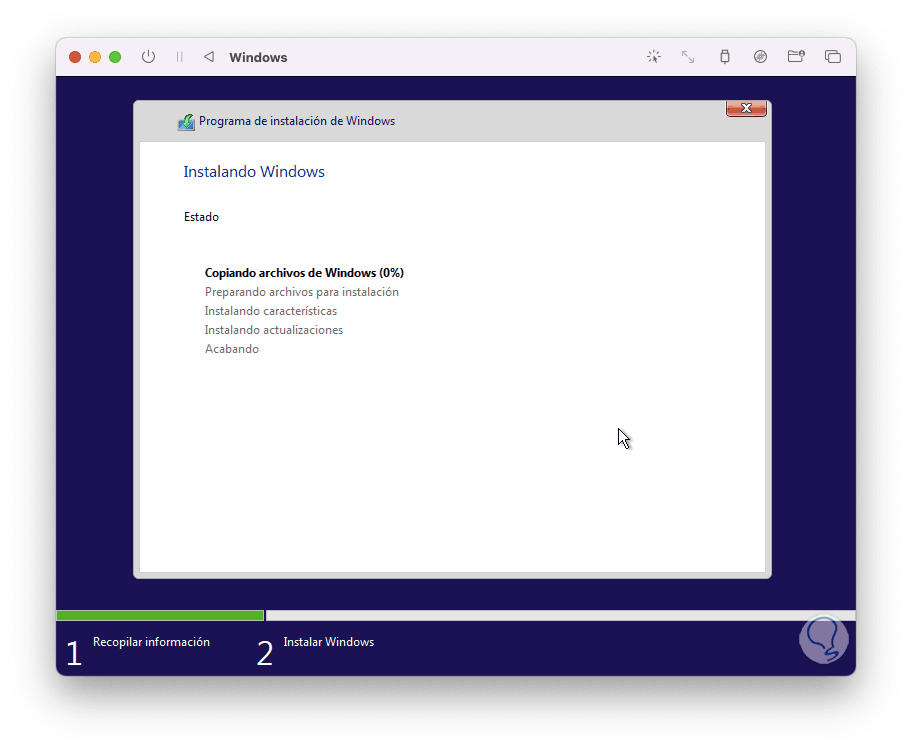
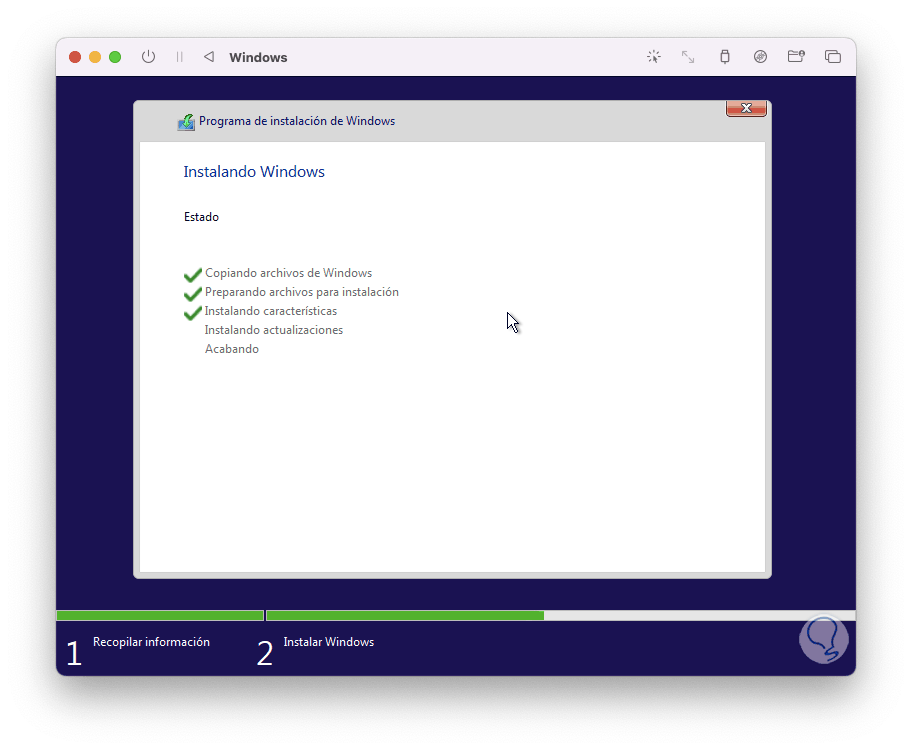
We click on “Next” to start the installation process:
Step 30
There we must wait for all the plugins to be downloaded and installed:
Step 31
After this the virtual machine will restart, when it starts again, the Windows services will be loaded:
Step 32
Then comes the preparation of the devices:

Step 33
Windows will be restarted again:
Step 34
After this we will access the installation environment:
Step 35
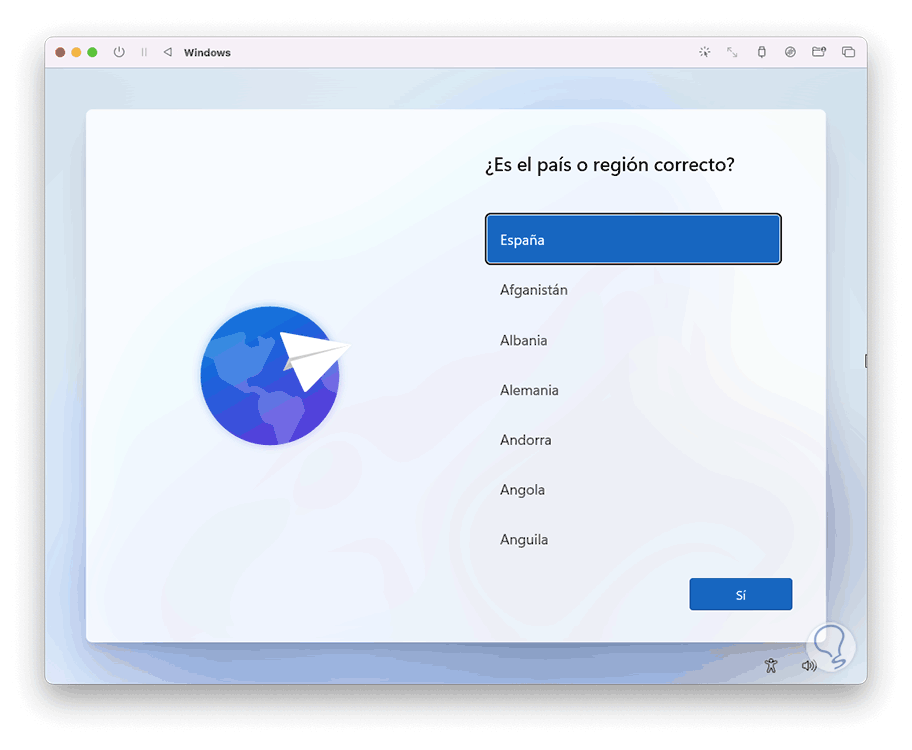
We select the language of use:
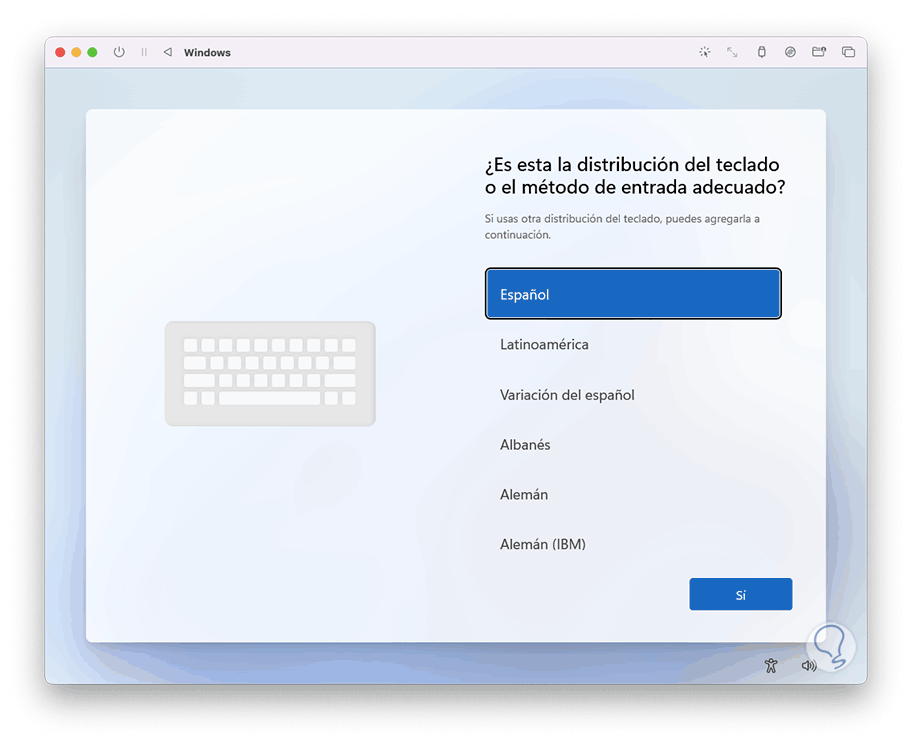
Step 36
We assign the language to the keyboard:
Step 37
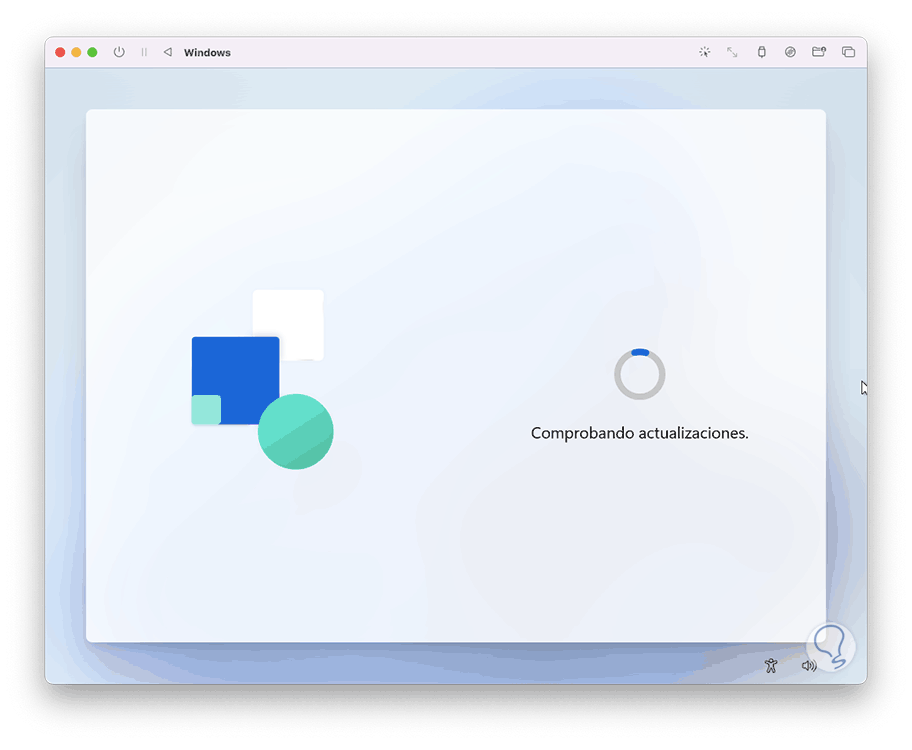
Updates will be checked:
Step 38
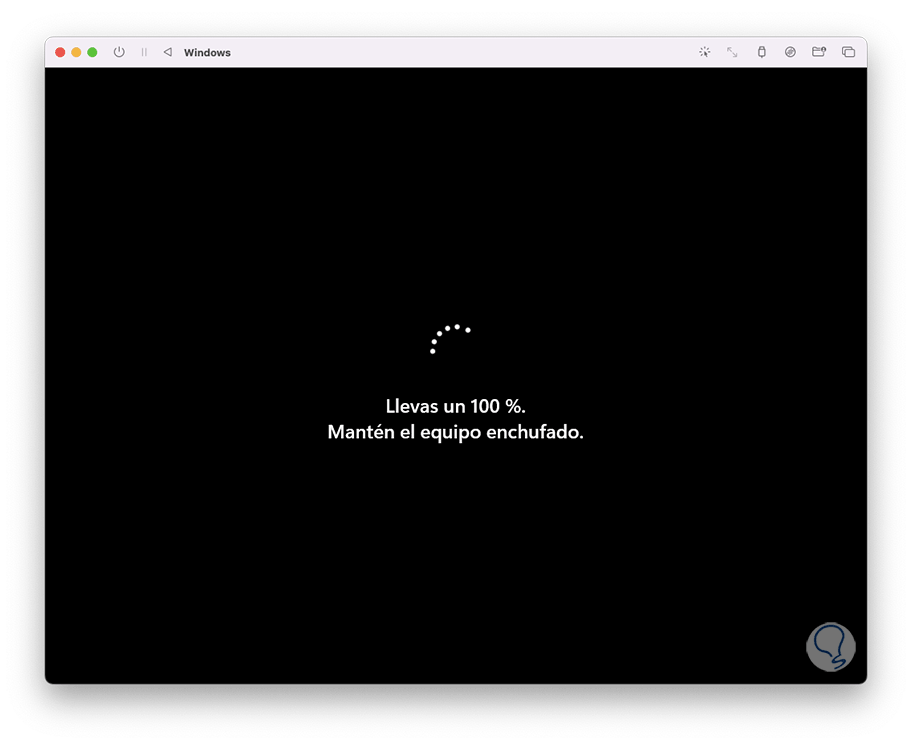
The system will be restarted again to apply these updates:
Step 39
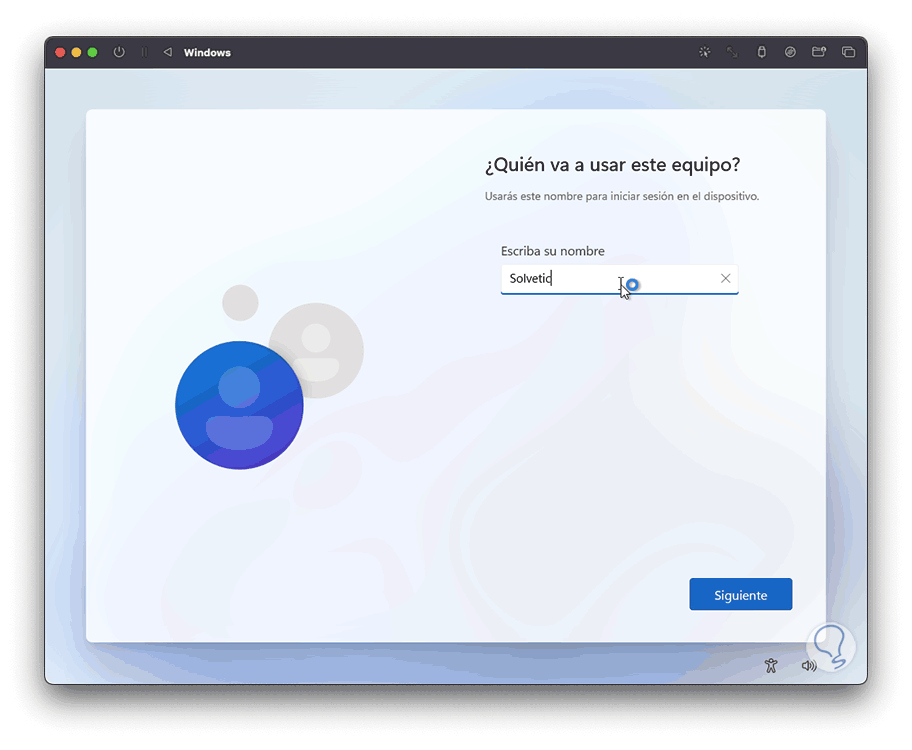
After this we are going to assign a name to the team:
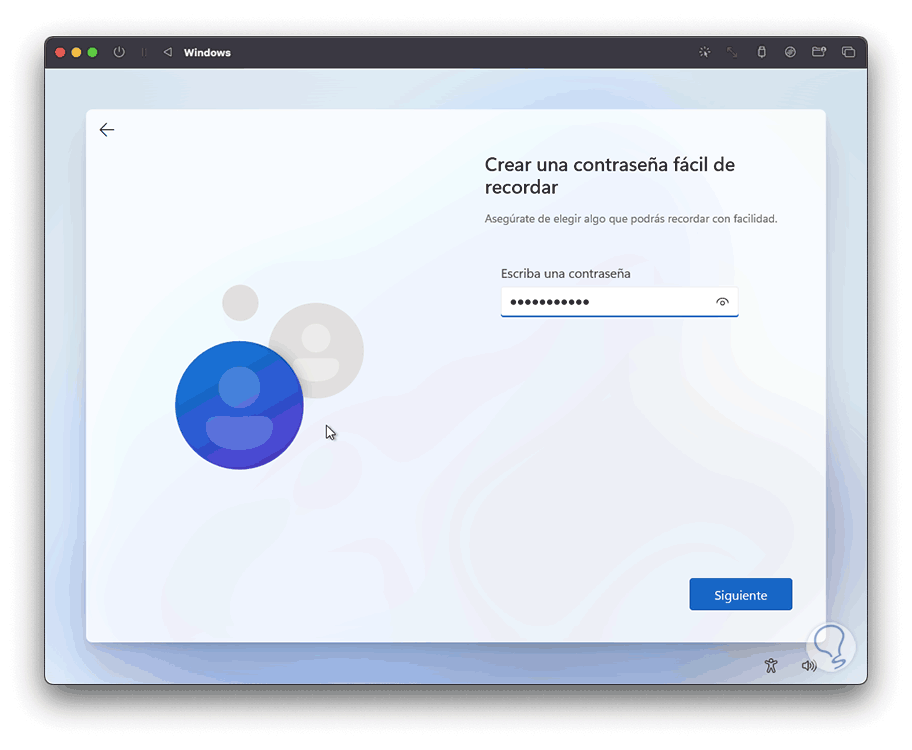
Step 40
We assign a password:
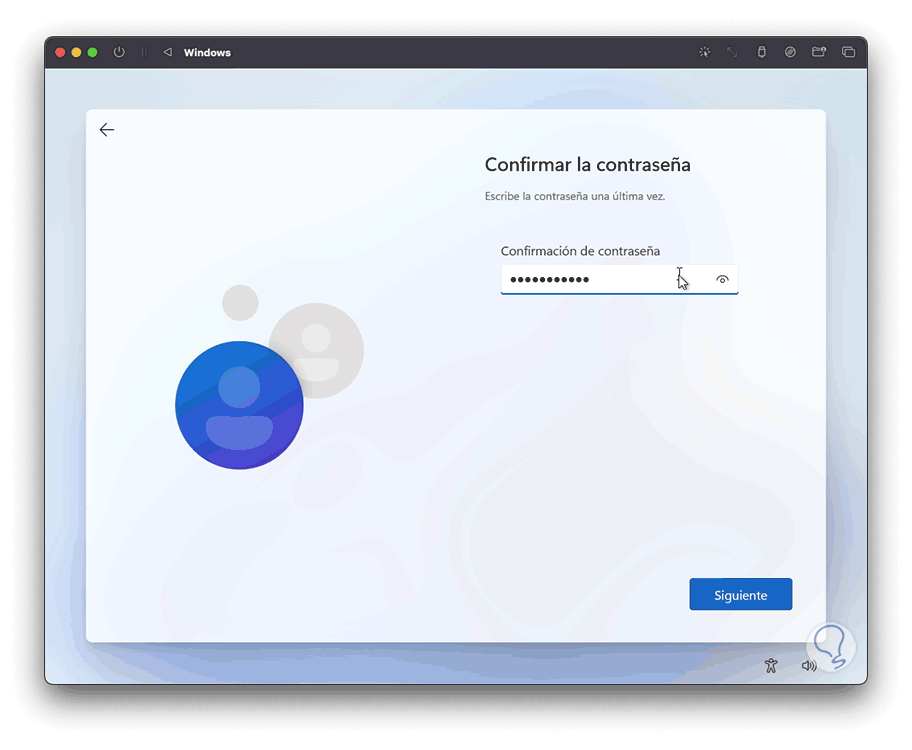
Step 41
We confirm the password:
Step 42
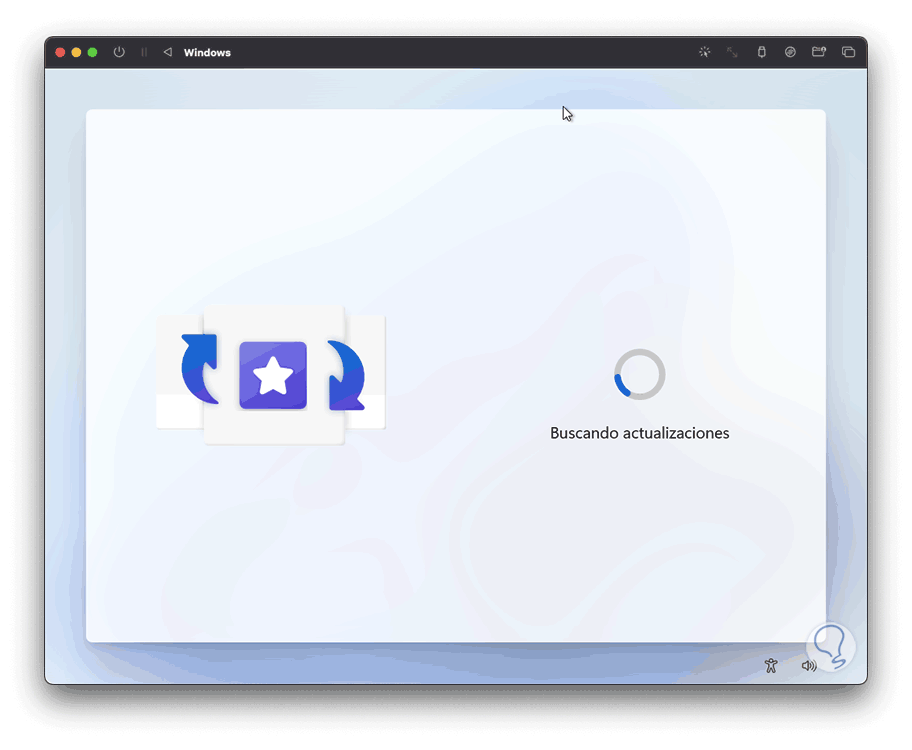
It will be necessary to register 3 security questions, then more updates will be searched:
Step 43
Once this is done we will see the final installation process:
Step 44
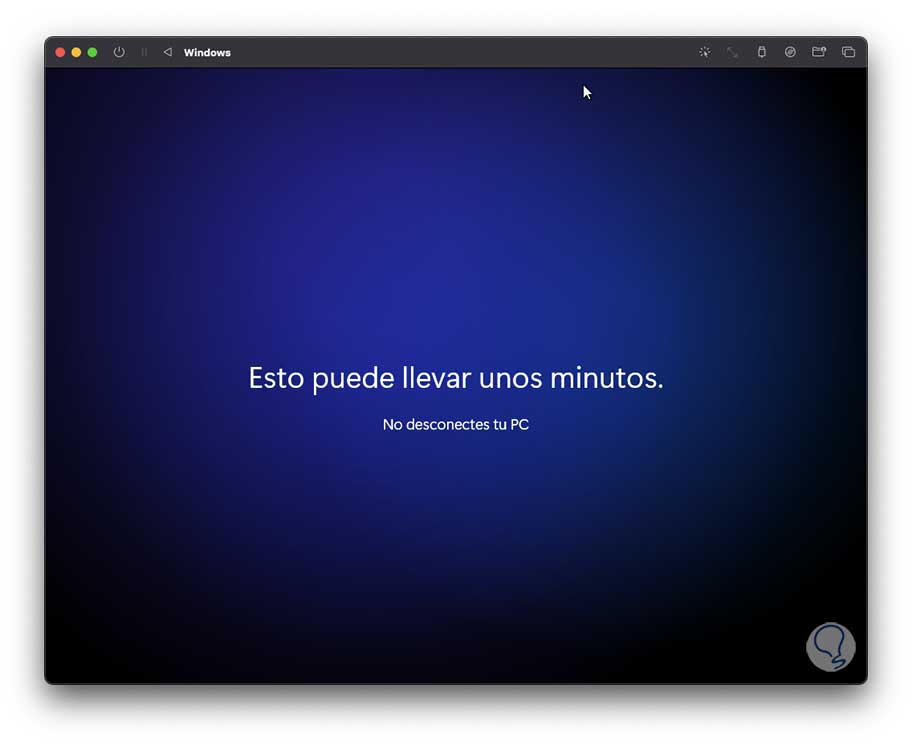
We hope this comes to an end:
Step 45
Now we see that Windows has been installed correctly on macOS:
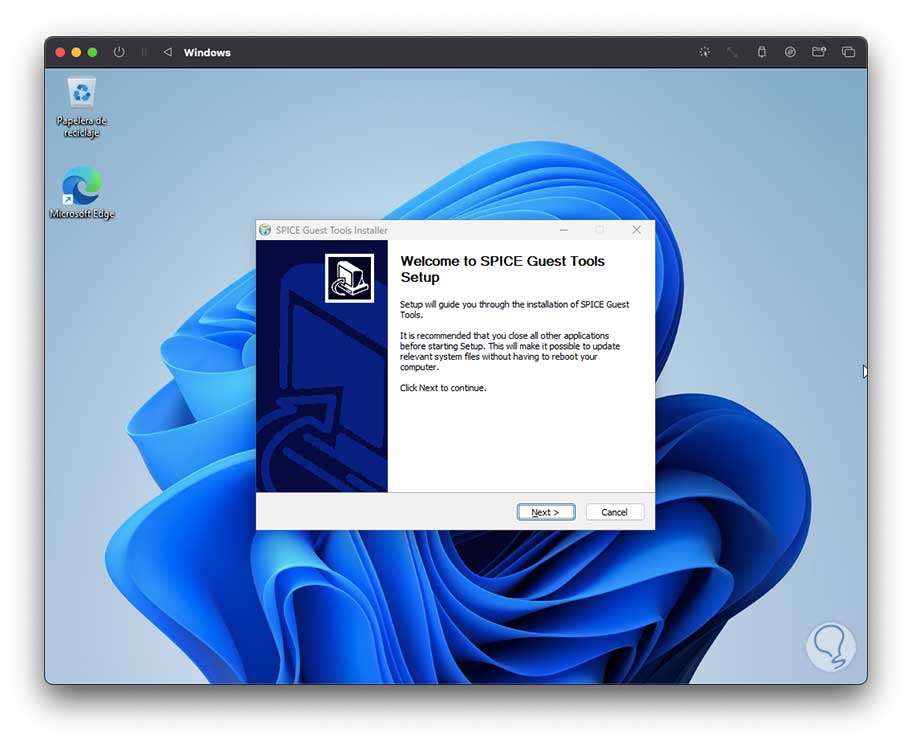
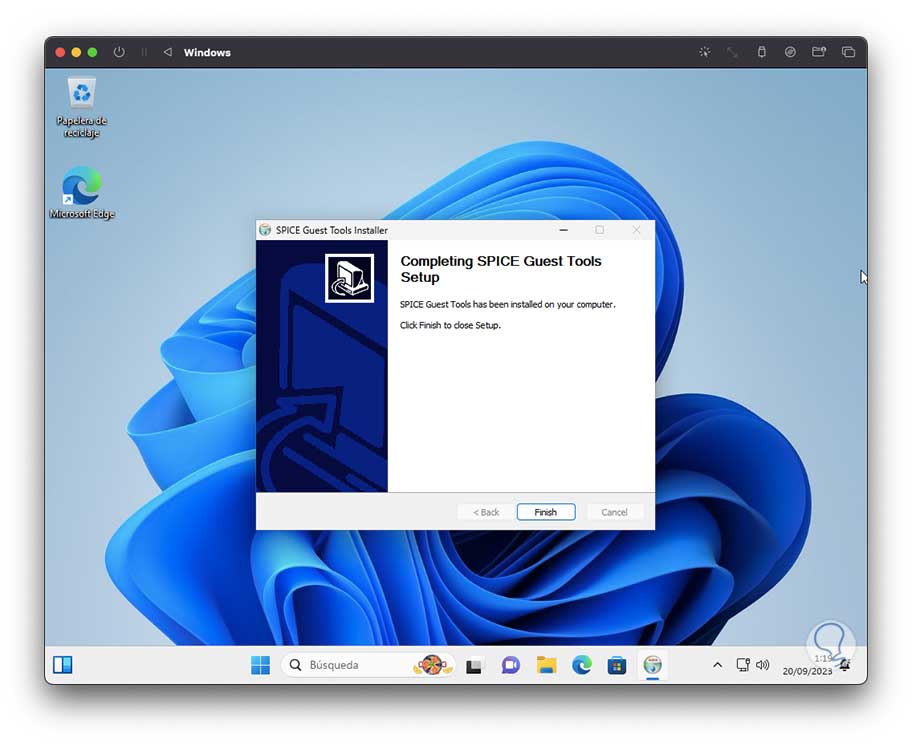
Step 46
As we can see, the installation of the utilities is automatically activated. These are a group of tools that allow the virtual machine to perform actions such as:
- Image compression in multiple Spice compression algorithms such as QUIC (based on SFALIC), LZ, GLZ (history-based global dictionary)
- Multiple monitors with support to enable client screen selection
Step 47
There we click on “Next” to begin the installation:
Step 48
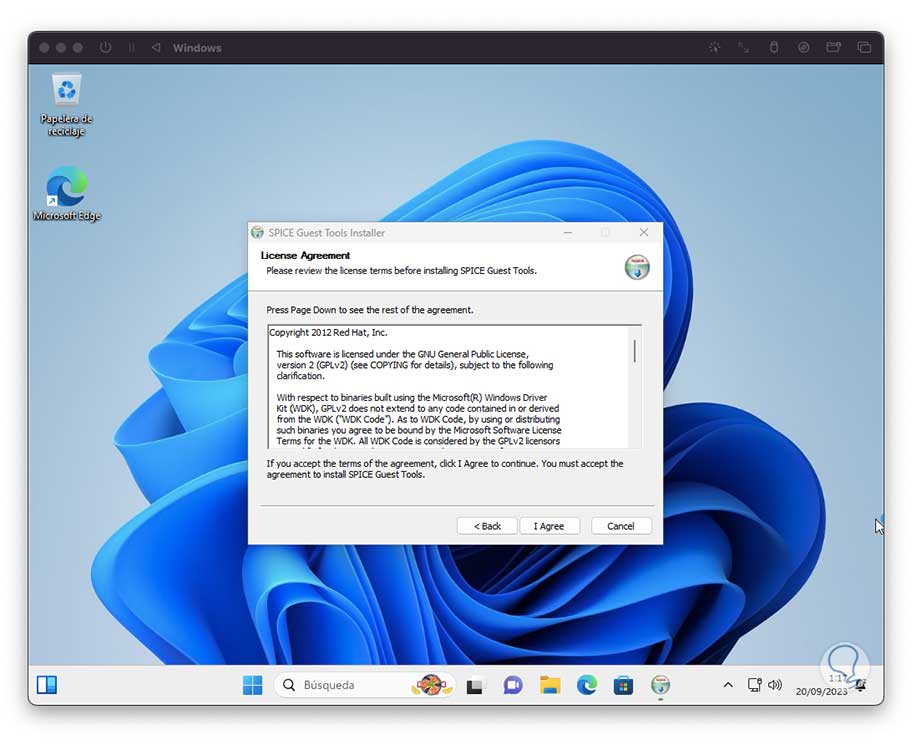
We accept the license to proceed with the installation:
Step 49
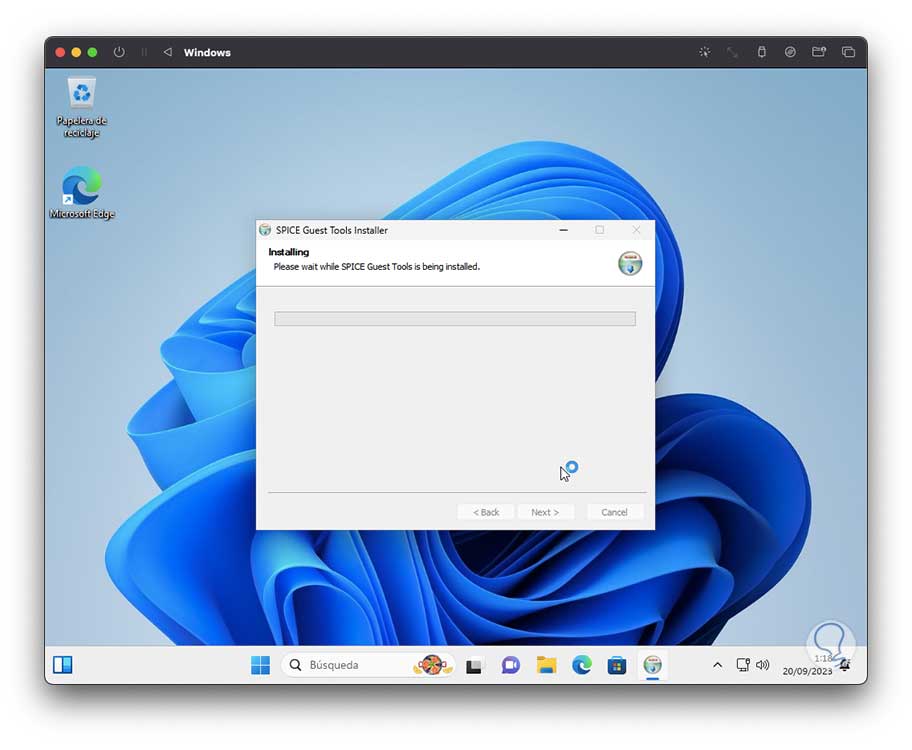
We hope it ends:
Step 50
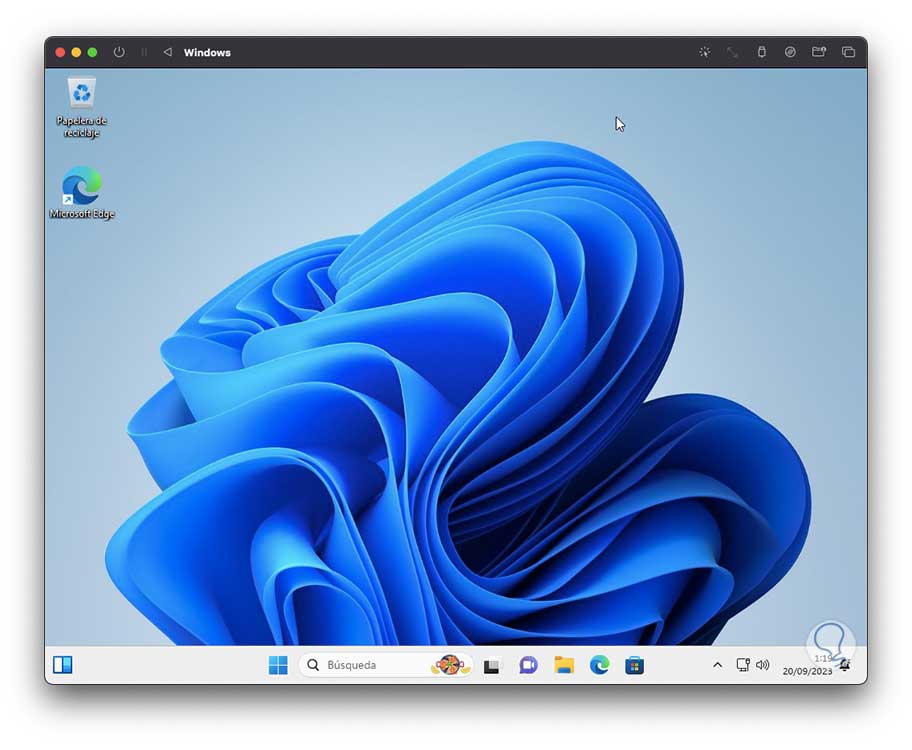
Now it will be possible to use Windows on macOS without problem:
Note
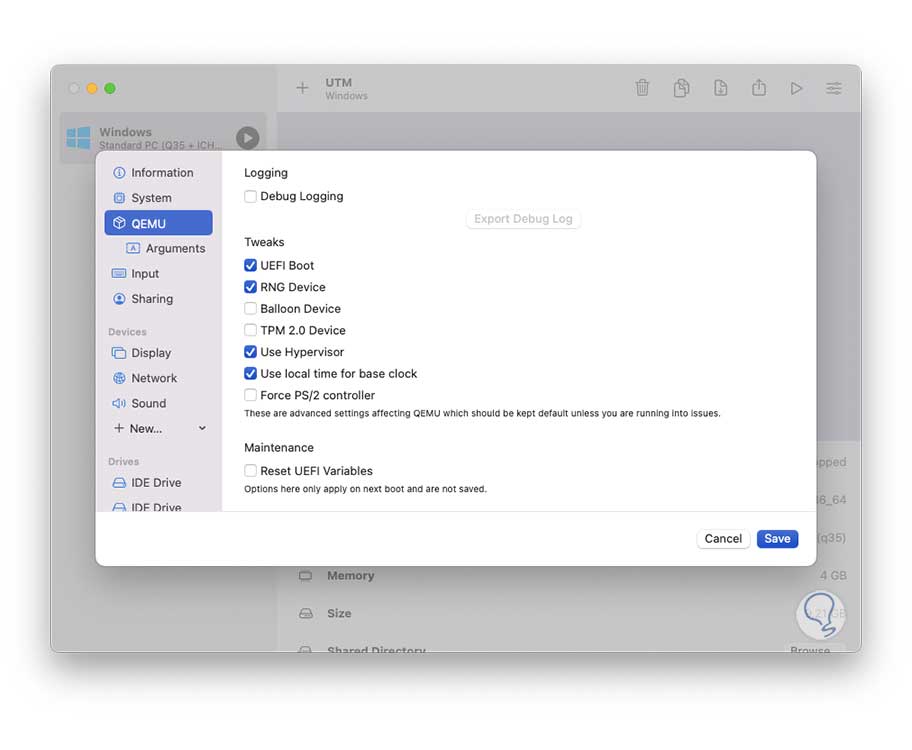
If during the installation of Windows you get error 00000428, you must go to the virtual machine configuration, there deactivate the TPM 2.0 Device box.
Step 51
We click on “Save” to save the changes.
This is how it is possible to use Windows to its fullest on macOS.