The file system of an operating system, whatever it may be, has been created or developed as a hierarchical structure that manages and stores files and directories locally on media such as hard drives or USB drives. It is a key component since it determines the way to organize the files and directories on the device and the way to access them, this file system keeps track of the stored files such as their location on the storage medium, their name, size and many more attributes. But something key to keep in mind is that it allows you to grant access permissions to these files, as well as define which user or element can read, write or delete a file..
That is why Windows is different from macOS or Linux and vice versa, for example, Windows makes use of NTFS and FAT file systems, HFS+ in the case of macOS and ext4 for Linux, why do we tell you this? Simple, if you want to do Using an Android app on macOS natively will be impossible because of the file system as it will tell you that you have nothing to do in this system and will simply generate an error.
Now, all is not lost since TechnoWikis will explain how to run Android apps on macOS thanks to BlueStacks.
BlueStacks has been developed as an Android emulator with which it is possible to run Android applications fluently on computers with Windows or macOS systems, this app makes use of virtualization technology with which an Android execution environment will be created on the team, thanks to this we "cheat" the macOS file system and it will be possible to install and run Android applications just as we would on our Android mobile devices..
BlueStacks Features
In addition to this, BlueStacks has features like:
- Allows you to customize the screen size
- It gives us options to control the keyboard and mouse
- It will be possible to install applications directly from the Google Play Store or from APK files
- It has a Shooting Mode to improve aiming and reaction time in those associated games
- MOBA mode which has special control schemes to optimize the character's abilities
- It is possible to play multiple games simultaneously
- Multi-instance synchronization feature
- It allows us to record and play actions with the press of a key
- Ecological mode function which allows to optimize the use of the PC when making use of several instances
- It has a built-in translator.
- Allows you to play Android games in Full HD
- Add scripts to automate repetitive tasks during the game
- High FPS feature for improved fluidity
Let's see how to install Android apps on macOS with BlueStacks.
To stay up to date, remember to subscribe to our YouTube channel!
SUBSCRIBE ON YOUTUBE
1 How to install Android apps on macOS with BlueStacks
Step 1
We go to the BlueStacks URL in the following link:
BlueStacks
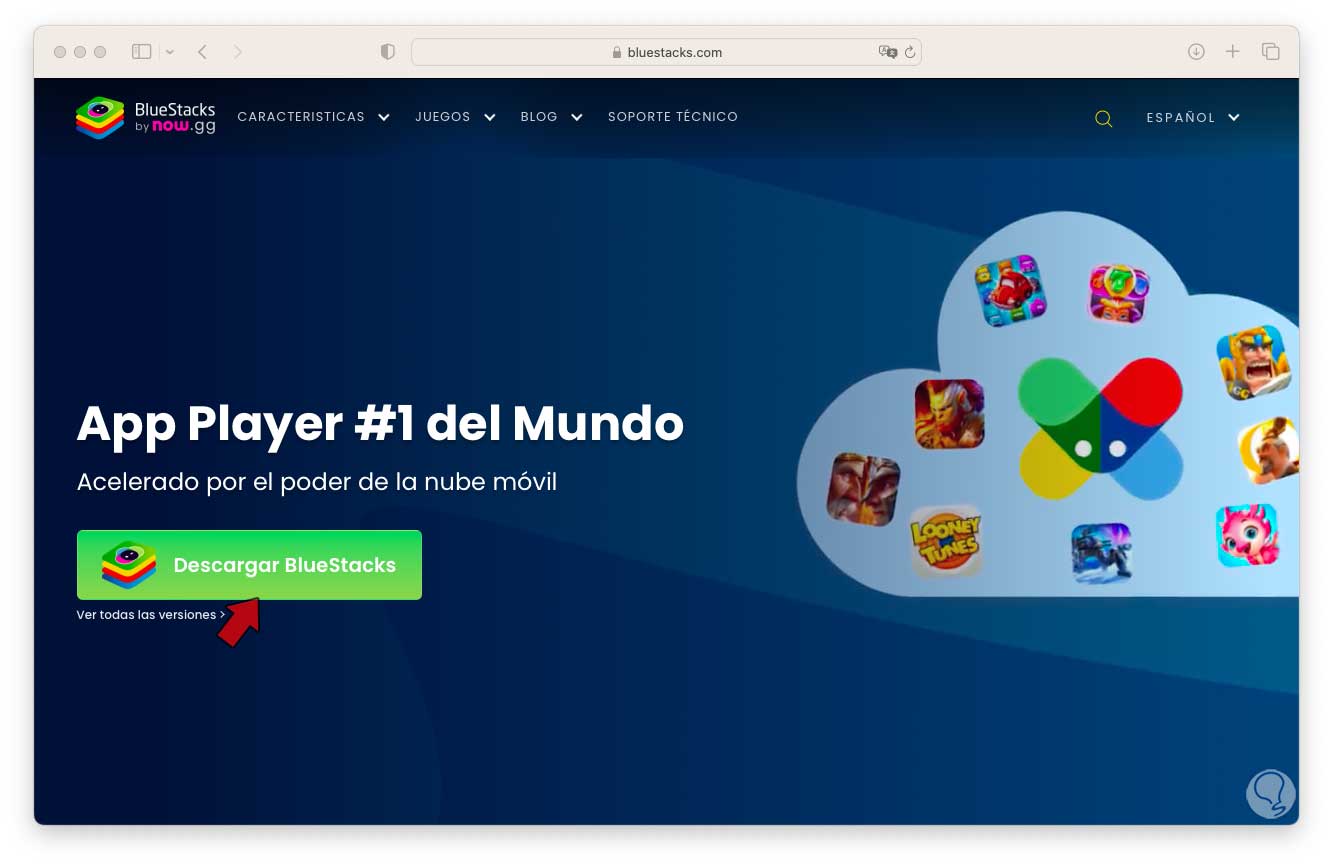
Step 2
We click on "Download BlueStacks" to download the macOS version, we validate the download:
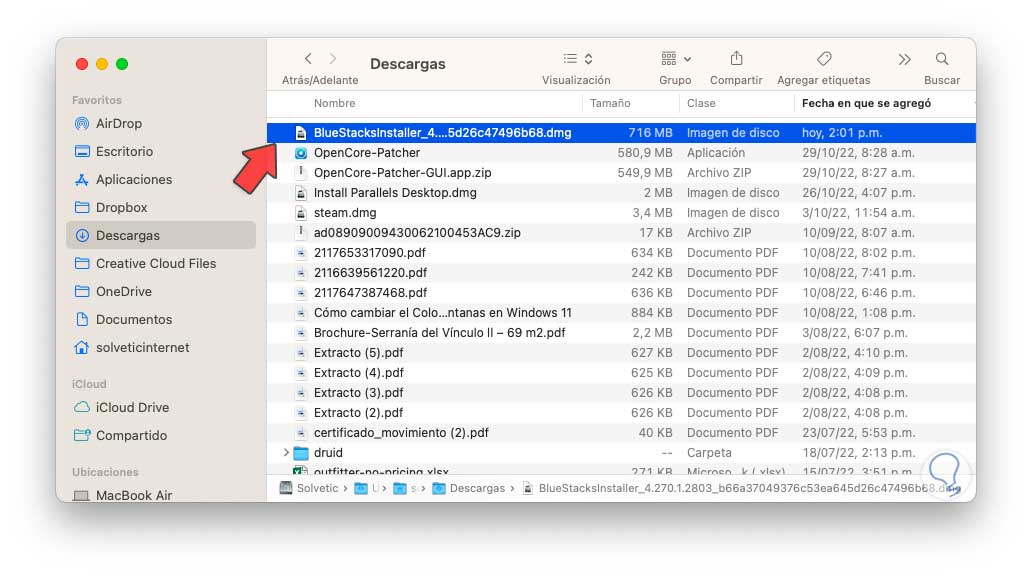
Step 3
We execute the downloaded file and the following will open:
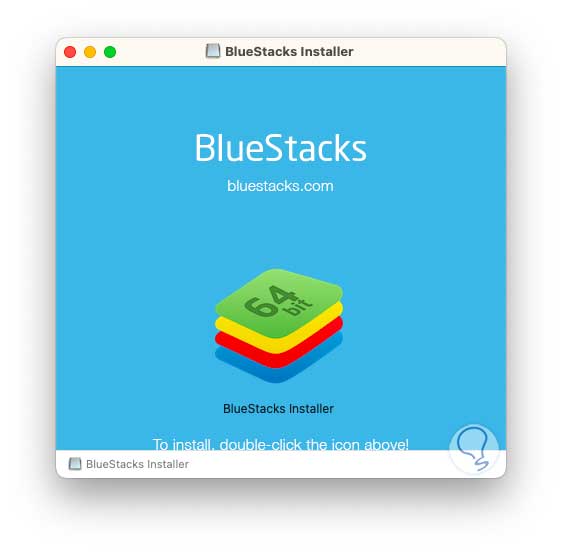
Step 4
We double click on the installer and the package will be verified:
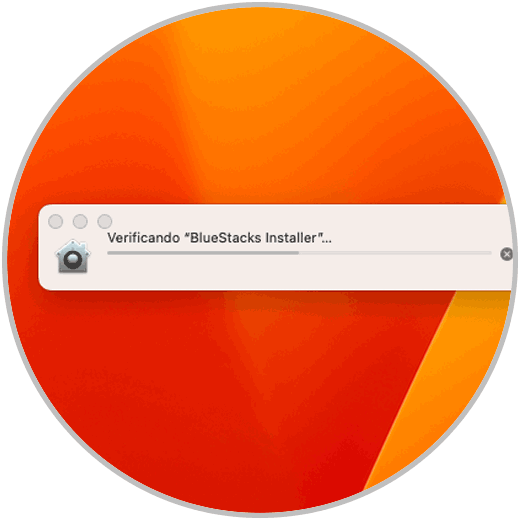
step 5
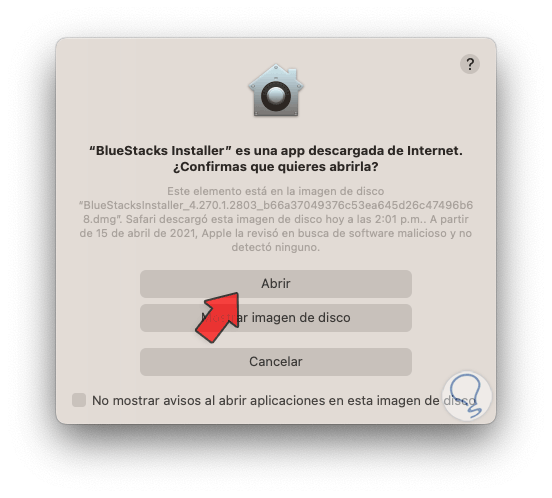
Now we will see the following. We click on "Open"
step 6
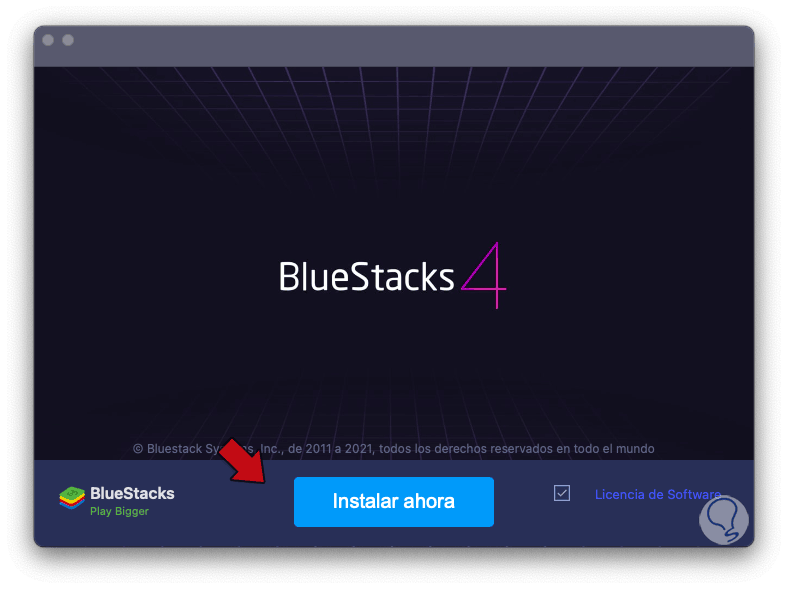
and now the following will open. We click on "Install now"
step 7
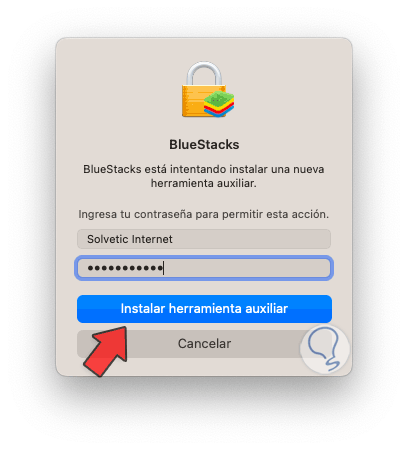
We must enter the administrator password:
step 8
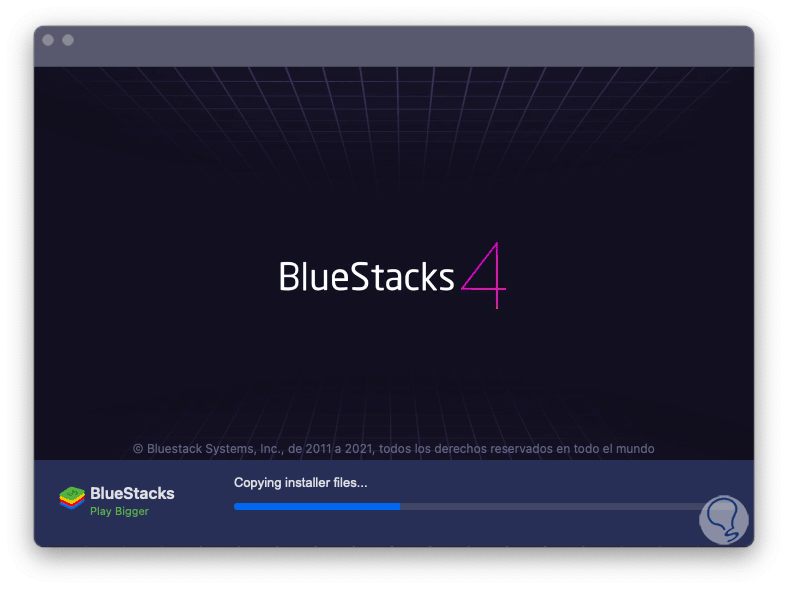
We click on "Install auxiliary tool" and the BlueStacks installation process will begin:
step 9
We hope that the necessary files will be copied and BlueStacks will be installed on macOS:
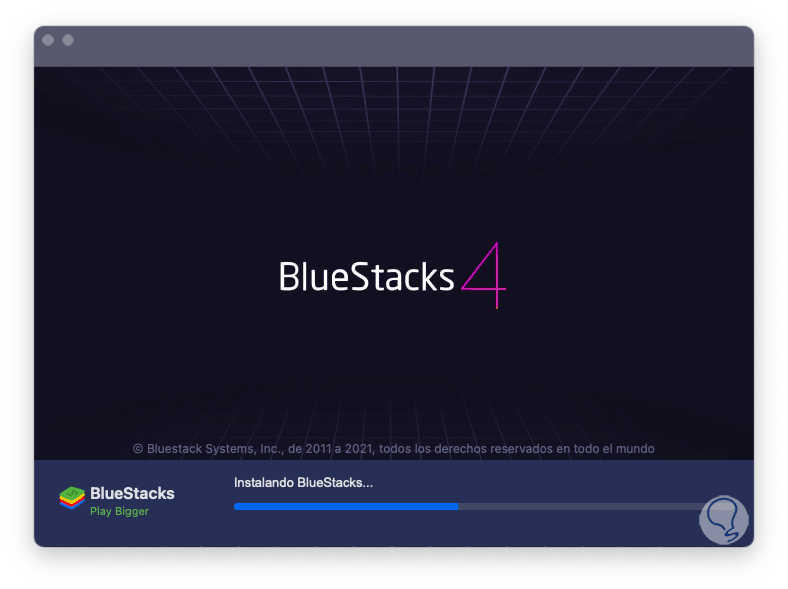
step 10
During the process it will be necessary to assign certain permissions, we will see the following. We click on "Open System Configuration"
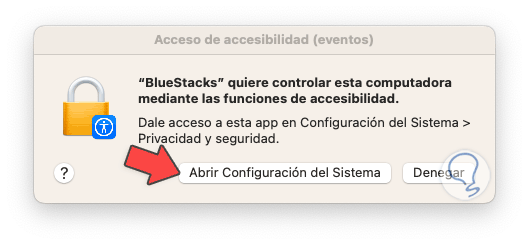
step 11
and the following will open. We must activate the “BlueStacks” switch,
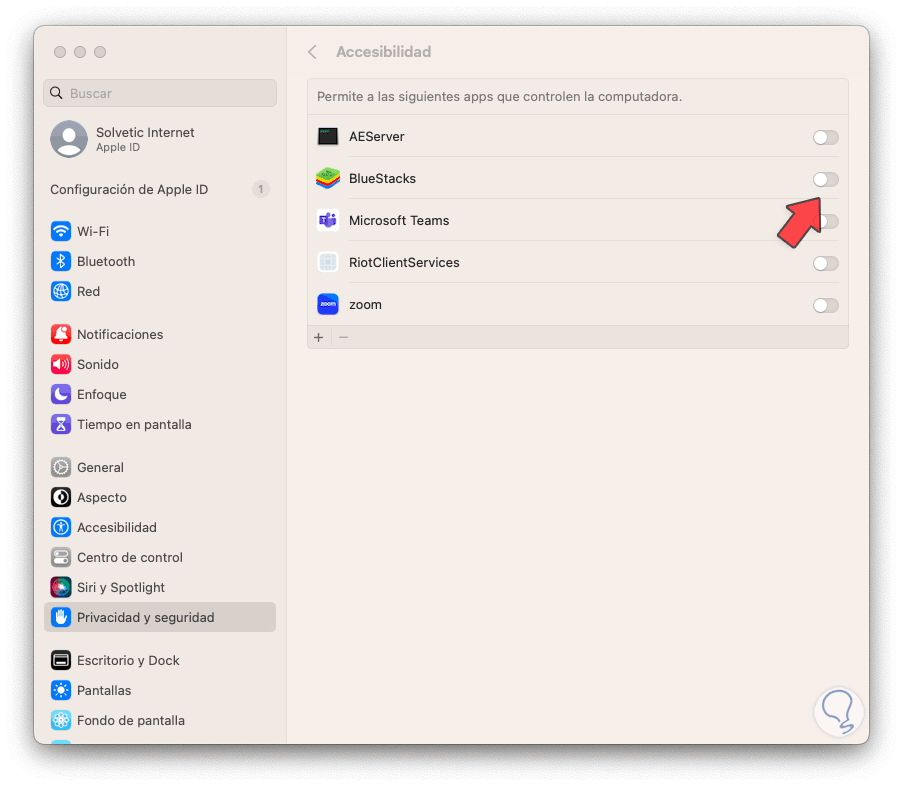
step 12
By clicking there we must enter the administrators password to enable it:
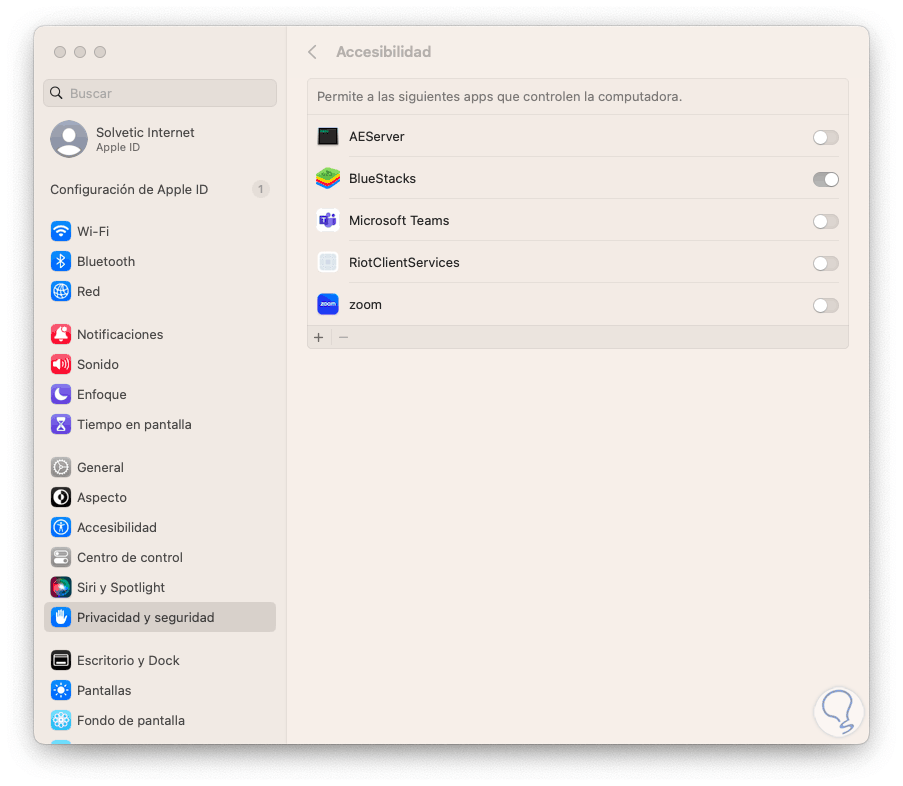
step 13
When granting these permissions we will see the following message:
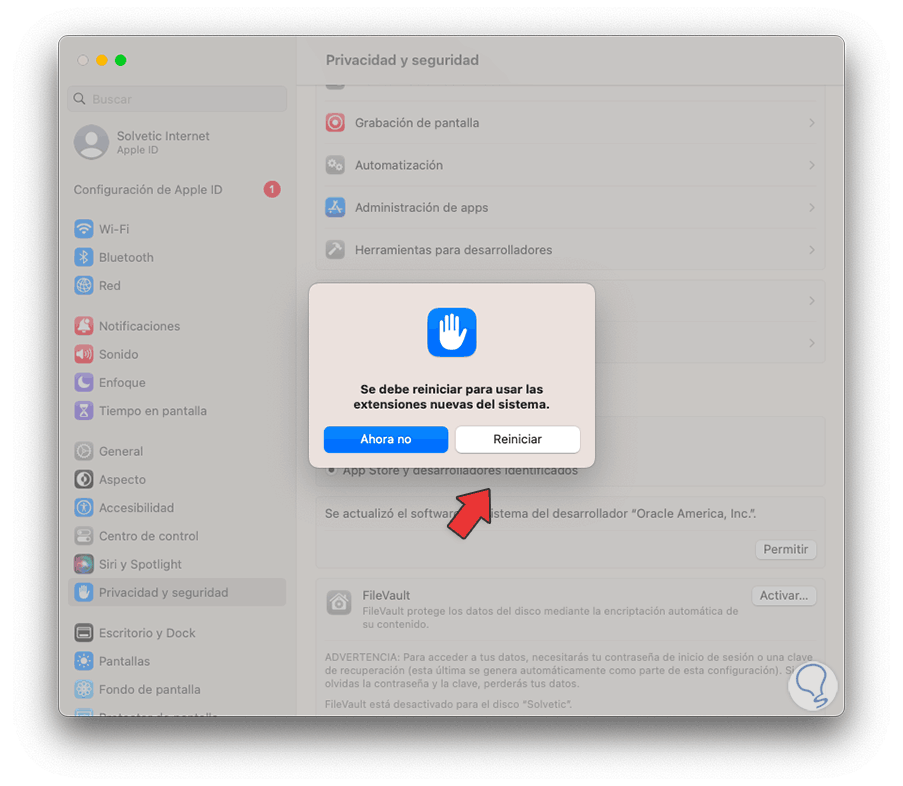
step 14
You will need to restart macOS to continue, but at this point BlueStacks has already been installed.
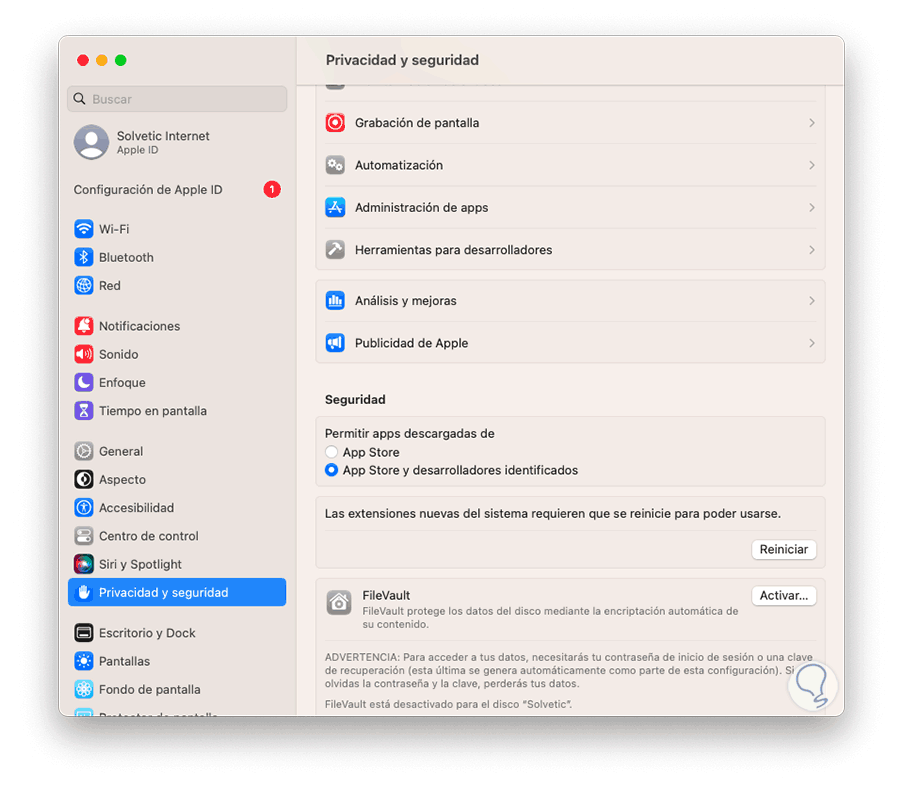
step 15
When restarting the computer we open BlueStacks and the BlueStacks Engine will load:
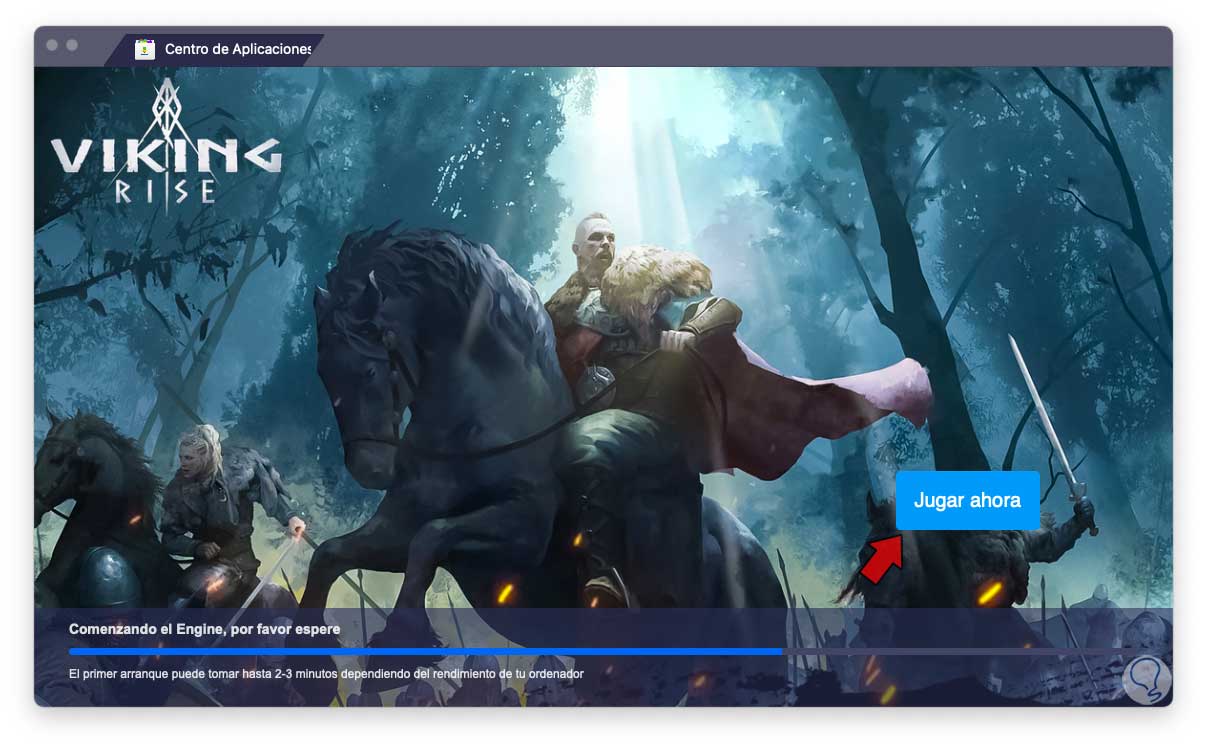
step 16
After a moment we will see the following:
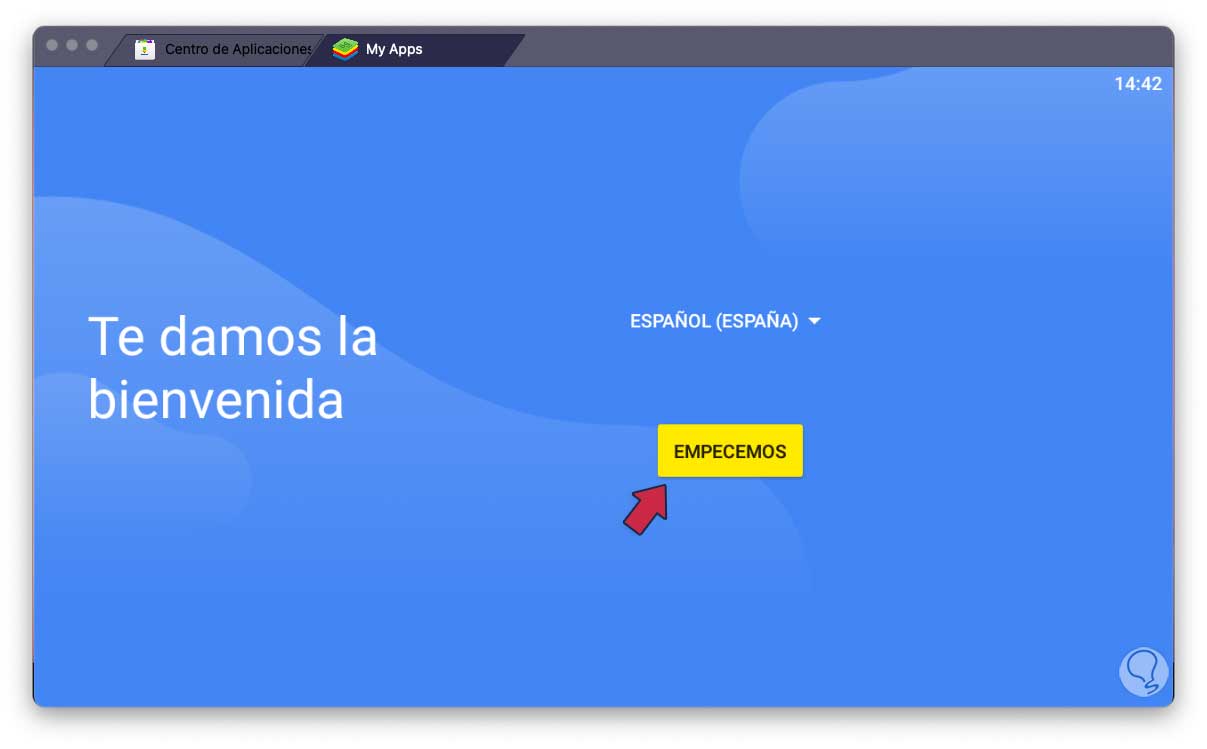
step 17
We click on "LET'S START" and we must wait for the processes to load:
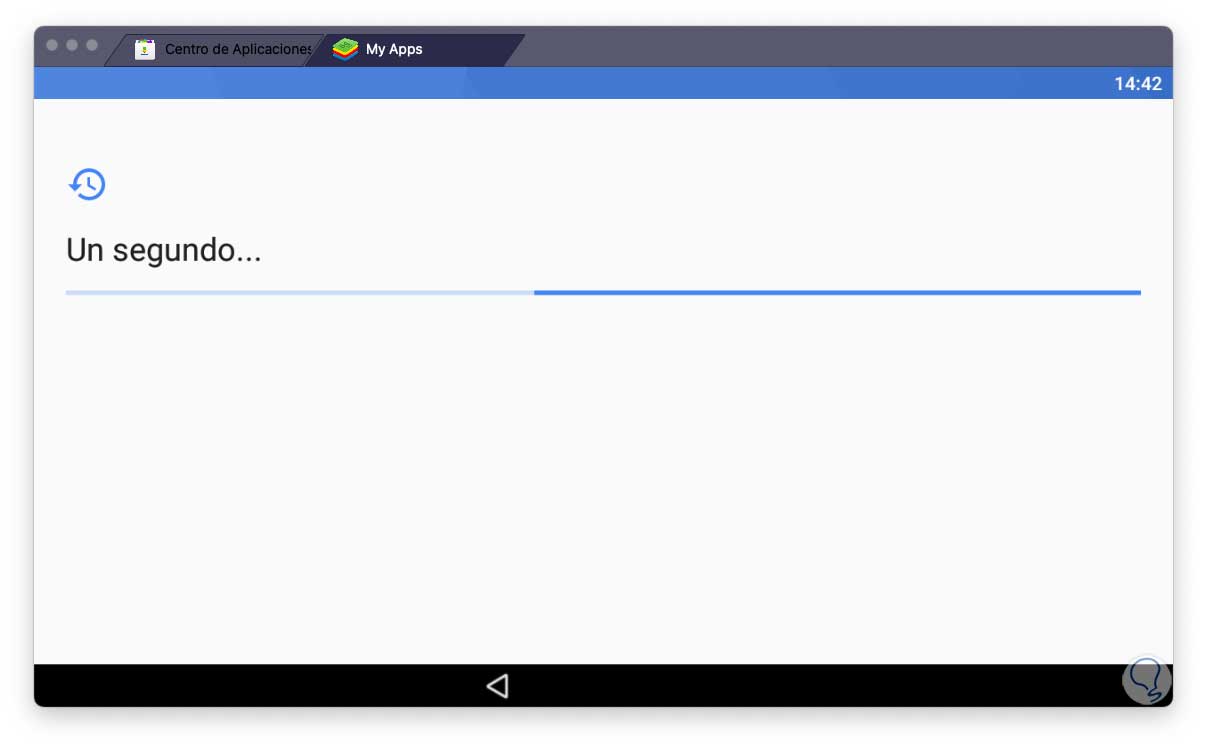
step 18
A check will be performed:
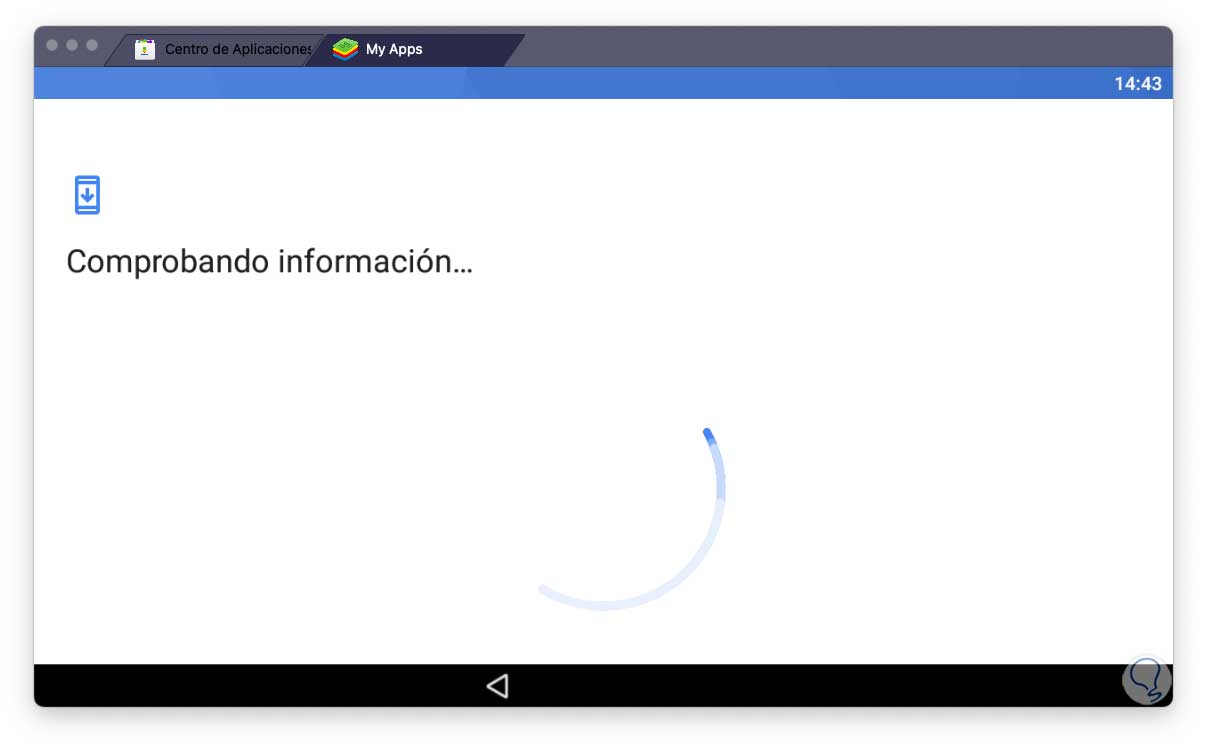
step 19
Now it will be necessary to enter a Gmail account:
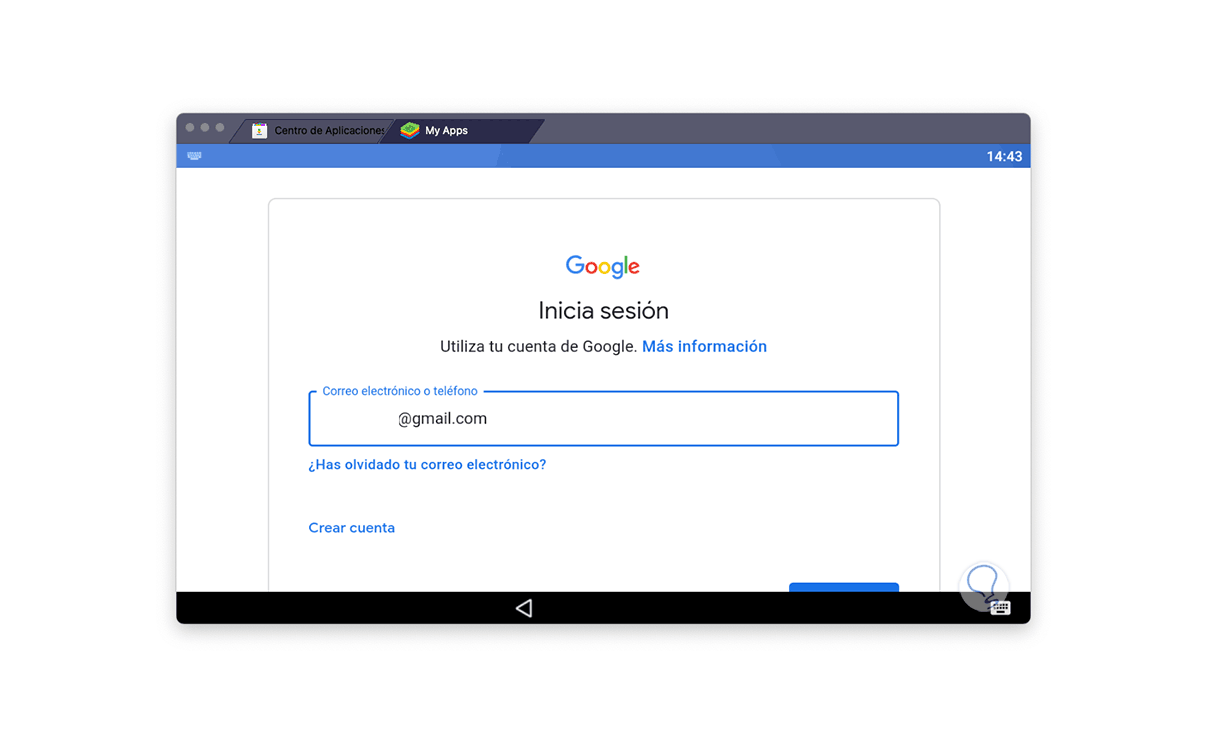
step 20
Press Enter and enter the Gmail password:
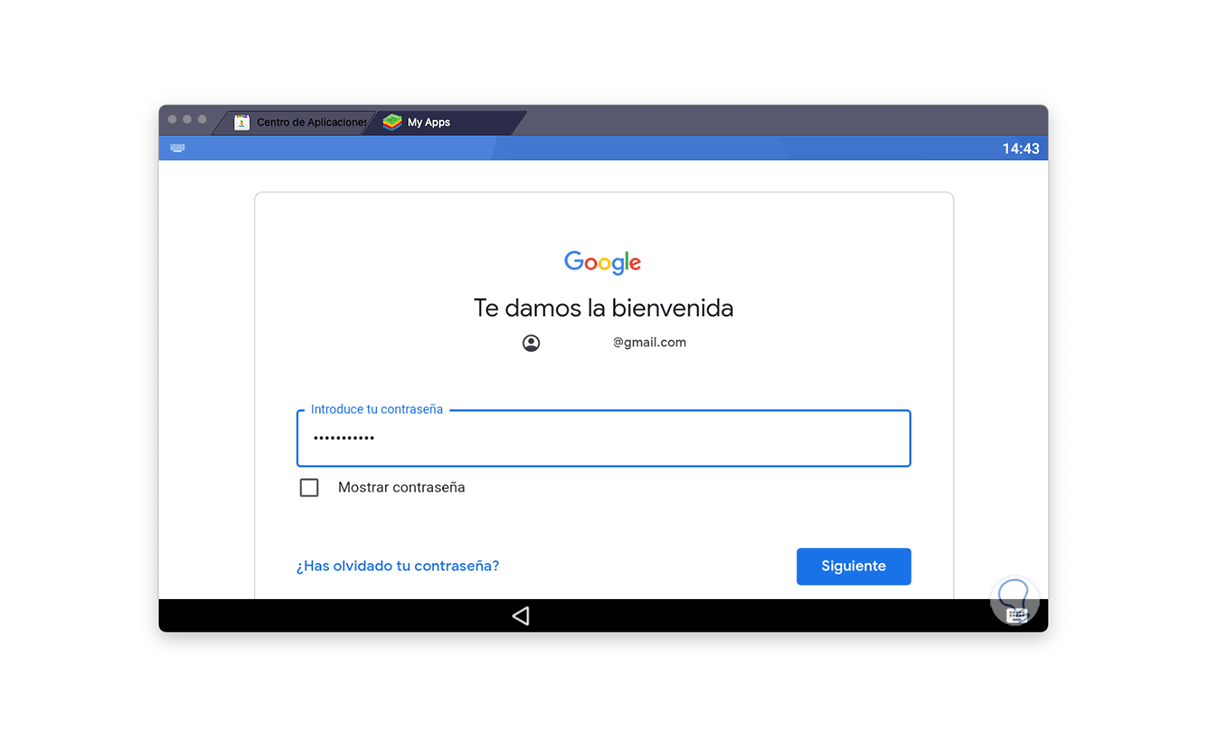
step 21
We click Next and accept the license:
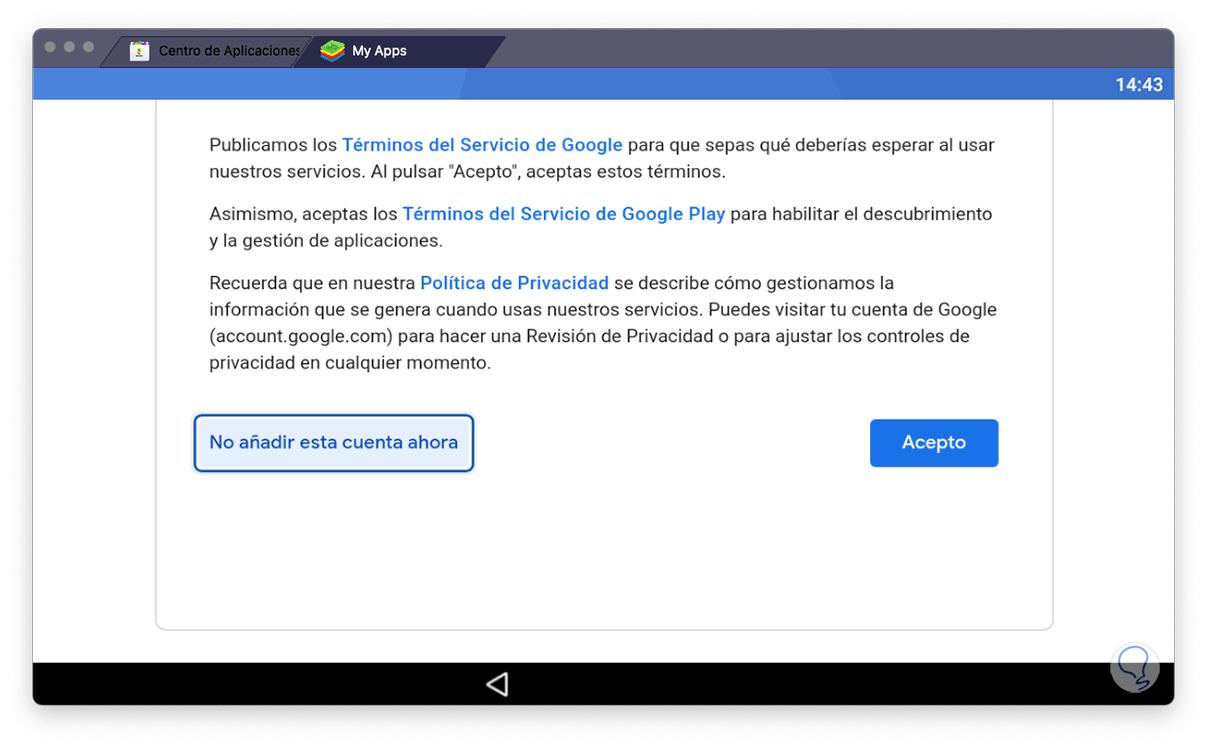
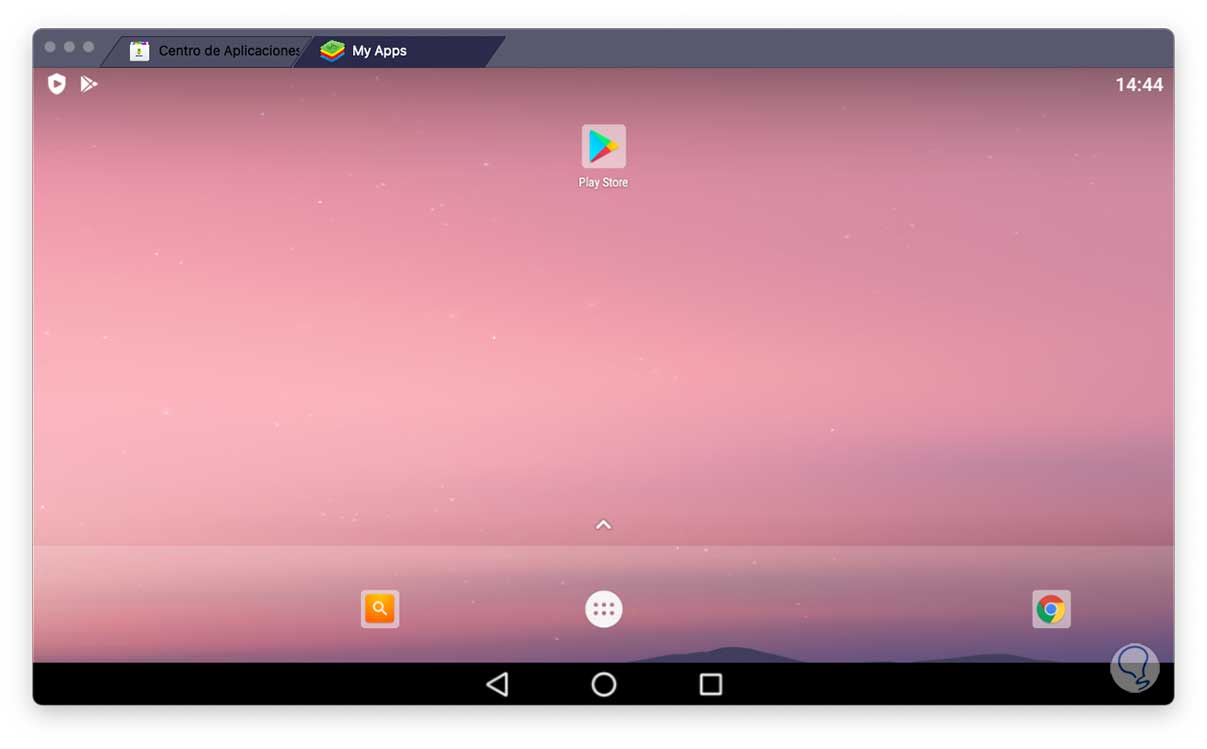
step 22
We click on I accept and an emulator of a mobile device will be loaded:
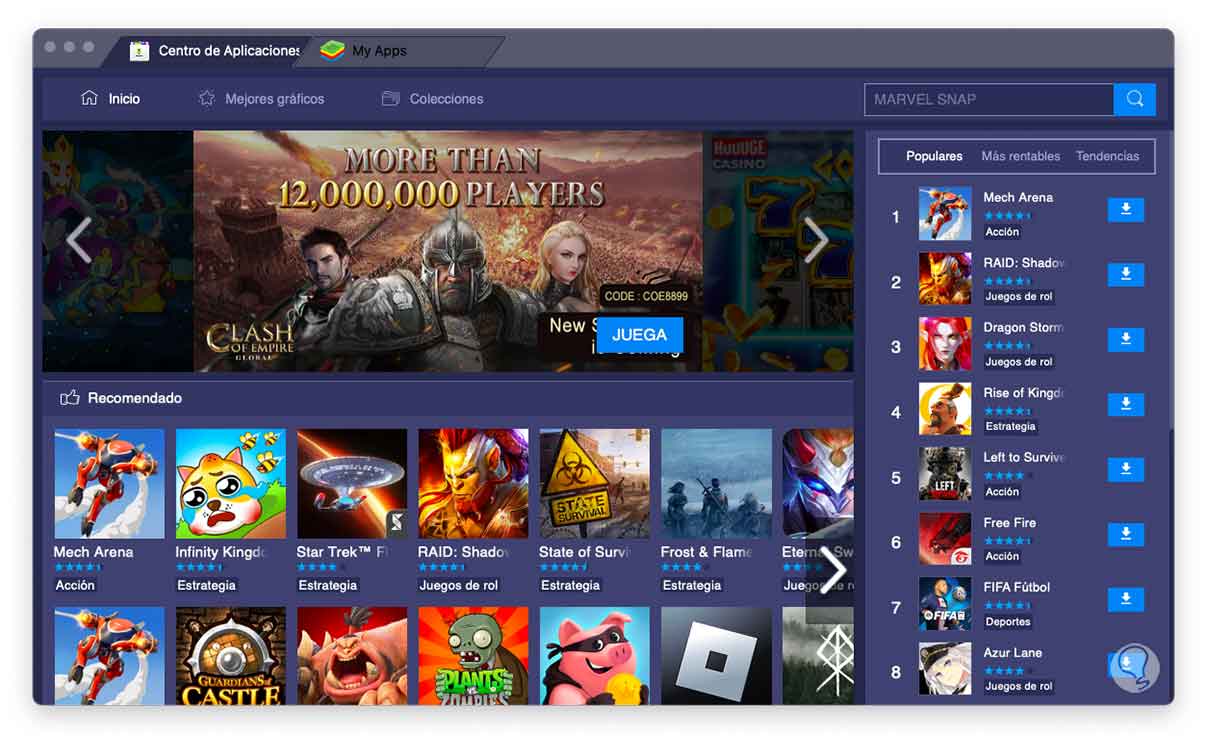
Step 23
In the "Application Center" tab it will be possible to choose what to install in BlueStacks:
step 24
The process is the traditional Android one, we select an app and the Play Store will open:
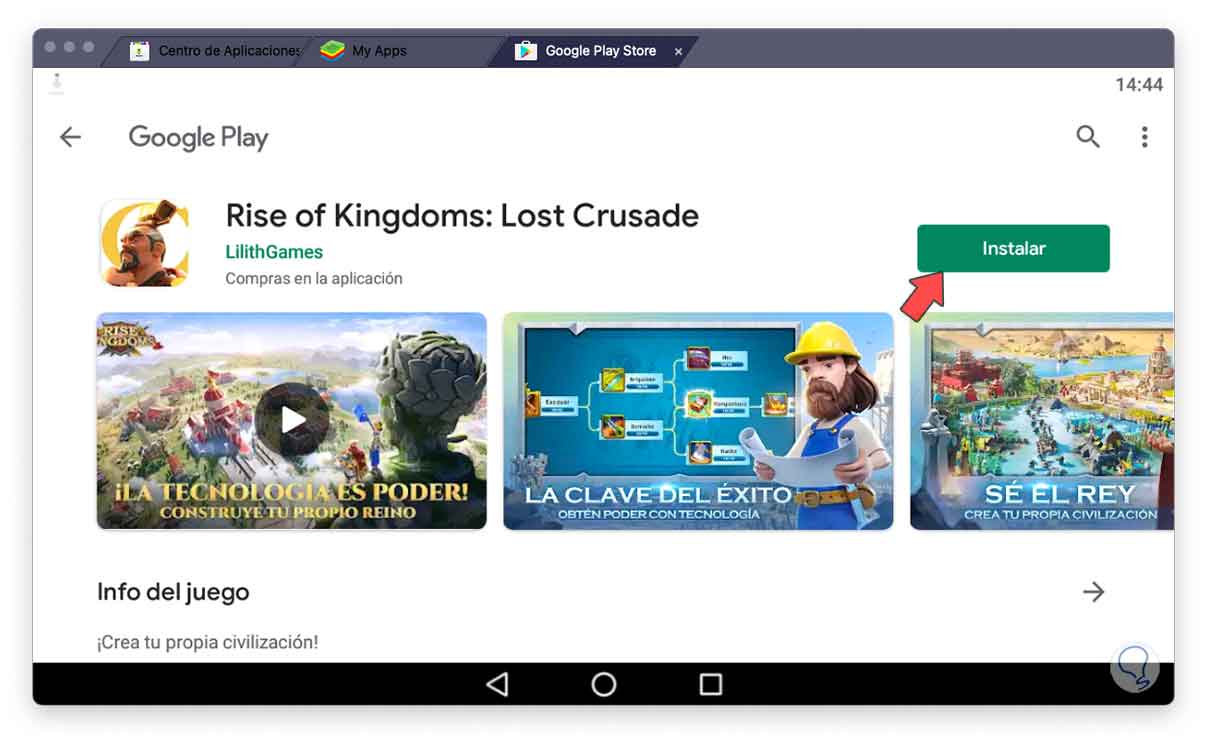
step 25
We click on "Install" so that the packages are loaded:
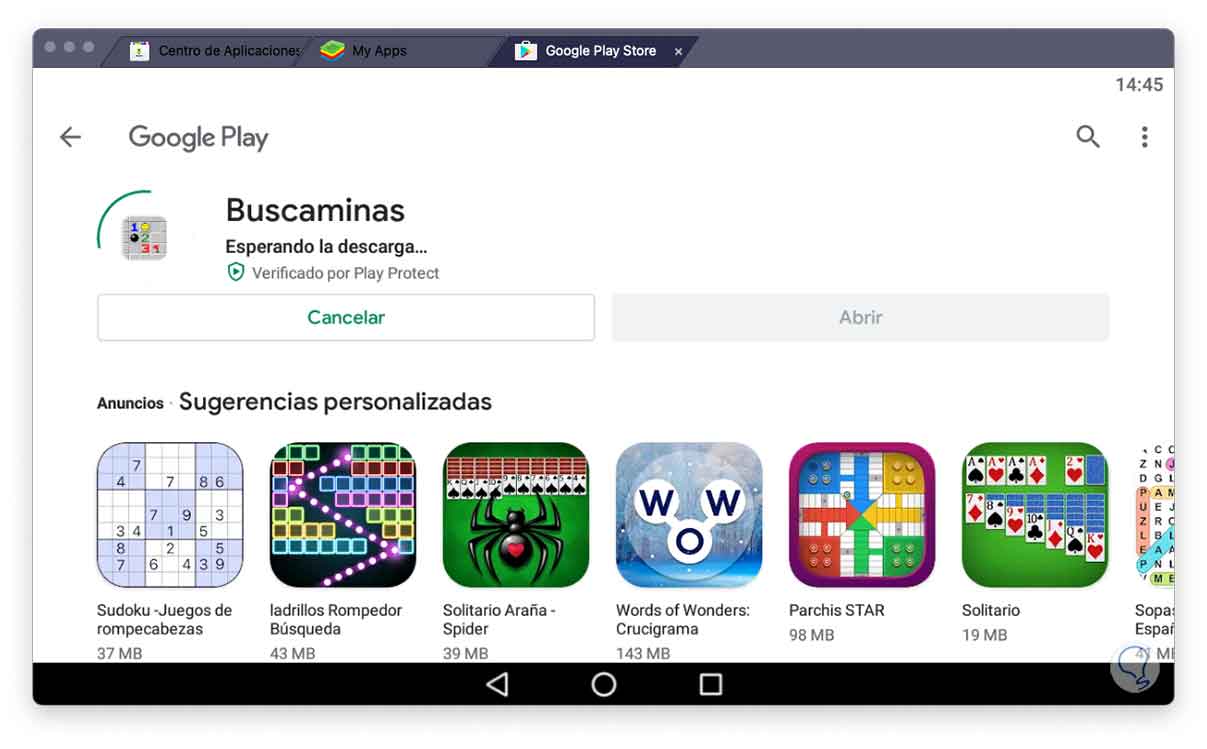
step 26
The app will be installed:
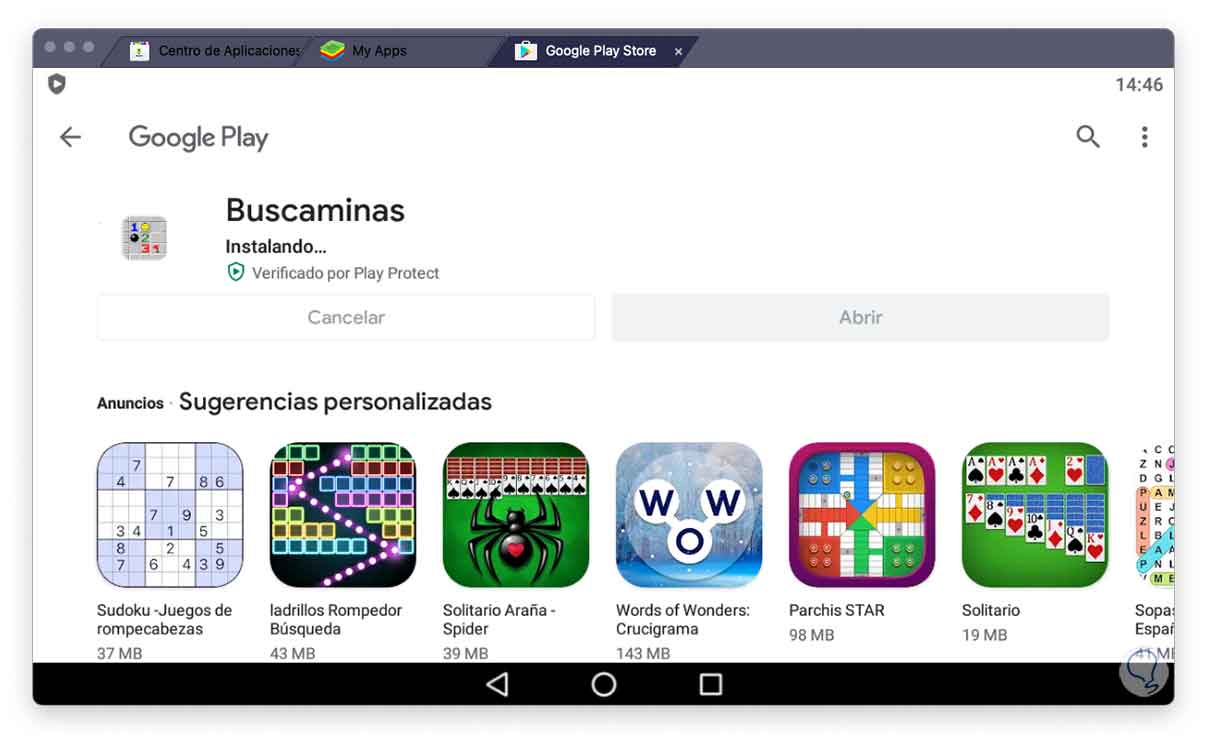
step 27
We wait for the installation to finish:
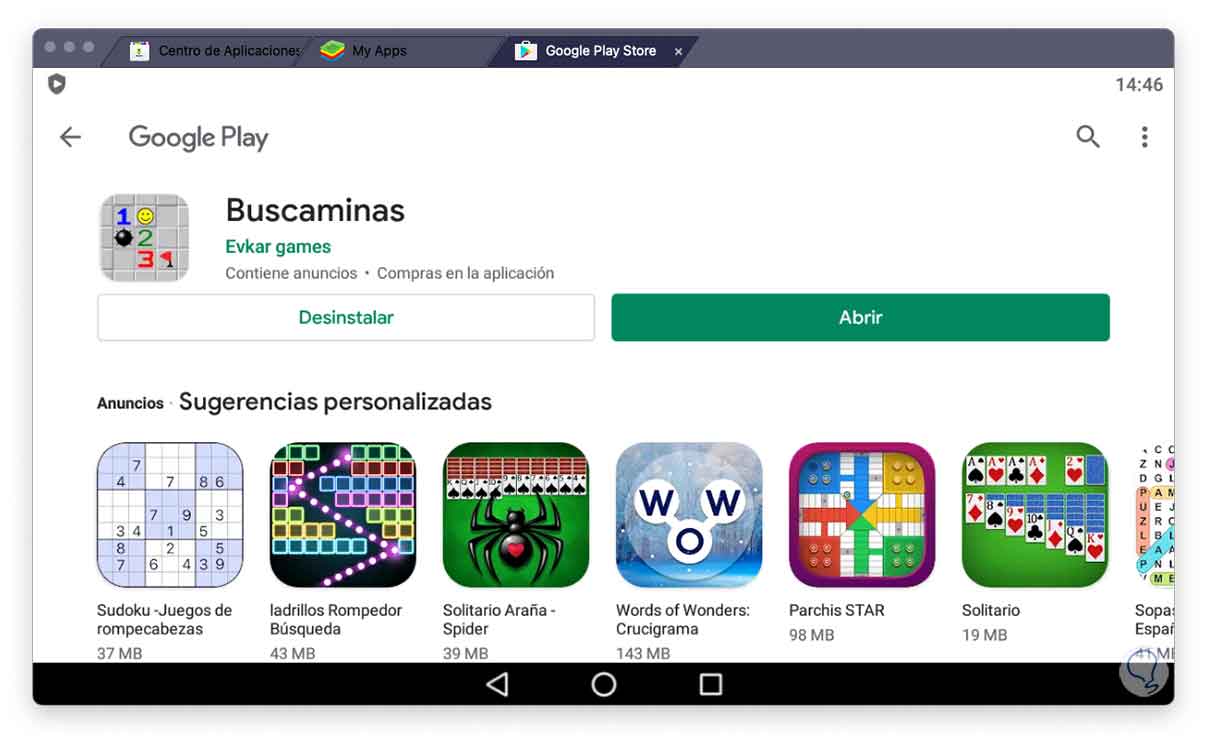
Step 28
When installed we can open it from the Play Store or from the access in the emulator:
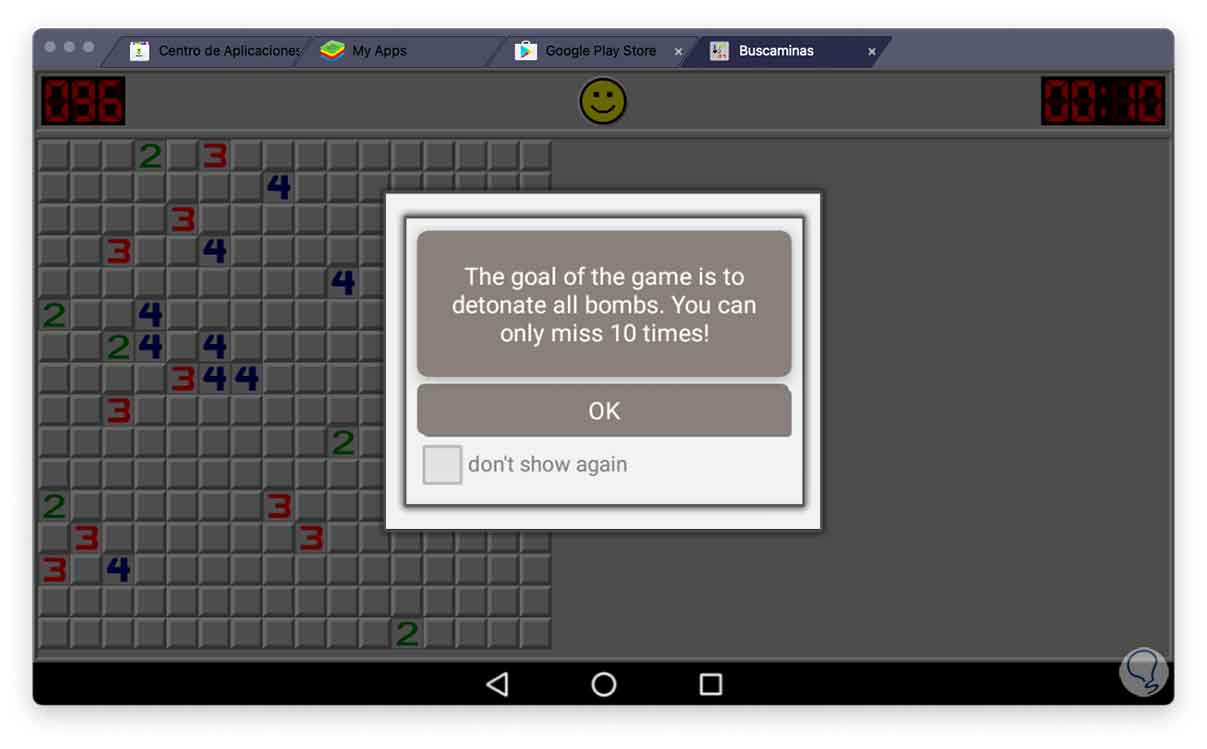
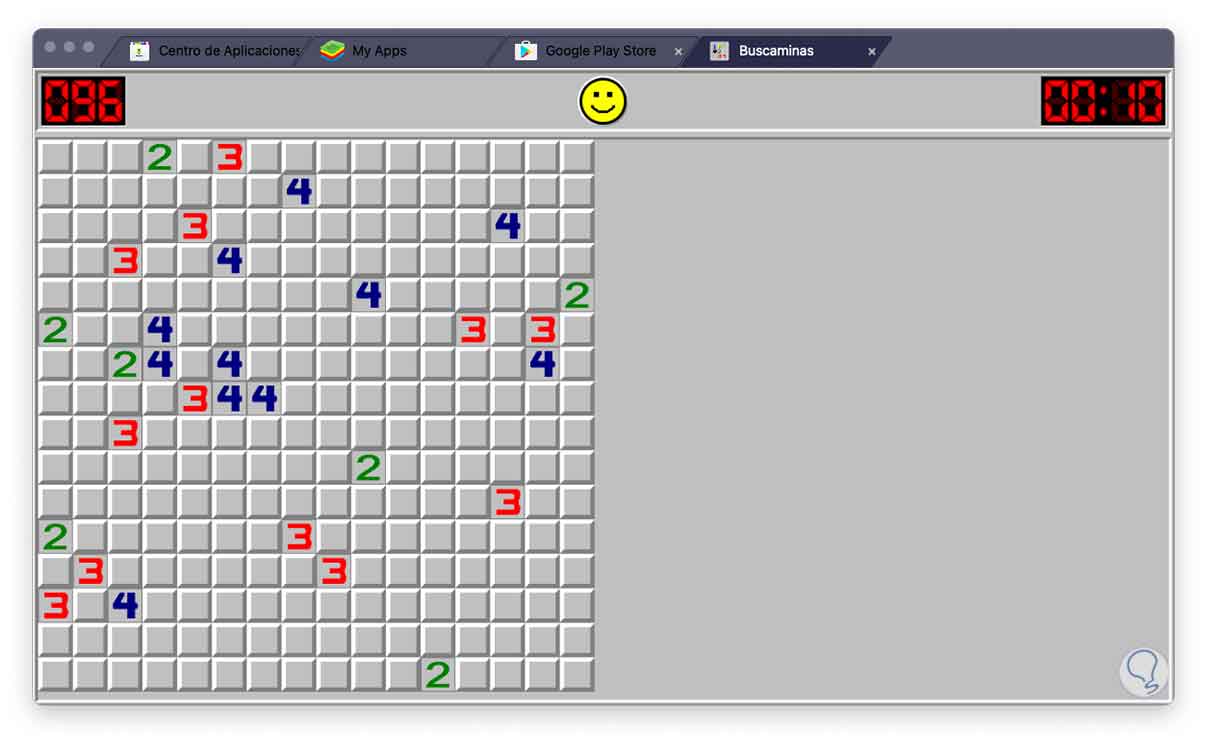
Step 29
We will see the active game:
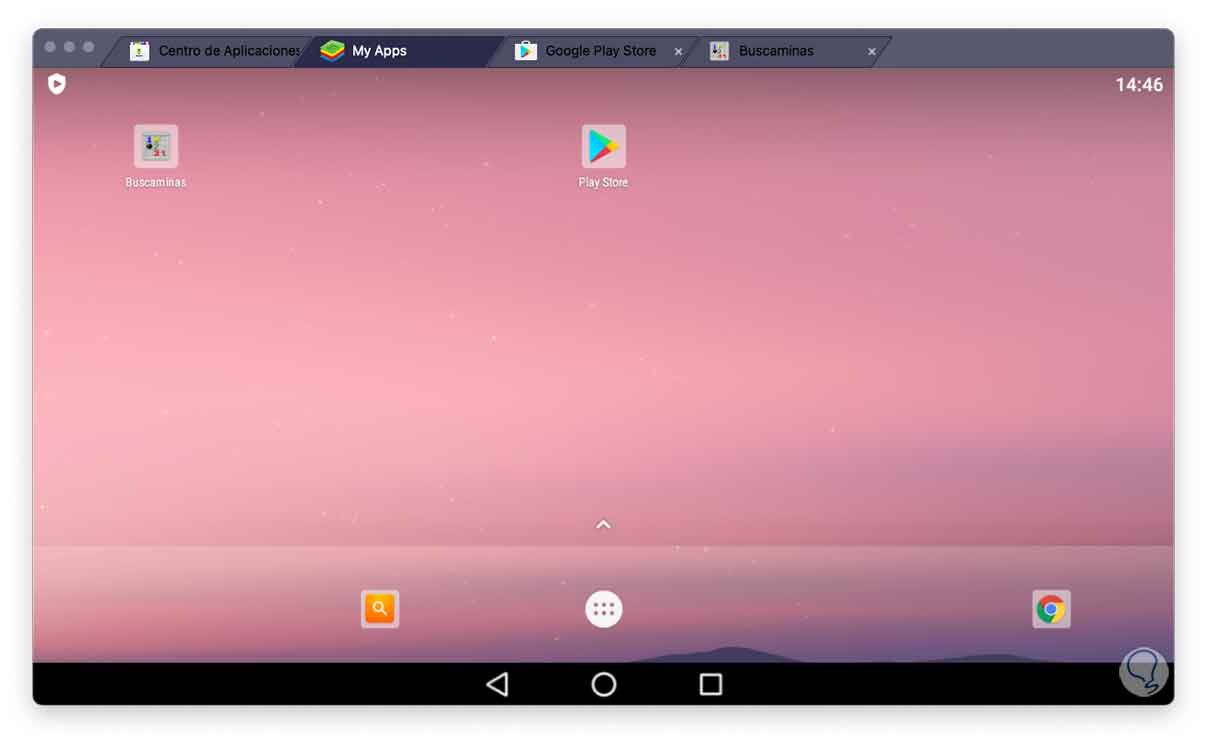
step 30
The game will run without issue and will be created as a shortcut on the screen:
We see how BlueStacks is currently the most used option to run Android applications on macOS:
2 How to install Android apps on macOS with Nox App Player
But we have another slightly simpler application called Nox App Player, this is an Android emulator to play mobile games on both Windows and macOS..
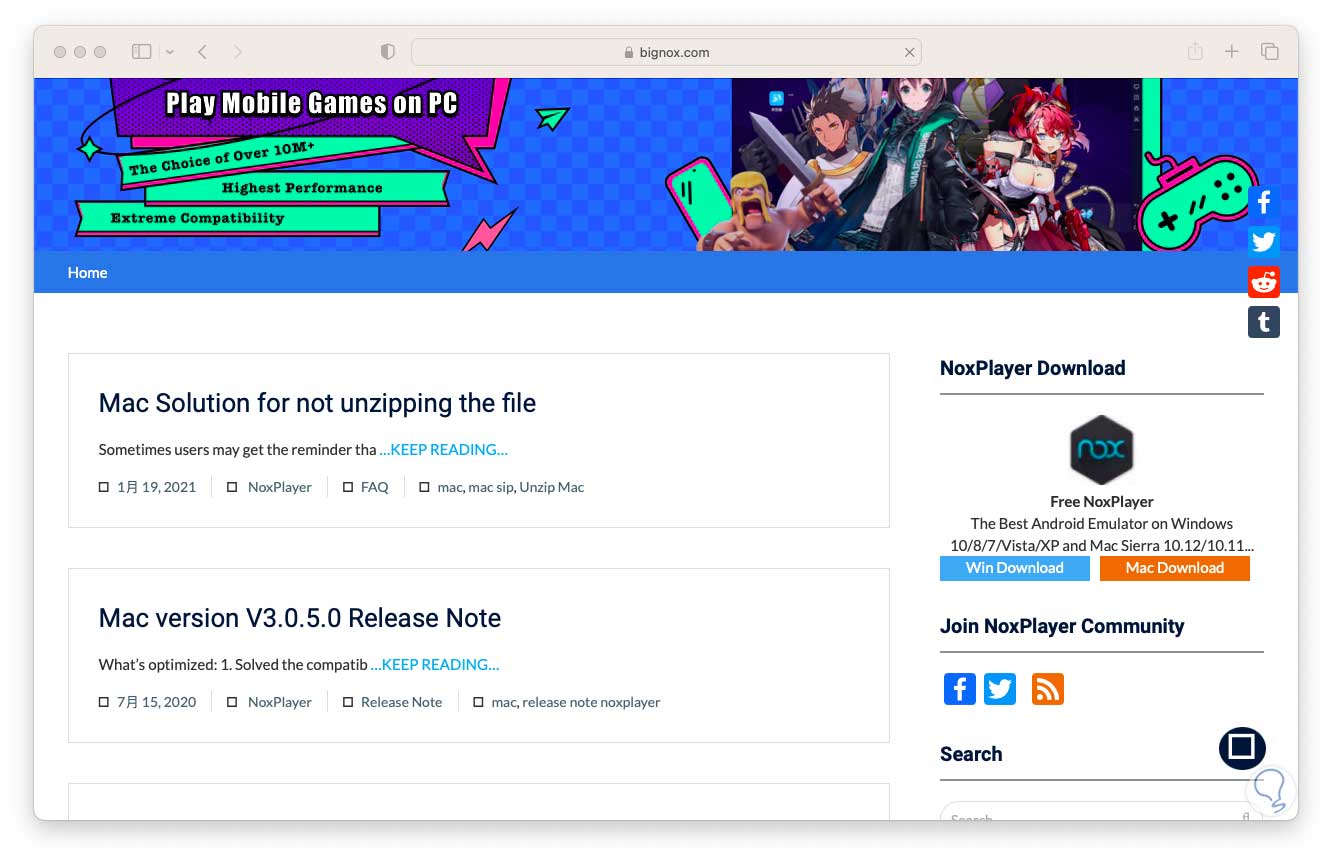
Step 1
Its download is available at the following link:
Nox App Player
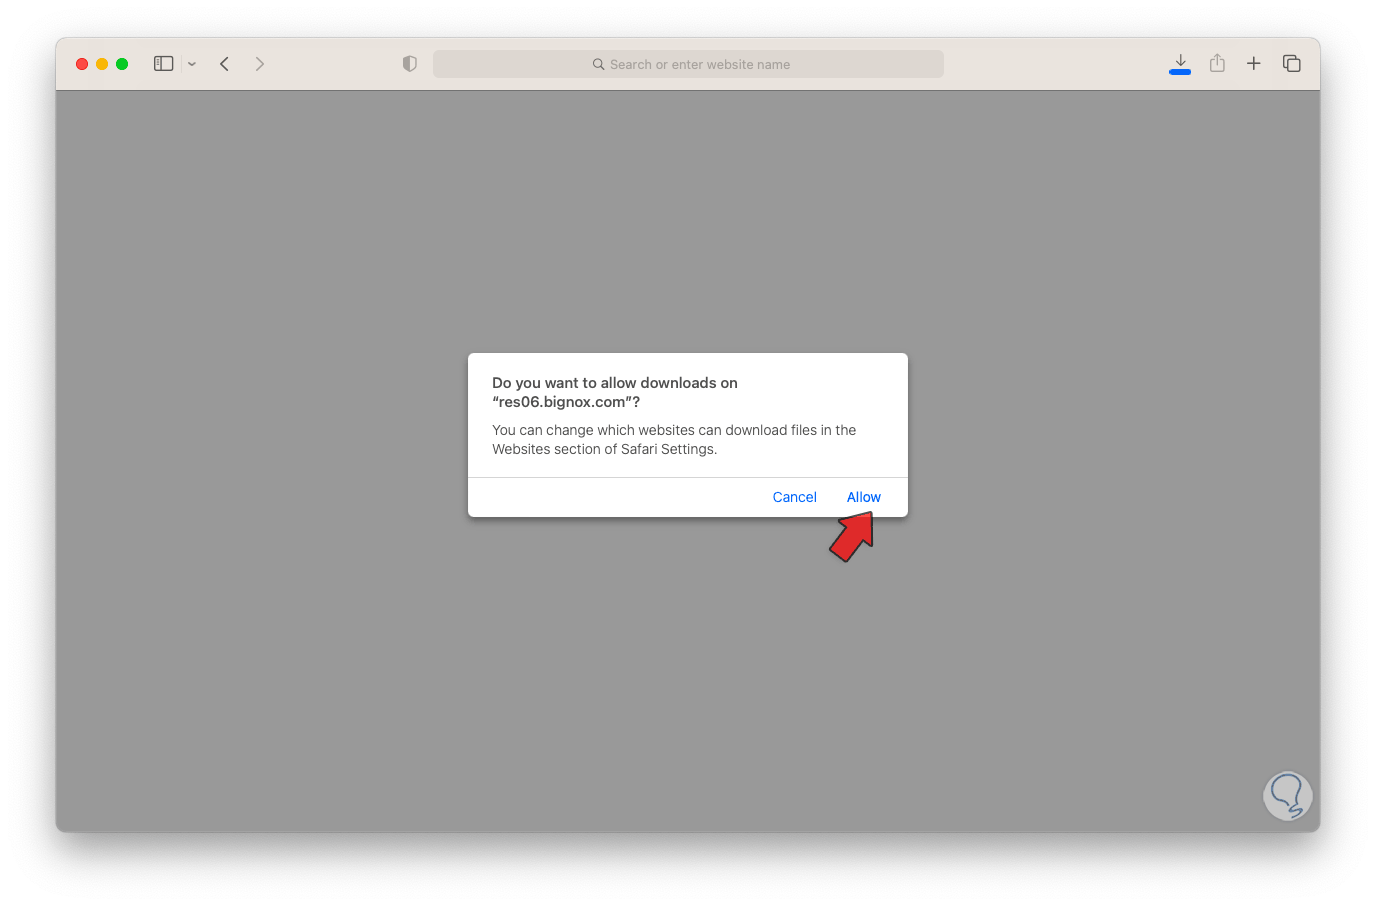
Step 2
There we must accept the download:
Step 3
Some of its features are:
- Integrates the Android 9 platform
- Option to play simultaneously
Step 4
We run the downloaded file to see the following:
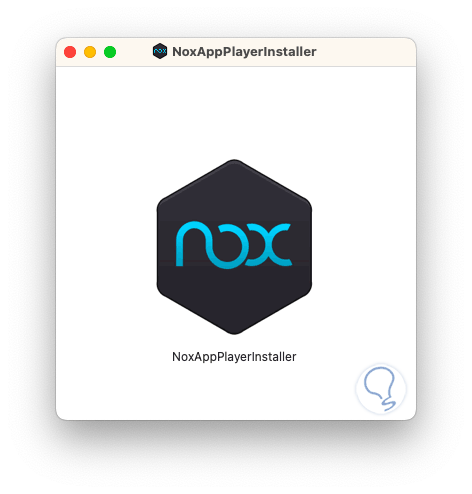
step 5
We double click on the executable and the installer will be verified:
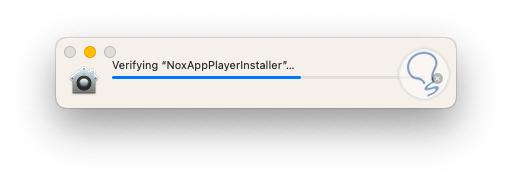
step 6
Now we will see the following:
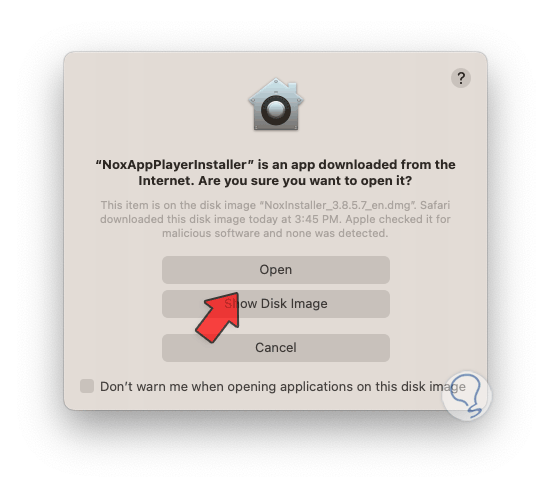
step 7
We click on Open to access the Nox installation process:
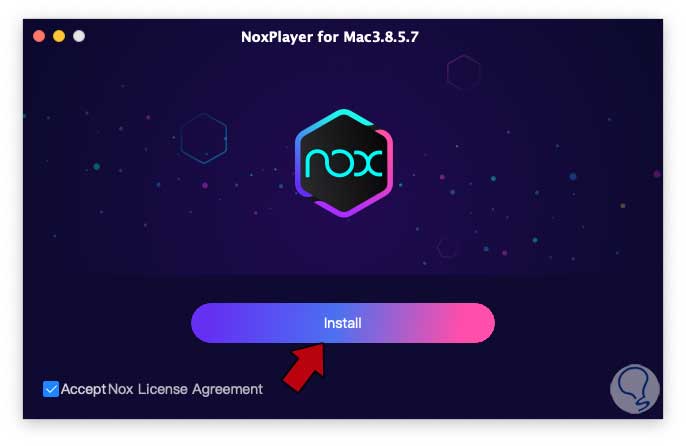
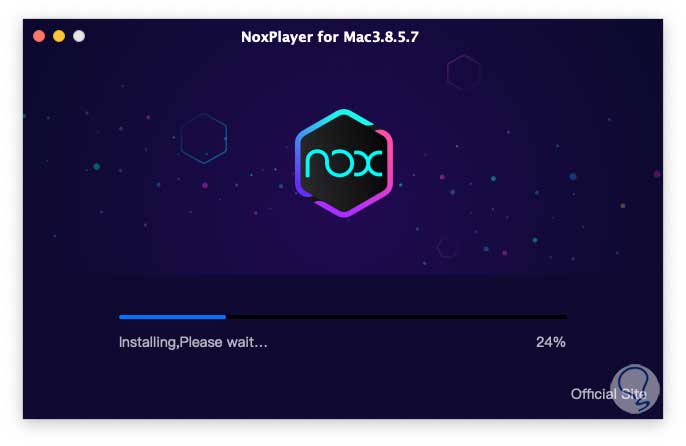
step 8
We click on "Install" and this task will start:
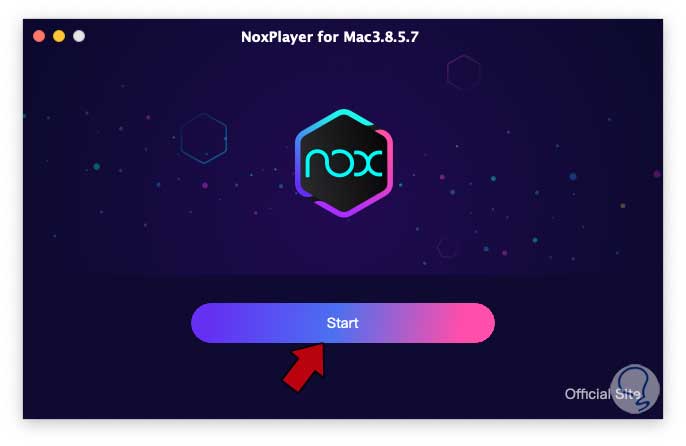
step 9
At the end we will see this. We click on "Start" for the emulator to be loaded:
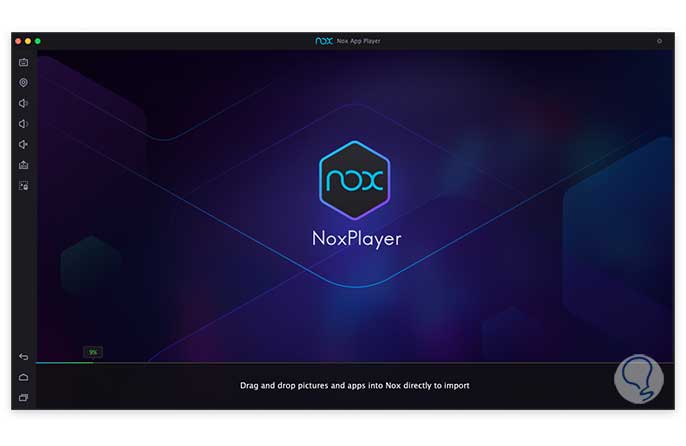
step 10
There we can directly drag the files to the app or search for them from the Store.
With this TechnoWikis has taught you how to install Android applications on Mac with fluency and normal operation.