One of the advantages of Linux distributions is its ability to install and manage multipurpose tools, one of the most popular is everything related to programming, Linux is an enriched platform for this type of task since, as we mentioned, it will be possible to make use of various platforms to expand this action and CMake is one of the best options available thanks to its cross-platform operation..
What is CMake
CMake is a group of open source cross-platform tools with which it is possible to create, test and package software in a simple way and with the best security and development options, CMake allows us to control the software compilation process using its platform and extra mode with the use of compiler-independent configuration files, this will result in native makefiles and workspaces ideal for use in the build environment to be used.
CMake is mostly used in the C and C++ languages, but it does not mean that it only applies to these two since it will be possible to compile source code from other compatible languages.
CMake Options
The global CMake options are as follows:
-S <path>: indicates the source directory
-B <directory_path>: refers to the build directory
-C <initial_cache>: preload a script to fill the cache
-D <var>[:<type>]=<value> – create or update a CMake cache entry
-G <generator>: indicates a build system generator
-T <tool_group>: refers to the name of the toolset to see its compatibility with the generator
--install-prefix <directory> Indicates the installation directory
-wdev: enable developer warnings
-wno-dev: ignore developer warnings
--preset <preset>: indicates a configuration default value
--list-presets: apply the list of presets
-E: is the CMake command mode
--build <dir>: build a binary tree generated by CMake
-N: makes use of display mode
--trace: Set CMake to trace mode
TechnoWikis will explain how to install CMake on Linux and for this case we will use Ubuntu.
To stay up to date, remember to subscribe to our YouTube channel! SUBSCRIBE
How to install CMake on Linux
Step 1
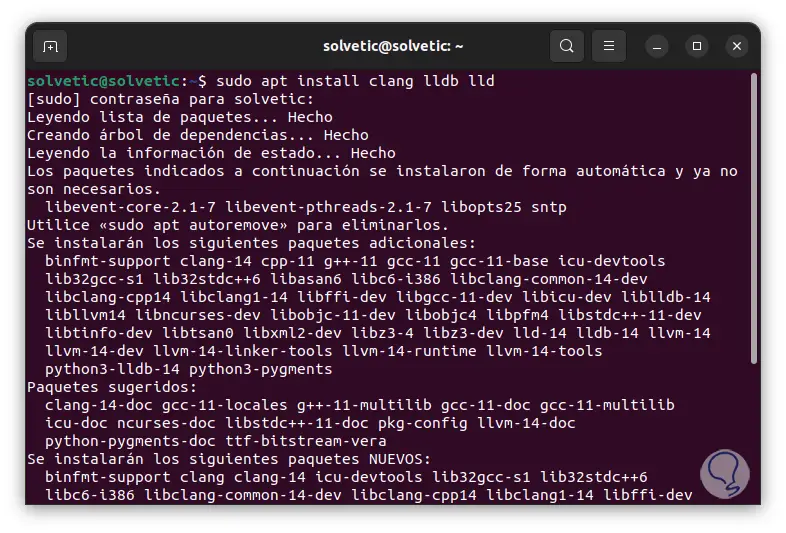
We open the terminal and install the initial utilities with the command:
sudo apt install clang lldb lld
Step 2
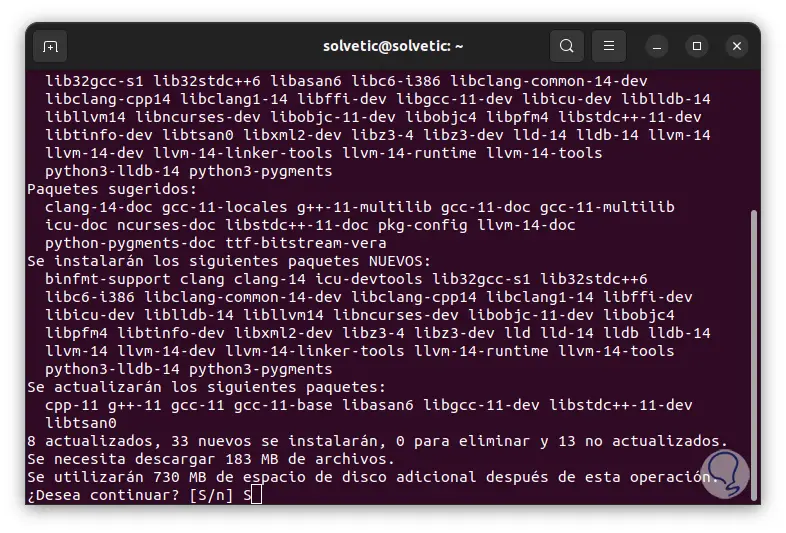
We must confirm this process by entering the letter S:
Step 3
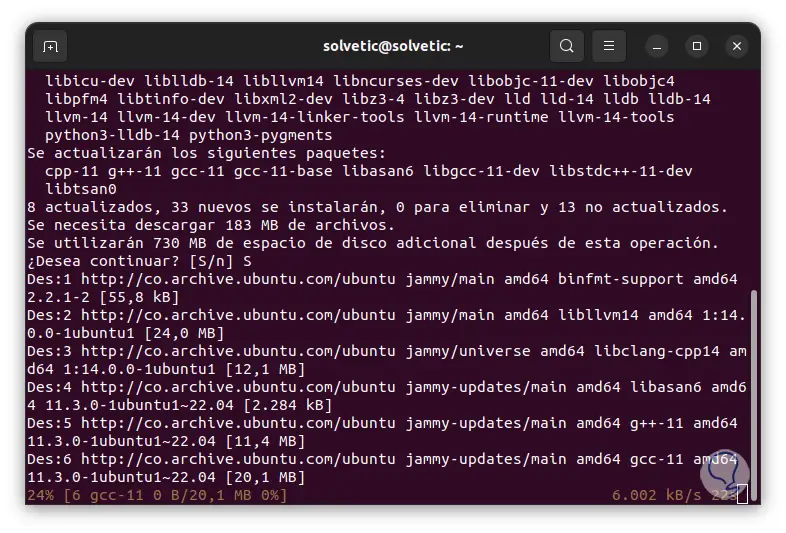
The download and installation will start:
Step 4
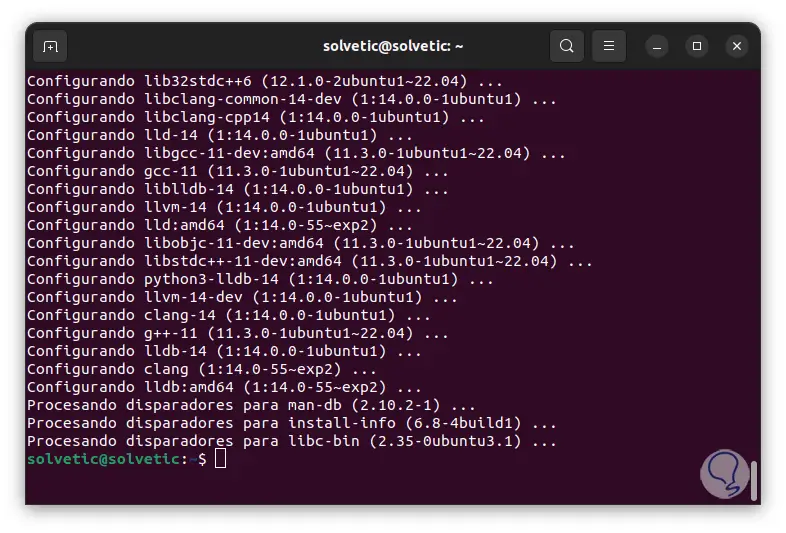
At the end of this process we will see the following:
step 5
Clang is a language interface and tool framework available for the C languages (C, C++, Objective C/C++, OpenCL, CUDA, and RenderScript) and for the LLVM project, it is integrated by a GCC-compliant compiler driver (clang ) and a compiler driver that is compatible with MSVC (clang-cl.exe), within its features we find:
- Architecture based on the modular library model
- Fast builds and low memory usage so you don't exceed resources
- Integrates a unified parser for C, Objective C, C++, and Objective C++
step 6
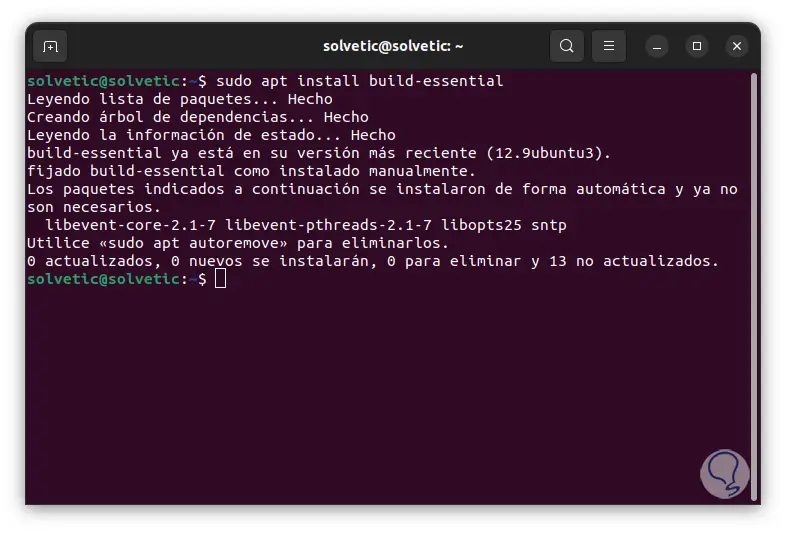
Now we install GCC:
sudo apt install build-essential
step 7
GCC (GNU Compiler Collection) are a group of GNU compilers for C, C++, Objective-C, Fortran, Ada, Go and D interfaces, some of its features are:
- It has multiple language interfaces
- Compatible with 64-bit microcontrollers, DSPs and CPUs
step 8
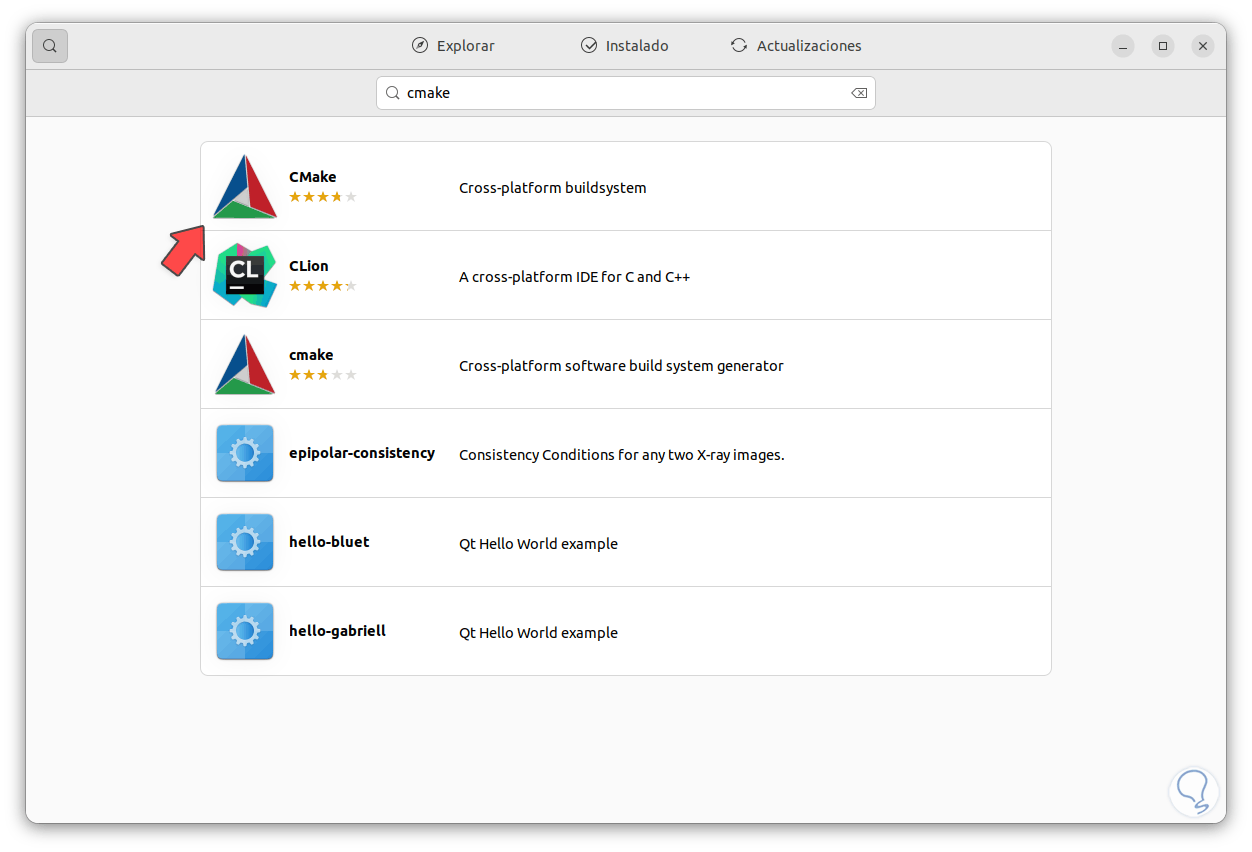
Once this is installed, we open Ubuntu Software to find and install CMake:
step 9
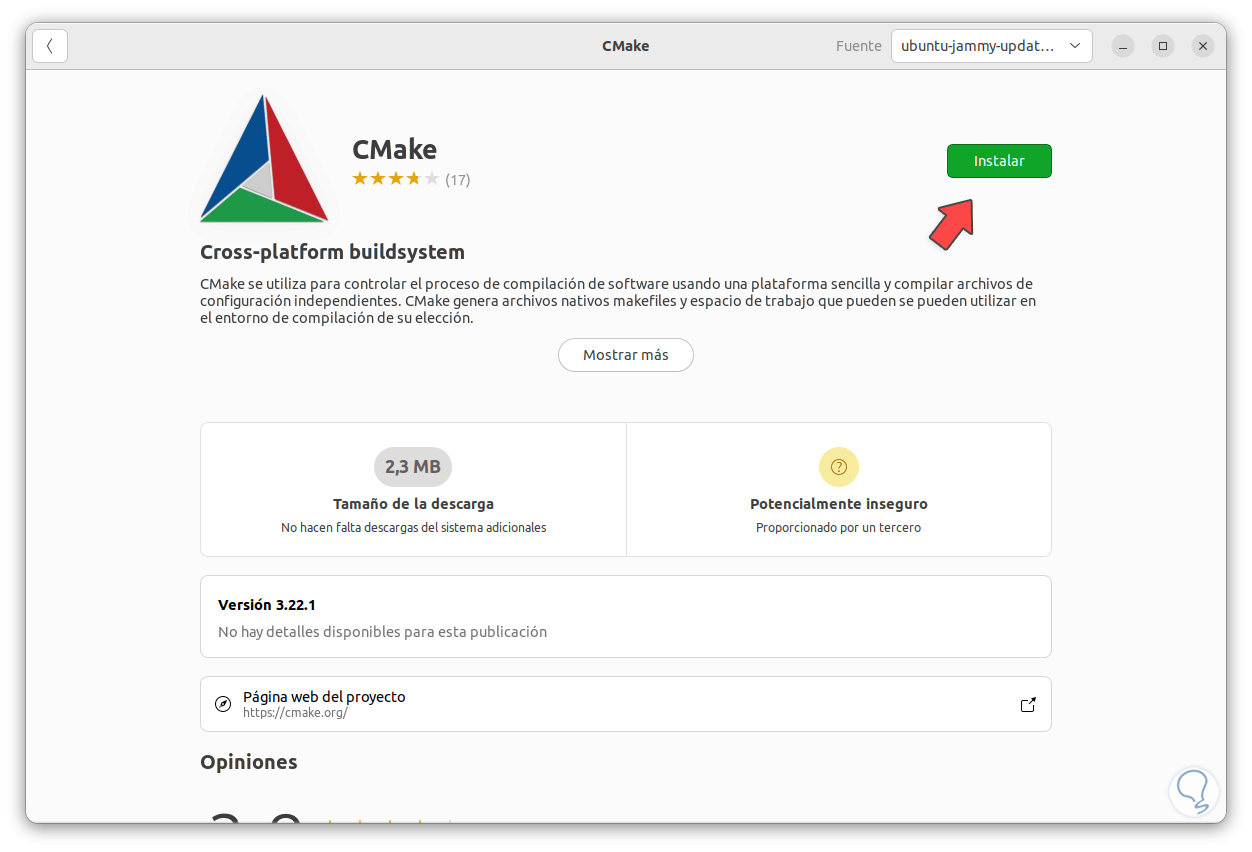
We click on CMake to see the following:
step 10
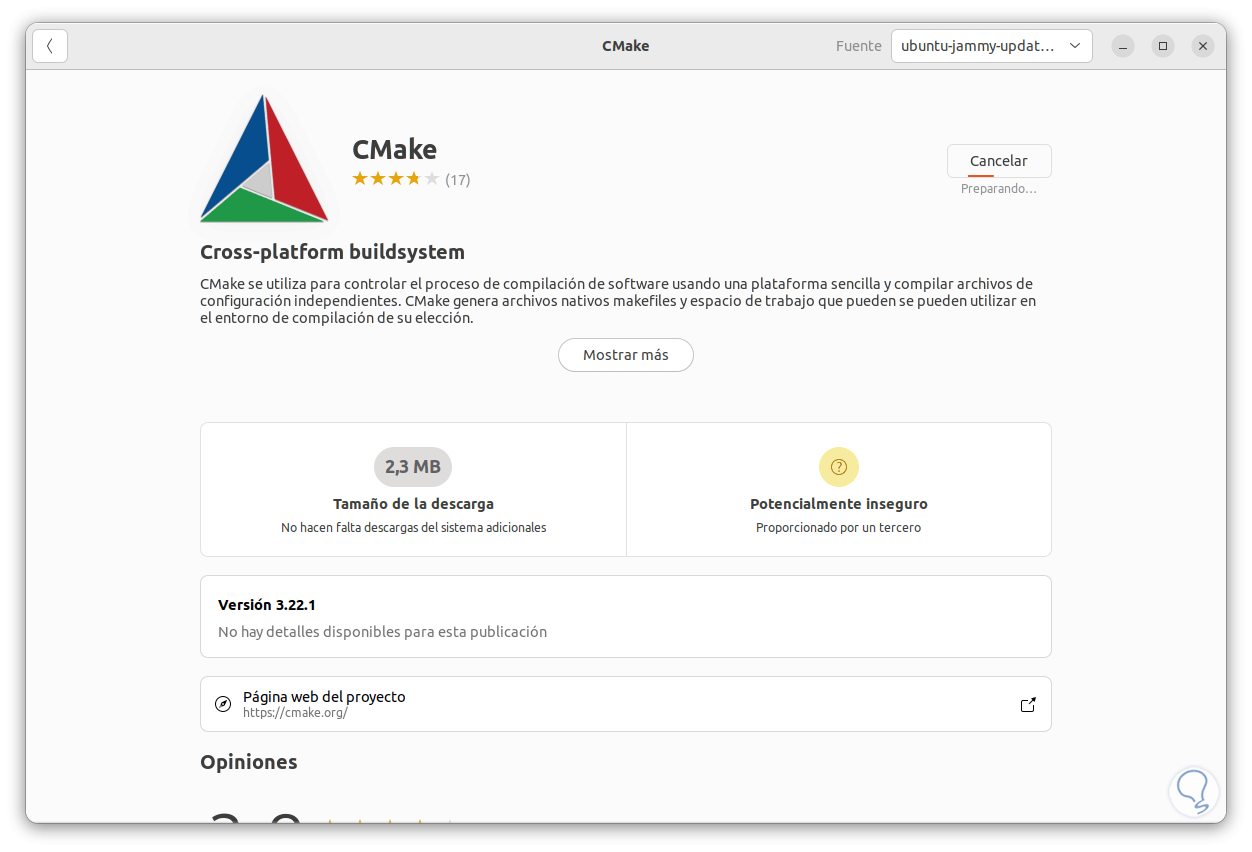
We click on Install, confirm the password and the installation will take place:
step 11
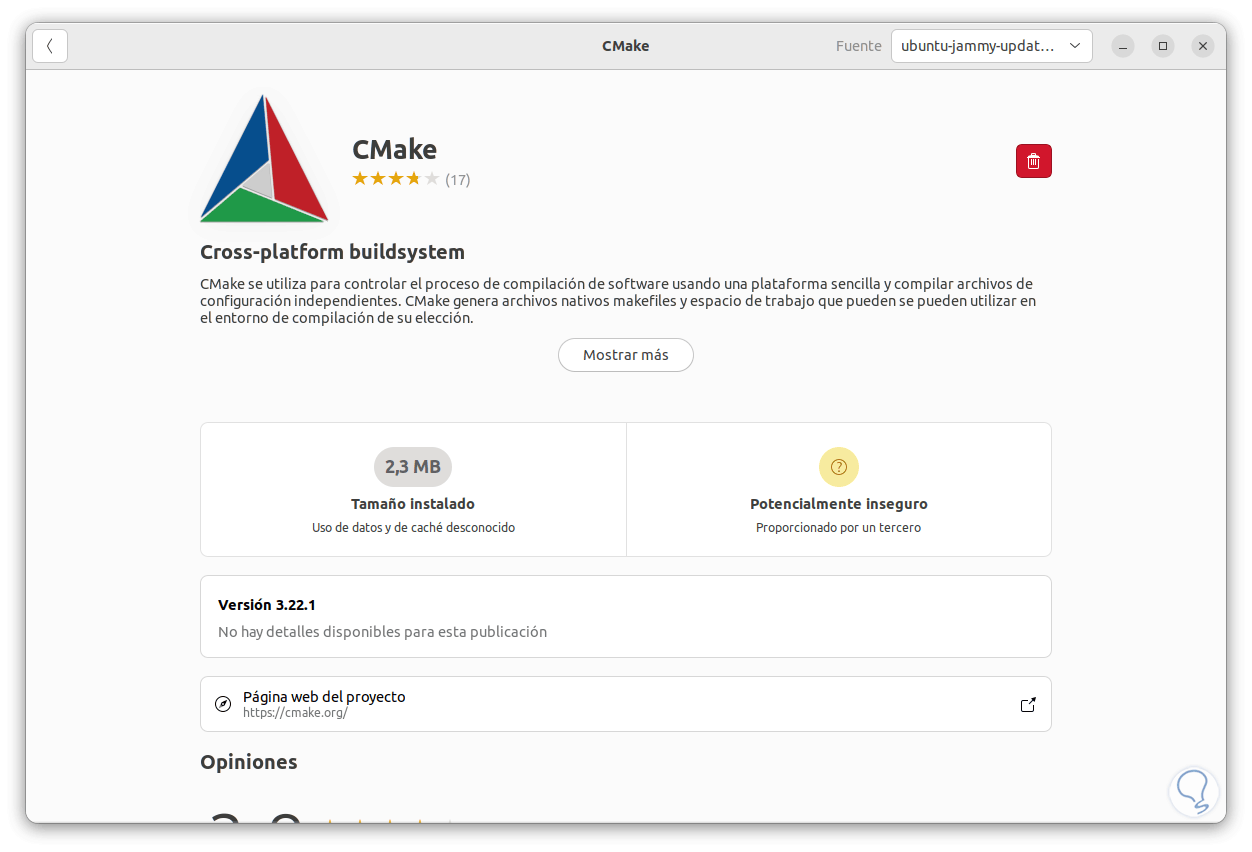
At the end we will see the following:
step 12
The syntax to use CMake on Linux is as follows:
cmake -DCMAKE_SHARED_LINKER_FLAGS="-fuse-ld=<linker>" -DCMAKE_EXE_LINKER_FLAGS="-fuse-ld= <linker" -DCMAKE_CXX_COMPILER=<C++ compiler>
step 13
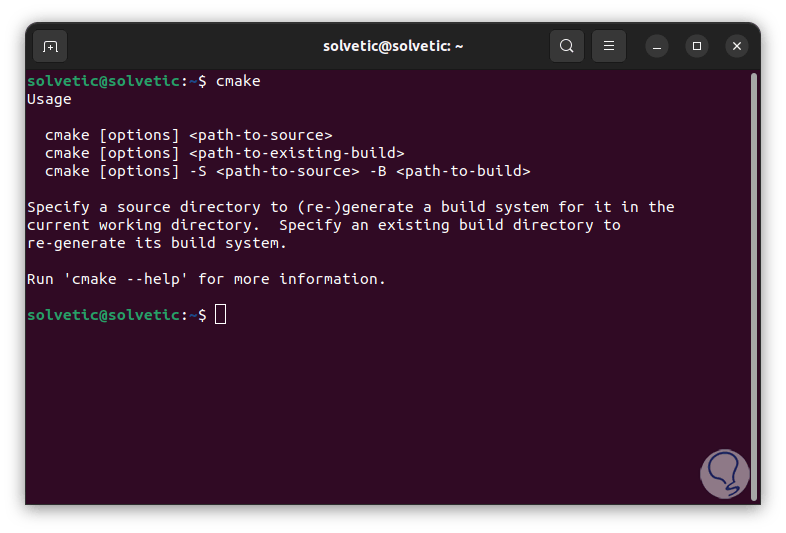
In the terminal we execute "cmake" to see the available options:
step 14
CMake can use generators for platforms like:
CMake is a valuable tool if your focus is development, thanks to its functions, this task will become something extremely simple but full of expansion options..