Java JDK (Java Development kit) integrates tools with which it is possible to develop, test and monitor programs that have been written in Java and whose execution is carried out on the Java platform, JDK is composed of:
Java Tools
- Executables in the bin/ path
- Configuration files located in conf/
- C headers in the include/ path
- Compiled Java modules in jmods/
java composition
Now, Java is made up of:
- Java Runtime Environment (JRE) , this is already preset with the Java installation
- JRE, there we find Java Virtual Machine (JVM), in it are different Java core classes and Java platform libraries
New java version
Currently Java JDK is in version 19 which offers us features such as:
- New system properties for System.out and System.err
- Additional date and time formats
- Binding support for HTTPS channel for Java GSS/Kerberos
- New methods to create pre-allocated HashMaps and HashSets
- Support for PAC-RET protection for Linux/AArch64
- Automatic CDS file generation
- Updated Windows KeyStore with which local machine location access is integrated
- Added a -providerPath option to jarsigner
- New XML processing limits
In this tutorial we will see how to install Java JDK on macOS Ventura..
To stay up to date, remember to subscribe to our YouTube channel! SUBSCRIBE ON YOUTUBE
How to install Java JDK on macOS Ventura
Step 1
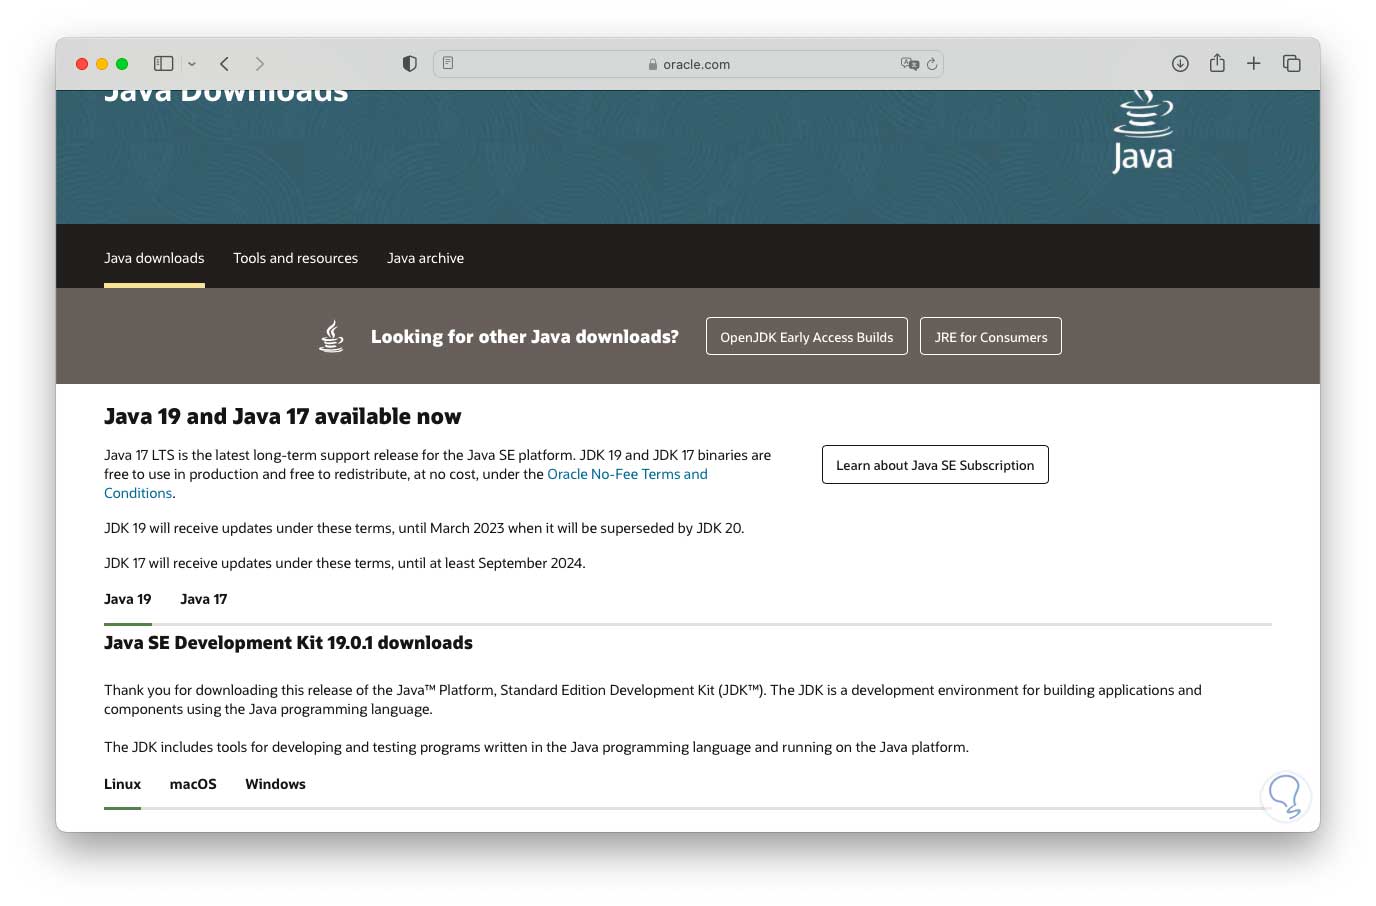
The first thing is to go to the Java JDK URL in the following link:
Java JDK
Step 2
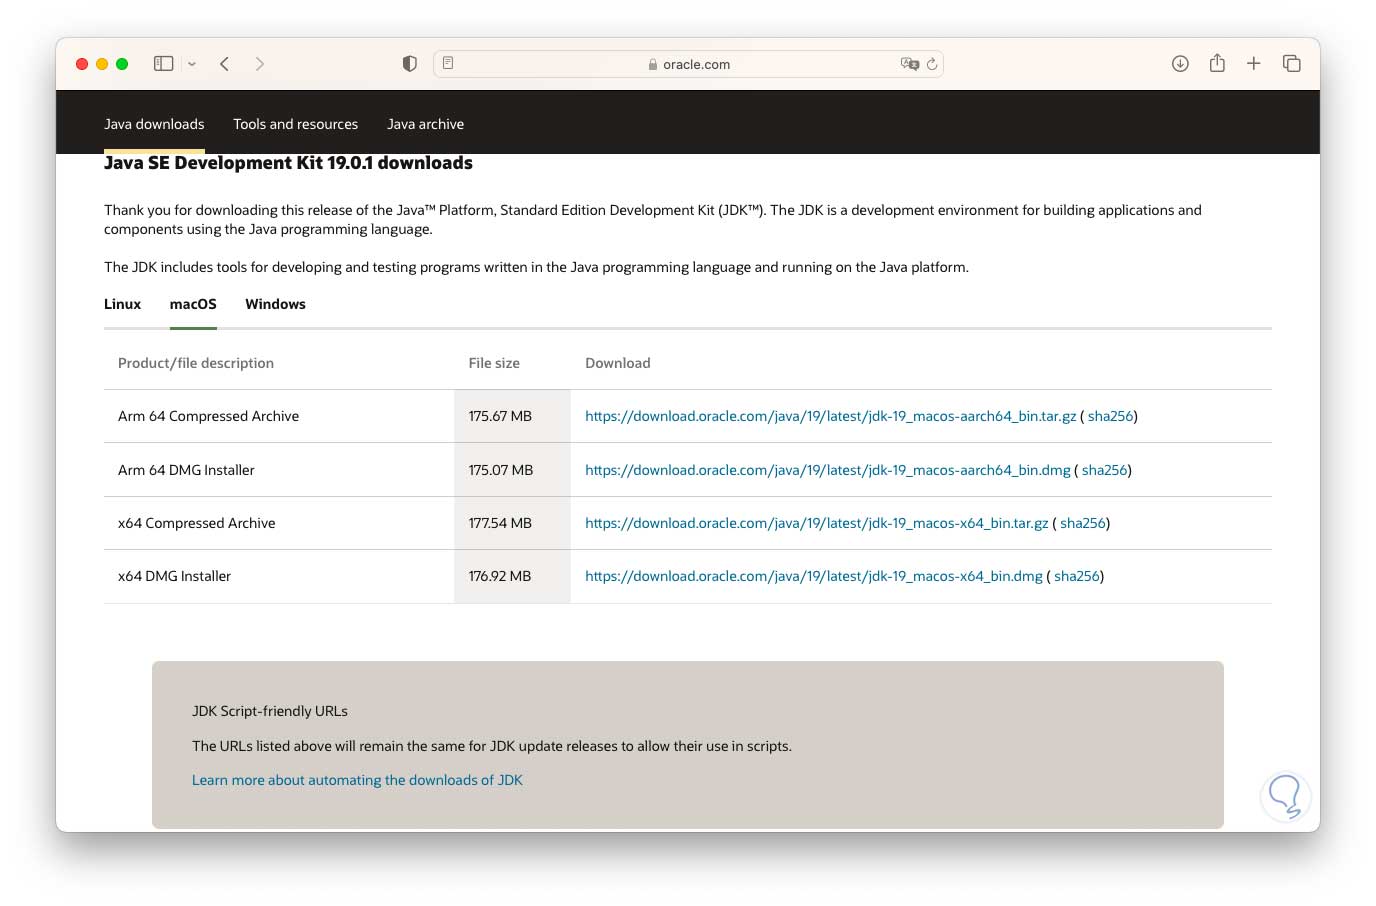
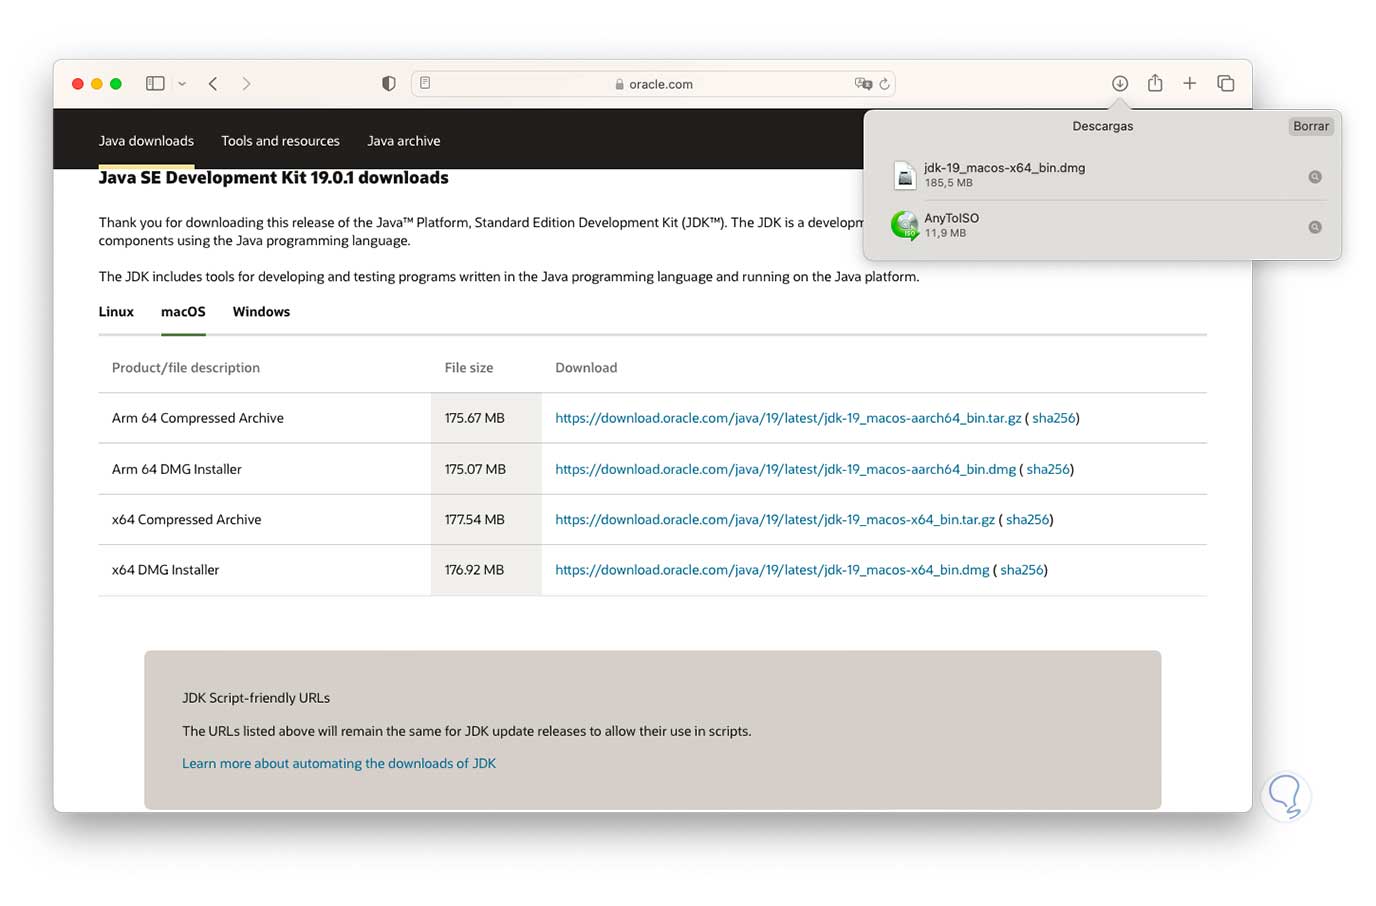
We go to the macOS section and there we download the version of macOS DMG:
Step 3
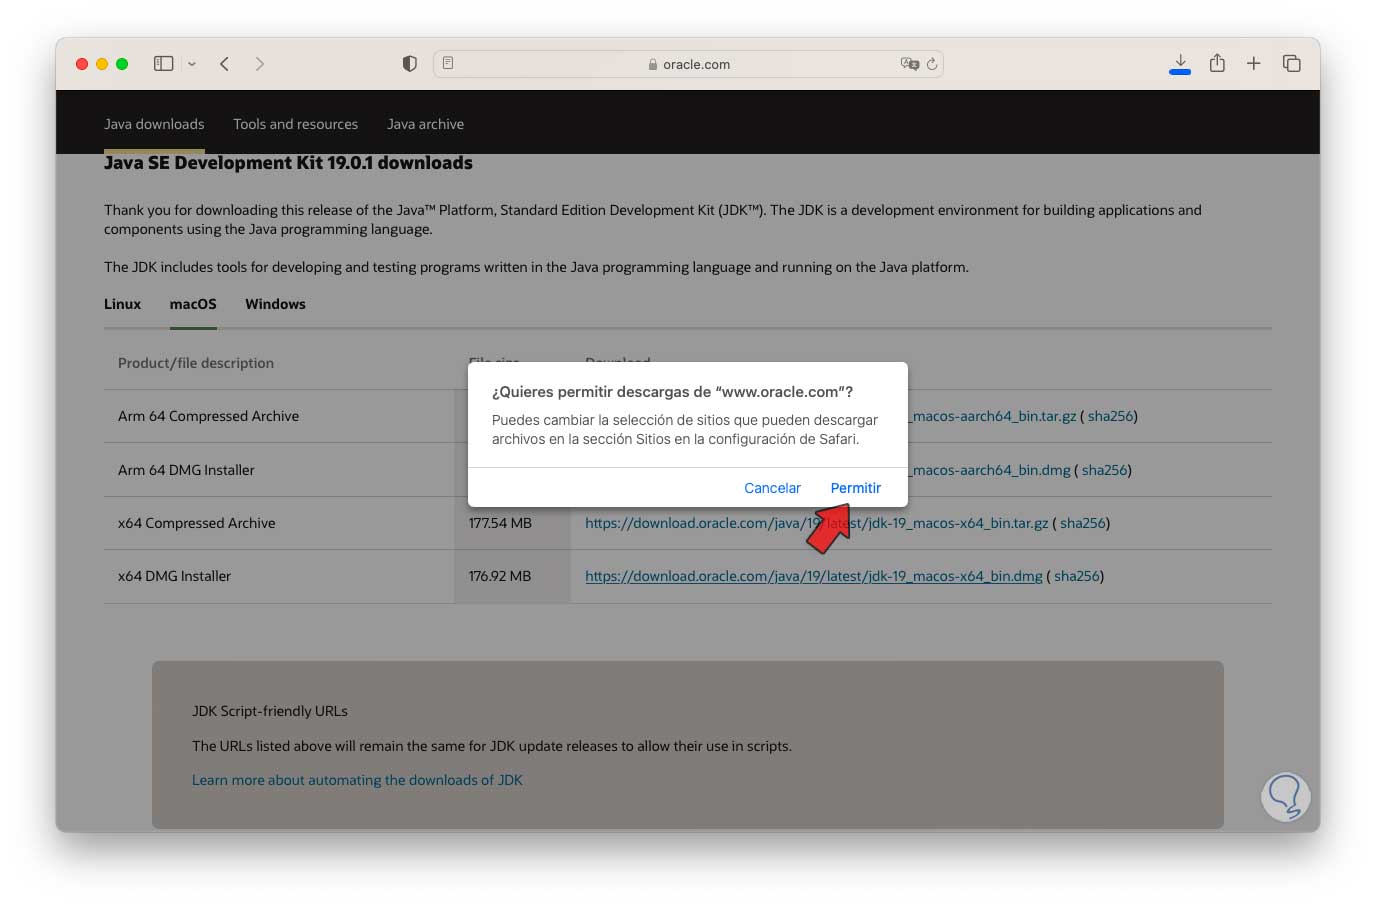
When starting the download we will see the following:
Step 4
We click on "Allow" to proceed with the download of Java JDK:
step 5
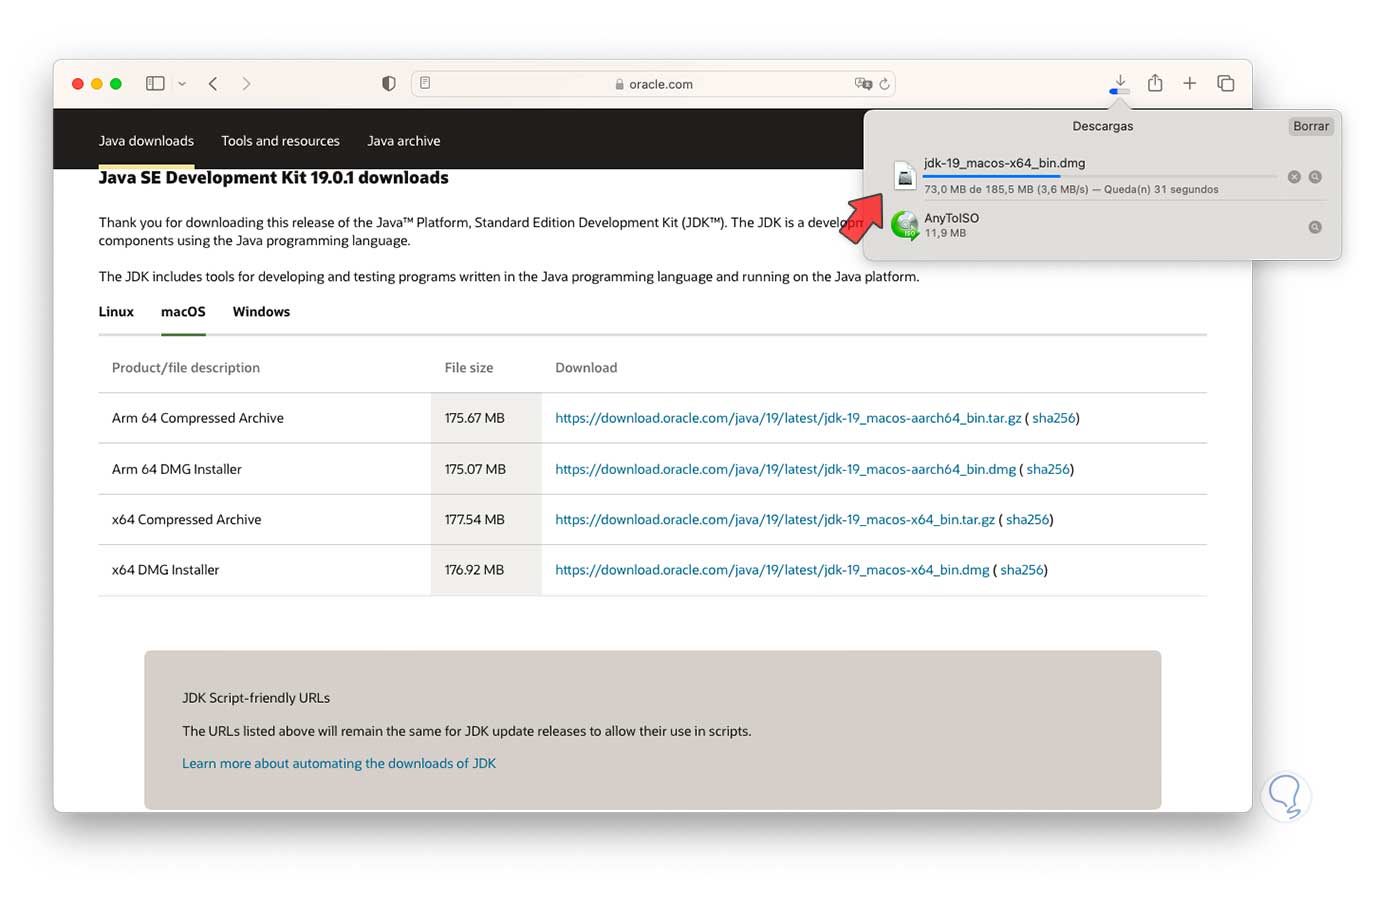
We hope it comes to an end:
Step 6
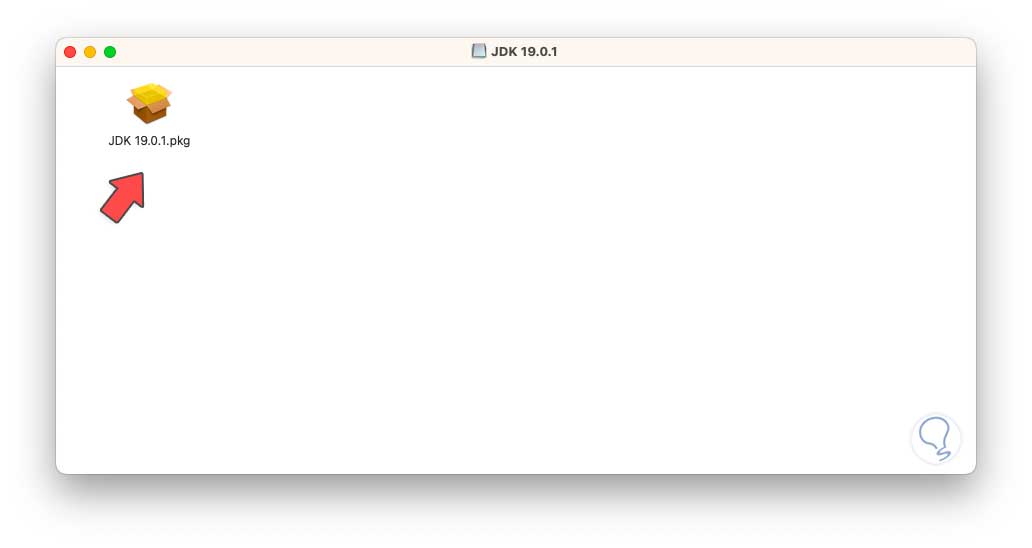
Once downloaded, open the file, double click on the installer in the displayed window:
step 7
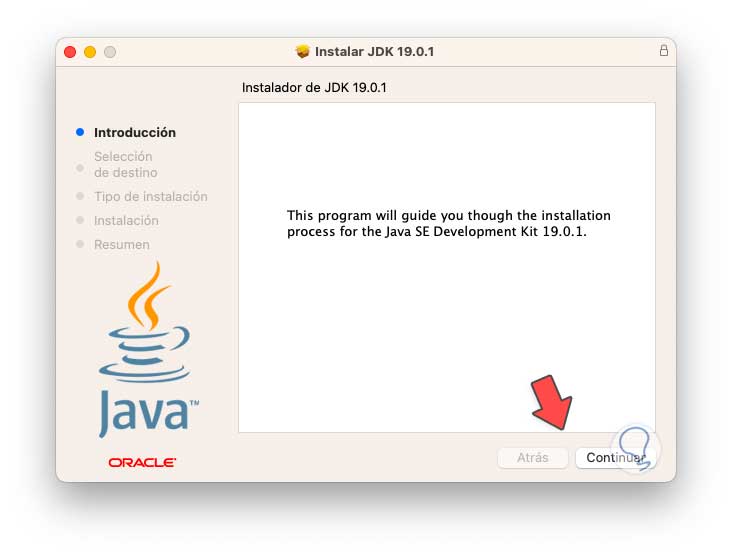
The Java JDK installation wizard will launch:
step 8
We click Continue to see the following:
step 9
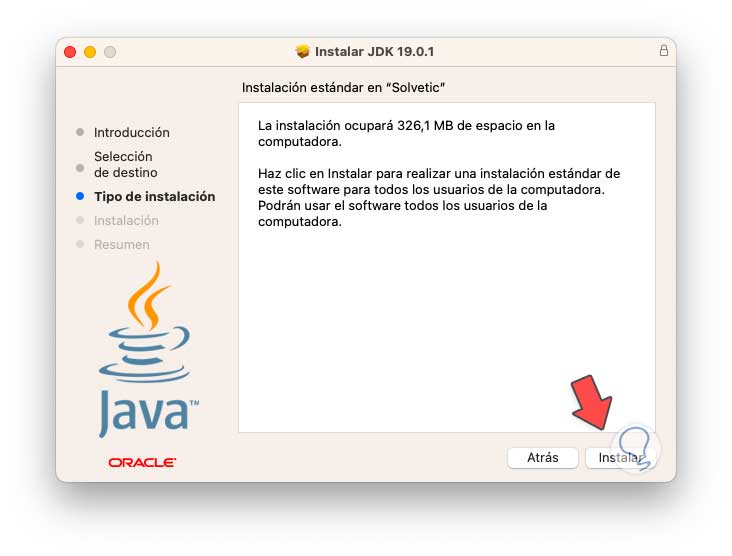
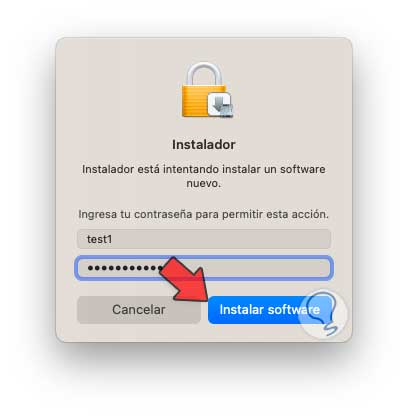
We click on "Install" and it will be necessary to enter the system administrator password:
step 10
We click on "Install software" to start the process:
step 11
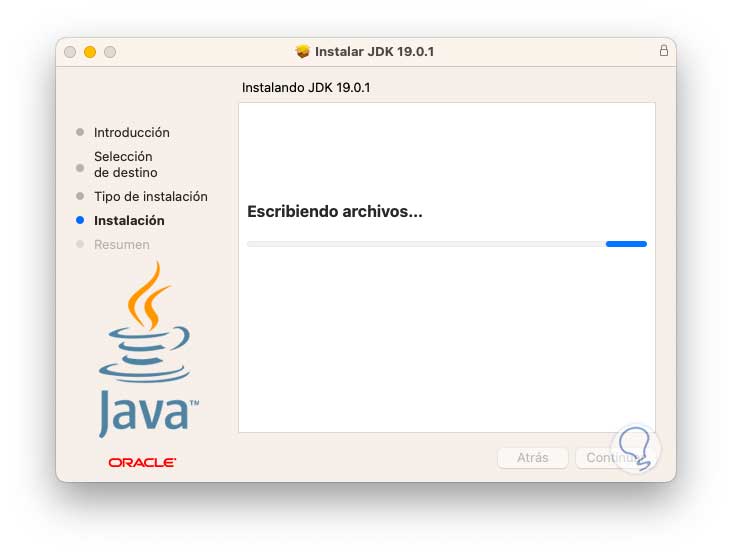
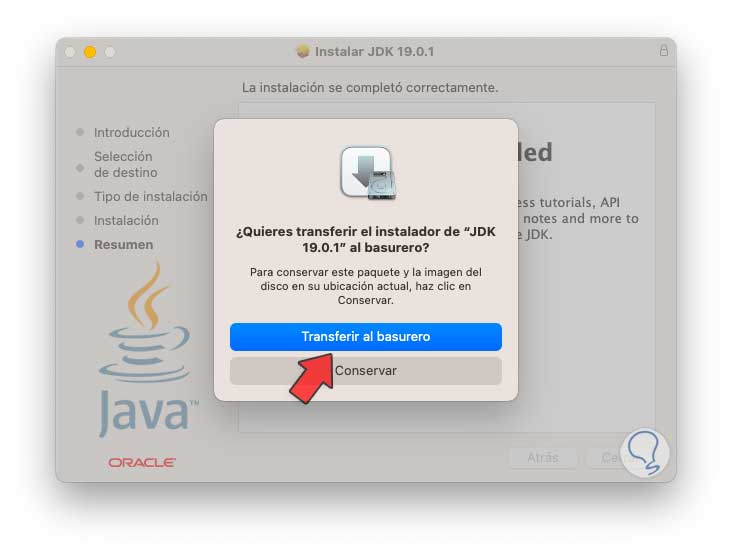
At the end of the installation we will see the following. We click on "Close" and we will see the following message:

step 12
We click on "Transfer to the trash" to remove the Java JDK installer.
step 13
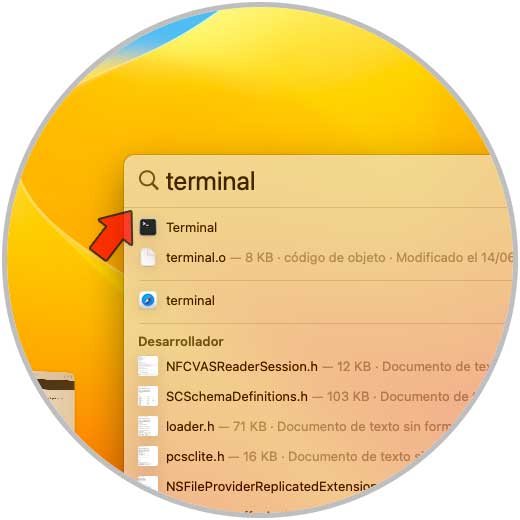
We open the terminal:
step 14
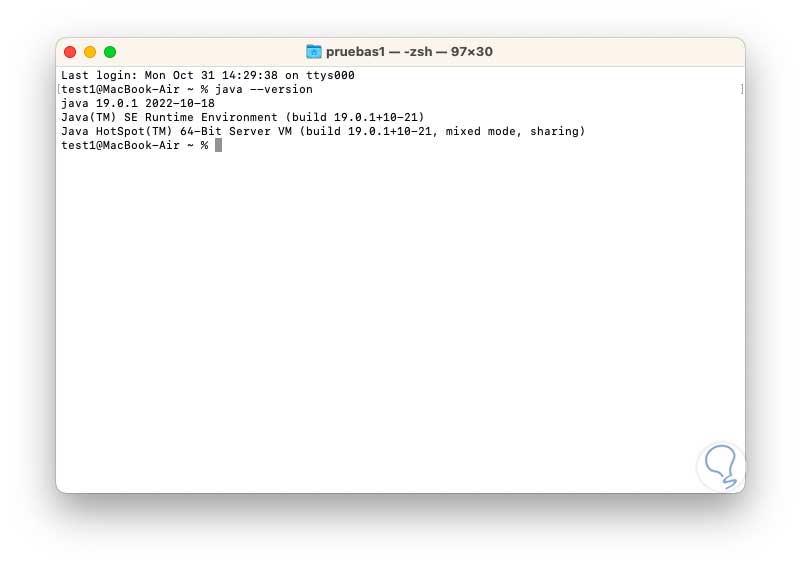
Check the Java version with the command:
java –version
step 15
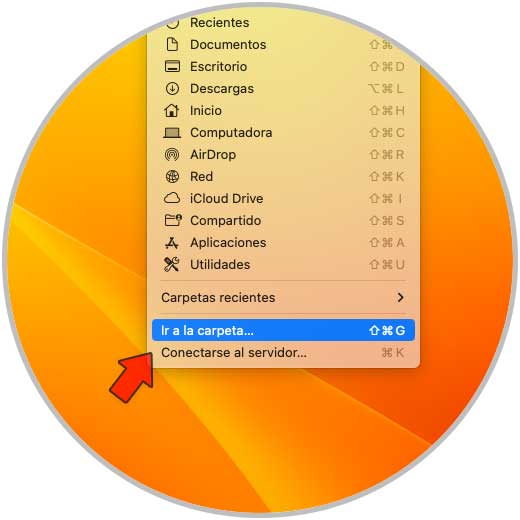
We see that Java JDK version 19 is used. We go to the menu "Go - Go to the folder":
step 16
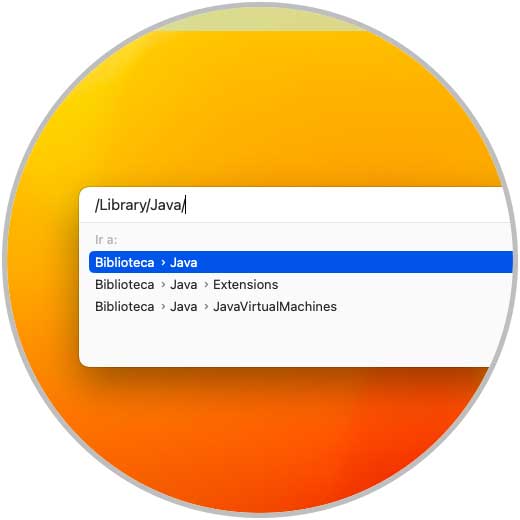
We enter "/Library/Java" in the pop-up window:
step 17
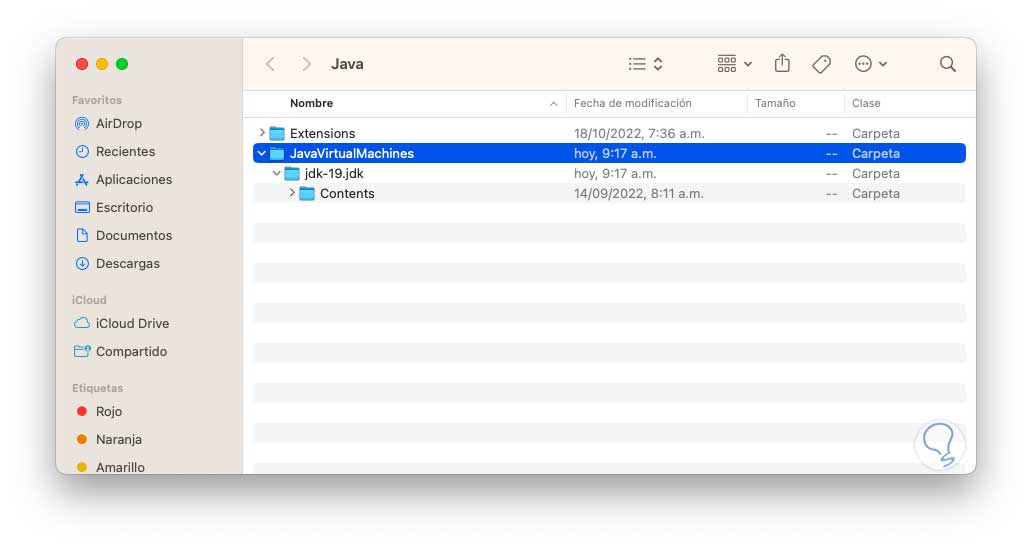
We will see the following window. There we find the Java content.
step 18
We right click on "JavaVirtualMachines" and select the option "New terminal in the folder":
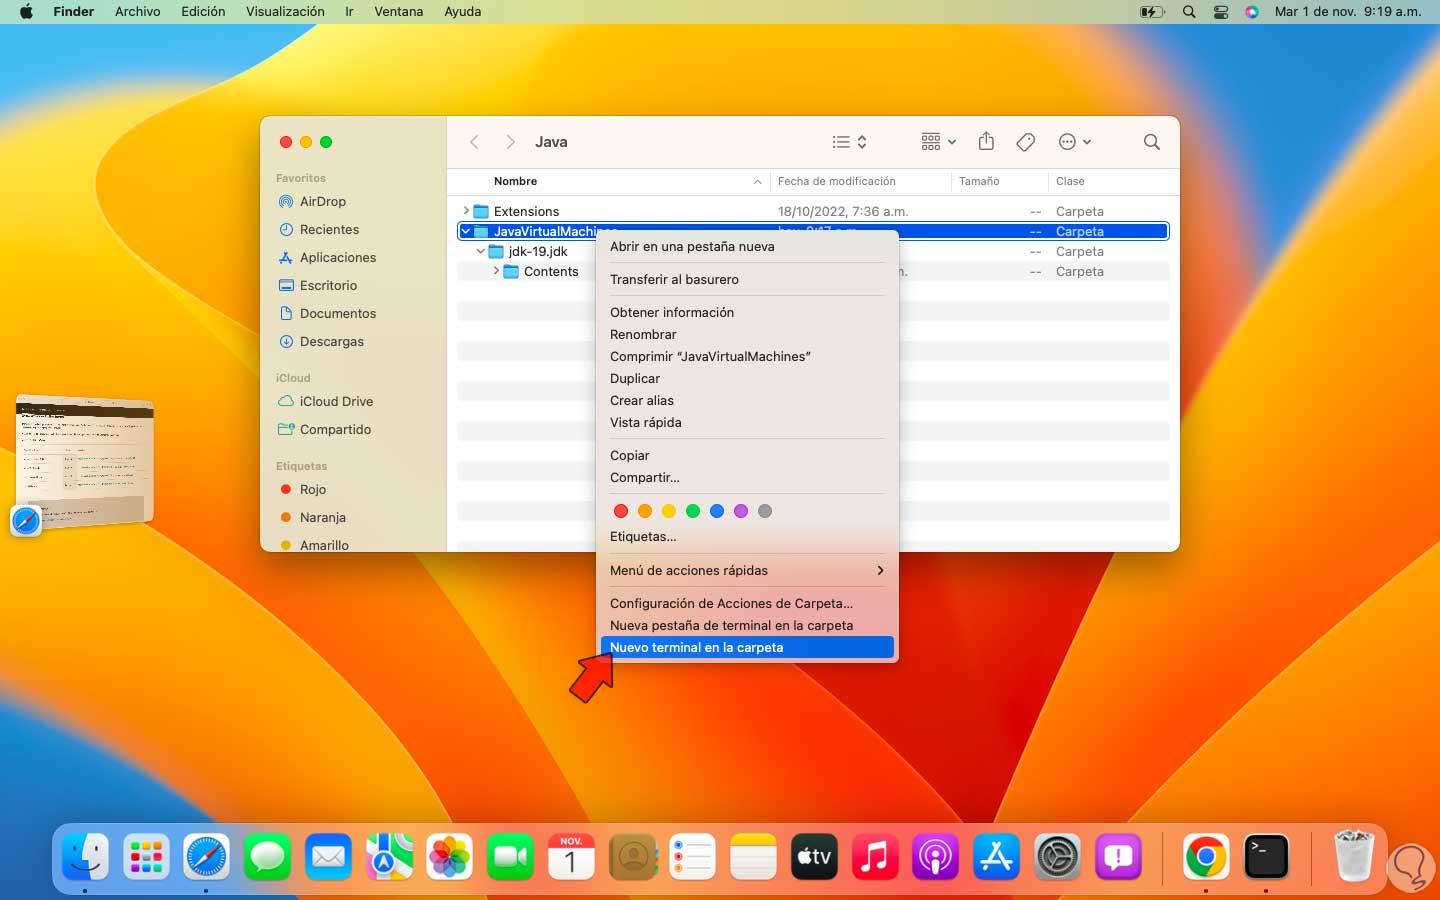
step 19
This allows the macOS Ventura terminal to open directly in this path, there we create the profile file:
vim ~/.bash_profile
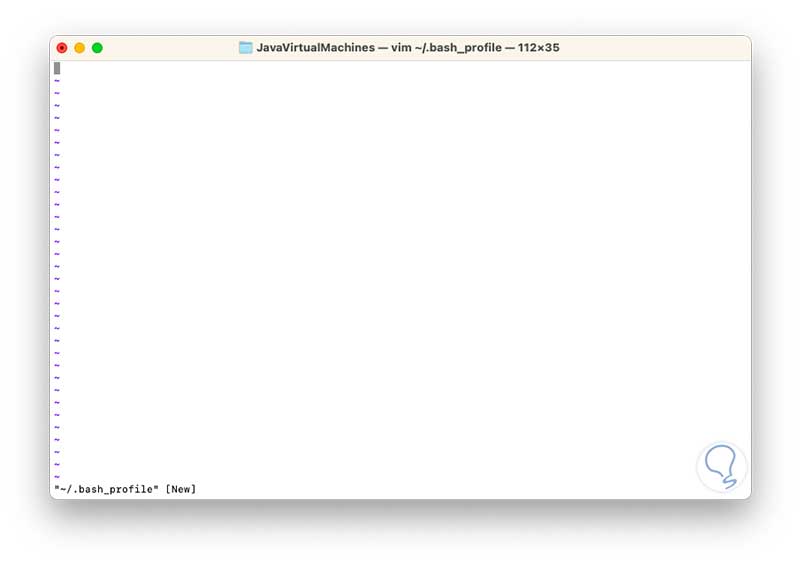
step 20
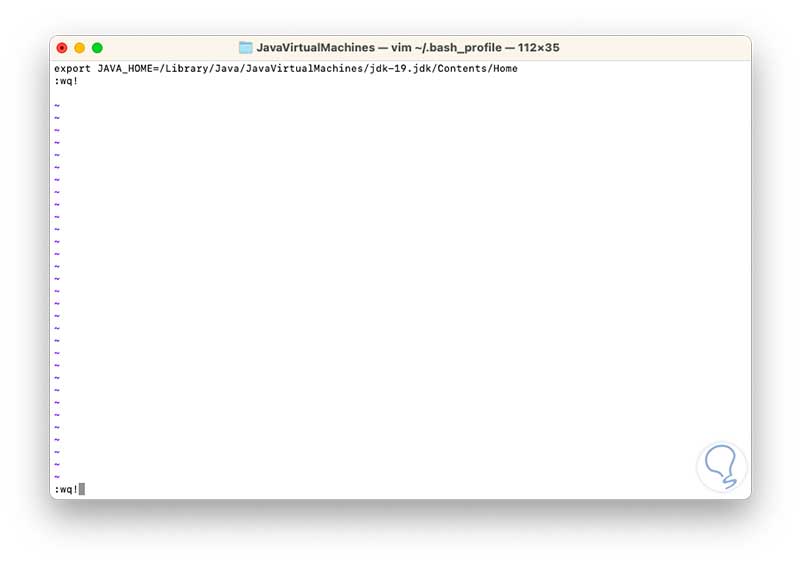
We enter the Java HOME path:
export JAVA_HOME=/Library/Java/JavaVirtualMachines/jdk-"version".jdk/Contents/Home
step 21
We save the changes by executing:
: wh!
step 22
When exiting we return to the terminal:
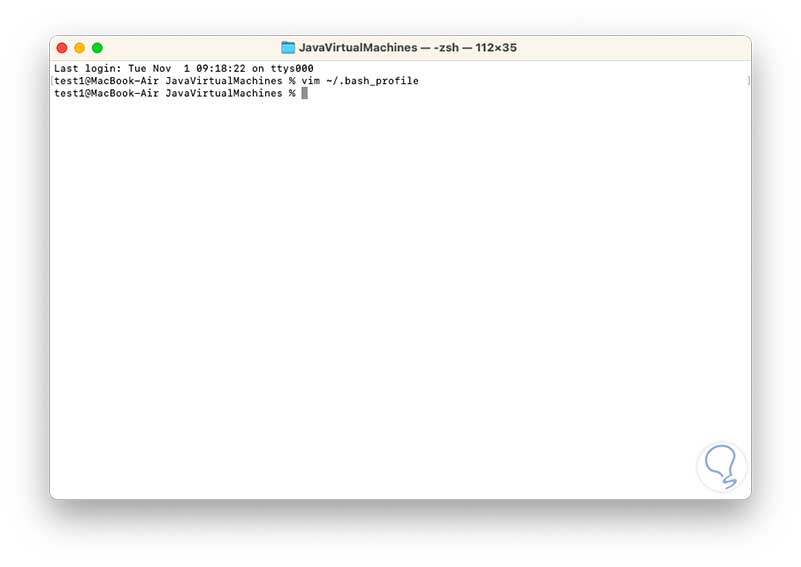
step 23
We apply the changes:
source ~/.bash_profile
step 24
Then we check the Java path:
echo $JAVA_HOME
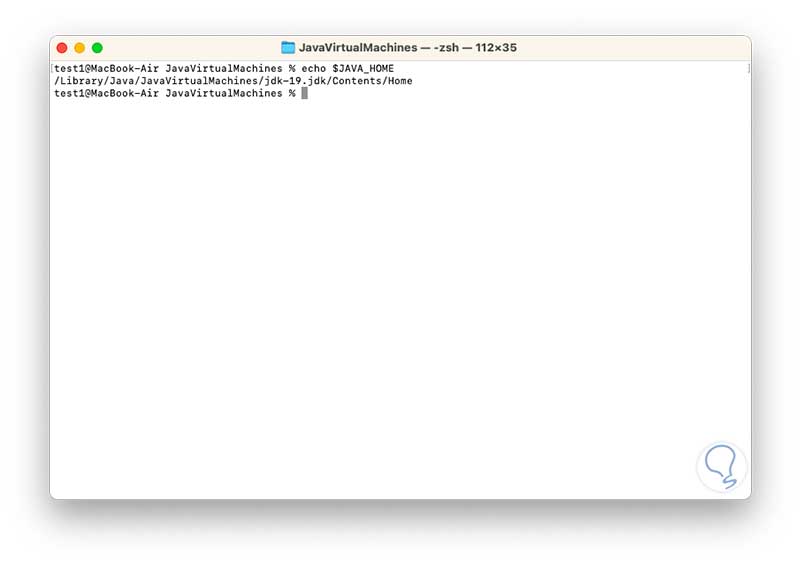
This is how to install the Java JDK on macOS Ventura and be able to use its resources.