macOS Ventura is the new edition of macOS launched a few days ago and in which we find new features and a much more dynamic environment coupled to today's world, some of the new features of macOS Ventura are:
What's new macOS Ventura
- Schedule Send feature in mail to schedule each email to be sent at a given time
- Smart search fixes in mail
- New visual organizer which allows you to group open apps on the left side of the desktop for smarter access to them
- New Memojis to customize the profile picture with animations
- Preview files with Quick Look by pressing the space bar
- Advanced Image Search via Spotlight
- Search web images from Spotlight
- Quick actions built into the finder
- Sync extensions between Safari and iOS devices
- Web push notifications for Safari browser
- Added Shared Tab Groups feature in Safari
- Support of additional web technologies in the browser
- Wi-Fi passwords in Network Preferences
- Applications can be grouped in multiple ways
- Mission control integration
- Continuity camera using iPhone as a webcam
- System Configuration redesign
- It is possible to block recently deleted and hidden albums in Photos and more
Compatible equipment
It may happen that for system or equipment reasons it is necessary to reinstall macOS Ventura, let's remember the compatible equipment:
- MacBook Air: 2018 and above
- MacBook Pro: 2017 and above
TechnoWikis will teach you the process to reinstall macOS Ventura and thus enjoy all these news..
How to reinstall macOS Ventura
Step 1
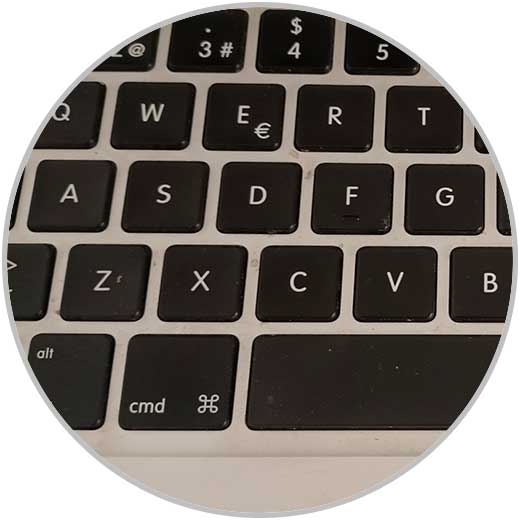
The first thing will be to turn off our equipment, then when turning it on we press the Command + R keys:
Step 2
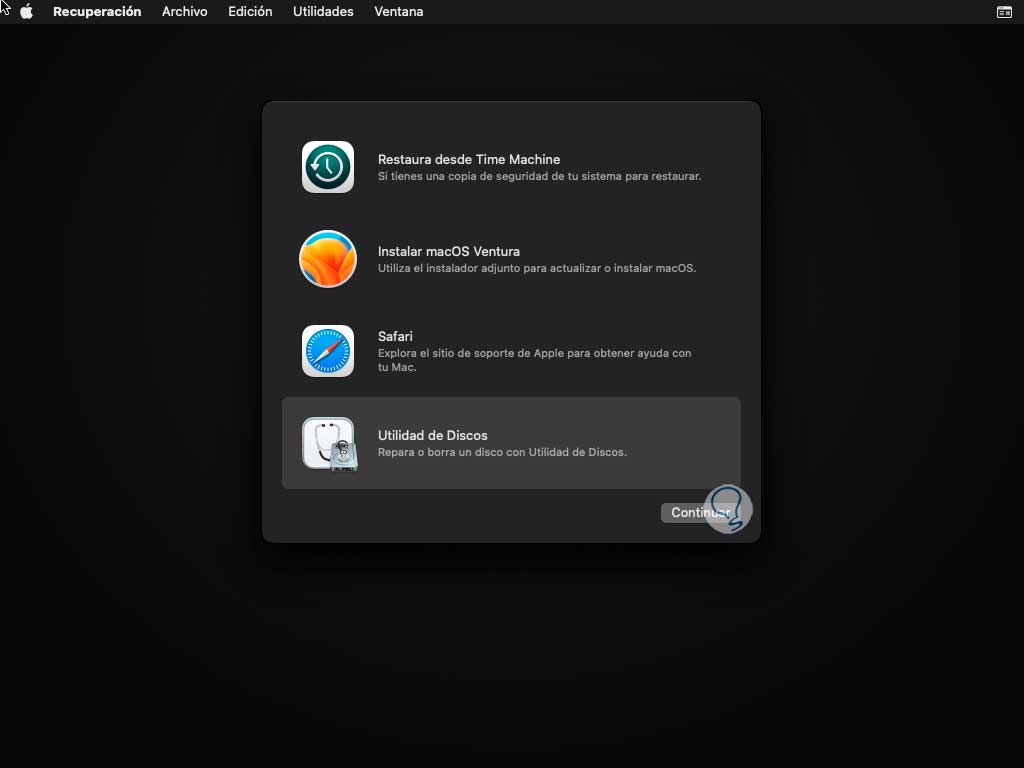
The system will start. After a moment we will see the following.
There we have two options to use which are:
- Directly install macOS Ventura and keep the files
In the event that the system presents faults TechnoWikis advises you to carry out a clean installation, for this, we click on "Disk Utility"
Step 3
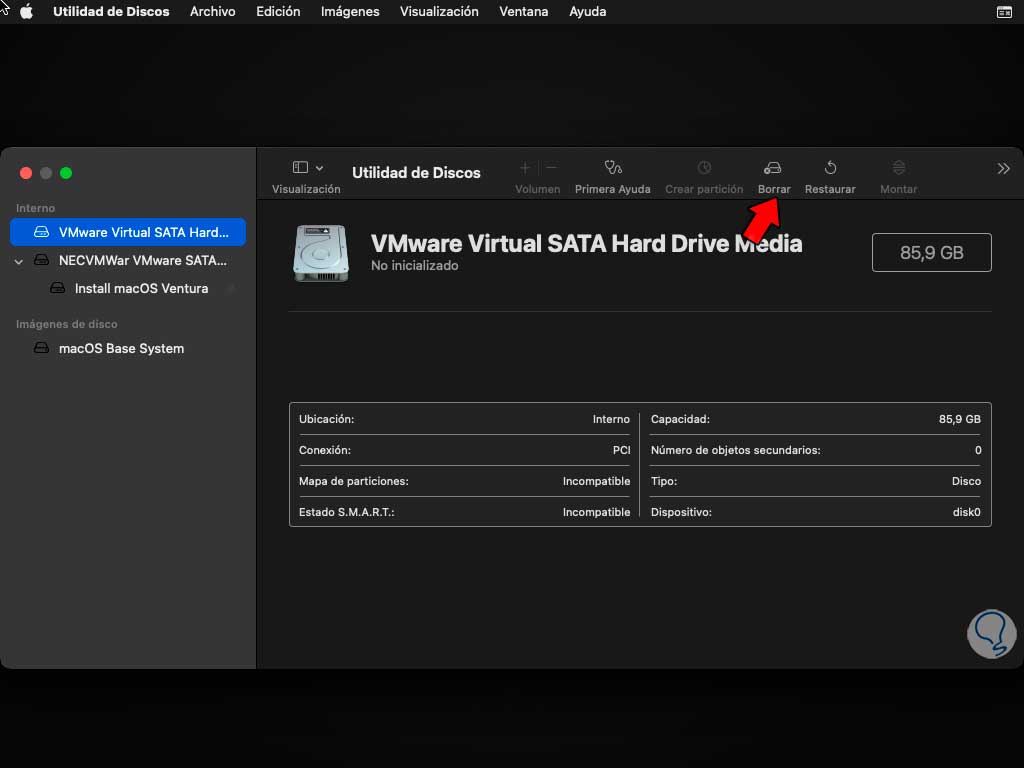
Select the hard drive and click "Delete":
Step 4
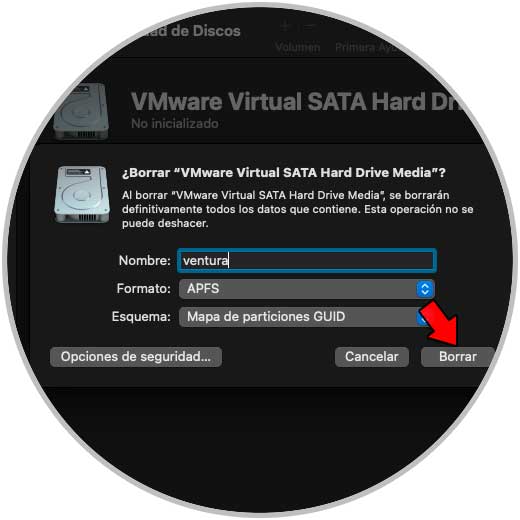
We assign a name and configure:
- In Scheme we assign GUID Partition Map
step 5
We click on "Delete" to start the deletion process:
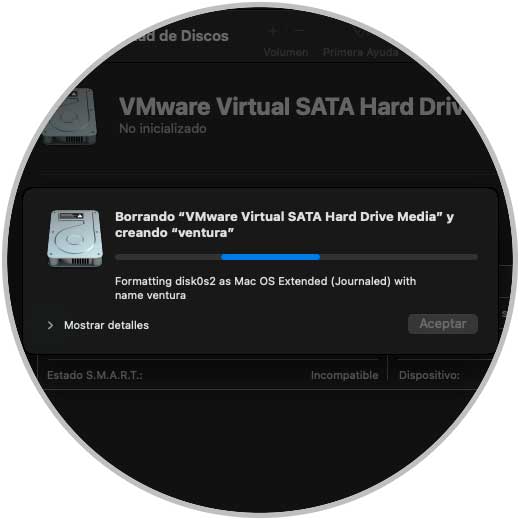
Step 6
At the end we will see the following:
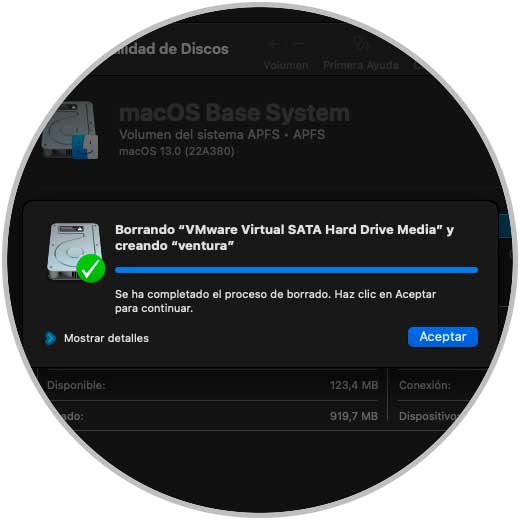
step 7
We exit Disk Utility:
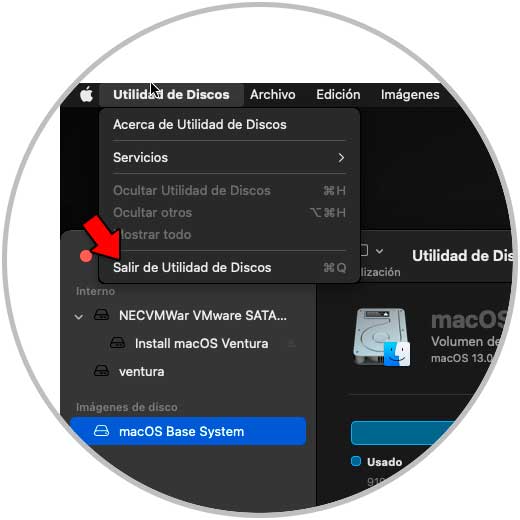
step 8
Now we click on "Install macOS Ventura":
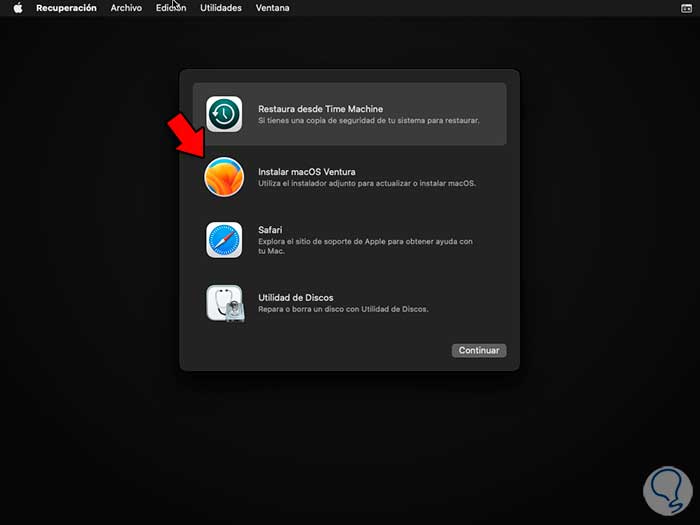
step 9
We wait for the process to load:
step 10
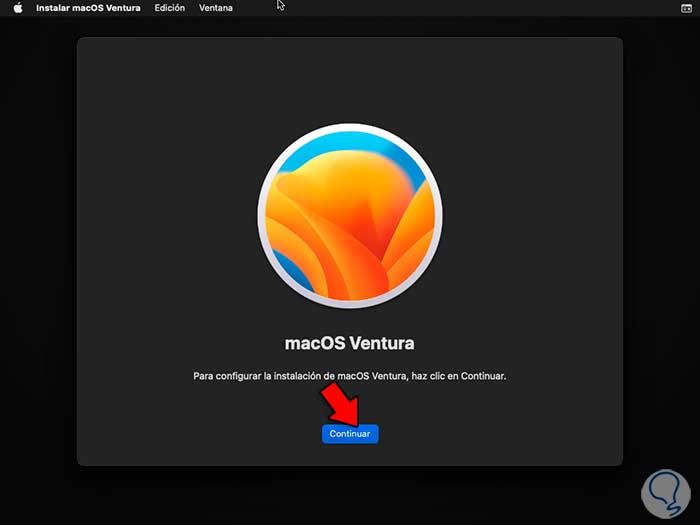
We will see the following. We click "Continue" to see the following window:
step 11
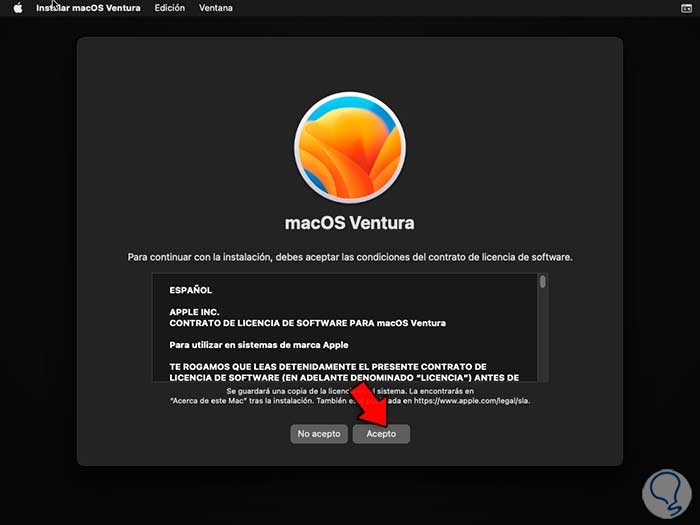
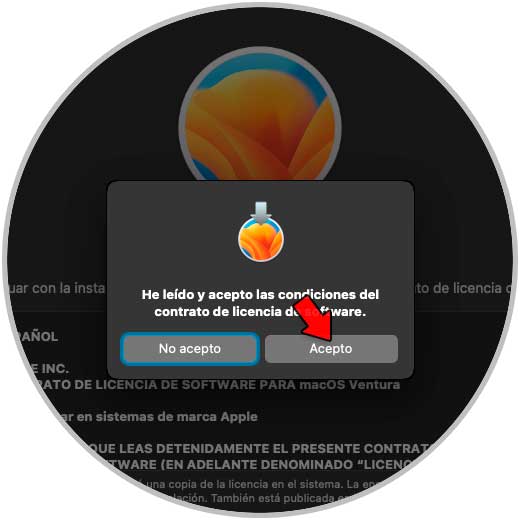
We click on "I accept" to confirm the terms of the license and a small pop-up window will open:
step 12
We click on I accept and now we access the following:
step 13
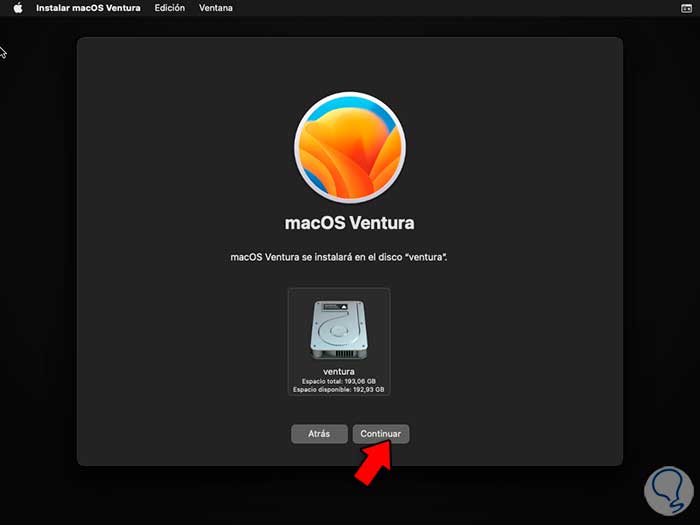
We select the disk where macOS Ventura will be installed and click Continue to start the process:
step 14
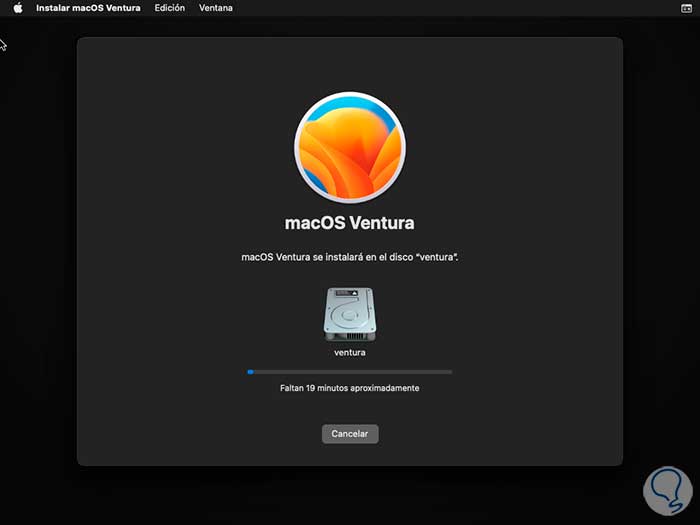
After this process the initial reboot steps will be loaded:
step 15
We will see that the process begins
step 16
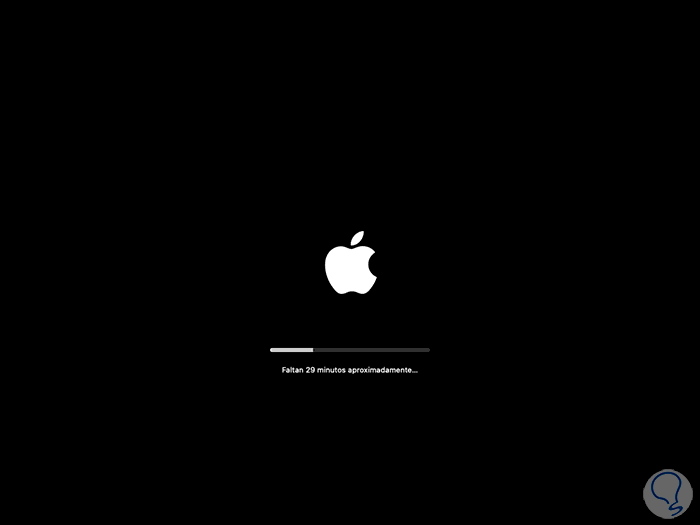
At the bottom we will see the waiting time
step 17
The system will restart again and we must wait for the system to be installed:
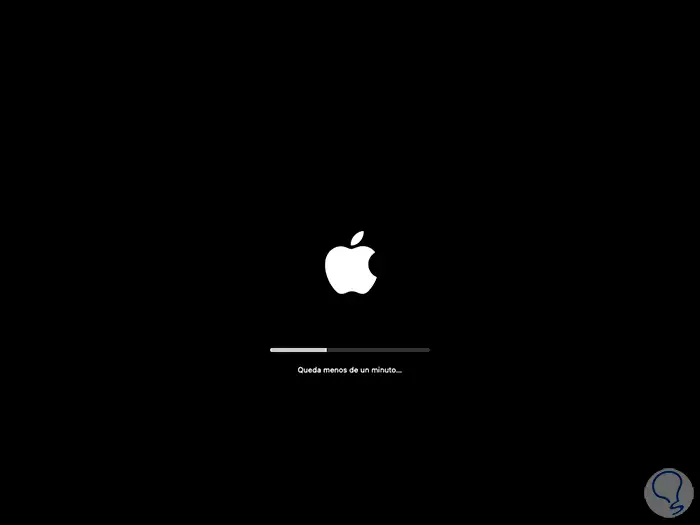
step 18
This process takes 25 to 30 minutes:

step 19
The computer will restart again. This reboot process may be 2-3 times before entering the initial setup window of macOS Ventura.
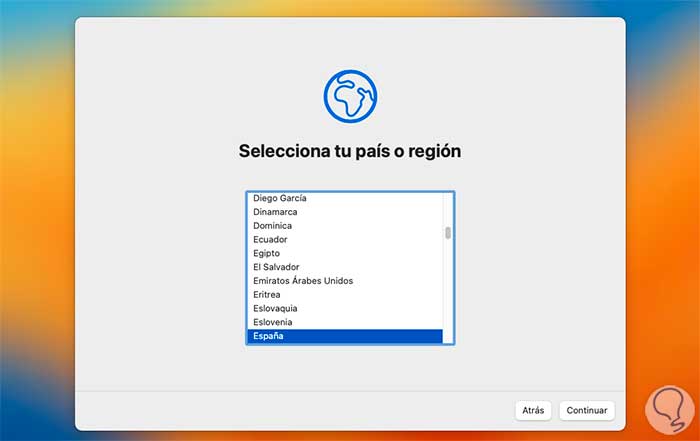
step 20
We select the country and then configure the voice in macOS:
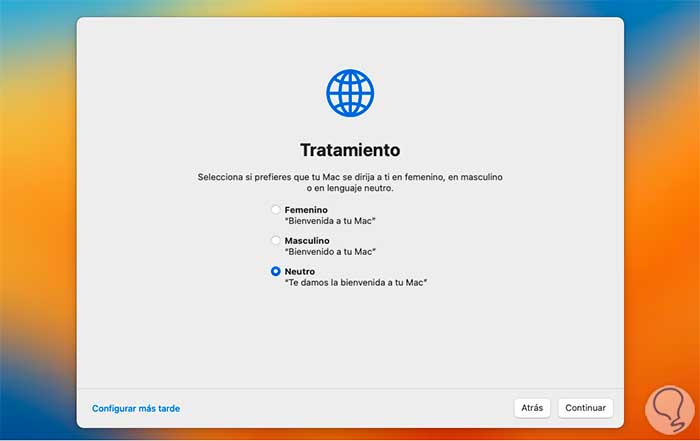
step 21
After this we validate the language section:
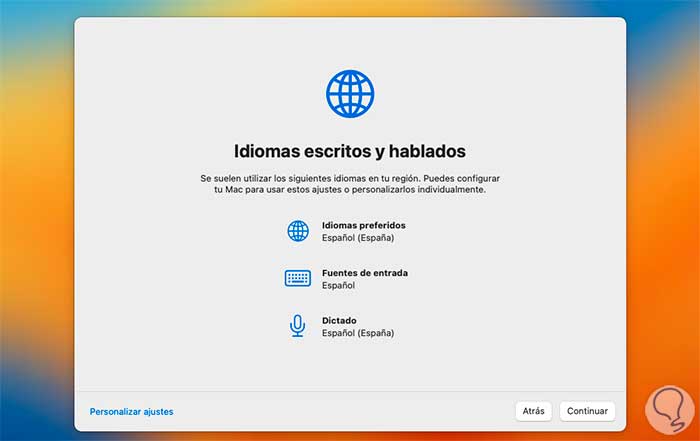
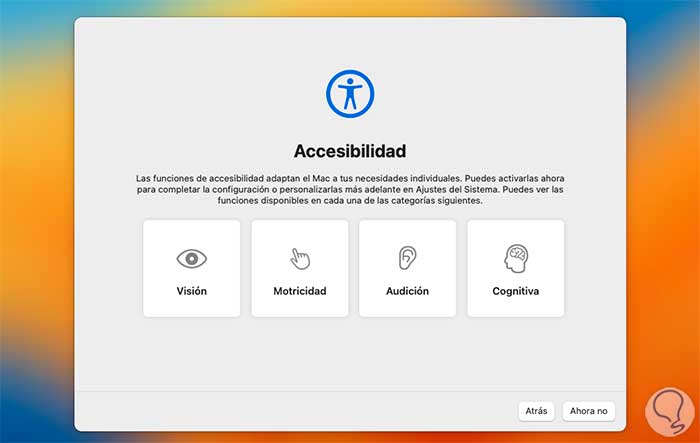
step 22
Now we manage the Accessibility section:
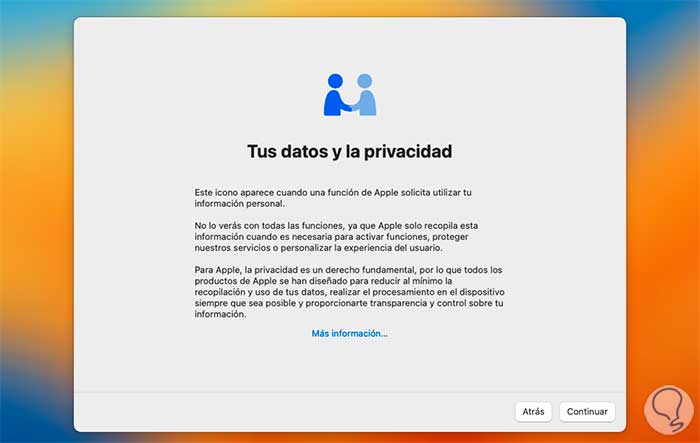
step 23
After this we will see the privacy section:
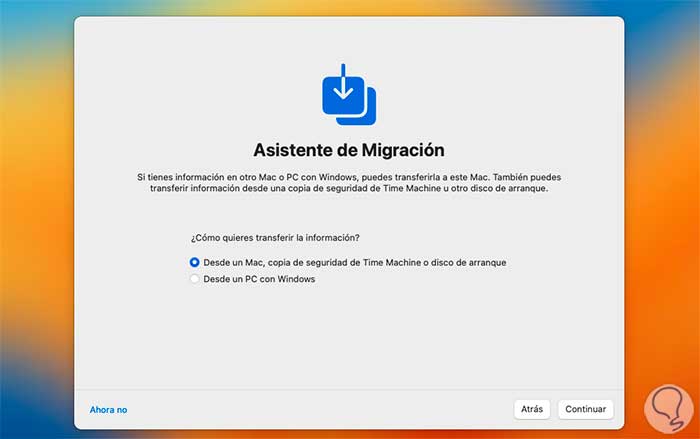
step 24
It is possible to use the migration assistant in case you have a computer with data:
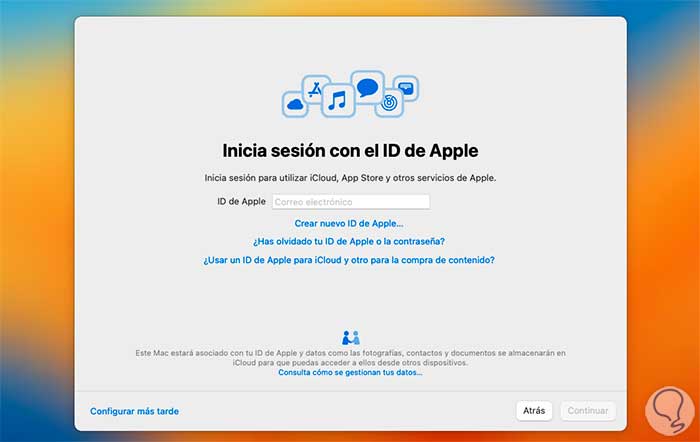
step 25
Now it is possible to log in with our Apple ID:
step 26
We enter the terms section:
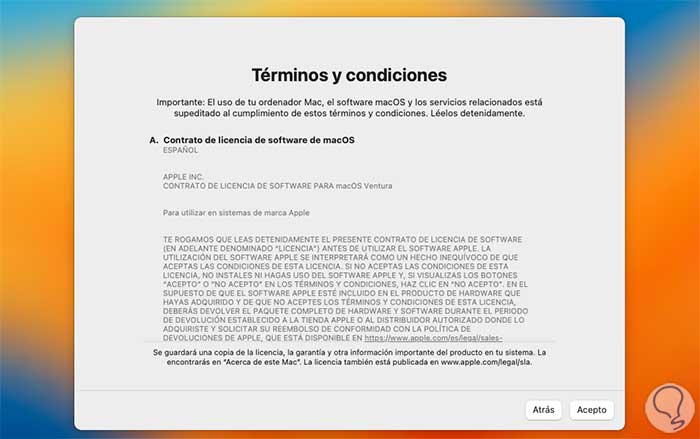
step 27
We click on I accept and the following window will open
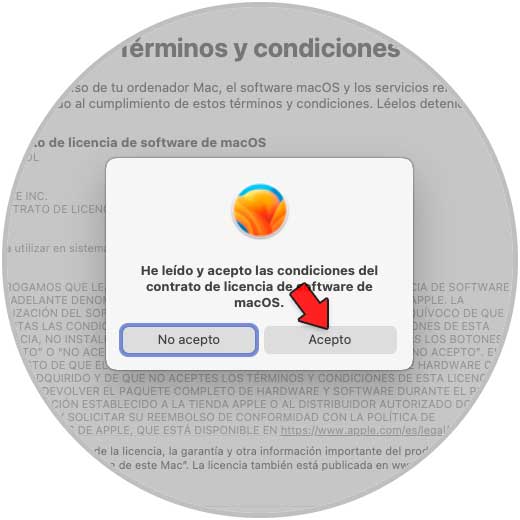
step 28
We confirm the permission and then configure the user account:
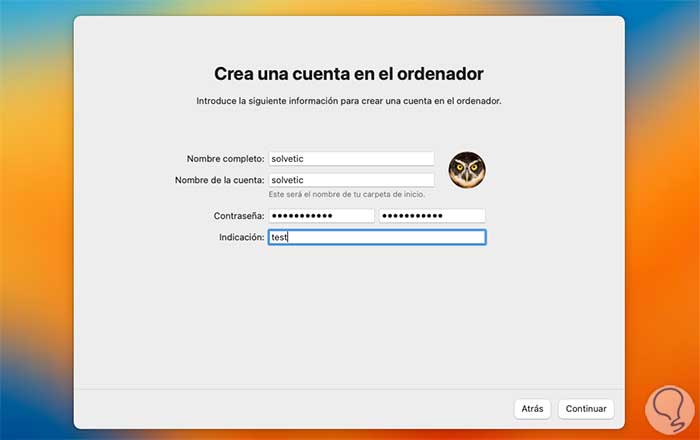
step 29
After this we configure the localization:
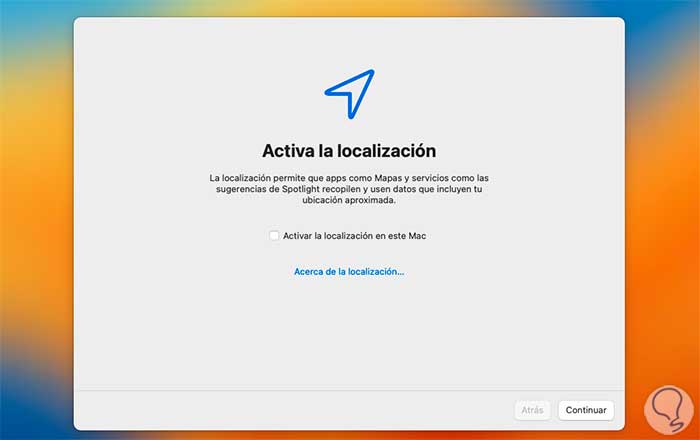
step 30
We select the time zone where we are located:
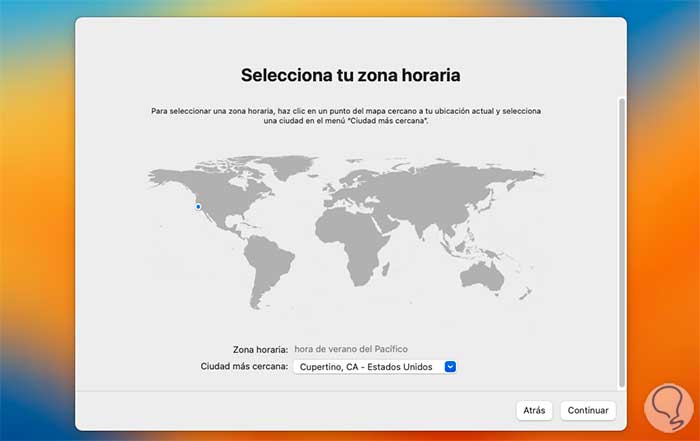
step 31
Once selected it will be possible to activate the system analysis:
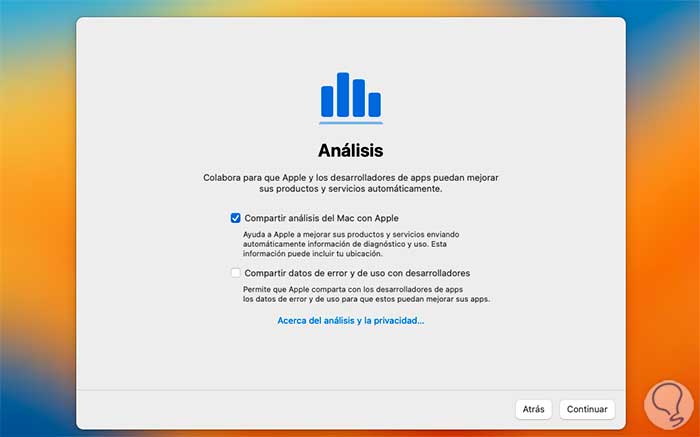
step 32
It will be possible to configure the System and Application Usage Time feature in macOS Ventura:
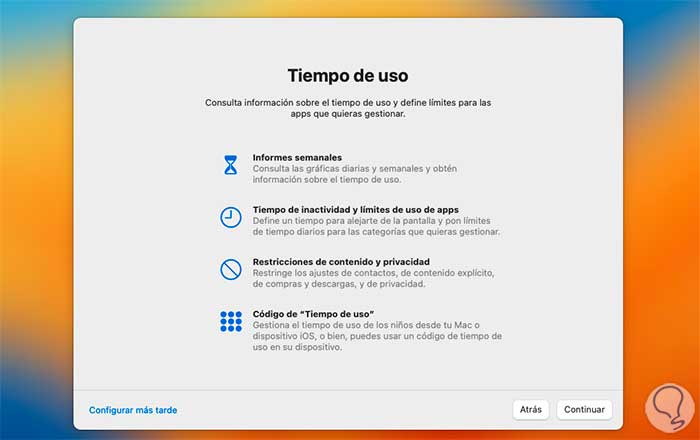
step 33
We define what macOS Ventura will look like:
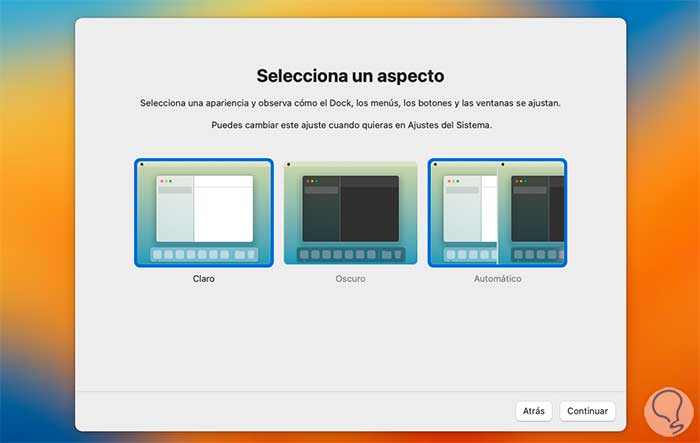
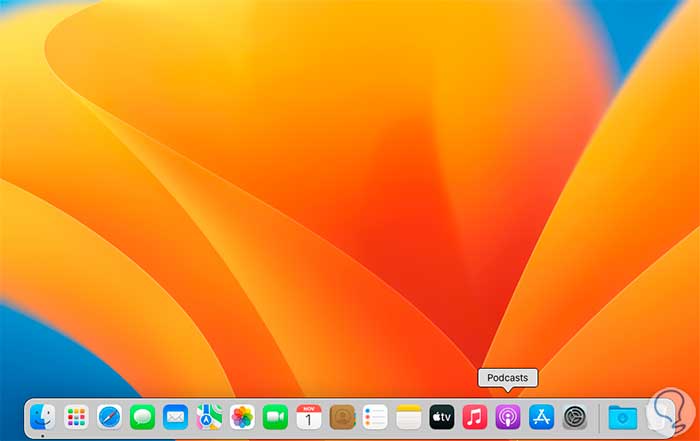
step 34
You will have access to the system environment:
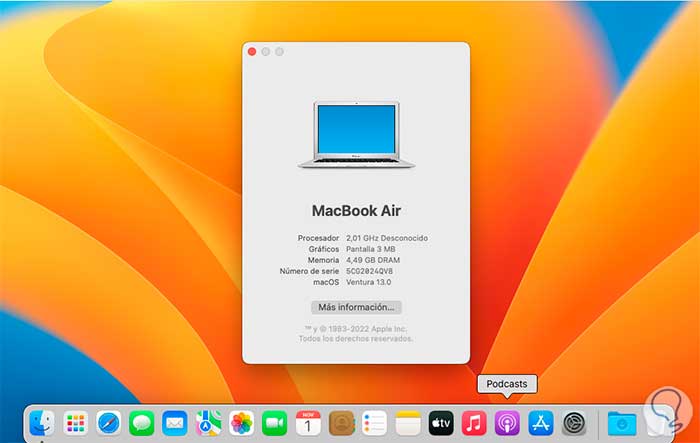
step 35
We can confirm from “About this Mac” the equipment information:
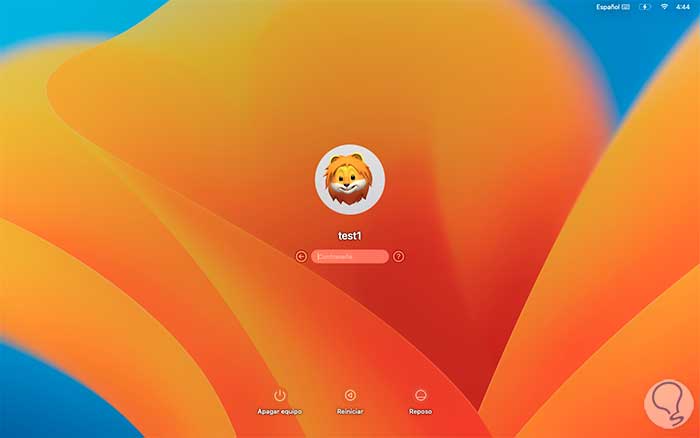
step 36
We can create our user to have control over access to the system and its use:
This is the process to reinstall macOS and as TechnoWikis mentioned, if it is due to frequent errors, the most recommended thing is to perform an installation from scratch so that the entire system and its features work as expected based on the innovations integrated in macOS Ventura.