macOS Ventura has been officially launched for a few days and thousands of users have downloaded or updated it on their computers, as long as they are compatible, and we are well aware of the new features of Ventura, highlighting some such as the continuity of the camera, the organizer visual and many more functions..
Normally this update process is carried out from Monterey to Ventura but we well know that since it is a new operating system it is still susceptible and there is a risk that applications fail, incompatibility is present or in general we find errors in use or in other cases the user simply does not care about this version of macOS.
In this case we can go back from macOS Ventura to Monterey and TechnoWikis will show you how to carry out this process in detail step by step so that you can go back to your previous operating system..
To stay up to date, remember to subscribe to our YouTube channel!
SUBSCRIBE ON YOUTUBE
How to get back from macOS Ventura to Monterey
Step 1
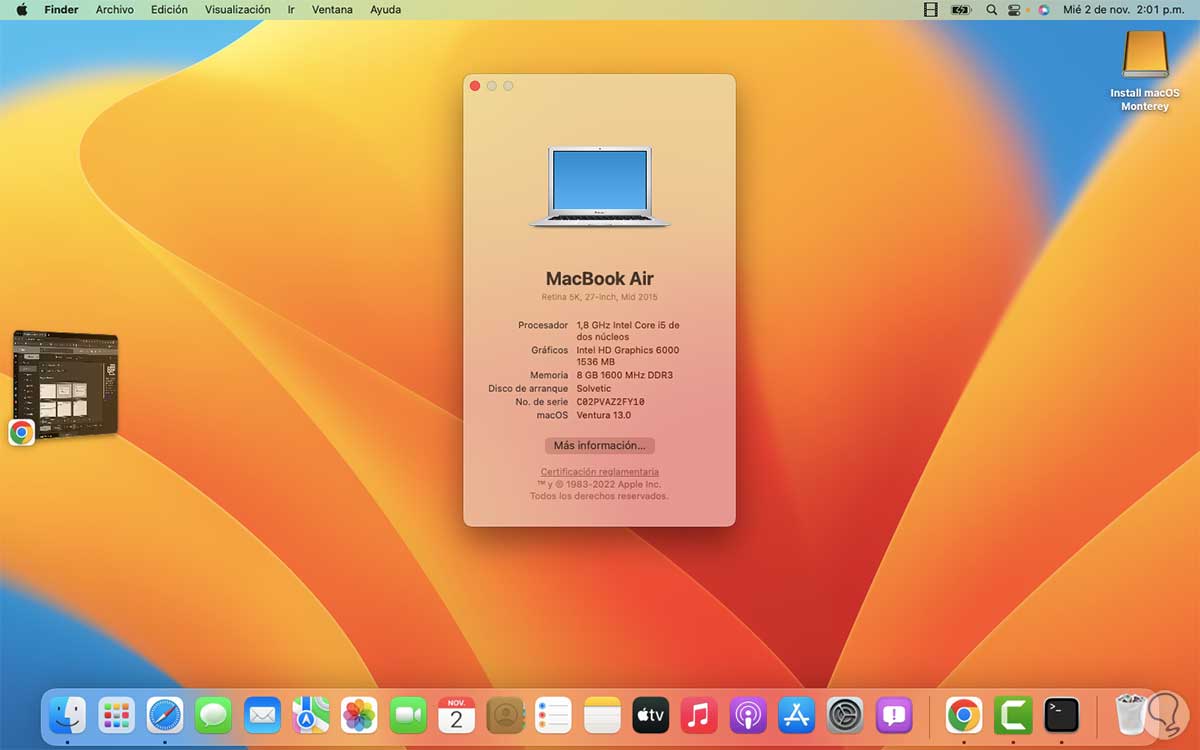
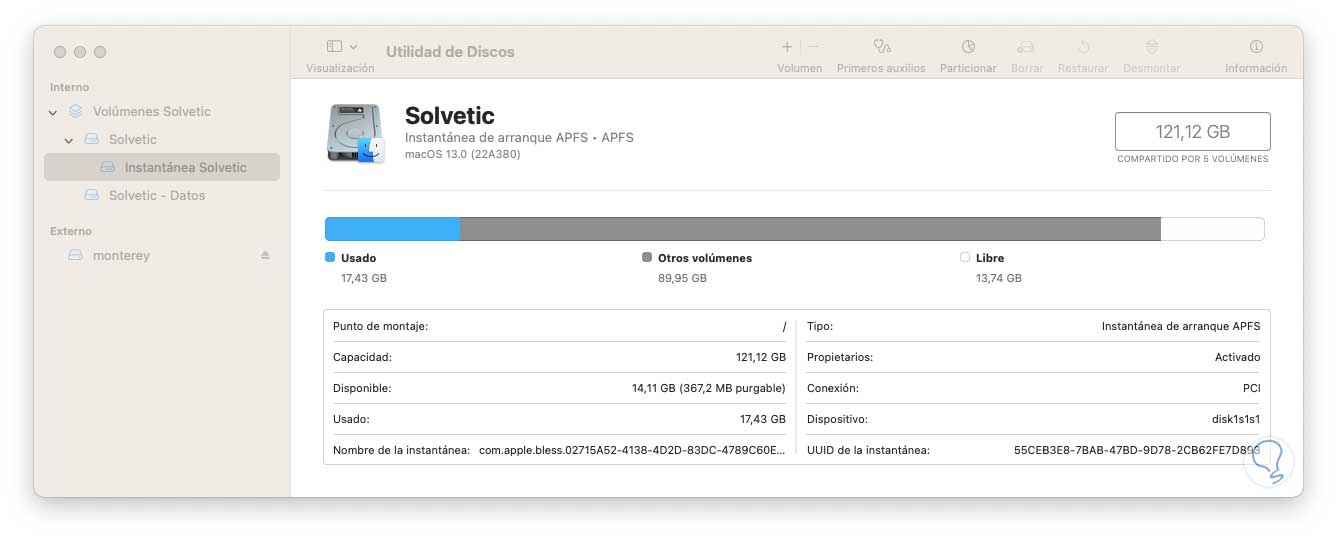
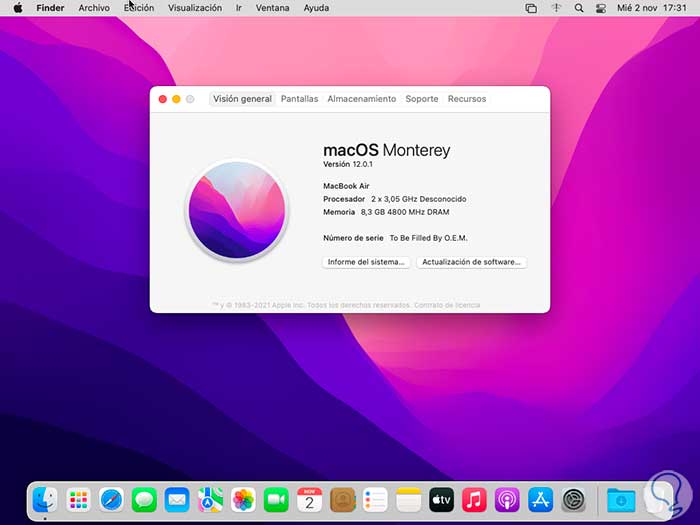
Click on the Apple menu and click on "About this Mac" to validate that we use macOS Ventura, from there we notice the new system design:
Step 2
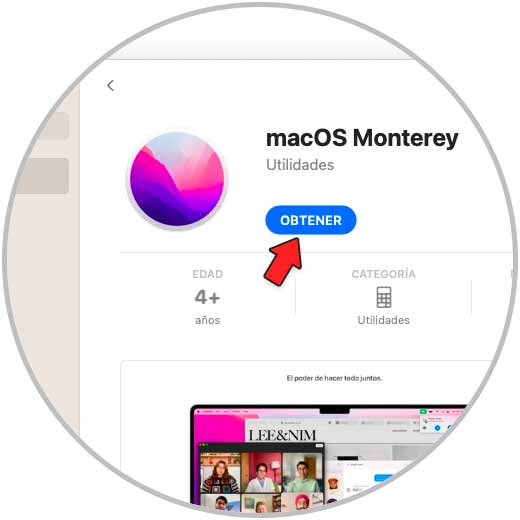
From the App Store we download the macOS Monterey installer:
Step 3
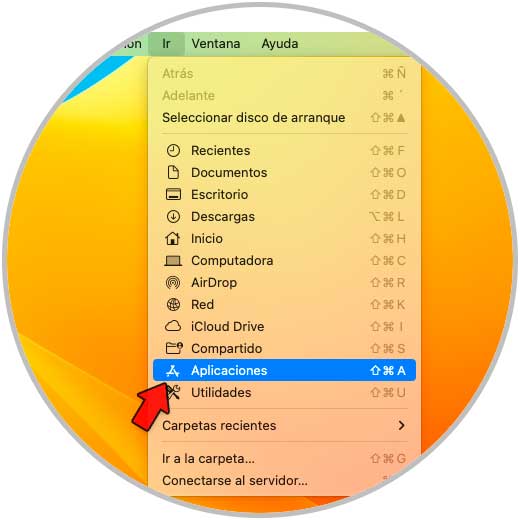
This download weighs about 12 GB, once downloaded we open Applications from the Go menu:
Step 4
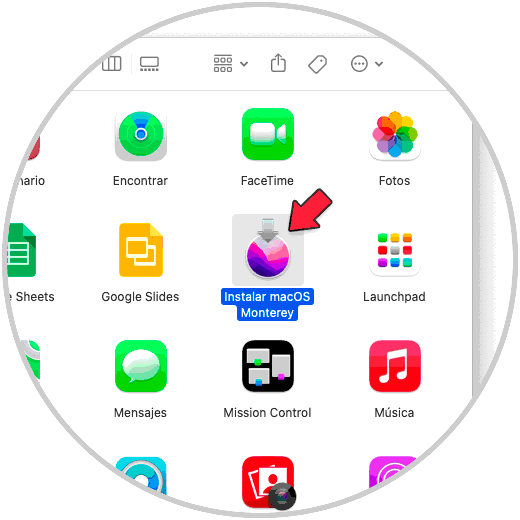
There we validate that the macOS Monterey installer is available:
step 5
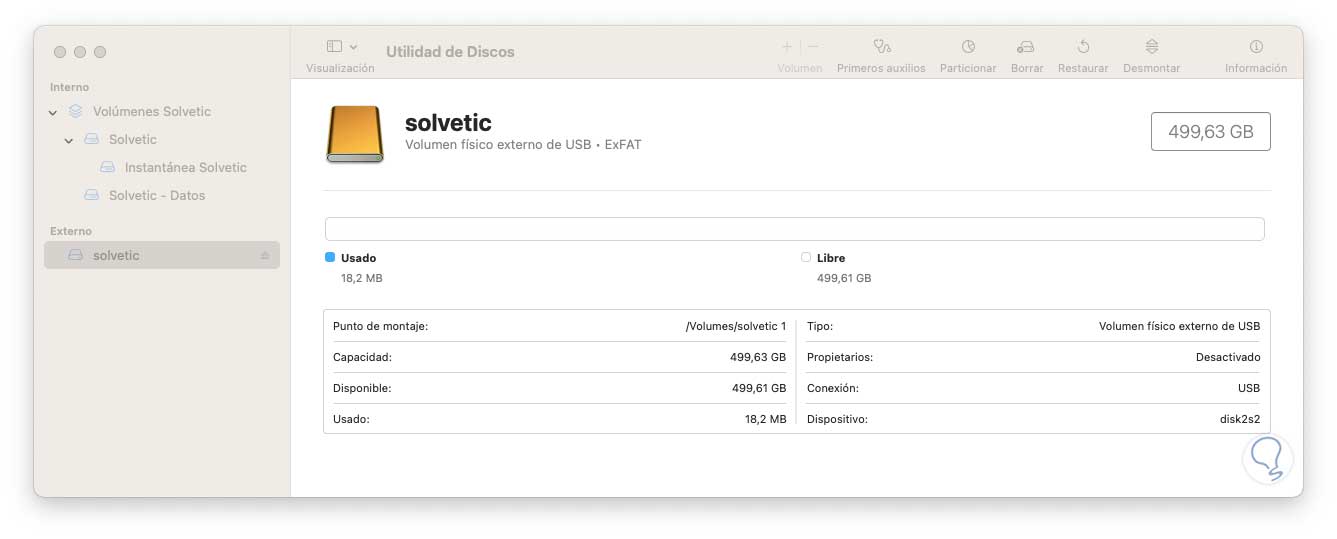
It is time to configure the bootable USB with macOS Monterey, with it it will be possible to return from Ventura to Monterey, we open the Disk Utility, then we select the connected USB and click "Erase":
Step 6
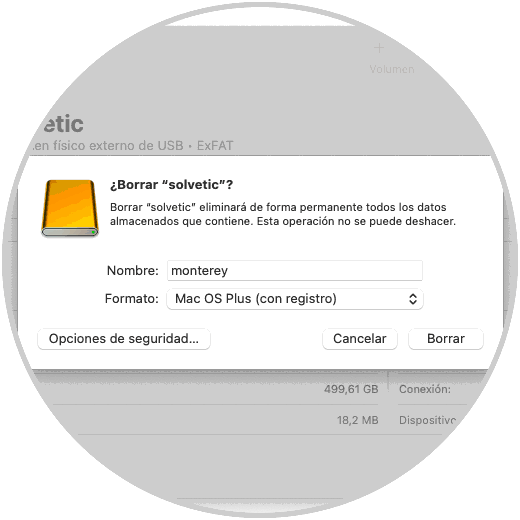
In the displayed window we assign a name, in the "Format" field we set the option "Mac OS Extended (with logs)":
Step 7
We click on "Delete" and wait for the process to finish:

step 8
We click OK to exit the wizard and see that the USB drive has been formatted in this way:
We close Disk Utility.
step 9
Now we right click on the macOS Monterey installer and select the option "Show package contents":

step 10
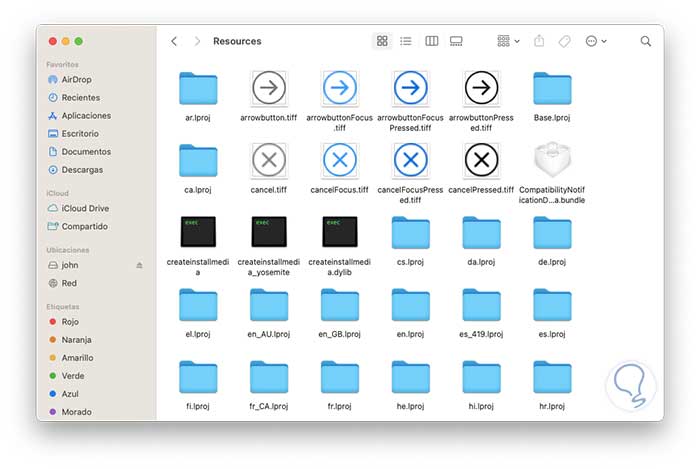
Let's go to "Contents - Resources" to see its content:
step 11
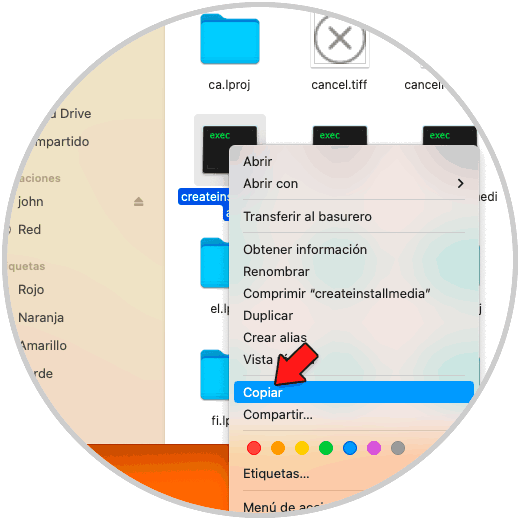
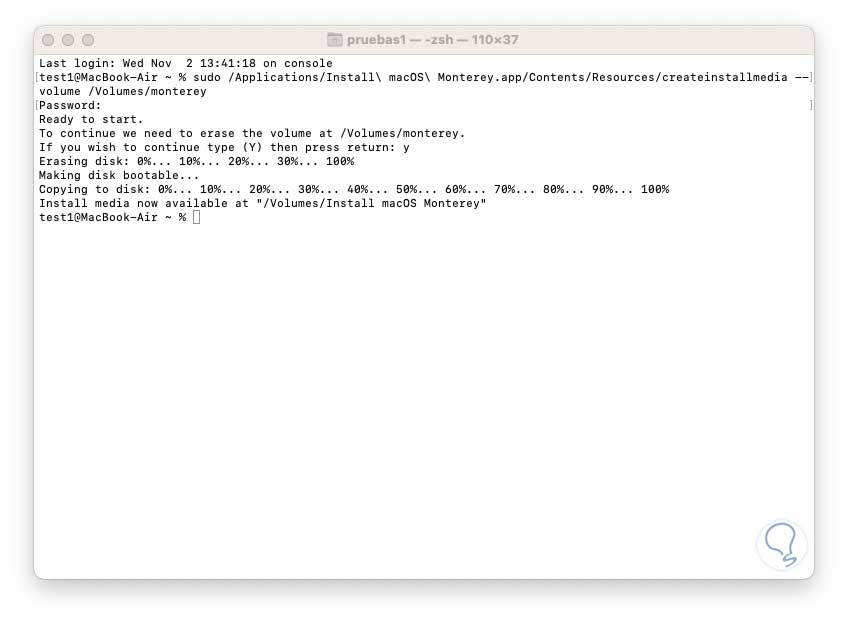
We copy the "createinstallmedia" file by right clicking on it and selecting the “Copy” option:
We open the terminal and there we execute the following:
sudo "createinstallmedia path --volume /Volumes/USB
Note
We replace USB with the name assigned to the USB in the format.
step 12
Press Enter and enter the password and we will see the following:
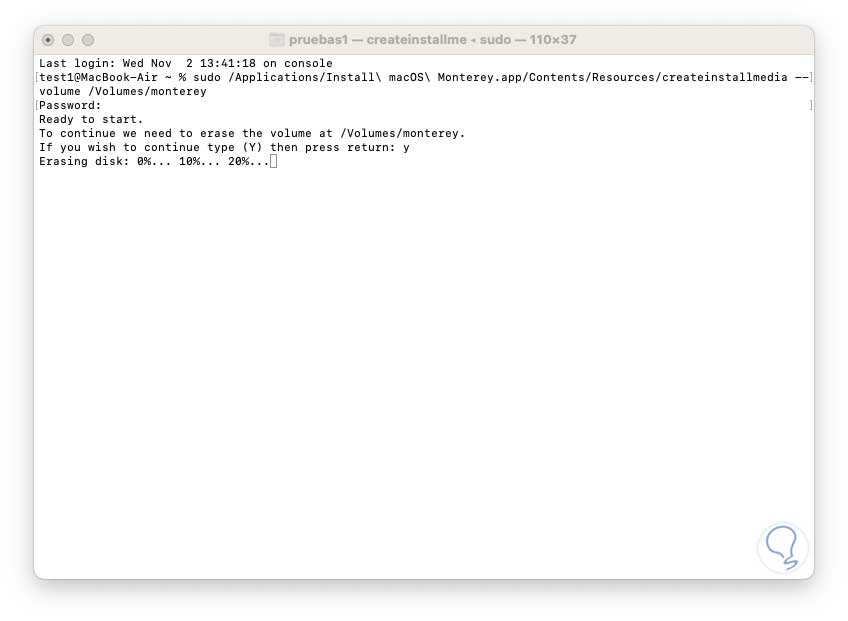
step 13
We enter the letter "y" to confirm the process and wait for the creation of the macOS Monterey bootable USB to be completed:
step 14
Once the USB boot has been configured, the files will be copied:
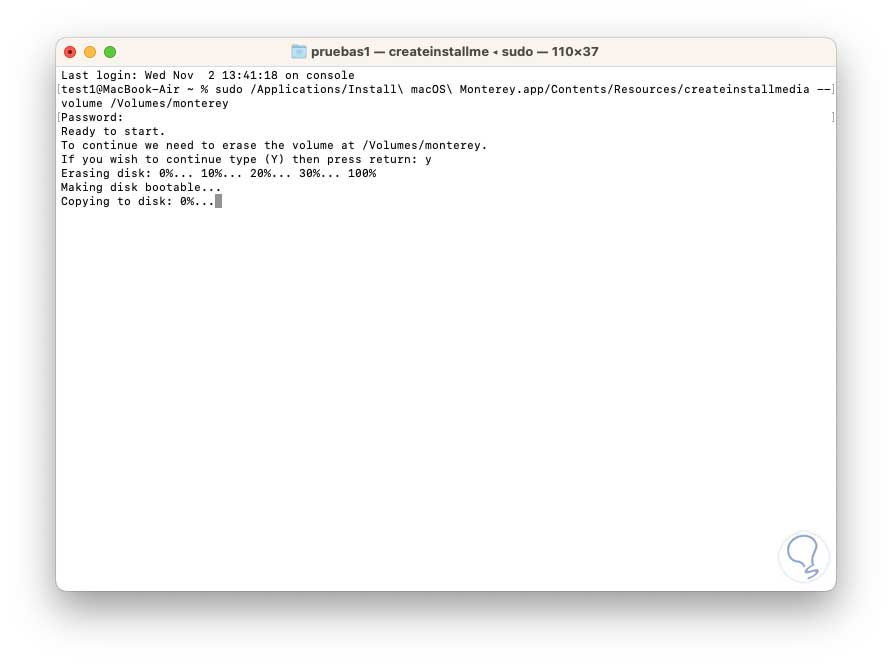
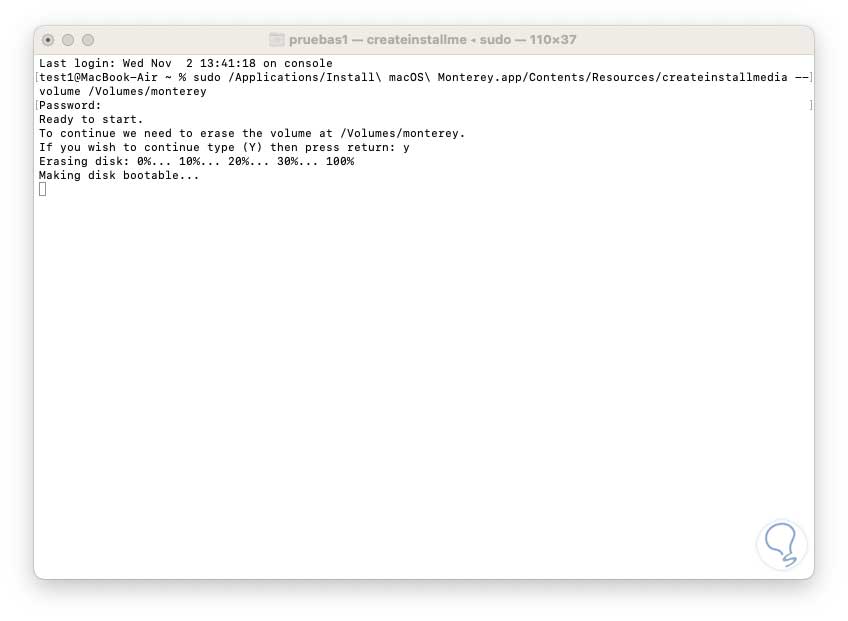
step 15
At the end we will see the following:
step 16
We see that the USB media is ready to be used in the process of migrating from Ventura to Monterey.
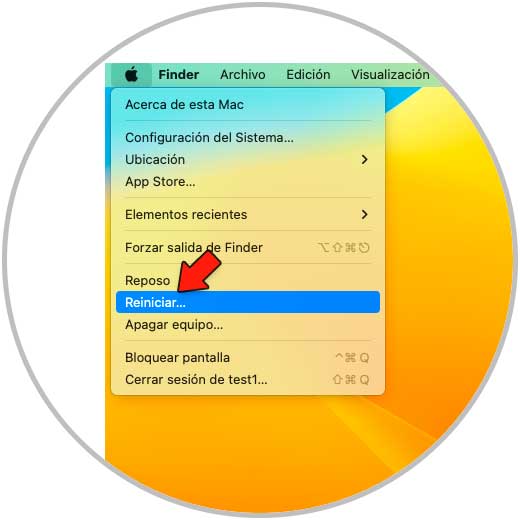
Reboot the system:
step 17
When the USB is connected, the system will load:

step 18
After a moment we will see the following:
Note
In case of not having the boot from the USB, during the reboot we press the Command key to choose the boot medium.
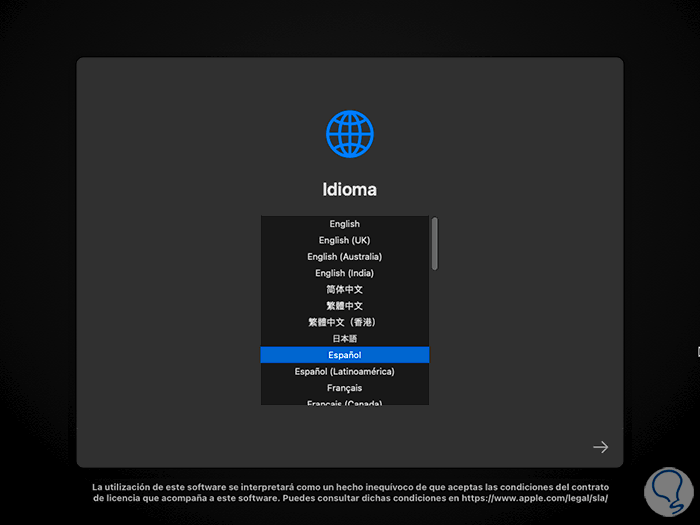
step 19
We select the installation language of macOS Monterey, then we will access the macOS recovery menu:
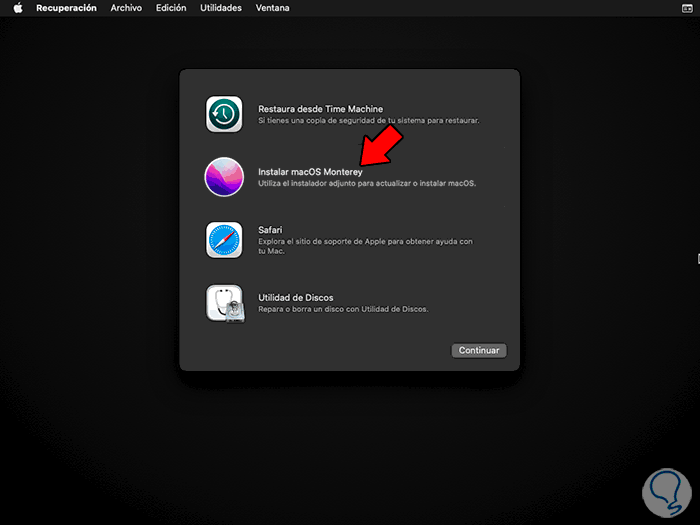
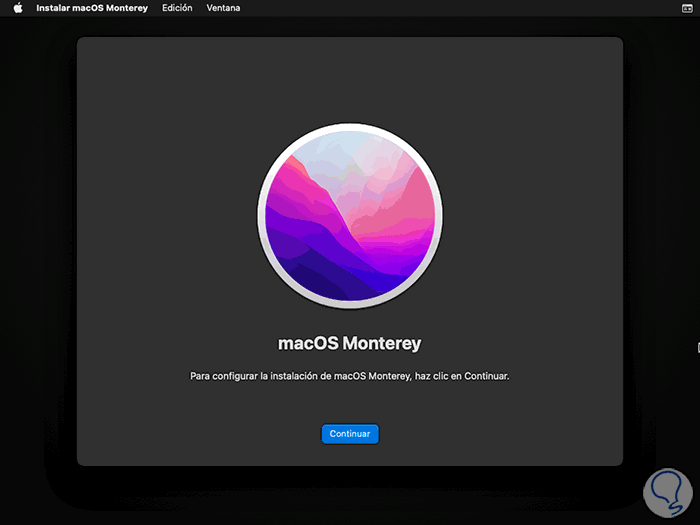
step 20
As it is about updating to the previous version, we select the option "Install macOS Monterey", we click Continue to see the following:
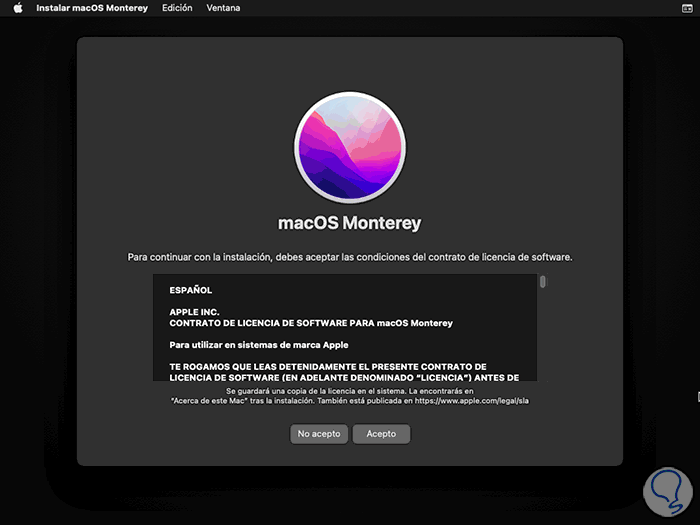
step 21
We click on Continue and we will access the license section:
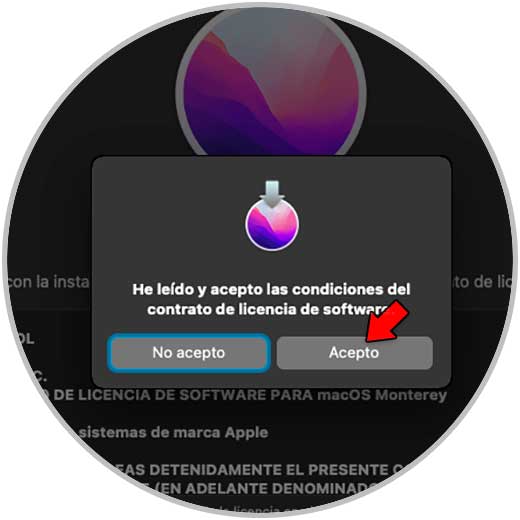
step 22
We confirm the acceptance of the license by clicking on I accept and again on I accept in the pop-up window:
step 23
Now we select the disk where macOS Monterey will be installed:
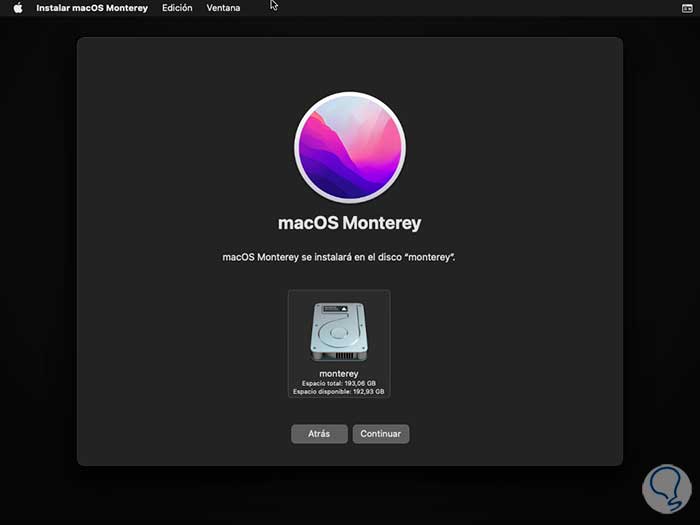
step 24
We click on "Continue" and we will proceed with this step:
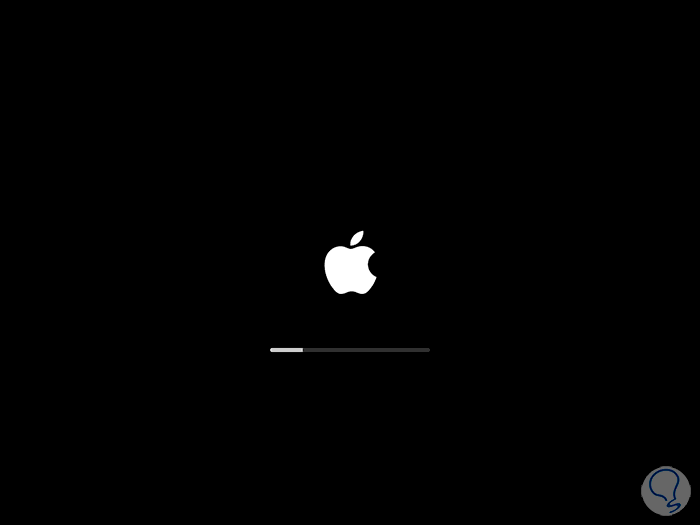
step 25
The system will reboot after this:
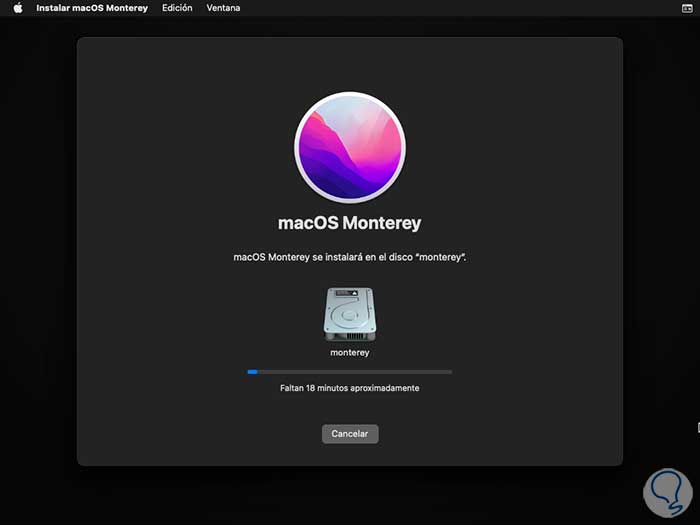
step 26
There the installation, update, will be carried out on the macOS Monterey hard drive:
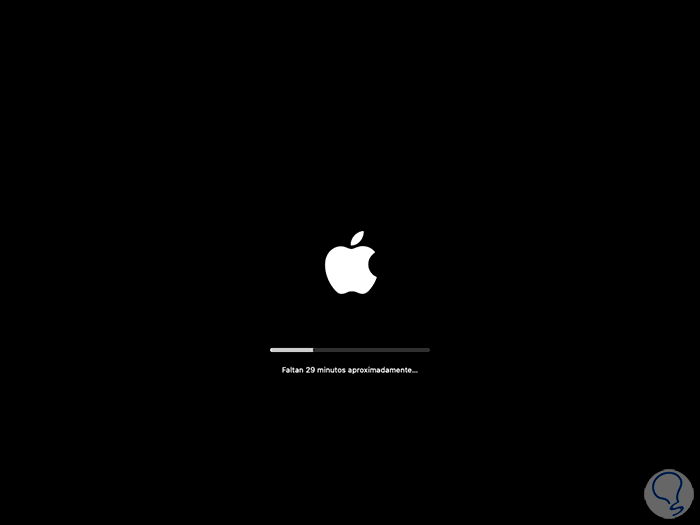
step 27
This process takes about 30 minutes:

step 28
The system will be restarted again and then we will be at the login screen:
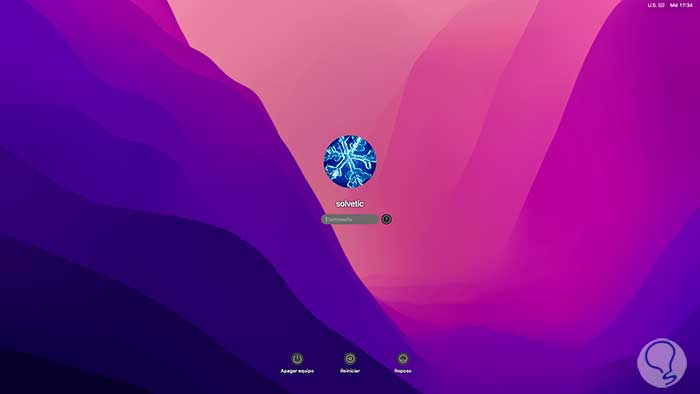
step 29
We log in and confirm that we use macOS Monterey:
This is the method to return from macOS Ventura to Monterey in case the new version has not been to our liking or has presented errors..