The Start Menu in Windows 11 is one of the most used sections of the system since from there we access our programs and applications, access to Libraries and, if configured, access to the most used apps, additionally we have a search engine to see it open the elements stored on the computer, but Windows 11 gives us the opportunity to customize this Start menu a little more based on our needs, since not all users work and interact in the same way in our interface..
Being able to customize a system is key to feeling comfortable when navigating through the different menus and options. As we will see today we will be able to organize programs in the Start Menu in Windows 11 and thus be able to put or remove programs and software from our initial menu and TechnoWikis will explain how to customize the Start menu a little more through the organization of applications or programs.
To stay up to date, remember to subscribe to our YouTube channel!
SUBSCRIBE ON YOUTUBE
How to organize Start Menu programs in Windows 11
Step 1
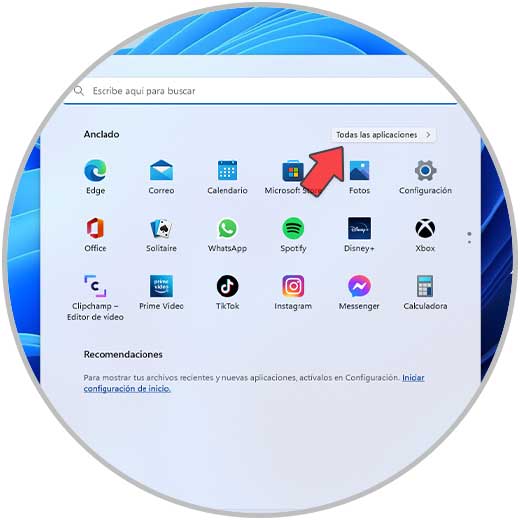
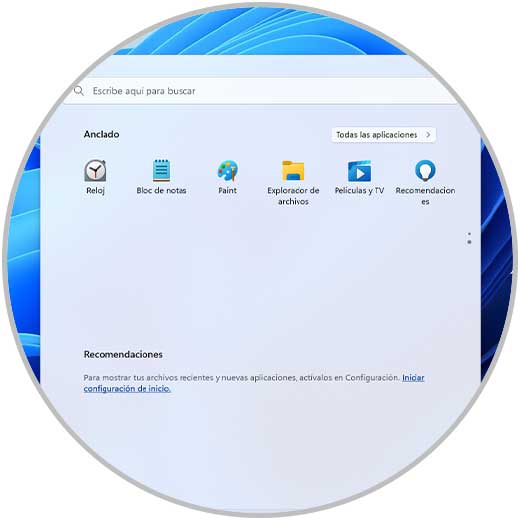
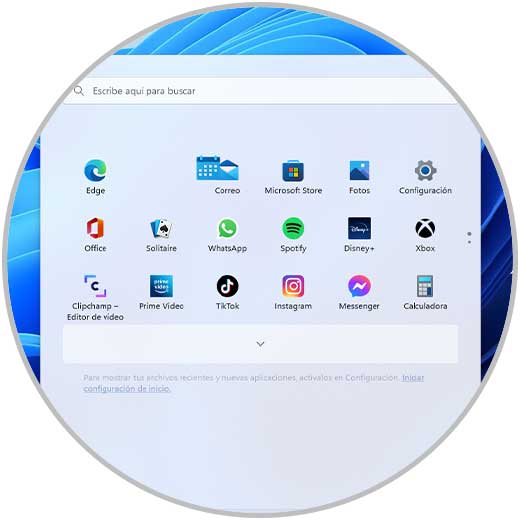
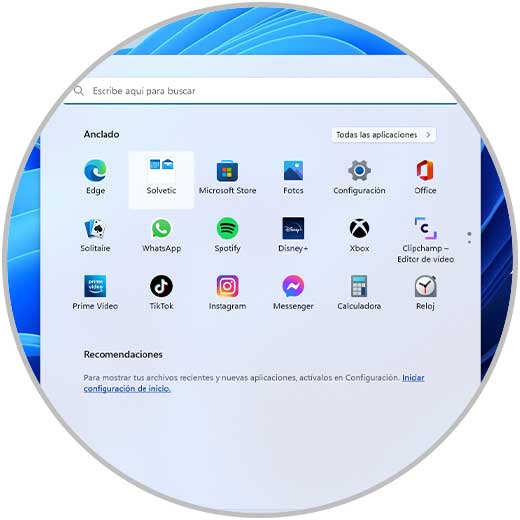
First of all we will learn how to pin a program to the Start menu to access it from there, for this we click on the Start menu and then go to "All applications":
Step 2
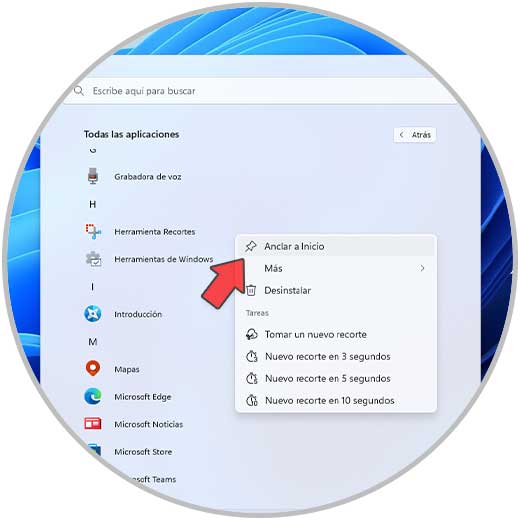
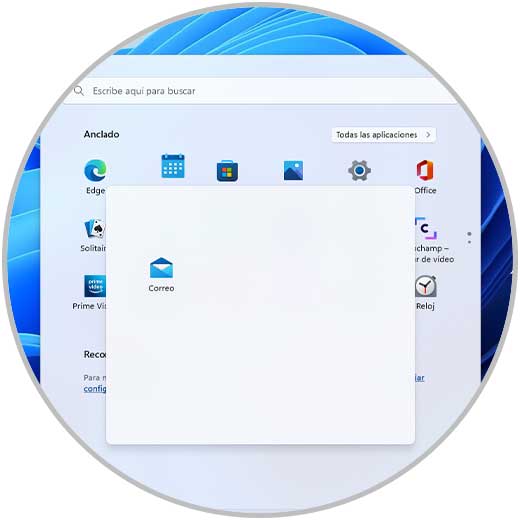
We right click on the desired application and select the option "Pin to Start":
Step 3
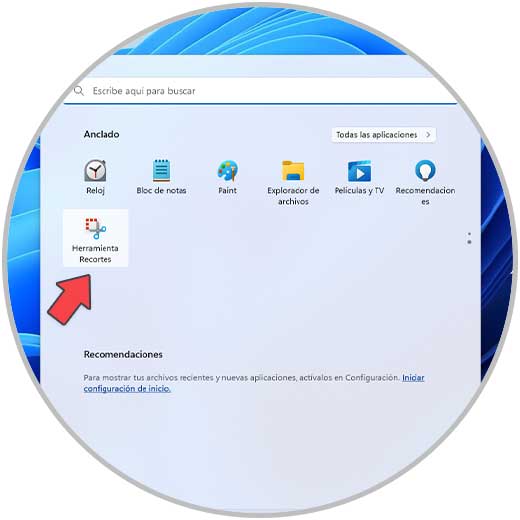
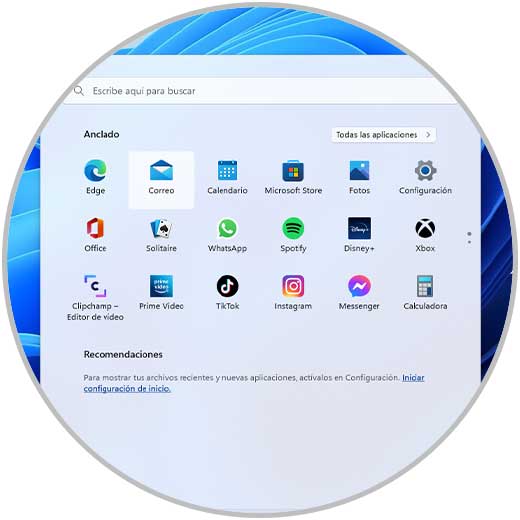
After this, when you open the Start menu that app will be available there for you to access:
Step 4
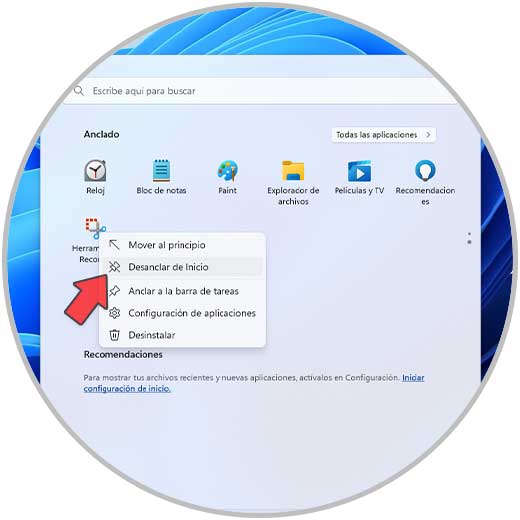
To remove it from the Start menu, we right click on it and select the "Unpin from Start" option:
step 5
Automatically the application will be removed so as not to be available in the Start menu:
Step 6
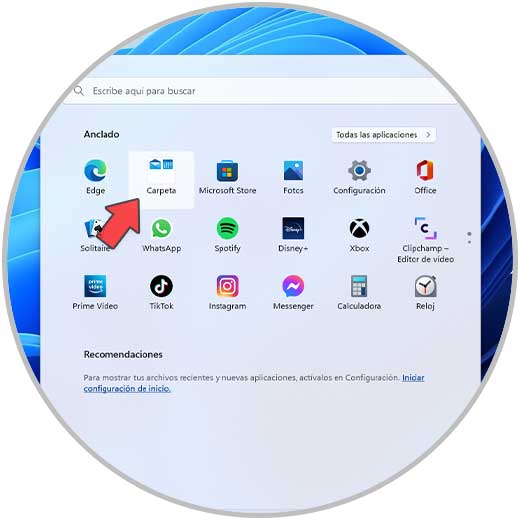
In Windows 11 22H2, which is the new edition of Windows 11, it is possible to create a folder, this allows you to manage similar applications or by category according to the user's needs, for this we drag the access on the desired application, that is, an application over another:
Step 7
The folder will be created automatically:
step 8
Click on the folder to see the apps that make it up:
step 9
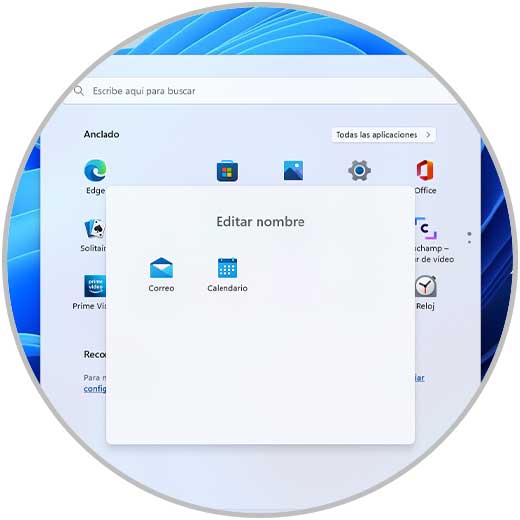
There we can drag all the applications that we consider ideal to be in the folder, we click on "Edit name" to assign a new name to the folder and have a better administration of it:

step 10
When opening the Start menu we can see the folder with the new name assigned:
step 11
To remove the folder we access it and drag the apps to the menu again:
step 12
Now the folder will no longer be available in the Start menu:
step 13
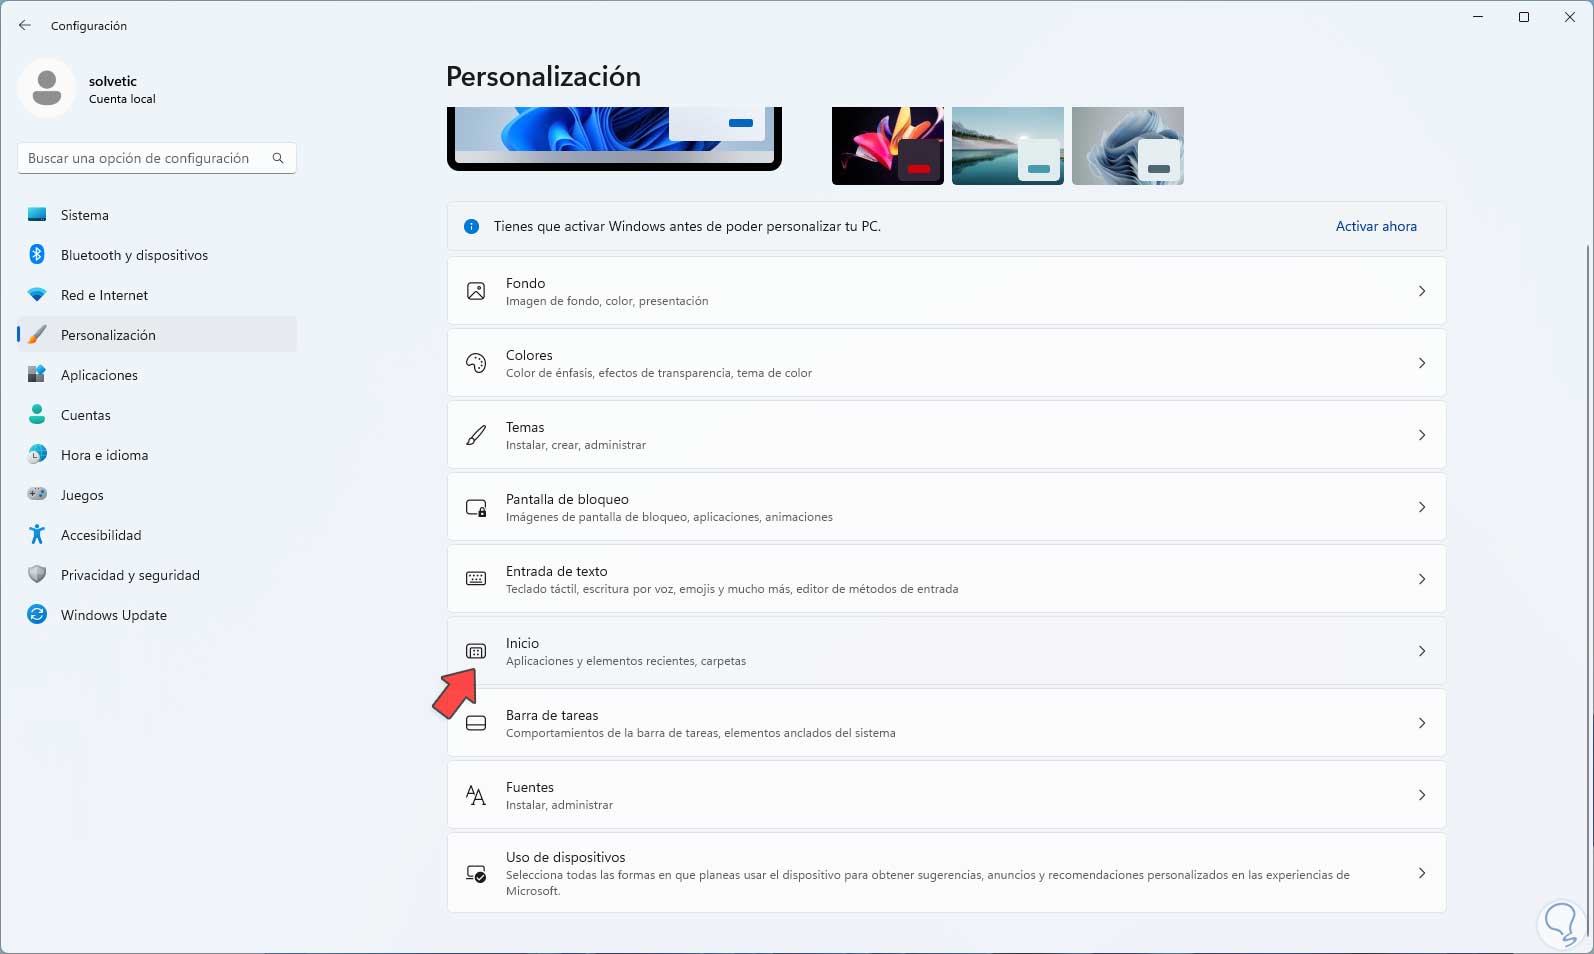
Now it is possible to configure some aspects of the Start menu, to achieve this we are going to:

step 14
When accessing there we will see the following:

step 15
We activate the "More pinned items" box in "Layout" to have more shortcut options in the Start menu:

step 16
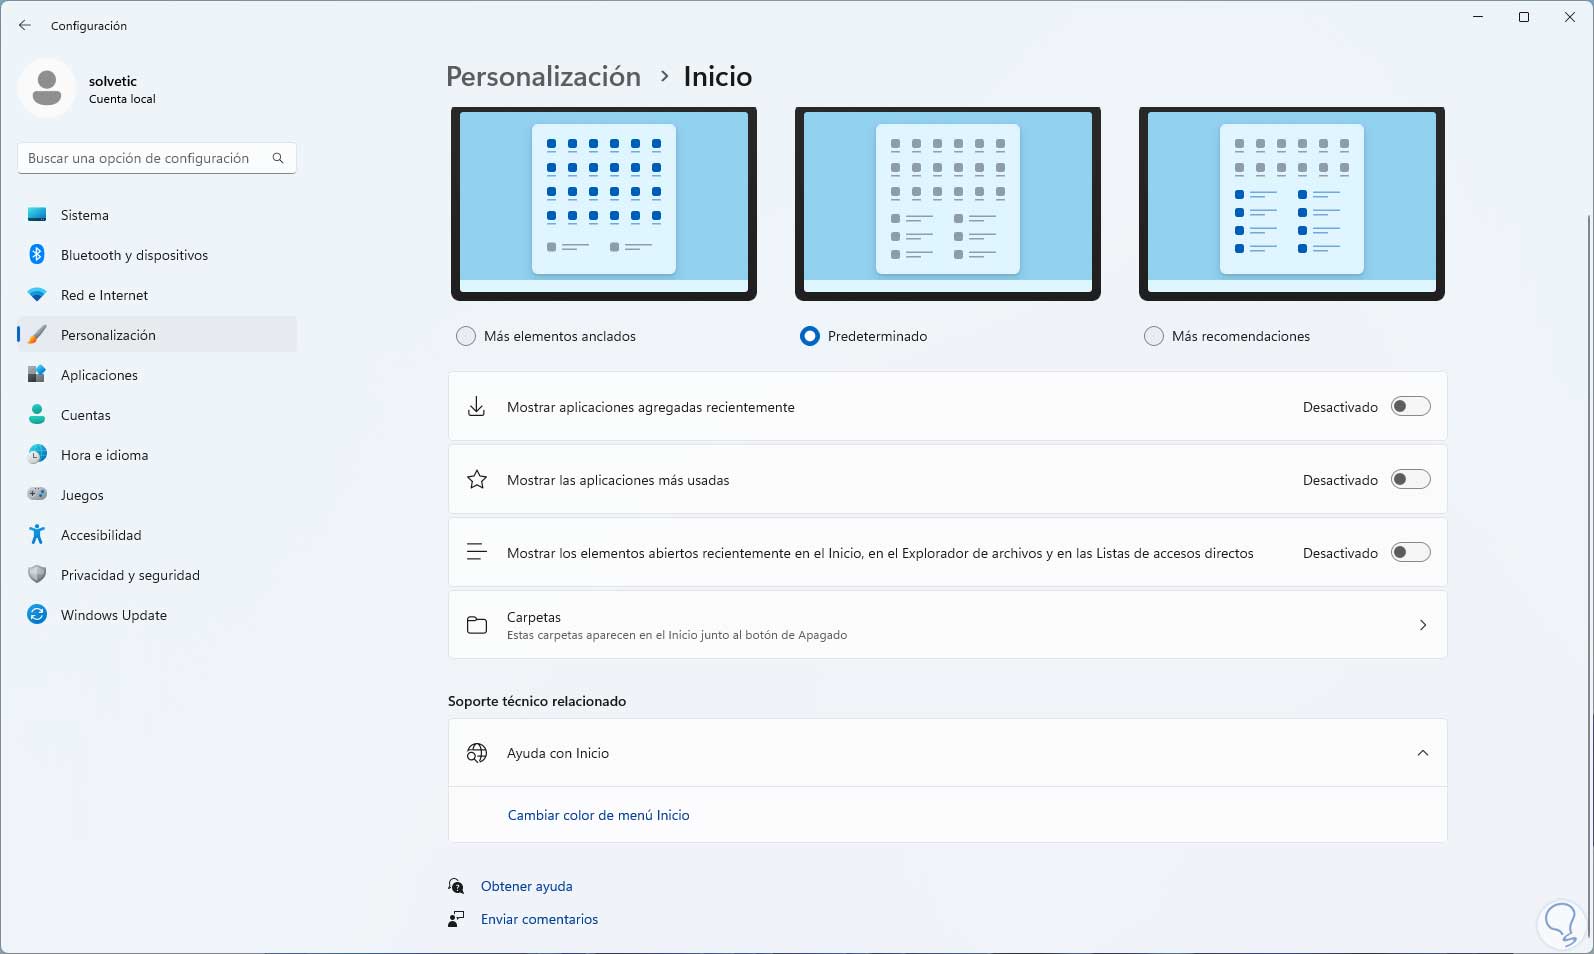
Another option is to go to “Personalization – Home” again:
step 17
We access again to see the different options:
step 18
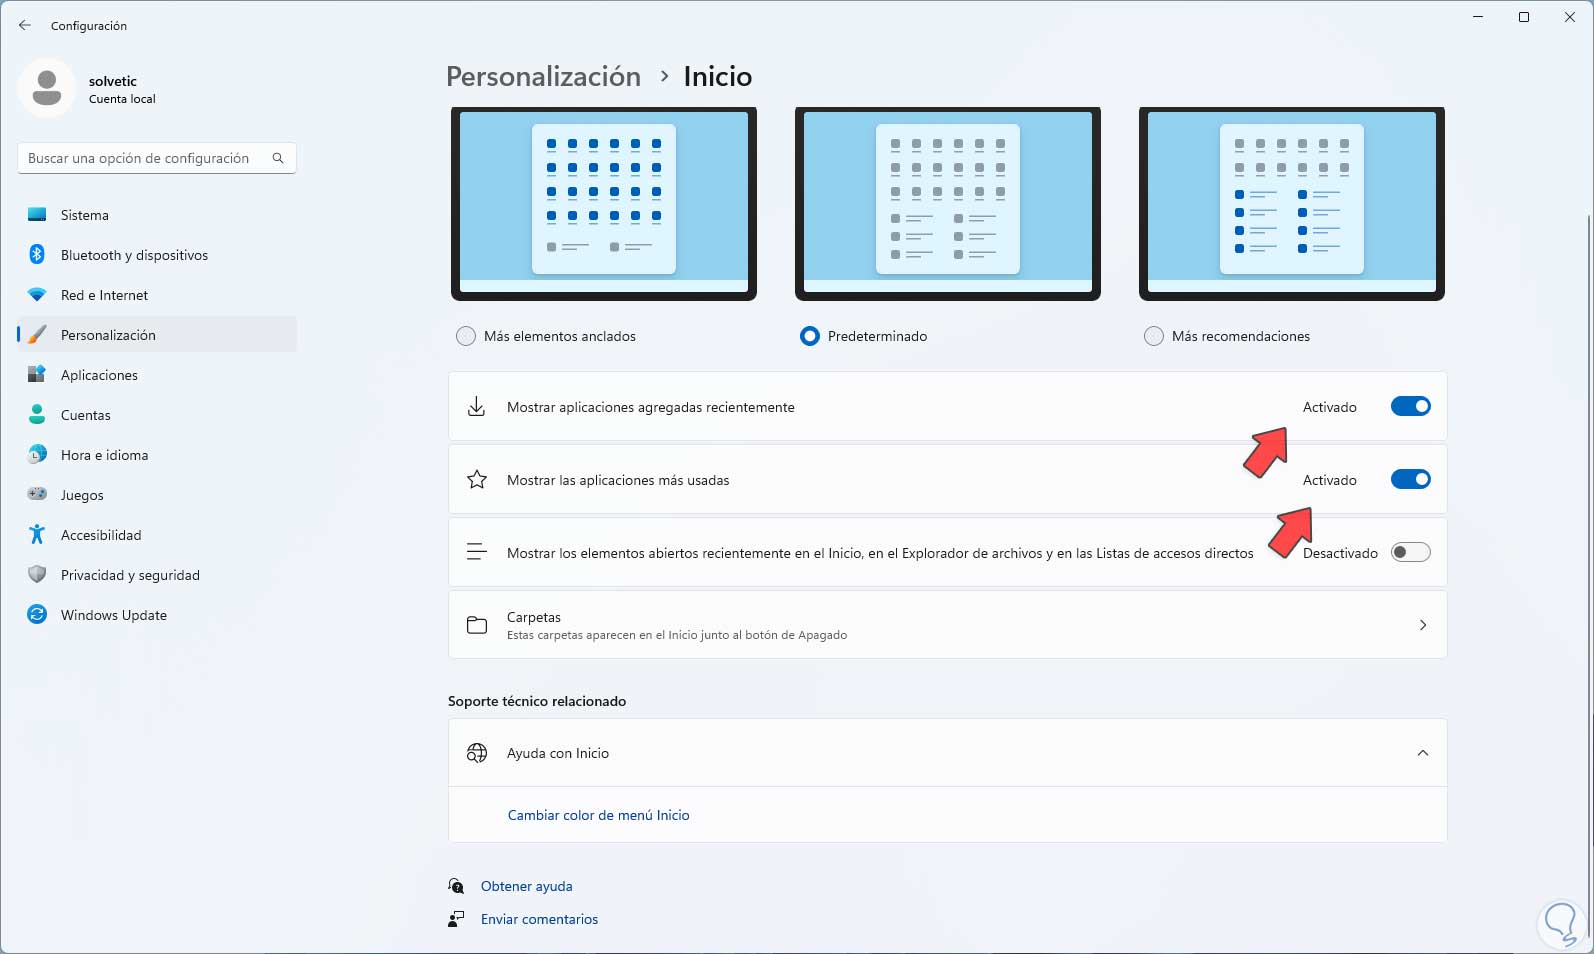
This time we turn on the "Show recently added apps" and "Show most used apps" switches to have more access in the Start menu:
This is how it was possible to configure the Start menu by adding or removing programs as the user deems necessary based on their tastes or work..