One of the tasks that are carried out daily in Windows 11 is to search for elements, this ranges from files to applications or places, we carry out this action from the Start menu but behind this there are services and processes that operate so that the search works perfectly, the search in Windows 11 is done through Windows Search which is enabled by default in the system and Windows Search is the improvement and renewal of Windows Desktop Search (WDS), Windows Search in Windows 11 is composed of:
windows search composition
- The WSS service (Windows Search Service - Windows Search Service)
In these scenarios, WSS is the root for the search in Windows 11 to work correctly because a search protocol is used with which it is possible for the client to have communication with a server where a WSS is hosted, this serves to generate the queries as well as to allow the administrator to manage the indexing server, the results that we see are given thanks to the fact that WSS analyzes the documents to later extract the useful information and thus organize it, this is the result that we will see when executing the search..
Perhaps we have heard and in some tutorials TechnoWikis has mentioned to you about indexing, this is another key element in the search in Windows 11 and this is a Windows service executed in the LocalSystem account and it will always be enabled for all users of the system, thanks to indexing it is possible:
Advantages indexing
- Create and maintain a shared index for all users
- Perform remote queries from client computers on the network
- Create security restrictions to access content
search errors
There are causes that have a negative impact on the search behavior in Windows 11, some of these are:
- Errors in the search host process
- Windows Search service error
- High system I/O rates integrating file reads and writes, page file and file cache I/O as well as mapped file I/O
- Shutdown of the WSS service
TechnoWikis will explain how to use the search in Windows 11 and incidentally how to optimize each functionality of this to the maximum.
To stay up to date, remember to subscribe to our YouTube channel!
SUBSCRIBE ON YOUTUBE
1 How to search in Windows 11 from the Start menu
Step 1
It is the method used daily and for this we click on the Windows button or on the search icon to display the search box:
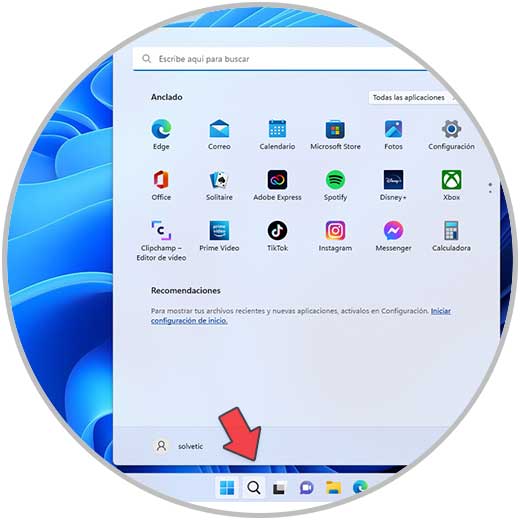
Step 2
Search for the desired content:
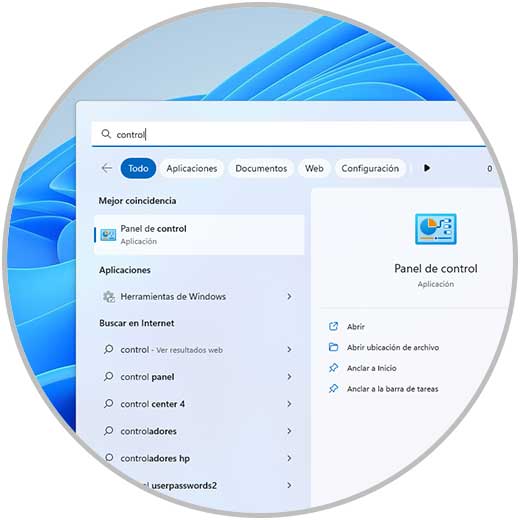
Step 3
When generating a result based on its type, we have some extra options in the central part such as:
- Run that program as administrator
- Pin the item to the Start menu or Taskbar
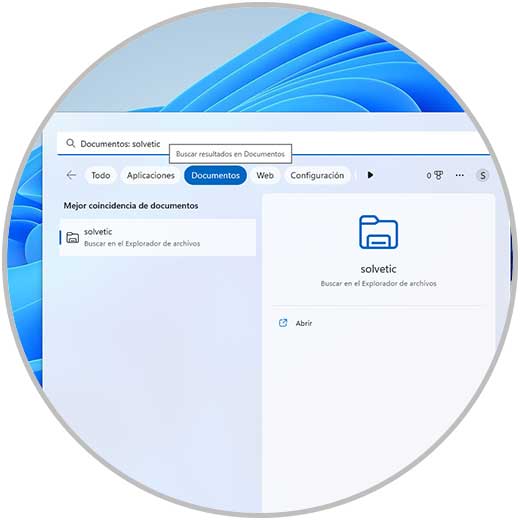
Step 4
It is possible to search for content by various options such as Documents, Web, Applications, etc., based on the type of search performed:
2 How to search in Windows 11 from File Explorer
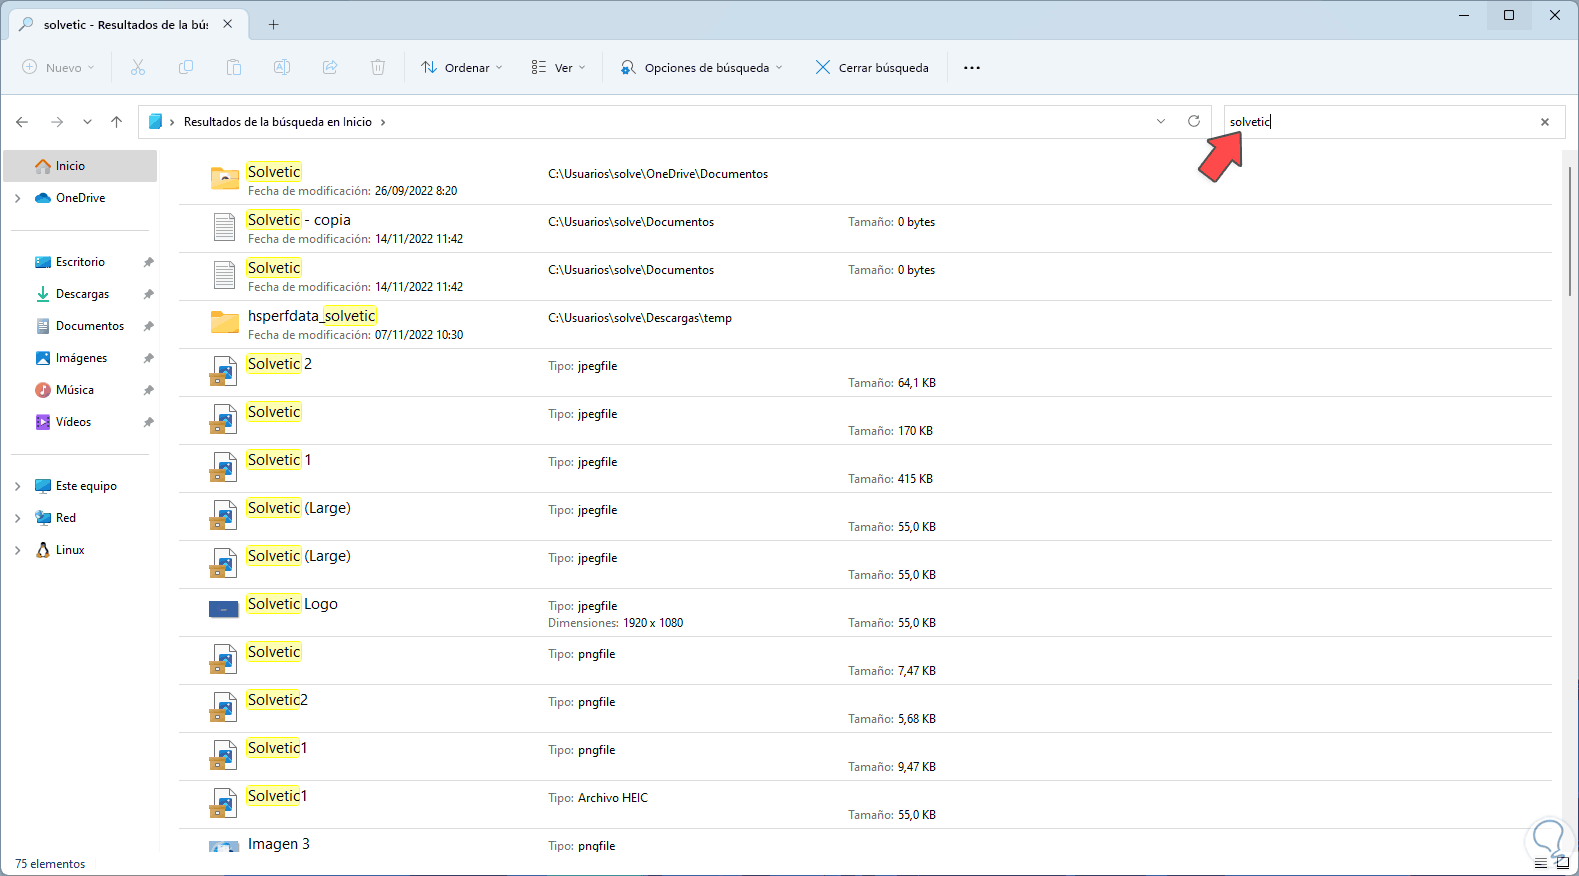
Step 1
This is another of the methods that Windows 11 offers us to search for objects in the system, its use is simple since we open File Explorer and enter the desired text in the search box, the search will start automatically:
Step 2
We click on "Search options" and there it is possible to apply filters for the search:
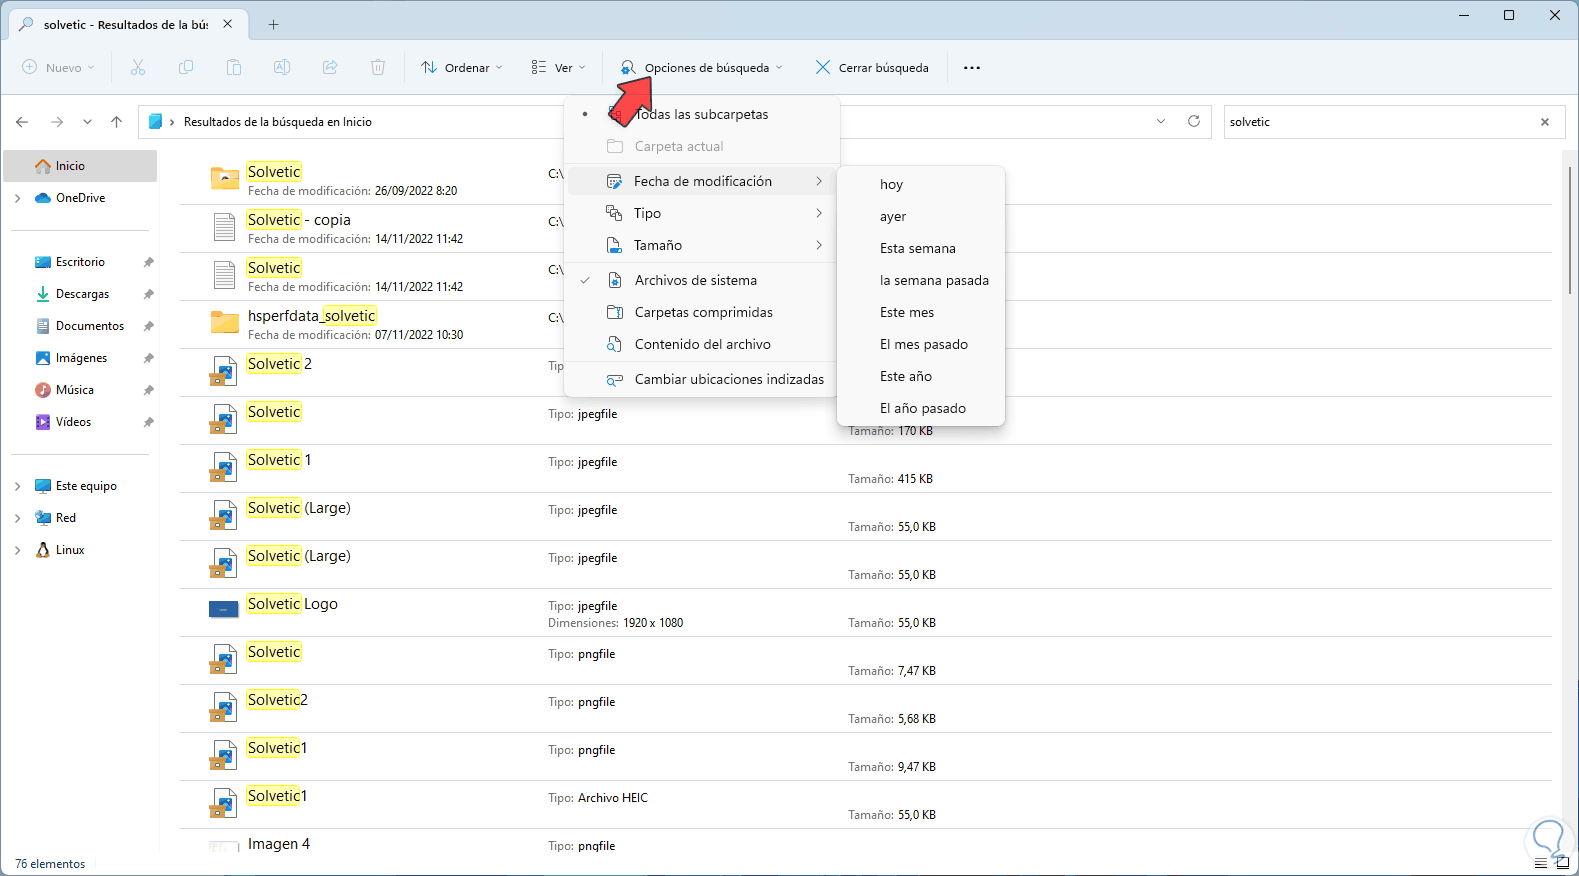
Step 3
We can apply various filters such as:
- Filter by modification date
- Whether or not it is compressed
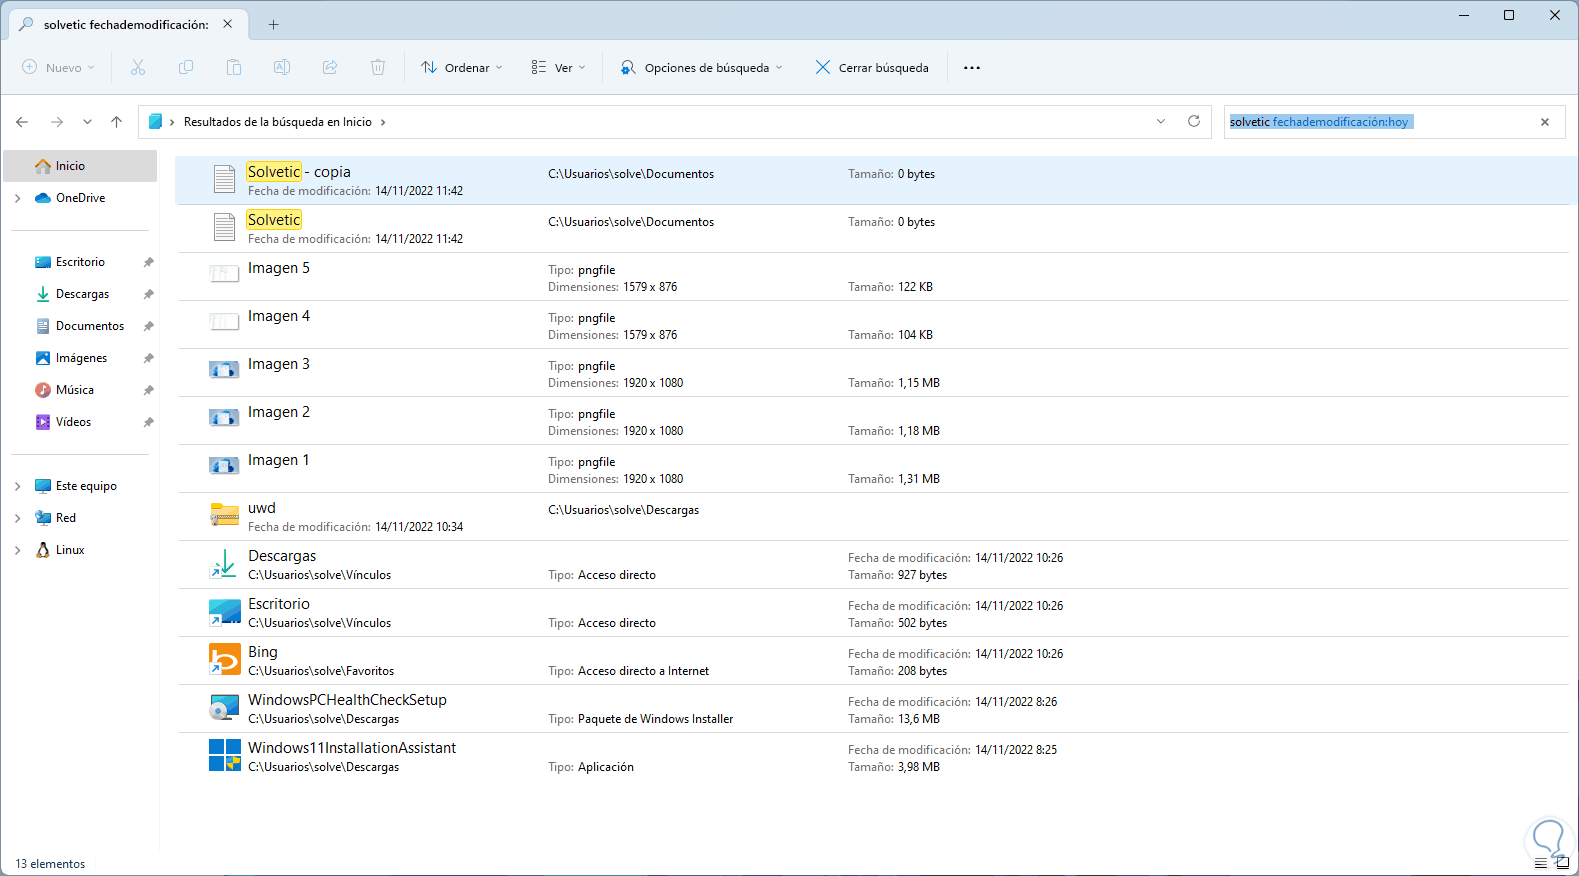
Step 4
When applying the filter there will only be the results based on it:
3 How to search in Windows 11 Managing search
Step 1
Windows 11 provides us with various options so that the search is as complete and comprehensive as possible, to manage the search we are going to:
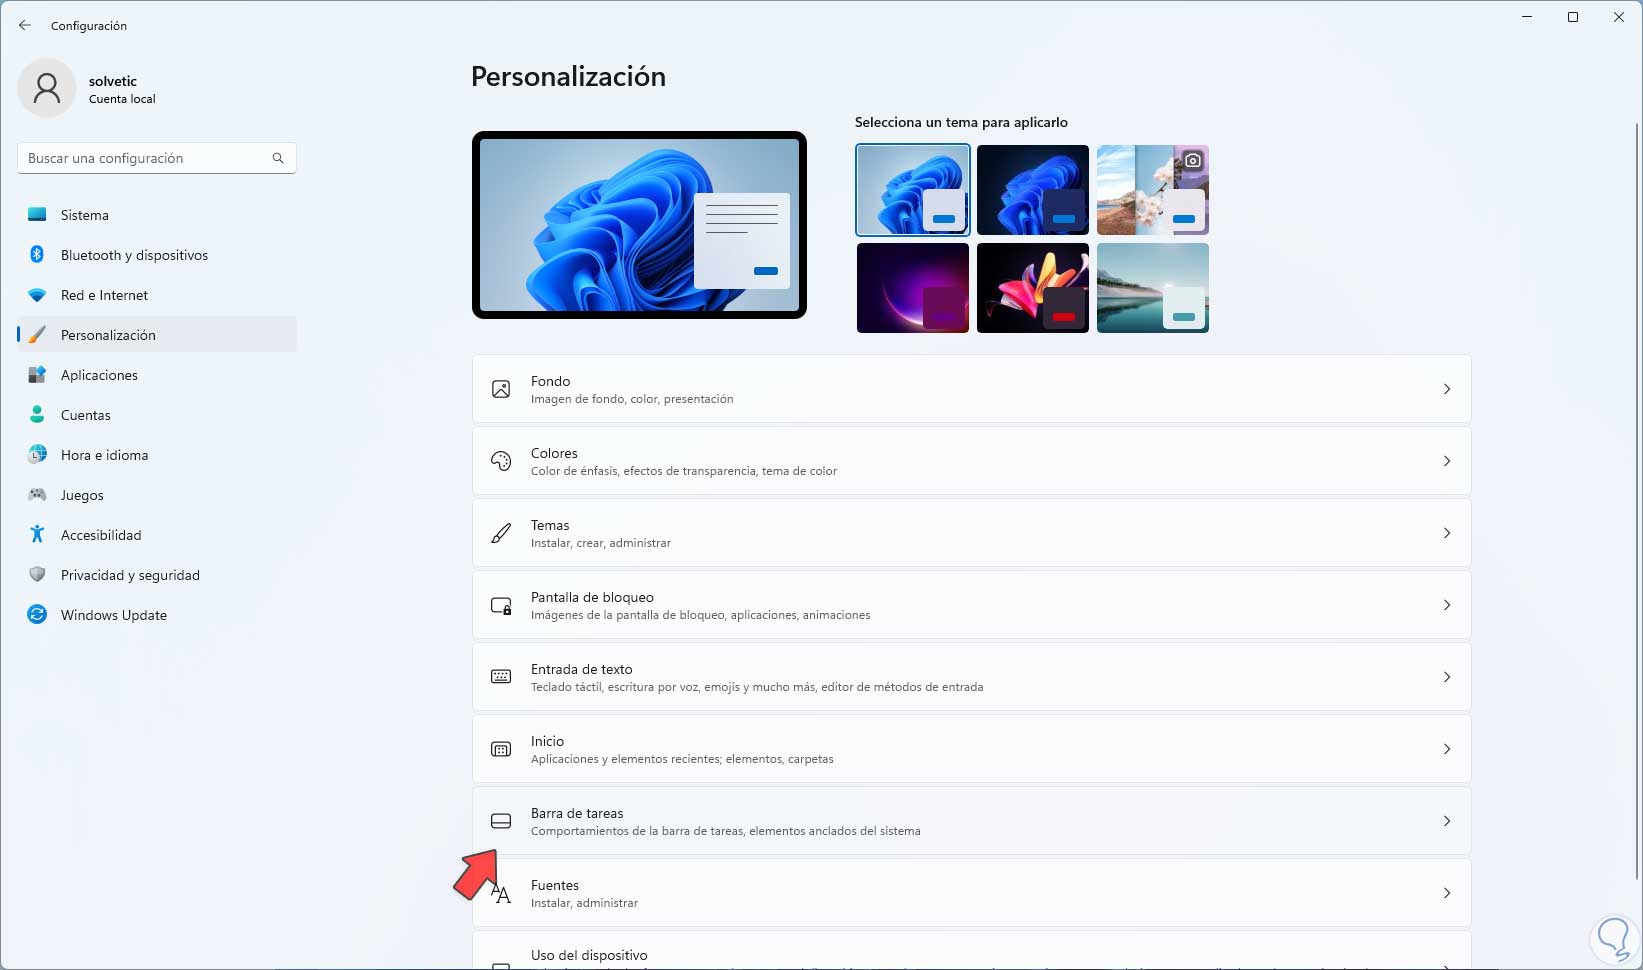
Step 2
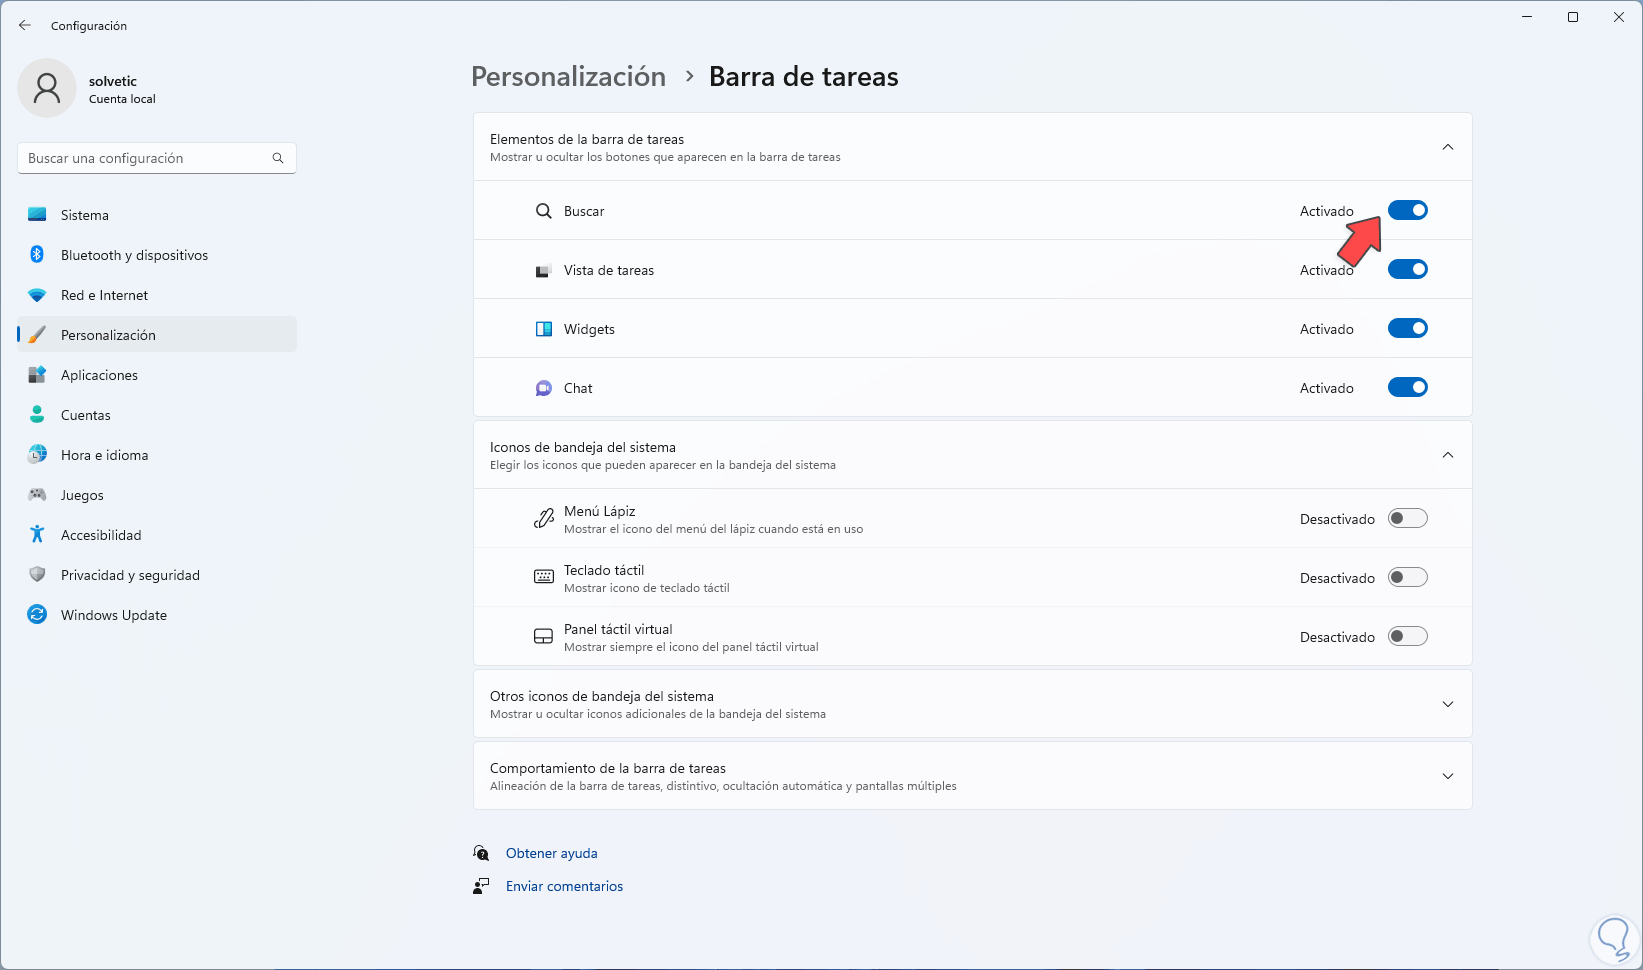
When accessing there we will see the following.
We validate that the "Search" switch is active in the first place,
Step 3
Now we click on "Taskbar behavior", it is optional to activate the "Show recent searches when the mouse hovers over the search icon" box:
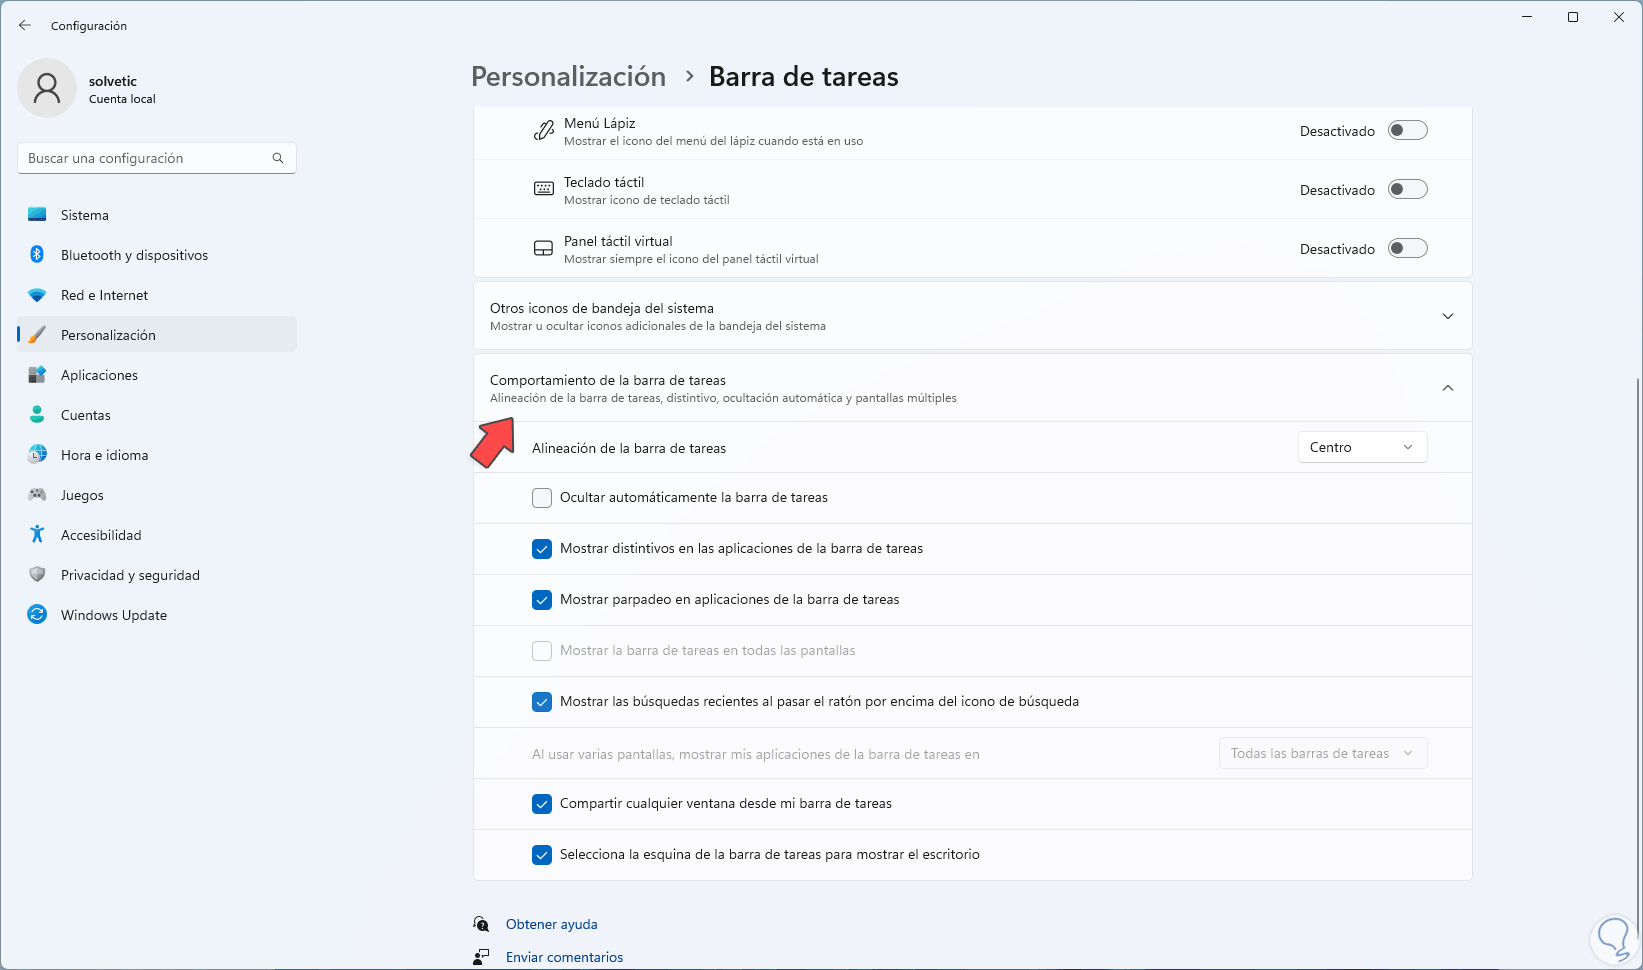
Step 4
This will cause the most recent searches to be displayed when the mouse passes over the Search icon, now we will go to "Privacy and security - Search permissions":

step 5
When accessing there we will have various management options:
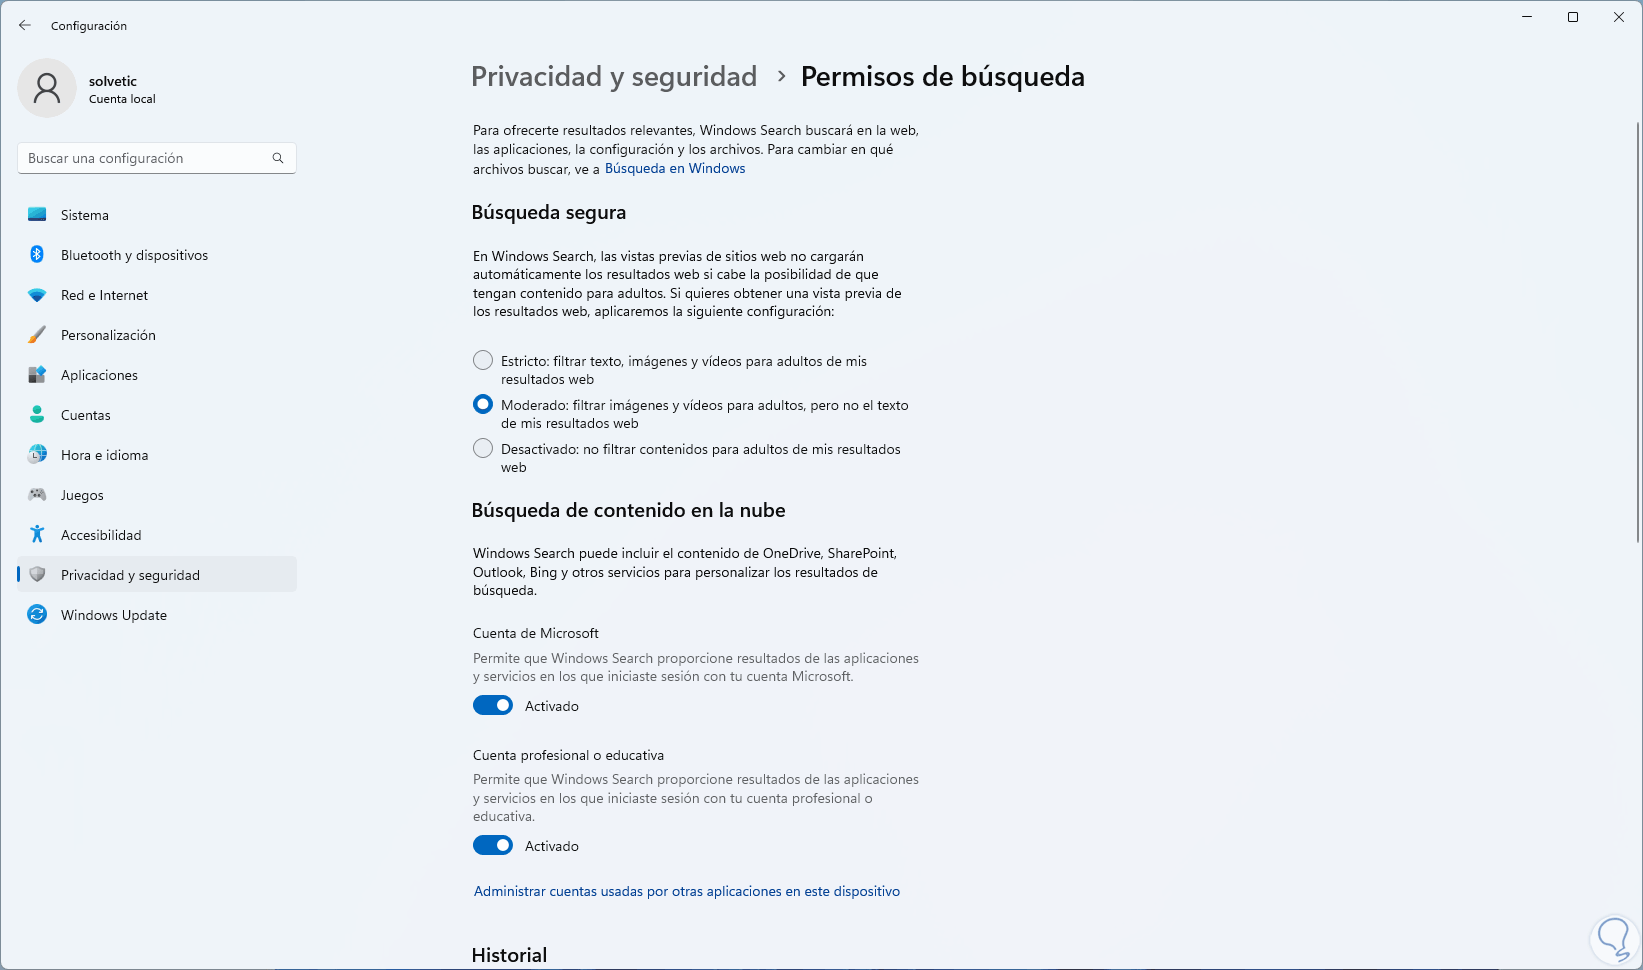
step 6
We configure the type of safe search which are:
- Strict: this mode prevents inappropriate (adult) content from being displayed in the results
- Moderate: can filter adult content but does not act on text
- Off: Throw results regardless of type
step 7
We activate the "Search content in the cloud" switch associated with the Microsoft account:
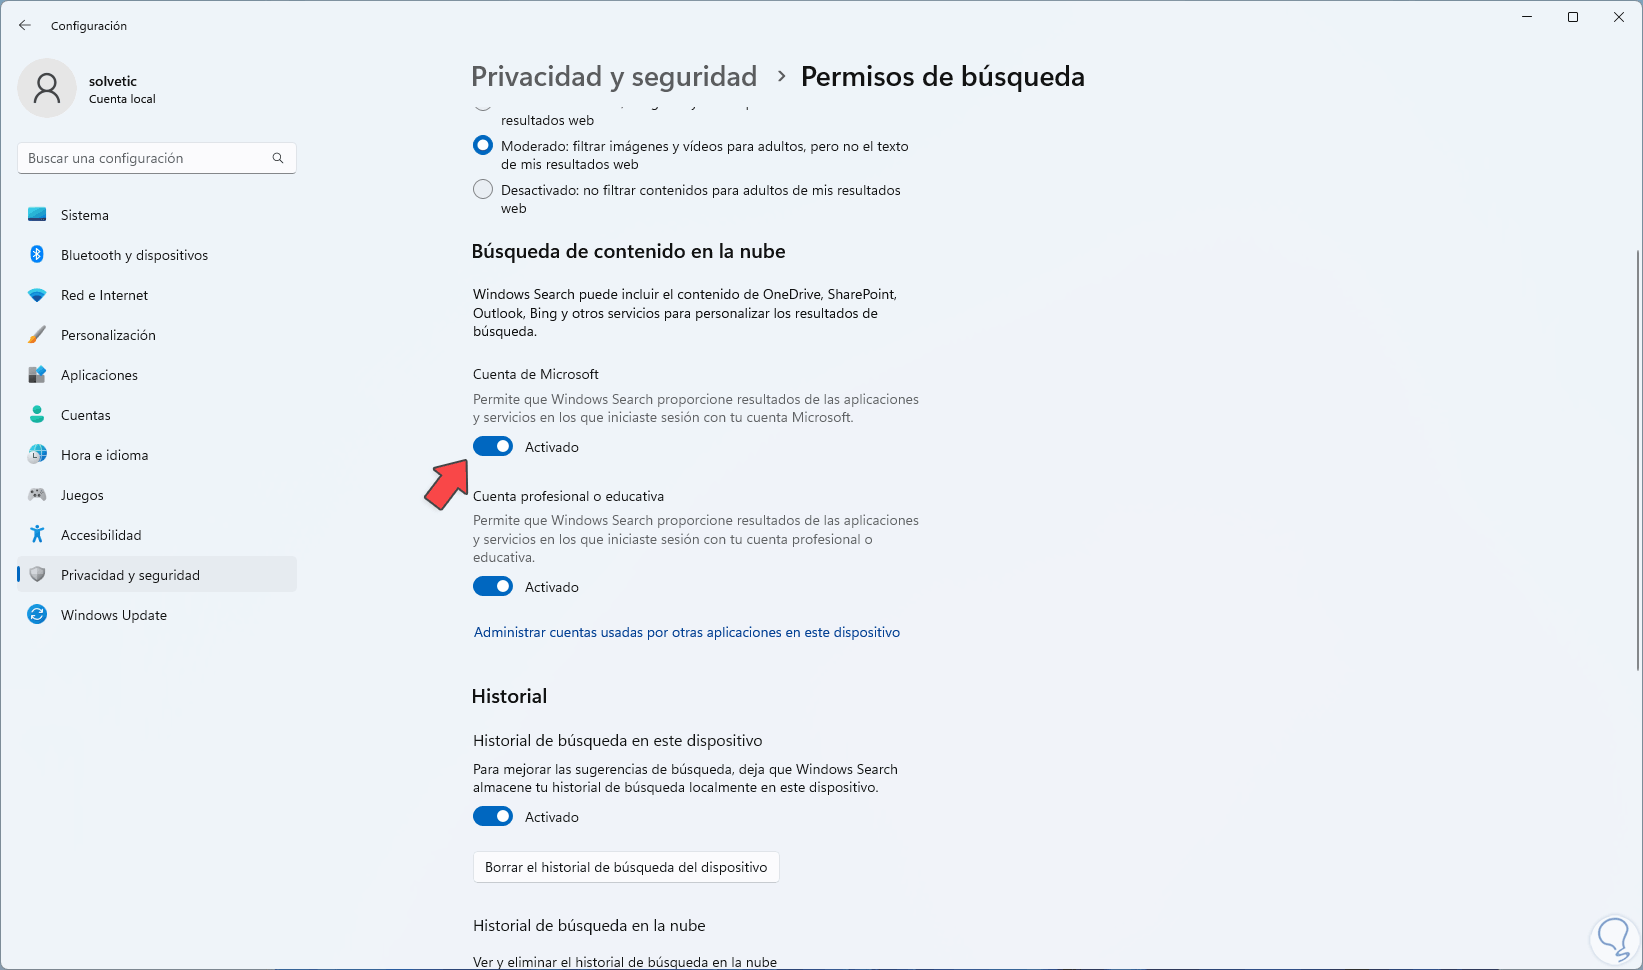
step 8
This allows us to see content from Outlook, OneDrive, Bing and other Microsoft platforms within the results.
In "History" we activate the switch to keep the device's history and if desired, the history can be deleted by clicking on "Clear the device's search history":
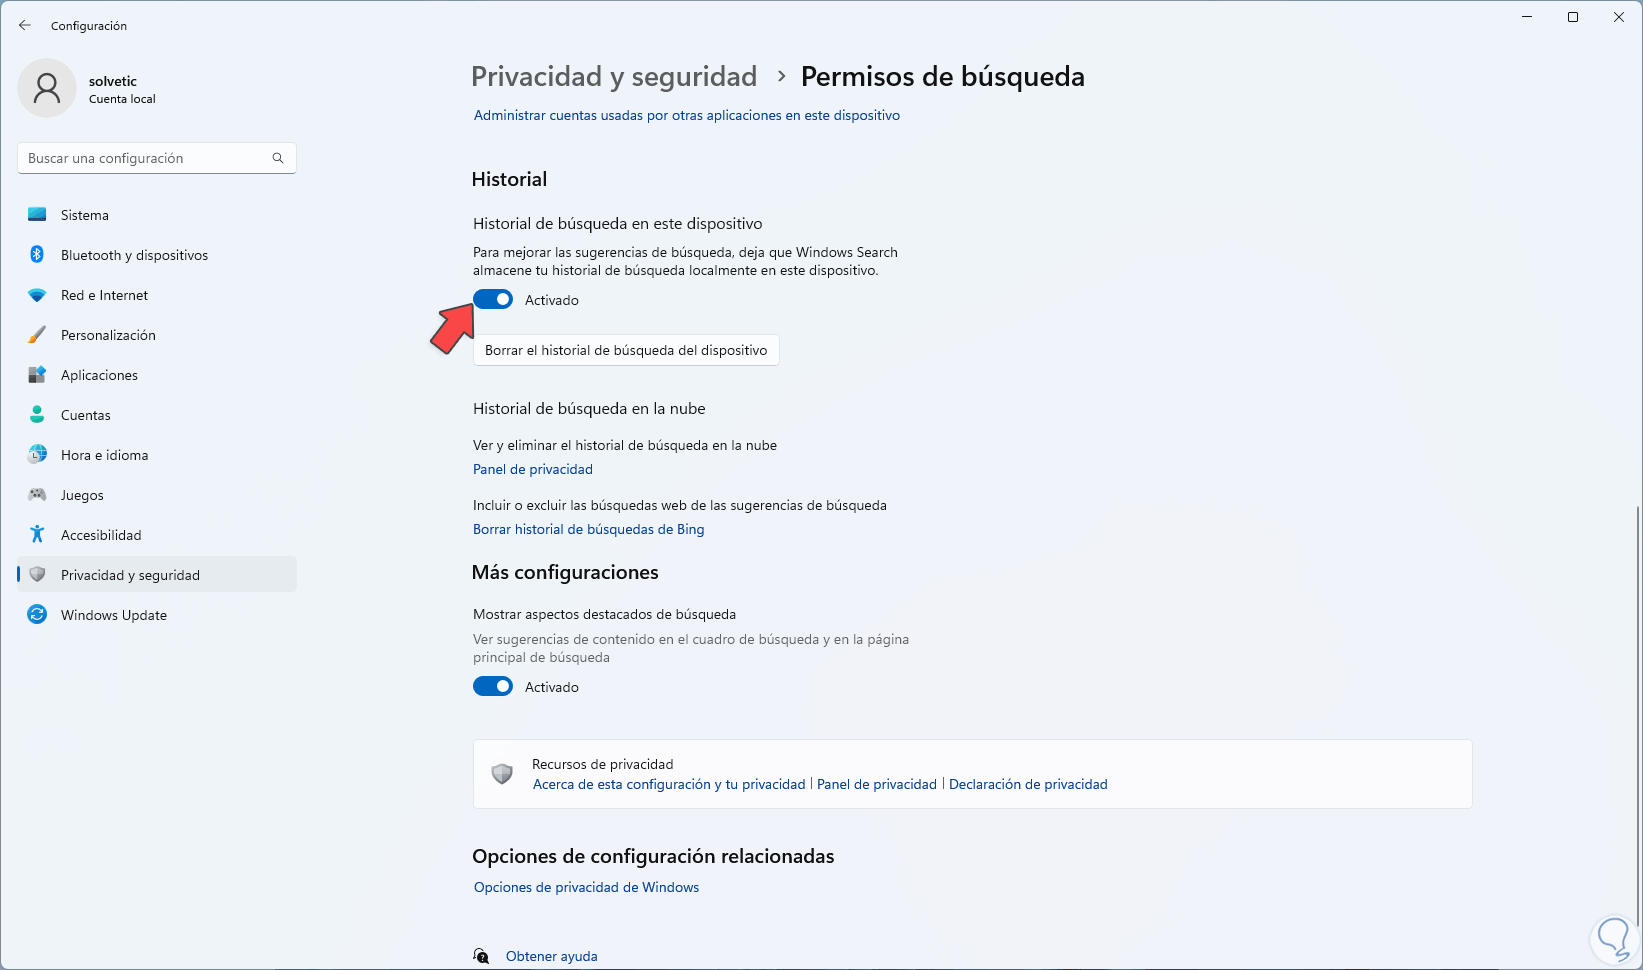
step 9
In "More settings" we activate the switch to improve aspects of the search:
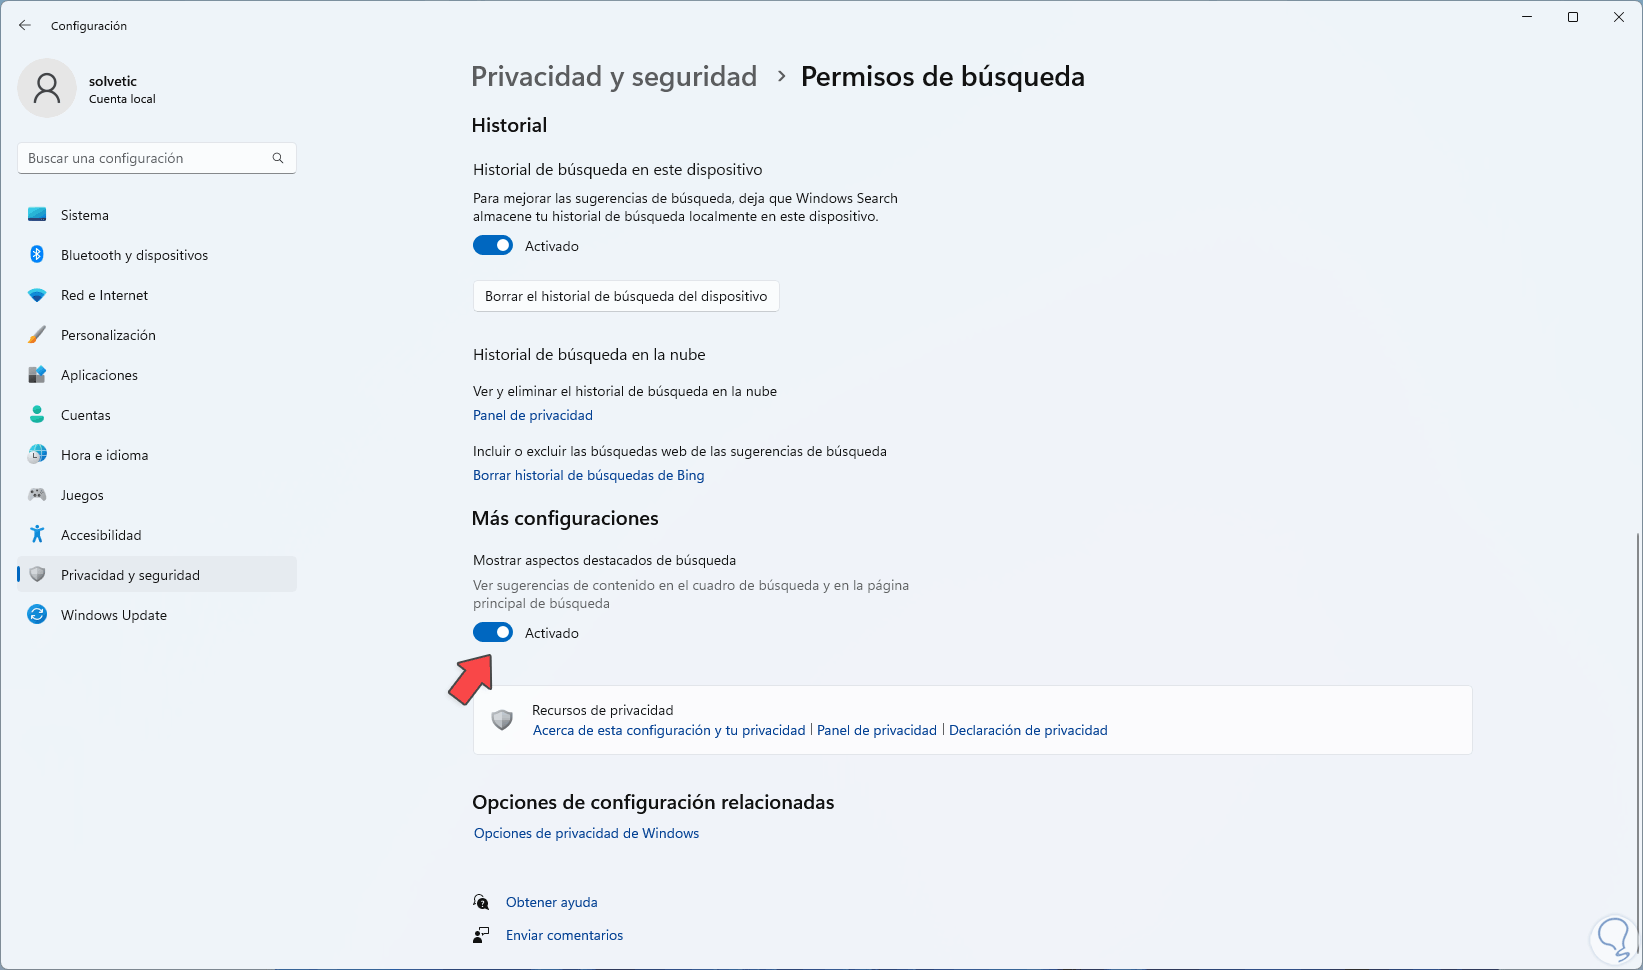
step 10
This includes suggestions based on frequent searches. Now we go to "Privacy and security - Search in Windows":
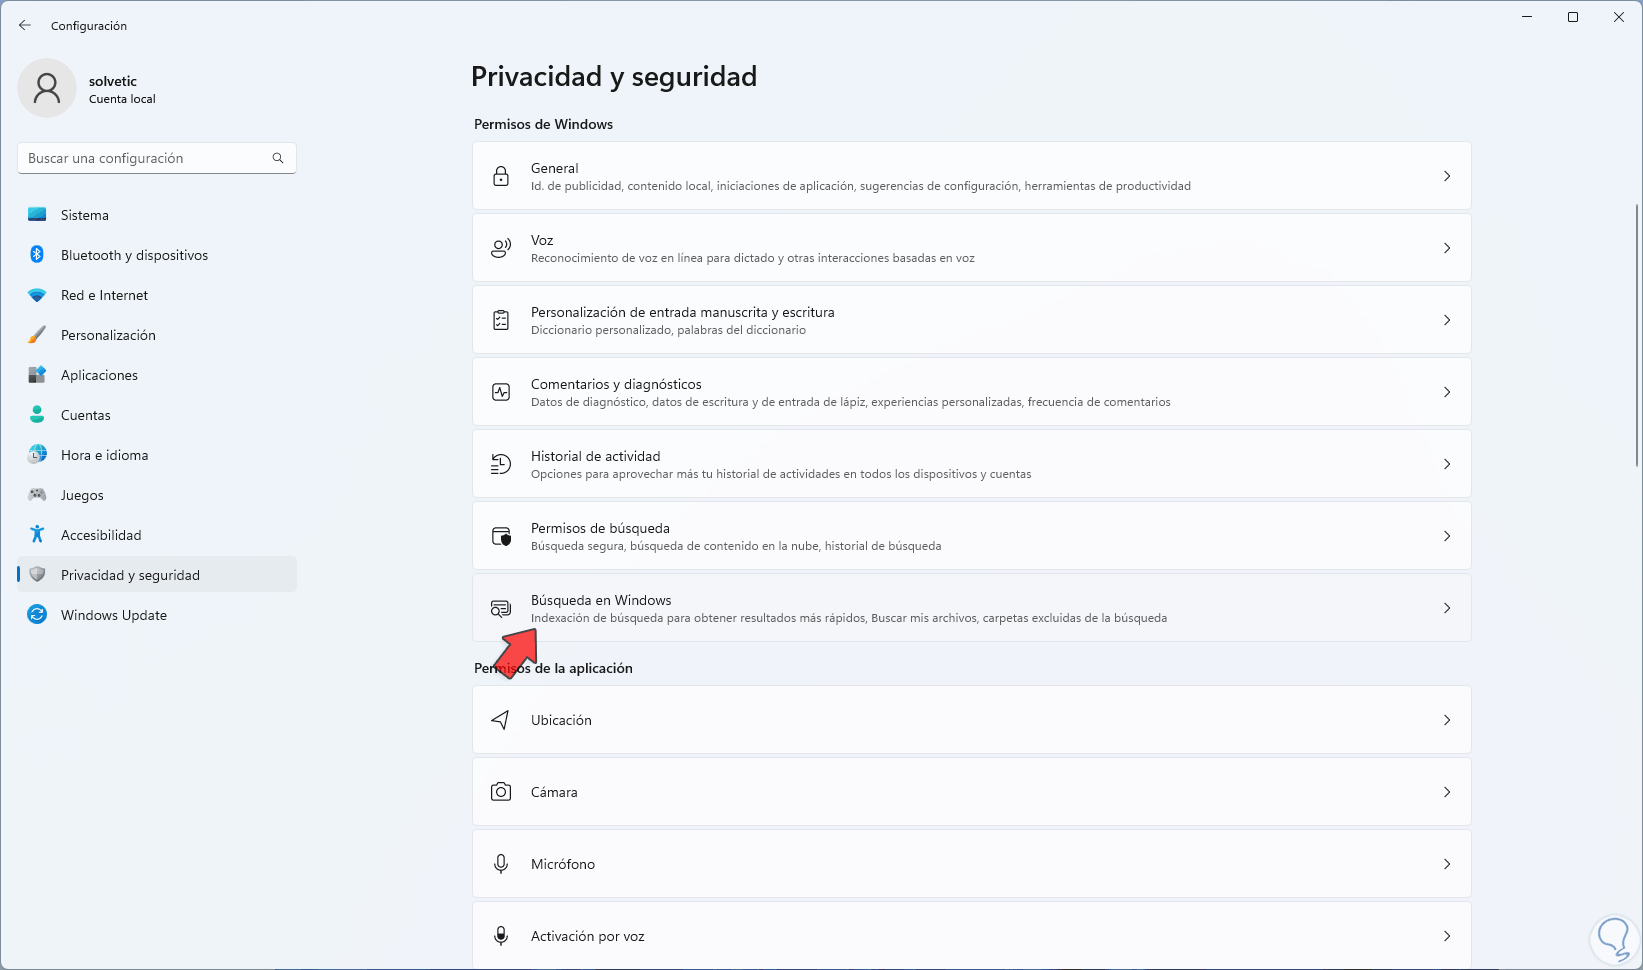
step 11
This is another section that gives us various management options for search in Windows 11:
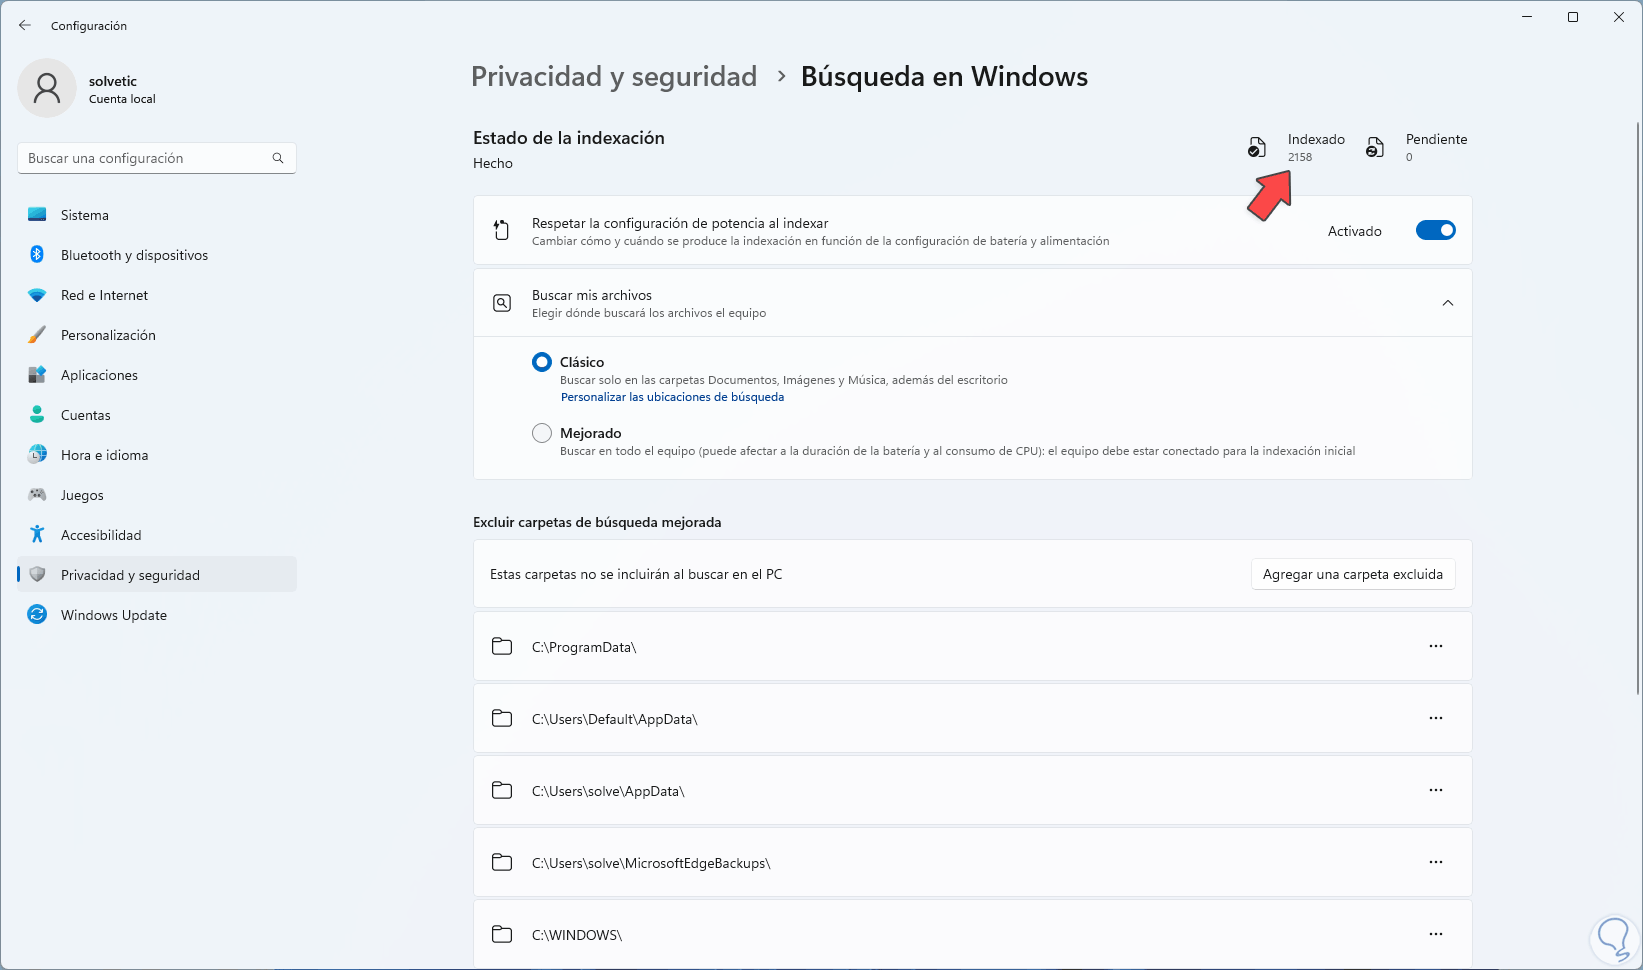
step 12
In the upper part it is possible to see the indexed files and those that are yet to be, now we activate the "Respect power configuration when indexing" switch:
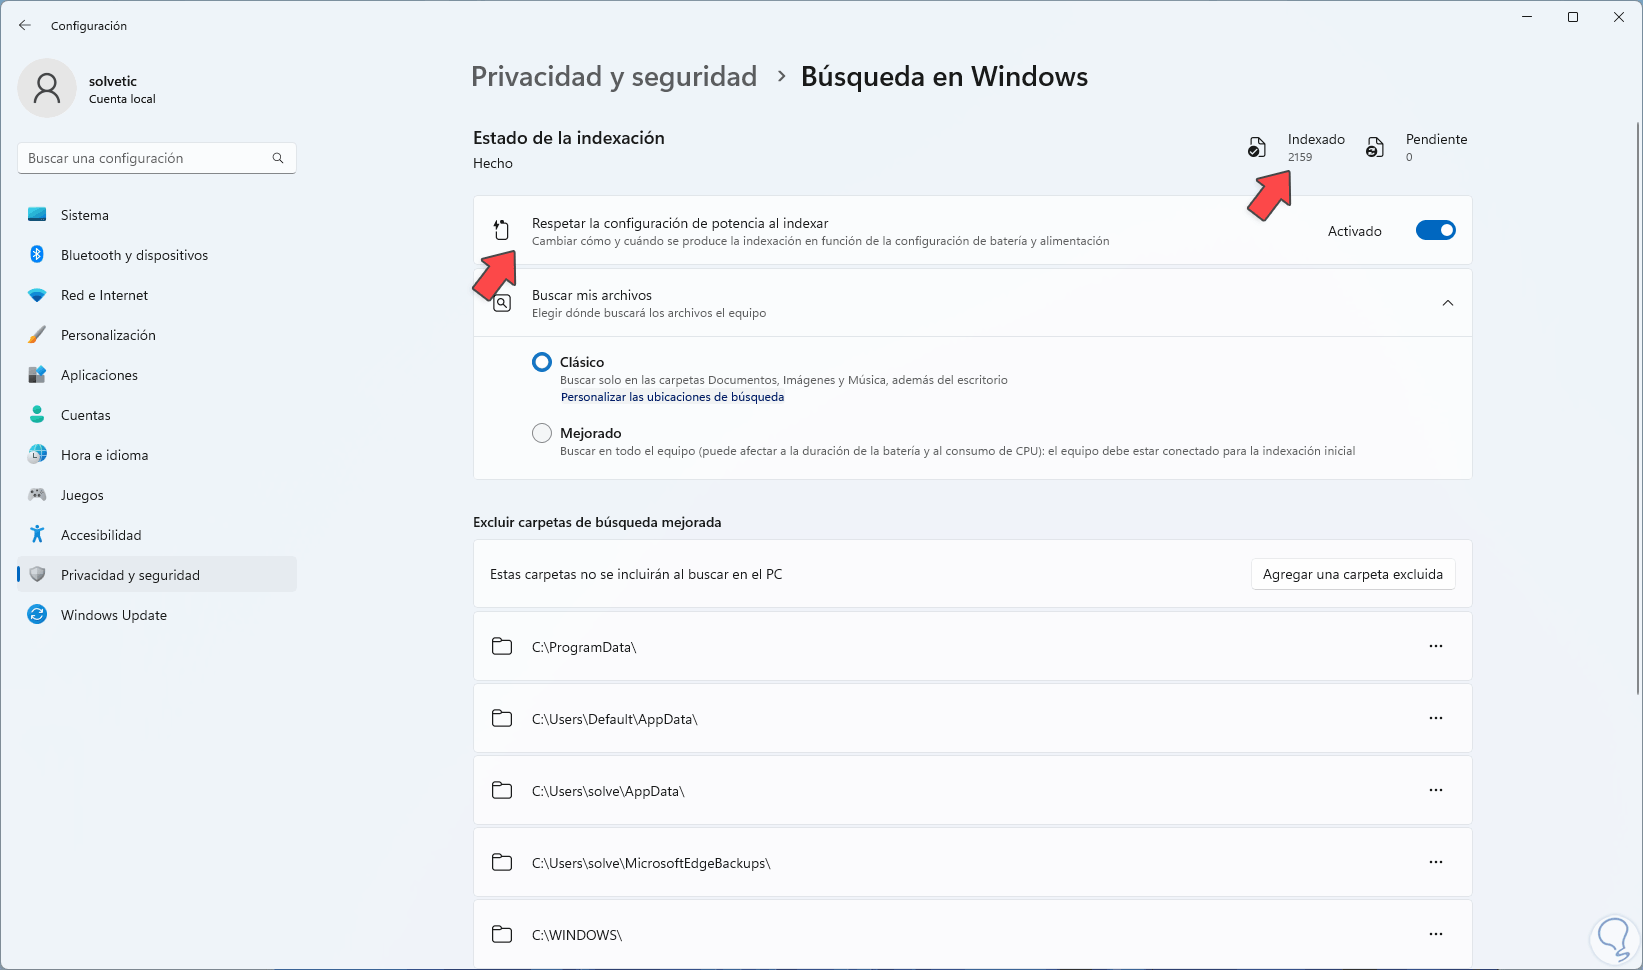
step 13
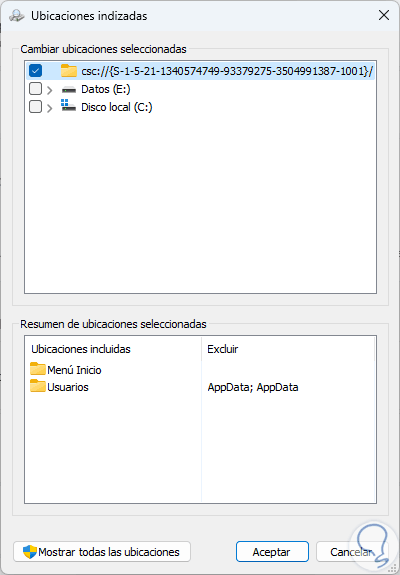
This function helps to improve the use of the battery since in many cases the indexing process can be delayed and with a high consumption of resources, in "Search my files" we define the type of analysis and click on "Customize the locations of search", the following will open:
We click on "Modify" to see the following:

step 14
We select which elements will be added to the search:
step 15
We apply the changes

step 16
We will see these new elements added:
step 17
We activate the "Improved" box in "Search my files":
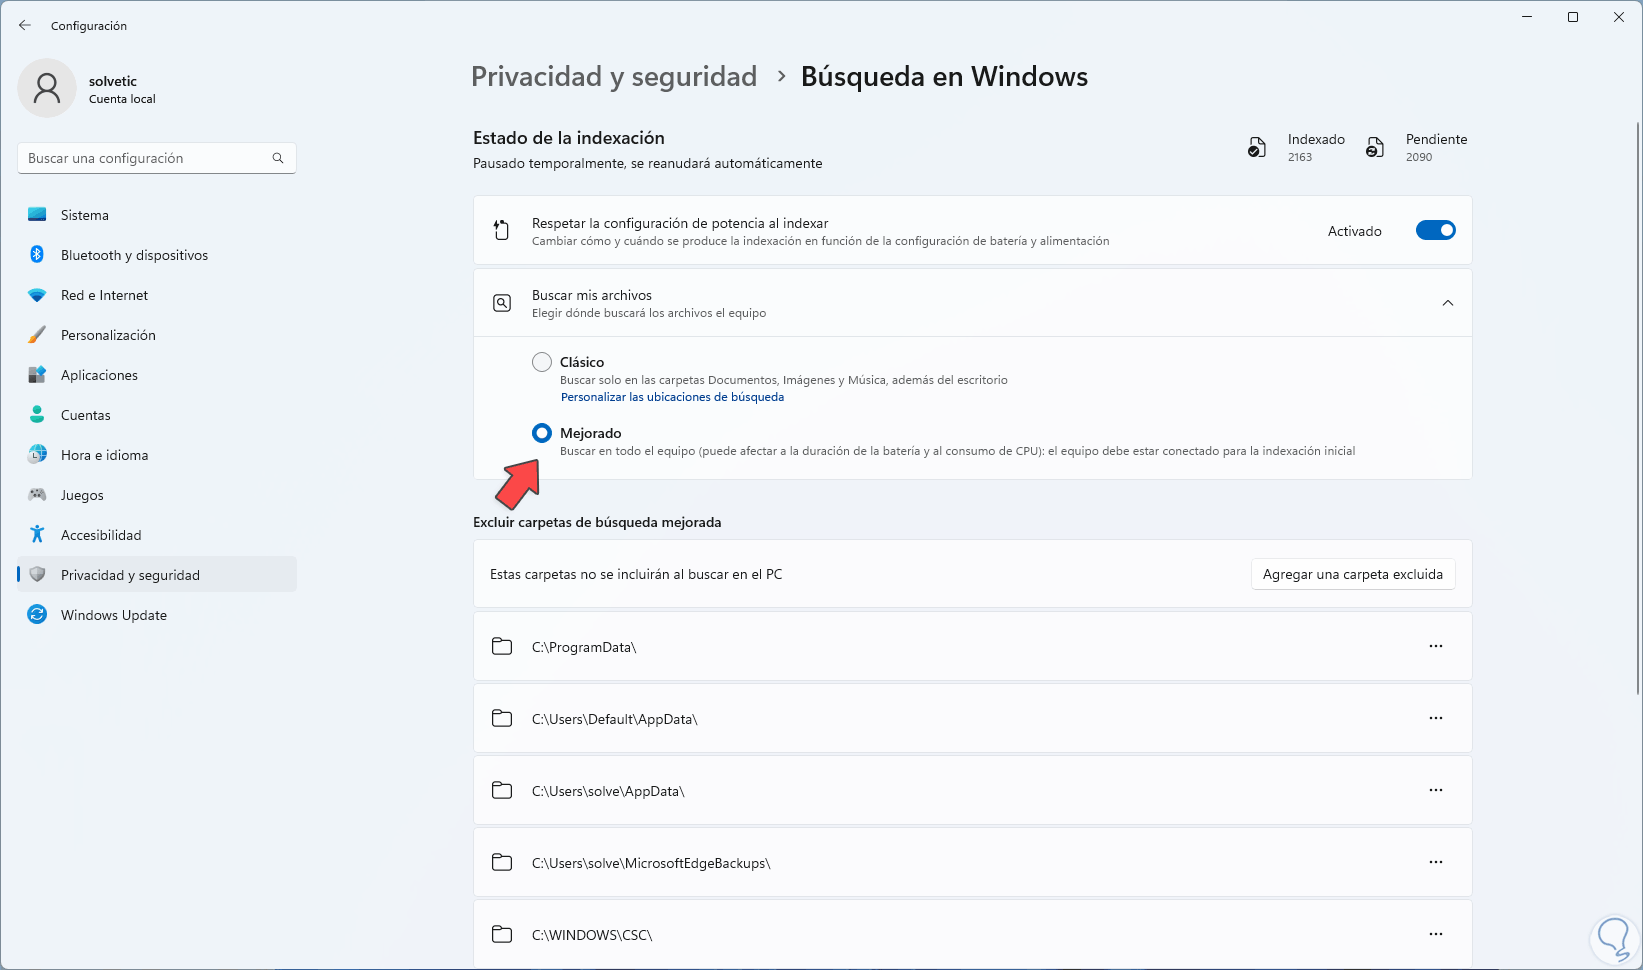
step 18
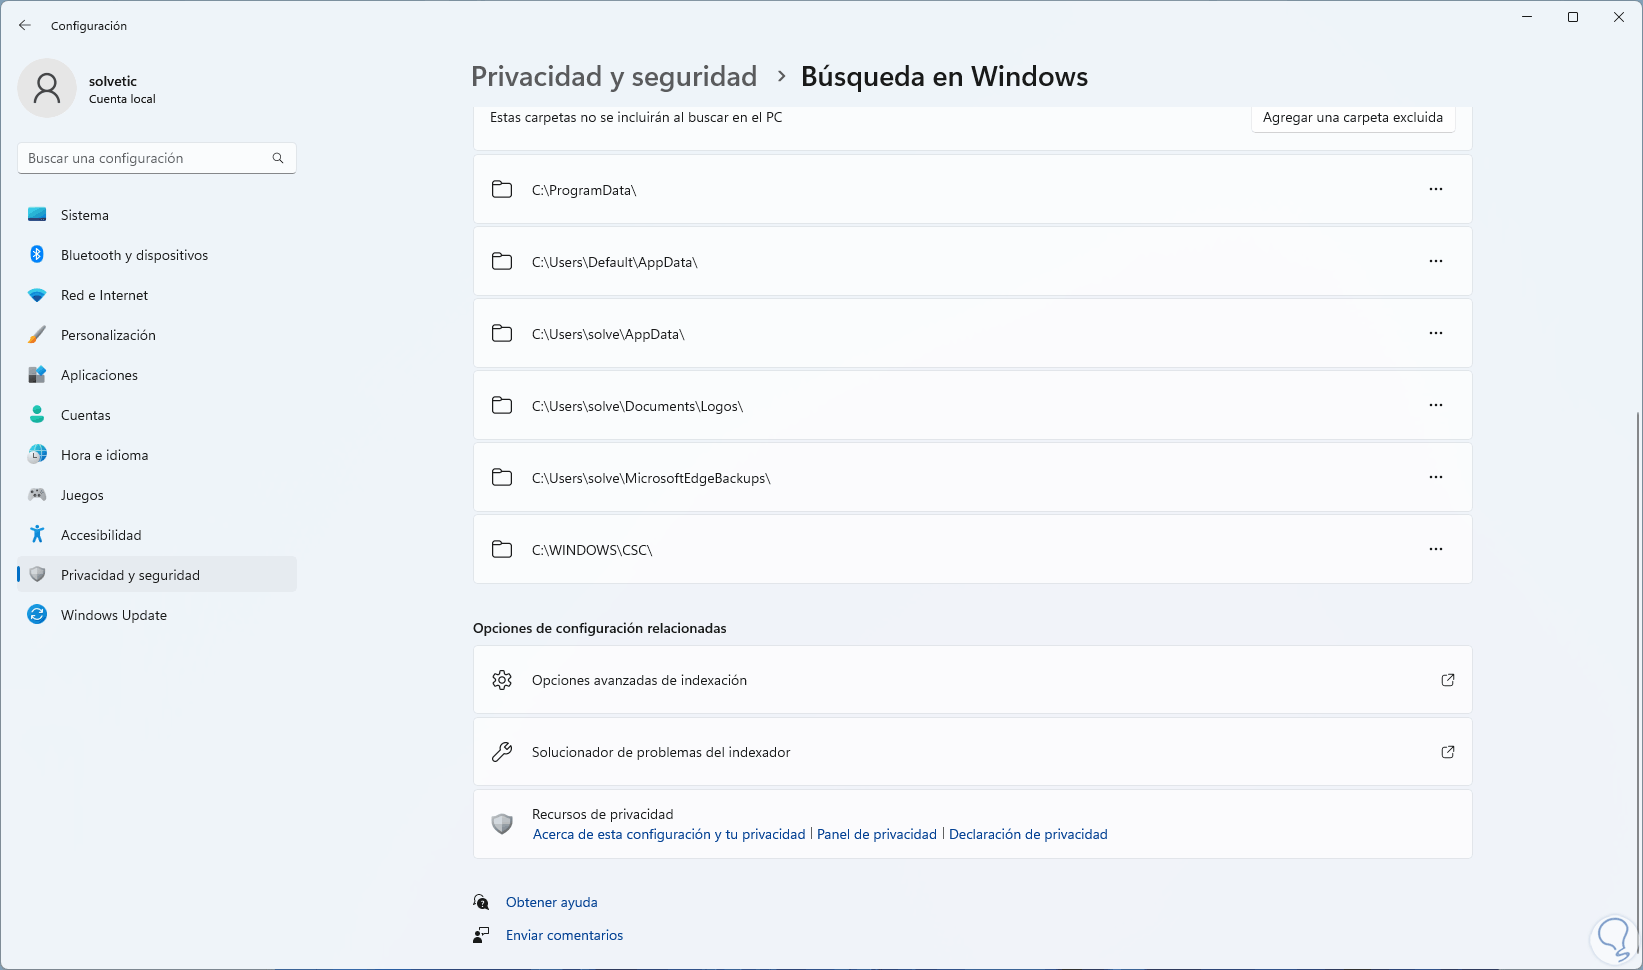
This method is responsible for searching for content on the entire computer which may represent more use of resources, we click on "Add an excluded folder":
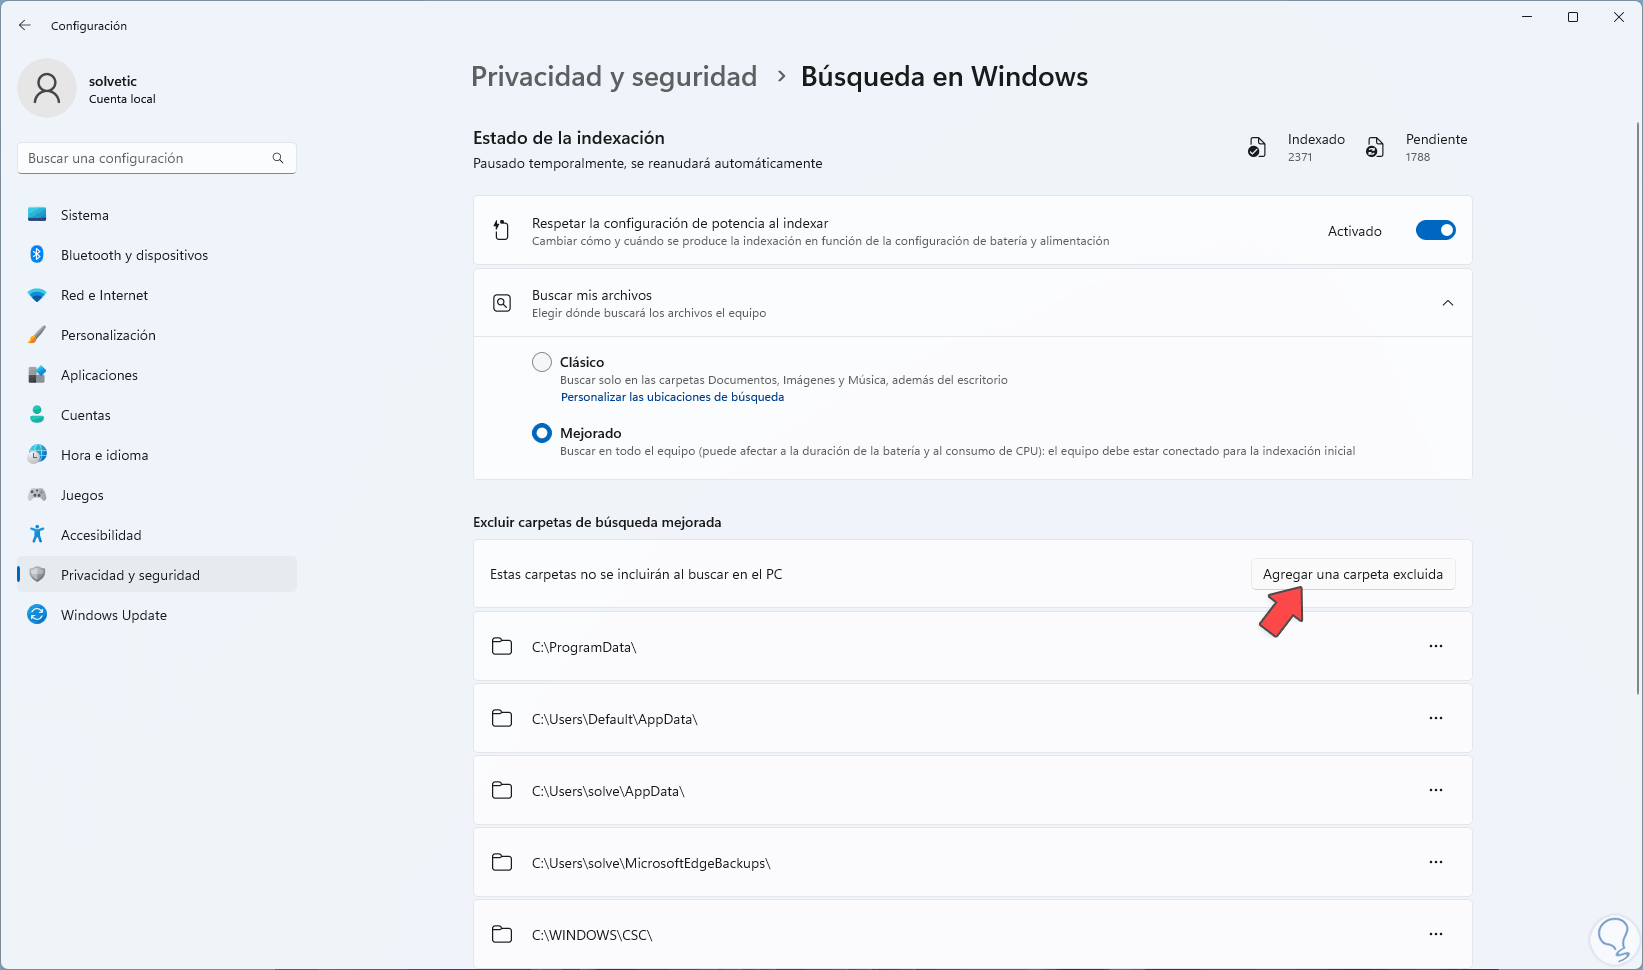
step 19
This option allows certain folders not to be within the general search, by clicking there we select the desired folder to add it:
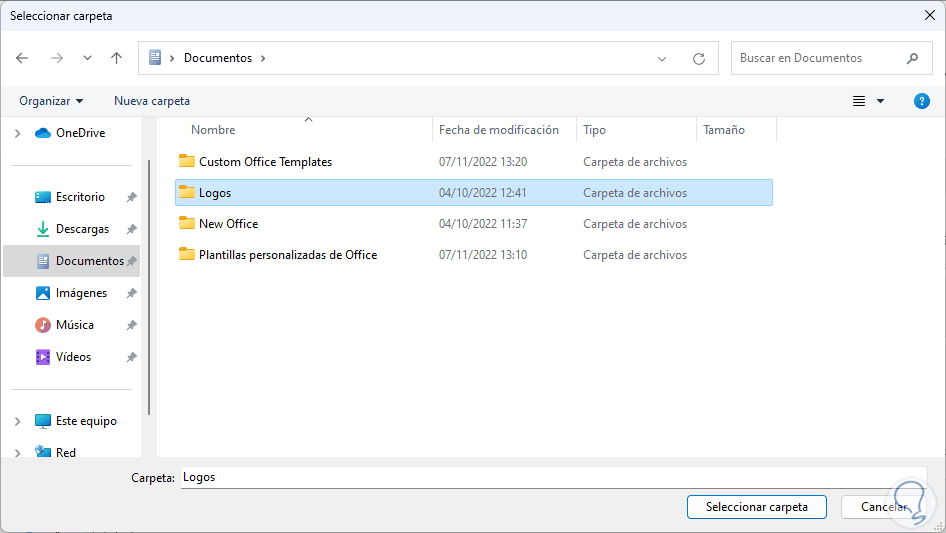
step 20
We see that this folder is added:
step 21
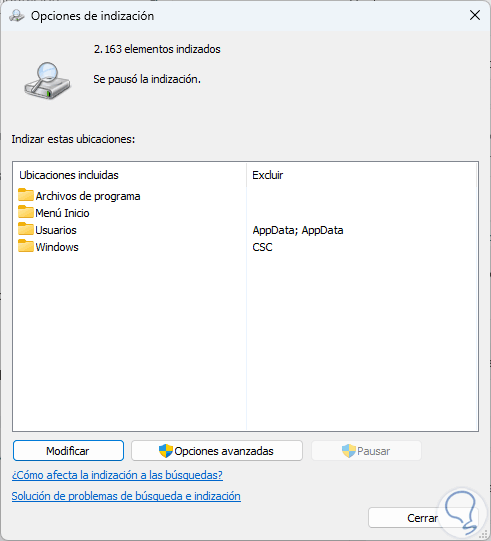
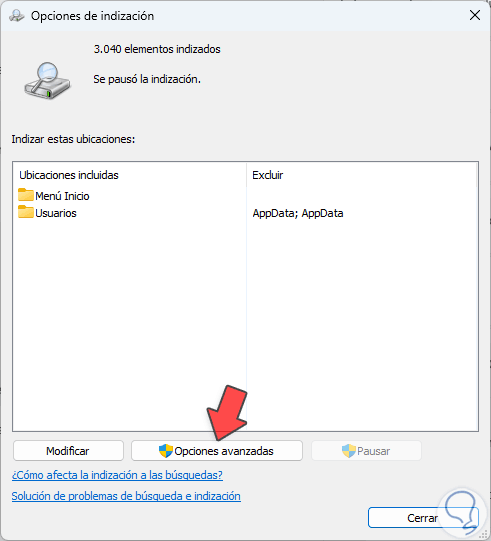
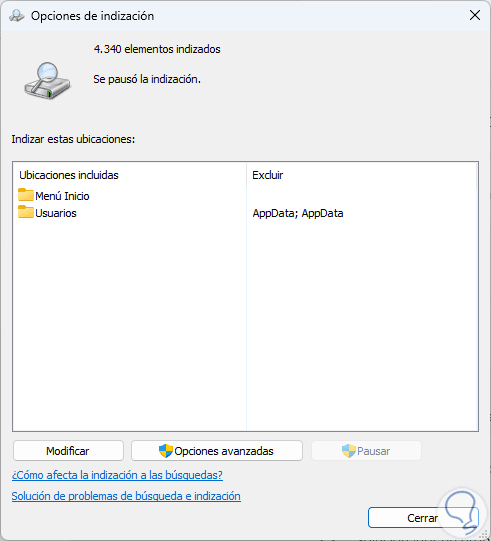
Now we click on "Advanced indexing options":

step 22
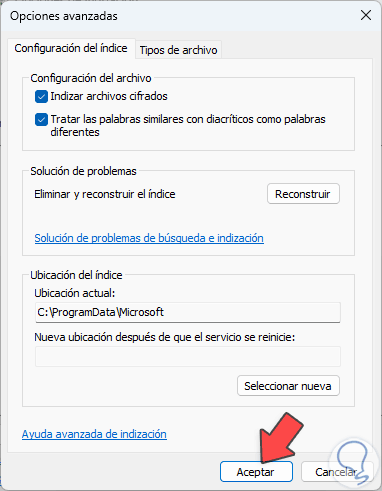
The following will open. We click on "Advanced options" to see the following:
Step 23
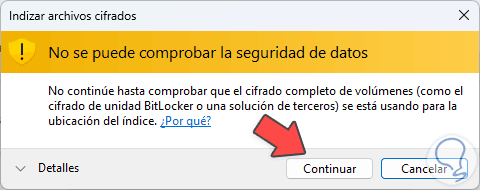
Activate the "Index encrypted files" box and the following message will open:
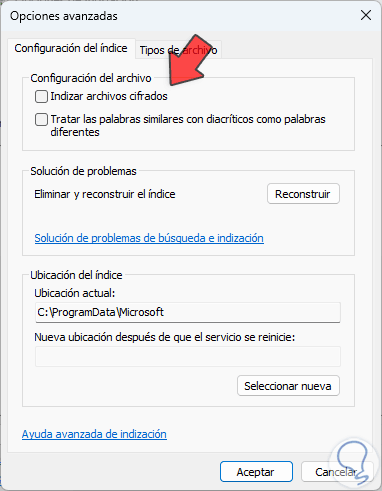
step 24
We click Continue to activate it and then activate the "Treat similar words with diacritics as different words" box:
step 25
The following message will open:
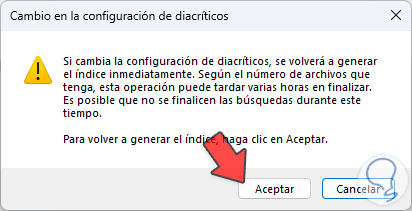
Step 26
We apply the changes:
Step 27
In the "File type" tab it is possible to activate or not the boxes with the files to be indexed:
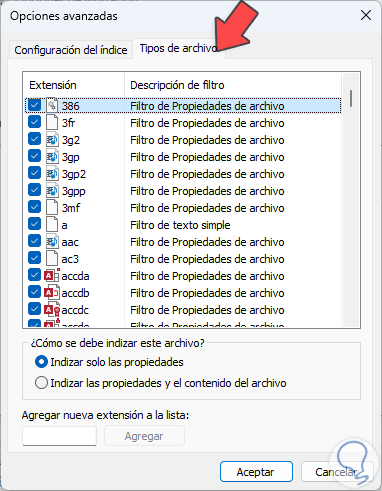
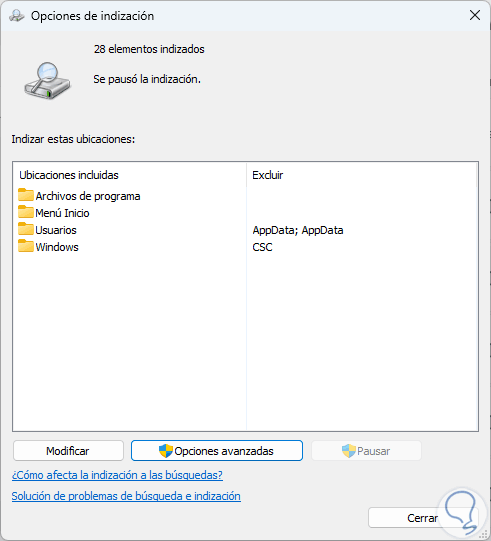
Step 28
Apply the changes. In the main window it is possible to click "Pause" to stop the indexing process in case it is necessary to perform extra administration tasks without affecting performance:
Step 29
Again in Settings we click on "Indexer troubleshooter":
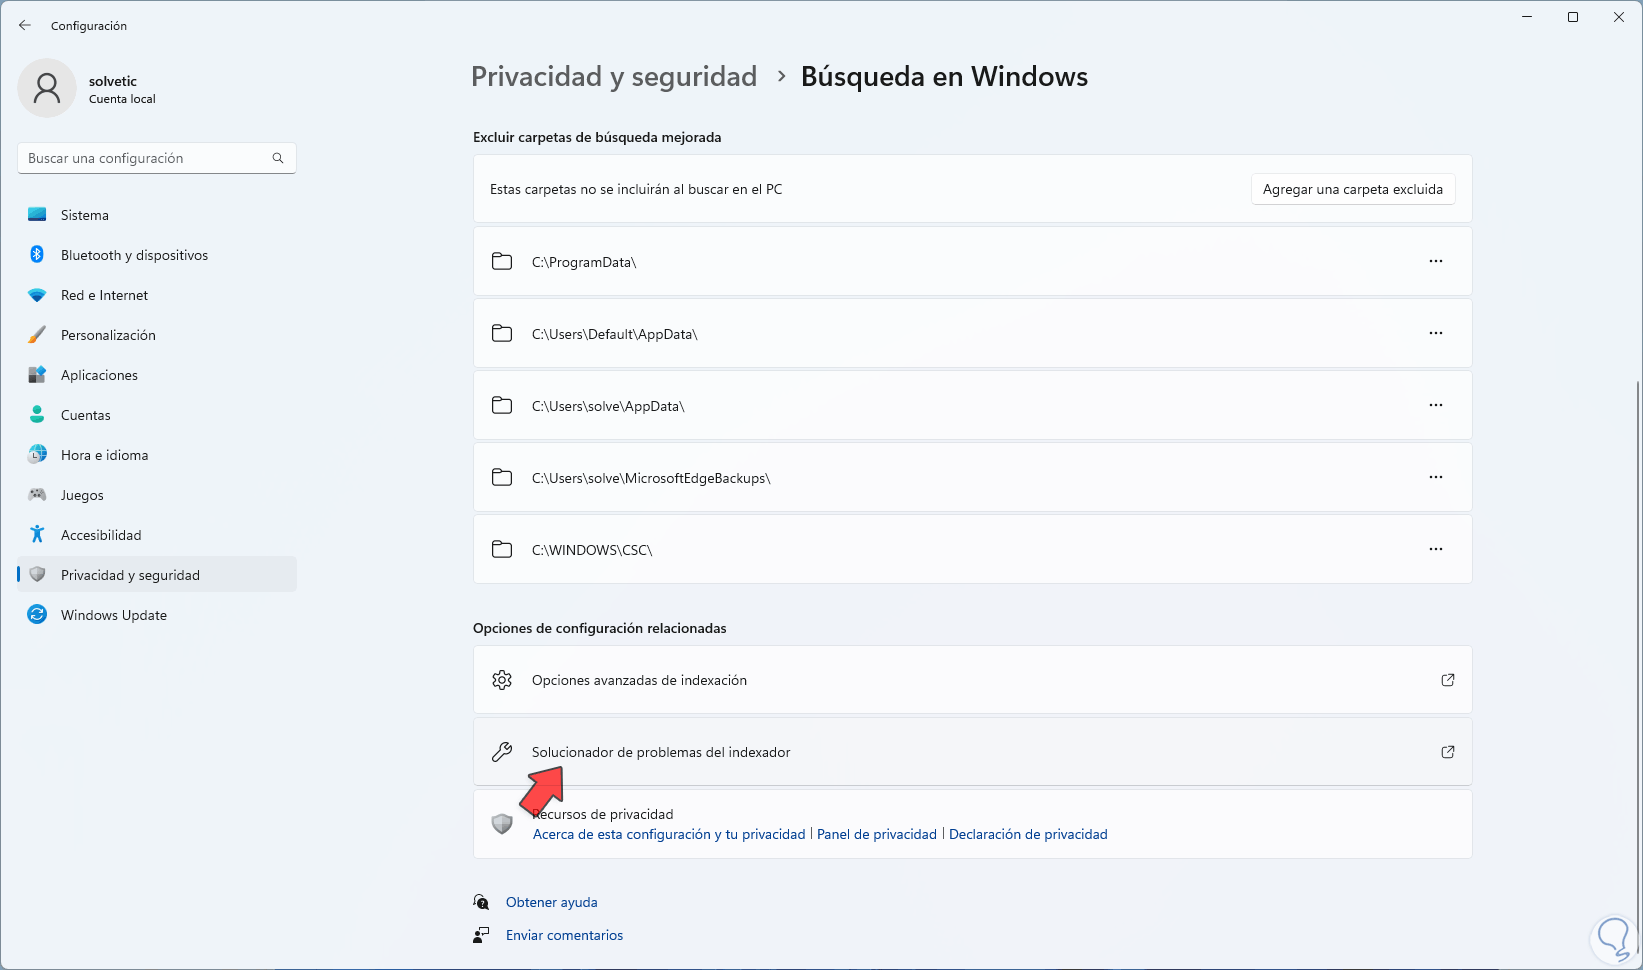
step 30
The wizard will open:
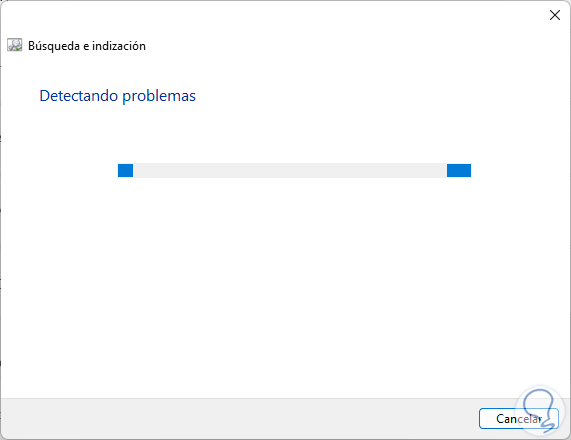
step 31
We select the reasons for the search error:
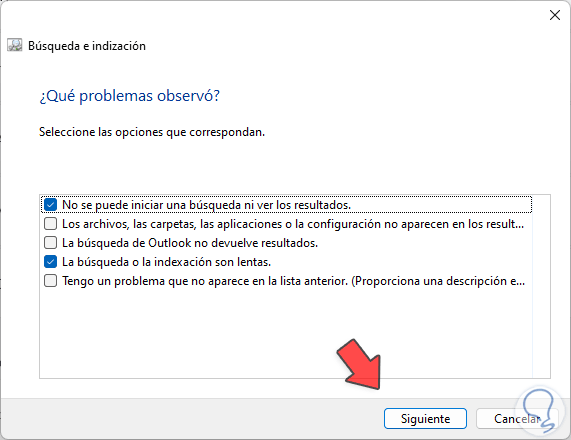
step 32
In case of selecting several we must enter a description:
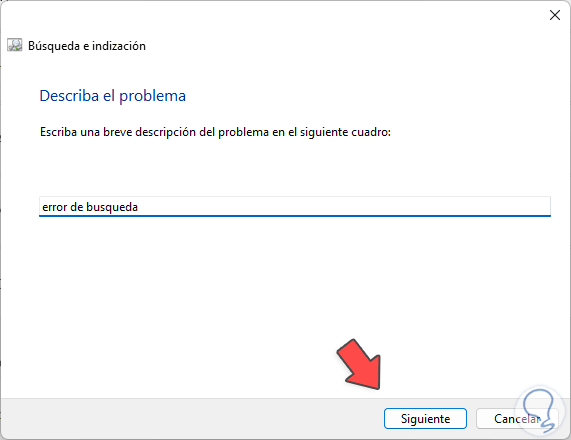
Step 33
We click Next to carry out the analysis:
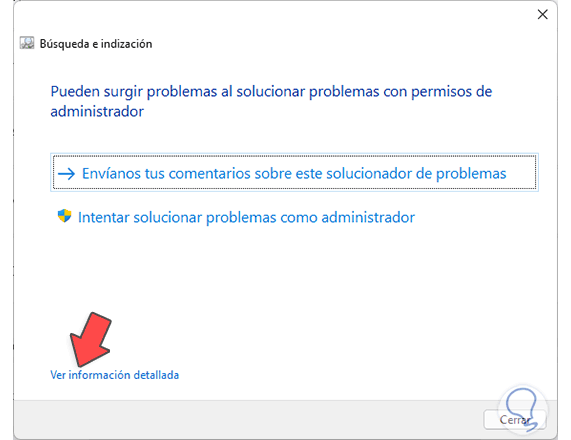
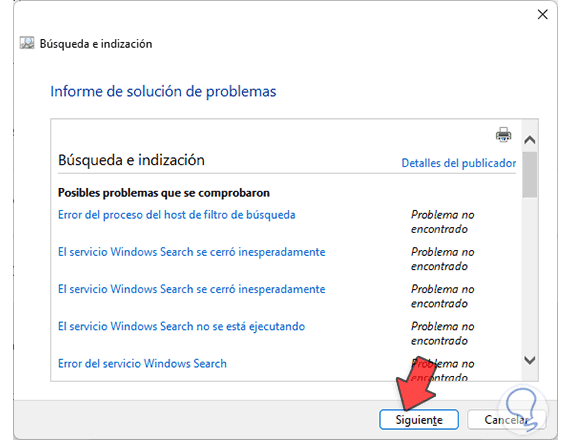
Step 34
At the end it is possible to see complete details of the operation by clicking on "See detailed information":
step 35
Again in Configuration we click on "Advanced indexing options":
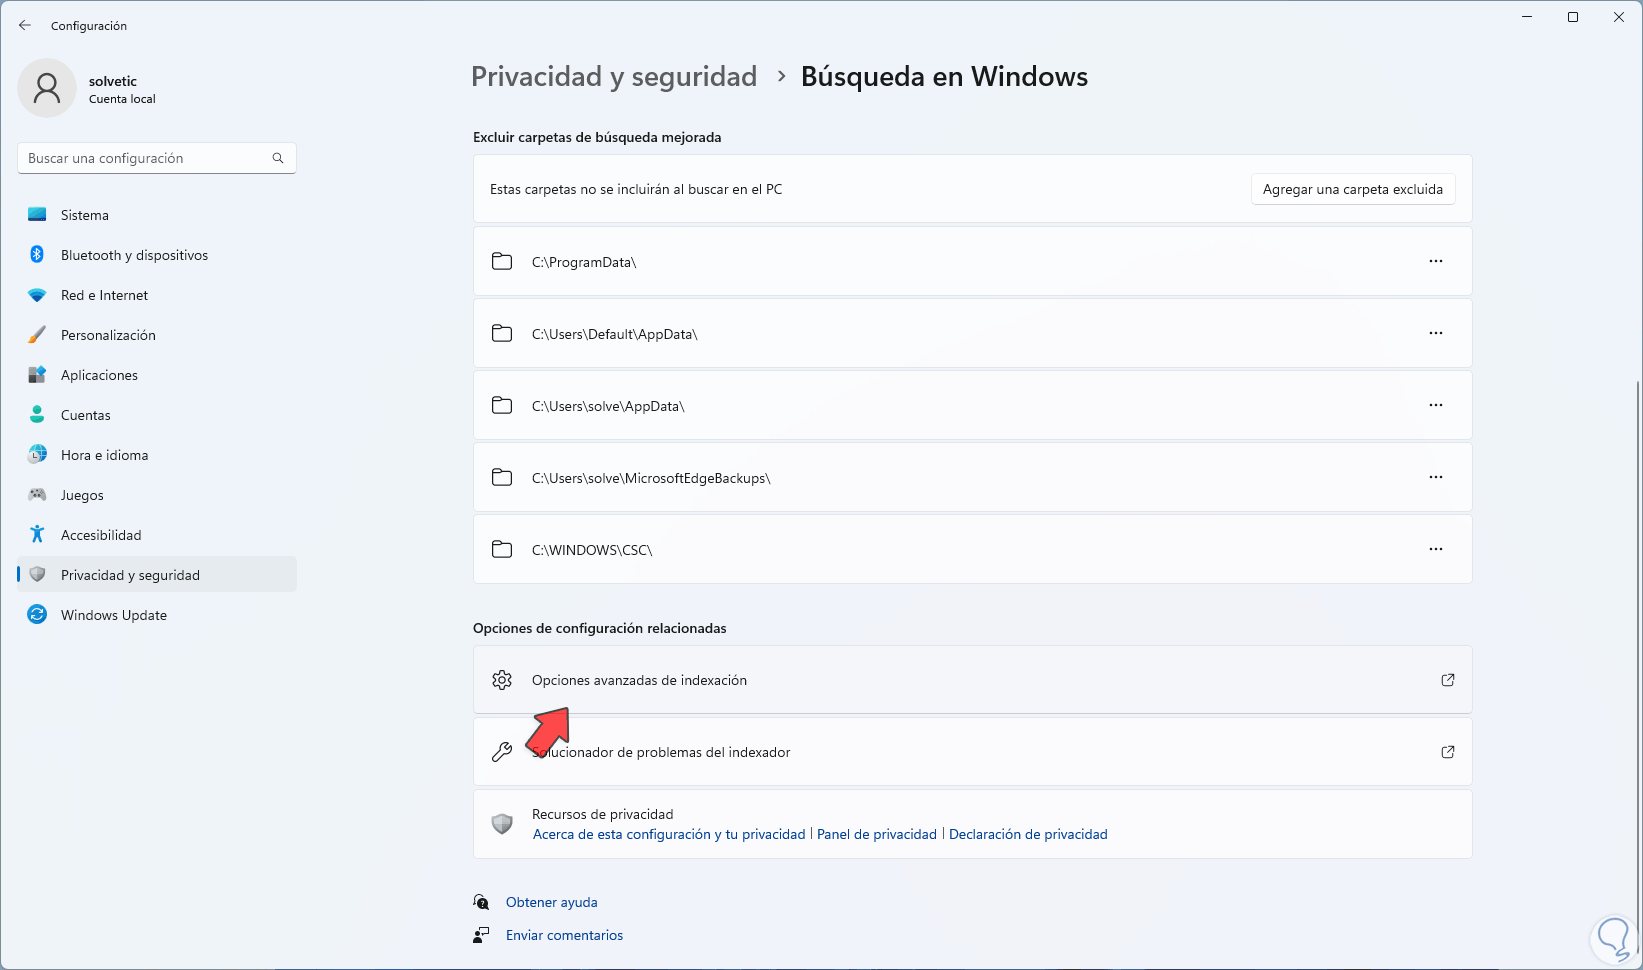
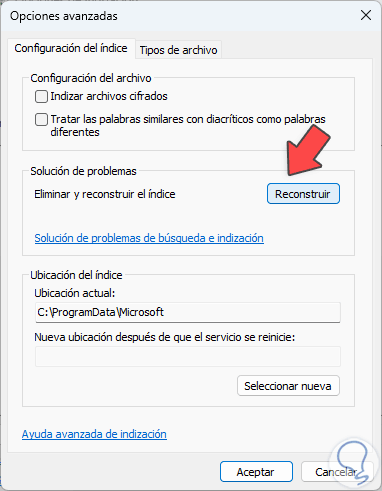
Step 36
The following will open. We click on "Advanced options"

Step 37
We access the following window. We click on "Rebuild" to restore the search index and this process is normally done when search failures are repetitive or are a solution, this will cause the entire index to be started from scratch, so we must wait for the process to be completed before using the search
Step 38
By clicking there we will see the following:
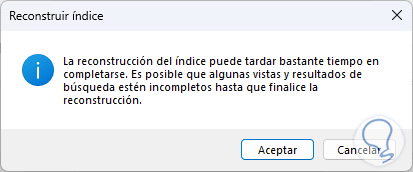
Step 39
Confirm the process by clicking OK and there we will see that the index begins to be restored:
With any of these TechnoWikis solutions it is possible to recover the optimal performance of the search and have results that are not only fast but also concise with the search criteria..