One of the main uses that we give to the computer is to store different information and data since in this way we can have a number of files and documents without the need to occupy physical space, in addition to which access is much easier and we can access it from any part in most cases..
We constantly create files and folders with names associated with its content, which facilitates administration so that locating it is as simple as possible, but it may happen that at some point we need to change the name of one or more files. TechnoWikis will explain how to carry out this process in a massive way without having to do it individually, which can lengthen the process if there are enough files.
That is why below we show you all the steps you must follow to know how to rename Windows 11 Files Massively in different ways, step by step each of them..
To stay up to date, remember to subscribe to our YouTube channel!
SUBSCRIBE ON YOUTUBE
1 Rename Files Massively Windows 11 From File Explorer
One of the methods to achieve file renaming in Windows 11 is using File Explorer itself, which is where these objects are stored.
Step 1
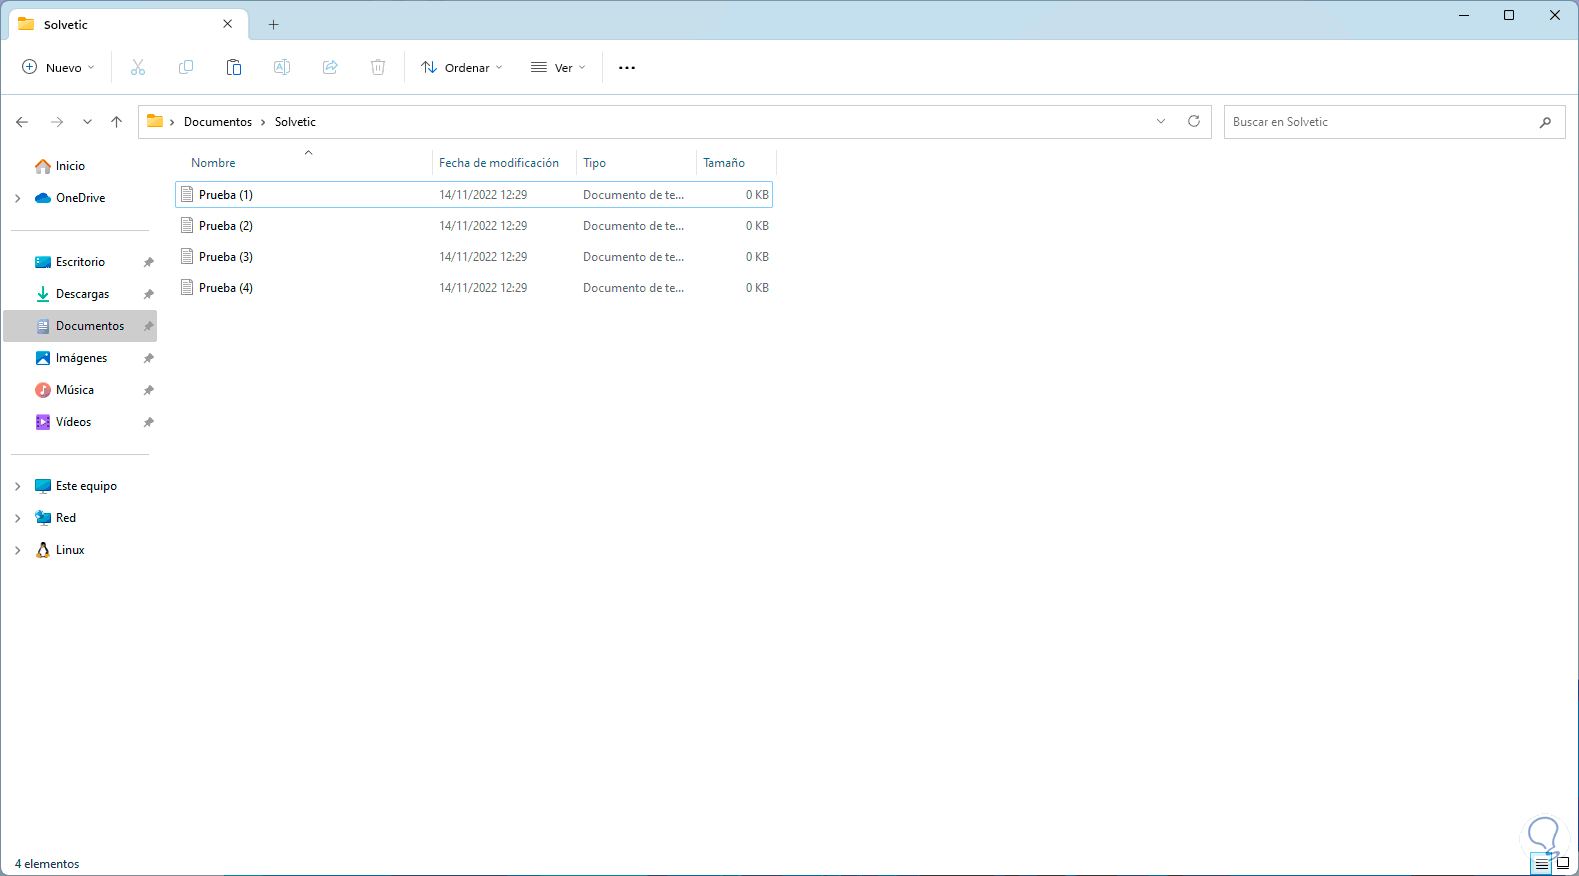
In this case we open the File Explorer to see the files to rename:
Step 2
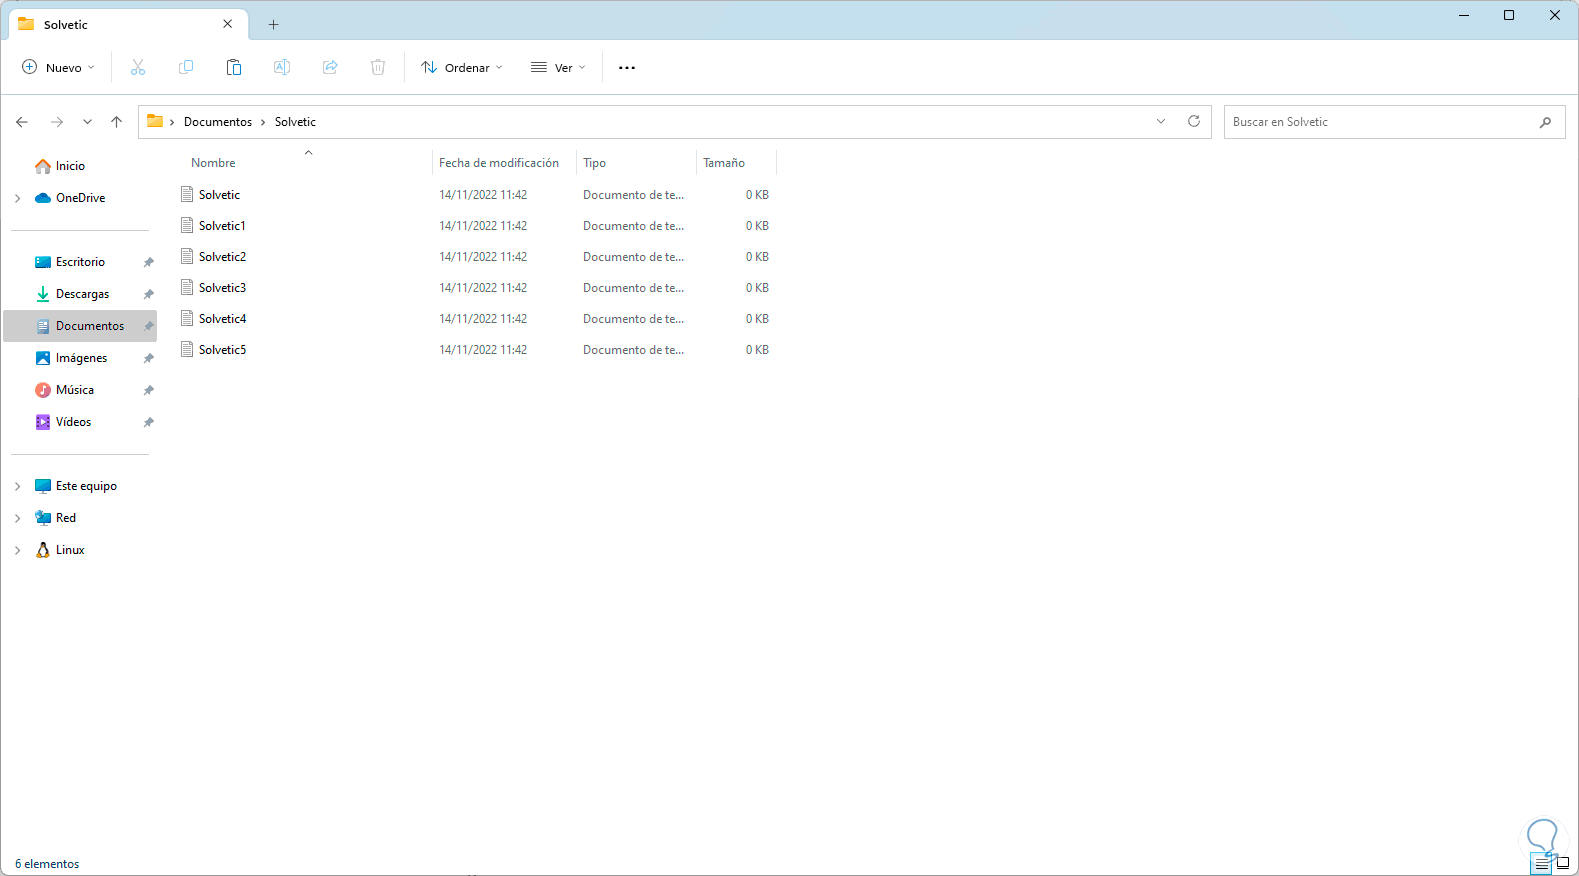
We click on "View - Details" (if it is not):
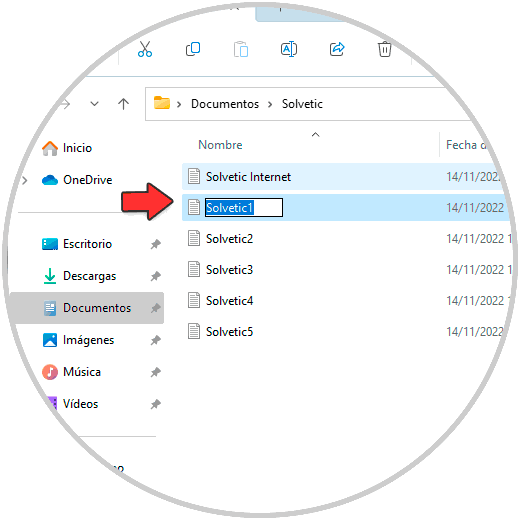
Step 3
This in order to see the file extension in the "Type" column and other file information, if there are few files we select the element to rename and press the F2 key or click on "Change name":
Step 4
Enter the new name:
step 5
Now with the Tab key we go to the following file to rename it:
step 6
We can repeat this process (using the Tab key) in the necessary files:
step 7
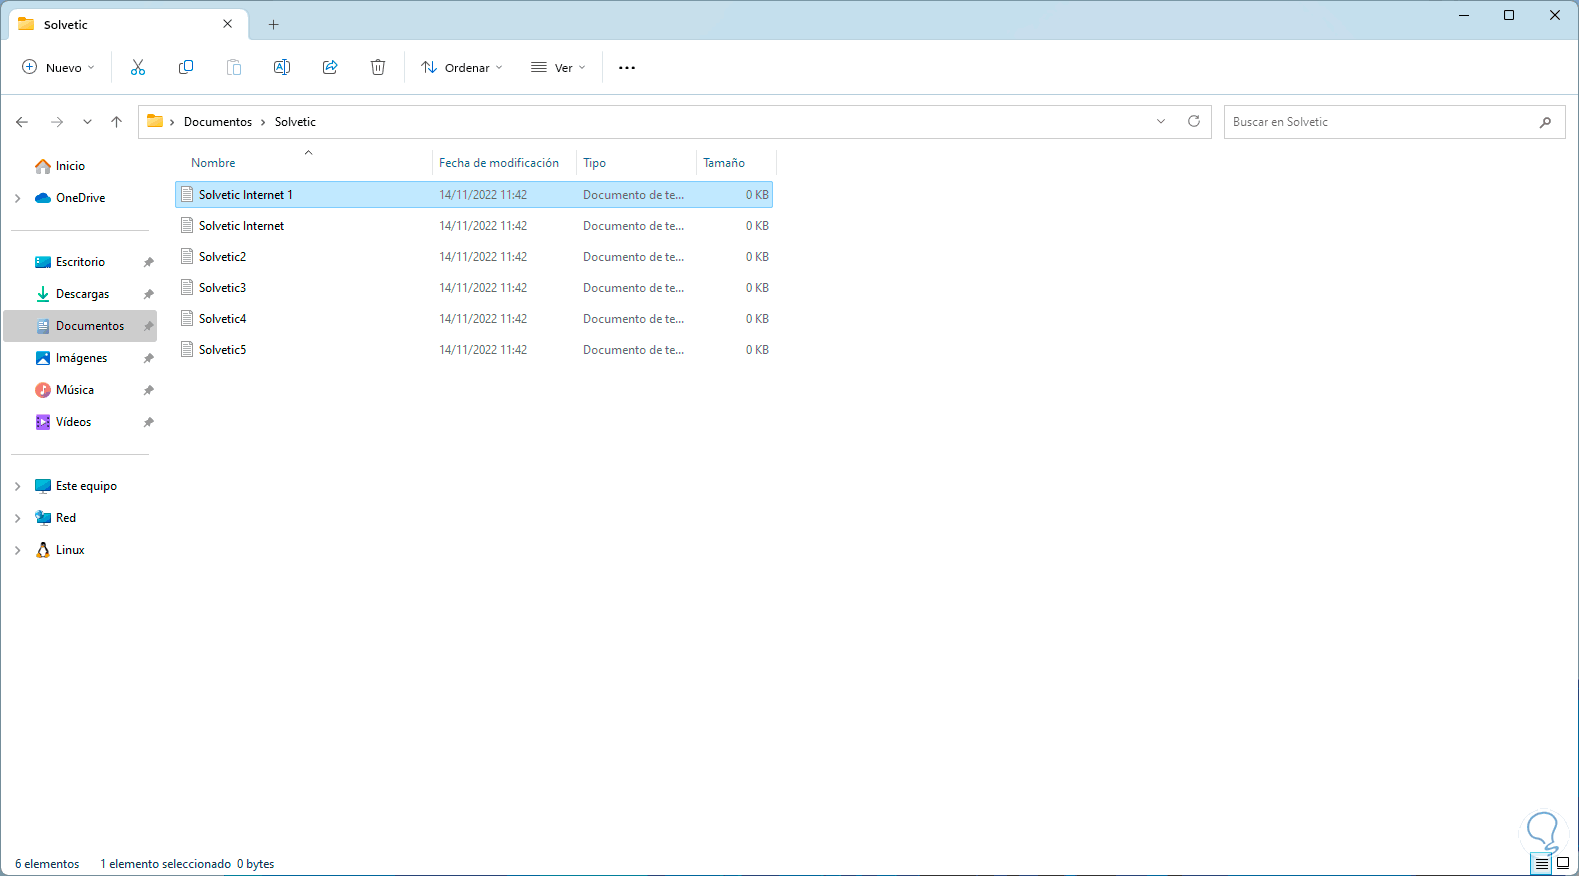
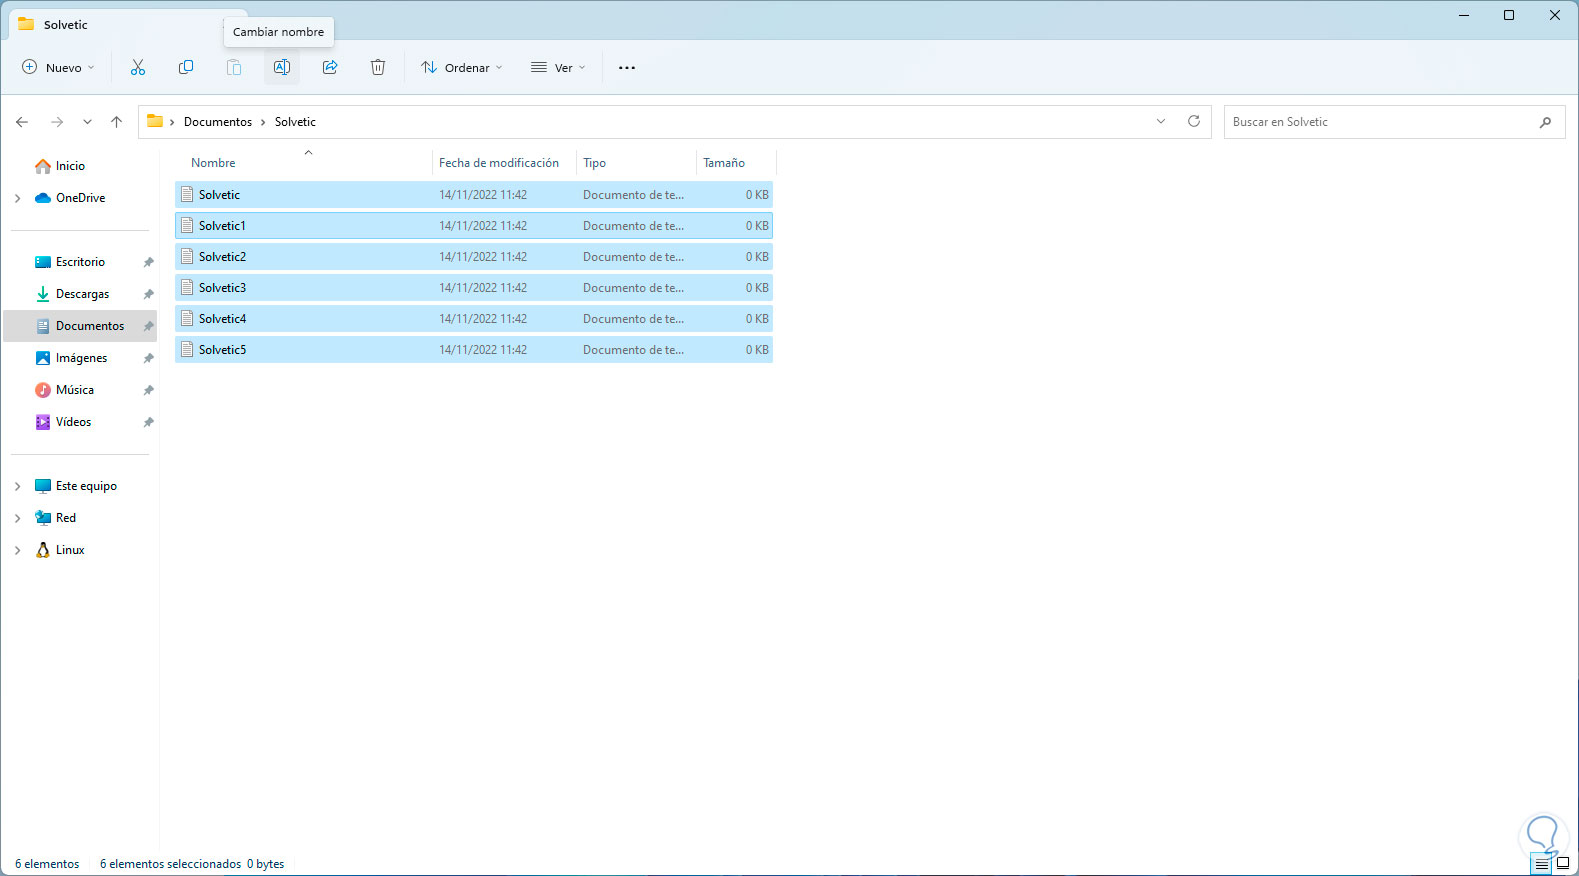
To rename all the files, first of all we select all the objects to be renamed and click on "Change name":
step 8
We enter the desired name:

step 9
Entering the name and pressing Enter will assign it to all the others:
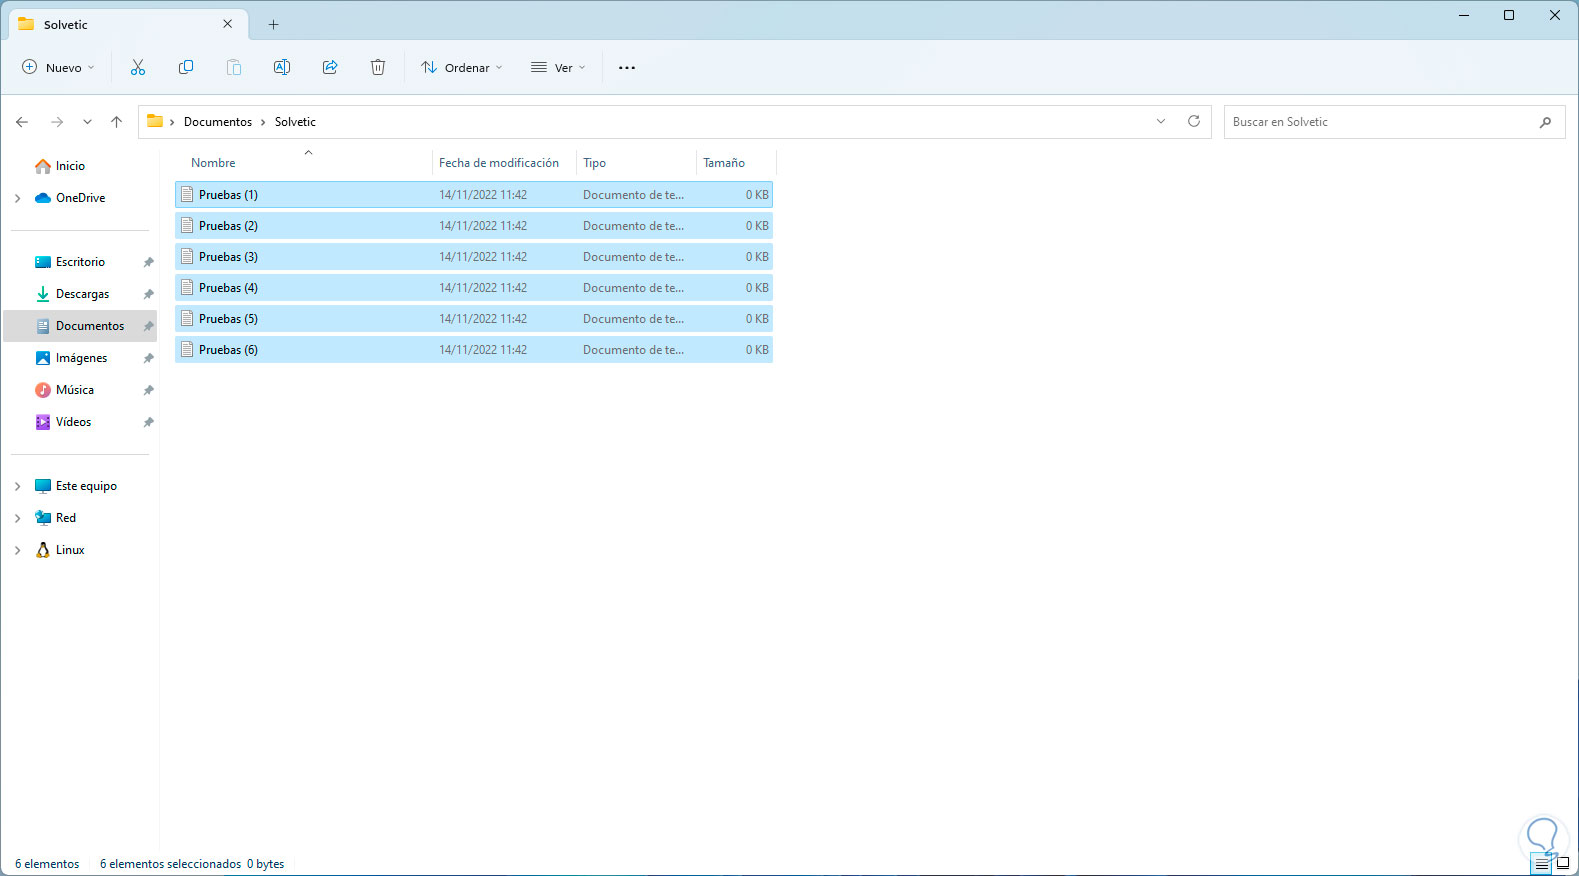
For reasons of repetition, logically, the File Explorer will assign the file number (1), (2), etc. in descending order.
Its usage syntax is as follows:
ren [<drive>:][<path>]<file1> <file2>
2 Rename Files Massively Windows 11 From CMD
It will also be possible to carry out this process from the CMD console and for this we will use the Ren (Rename) command, this command allows us to rename elements based on the criteria that we assign, to take into account with the use of Ren:
- File 2 must be a unique file name, that is, in case the name of file 2 exists with an existing one, we will see the message: Duplicate file name or file not found
- Characters that are wildcarded in file2 must be identical to the characters in file1
- Unable to make use of a new drive or path when renaming files
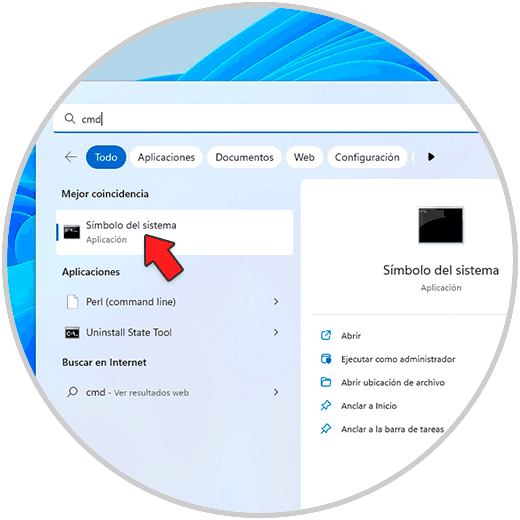
Step 1
To use Ren for the purpose of renaming files we open CMD as administrator:
Step 2
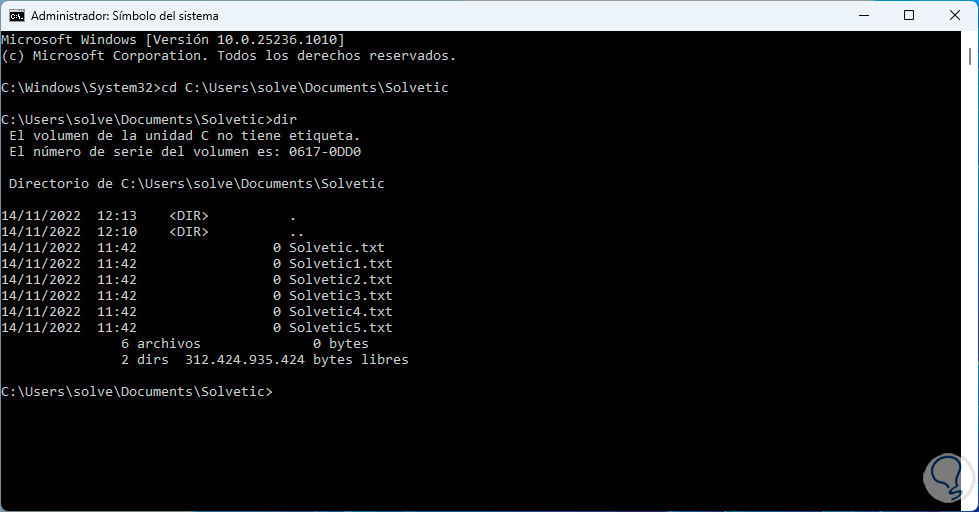
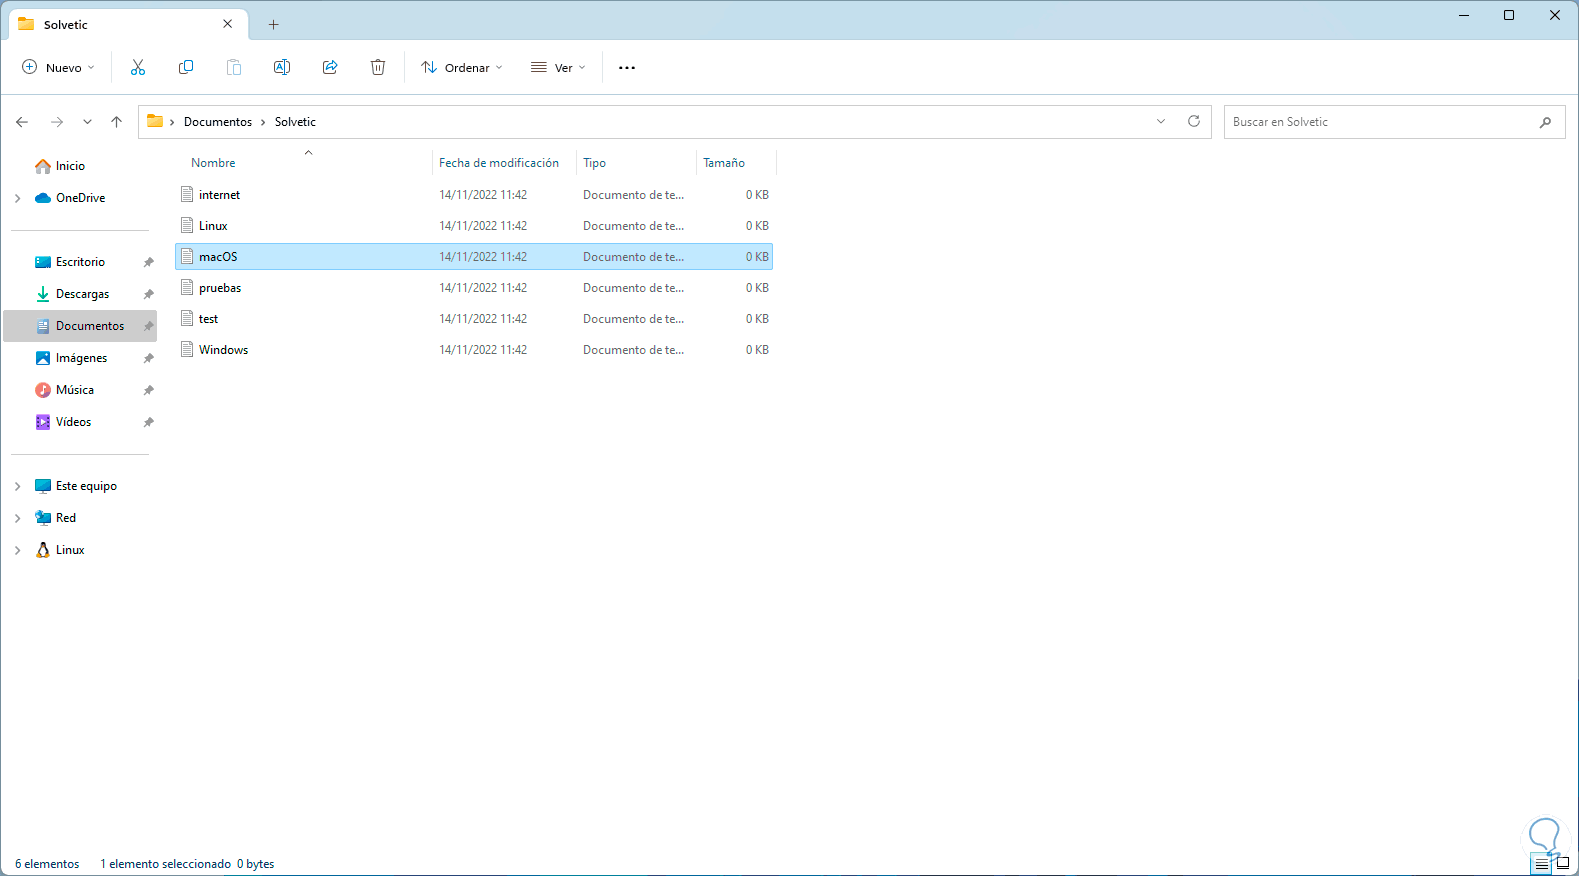
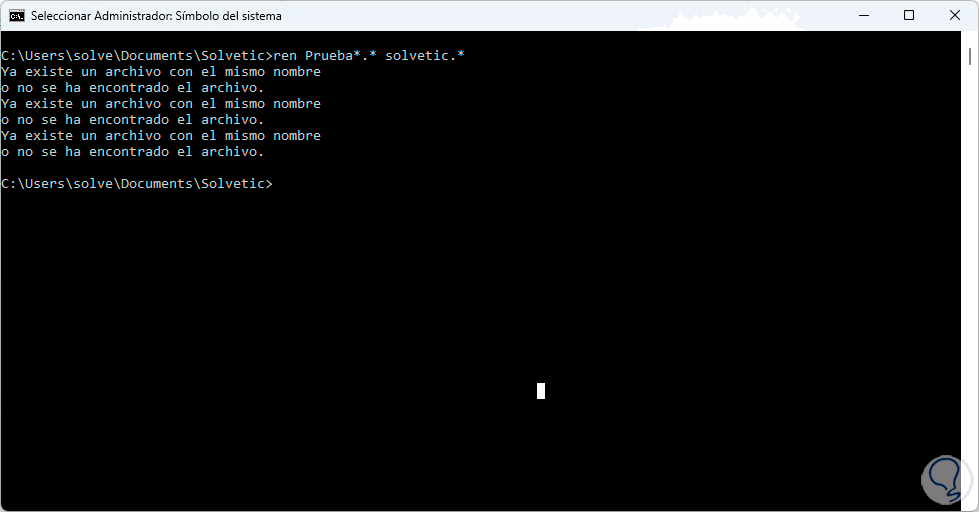
Using the "cd" command we go to the path where the files are and list the content with "dir":
Step 3
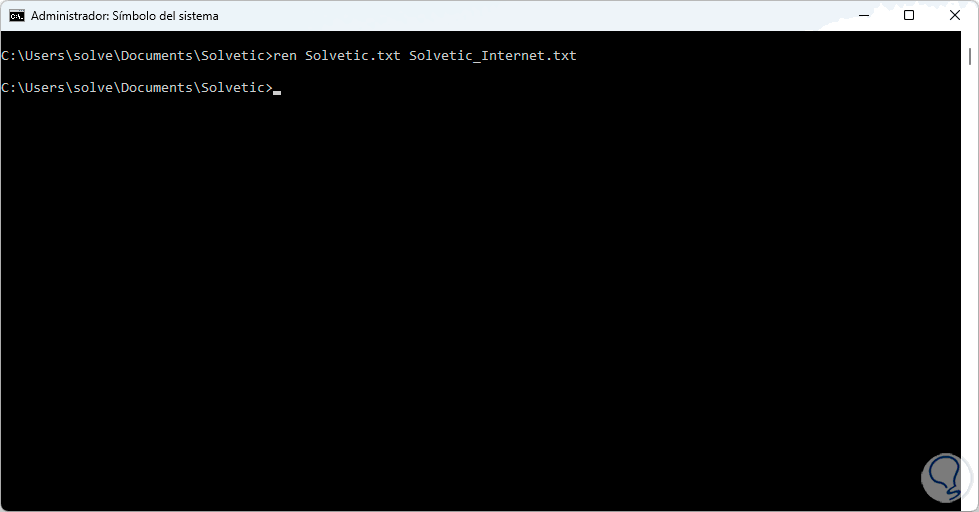
To change the name of a file we execute the syntax:
ren file.extension new_name.extension
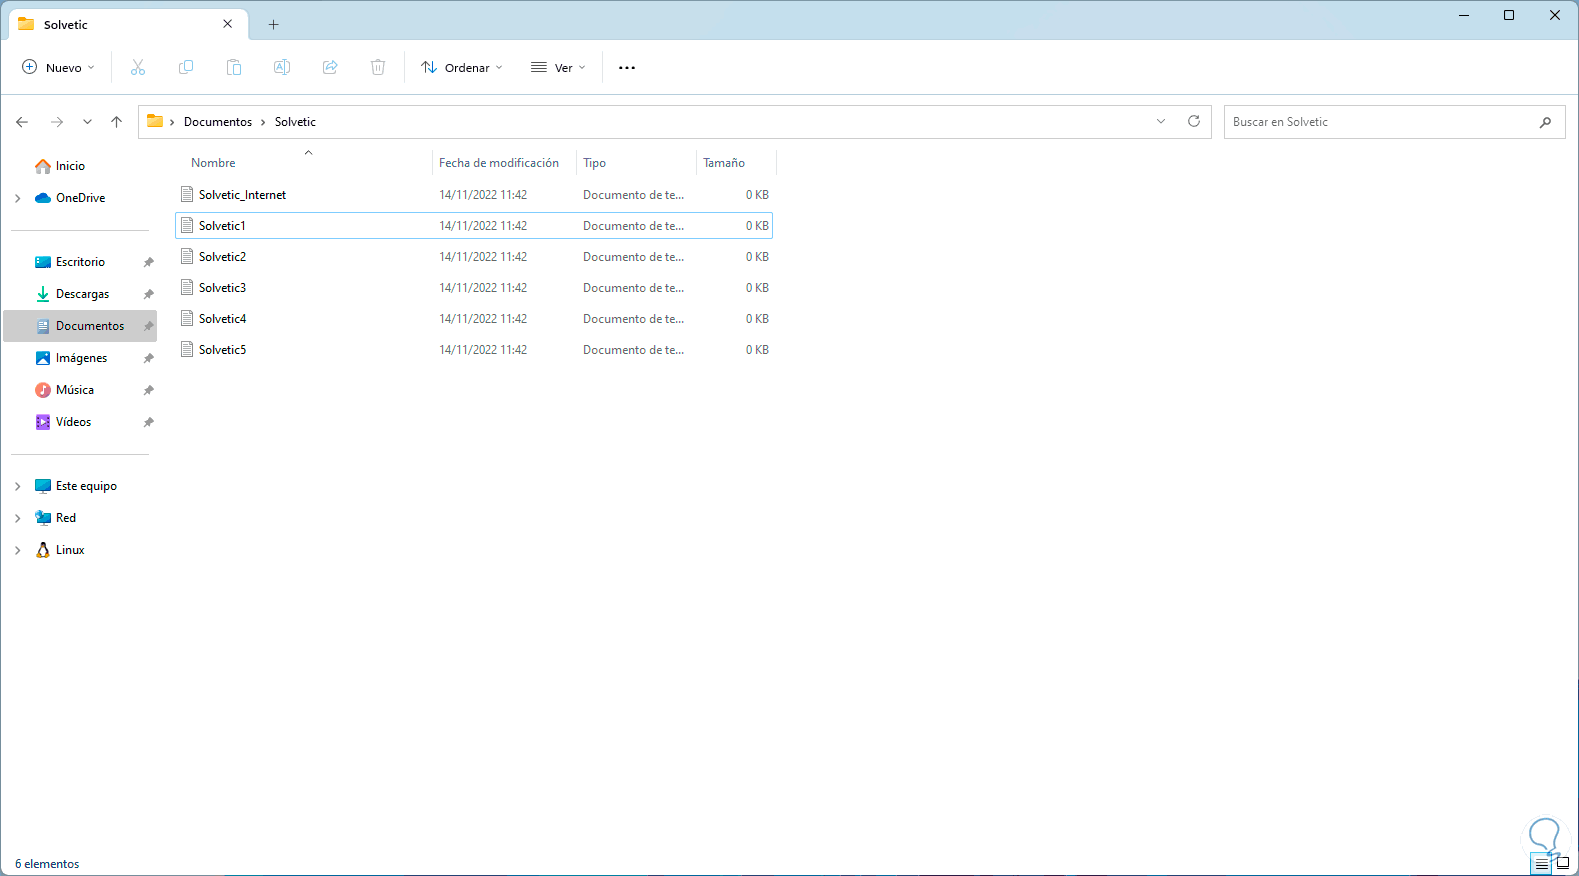
Step 4
Validate the change:
step 5
We check the name of the files to edit:
step 6
To rename multiple files we execute the syntax:
ren *.extension ???-file_name.*

step 7
We confirm the change in the files:
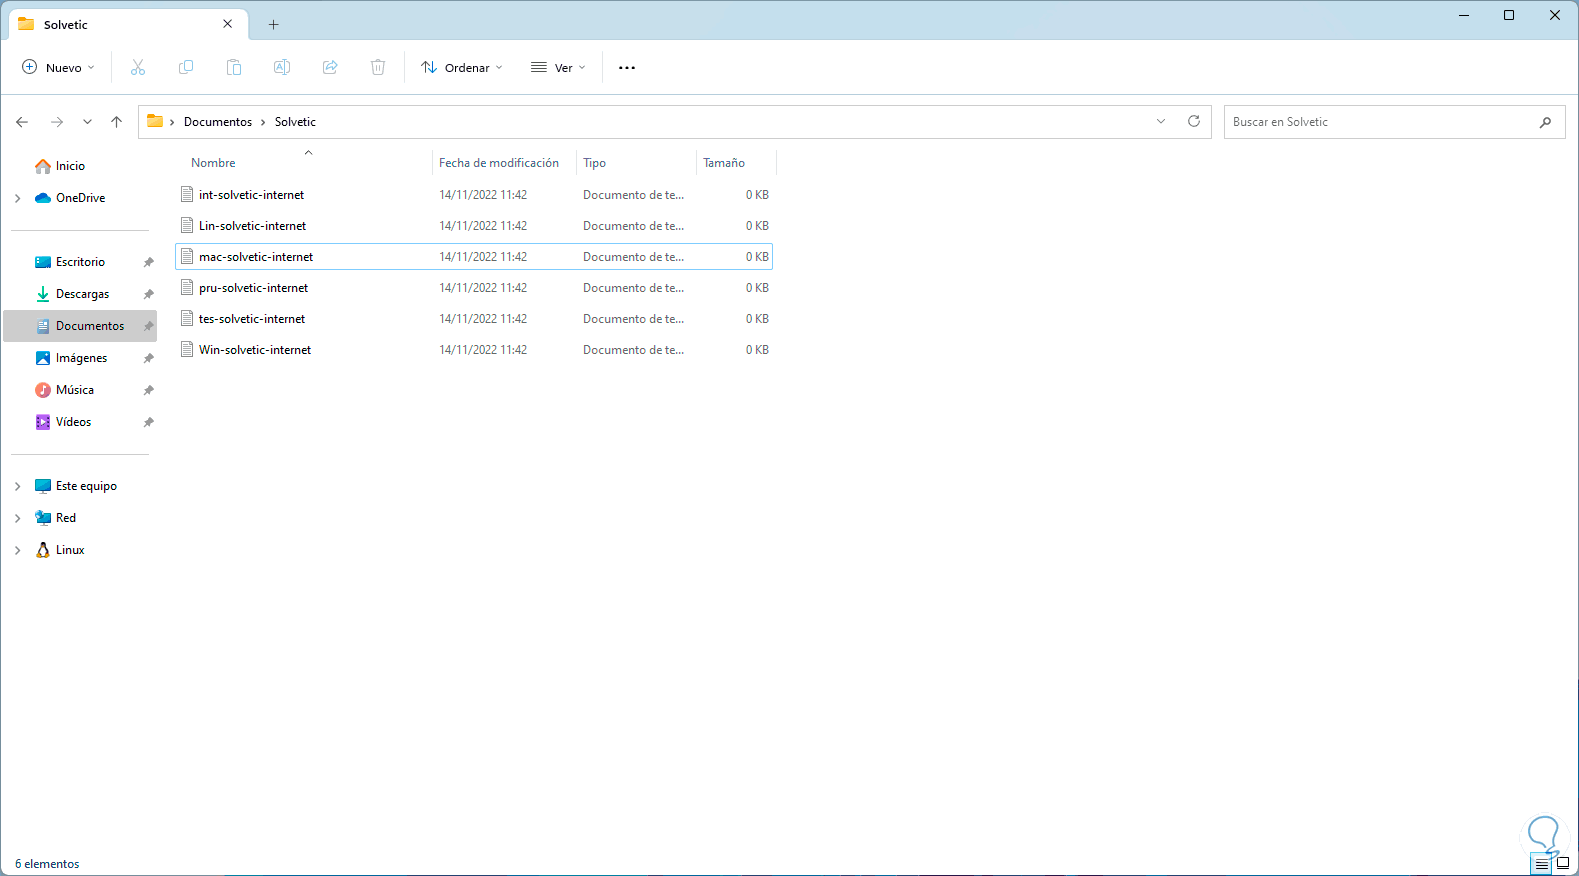
In this case, the ¿ sign retains the letter of the original file, we have added 3 question marks plus the line “-solvetic-internet” so that the file remains with the three initial letters plus the text that we have added.
step 8
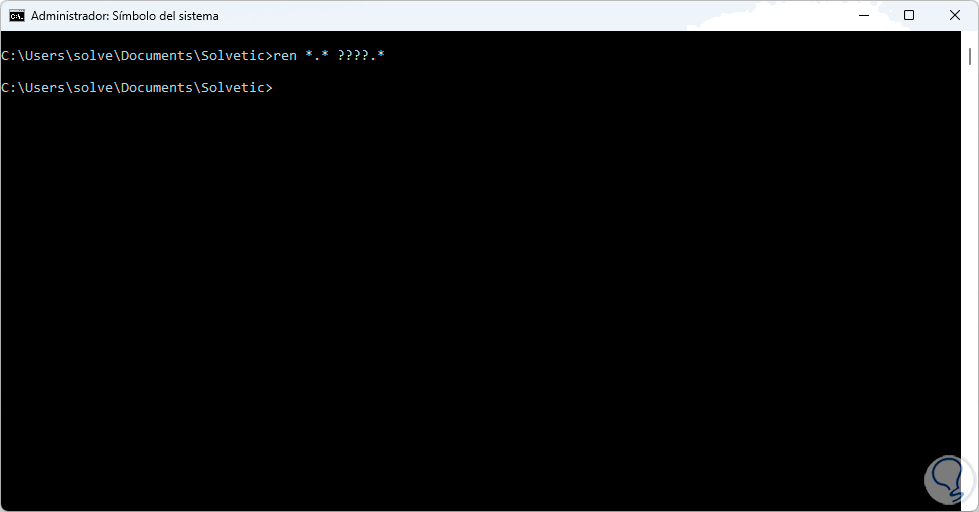
To cut words we execute the syntax:
ren *.* ?????.*
Note:
the amount of ? indicates how many letters to cut
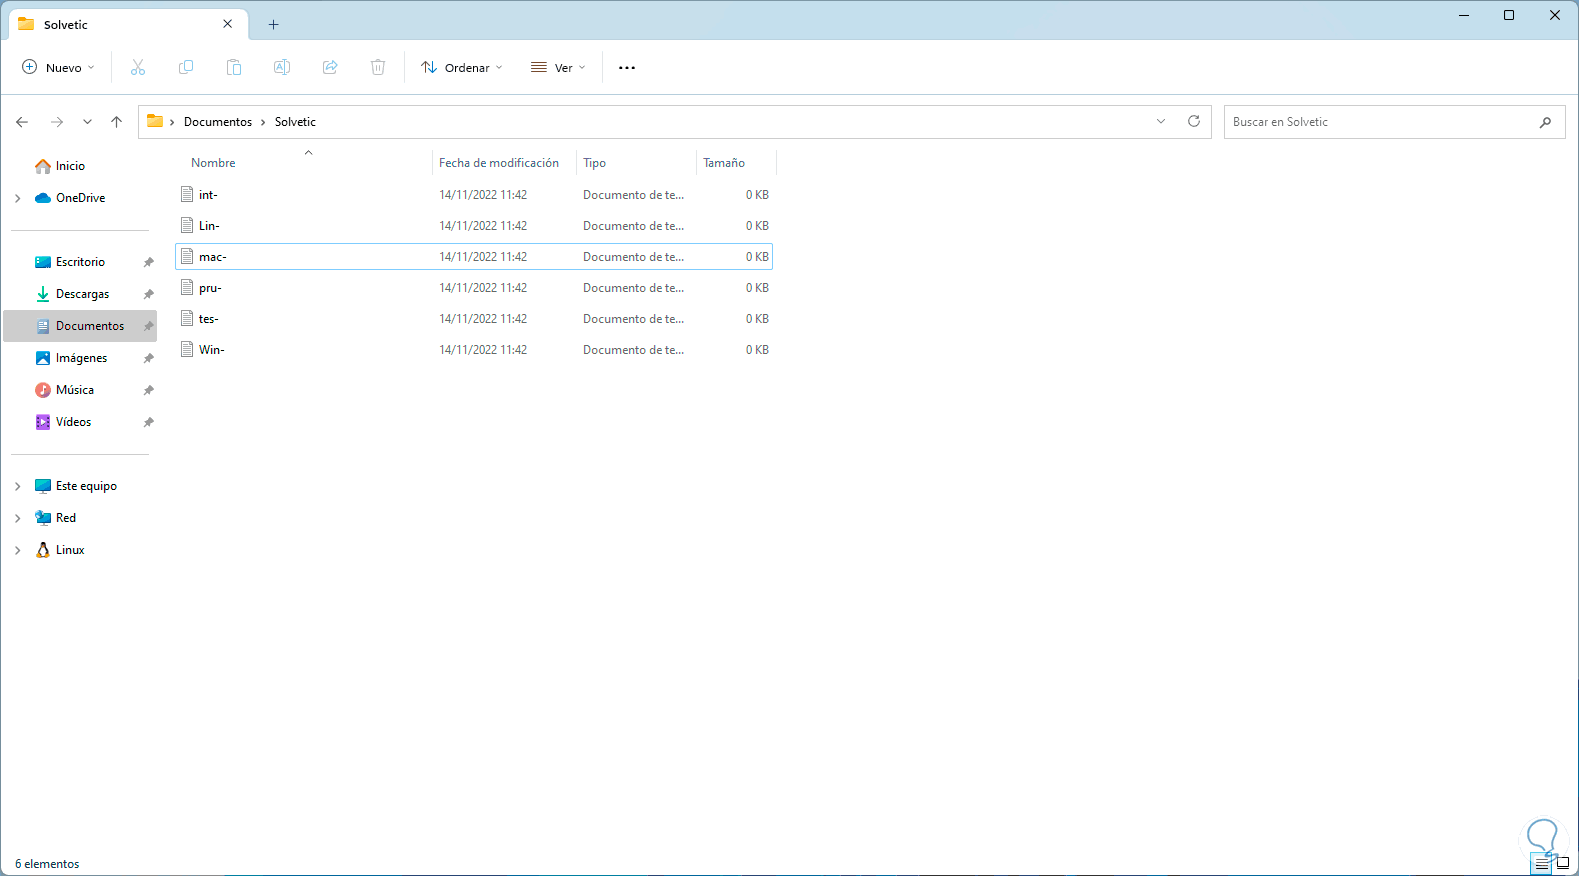
step 9
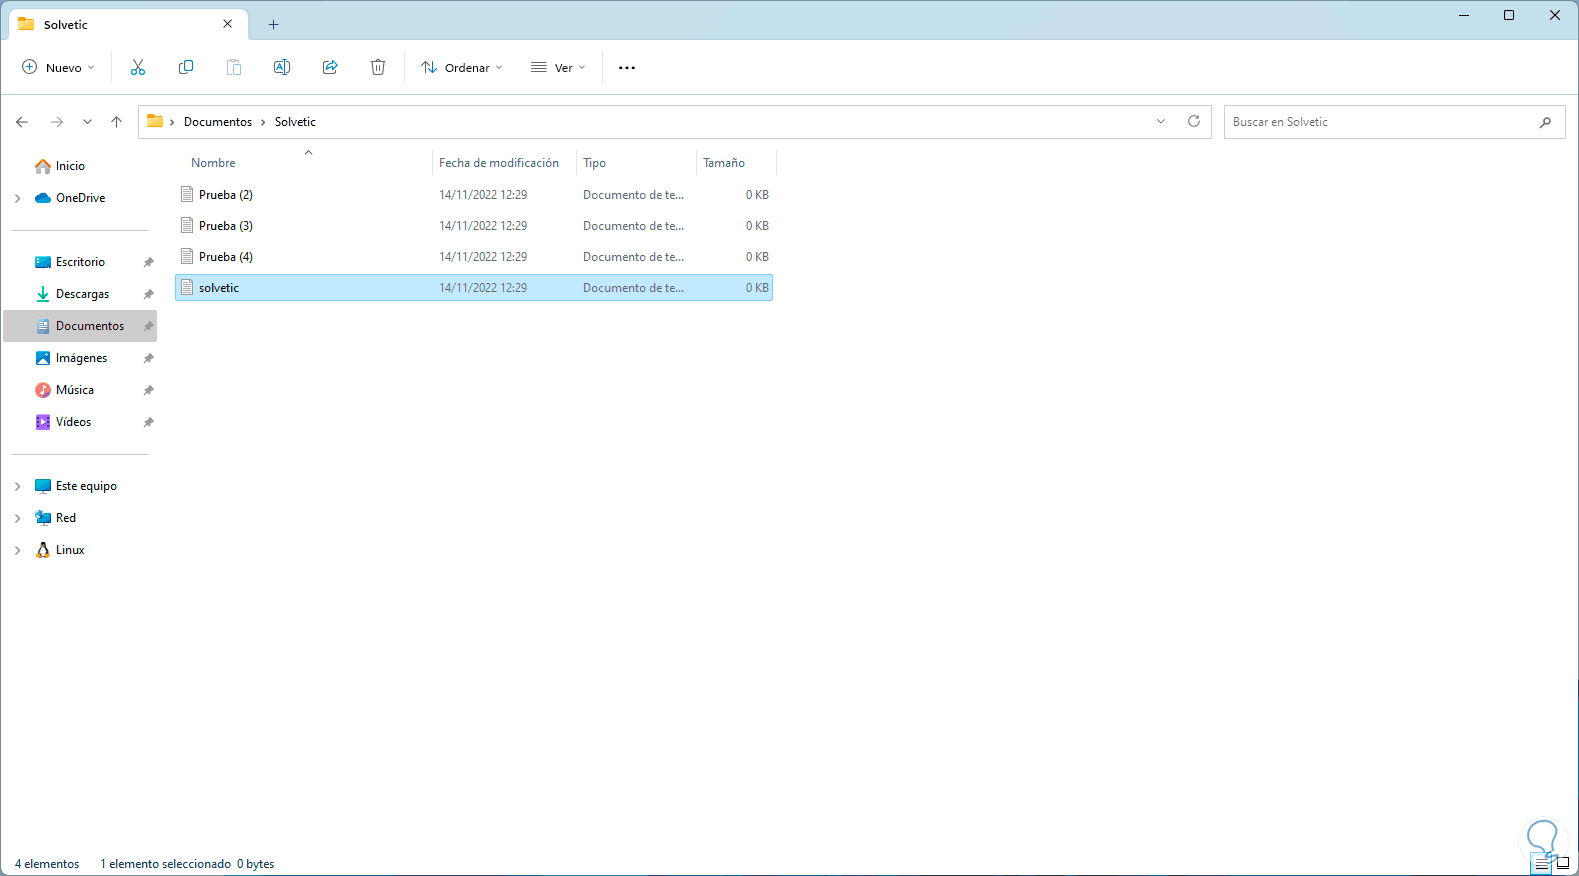
We observe the changes:
step 10
Again we validate the name of the files to work:
step 11
To modify multiple files we execute:
ren Part_name*.* new_part.*
step 12
Observe the change where it has been applied:
step 13
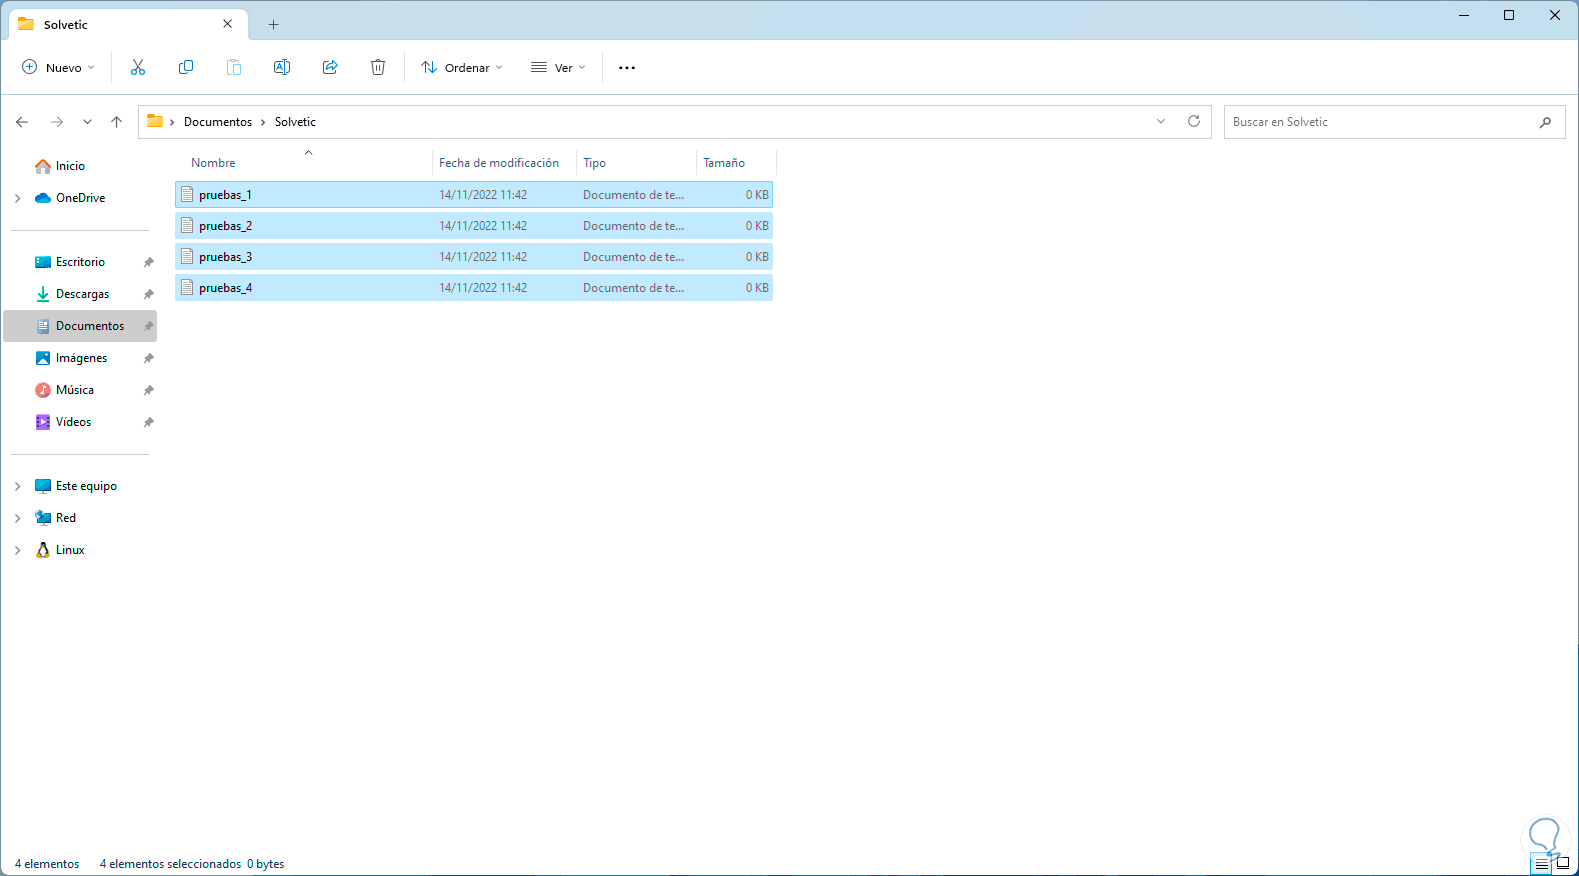
Open File Explorer with the files to edit:
step 14
To change the extension of a file we execute the syntax:
ren *.extension *.new_extension
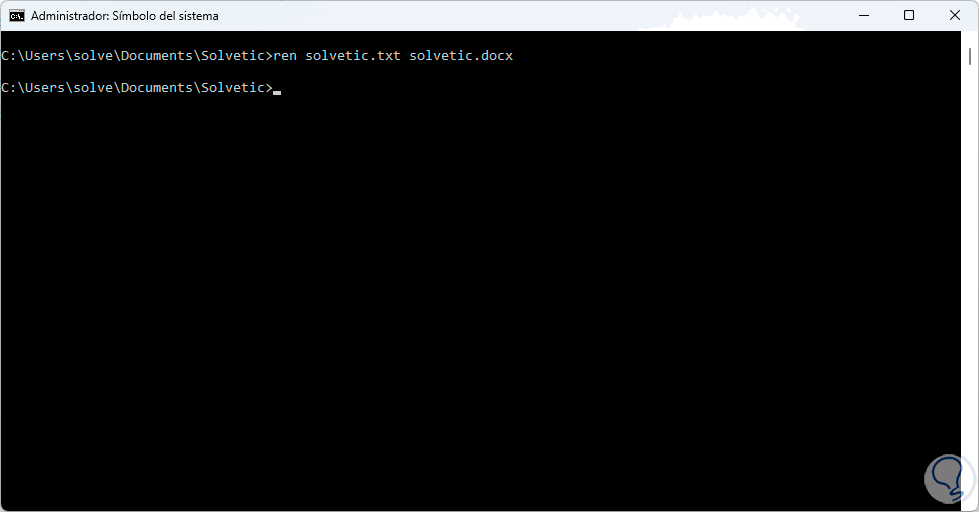
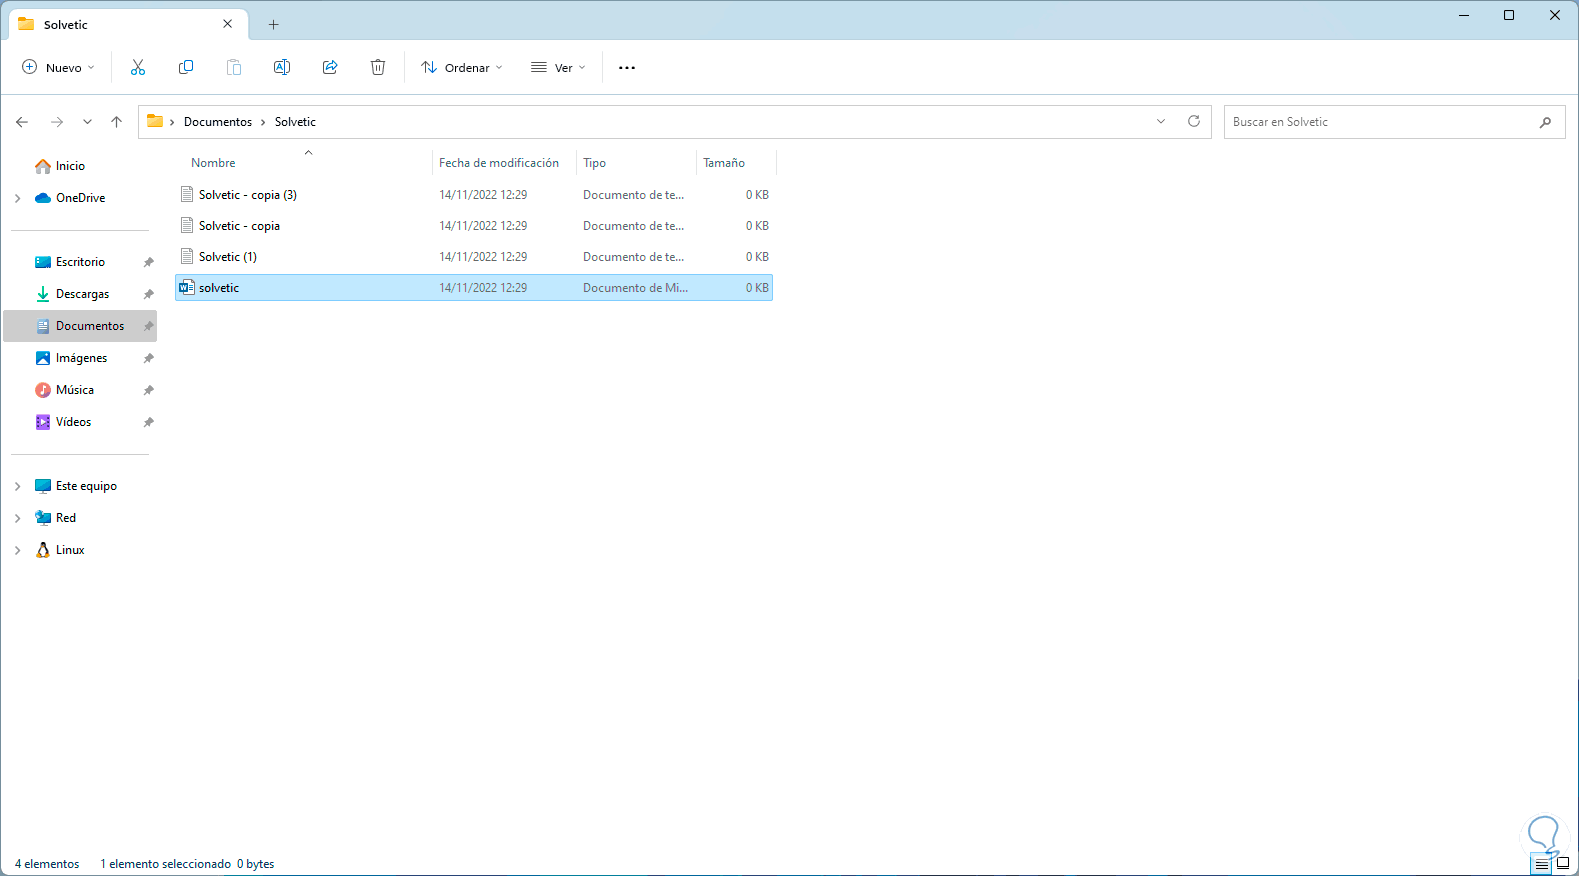
step 15
In this case we have gone from a .txt text file to a .docx Word file, we confirm the change:
3 Rename Files Massively Windows 11 From PowerShell
In the case of PowerShell, the Rename-Item cmdlet will be used, which is responsible for changing the name of an element in a namespace and this cmdlet does not modify the content of the source element.
Step 1
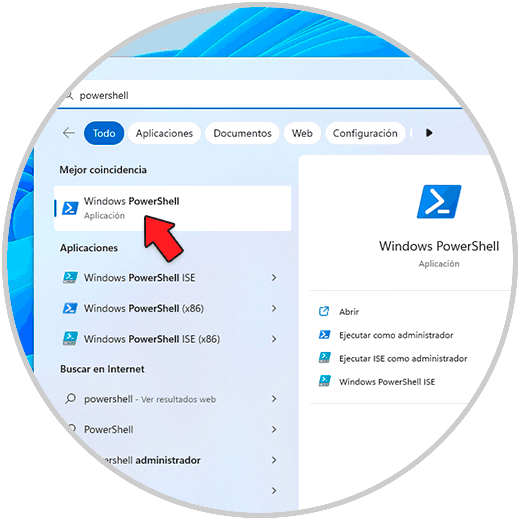
To use it, open PowerShell as administrator:
Step 2
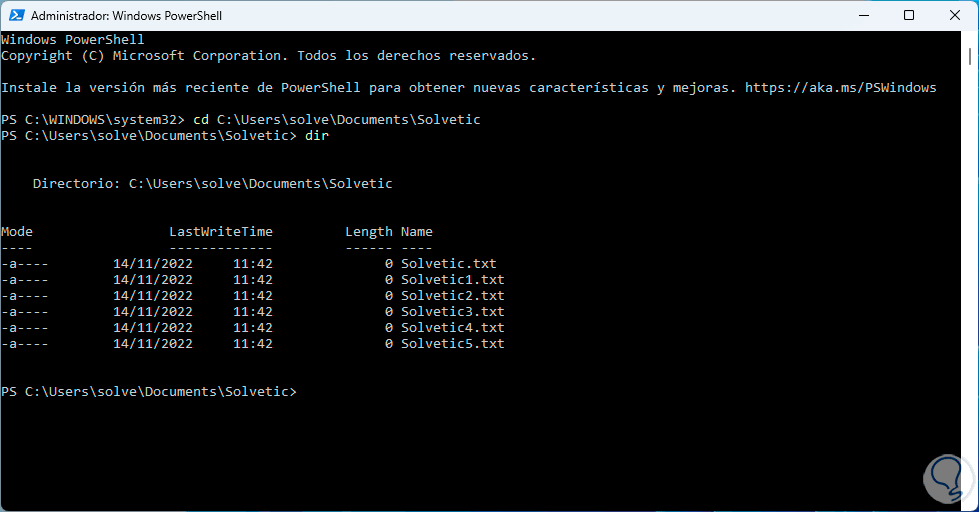
We use the command "cd" go to the path where the files are and with "dir" we generate the list of available files:
Step 3
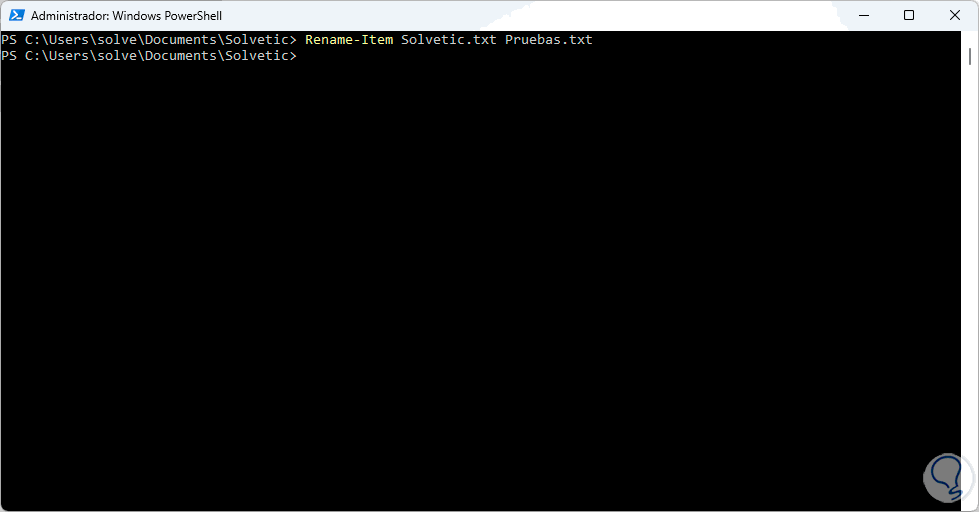
To change the name of a file we execute the syntax:
Rename-Item file.extension new_name.extension
Step 4
Confirm the change:
step 5
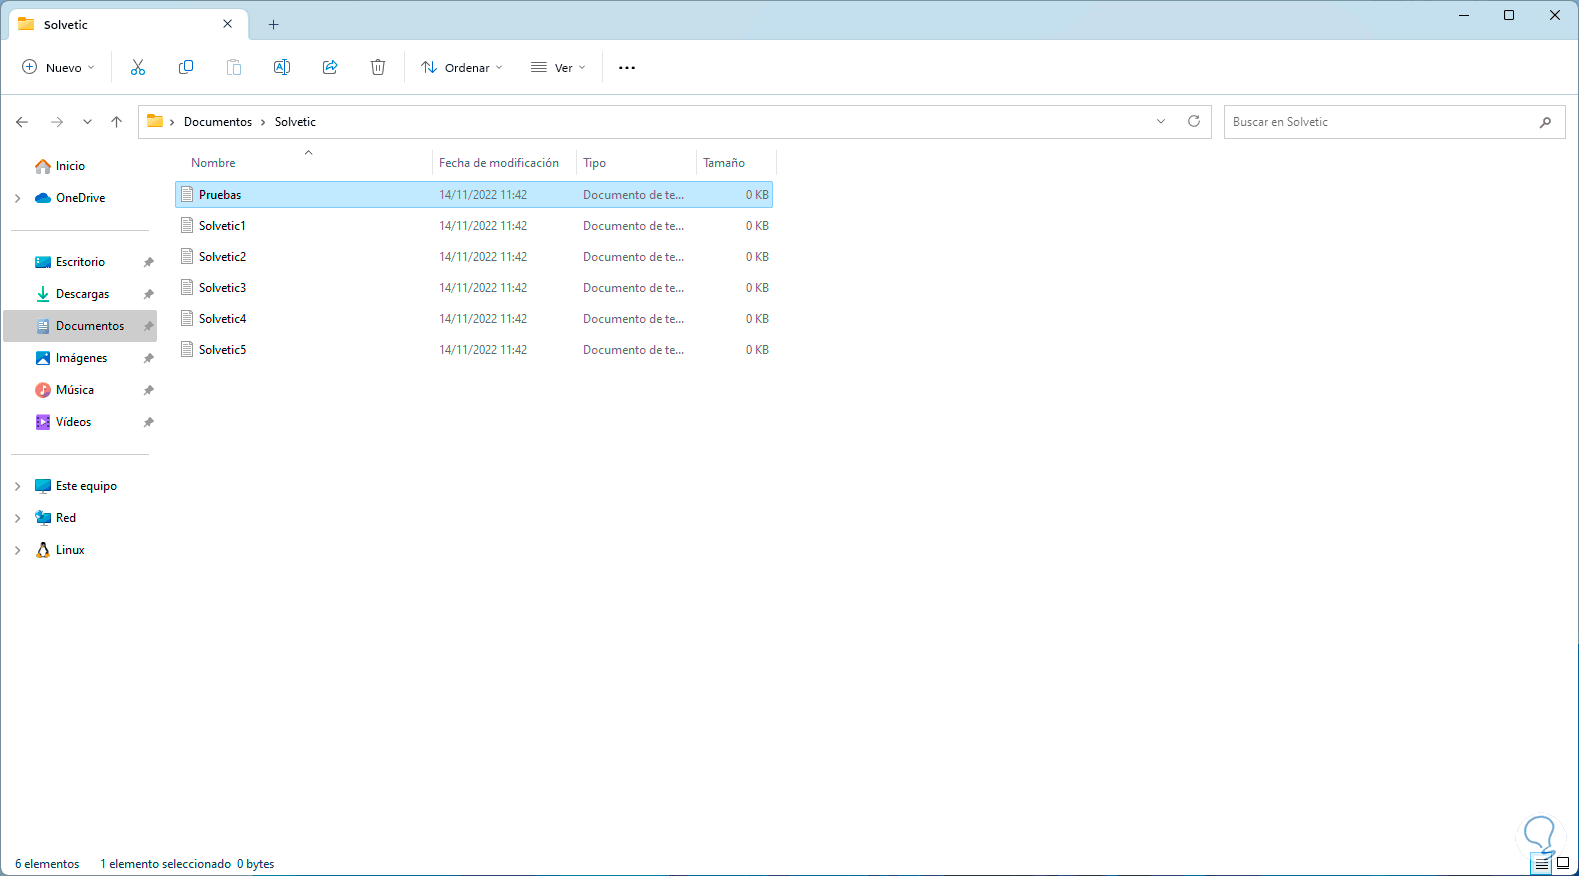
We see the files to work:
step 6
To rename multiple files we execute the syntax:
ls | %{Rename-Item $_ -NewName ("new_name-{0}.extension" -f $nr++)} 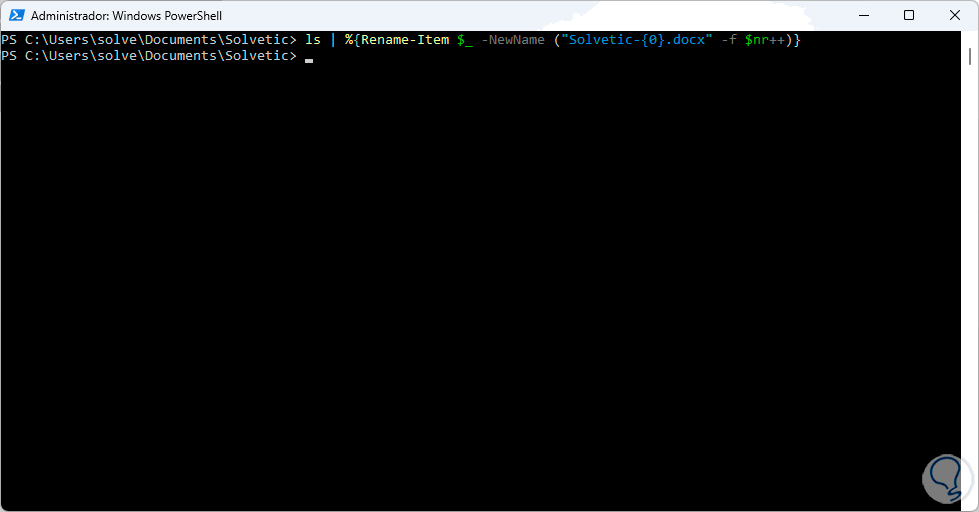
step 7
Validate the change:
step 8
In this case we have changed both the name and the type of extension of the files.
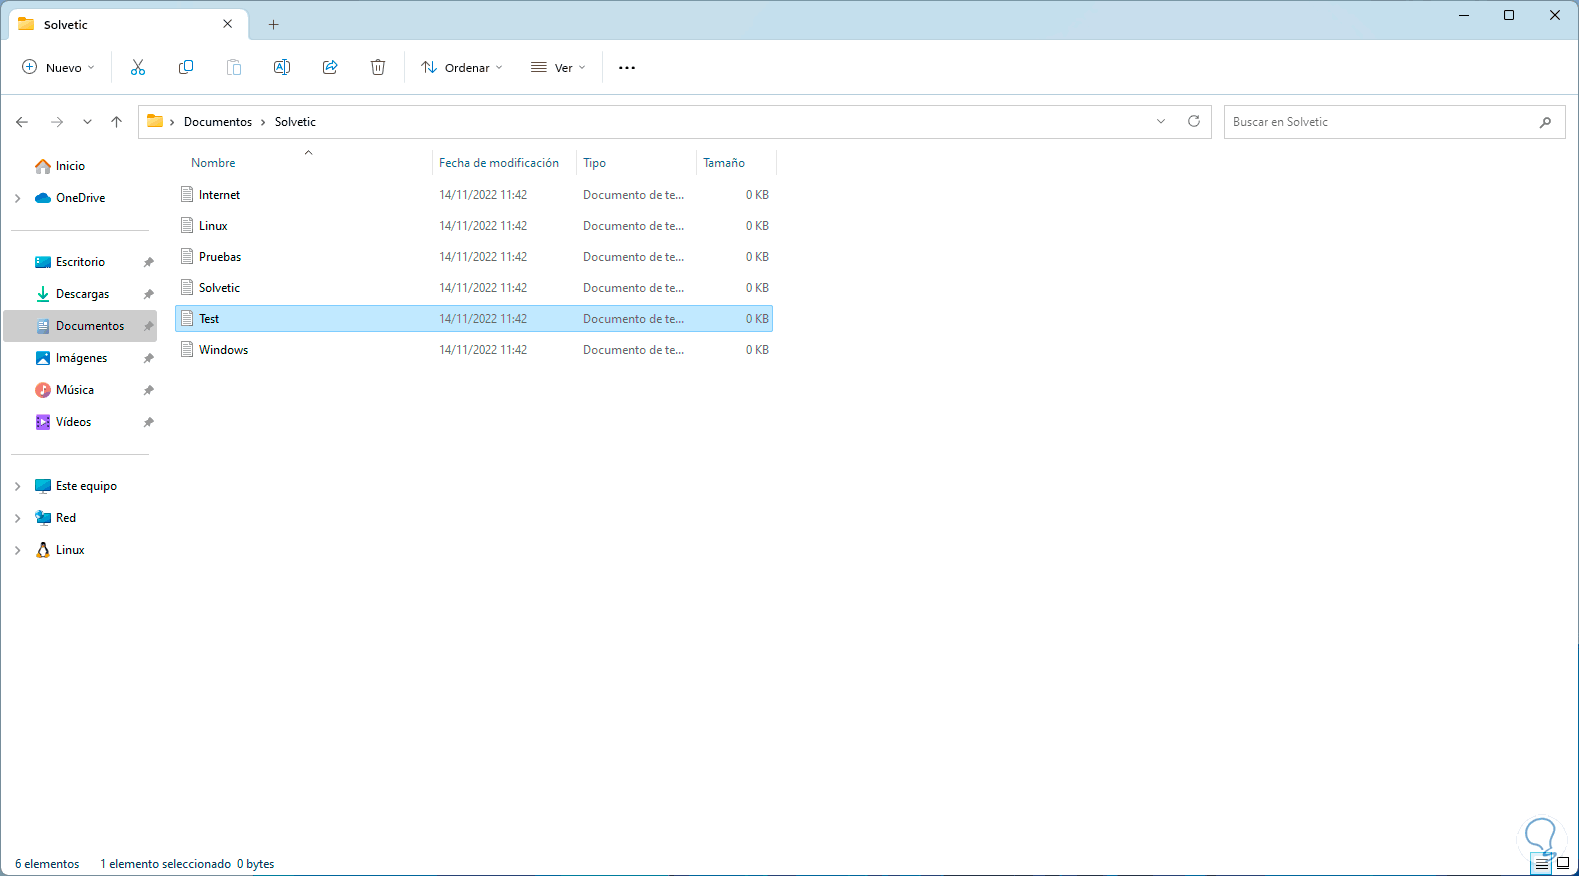
Again we observe the files to edit:
step 9
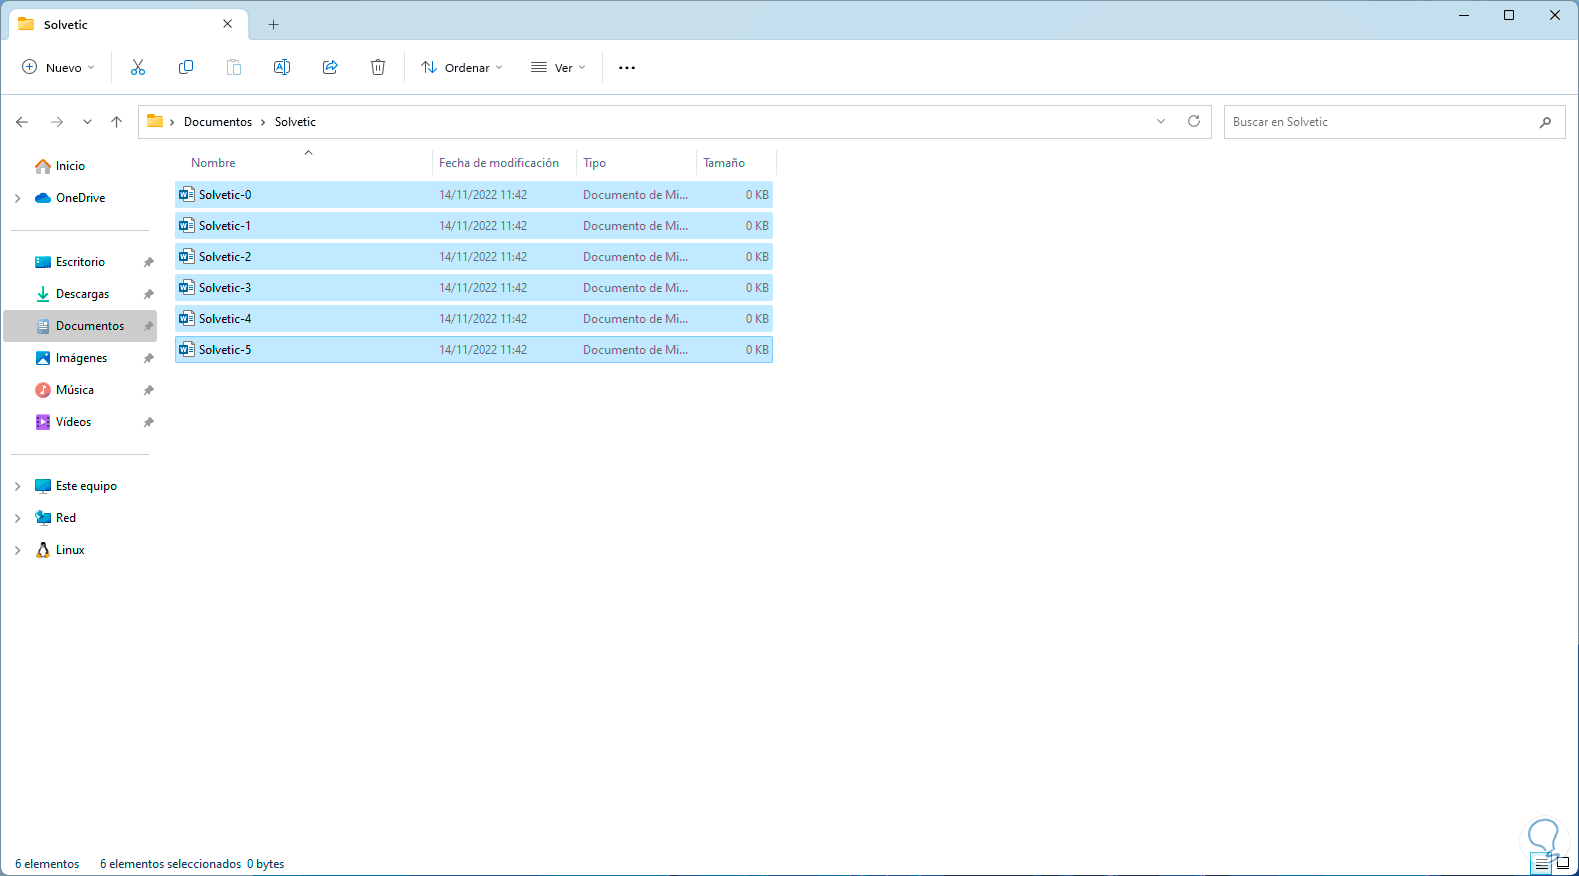
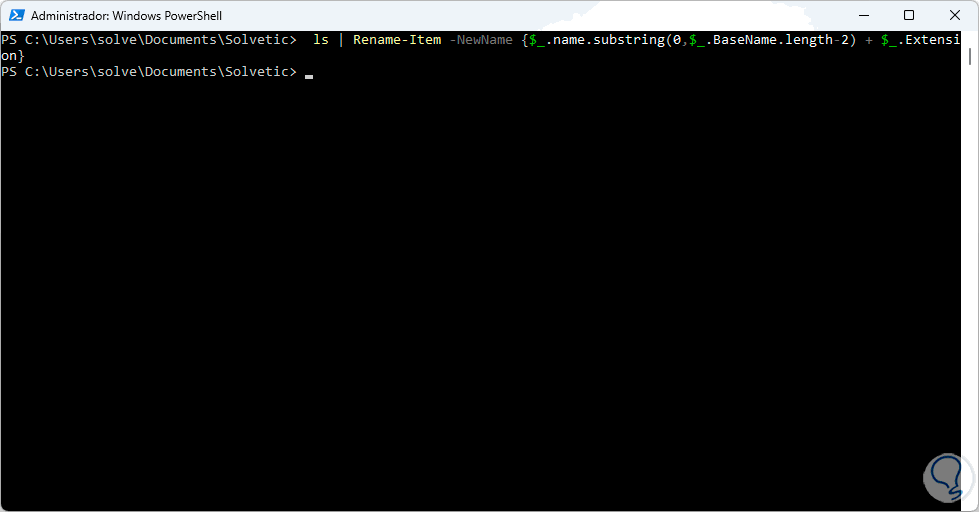
To cut words we execute the syntax:
ls | Rename-Item -NewName {$_.name.substring(0,$_.BaseName.length-N) + $_.Extension} Note
N is the number of letters to trim
step 10
Confirm the change:

step 11
In the File Explorer we see the current name of the files:

step 12
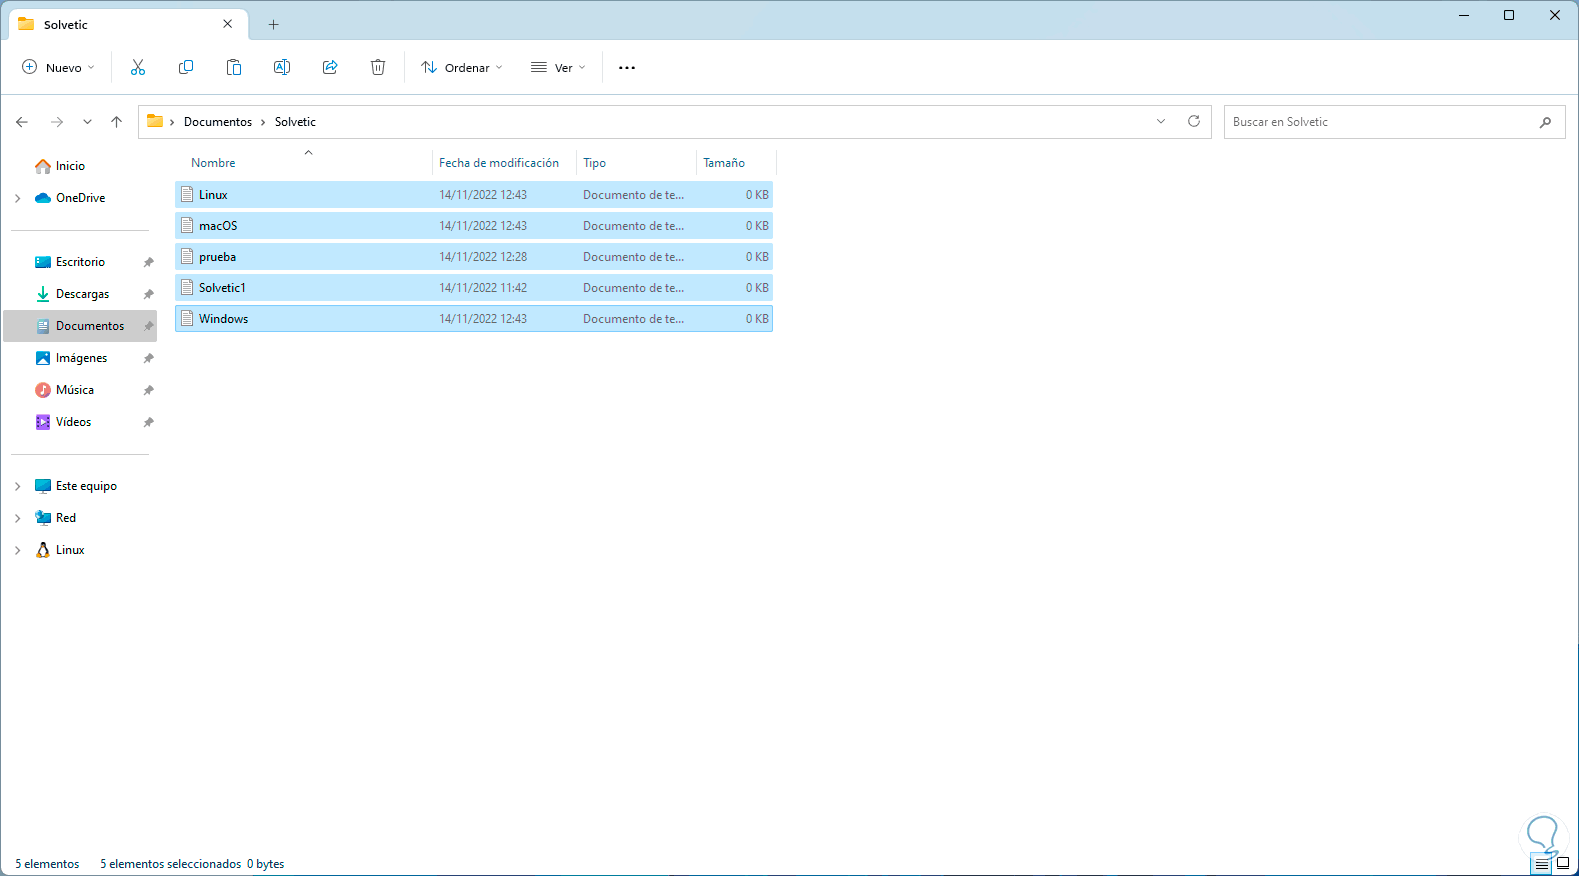
To delete a part of the word we execute:
ls | Rename-Item -NewName {$_.name -replace "part_to_delete",""} 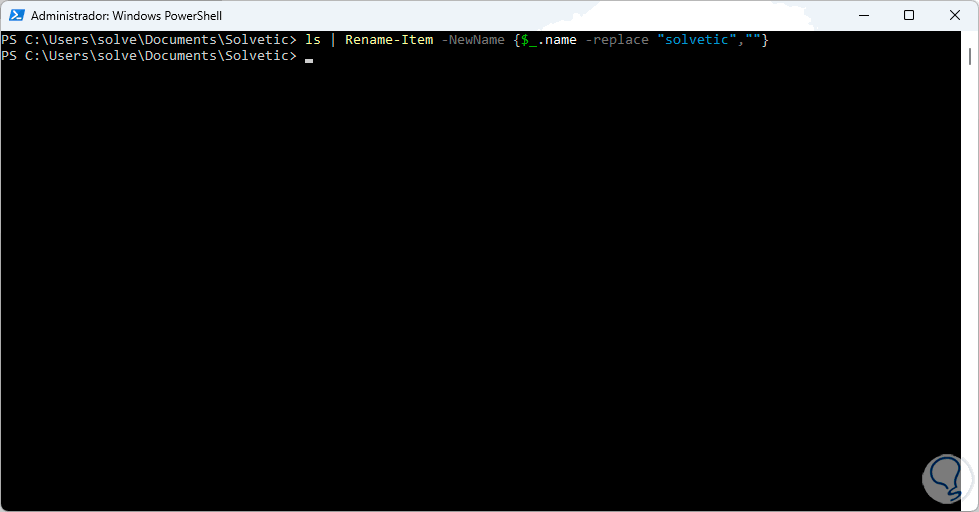
step 13
We validate the change:

The described word has been deleted..
step 14
Look at the files again:

step 15
To replace a part of the name we execute:
ls | Rename-Item -NewName {$_.name -replace "part_to_replace","new_part"} 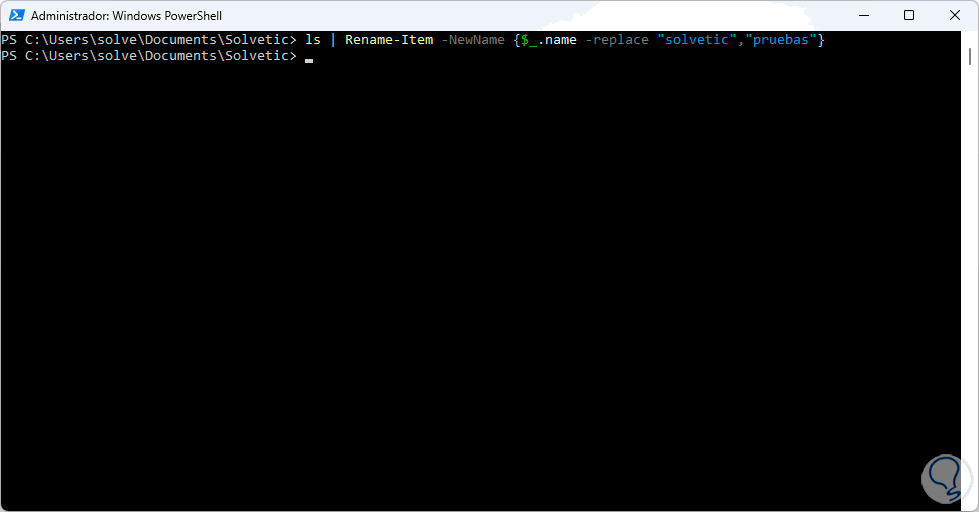
step 16
We confirm that the change has been made:
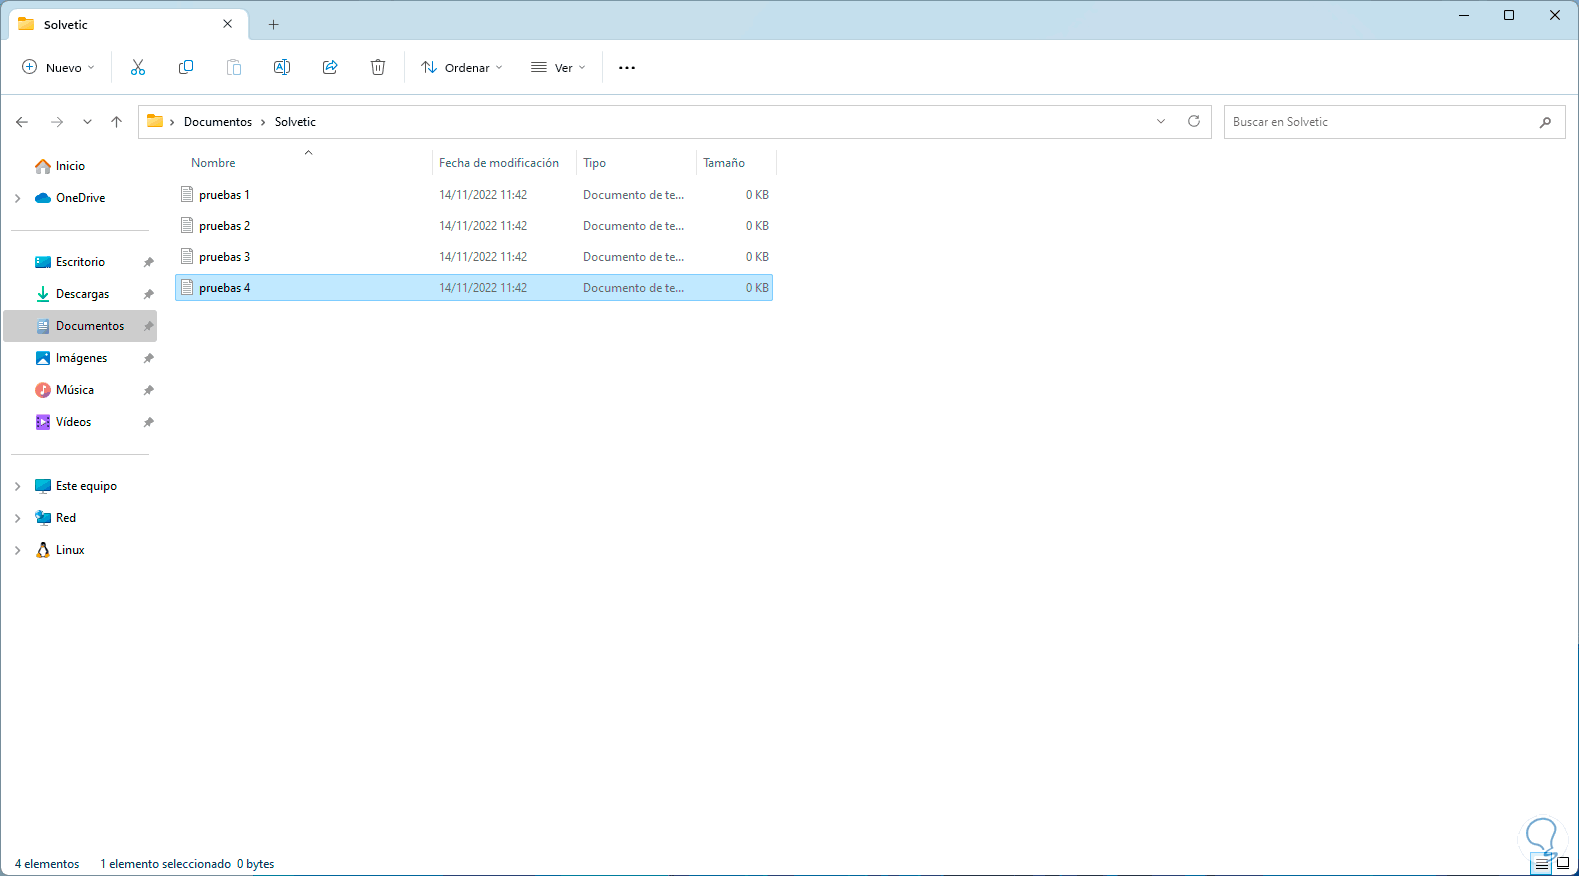
step 17
Again we see which files have to be worked on:

step 18
To remove spaces and assign a symbol between the name, we execute the following:
ls | Rename-Item -NewName { $_.Name -replace " ","separator" } 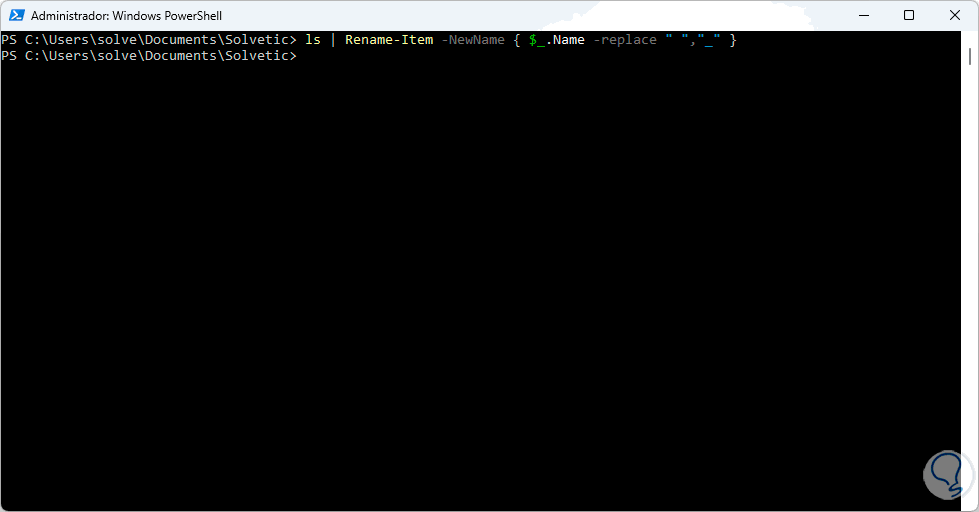
step 19
In this case, a hyphen (_) has been added between the two words of the name:
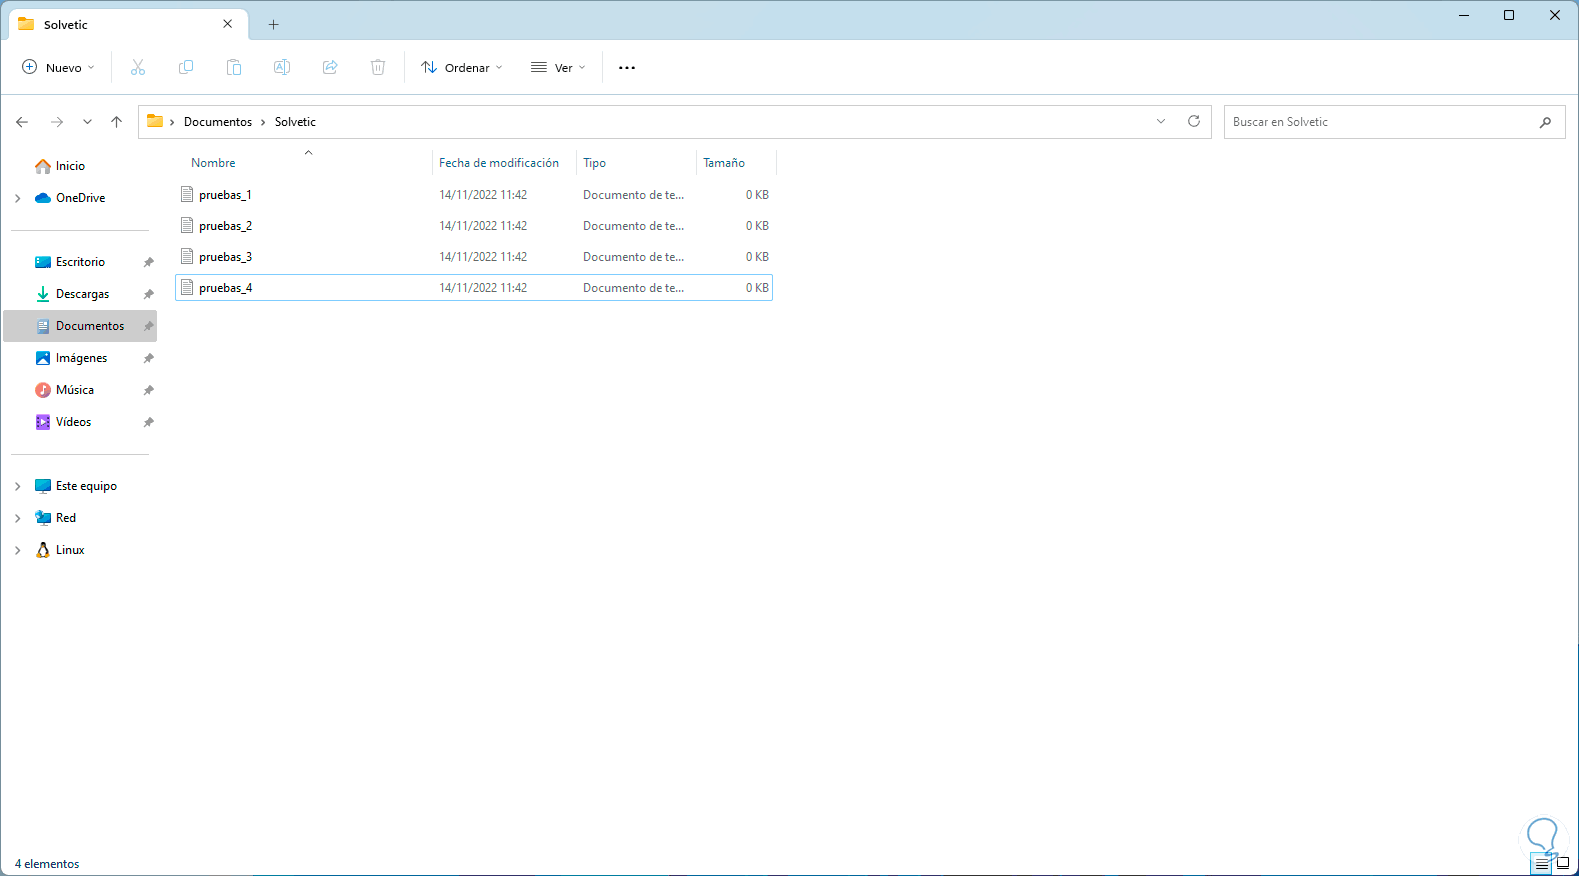
step 20
We open the File Explorer to check the elements:
step 21
To change the extension of the file, or of all, we execute:
ls | Rename-Item -NewName { [io.path]::ChangeExtension($_.name, ".new_extension") } 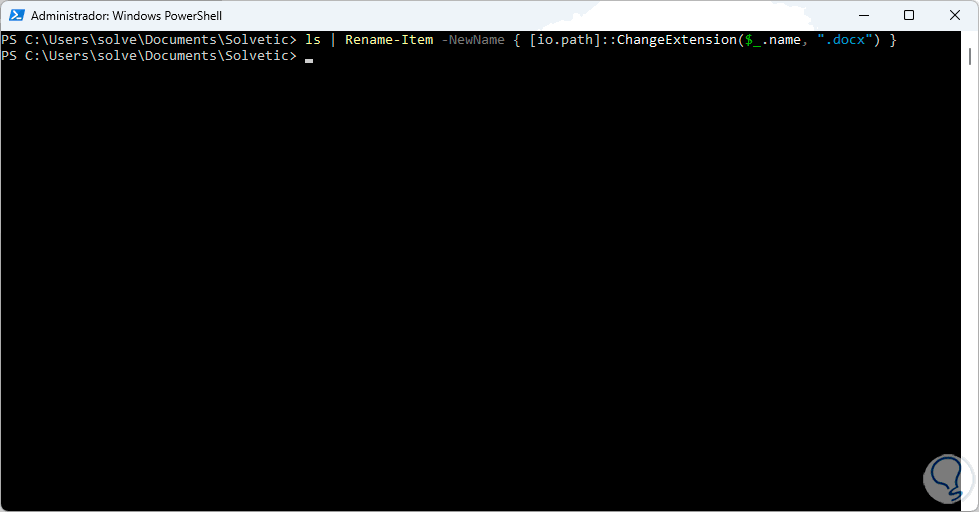
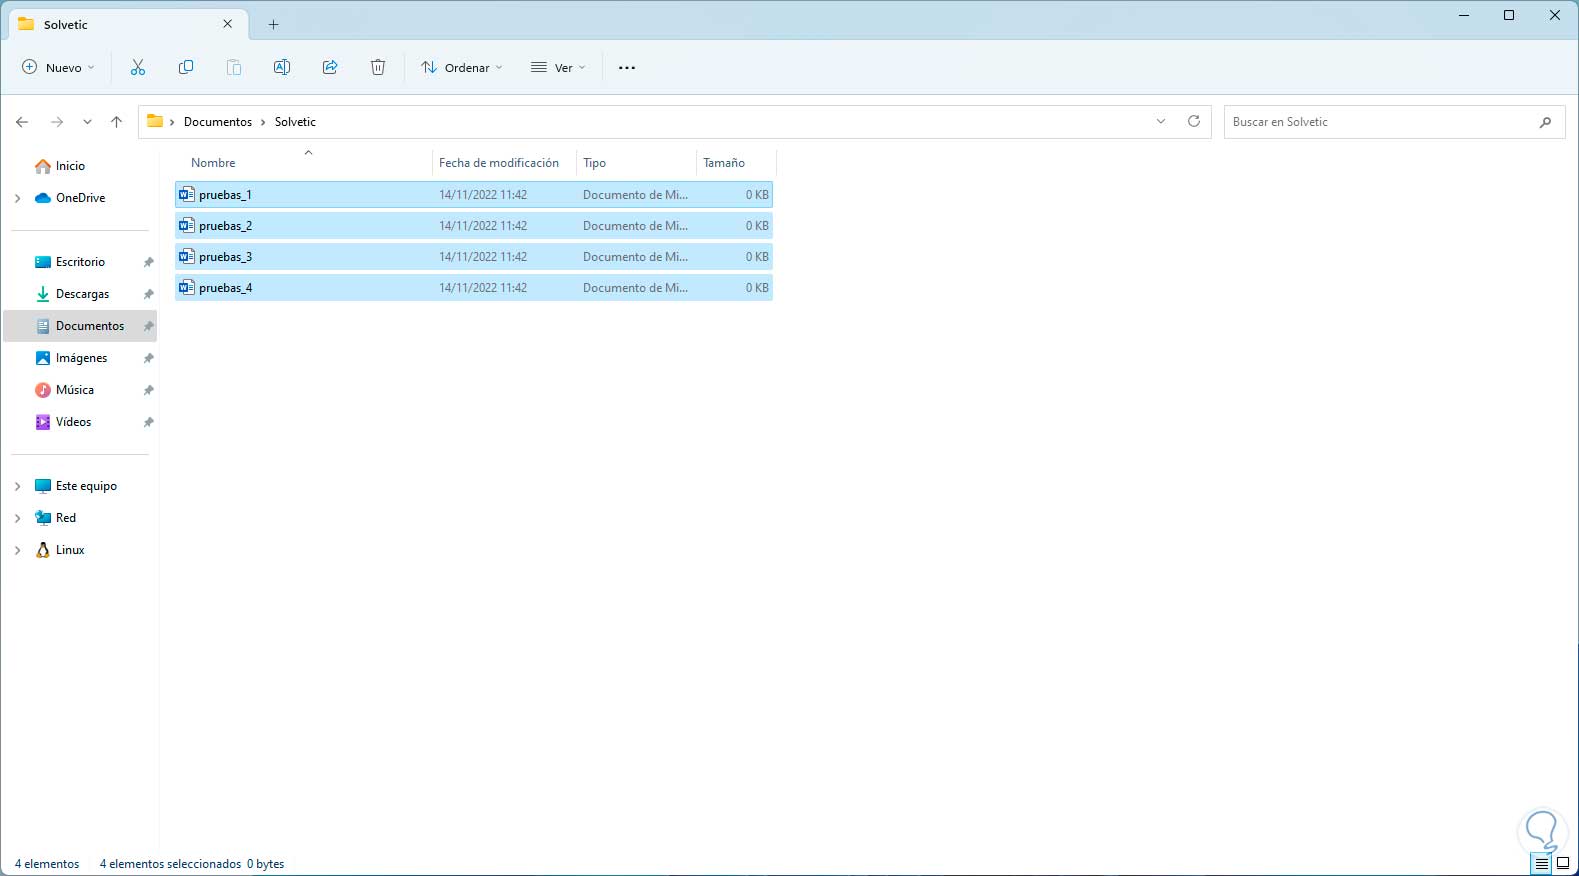
step 22
In the Explorer we validate the change:
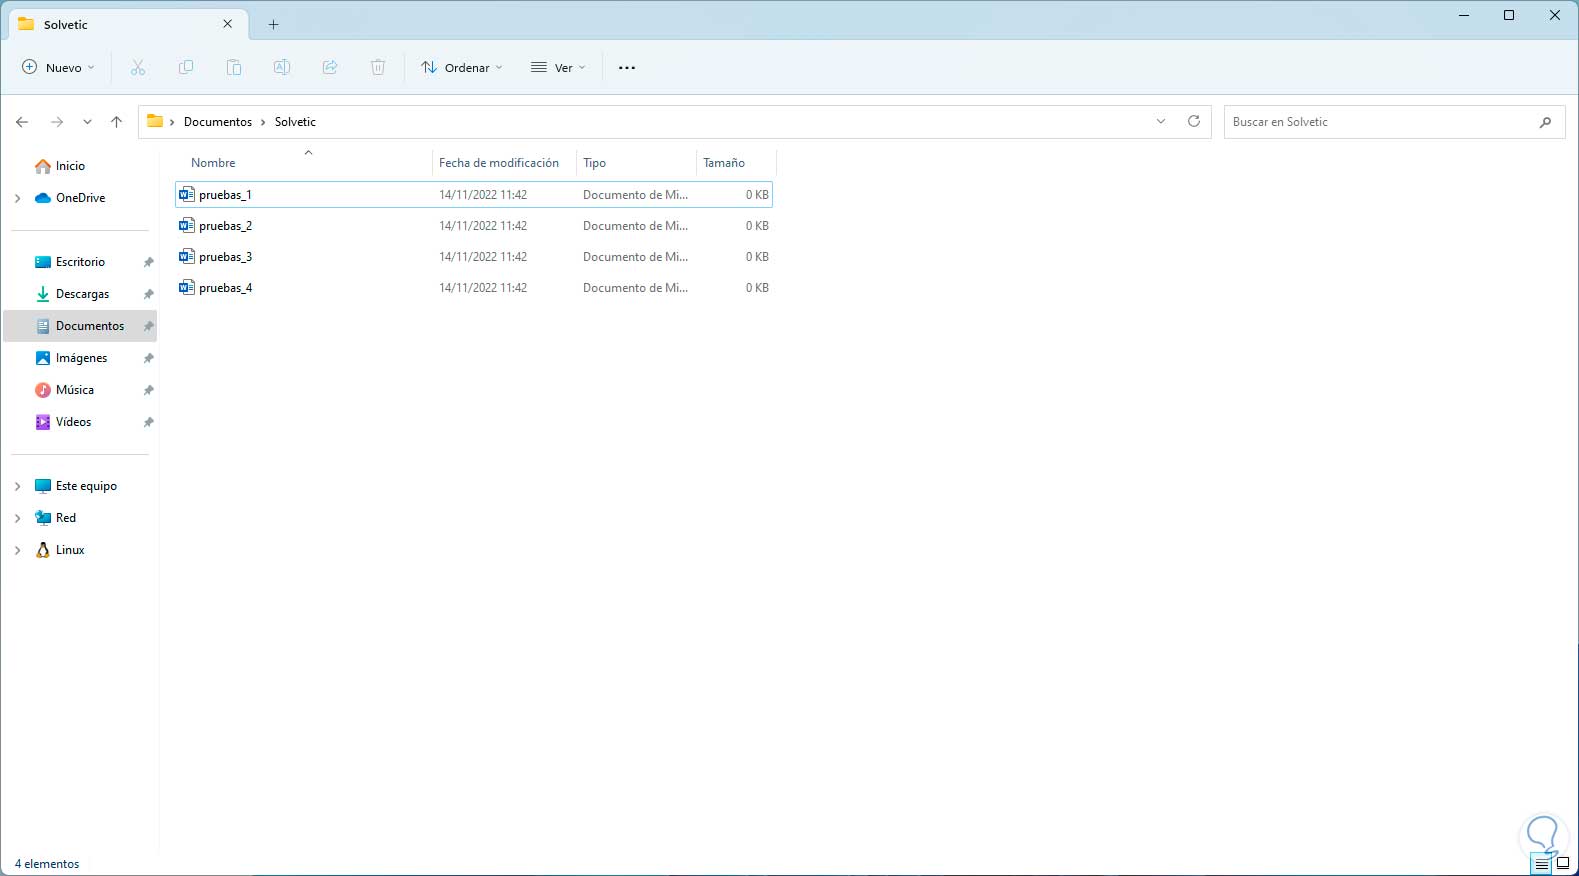
Step 23
Finally we see the current name of the files:
step 24
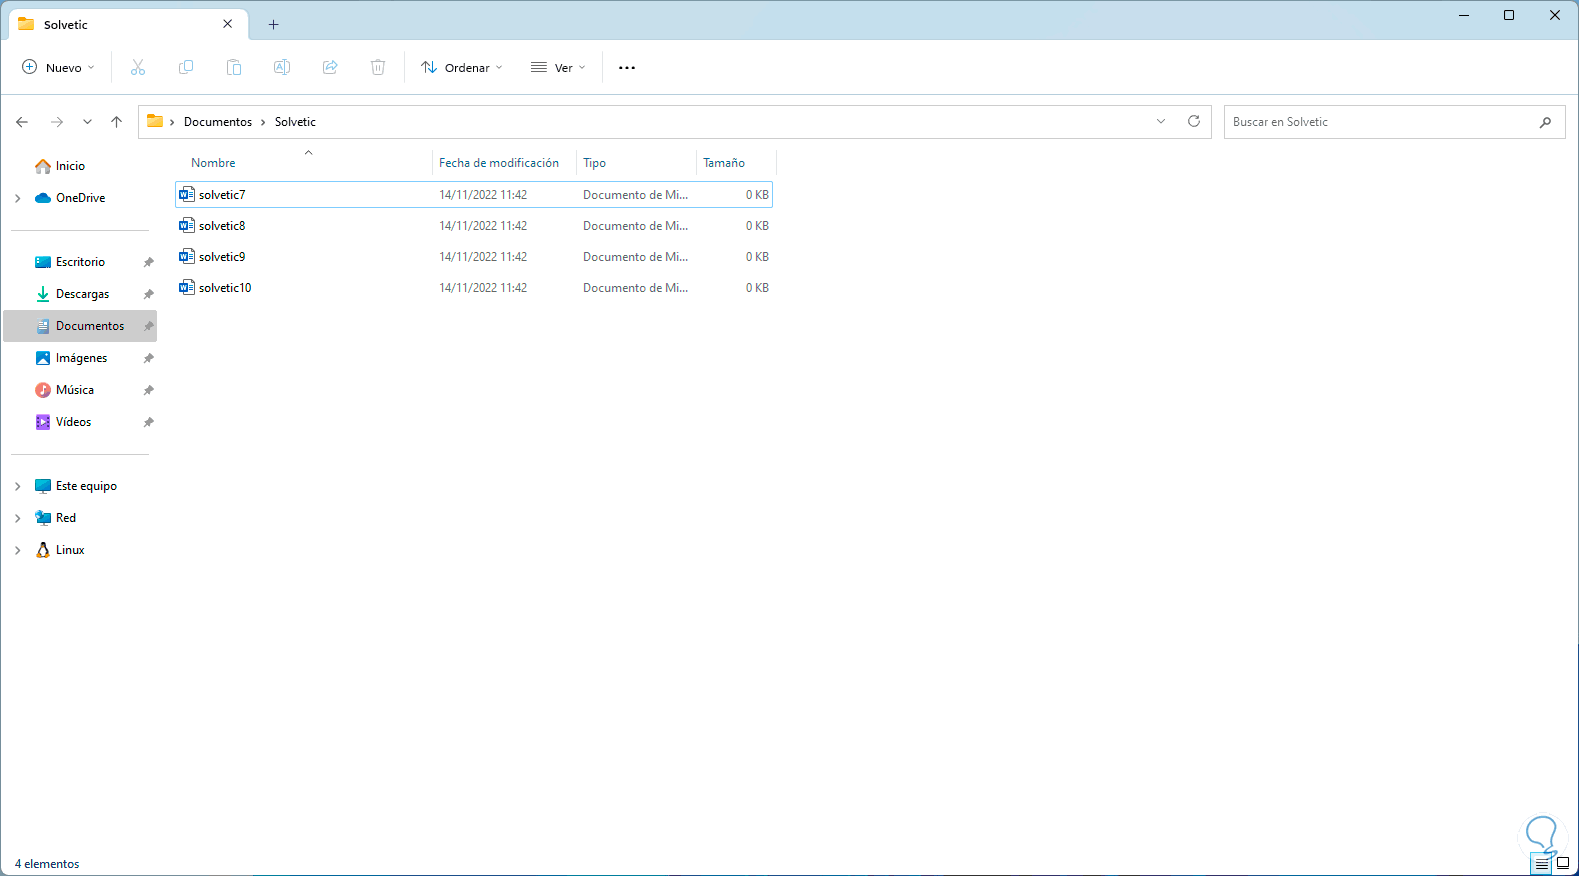
To change the name and associate an extension we execute the syntax:
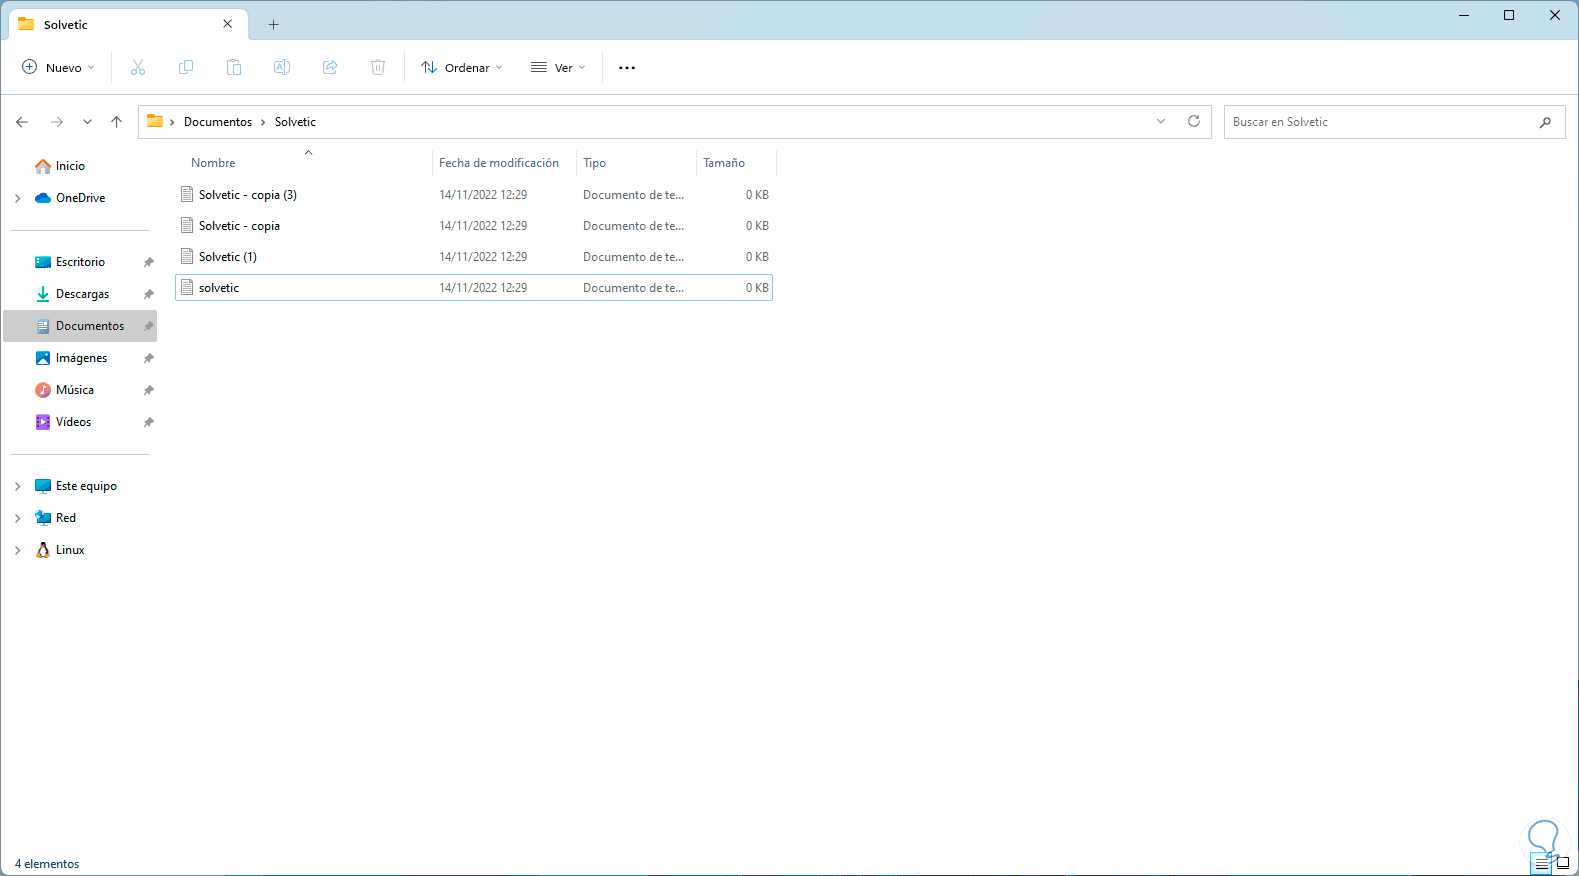
ls -filter *.extension | %{Rename-Item $_ -NewName ("new_name-{0}.extension" -f $nr++)} 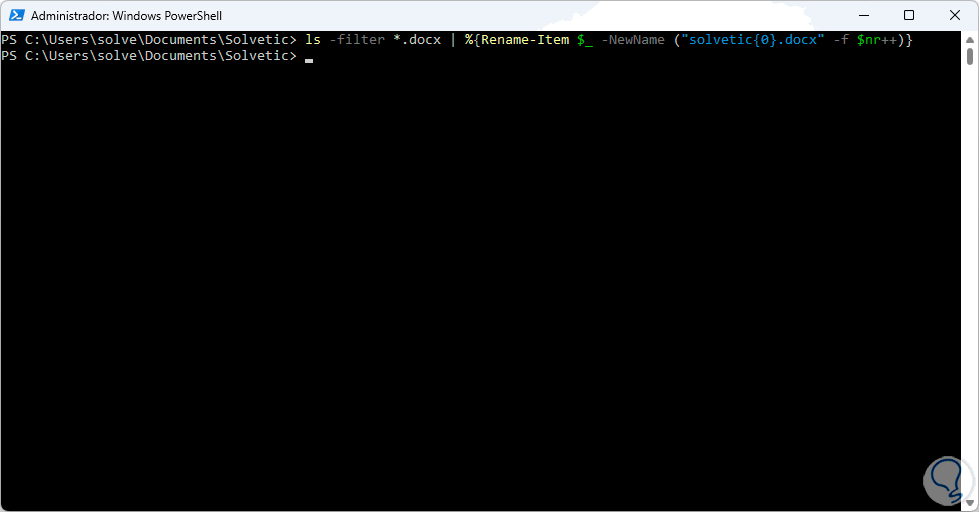
step 25
In this case the files will now be called “solvetic”:
With these console and interface options, it is possible to rename one or more files in Windows 11 based on current needs.