Notepad , that utility present since Windows 95 and which has continued to be present in current editions of Windows as the solution to edit text in a basic way. With this tool we can make simple formatting texts but we need for different tasks. A basic utility but quite useful on Windows 10 computers..
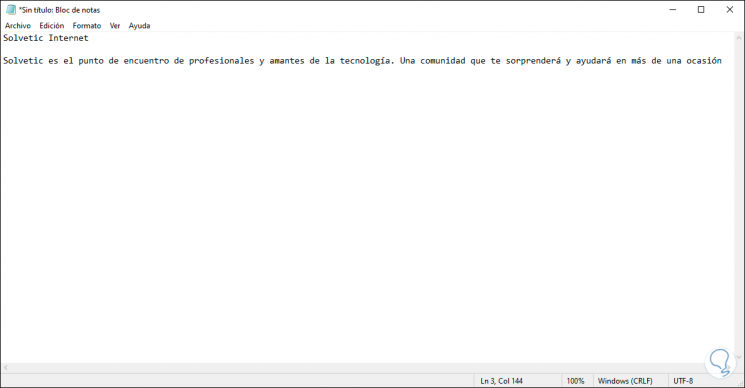
Notepad helps to create our own files or edit some system files, but as we have mentioned in an elementary way, so if advanced functions are required many users turn to third-party applications to optimize this operation and that is why the notebook It can go to the background.
In earlier versions of Windows 10 it was not possible to uninstall Notepad in a traditional way (from the control panel) worse with the version of Windows 10 build 18943, Notepad or Notepad has become an application (when replacing the classic Notepad program) which is available in the Store and allows you to edit its variables such as uninstalling it and therefore TechnoWikis will explain how to achieve it easily..
Check Windows version
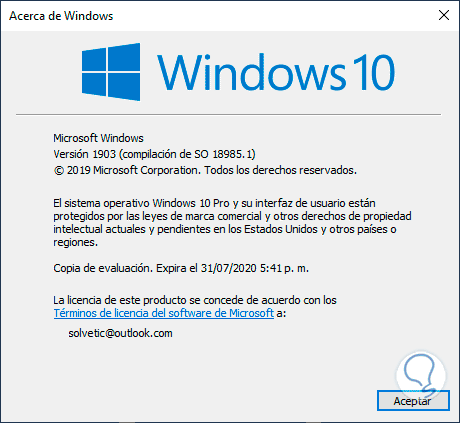
To know if it is possible you must validate the version of Windows 10 using the following key combination and executing the winver command:
If you have minimum version 18943 you can uninstall Notepad.
+ R
We also leave the video tutorial with all the steps to reinstall the Notepad in Windows 10.
To keep up, remember to subscribe to our YouTube channel! SUBSCRIBE
1. How to uninstall Notepad on Windows 10
Step 1
To start the process we will go to the Start menu and there we select the “Configuration†utility where we will see the following:
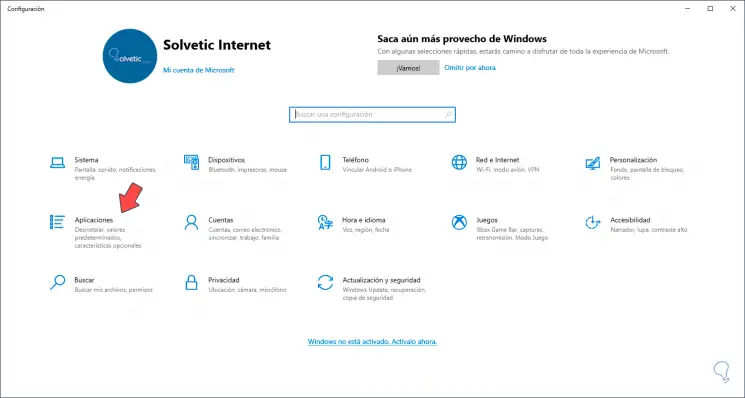
Step 2
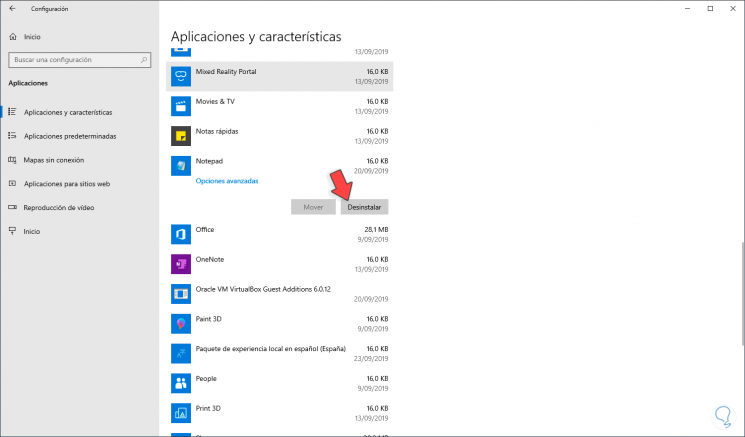
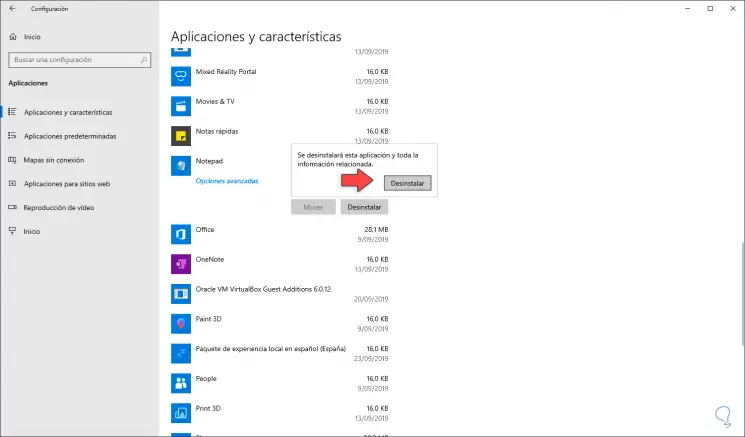
There we go to the “Applications†category and then we will go to “Applications and features†and there we will locate the “Notepad†line, click on it and the “Uninstall†button will be activated:
Step 3
We click on this button and we must confirm the action again:
Step 4
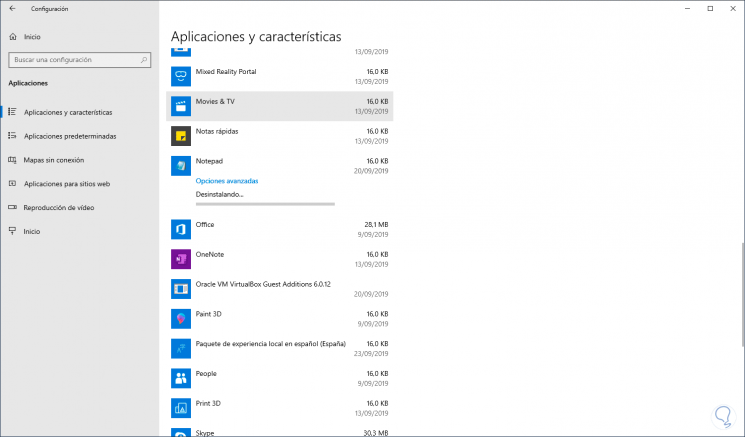
Again we click on “Uninstall†and the Notepad uninstall process will take place:
Step 5
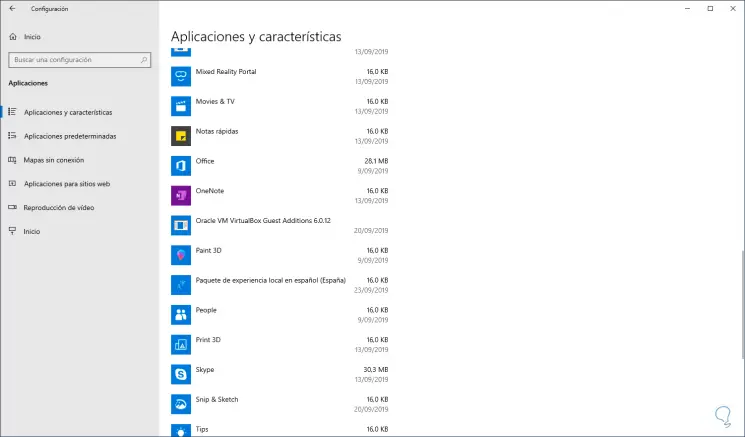
When finished, we will see that the Notepad application is no longer available:
2. How to install Notepad on Windows 10
Step 1
Now to install Notepad again in Windows 10 we must go to the following link:
Notepad
Step 2
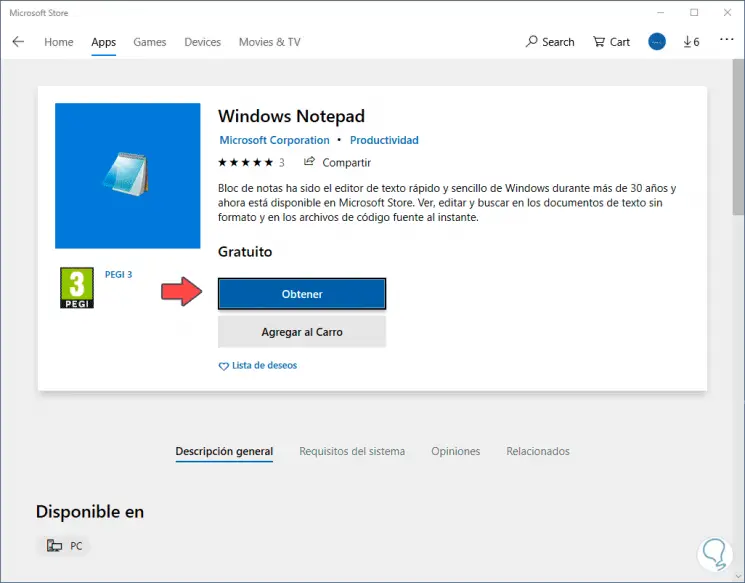
This link will redirect us to the Windows 10 store where we will see the following:
Step 3
There we click on the Get button to automatically download and install Notepad on the system:
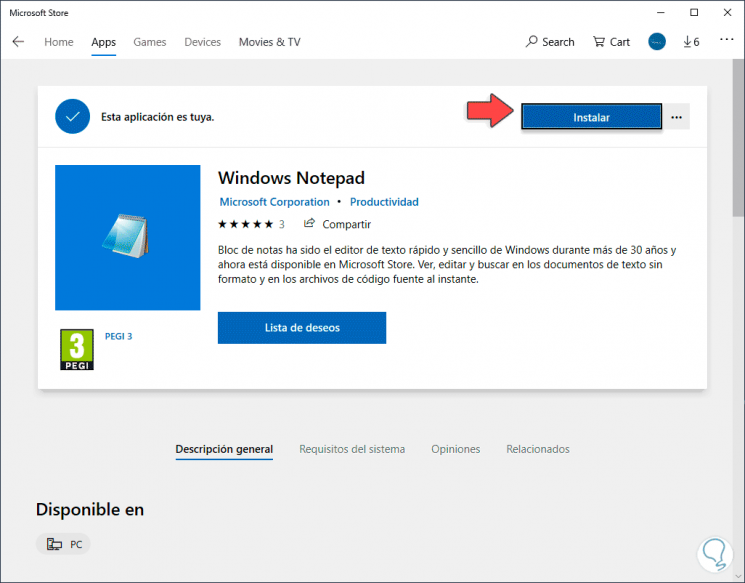
Step 4
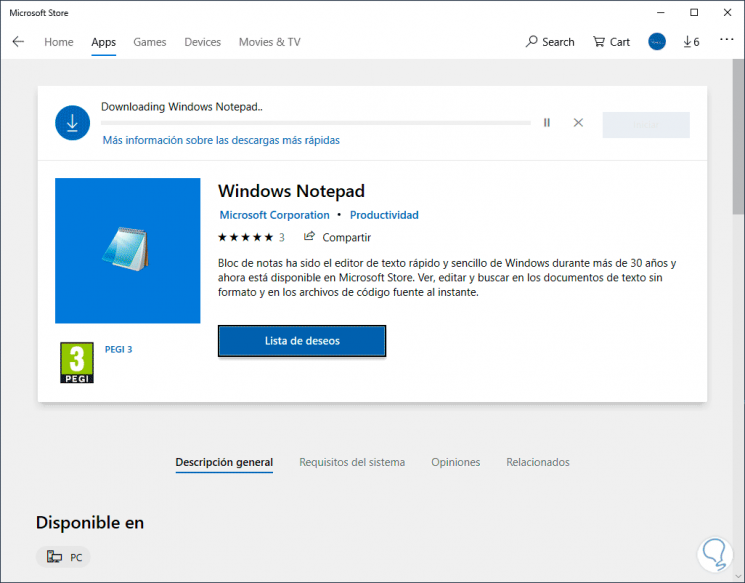
We click on Install and the process will begin:
Step 5
Once finished we will see the following:
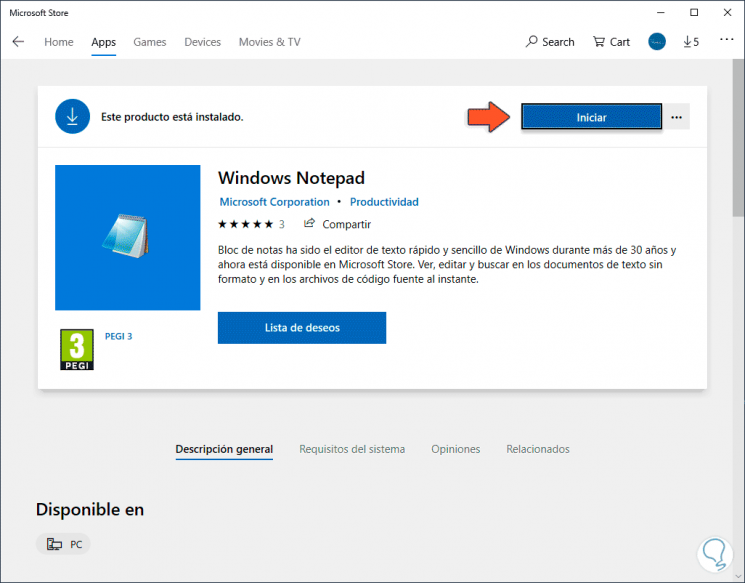
Step 6
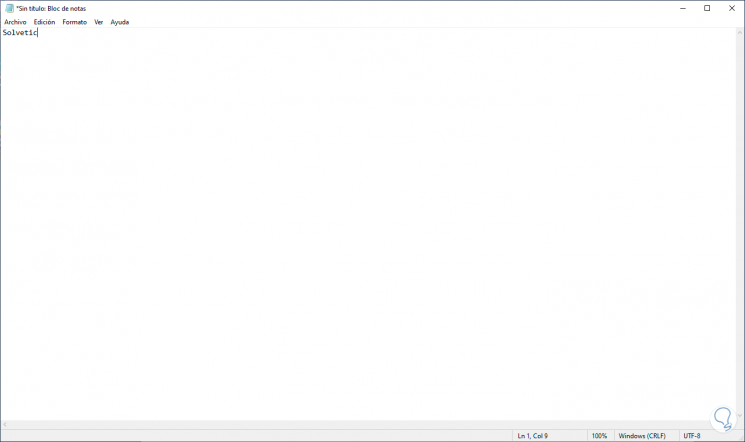
We click on Start to run Notepad on Windows 10 and check its operation:
3. How to reset or repair Notepad in Windows 10
Being Notepad updated as a system application we can apply various tasks on it.
Step 1
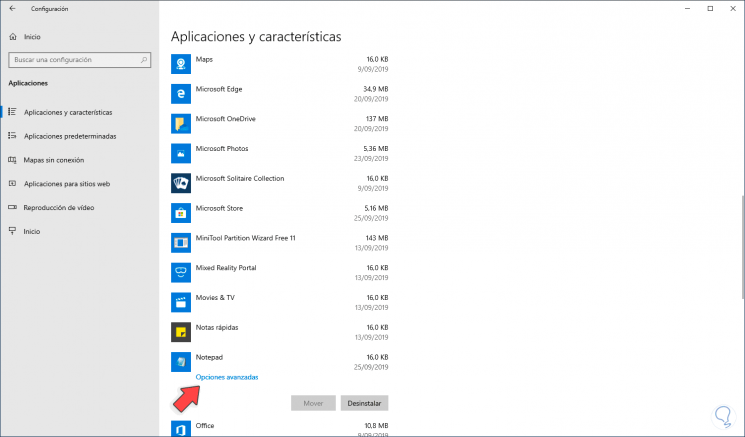
To validate it we go back to Settings - Applications - Applications and features and clicking on Notepad will activate the “Advanced options†line:
Step 2
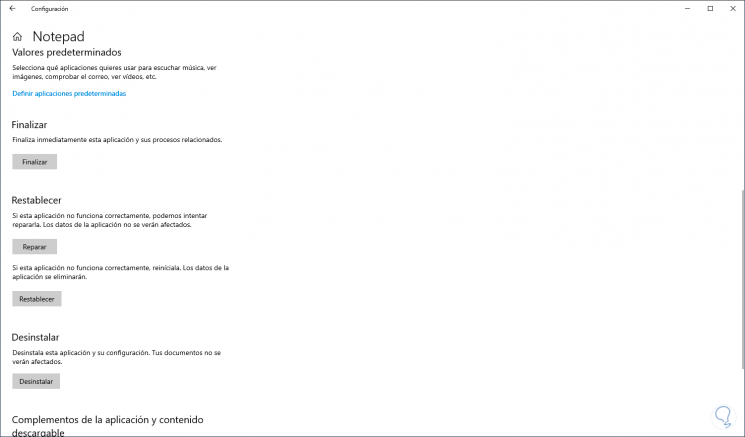
Clicking on it we find the following options:
- End all processes associated with Notepad.
- Repair the application in case of errors.
- Reset their default values.
- Uninstall it if the fault is permanent.
You have learned to uninstall and install Notepad on Windows 10 in a simple and functional way thanks to the new features of the latest versions of Windows 10..