Integrating two operating systems on a single computer is something that until some time ago was a very complex task to achieve due to a specific detail, which is the file system of each operating system, which are not compatible with each other. The file system ensures that the system can access data read and write operations both on the hard drive and on devices connected to it, which is why Windows 11 and other editions make use of NTFS..
Linux manages ext3, ext4 file systems and macOS works with APFS, these systems simply prevent us from using a Linux system for example in Linux. To solve this we have virtual machine platforms but Windows 11 has implemented a much simpler mechanism to work Linux distributions on Windows 11 and it is WSL.
WSL (Windows Subsystem for Linux - Windows Subsystem for Linux) is a feature disabled by default, but available in Windows 11, with which it is possible to run a GNU/Linux environment with the tools, utilities and command line applications of Linux without any problem but using the native resources directly in Windows. This avoids having to use other alternatives that may have a negative effect on the behavior or performance of the system. Some of the advantages of using WSL in Windows 11 are:
WSL on Windows 11
- Support of programming languages such as NodeJS, Javascript, Python, Ruby, C/C++, C# & F#, Rust, Go
- Access to tools like vim, emacs, tmux
- Ability to invoke GNU/Linux applications on Windows
- Supports commands like grep, sed, awk, and more ELF-64 binaries
- Ability to run SSHD, MySQL, Apache, lighttpd, MongoDB, PostgreSQL services
- Invoke Windows applications via a Unix-identical command line shell
- Ability to run embedded GNU/Linux graphical applications directly on the Windows 11 desktop
distributions
With WSL it will be possible to install distributions such as:
- SUSE Linux Enterprise Server v12
- SUSE Linux Enterprise Server v15
TechnoWikis will explain in detail how to install WSL in Windows 11 and thus have access to use Ubuntu directly there..
To stay up to date, remember to subscribe to our YouTube channel!
SUBSCRIBE ON YOUTUBE
1 How to install Ubuntu on Windows 11
Step 1
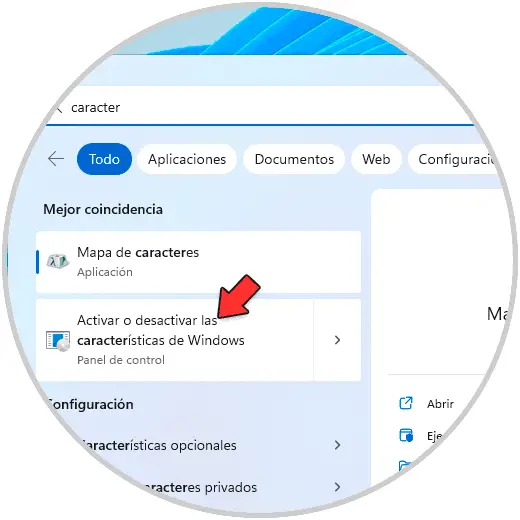
To achieve this in the Start search engine we enter "features" and then click on "Turn Windows features on or off":
Step 2
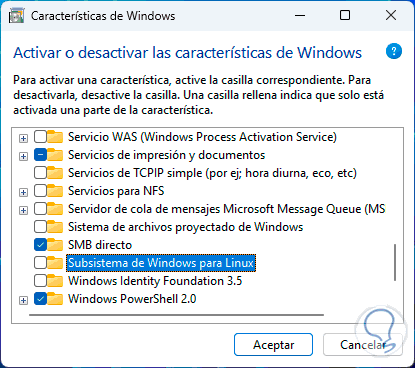
In the pop-up window we locate the line "Windows Subsystem for Linux":
Step 3
We activate the "Windows Subsystem for Linux" box:
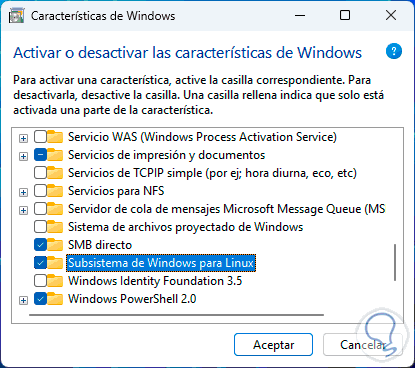
Note: It is advisable to have the "Virtual Machine Platform" box checked to avoid errors with the distribution.
Step 4
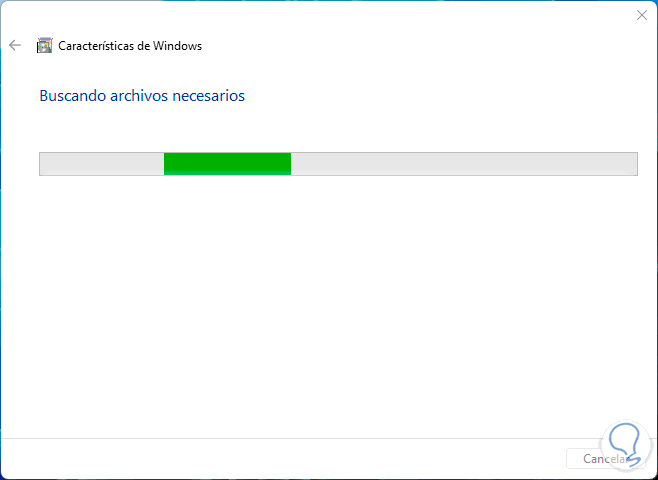
We click OK to start the search for the related files:
step 5
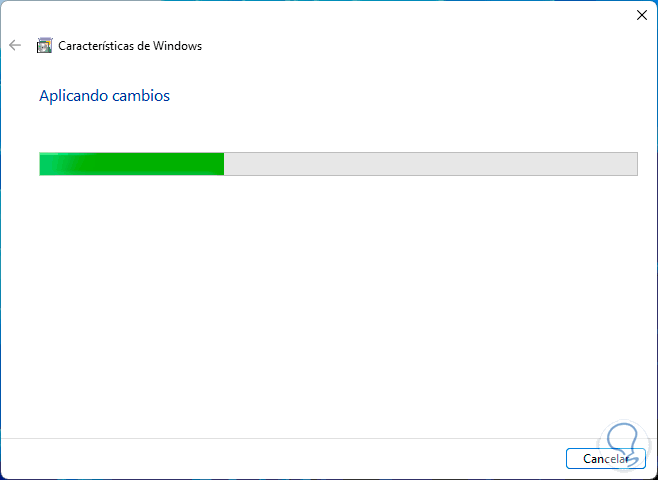
Now the changes will be applied:
step 6
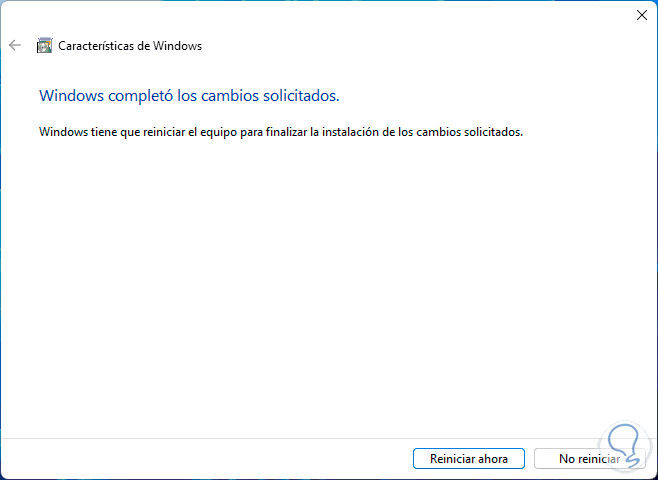
At the end we will see the following:
step 7
Restart Windows 11:

step 8
We will see that the updates are installed:

step 9
We wait for the WSL installation process:

step 10
Windows 11 will restart again:

step 11
We hope that the update installation process will be carried out in its final phase:

step 12
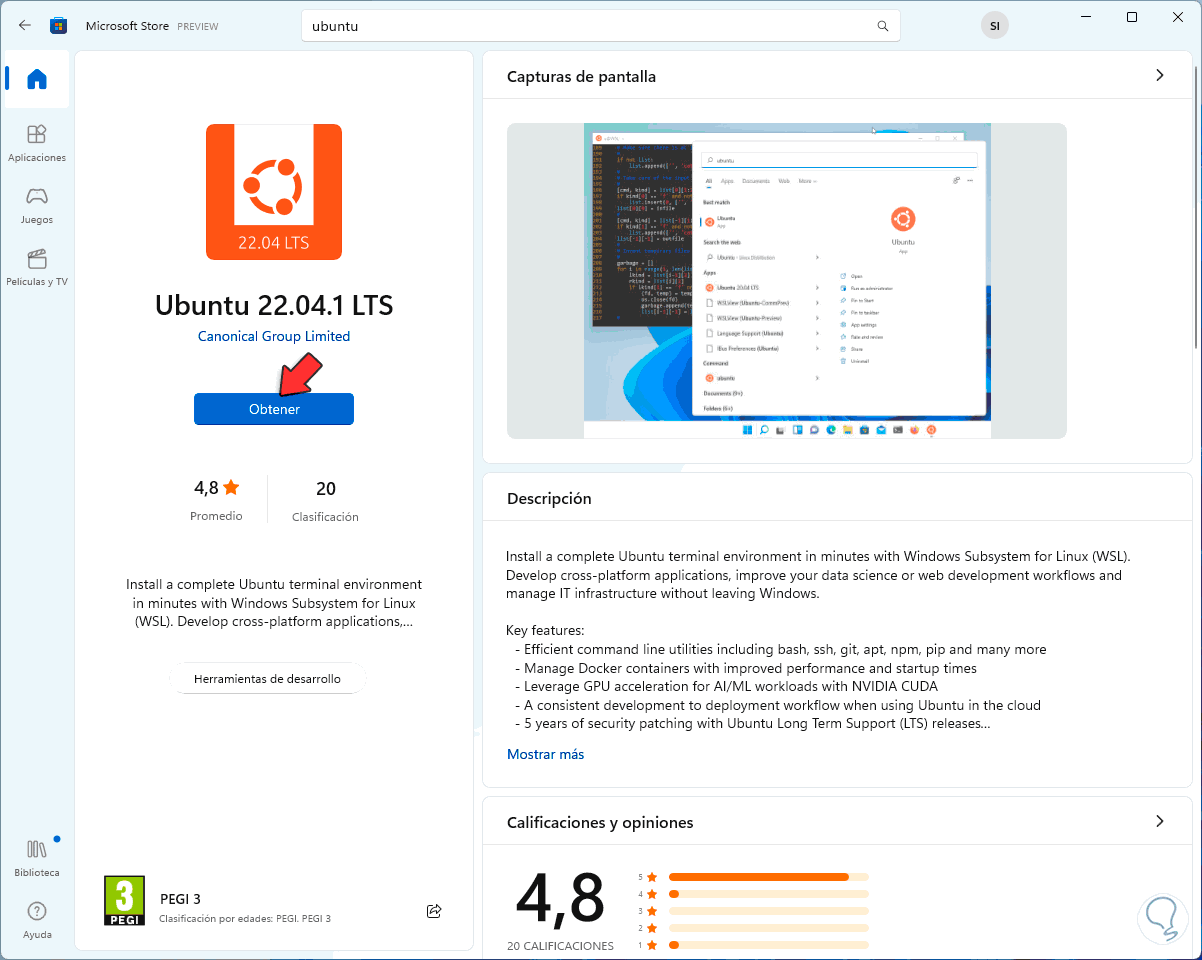
When logging in we open the Windows Store and look for Ubuntu:
step 13
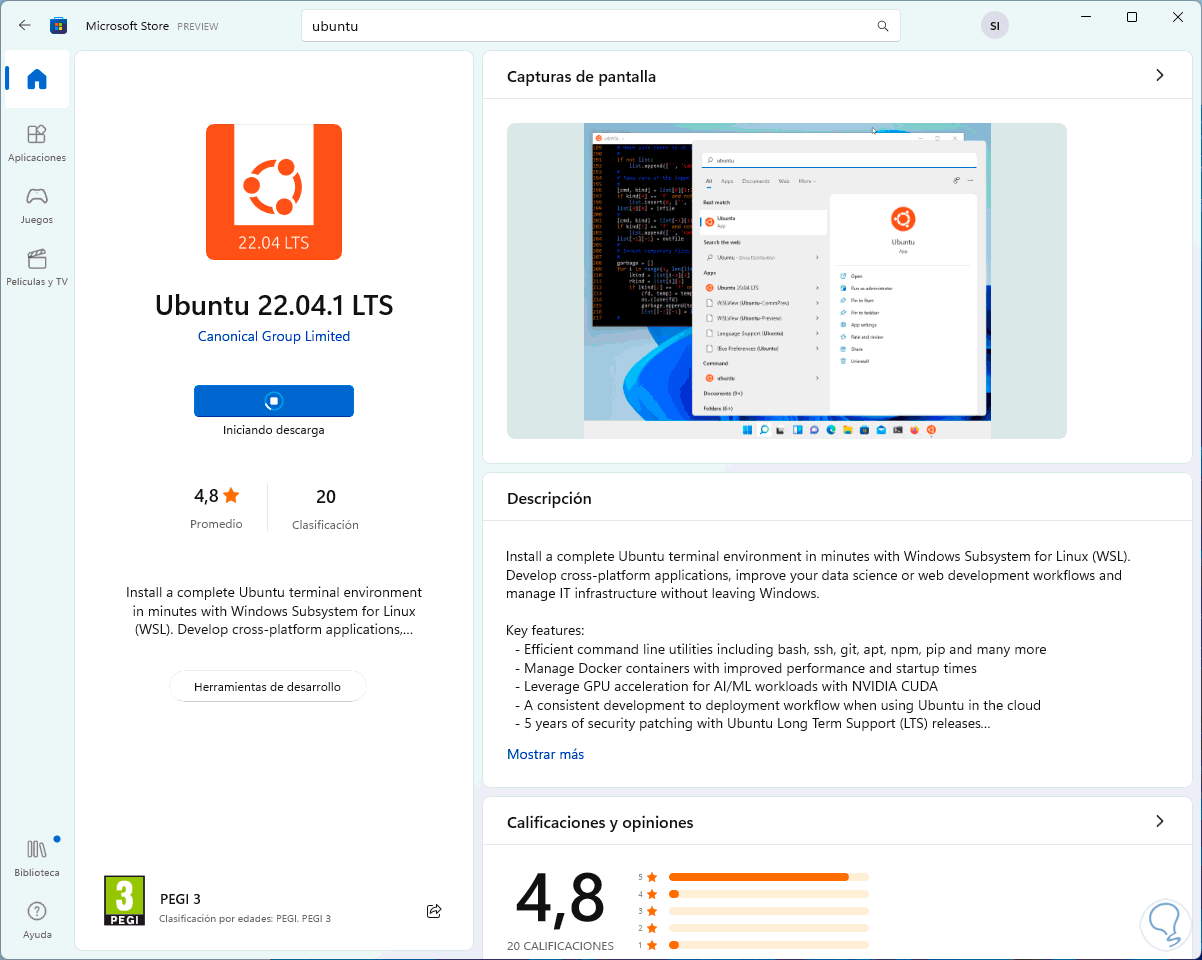
We select the desired version and click on "Obtain", the download process will take place:
step 14
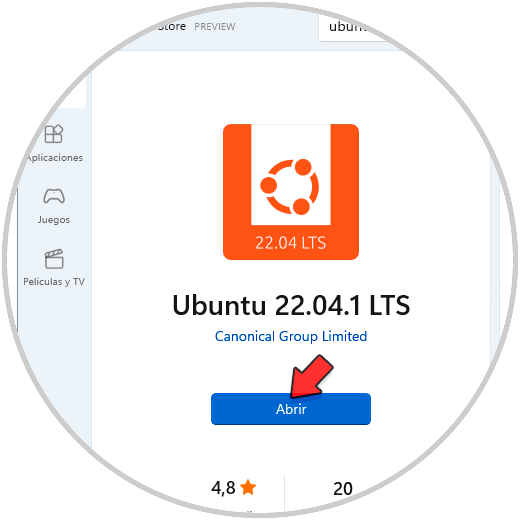
At the end we will see the following:
step 15
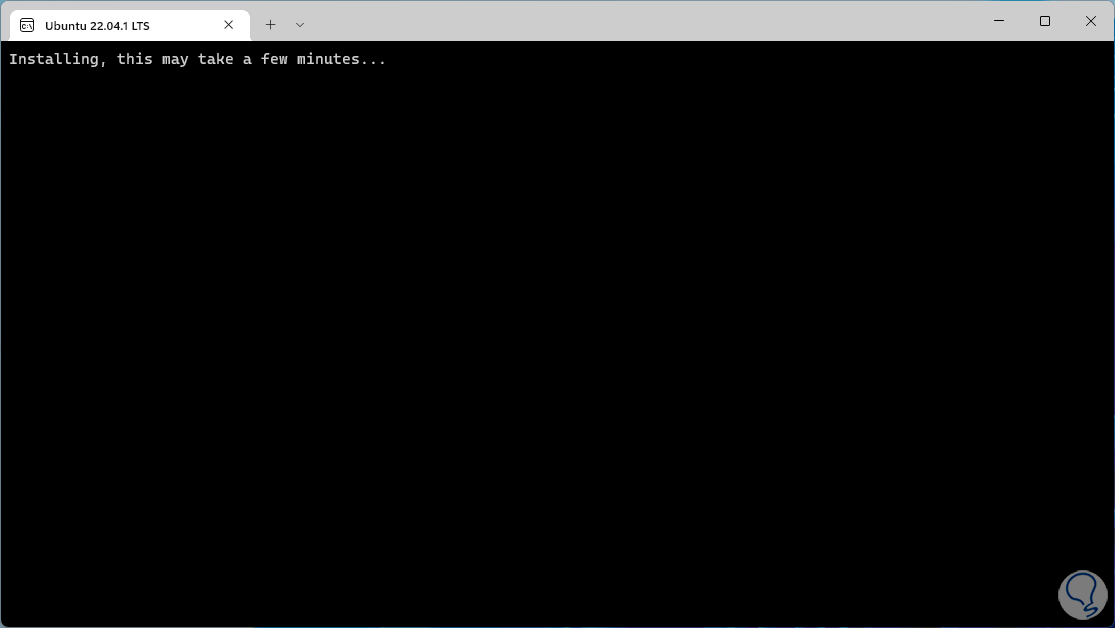
We click on "Open" and a new window will open, there we must wait for the installation of Ubuntu to be carried out:
step 16
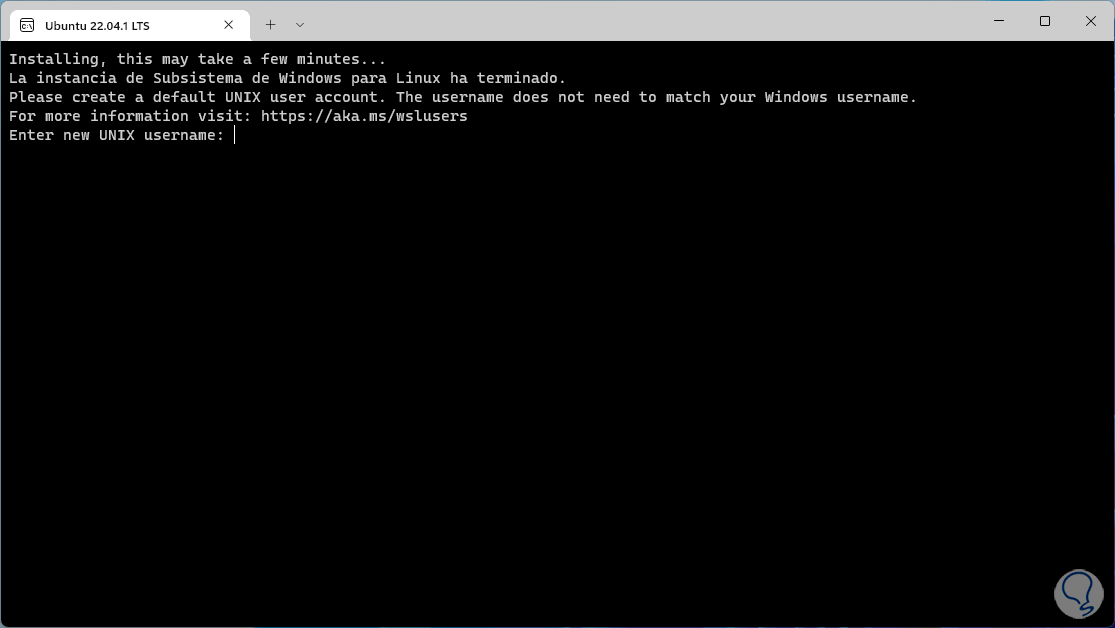
After a few minutes we will see the following:
step 17
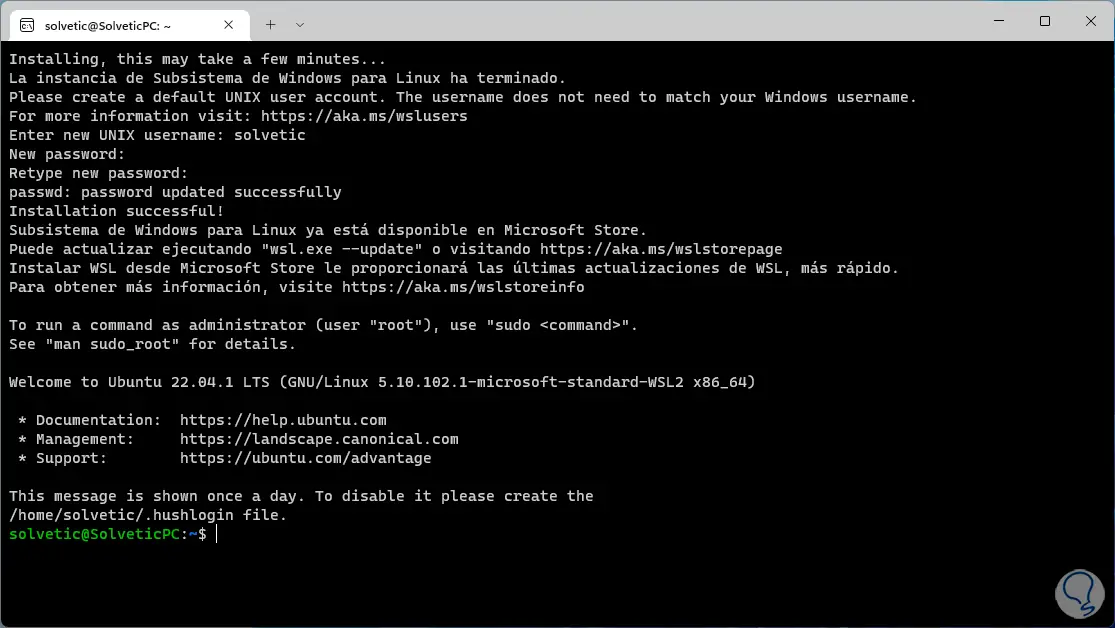
We enter the desired username and password for this user:
step 18
Ubuntu will have been installed in Windows 11, now it is possible to use commands of this system as if we were in the real distribution:
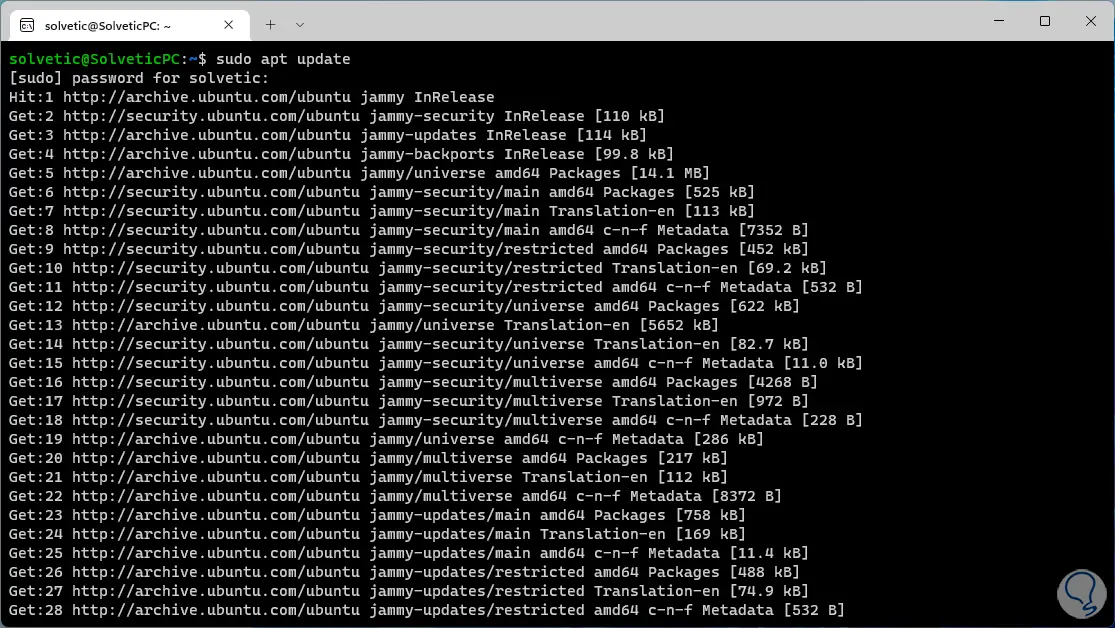
step 19
Now we can use some WSL commands to manage the feature, we open Terminal as administrator:
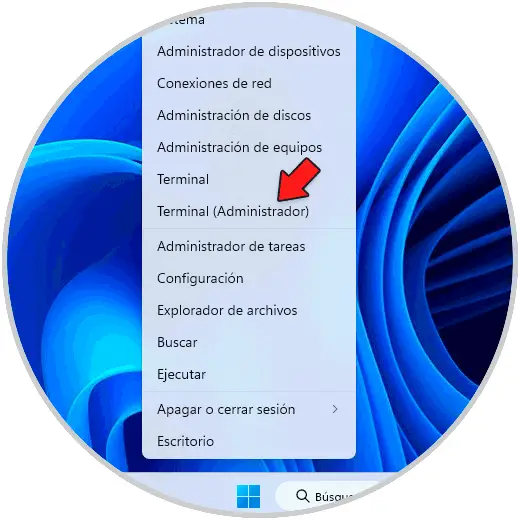
step 20
Validate the WSL state:
wsl-status
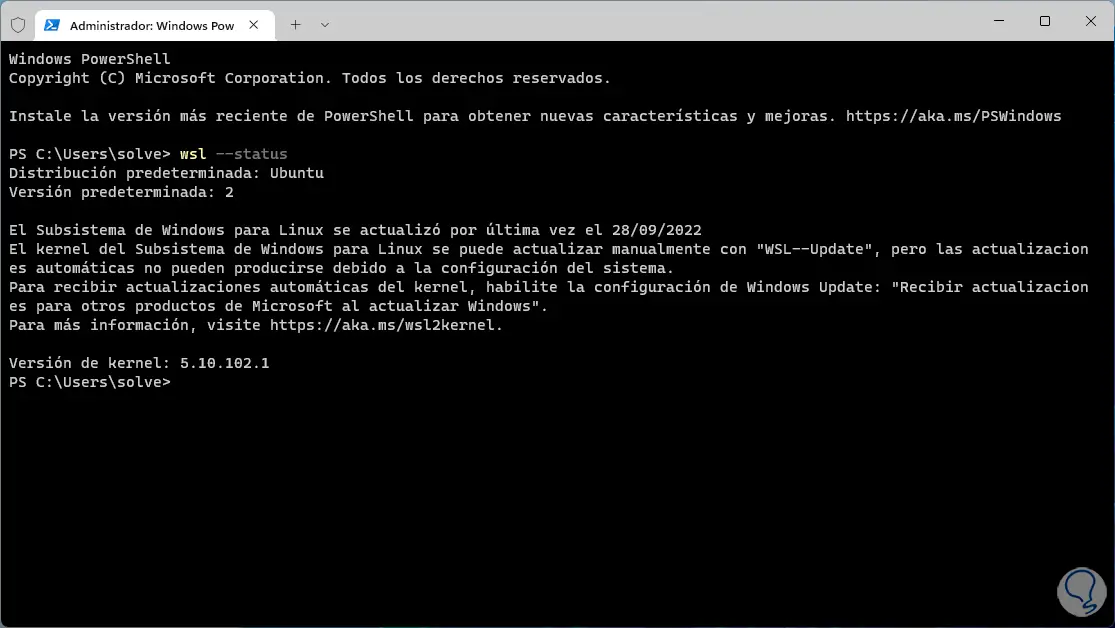
step 21
Confirm the distributions available to install:
wsl --list --online
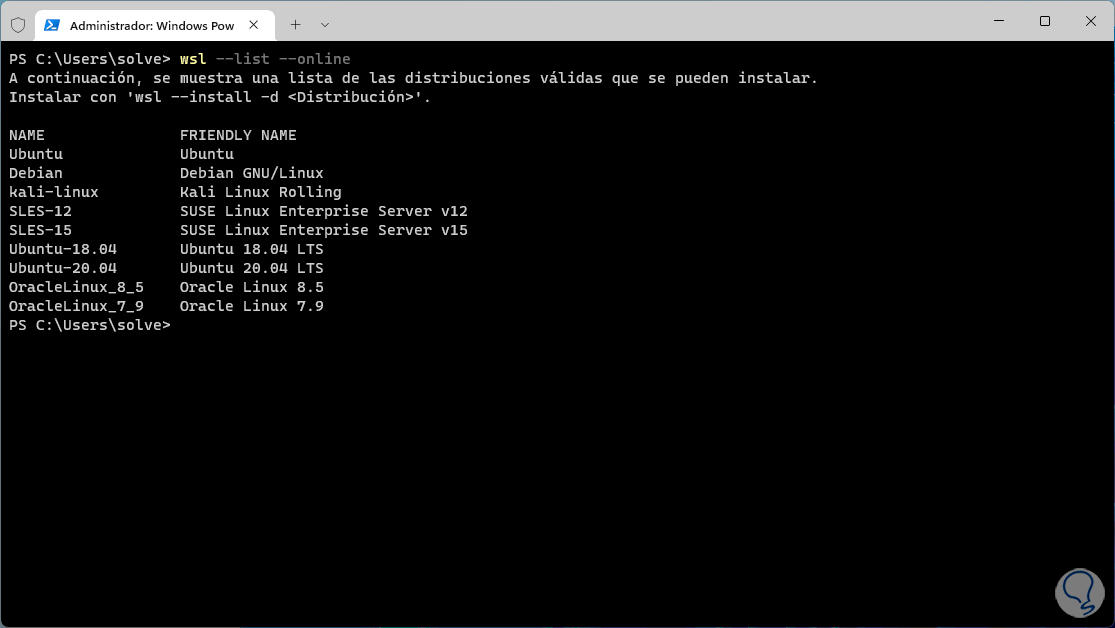
step 22
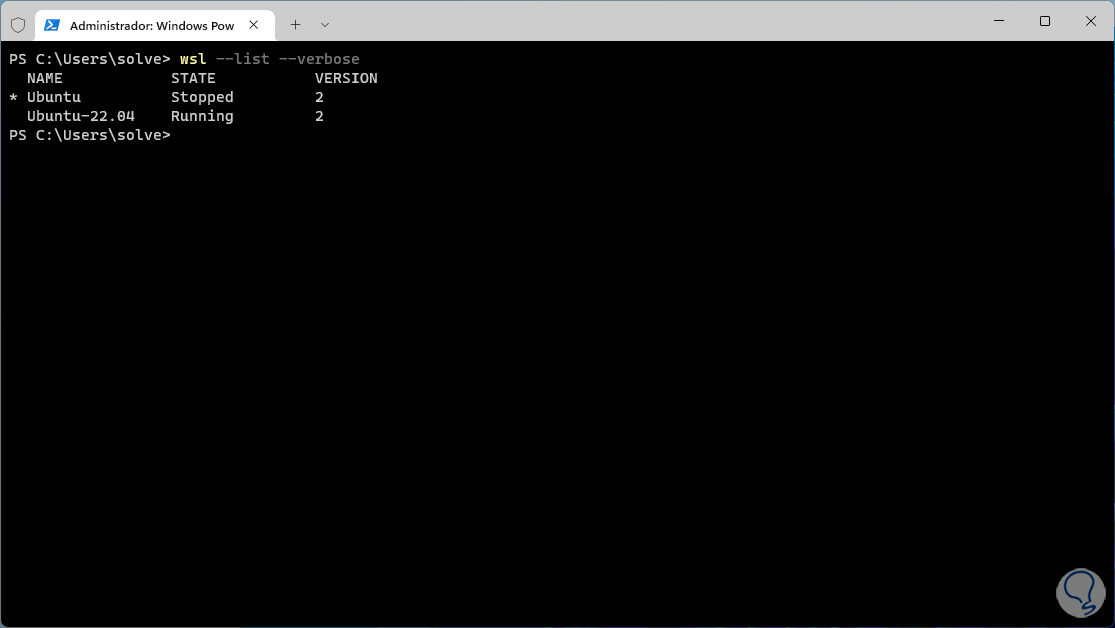
We validate the distributions installed in Windows 11:
wsl --list --verbose
It is possible to update WSL by running:
wsl-update
In this way WSL becomes an ally to use Linux distributions on Windows 11 using the same hardware resources.