One of the most striking features of Windows 11 (and already available in Windows 10) is being able to use Linux distributions in Windows making the most of the computer's resources and not having to implement a virtual machine or other similar tools, this is achieved thanks wsl..
WSL (Windows Subsystem for Linux – Windows Subsystem for Linux) has been developed with the aim of being able to run Linux systems on Windows taking advantage of the hardware and having full access to common Linux utilities, functions and tools such as:
Common Linux utilities, functions, and tools
- Make use of programming languages such as NodeJS, Javascript, Python, Ruby, C/C++ and more
- Invoke GNU/Linux applications on Windows
- Make use of Linux graphical applications on Windows 11 / 10 desktop
- Run and manage services like SSHD, MySQL, Apache, lighttpd, MongoDB and more
- Make use of tools like nano, vim, emacs, tmux and more
- Ability to use Bash shell scripts and command line applications
In its initial phase WSL 1 was implemented but now we have improvements with WSL 2, WSL 2 is the new version of the Windows Subsystem architecture for Linux and one of its biggest advantages is that it now gives the Windows Subsystem the ability to Linux than running Linux ELF64 binaries on Windows, ELF64 basically allows you to improve file system performance and provide full system call support.
Let us take into account that the available Linux distributions can be used with the WSL 1 or WSL 2 architecture as we wish and it is possible to update or downgrade the distribution when we consider it necessary, taking into account that WSL 2 makes use of a completely new architecture taking advantage of the advantages of running a real Linux kernel and this positively impacts system performance..
Advantages of WSL 2 that WSL 1 does not offer
Some of the advantages of WSL 2 that WSL 1 does not offer are:
- Centrally managed virtual machine
- Improved function for VMware and VirtualBox versions
- Increased file I/O performance
TechnoWikis will explain in detail how to install WSL 2 on Windows.
To stay up to date, remember to subscribe to our YouTube channel!
SUBSCRIBE ON YOUTUBE
1 How to install WSL 2 on Windows
Step 1
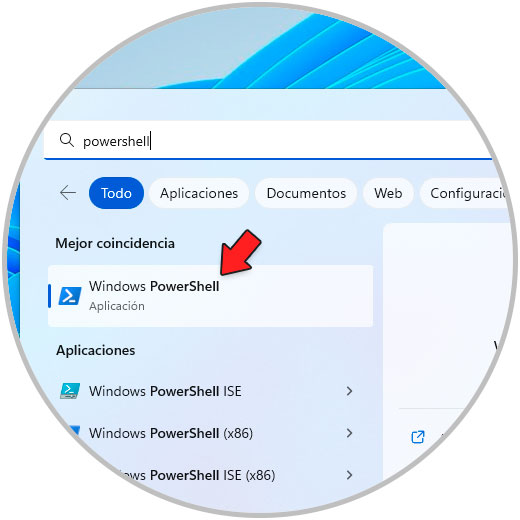
For this case we will use Windows 11 but the process is similar in Windows 10, we open PowerShell as administrator:
Step 2
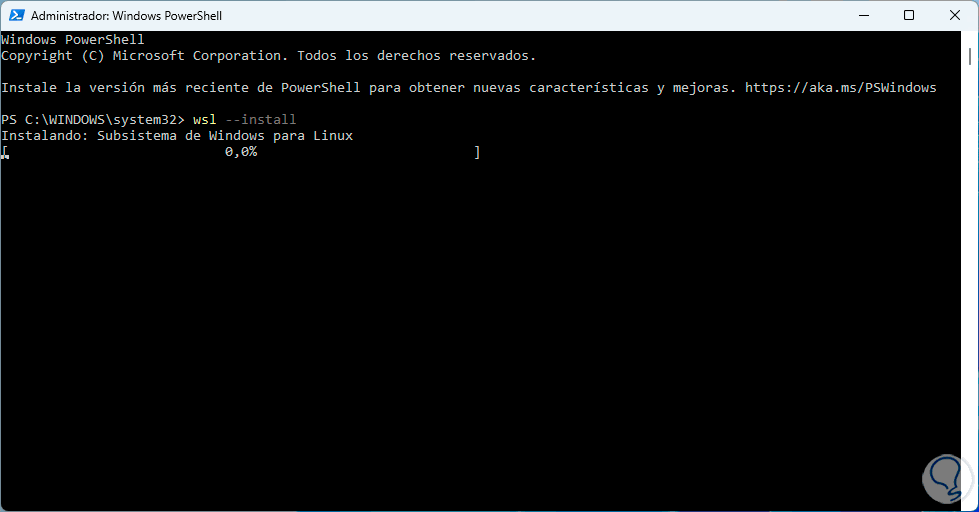
We install WSL:
wsl-install
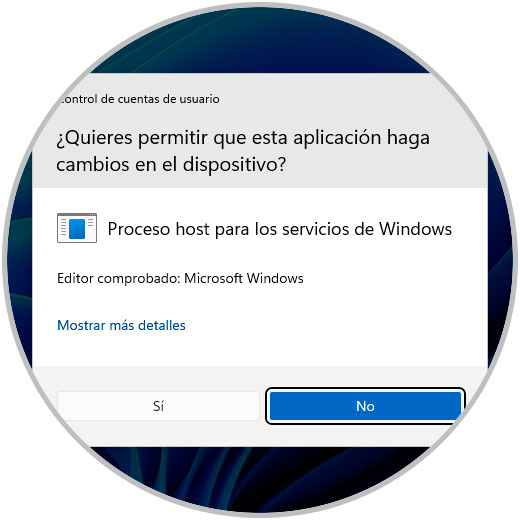
By executing this command we must accept the UAC terms:
Step 3
We confirm the process and wait for it to finish:
Step 4
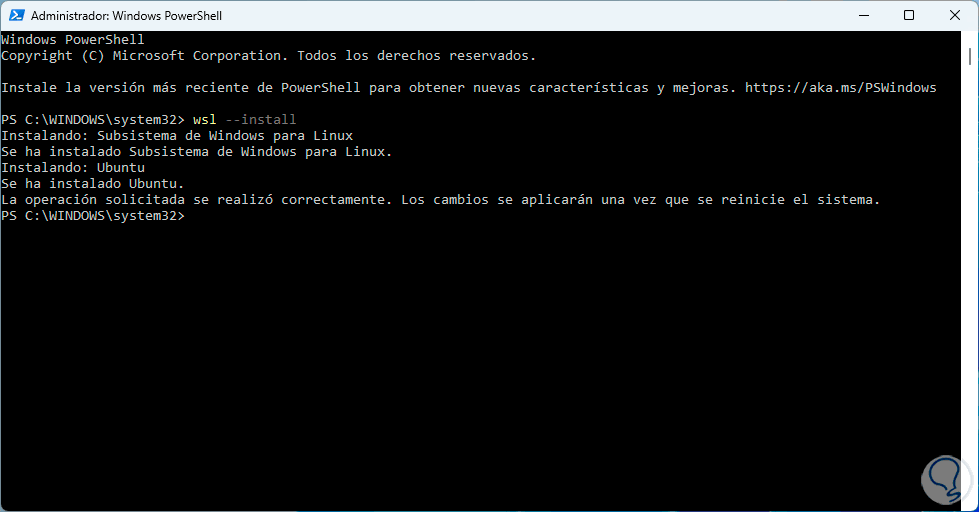
When finished, Ubuntu will automatically be installed:
step 5
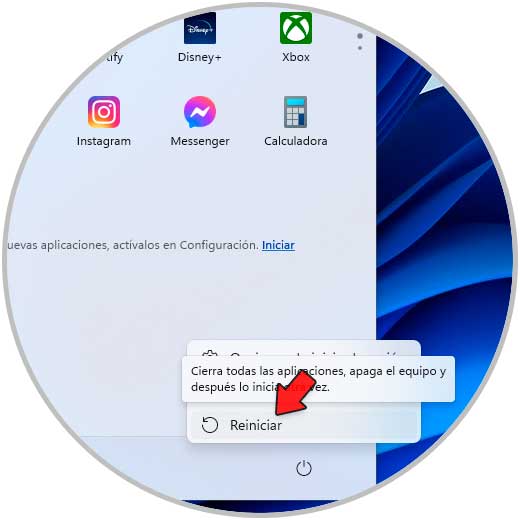
We restart Windows to complete this process:
step 6
Windows will be restarted:

step 7
We start session:

step 8
Logging in will continue with the installation of Ubuntu:
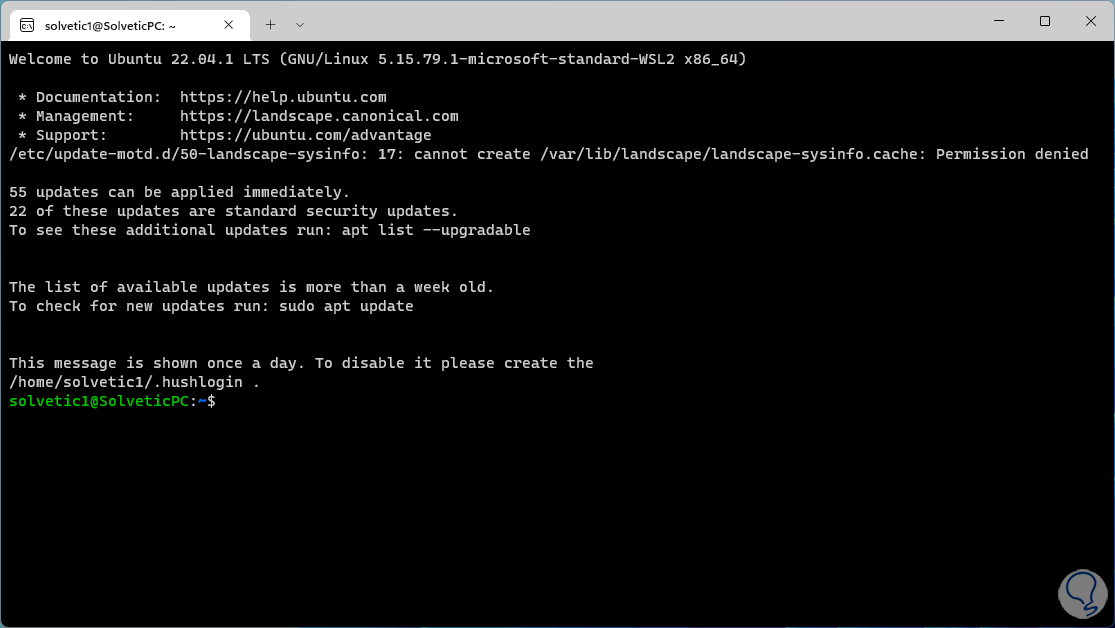
WSL will enable all the system functions that are necessary for optimal operation and if you do not want Ubuntu to be installed automatically, you must add the --no-distribution parameter..
step 9
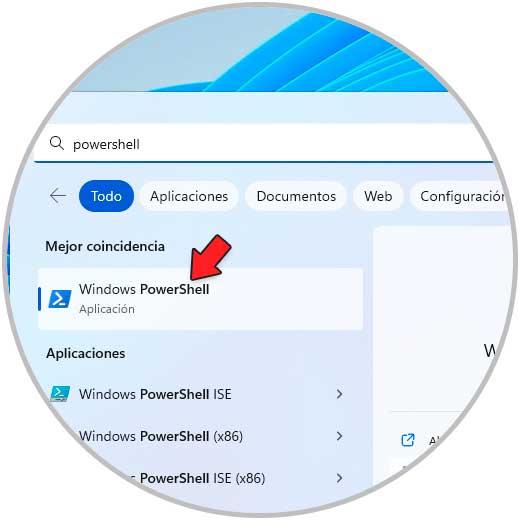
We open PowerShell as administrator again:
step 10
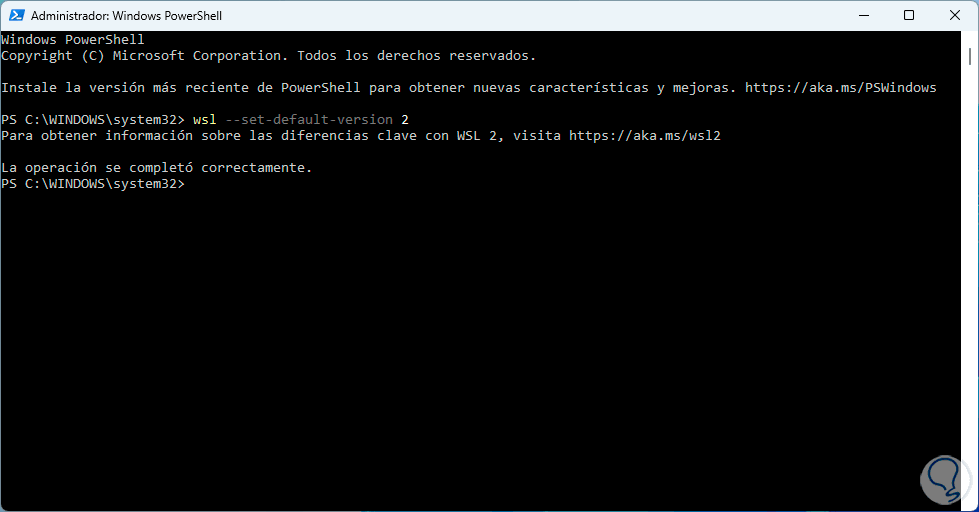
We set WSL 2 as the default version for the distributions to use:
wsl --set-default-version 2
step 11
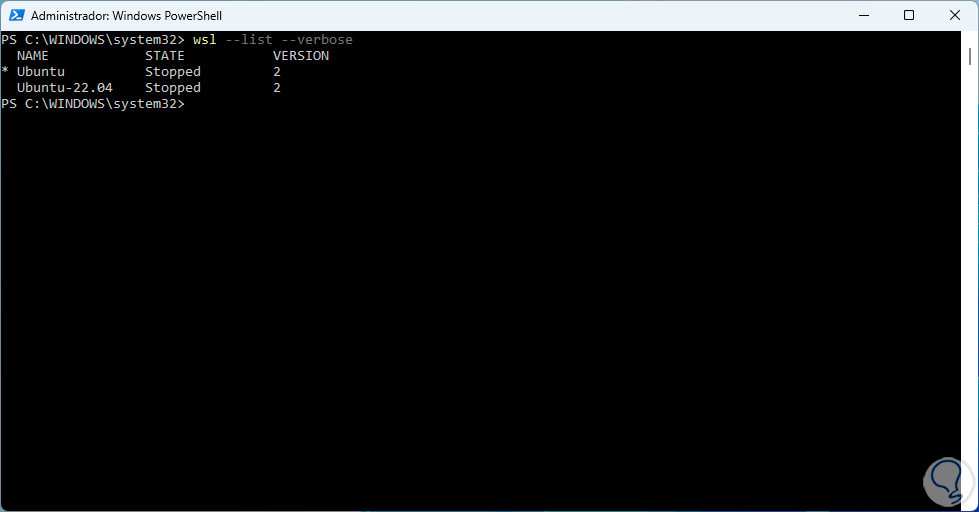
We list the Linux distributions installed on Windows:
wsl --list --verbose
step 12
Ali we found details such as:
- Name of the distribution used
In case you want to have WSL 1 as well, along with WSL 2, we are going to enable the Windows Subsystem for Linux component with the following command:
dism.exe /online /enable-feature /featurename:Microsoft-Windows-Subsystem-Linux /all /norestart
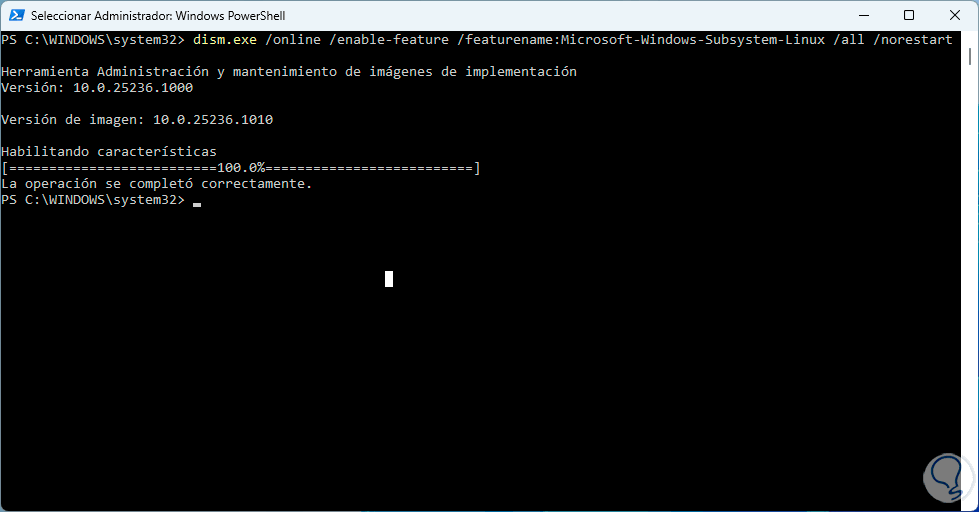
Now we have both versions of WSL and if we want to update from WSL 1 to WSL 2 we execute the following:
wsl --set-version “distribution” 2
step 13
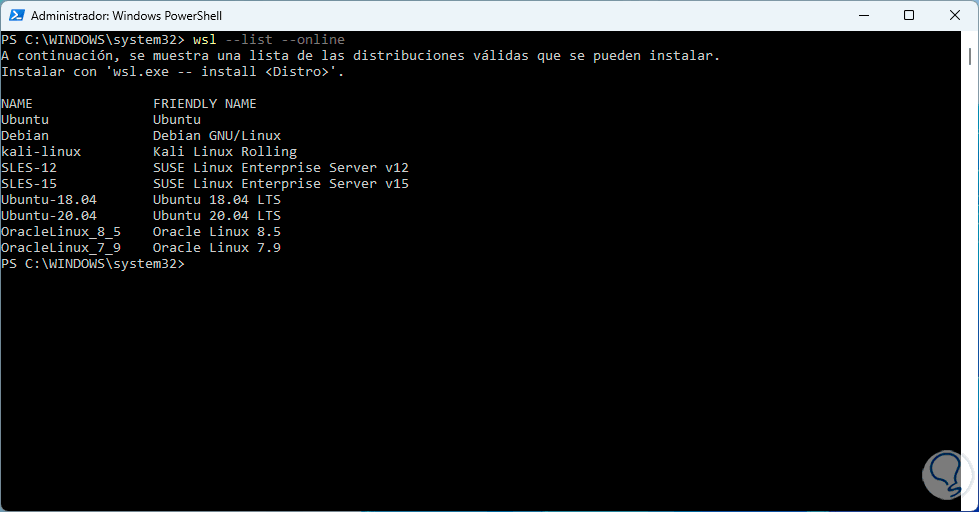
We validate the distributions available to install from WSL:
wsl --list --online
step 14
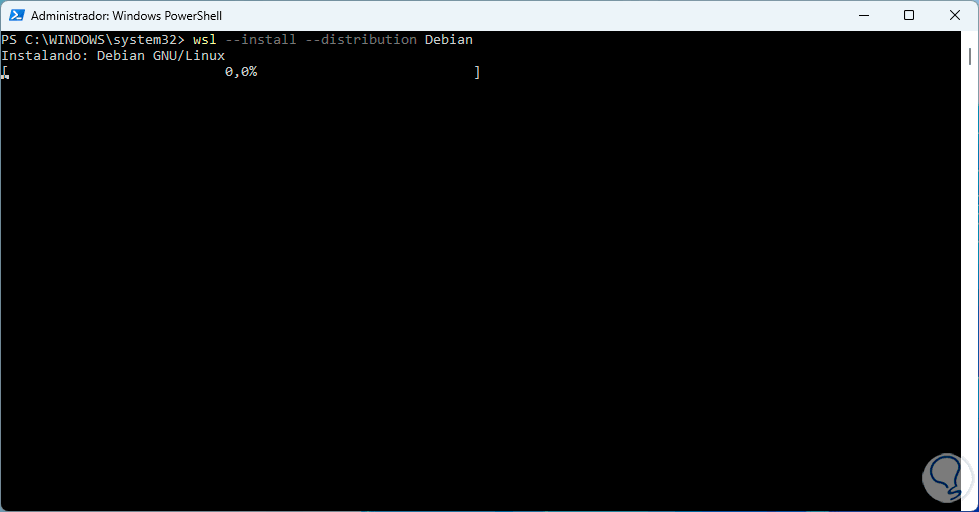
We install the distribution with one of the following options:
wsl --install --distribution "name" wsl --install "distribution"
step 15
Wait for the process to finish:
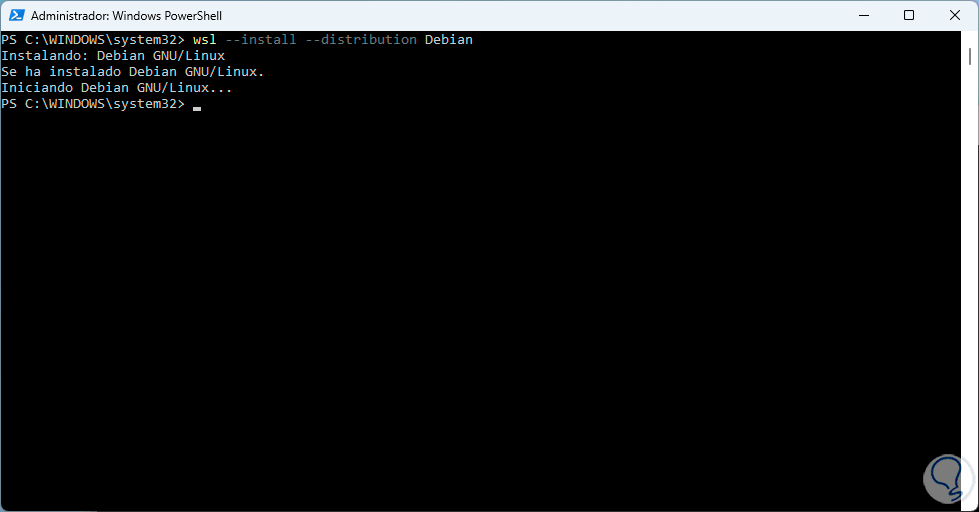
step 16
When finished, a new window will open with the configuration of the selected distribution:
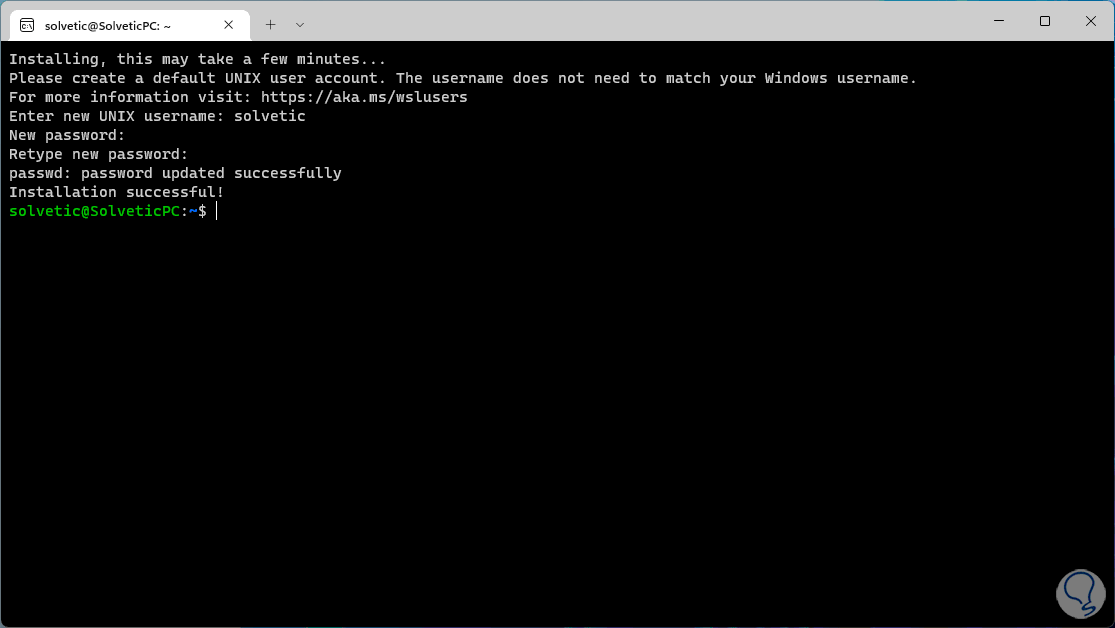
There we enter the username and password to use.
step 17
We list again the Linux distributions installed on Windows:
wsl --list --verbose
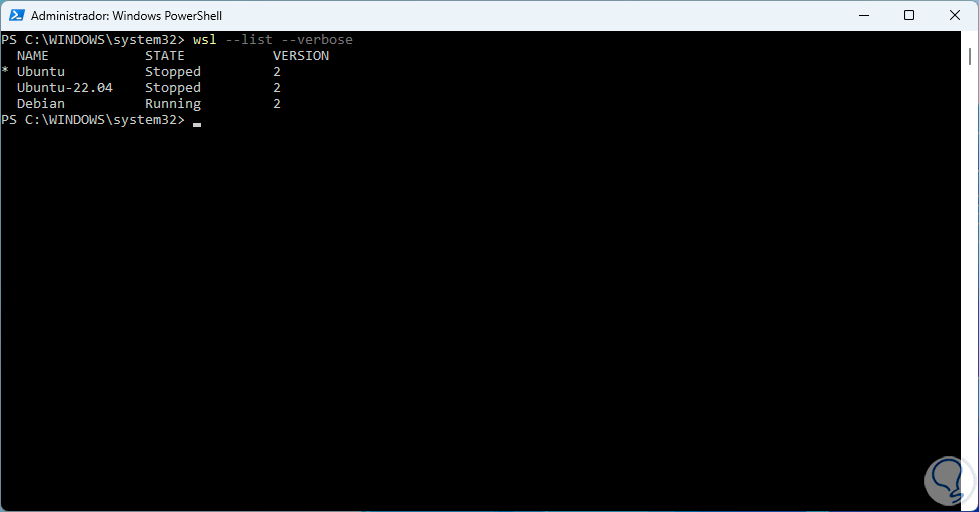
We can see that by default it will be used with WSL 2.
step 18
We access the distribution from PowerShell with the command:
wsl -d “name”
There it is possible to run normal Linux commands:
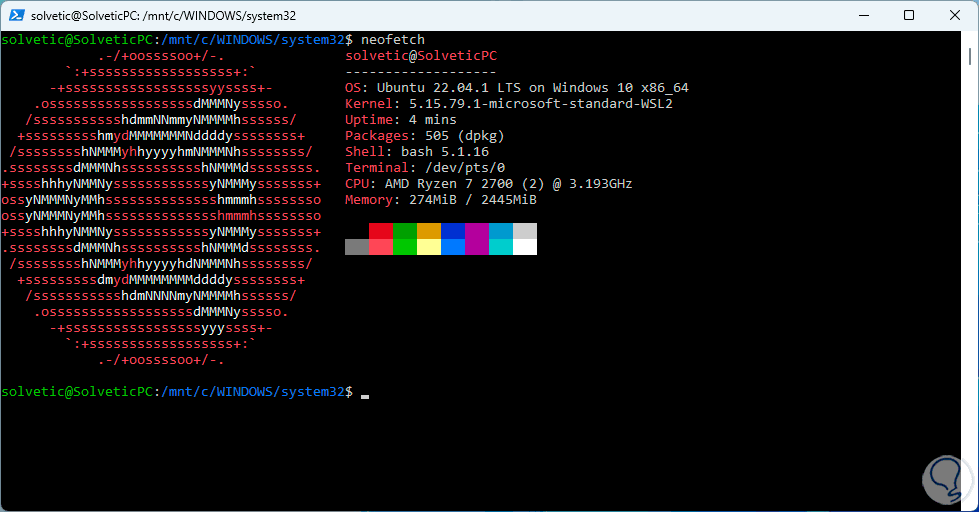
Using the “exit” command we return to the PowerShell console.
step 19
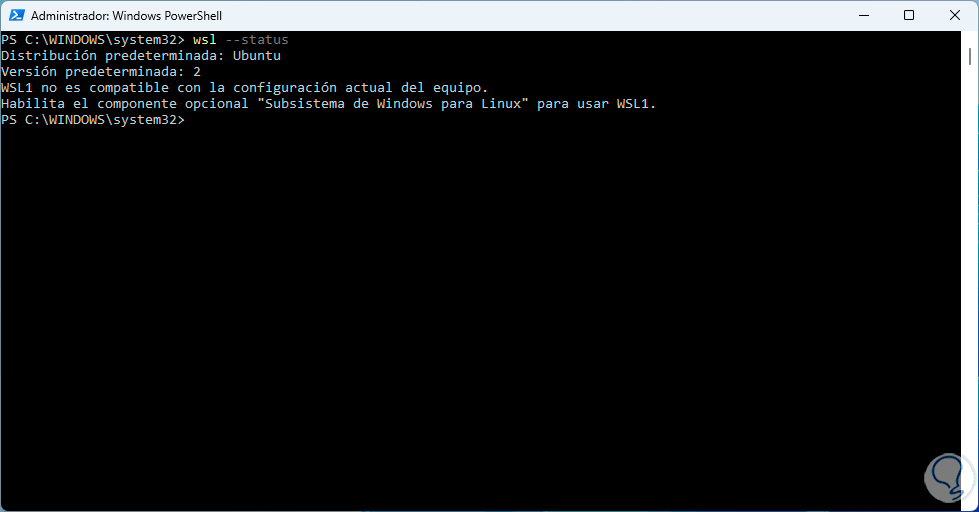
Check the WSL status:
wsl-status
step 20
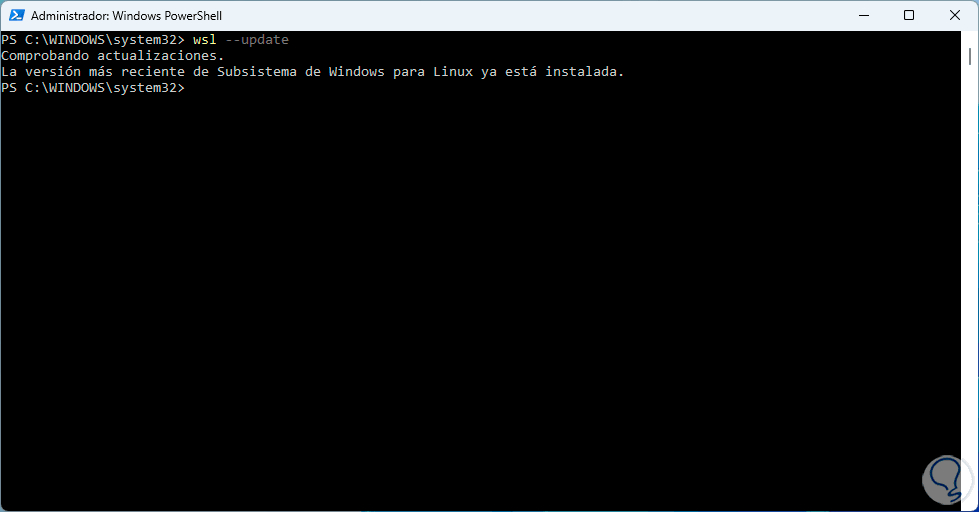
We update WSL:
wsl-update
step 21
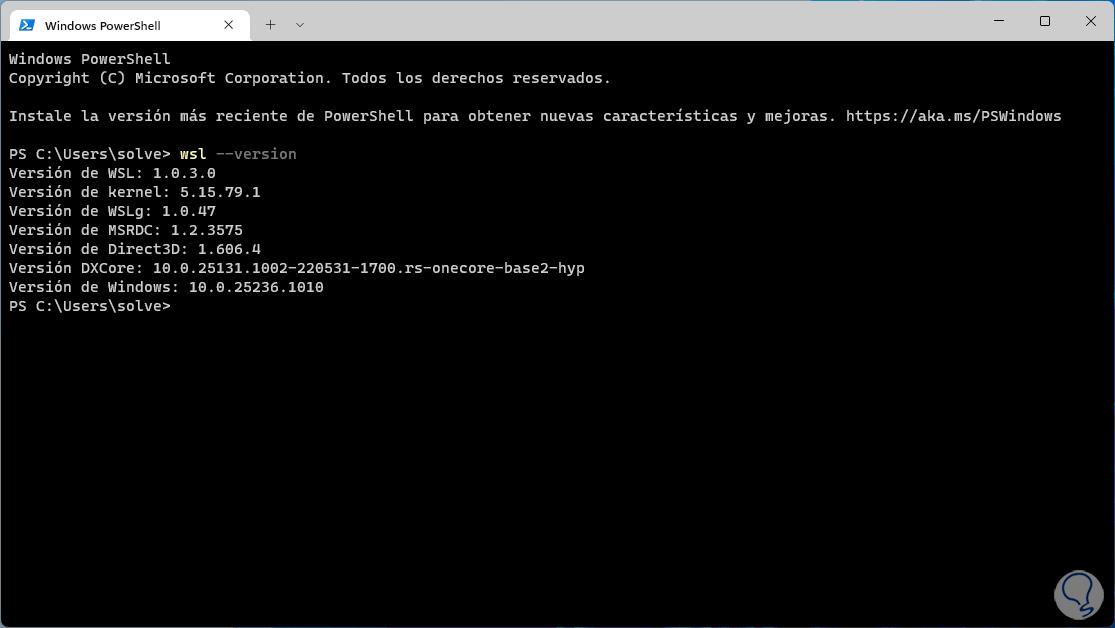
To see the global version of WSL we execute:
wsl –version
extra parameters
Some extra parameters to use with WSL are:
- --cd <Directory>: set the indicated directory as the current working directory
- --distribution, -d (distro): run the given distribution
- --user, -u (user): run as the given user
- --system: launches a shell for the open system distribution
- --no-launch, -n: Don't open the distribution after it's installed
- --web-download: download the distribution from the web but not from the Microsoft Store
- --pre-release: Allows you to download a pre-release if available
- --mount <disk> – Attach and mount a physical or virtual disk on all available WSL 2 distributions
- --shutdown: Terminates all running WSL 2 distributions by shutting them down
- --status: show the status of WSL
We see how WSL is an ally to use Linux distros on Windows, taking advantage of all available resources.