To stay up to date, remember to subscribe to our YouTube channel!
SUBSCRIBE ON YOUTUBE
In a world where support and access to the cloud is mentioned more and more every day, it is essential that as users we are aware of the new options we have for everything related to the cloud, but we are not just talking about applications like Google Drive or OneDrive, but much more robust, secure utilities with much superior features, one of these is OwnCloud..
OwnCloud has been developed as an open source platform in which we find file storage and synchronization services in the cloud. Its advantage is that it offers us the option of installing and managing it from our own server or on a compatible infrastructure.
It will be possible to install it completely free in Linux environments and the client software can be installed on Windows, macOS or Linux systems and also has mobile applications for Android and iOS..
Characteristics
Within the features of OwnCloud we find:
- Cloud storage that allows you to host files, photos and more data on a server and access them from anywhere in the world using a web interface or the available desktop and mobile applications.
- OwnCloud is responsible for preserving a history of file versions, this allows us to revert to previous versions if we need it.
- It offers the possibility of sharing files and folders with other users.
- OwnCloud automatically synchronizes files between devices connected to our account to always be updated with them.
- OwnCloud can be integrated with other services and tools to increase its capabilities.
- Improved security and data control.
TechnoWikis will explain how to install OwnCloud on Windows taking into account the following, starting with version 8 of OwnCloud no more support was offered for Windows, that is, it is not possible to install it, but to be able to enjoy OwnCloud we will use WSL.
WSL (Windows Subsystem Linux - Windows Subsystem), is a feature integrated into Windows 10/11 with which it is possible to run a GNU/Linux environment with a high percentage of its known functions, this includes the command line, utilities and applications but without modifying internal system components or using the well-known virtual machines..
Features
With WSL we find functions and features such as:
- Supports NodeJS, JavaScript, Python, Ruby, C/C++, C# & F#, Rust, Go and more programming languages.
- We can install the distributions directly from the Windows Store.
- We can invoke GNU/Linux applications on Windows.
- It will be possible to use services such as SSHD, MySQL, Apache, MongoDB, PostgreSQL and many more.
Now, for this example, we will be using WSL2, with this version, it is now possible for WSL to be able to run Linux ELF64 binaries on our Windows system. Without further ado, let's see how to install OwnCloud on Windows.
How to install OwnCloud on Windows
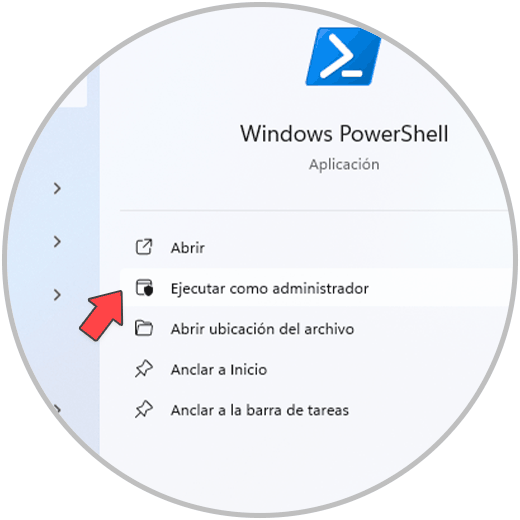
Step 1
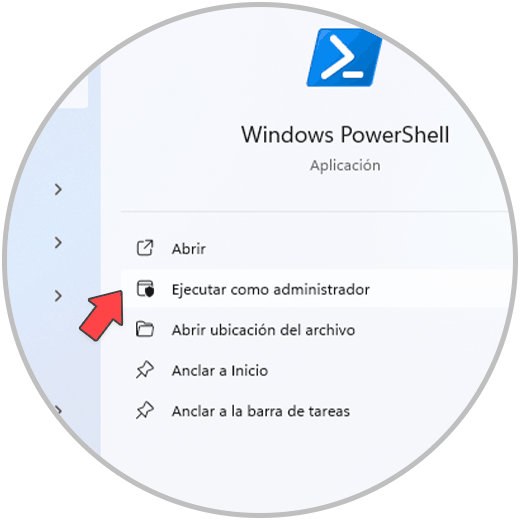
To start, let's open PowerShell as administrators:
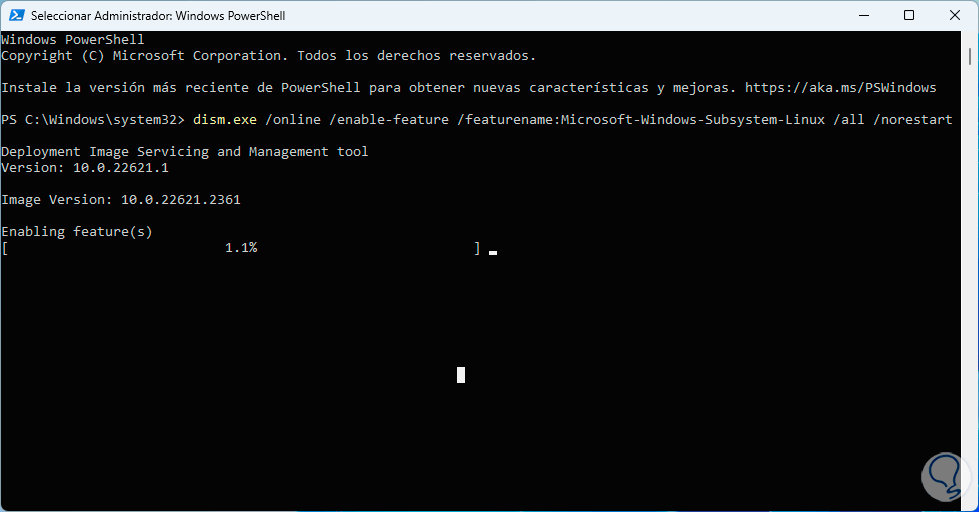
Step 2
In the terminal, we are going to enable the WSL feature, to do this, we execute the following:
dism.exe /online /enable-feature /featurename:Microsoft-Windows-Subsystem-Linux /all /norestart
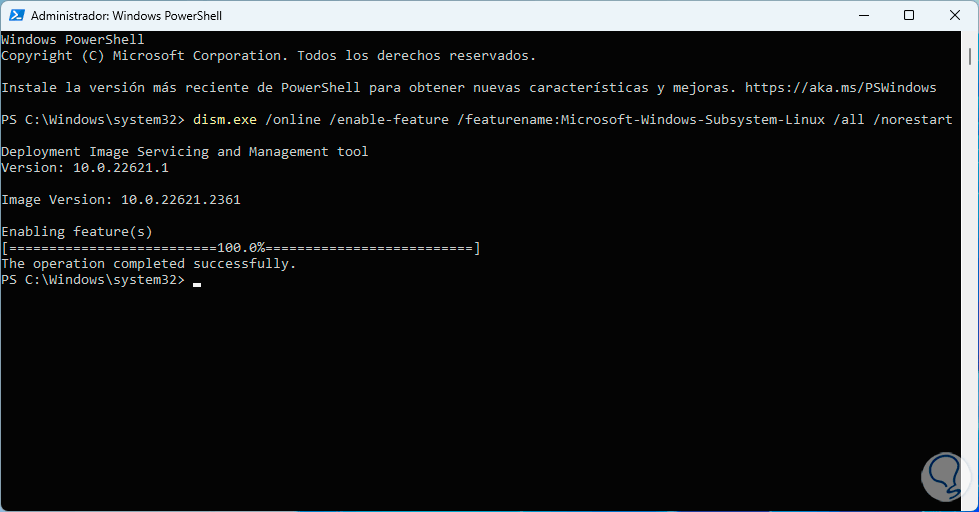
Step 3
We hope that this process reaches its end:
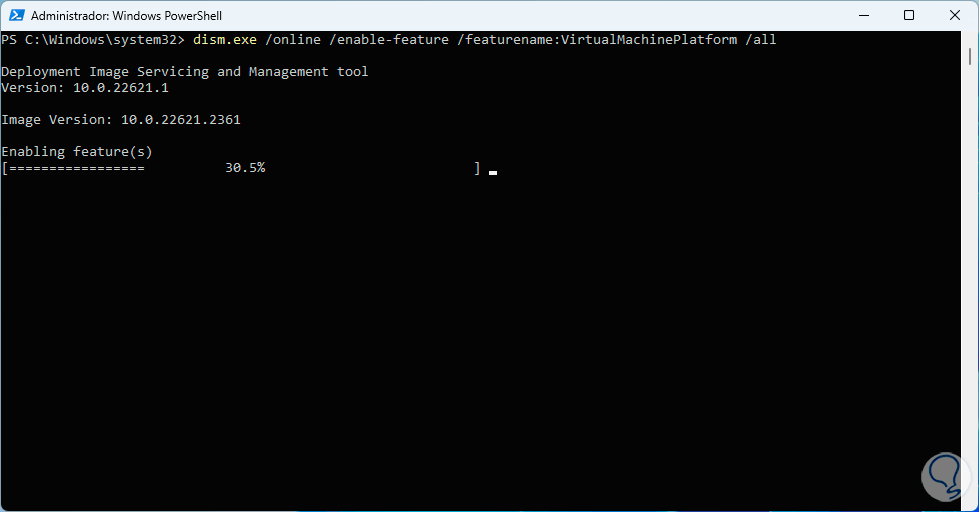
Step 4
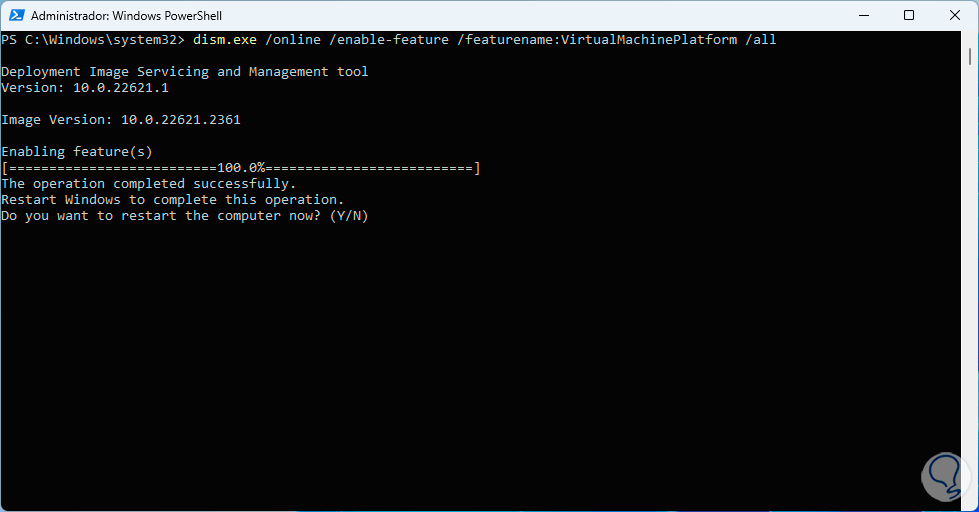
After this, we are going to enable the platform for the virtual machine, we execute the following command:
dism.exe /online /enable-feature /featurename:VirtualMachinePlatform /all
Step 5
We hope this process ends:
Step 6
In this case, we enter the letter Y so that the system is restarted. When we log in, we again access as administrators in PowerShell:
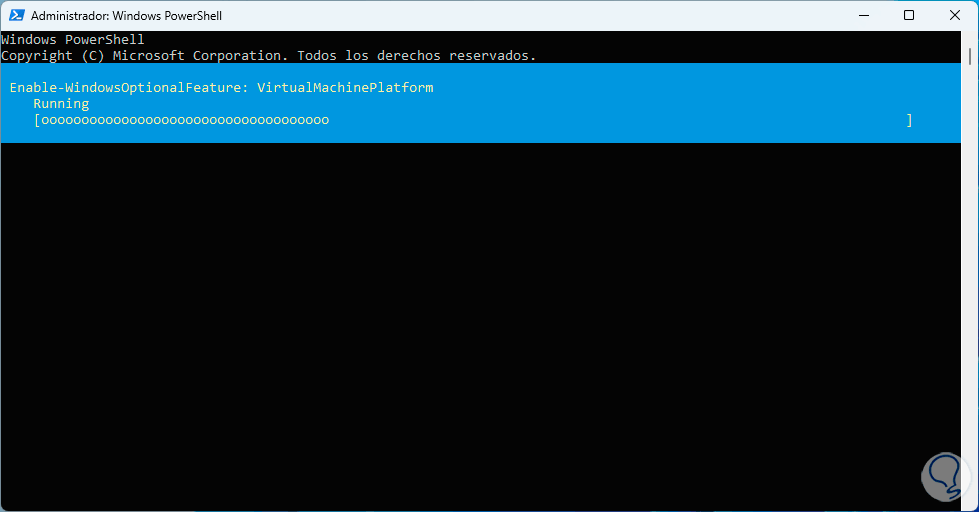
Step 7
Now, let's enable the virtualization platform:
Enable-WindowsOptionalFeature -Online -FeatureName VirtualMachinePlatform
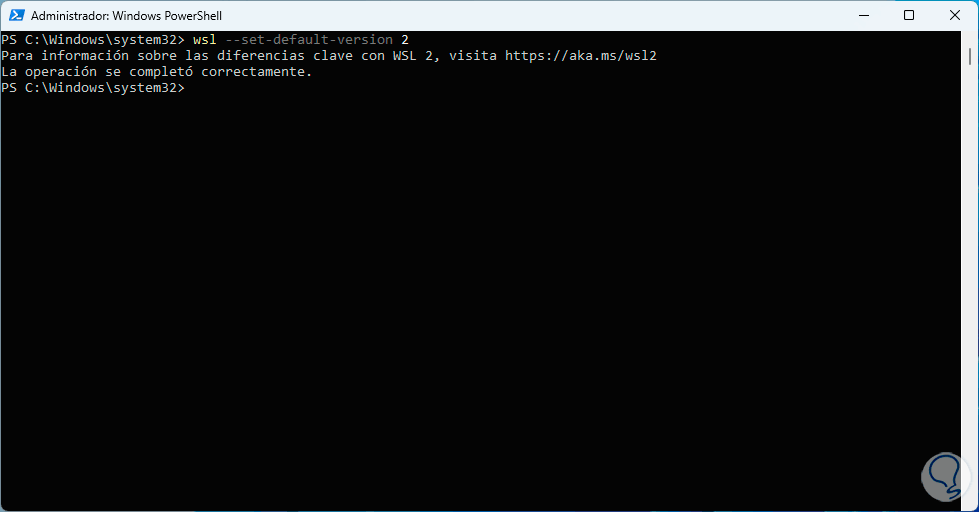
Step 8
We hope it is installed. After this, we set WSL2 as the version to use:
wsl --set-default-version 2
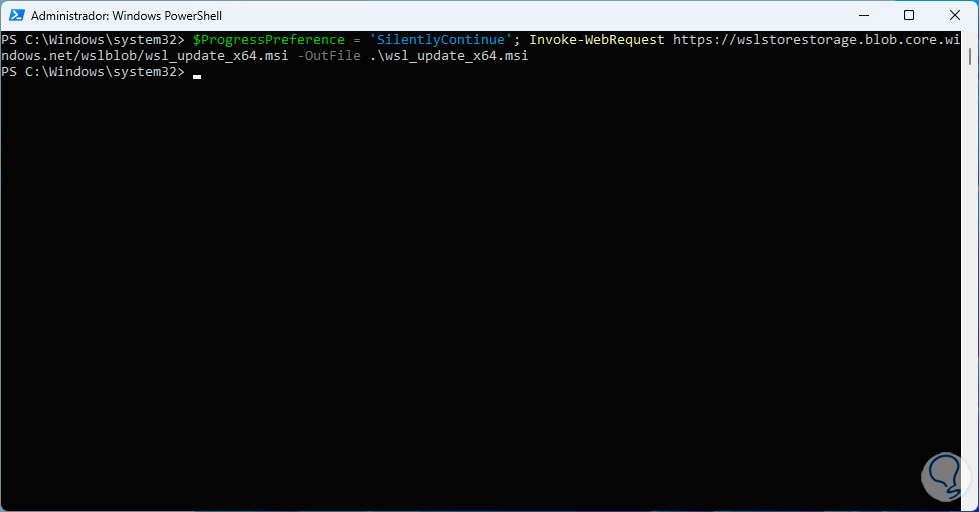
Step 9
Next, let's download the kernel update with the following command:
$ProgressPreference = 'SilentlyContinue'; Invoke-WebRequest https://wslstorestorage.blob.core.windows.net/wslblob/wsl_update_x64.msi -OutFile .\wsl_update_x64.msi
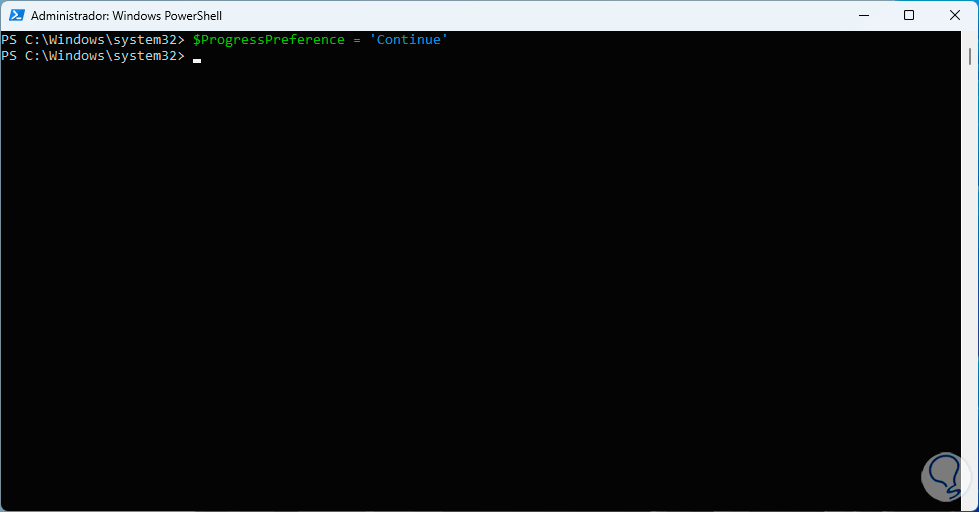
Step 10
Let's reset the preferences:
$ProgressPreference = 'Continue'
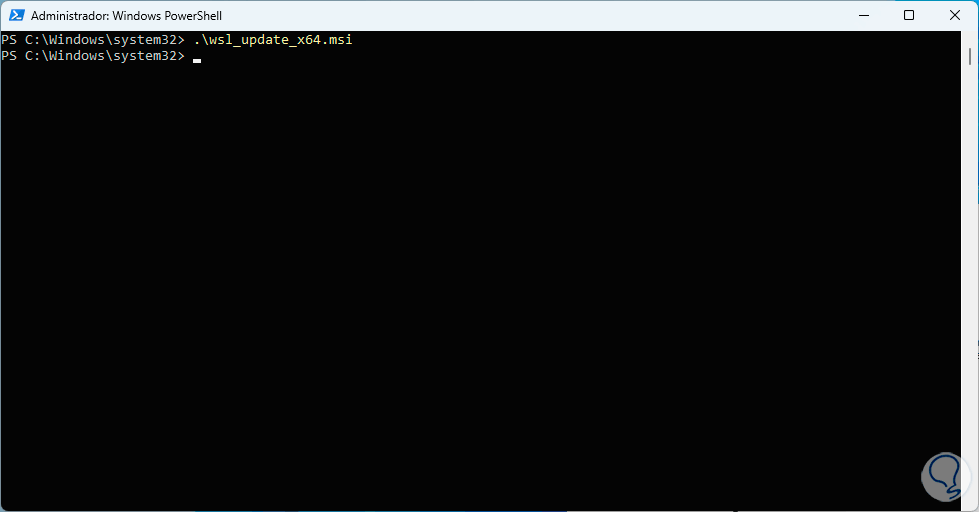
Step 11
Finally, we install this update:
.\wsl_update_x64.msi
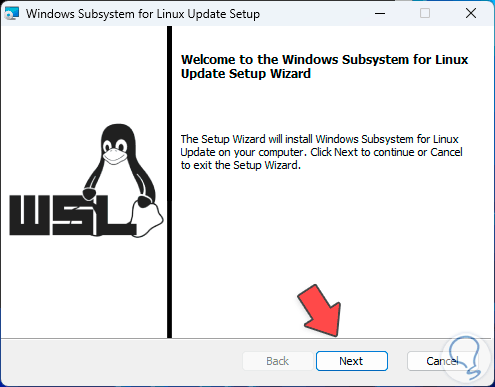
Step 12
We will see that the installer opens:
Step 13
We click on “Next” and this update will be installed:
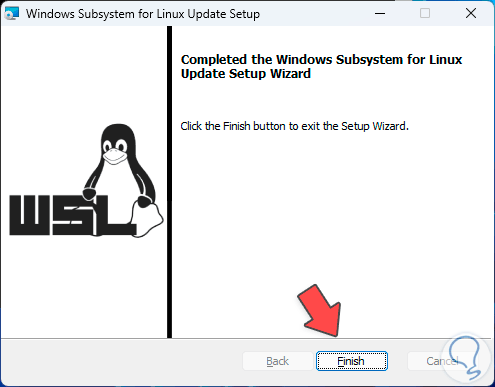
Step 14
After this, we open the Windows Store, search for Ubuntu:
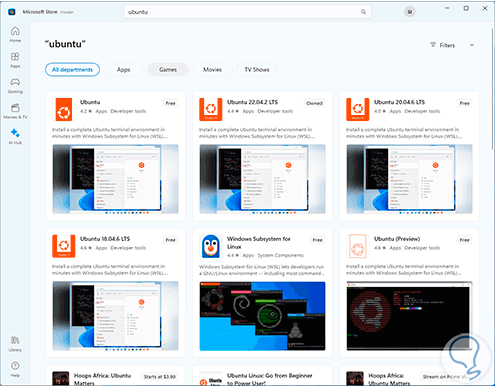
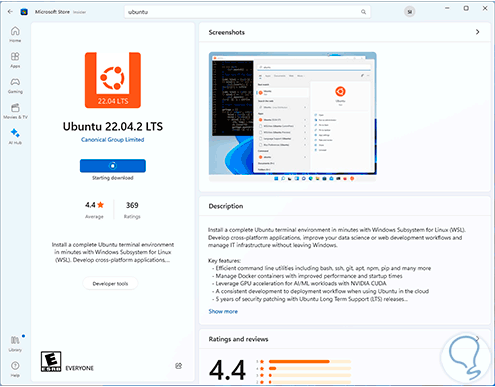
Step 15
We click on Ubuntu 22.04 to access this distribution:

Step 16
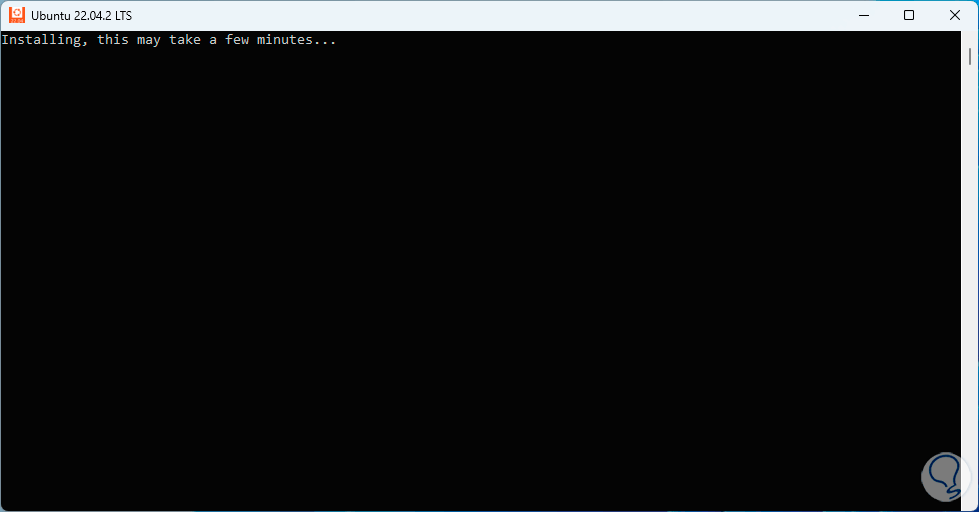
We click on “Install” and wait for the download and installation process to start:
Step 17
At the end we will see the following:
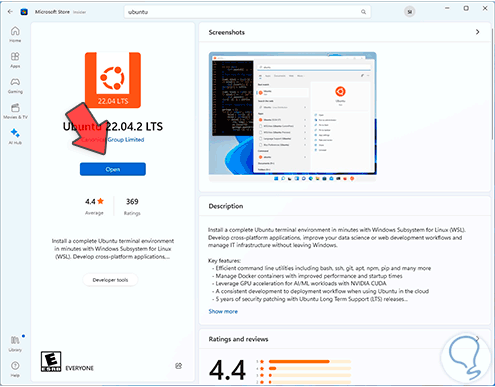
We click on Open and the distribution window will be launched:
Step 18
If this is the first time using WSL, we must assign a username and password:

Step 19
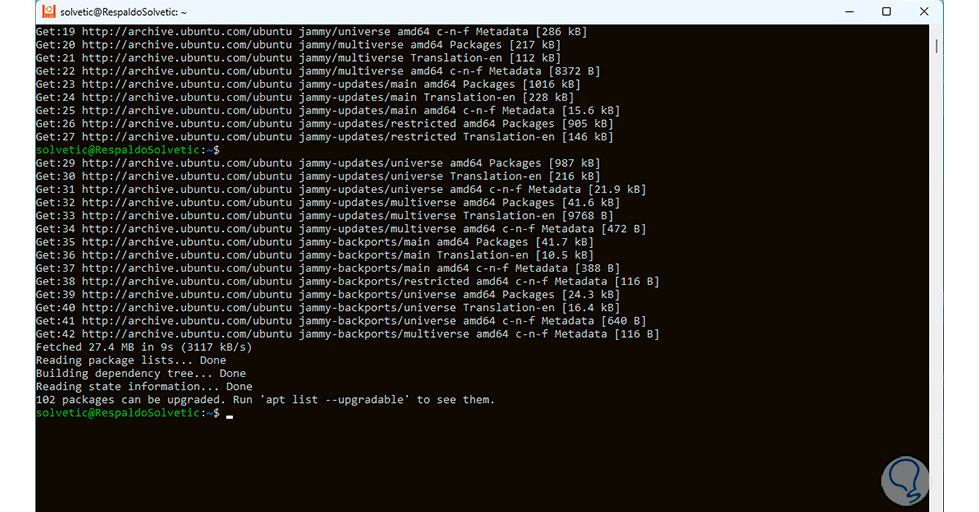
By accessing the Ubuntu machine, we are going to update the system:
sudo apt update
Step 20
Then, we apply these updates with the following command:
sudo apt upgrade
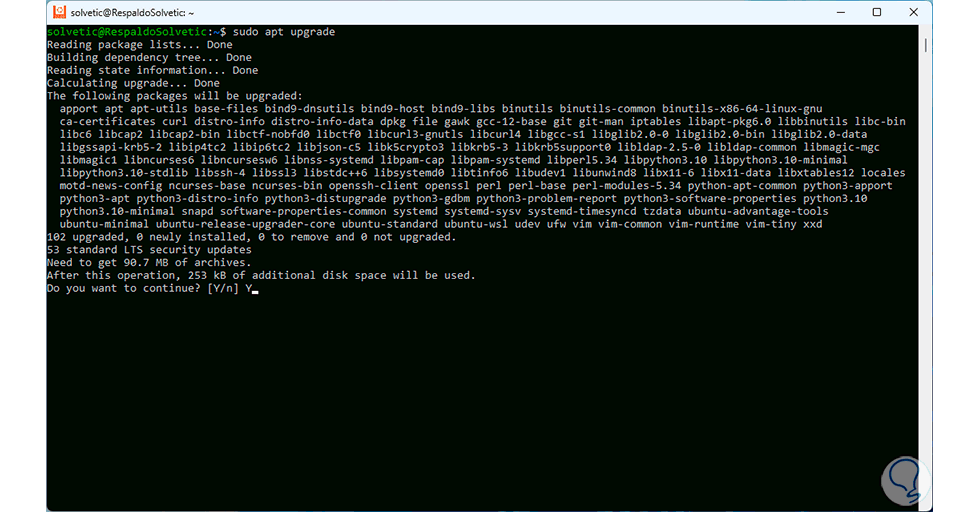
Step 21
We enter the letter “y” to confirm:
Step 22
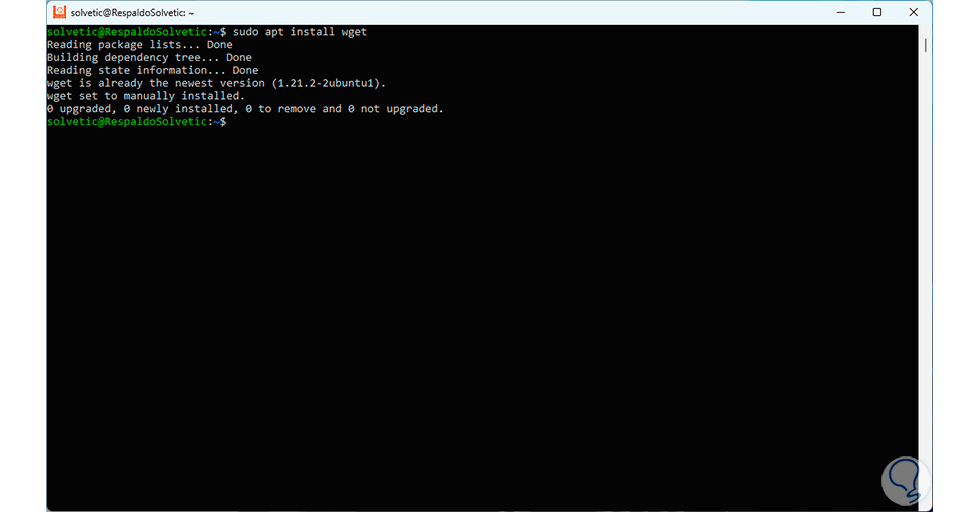
We install the package manager:
sudo apt install wget
Step 23
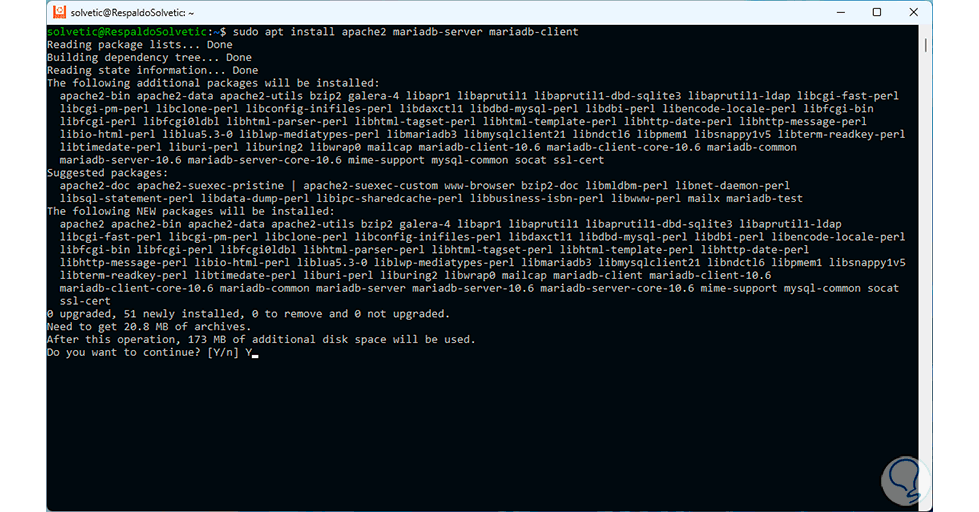
Then, we install Apache, HTTPS and MySQL with the command:
sudo apt install apache2 mariadb-server mariadb-client
Step 24
We accept this process by entering the letter “y”:
Step 25
We hope it ends:
Step 26
Now, it is time to install PHP, for OwnCloud to work on Windows, we must use version 7.4, with this command we install PHP and all its dependencies:
sudo apt install php7.4 libapache2-mod-php7.4 php7.4-mysql php-common php7.4-cli php7.4-common php7.4-json php7.4-opcache php7.4-readline php7.4- intl php7.4-json php7.4-gd php7.4-mbstring php7.4-mysql php7.4-xml php7.4-zip php7.4-curl
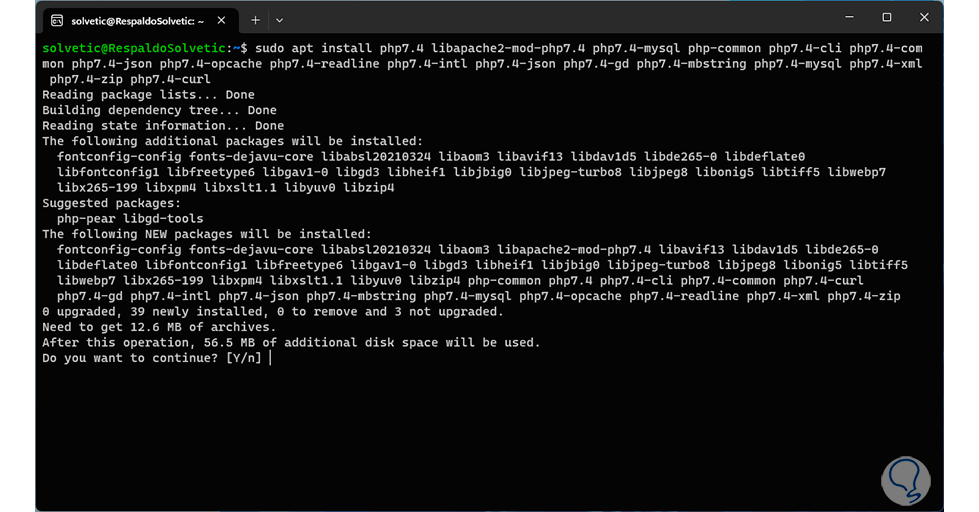
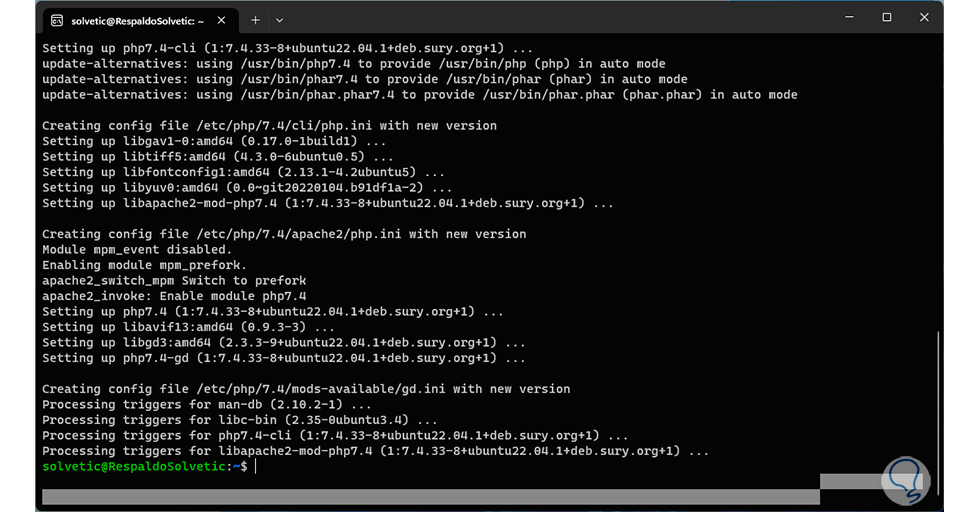
Step 27
We enter the letter “y” to proceed with the installation:
Step 28
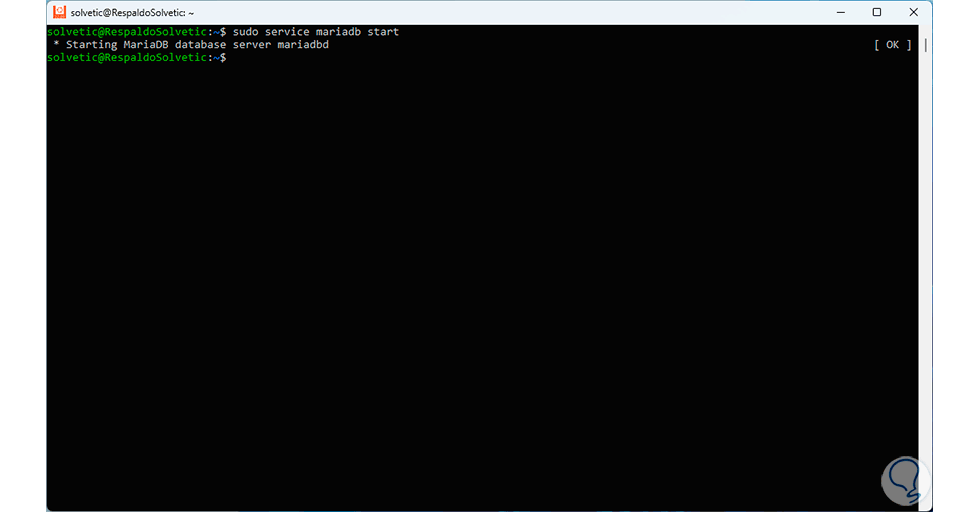
Next, we will start the MariaDB service:
sudo service mariadb start
Step 29
After this we are going to protect the MySQL installation, we execute the following:
sudo mysql_secure_installation
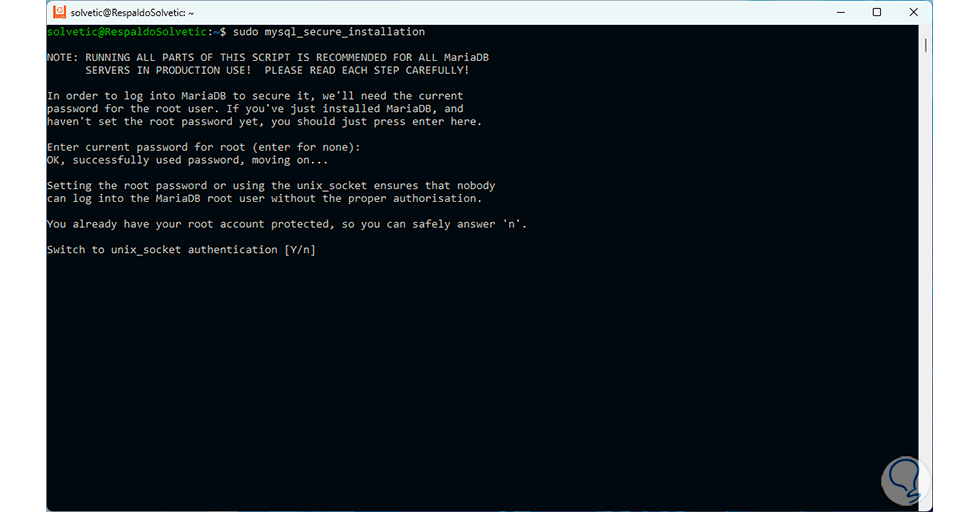
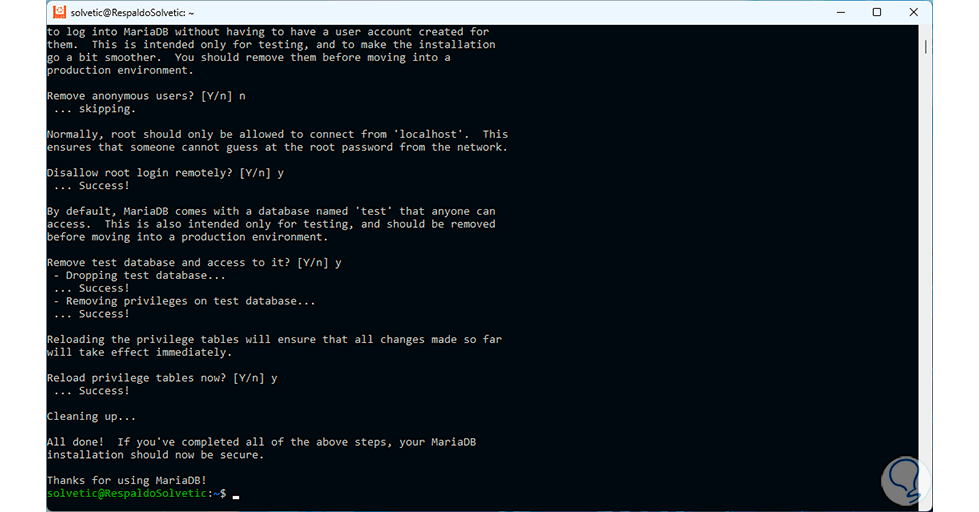
Step 30
There we must answer the questions posed according to the needs of our team:
Step 31
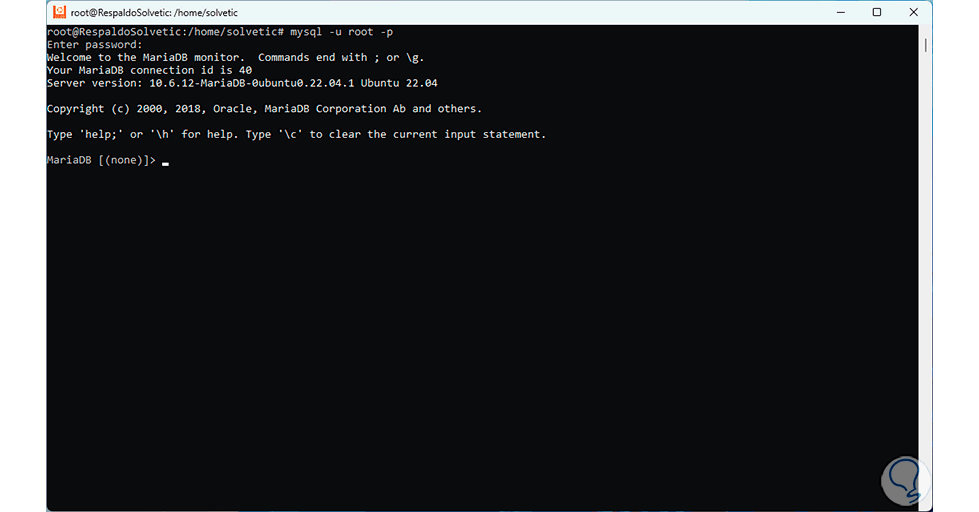
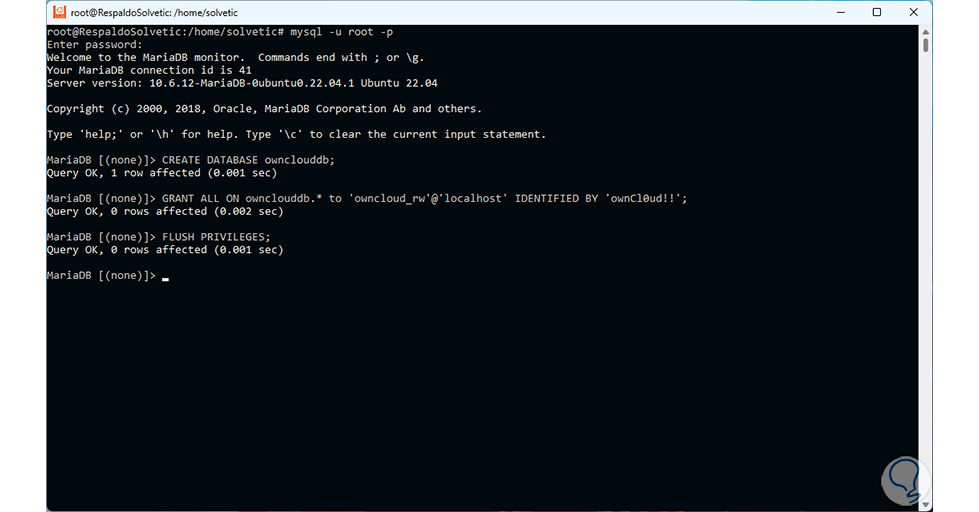
Once we do this, we access MySQL by executing:
mysql -u root -p
Step 32
We enter our password to access:
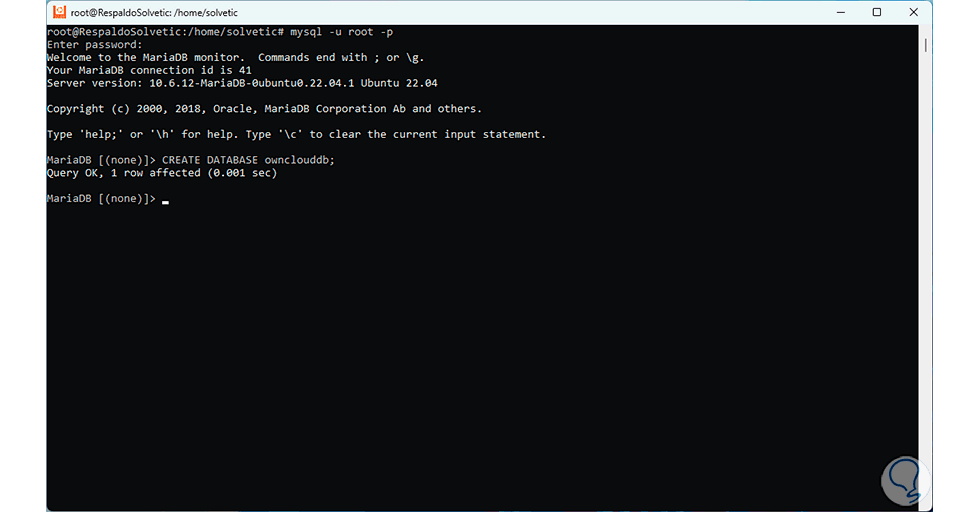
Step 33
There, we are going to create the database, the username and password and the changes will be applied, we execute the following to create the database:
CREATE DATABASE ownclouddb;
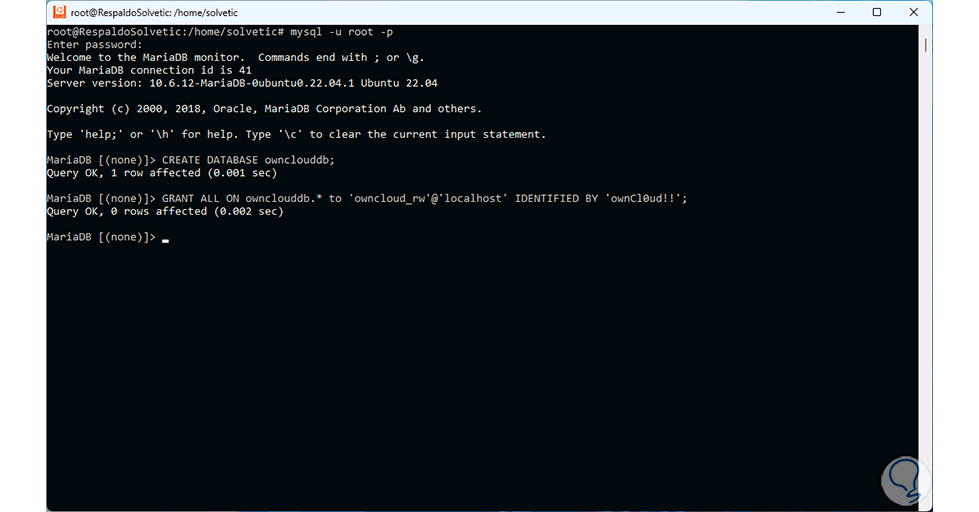
Step 34
Then, we grant permissions to the user and set a password:
GRANT ALL ON ownclouddb.* to 'user'@'localhost' IDENTIFIED BY 'password';
Step 35
We apply the privileges:
FLUSH PRIVILEGES;
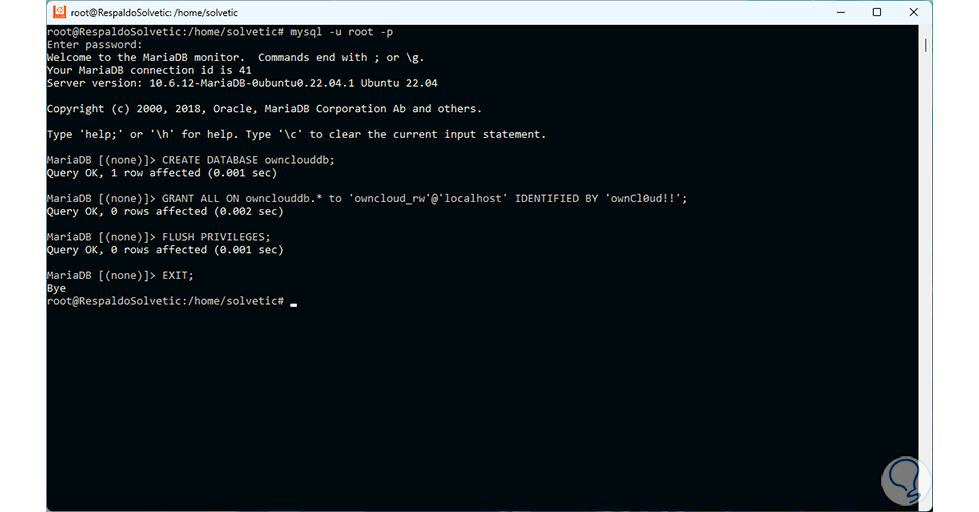
Step 36
We exit MySQL:
EXIT;
Step 37
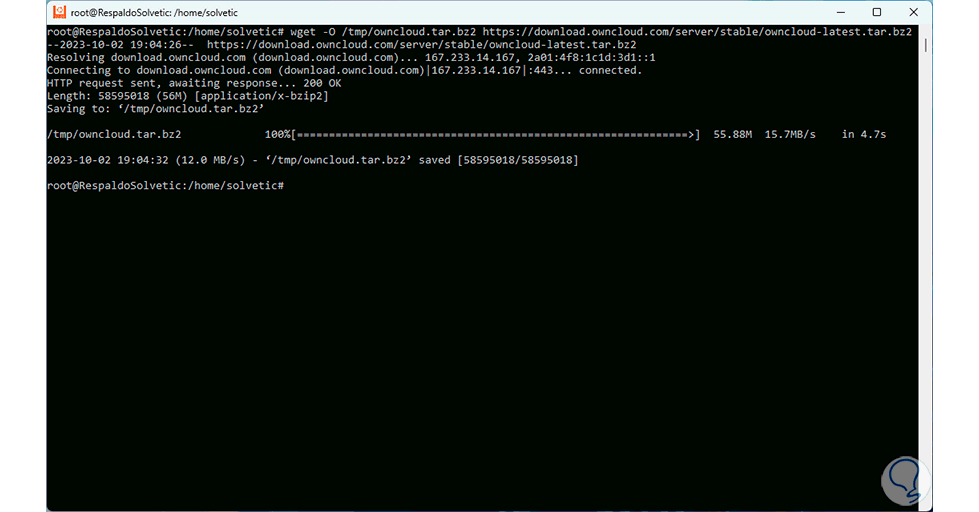
Now, we download the most recent version of OwnCloud:
sudo wget -O /tmp/owncloud.tar.bz2 https://download.owncloud.com/server/stable/owncloud-latest.tar.bz2
Step 38
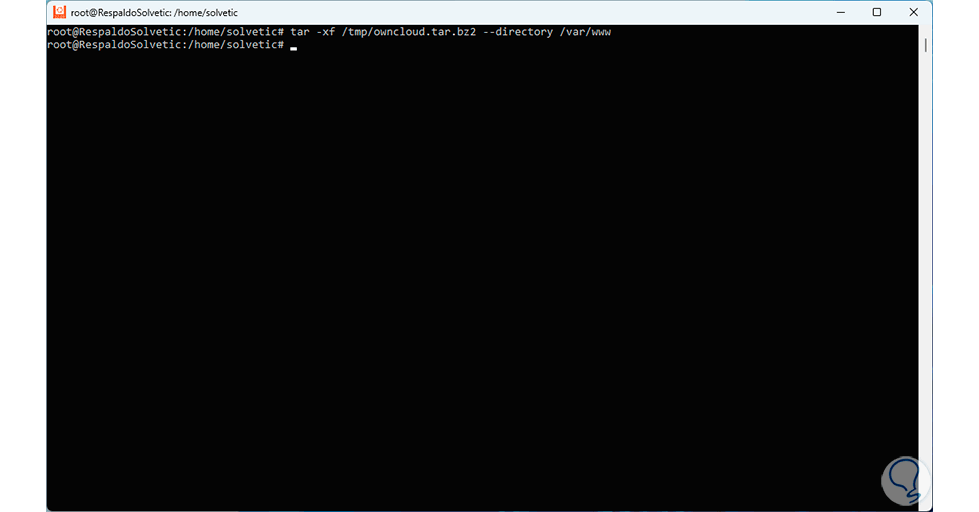
We extract this file:
sudo tar -xf /tmp/owncloud.tar.bz2 --directory /var/www
Step 39
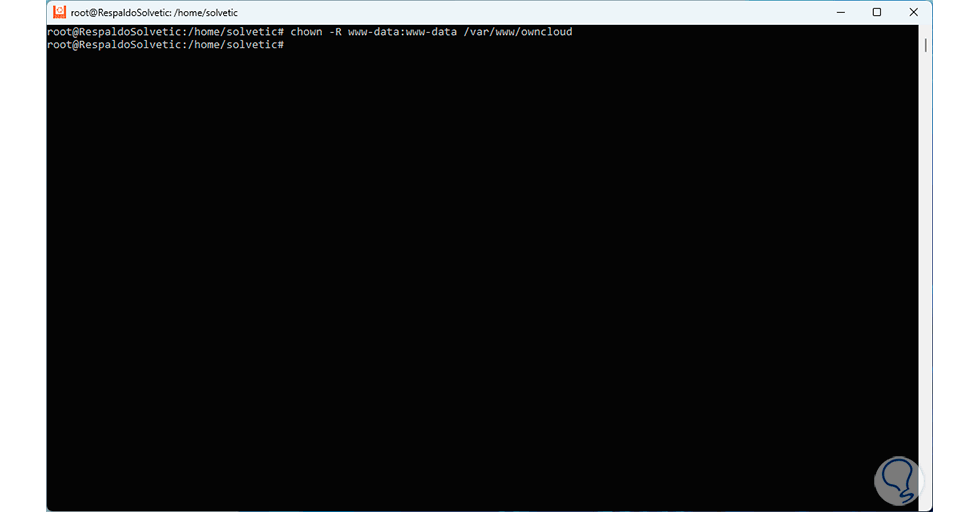
We establish the permissions:
sudo chown -R www-data:www-data /var/www/owncloud
Step 40
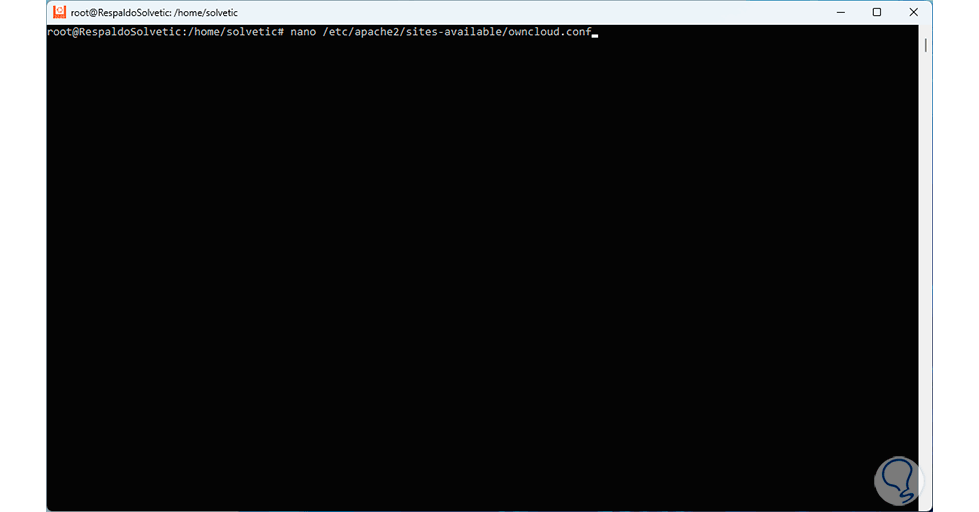
Next, let's create a new configuration file:
sudo nano /etc/apache2/sites-available/owncloud.conf
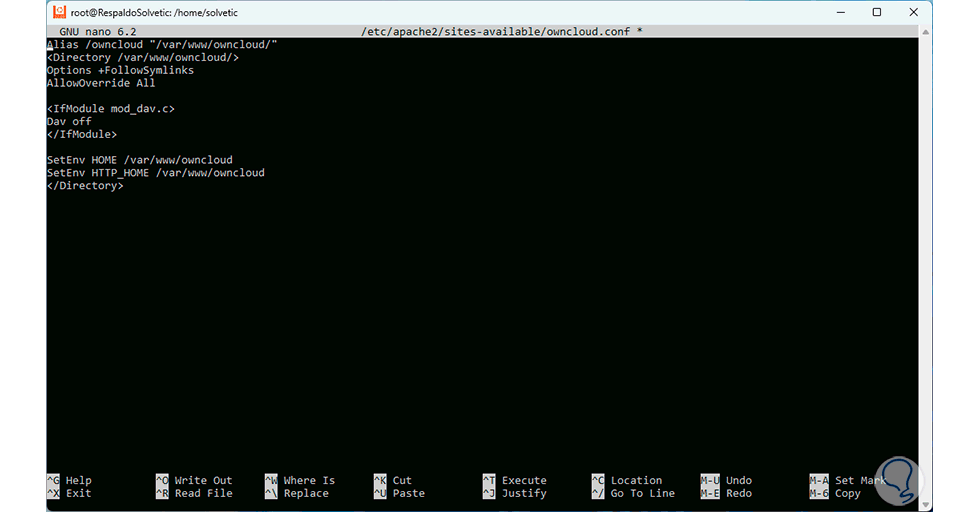
Step 41
In this file we enter the following:
Alias /owncloud "/var/www/owncloud/" <Directory /var/www/owncloud/> Options +FollowSymlinks AllowOverride All <IfModule mod_dav.c> Dav off </IfModule> SetEnv HOME /var/www/owncloud SetEnv HTTP_HOME / var/www/owncloud </Directory>
Step 42
We save the changes using the following key combination:
Ctrl + O
We exit the editor using:
Ctrl + X
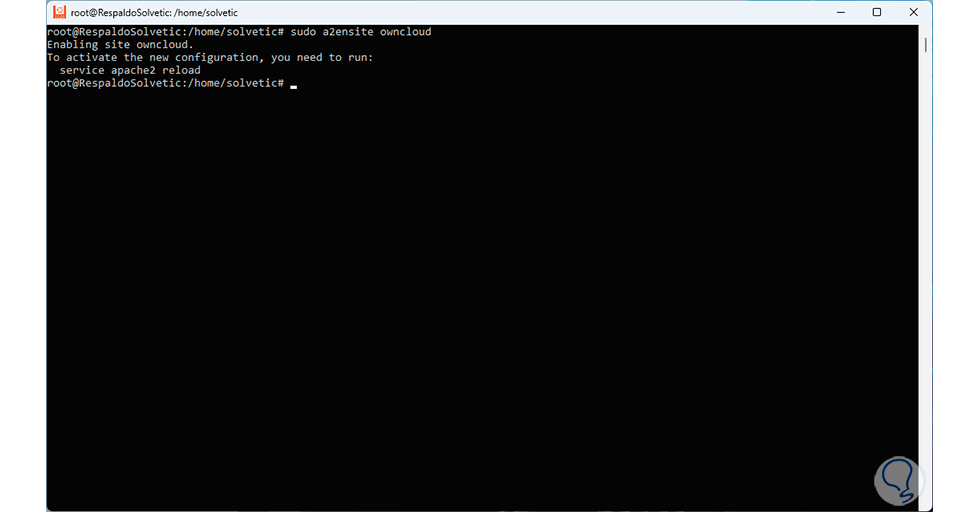
Step 43
Next, we enable the OwnCloud settings:
sudo a2ensite owncloud
Step 44
We enable the Apache modules with the command:
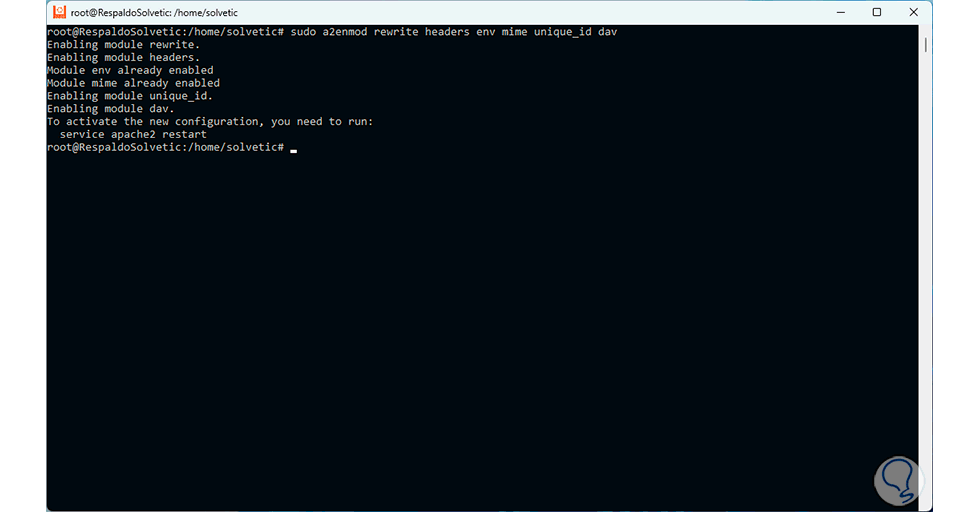
sudo a2enmod rewrite headers env mime unique_id dav
Step 45
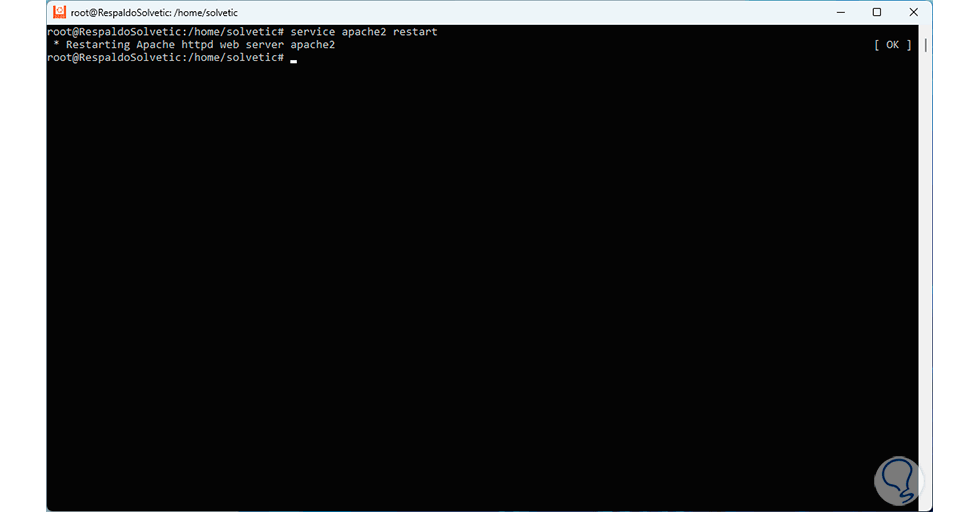
We restart the Apache service:
sudo service apache2 restart
Step 46
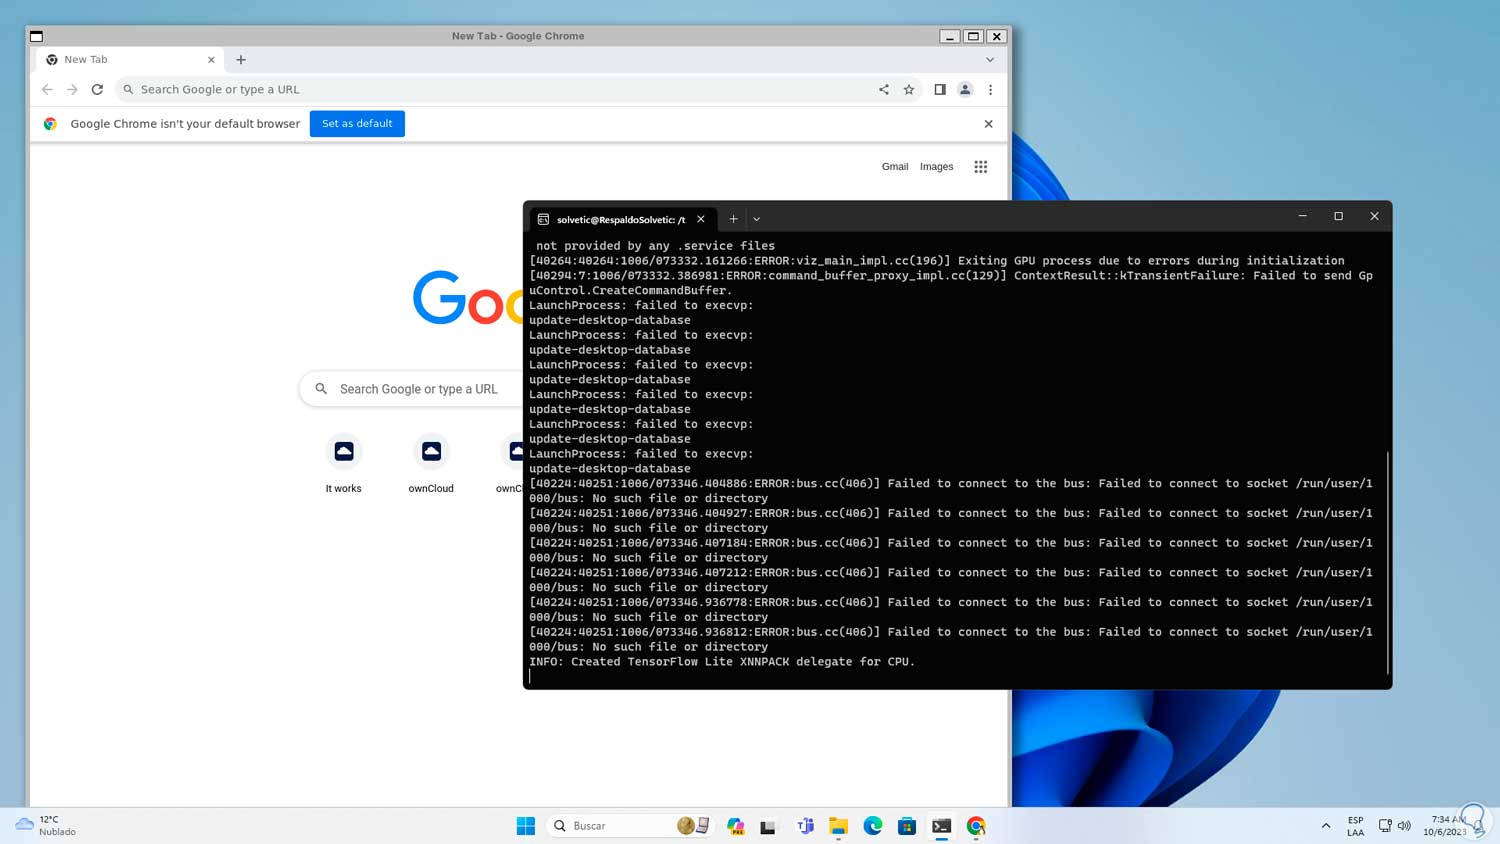
Once this is done, we open a browser from the Linux console, in this example we execute “google-chrome” to open Chrome:
Step 47
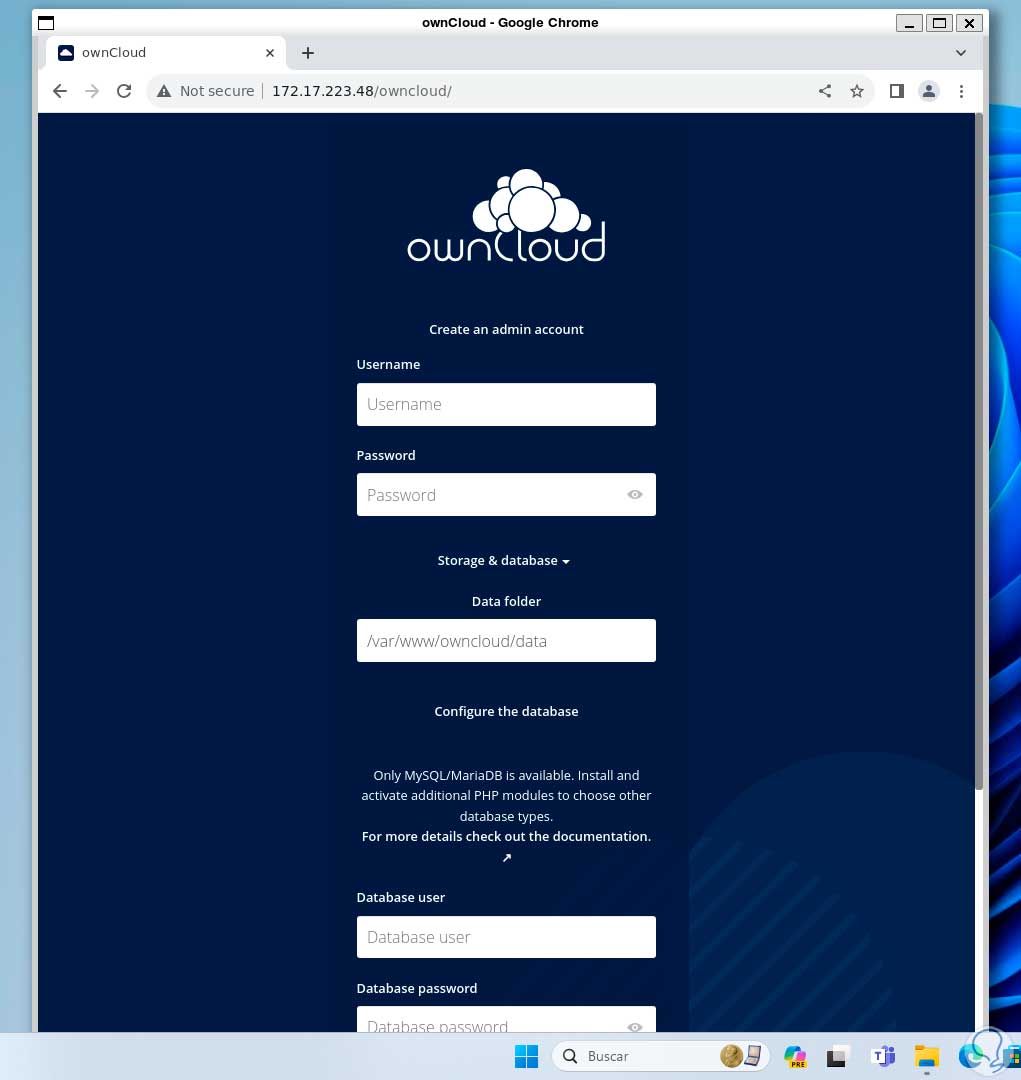
There we enter the following syntax:
http://IP_Linux/owncloud
Step 48
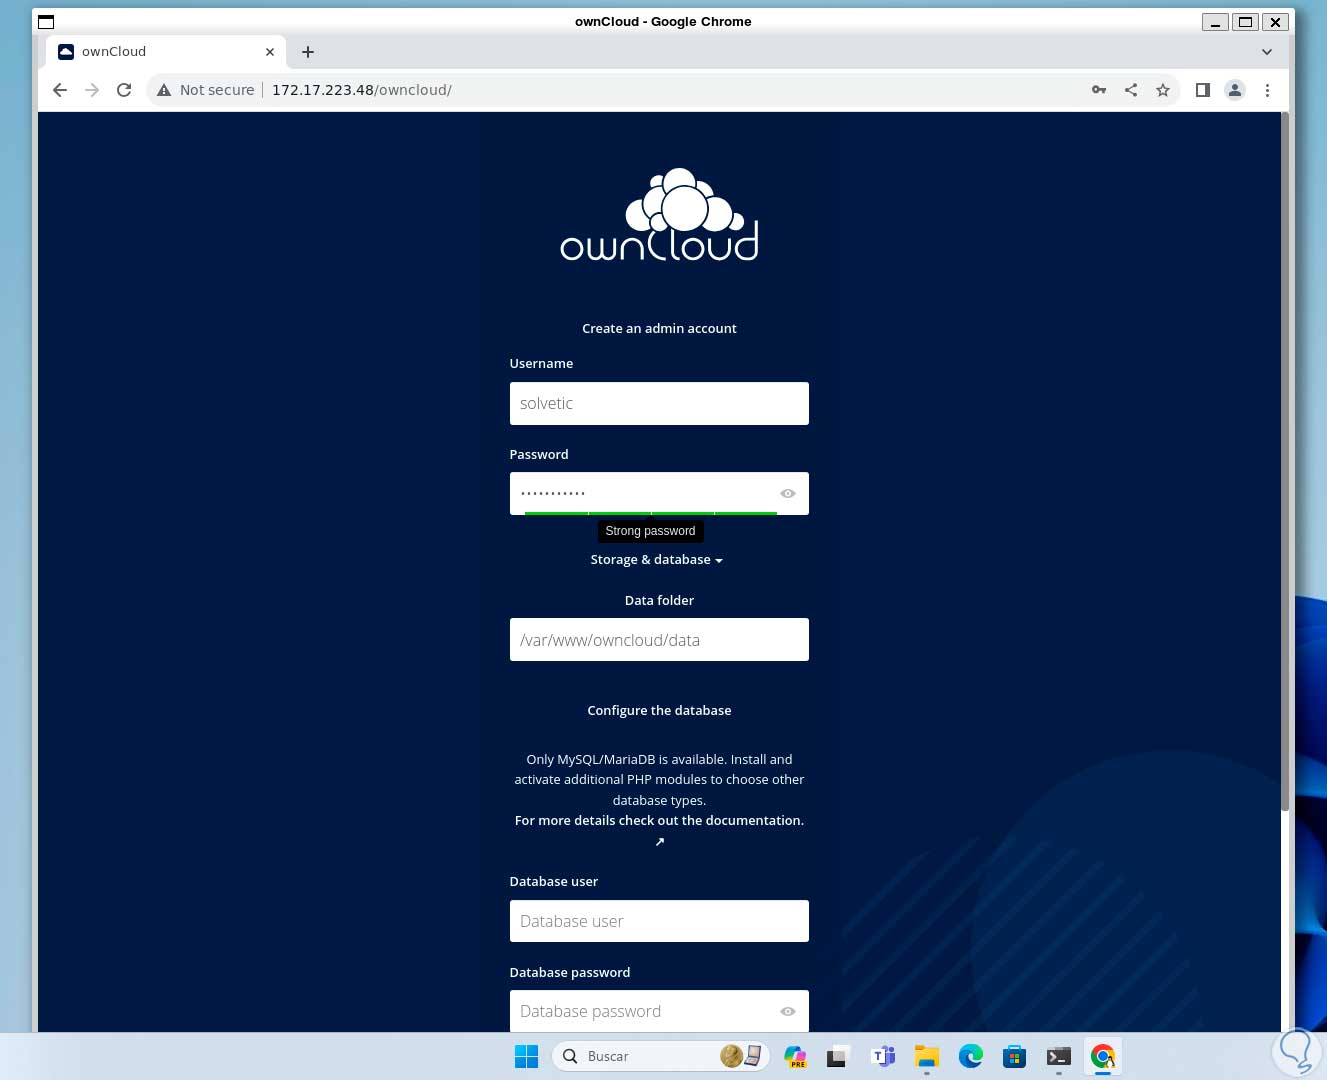
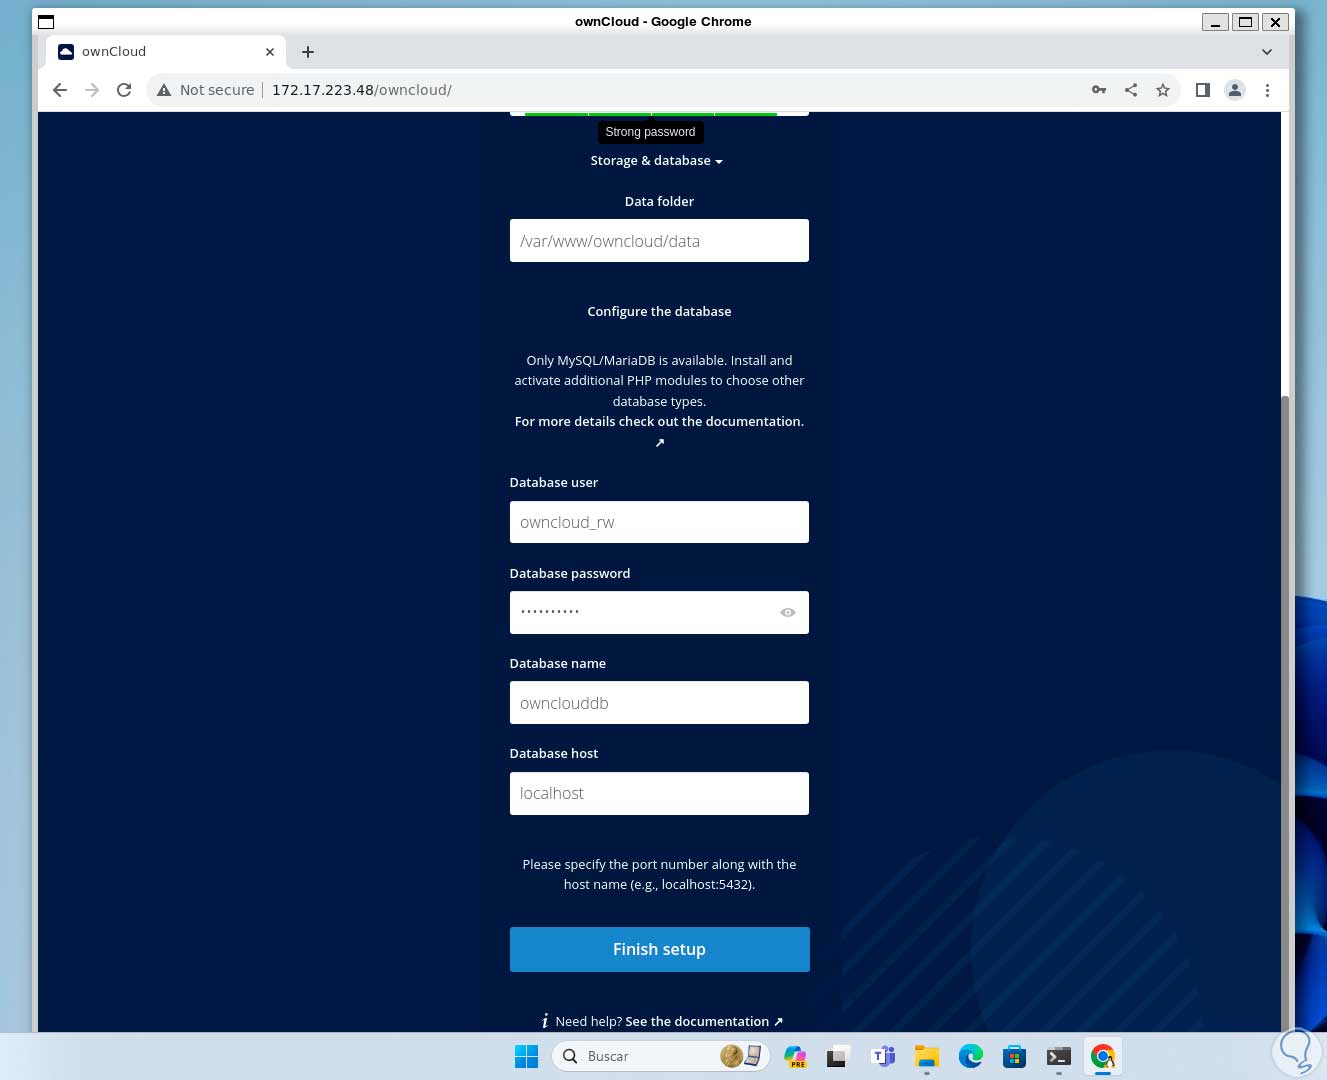
At the top, we create the administrator user:
Step 49
At the bottom, we complete the data with the values created in the MySQL database:
Step 50
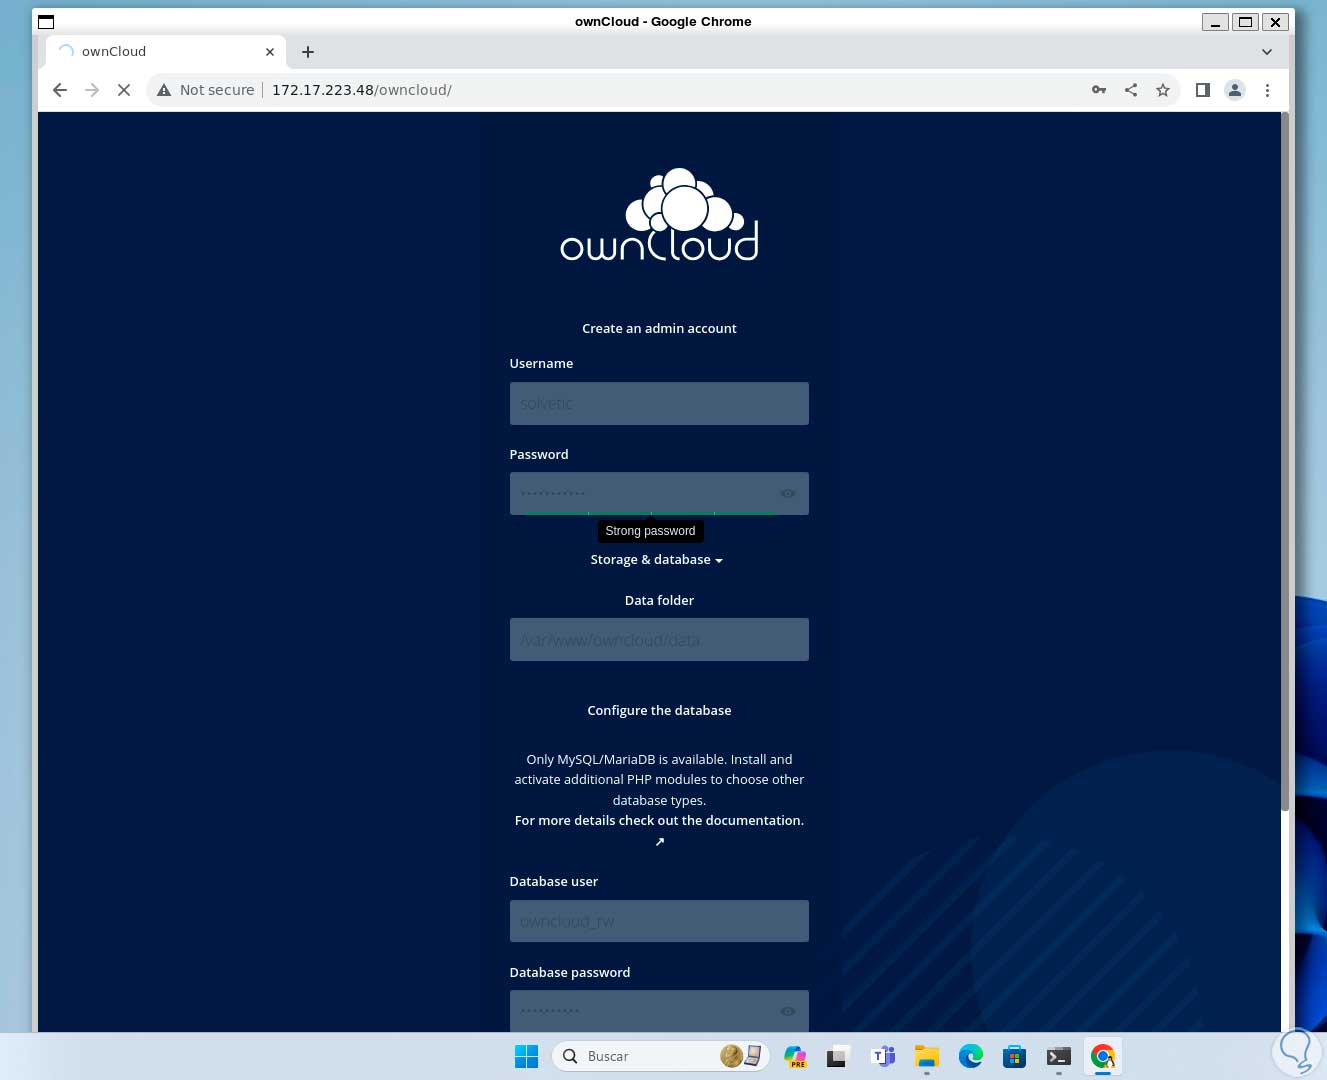
We click on “Finish Setup” and wait for this process to complete:
Step 51
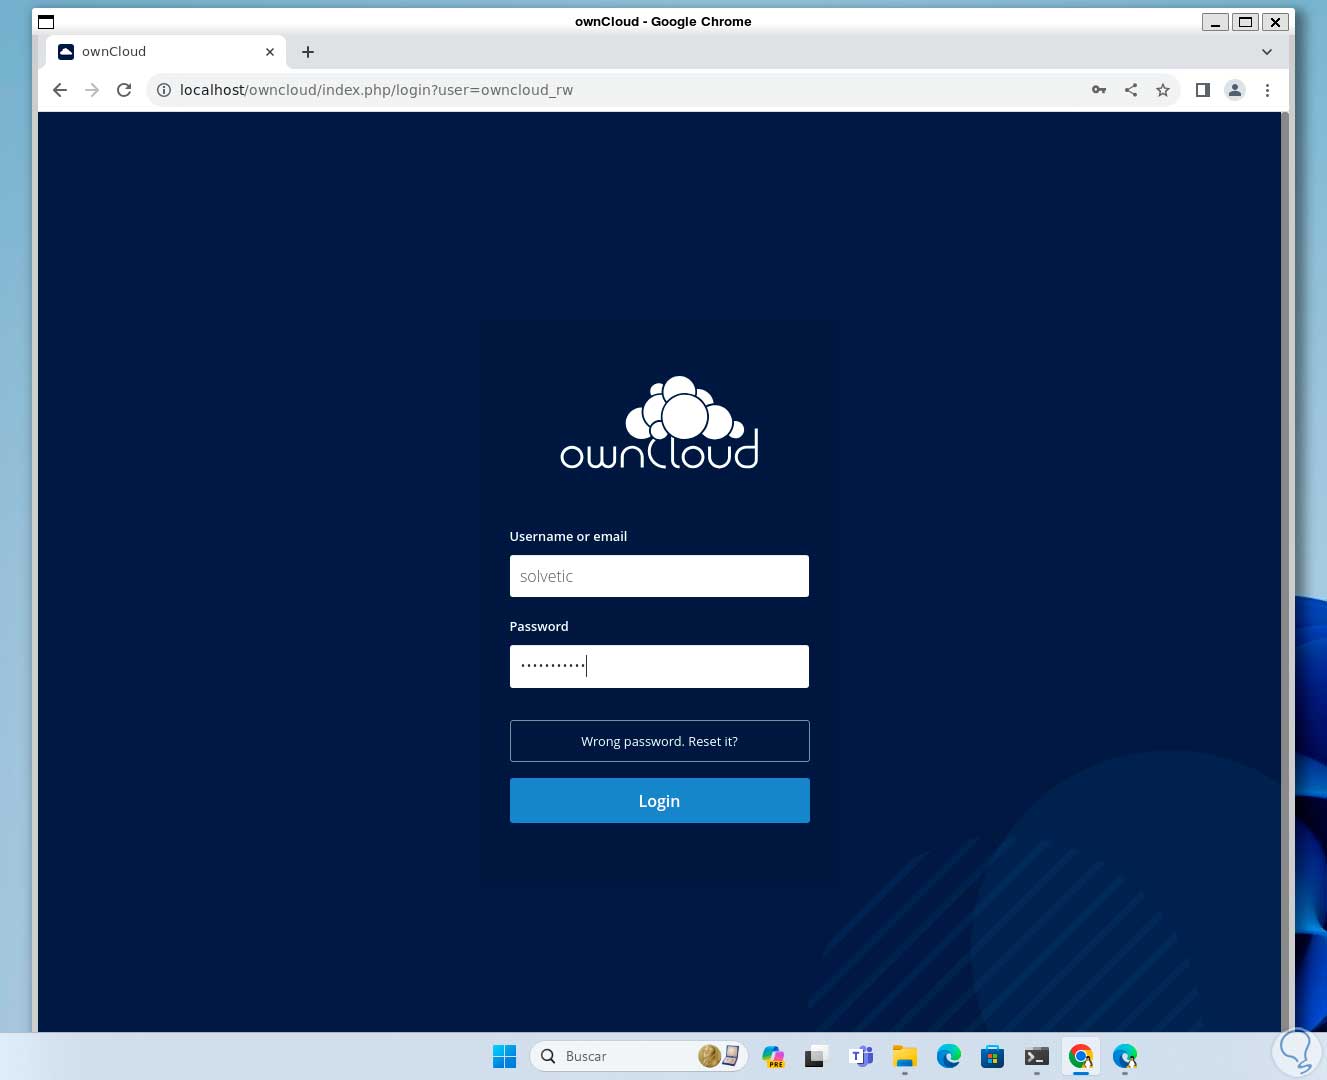
Then, we log in with the created user:
Step 52
We click on “Login” to log in and have access to OwnCloud:
Step 53
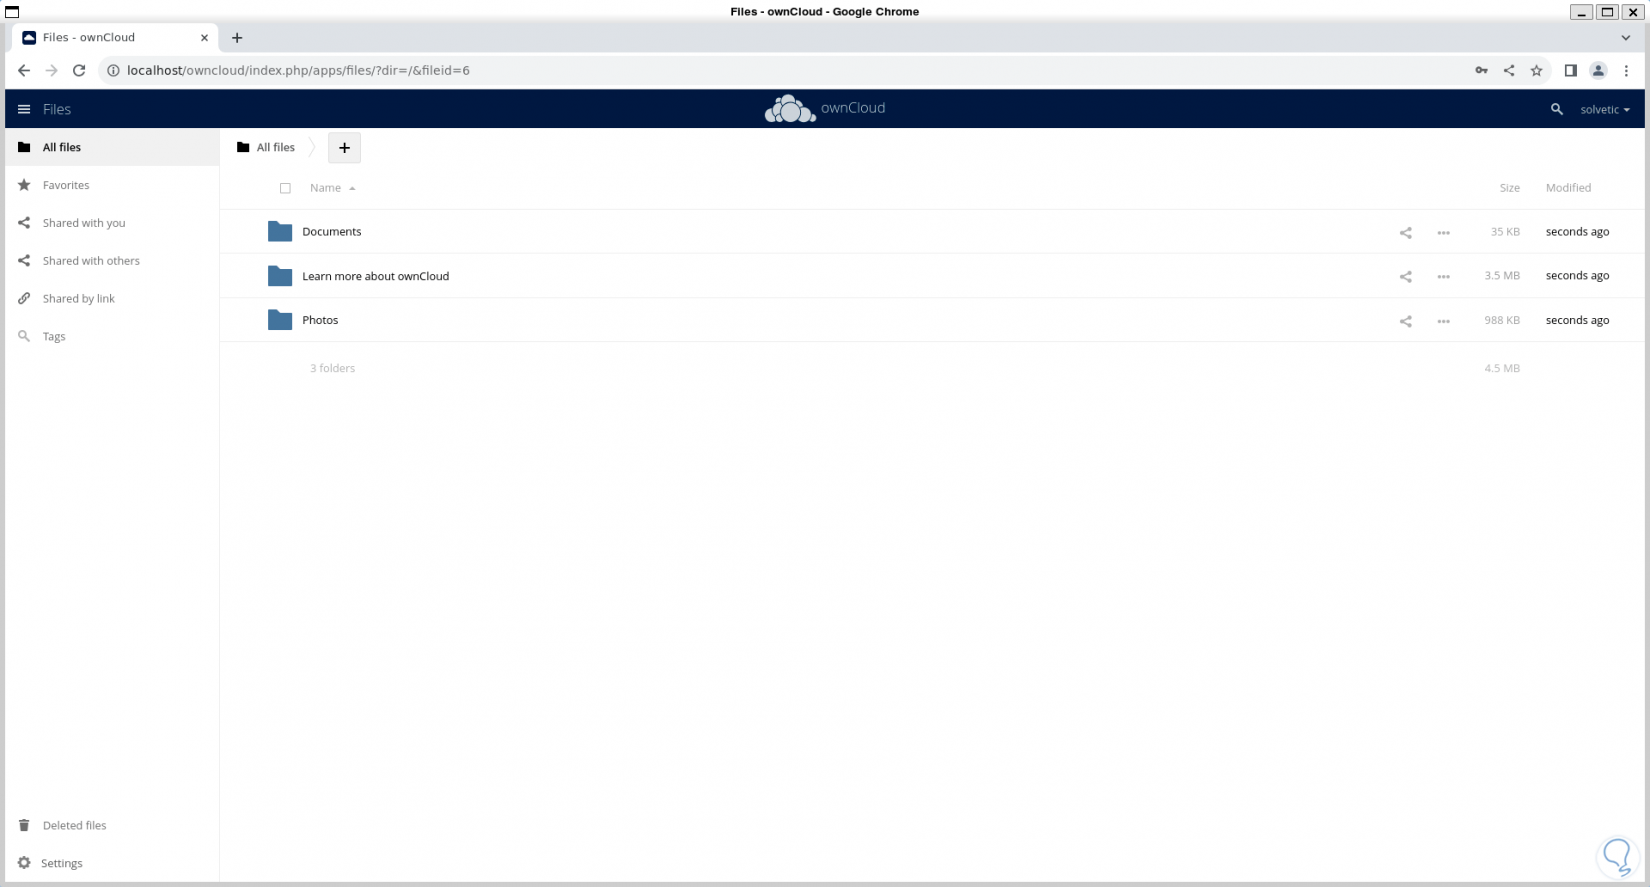
There we can browse the various options:
Step 54
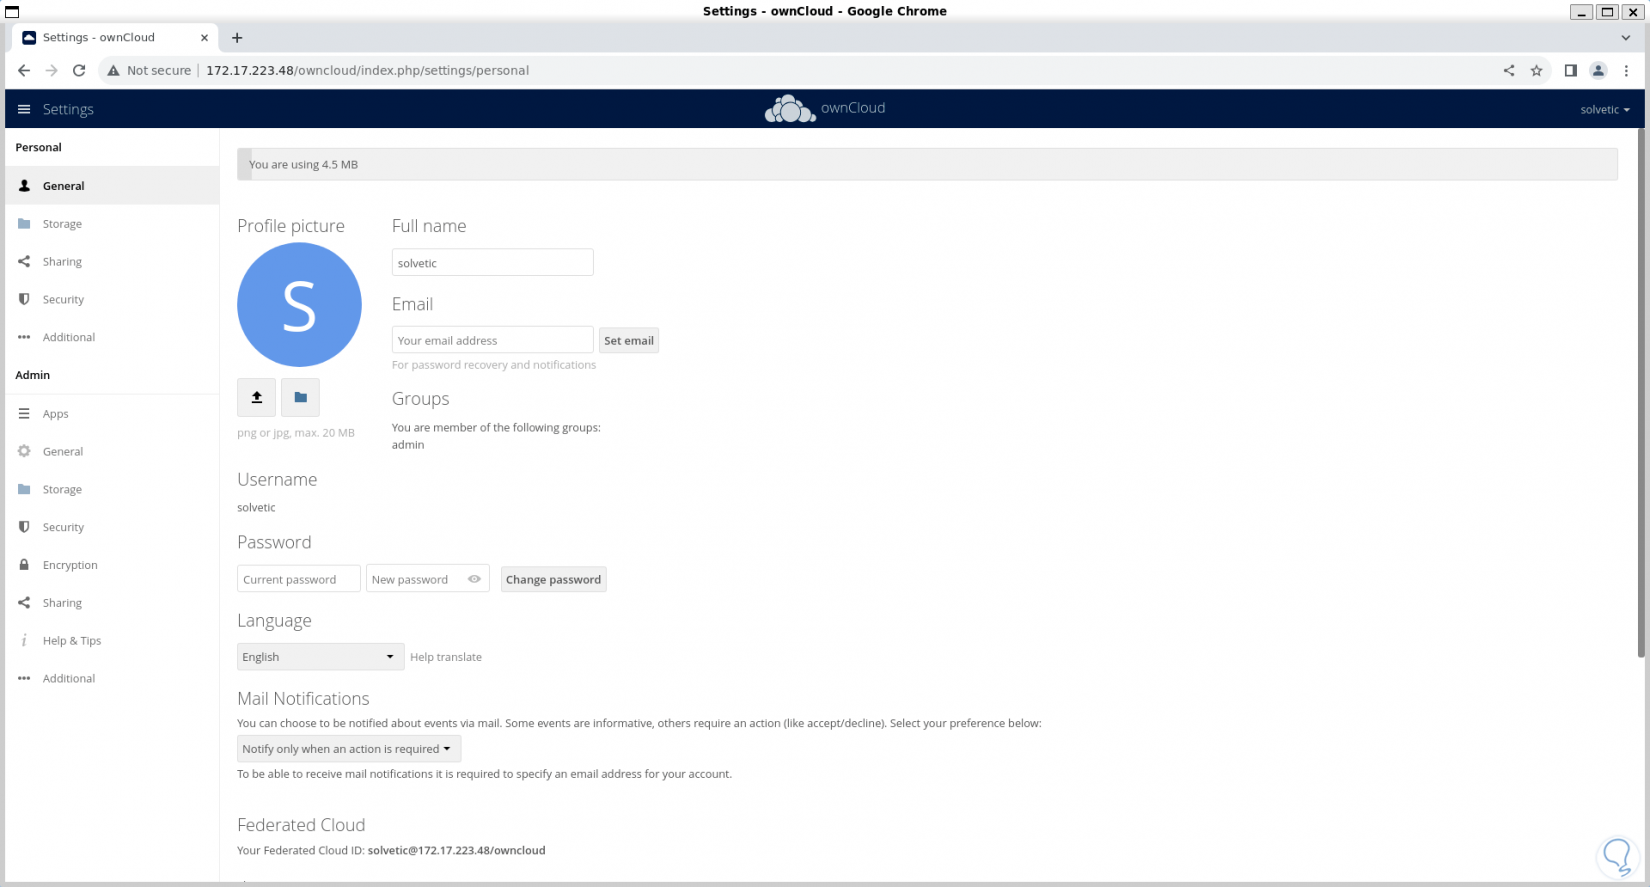
We access the OwnCloud settings to see its options. In “General” we can change the profile photo, change the password, add name and username and more.
Step 55
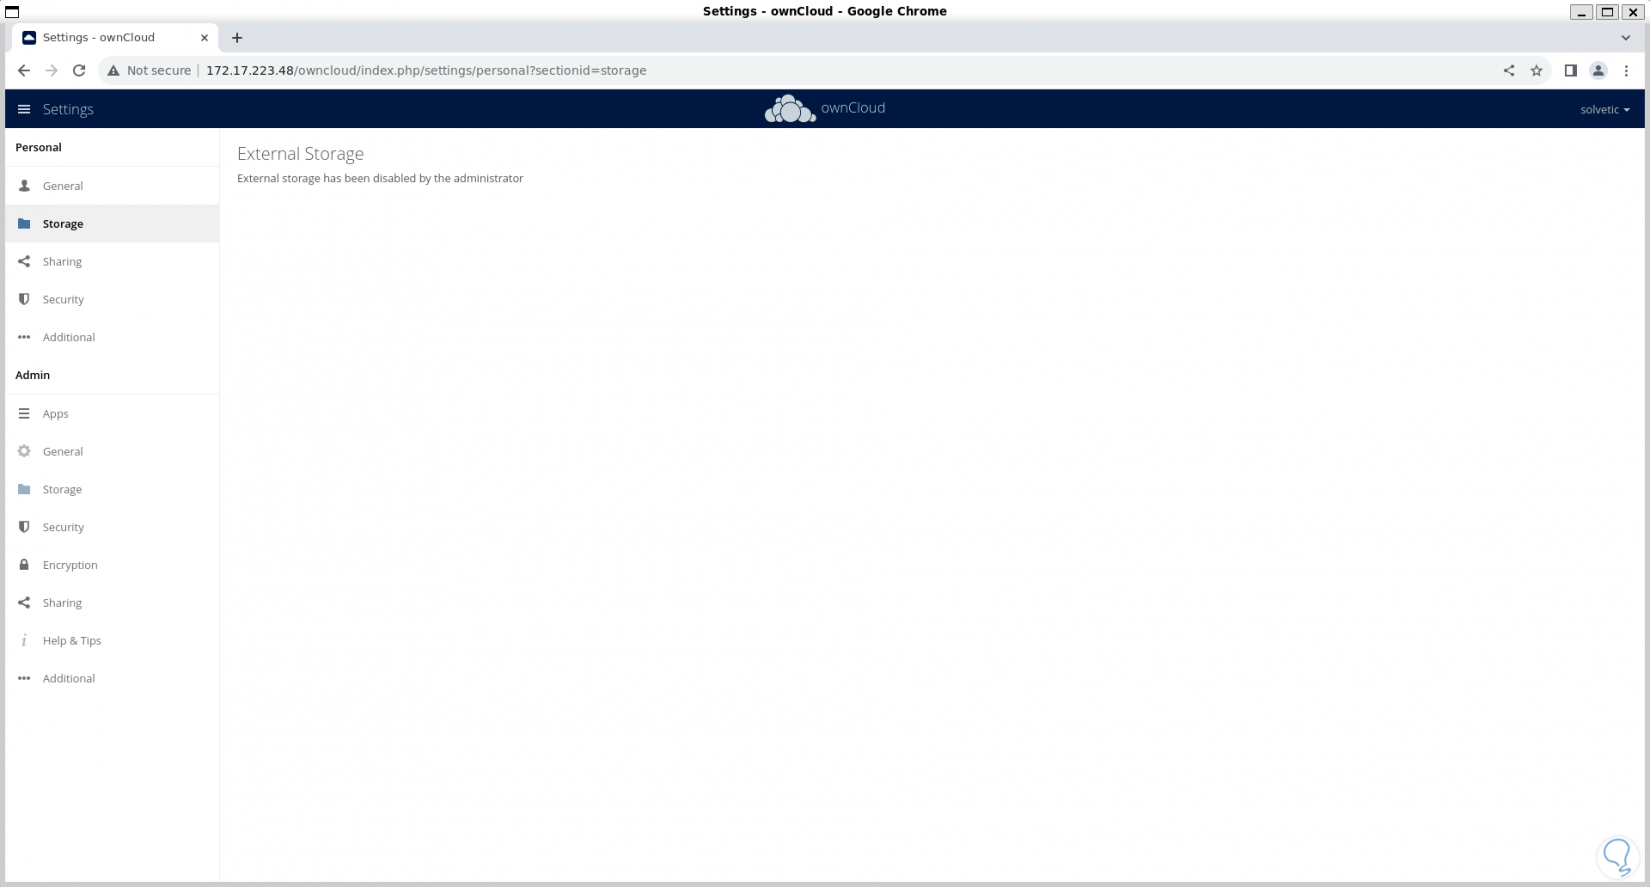
In “Storage” it will be possible to add external storage:
Step 56
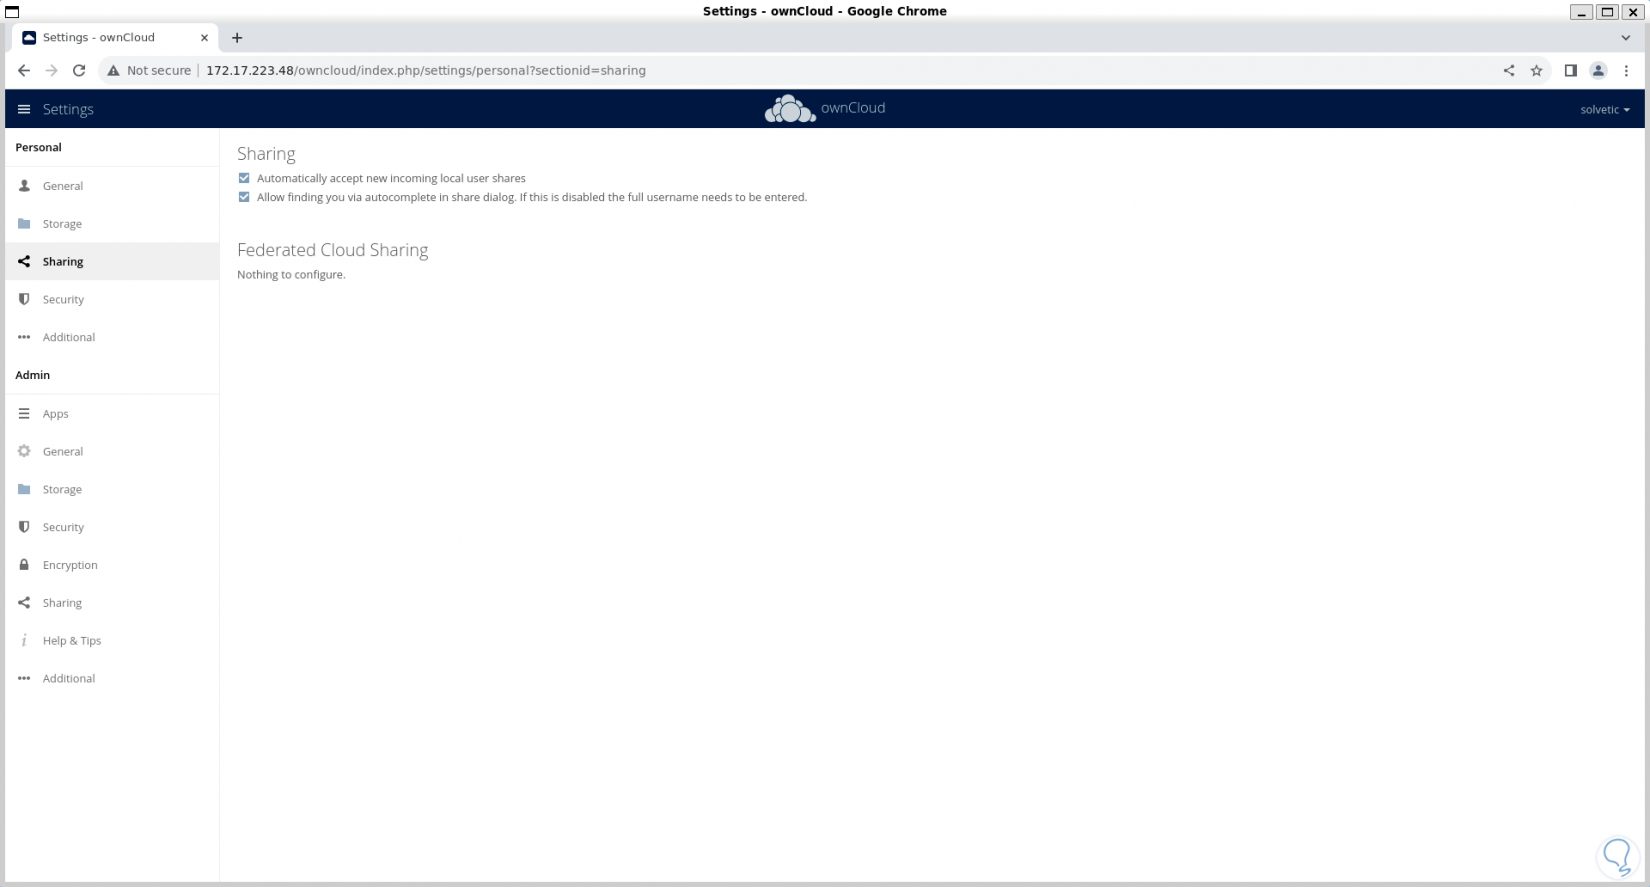
In “Sharing” it is possible to adjust some sharing variables:
Step 57
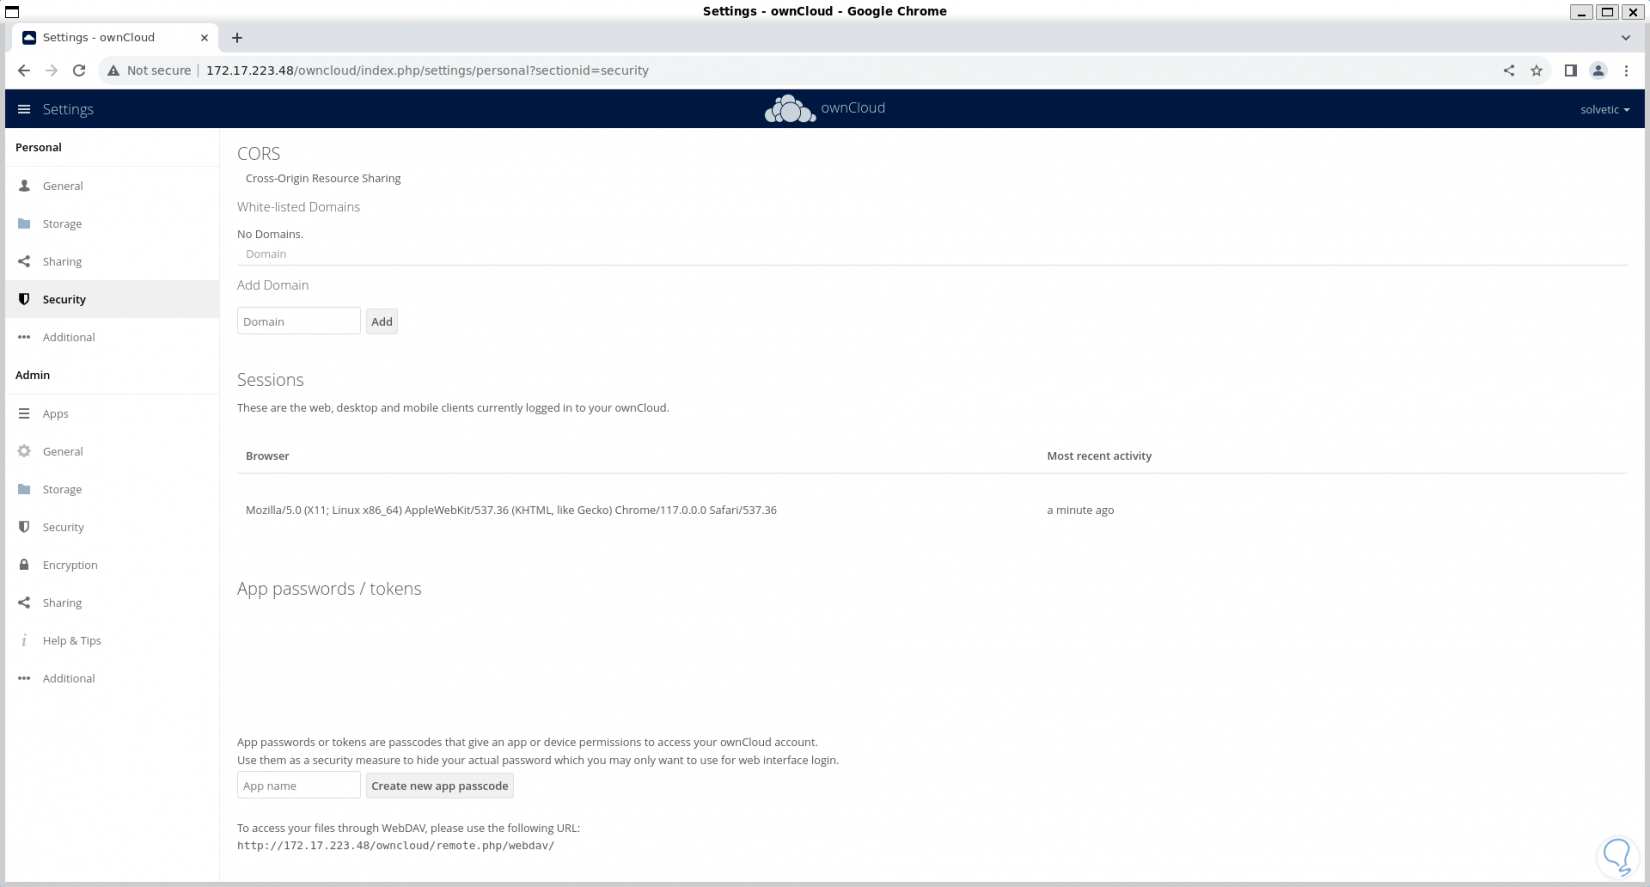
In “Security” we can configure all OwnCloud security and privacy settings:
Step 58
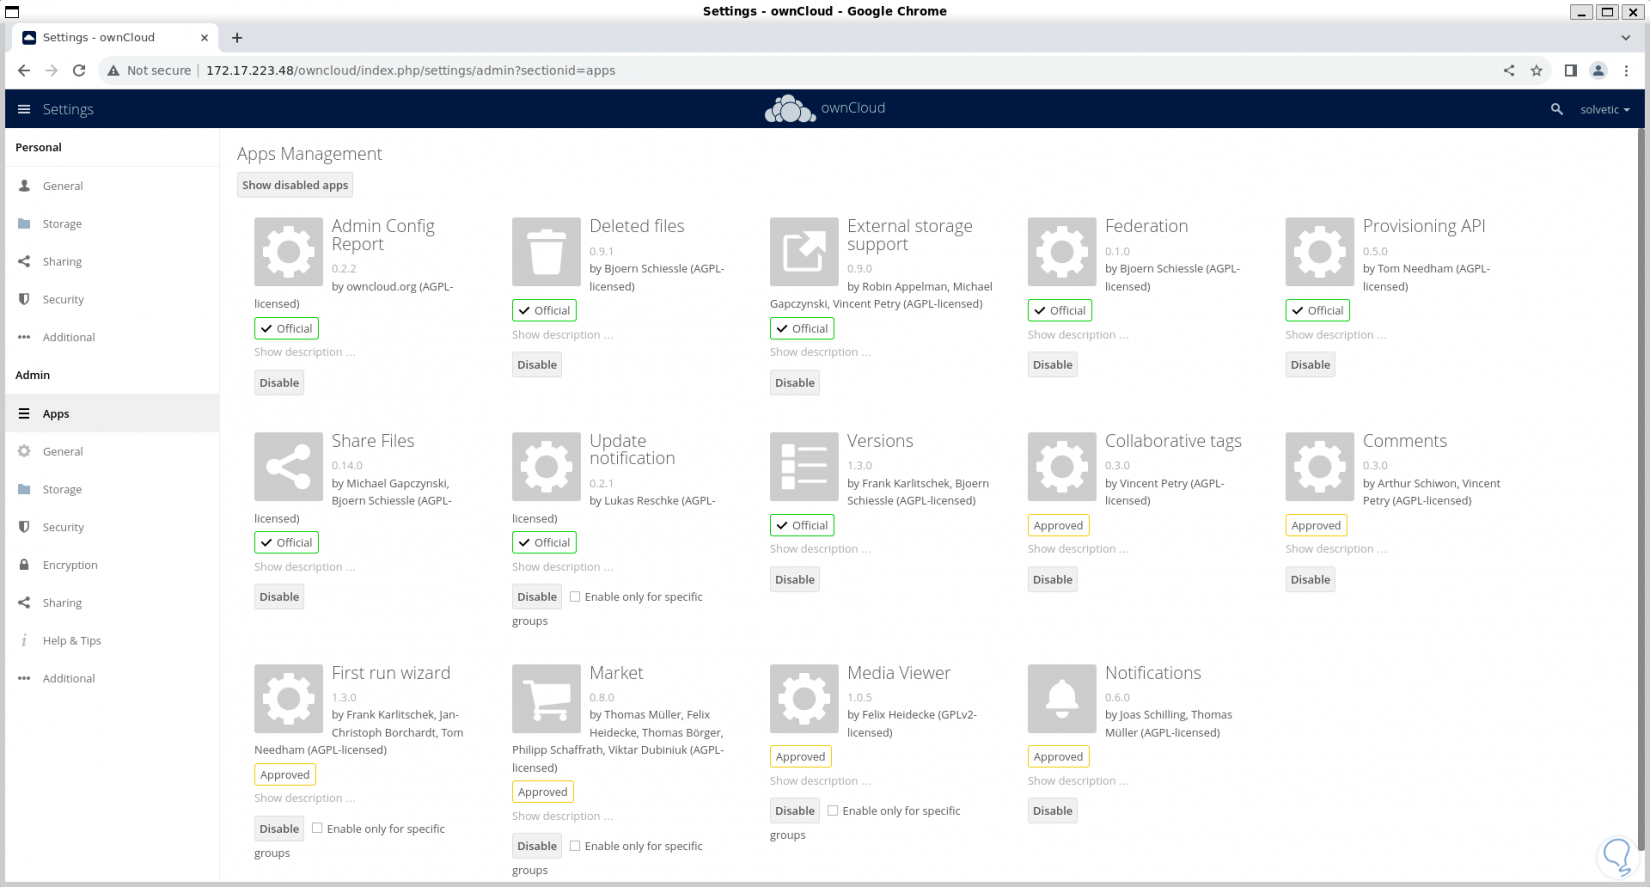
In “Apps” we can activate or not activate applications compatible with the utility:
Step 59
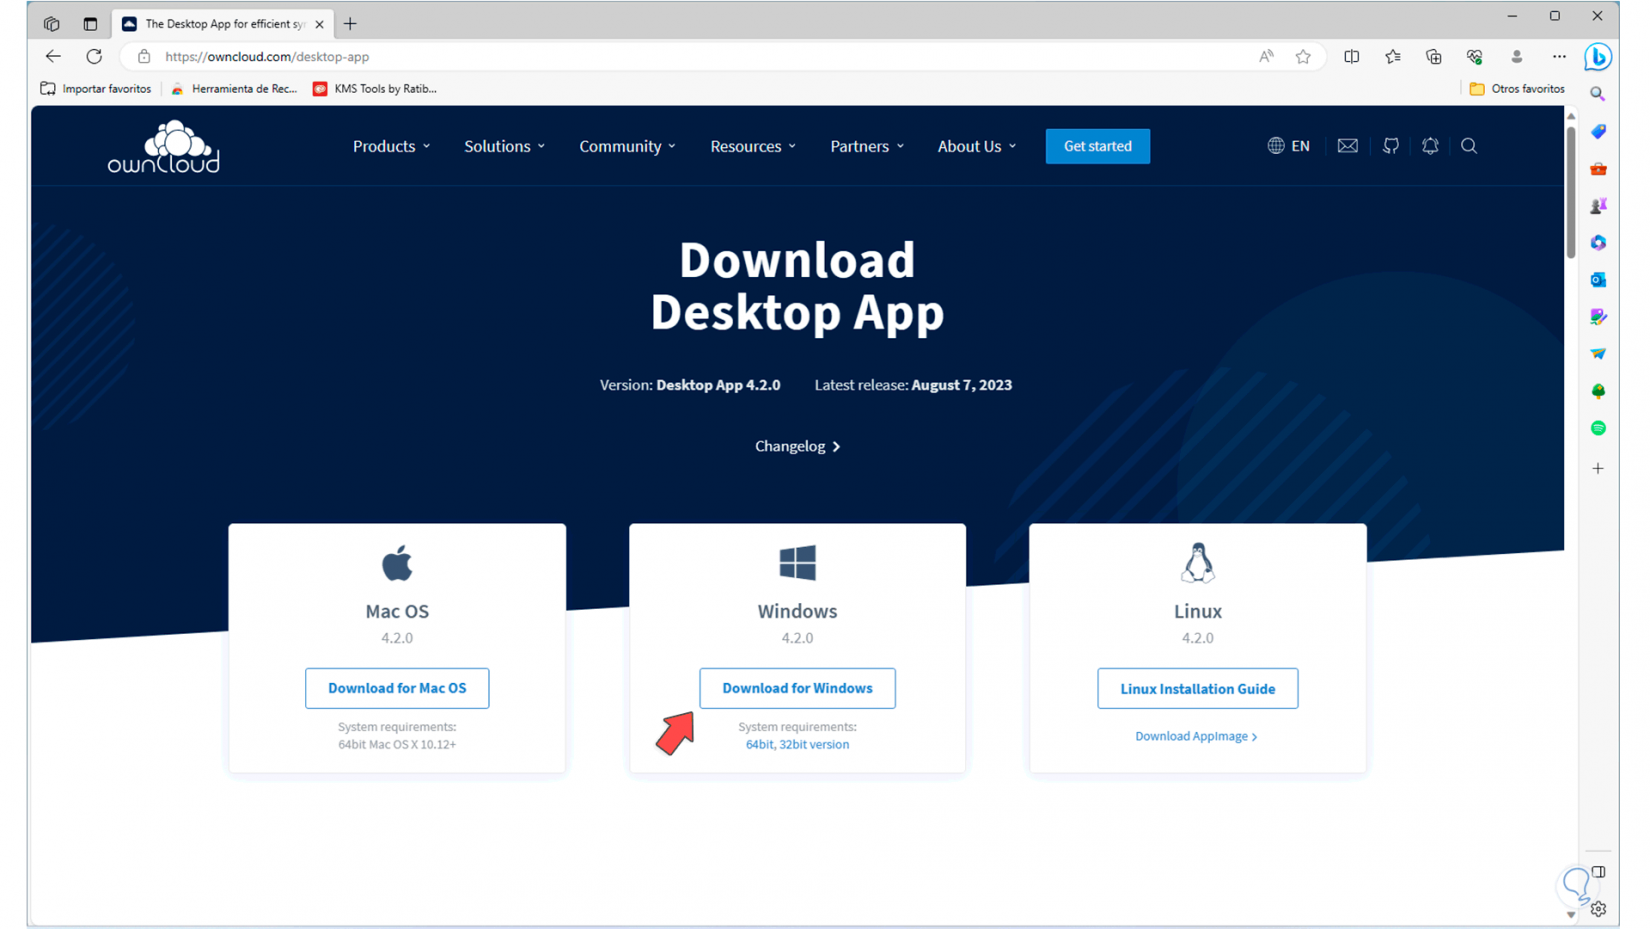
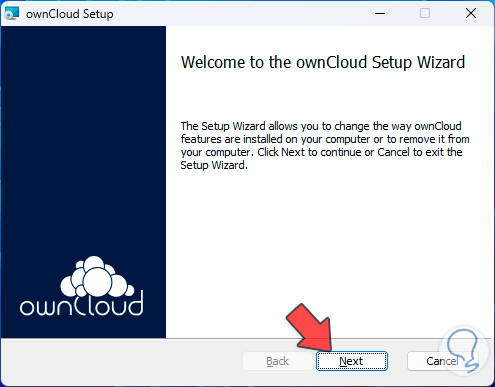
Finally, as an extra point, it is possible to use the desktop application directly in Windows, to do this download it at the following link:
OwnCloud
Step 60
There we download the Windows version and carry out the installation process:
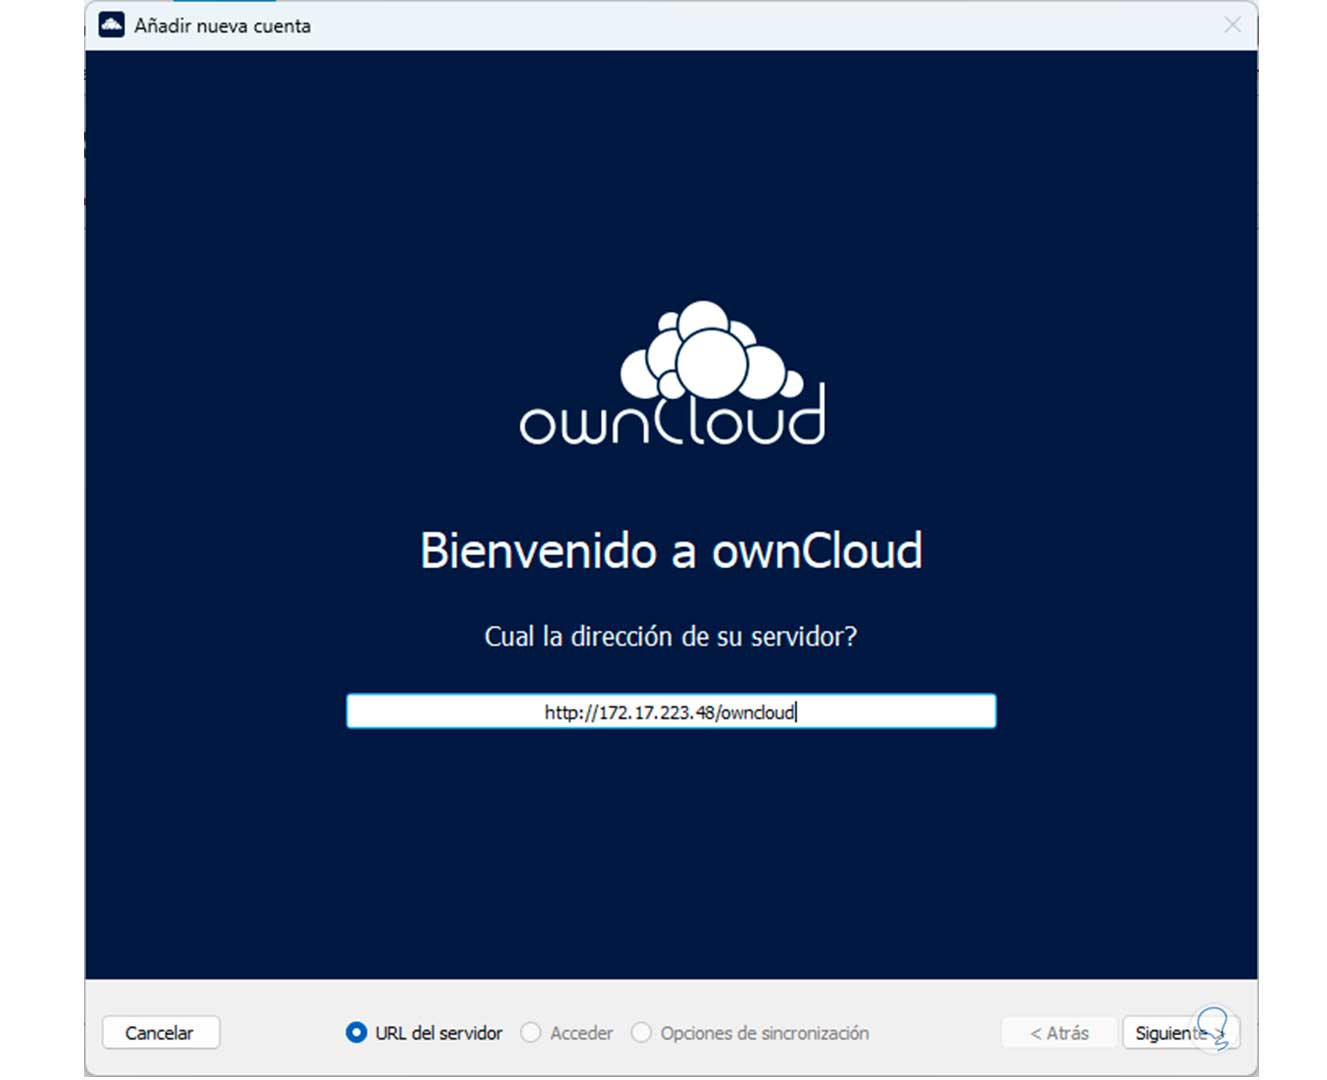
Step 61
Then we must enter the IP address of the Linux console:
Step 62
We await validation:
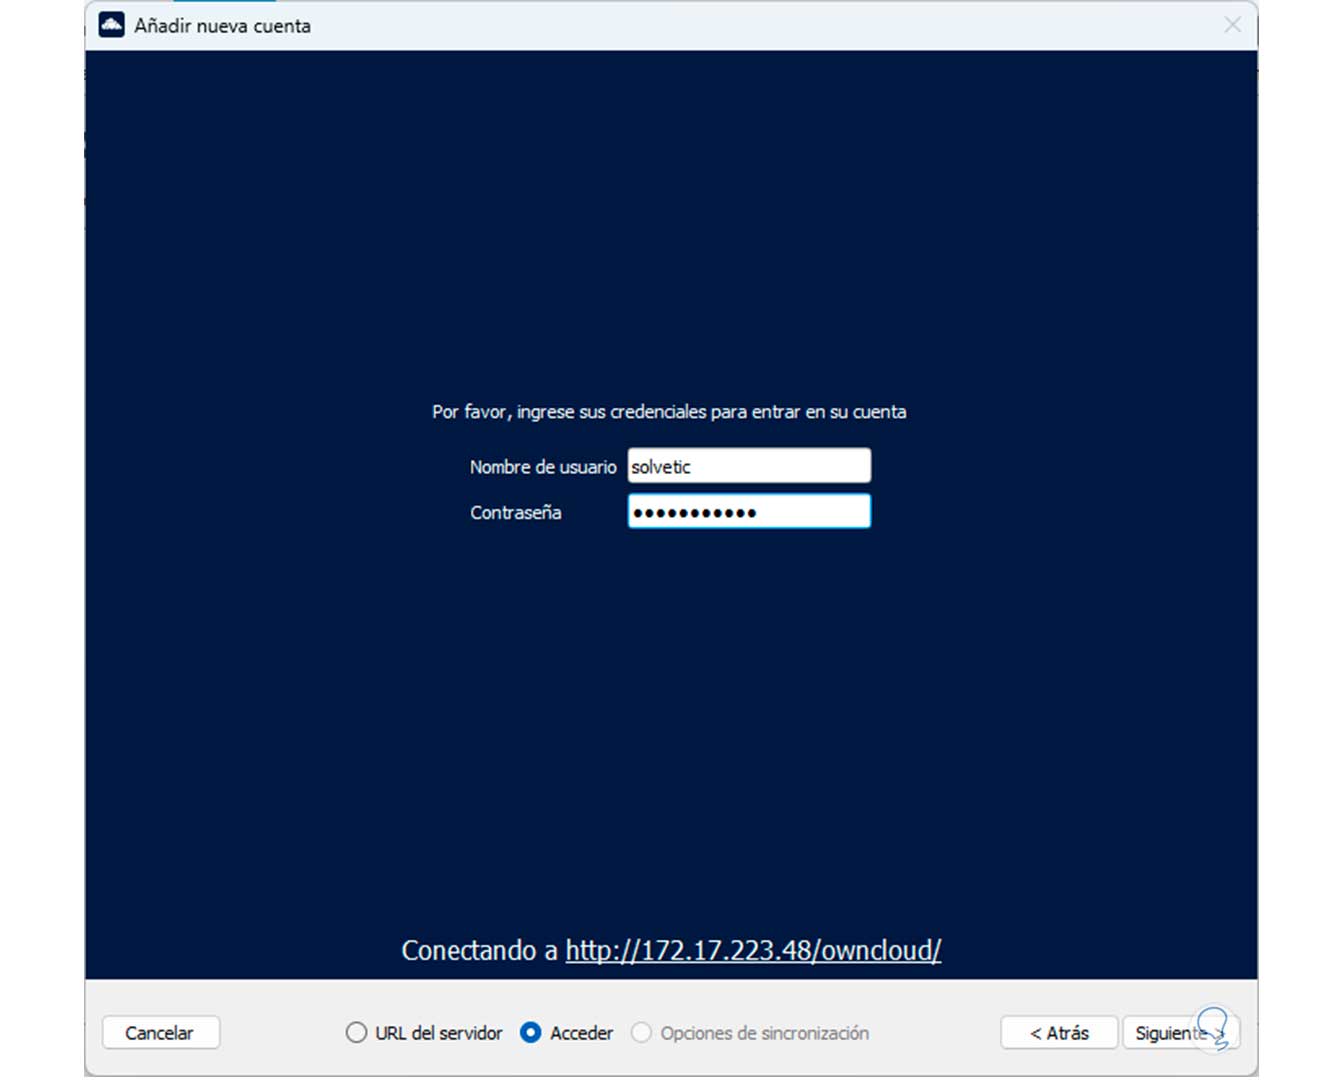
Step 63
Once confirmed, we enter the user:
Step 64
We log in:
Step 65
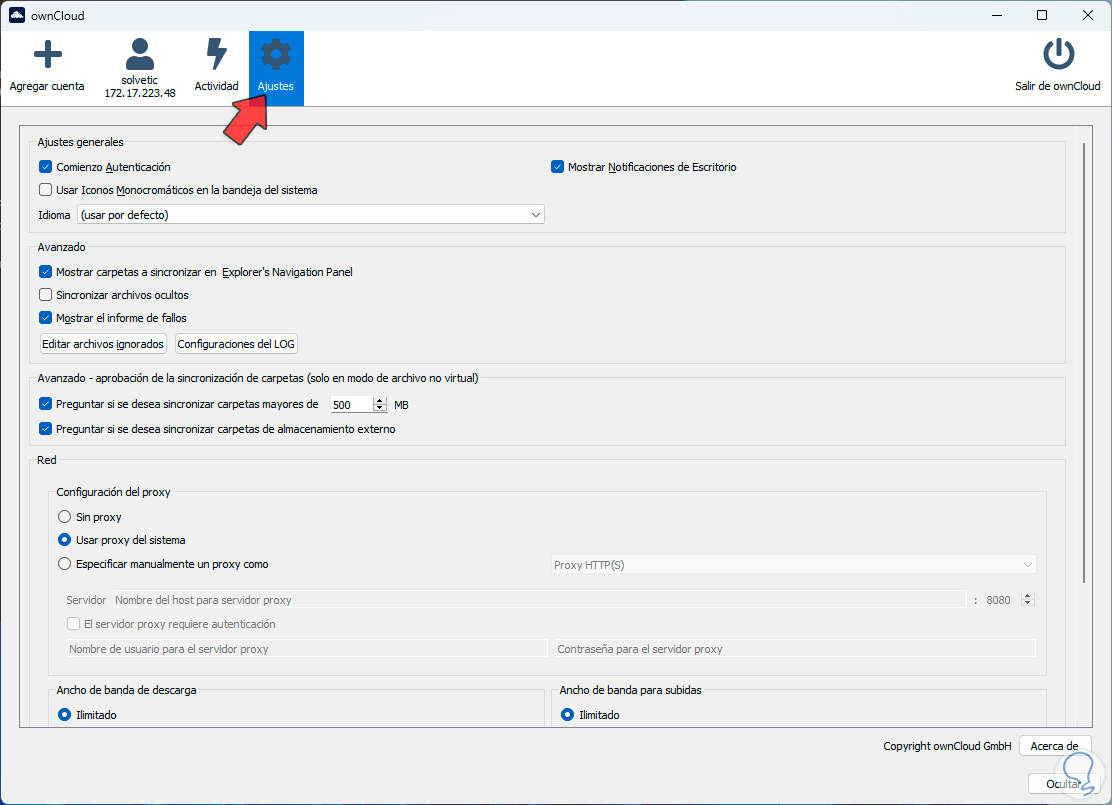
From here it will be possible to perform the necessary tasks and make the required adjustments:
Thanks to OwnCloud it will be possible to manage a wide group of options focused on the cloud.