Every day we use our mobile device for many actions that go beyond the classic calls : We search for information on the Internet, use GPS to find a specific location, exchange emails or take photos or videos on a daily basis..
It is clear that one of the main uses of the mobile and therefore also one of the functionalities to which we give more importance is that of the camera , since recording photos and videos to send to other people or share on social networks are actions that we perform daily through the phones. We often record videos to show something to other people, but it may be that for some specific issue you need to record the terminal screen itself .
For this reason today in TechnoWikis we will explain how to record screen without downloading third-party applications in one of the Apple terminals with more demand among users: The iPhone XR.
Note
In this video you can see the process on an iPhone Xs, but the steps in iPhone XR are similar.
To keep up, remember to subscribe to our YouTube channel! SUBSCRIBE
1. How to enable or disable record screen in iPhone XR Control Center
To access this functionality in a comfortable and easy way, it is best to have it in the terminal control center. For this the steps to follow are these:
Step 1
Click on the "Settings" in the iPhone XR icon menu.
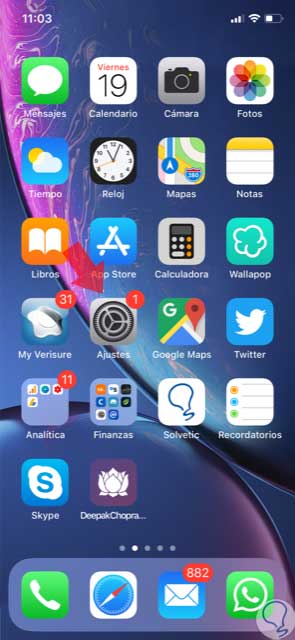
Step 2
Now, swipe to the "Control Center" option and click here.
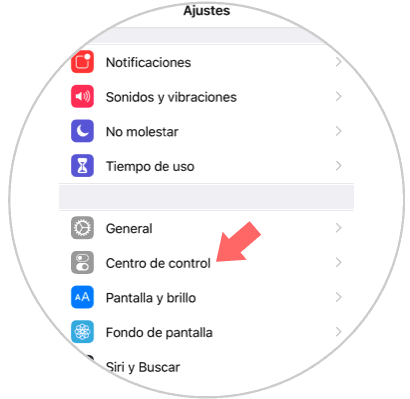
Step 3
In the new screen, click on the last option "Customize controls".
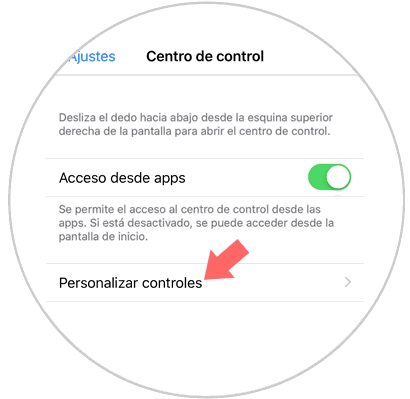
Step 4
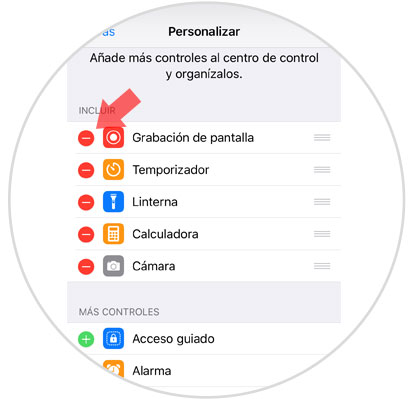
Here you will see the list of tools that we can use directly from the control center in the terminal.
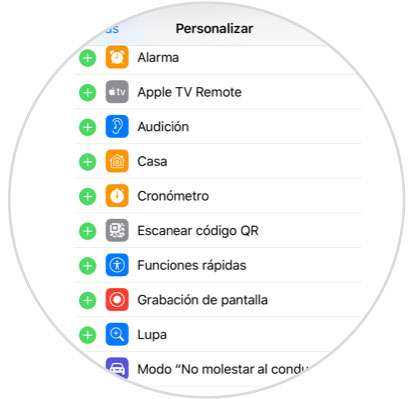
Step 5
Then, you will see the applications that are not included in the control center. Press the "-" icon next to screen recording so that this functionality appears in the control center.
Step 6
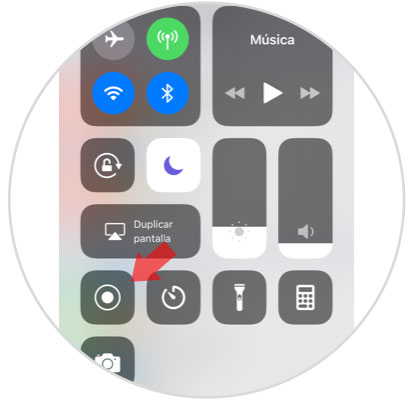
Now, exit to the menu and swipe from the upper right corner of the screen to access the “Control Centerâ€. Here you will see the "Record screen" icon.
2. How to record screen on iPhone XR
Now, with the record screen icon in the control center, the steps to follow are:
Step 1
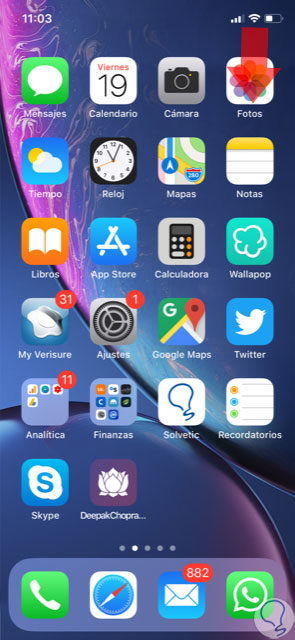
To access the Control Center, swipe from the upper left corner to access the control center.
Step 2
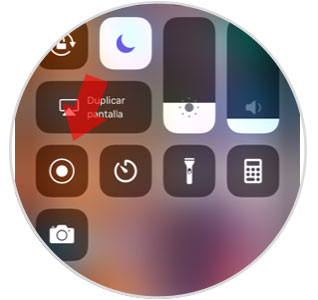
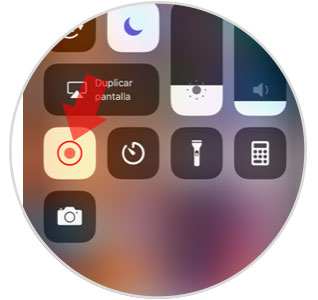
Now, click on the "Record Screen" icon in the control center.
Step 3
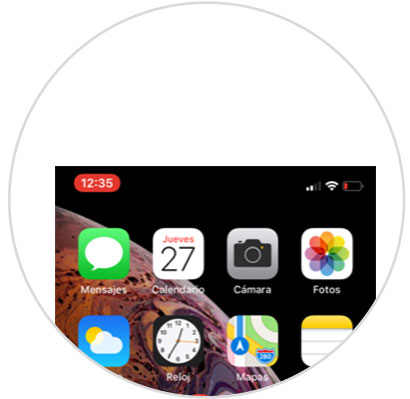
When the screen is being recorded, in the upper left corner you will see a red icon that will indicate that the screen is being recorded.
Step 4
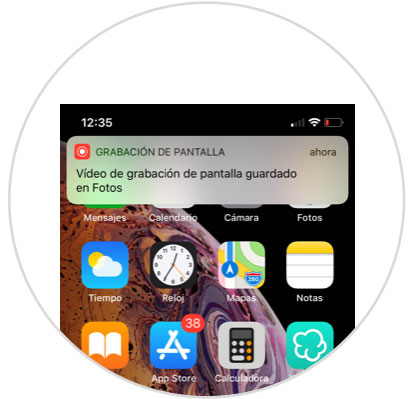
When you finish recording, it will be registered in the Phone Gallery.
It's that simple to record screen on Apple's iPhone XR terminal..