Valorant has been developed by Riot Games as a Shooters game (shooting), the objective of the game is to make use of multiplayer first-person shooters (FPS) where one team attacks and another defends, Valorant has a duration of 25 rounds and each of they have a time of 100 seconds, the first team to win 13 rounds will be the winner. All this is striking but there is an error that will not let us win a single round and it is the access error to Valorant due to TPM 2.0, if the same famous TPM that caused so much trouble to install Windows 11 and Valorant followed in the footsteps of Windows and if you don't have TPM 2.0 active, it simply won't open..
TPM 2.0 or Trusted Platform Module version 2.0 is a small hardware device on the motherboard of the computer which has features focused on security, TPM 2.0 is implemented in Windows 11 to increase its features such as Windows Hello for identity protection and BitLocker for the protection of user data.
Another key component is the Secure boot or Secure boot, this secure boot is directly linked to Windows UEFI and its task is to prevent the execution of any unsigned or certified software directly at system boot, thus protecting the entire system and user information ..
If you have the Valorant error regarding TPM 2.0 in this tutorial we explain how to correct it and be able to play the games.
To stay up to date, remember to subscribe to our YouTube channel!
SUBSCRIBE ON YOUTUBE
1 Enable TPM in Windows 11
Step 1
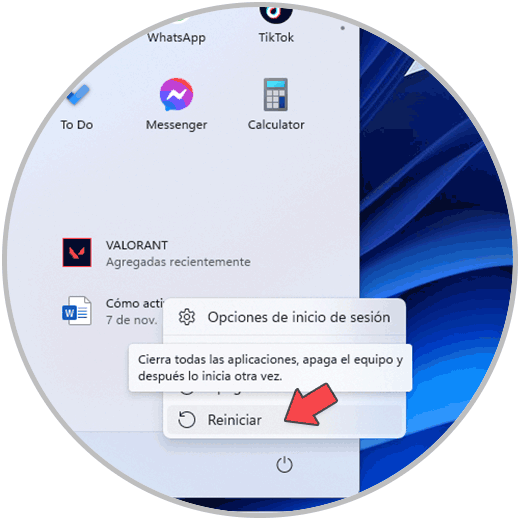
Naturally the first step will be to activate the TPM which must be done directly on the motherboard, for this we restart Windows 11:
Step 2
The system will be rebooted:

Step 3
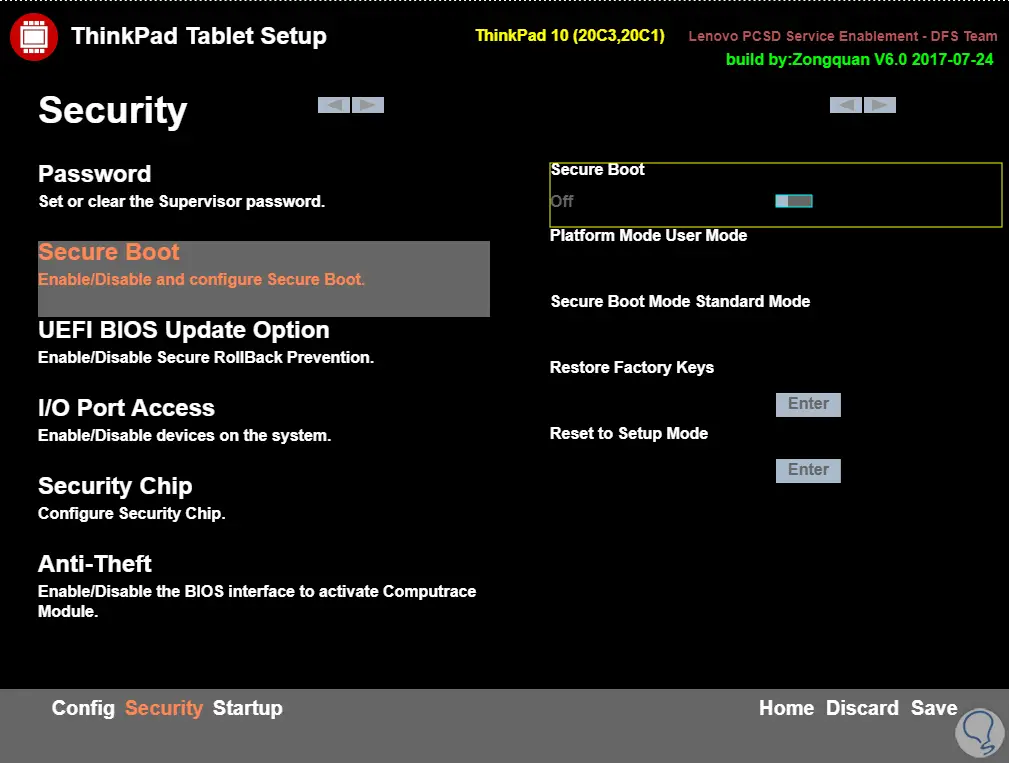
During the reboot we access the BIOS/UEFI using the Delete, F12, Esc, etc. keys. We can see different types of plates based on the equipment used, some may have this design:
Step 4
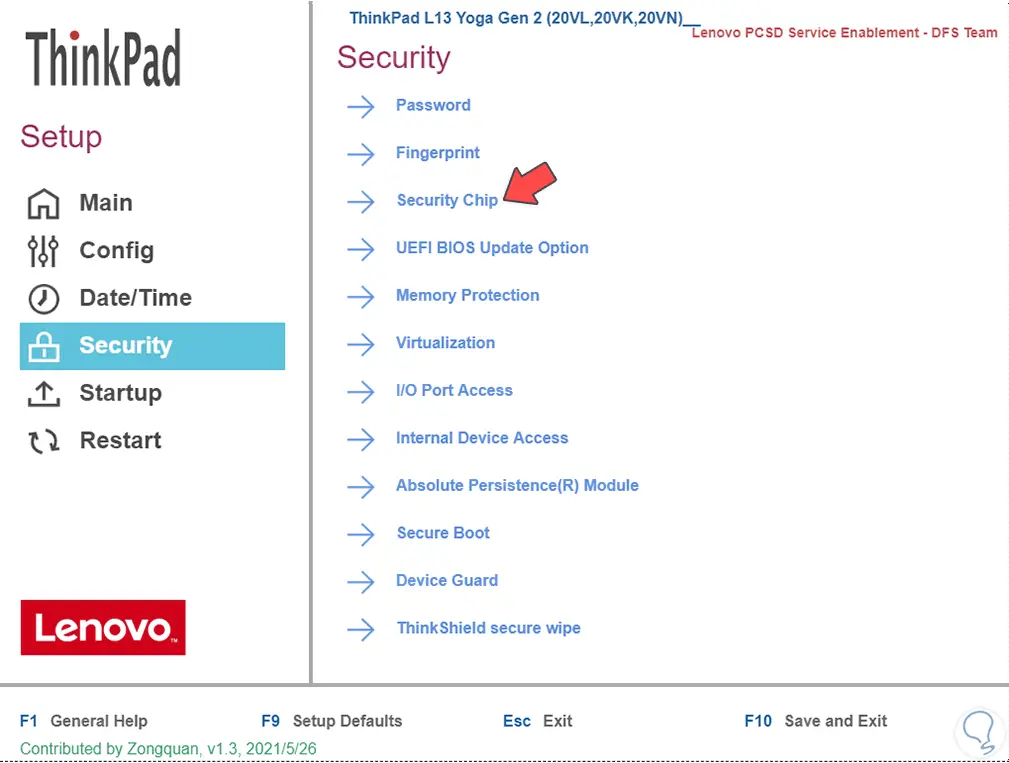
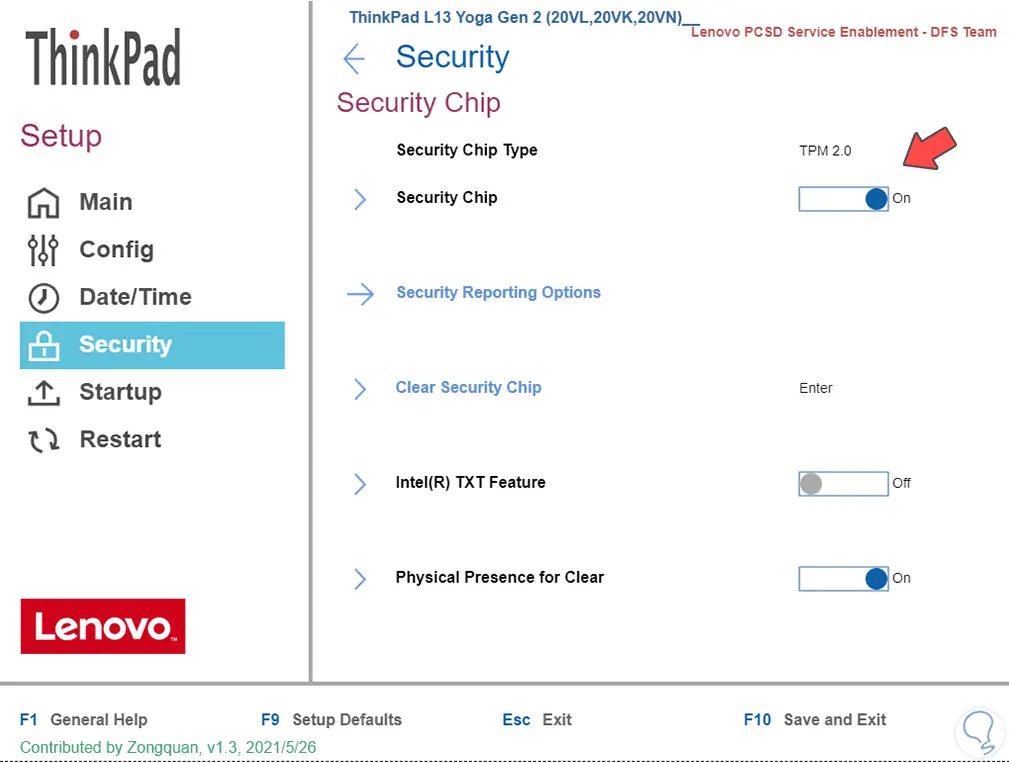
In other cases it may be so. In the security section "(Security) we click on "Security Chip" to see the following:
step 5
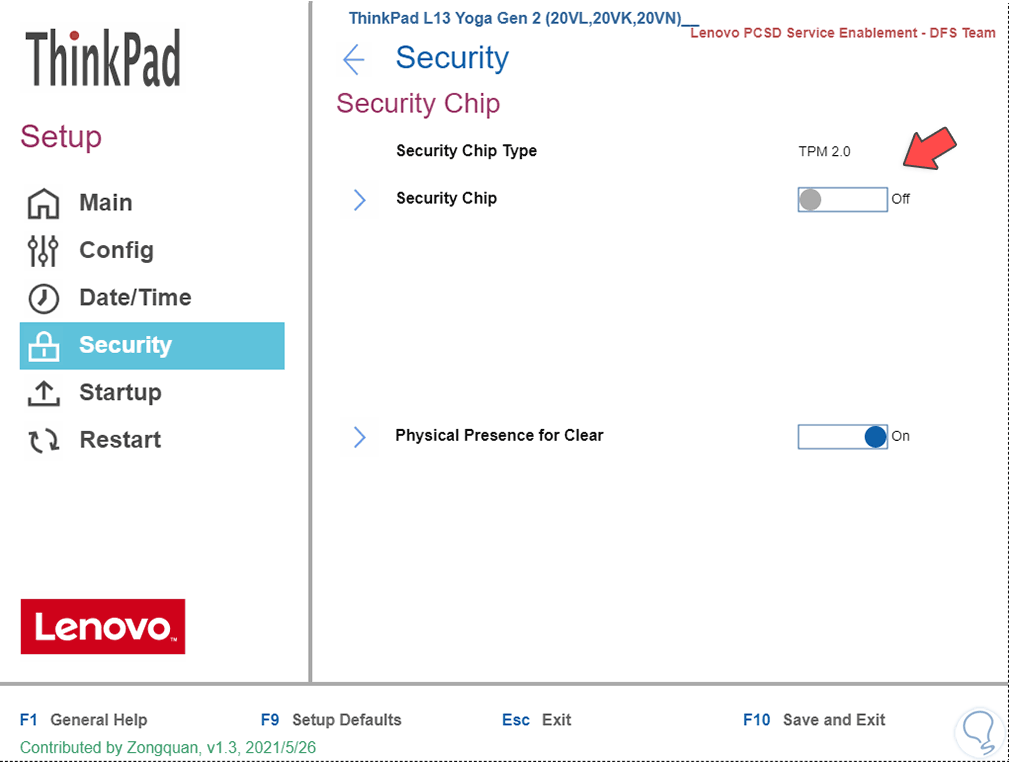
We enable TPM 2.0 by activating its switch:
step 6
We will see the TPM 2.0 already activated
step 7
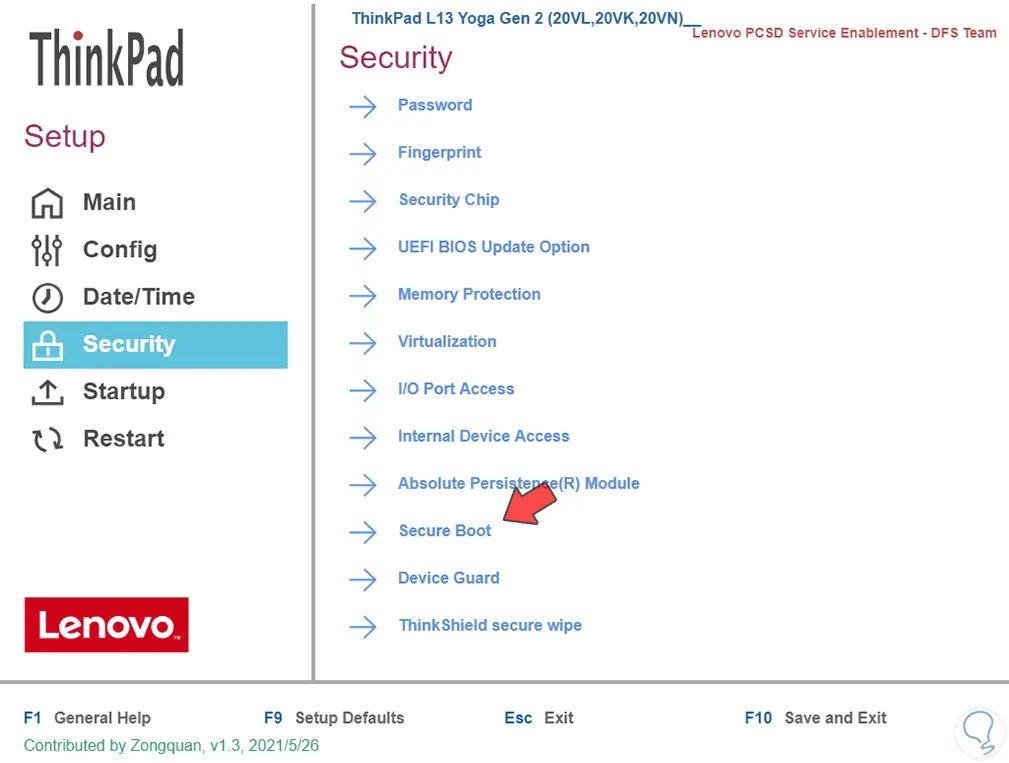
Now we go back to the Security section:
step 8
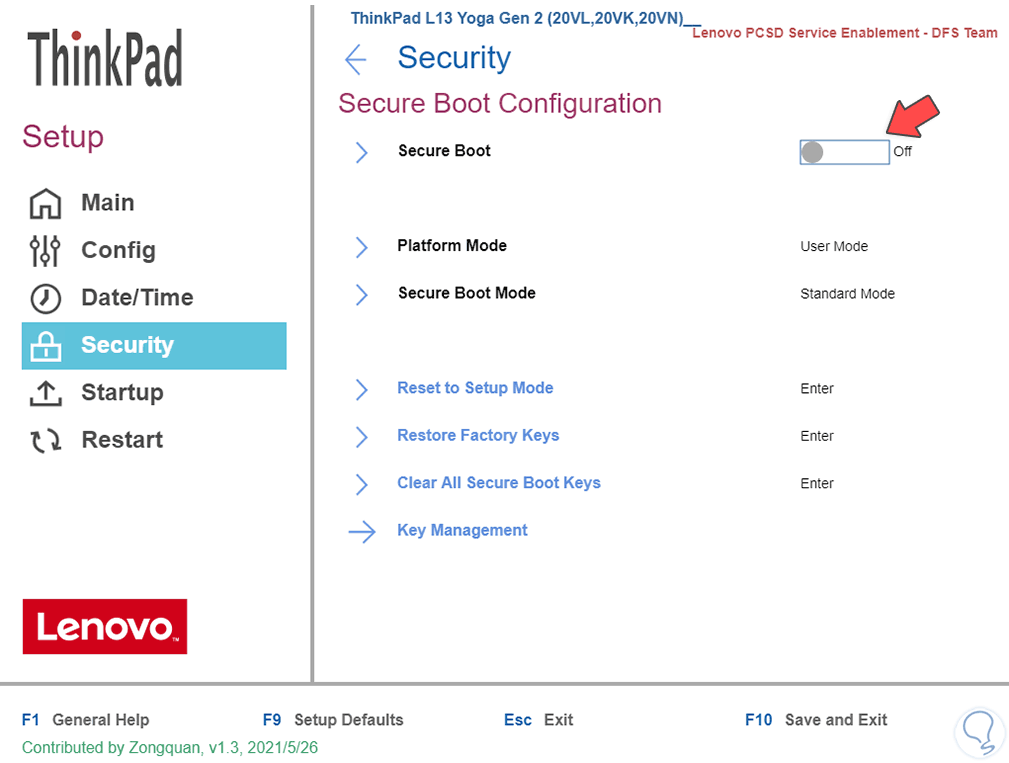
We click on "Security Boot" to see the following:
step 9
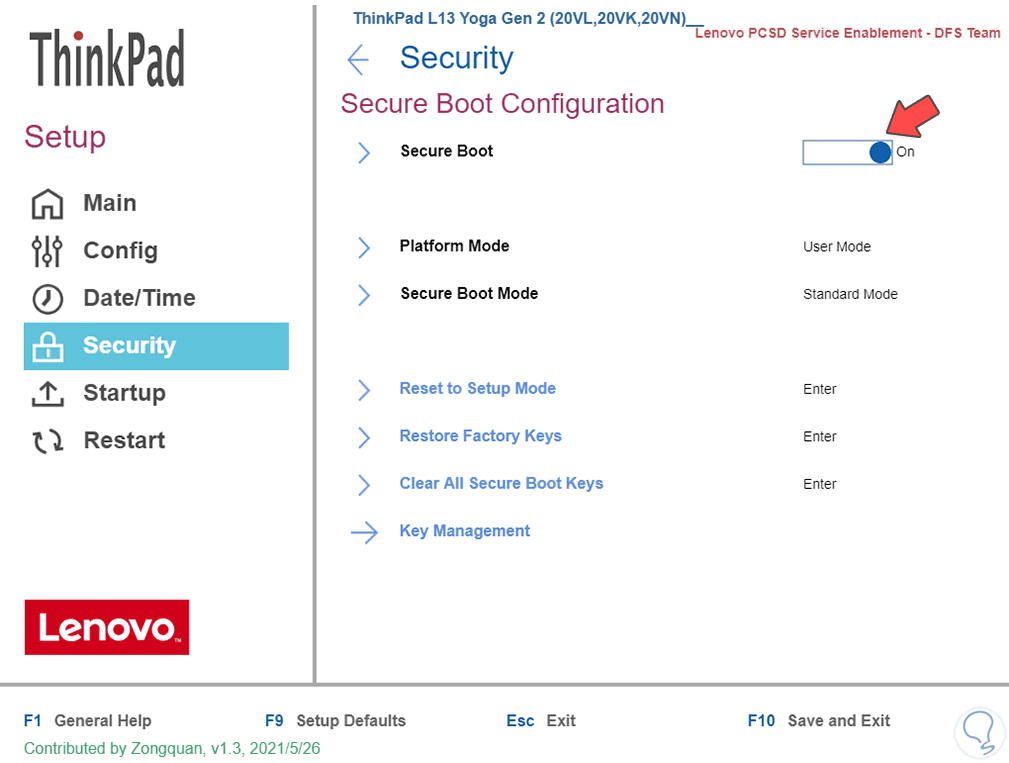
We enable Secure Boot (secure Boot) by activating its switch. We apply the changes with the F10 key and restart Windows.
step 10
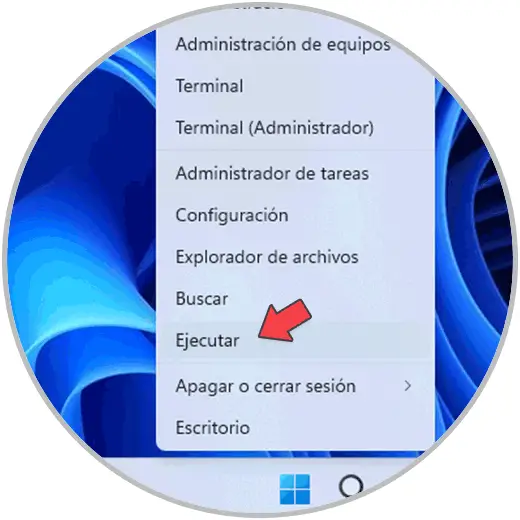
When we log in we open Run:
step 11
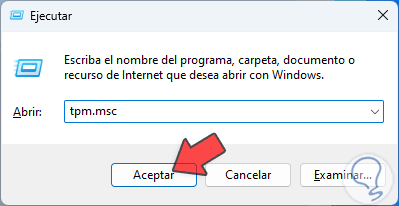
We enter "tpm.msc".
step 12
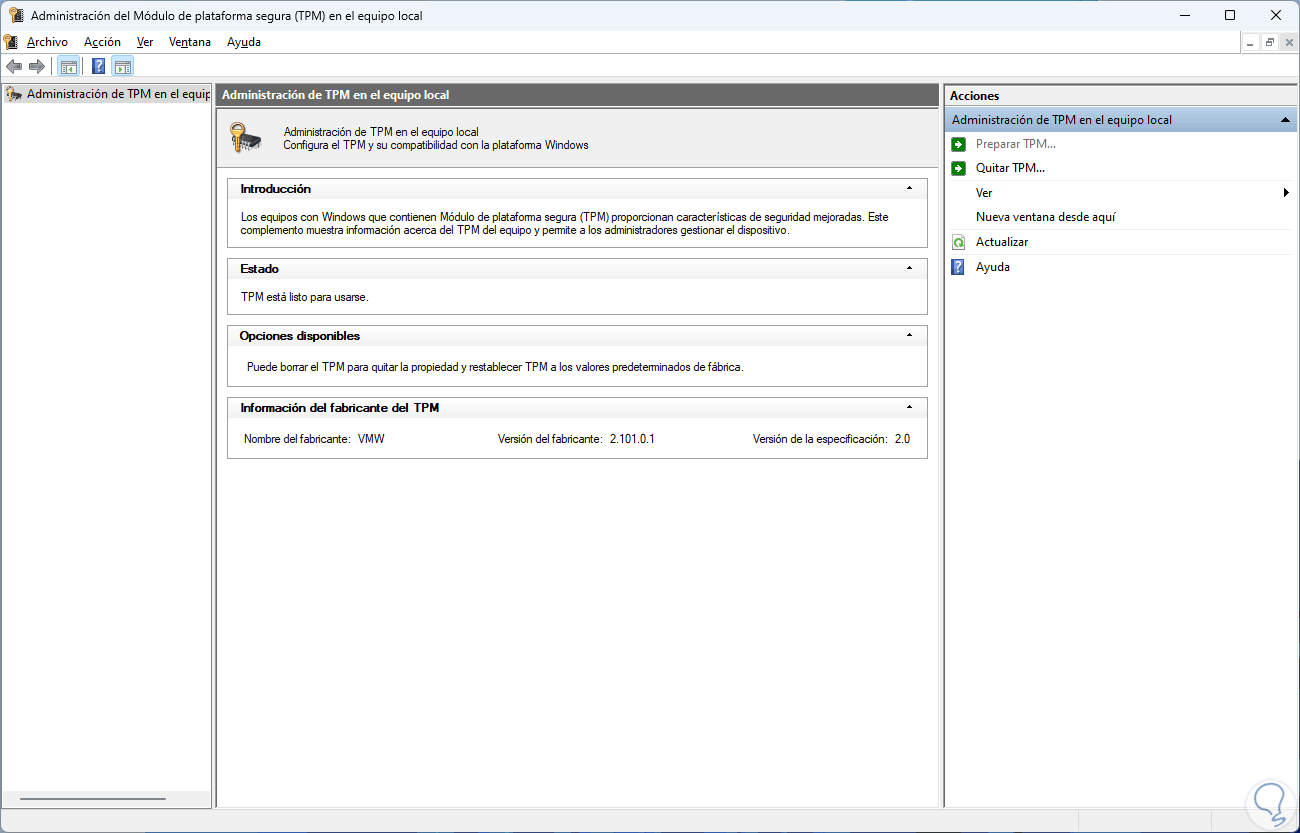
We click OK to confirm that the TPM is active and see some of its properties:
step 13
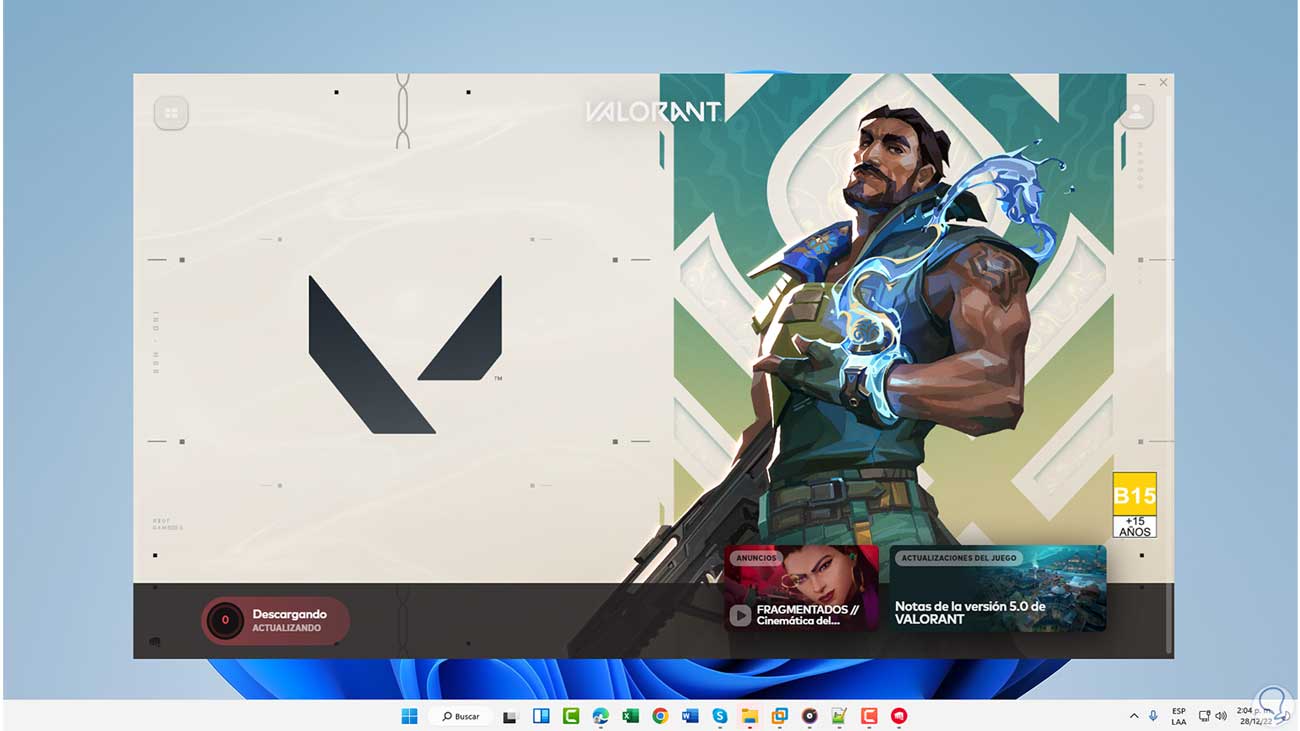
Open Valorant:

step 14
We log in and we will see that we have access without TPM 2.0 errors:
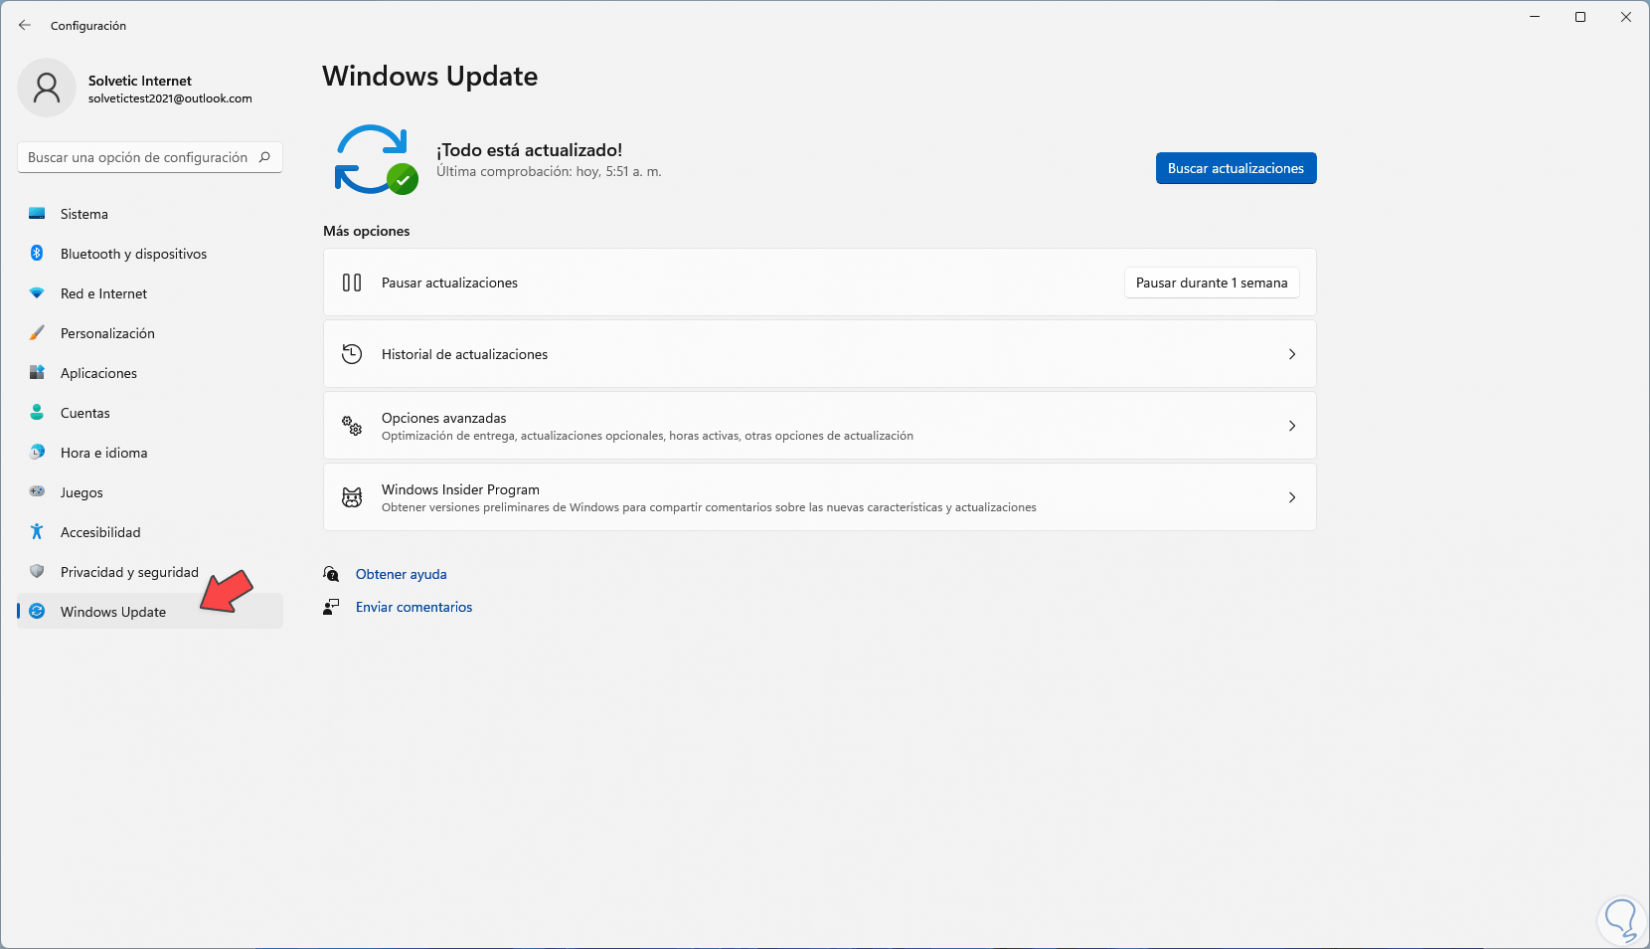
2 Update Windows 11
A TPM 2.0 error in Valorant can occur due to a lack of system updates, let's remember that there are different types of updates and some of them can help correct the error
Step 1
We are going to:
Step 2
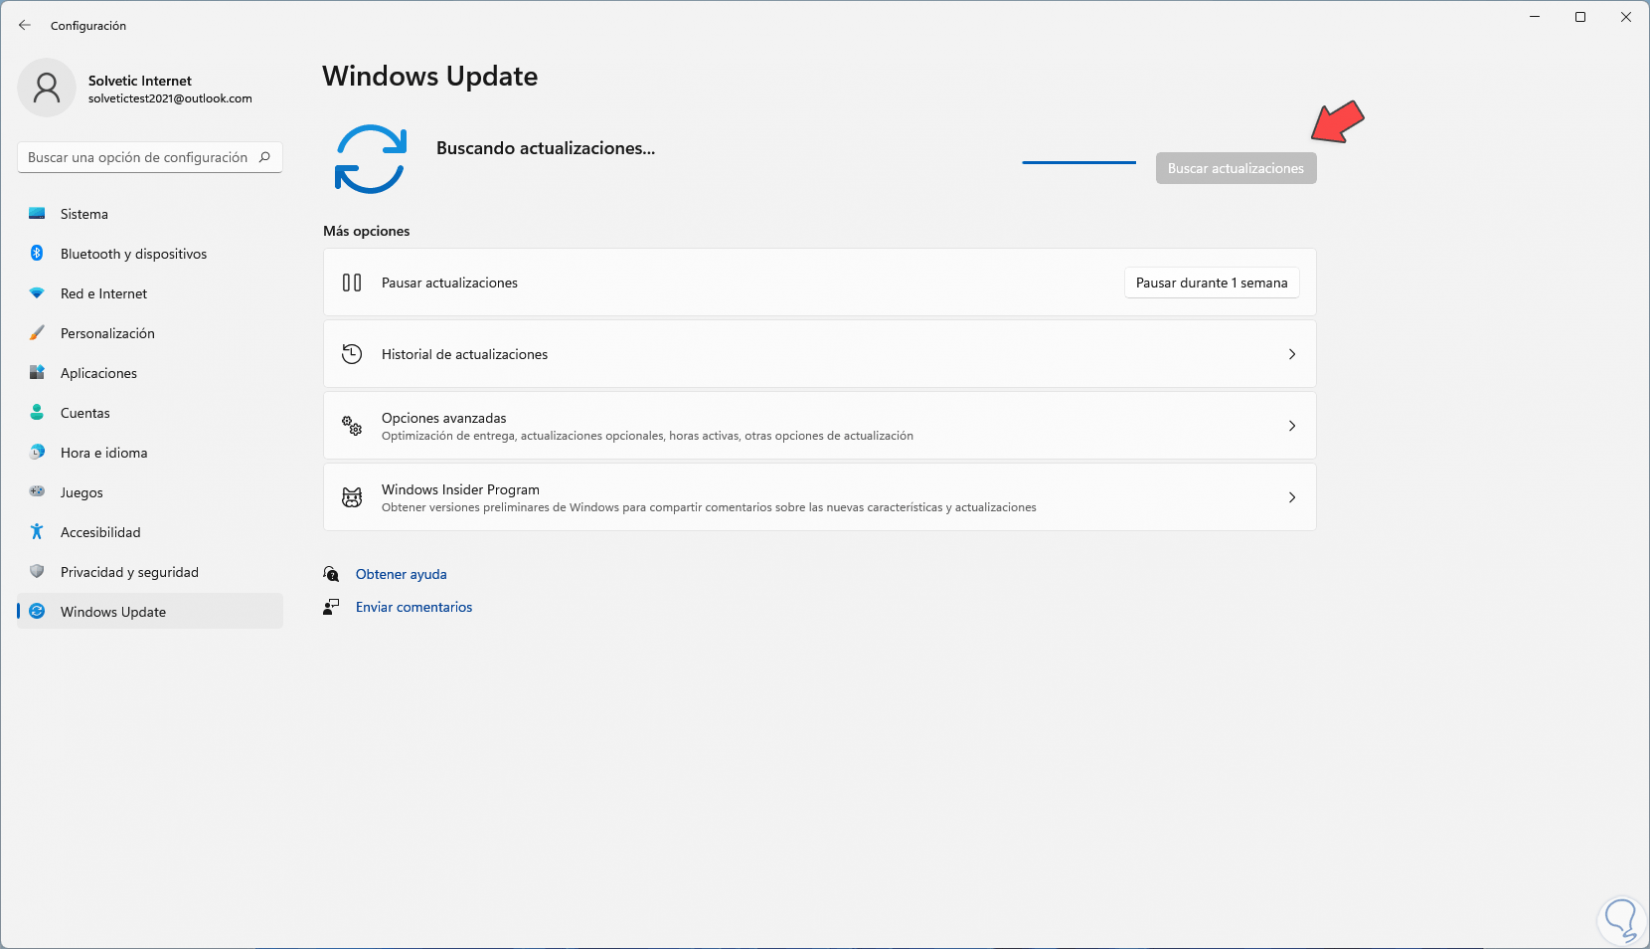
We click on "Check for updates" to see if there are updates available:
Step 3
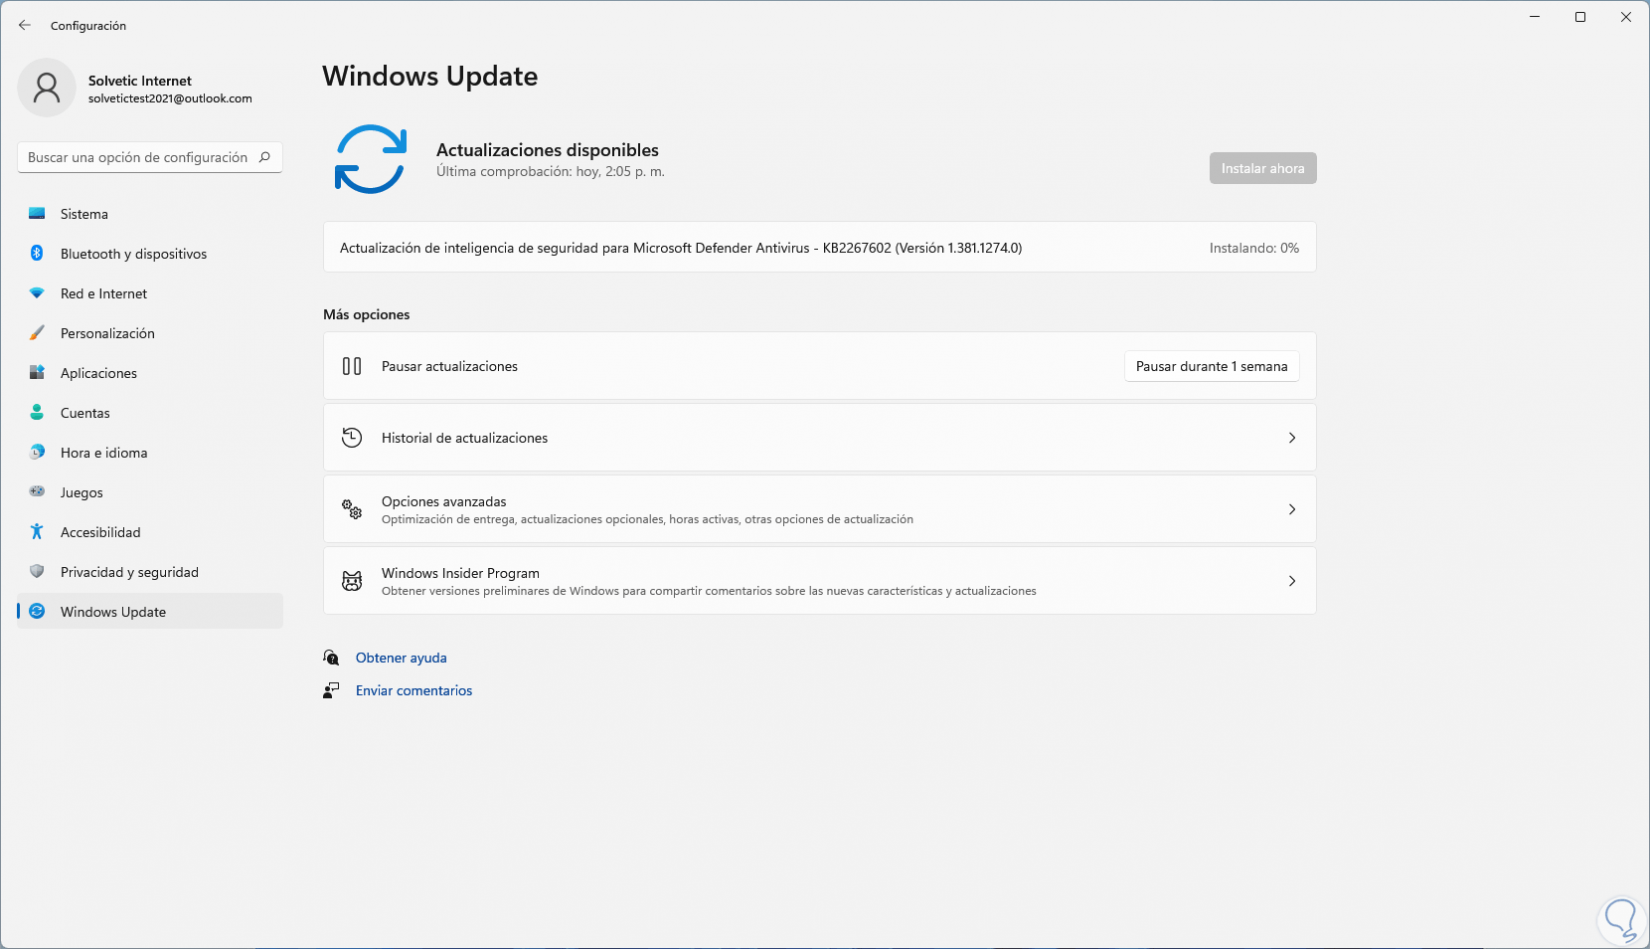
We wait if they exist to be downloaded:
Step 4
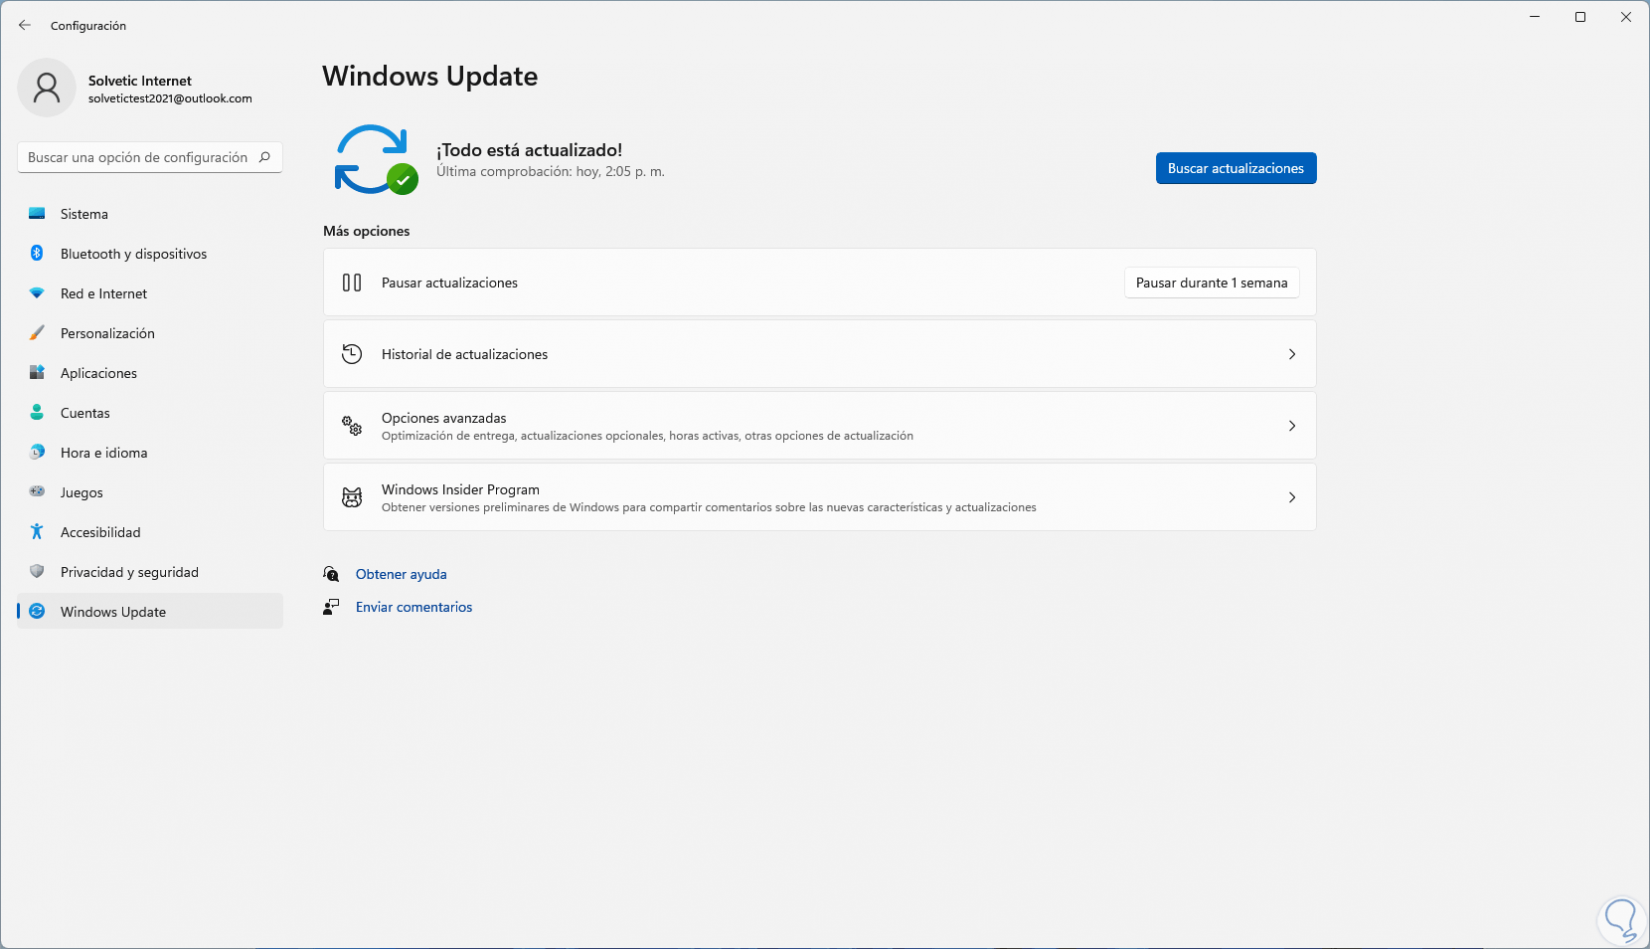
Once they are installed we will see the following:
step 5
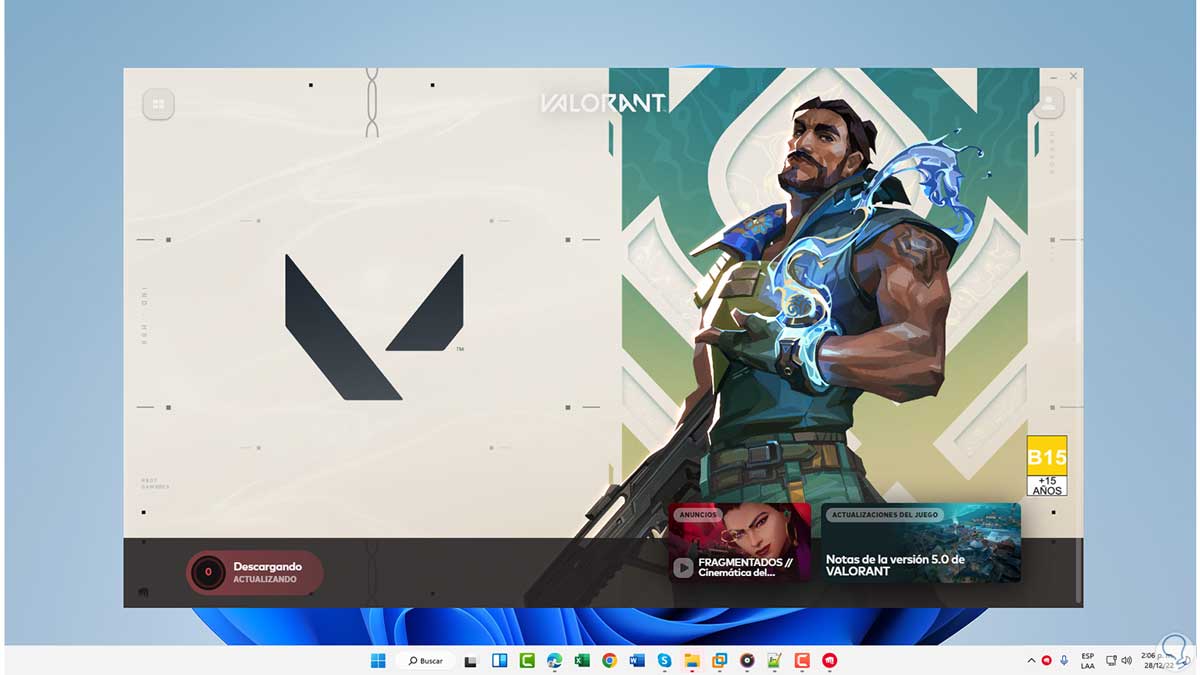
Open Valorant without the TPM 2.0 error:
3 Configure TPM in Windows 11 Registry Editor
It will finally be possible to make a change to a registry editor file so that Valorant can access it without the TPM 2.0 error on Windows 11.
Step 1
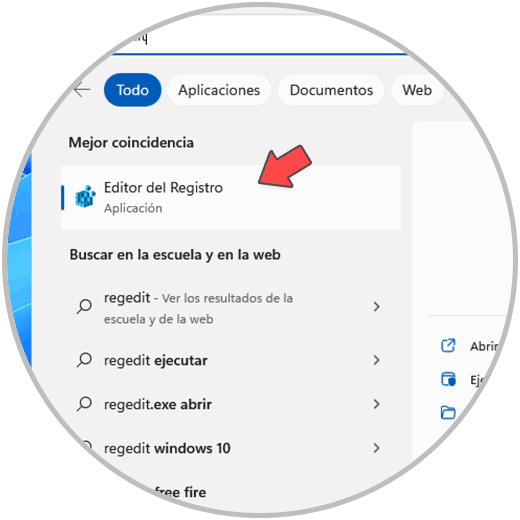
To do this we open the Registry Editor:
Step 2
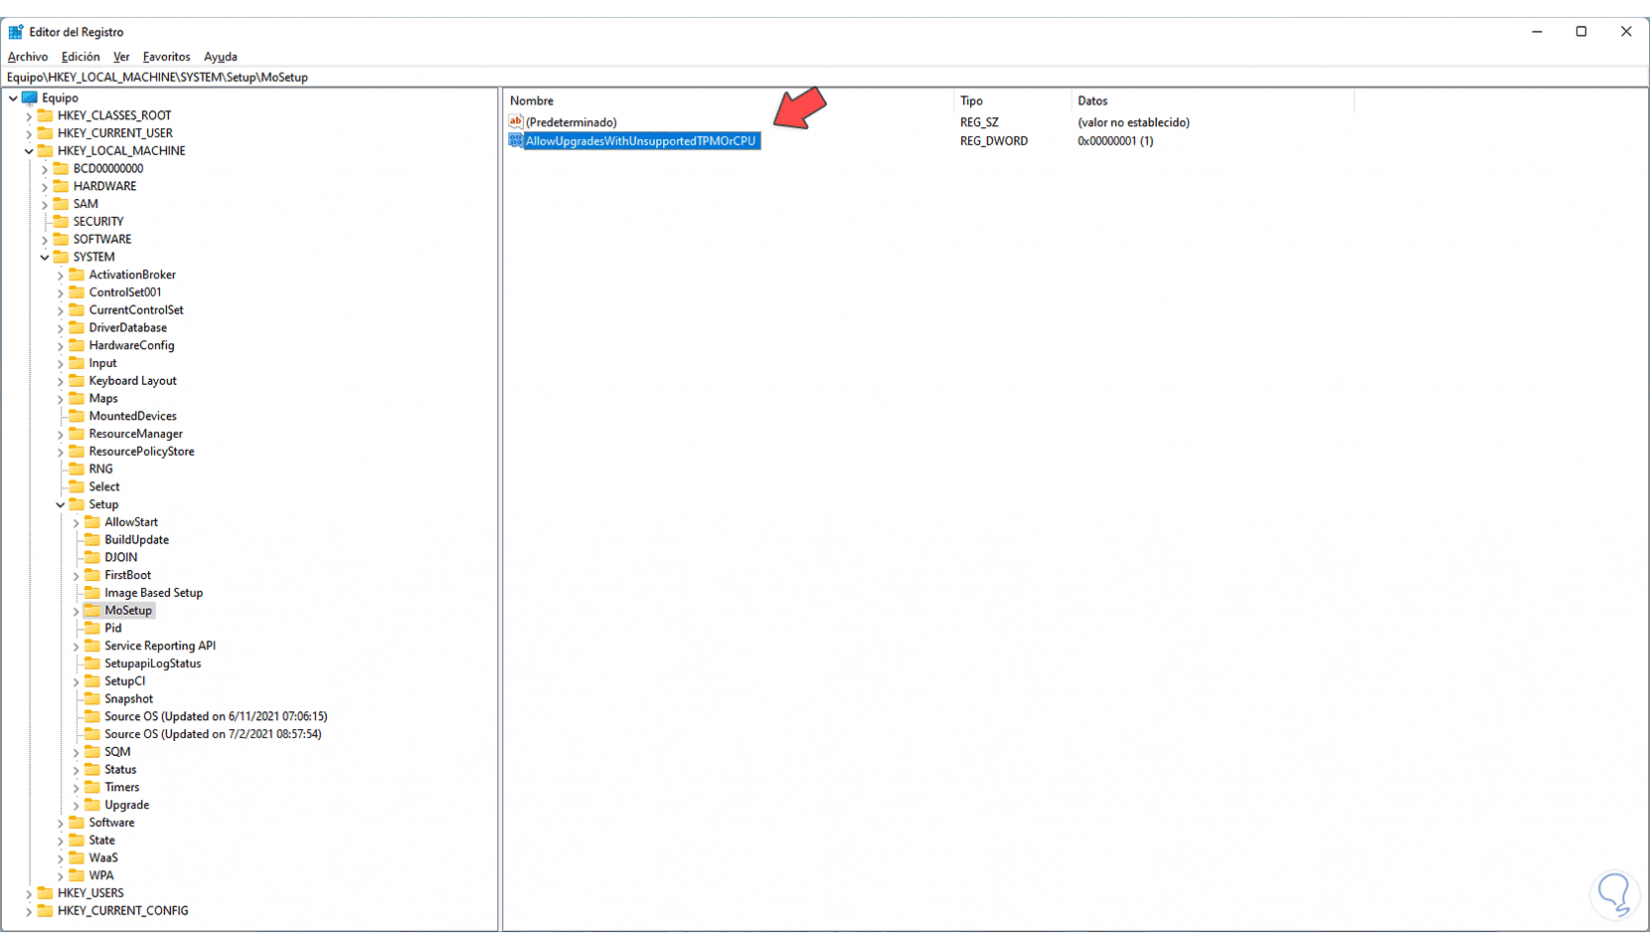
Let's go the route::
HKEY_LOCAL_MACHINE - SYSTEM - Setup – MoSetup
Step 3
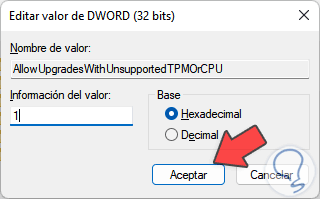
This is a key related to Windows 11 boot settings, there we double-click on the "AllowUpgradesWithUnsupportedTPMOrCPU" value to see its properties:
Step 4
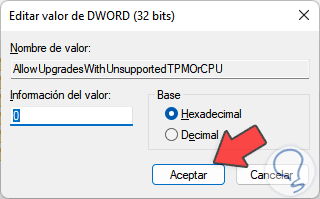
Set the value 1:
This AllowUpgradesWithUnsupportedTPMOrCPU value allows updates where TPM is not supported so that it will be possible to access Valorant without the error in question..
step 5
We apply the changes and open Valorant:
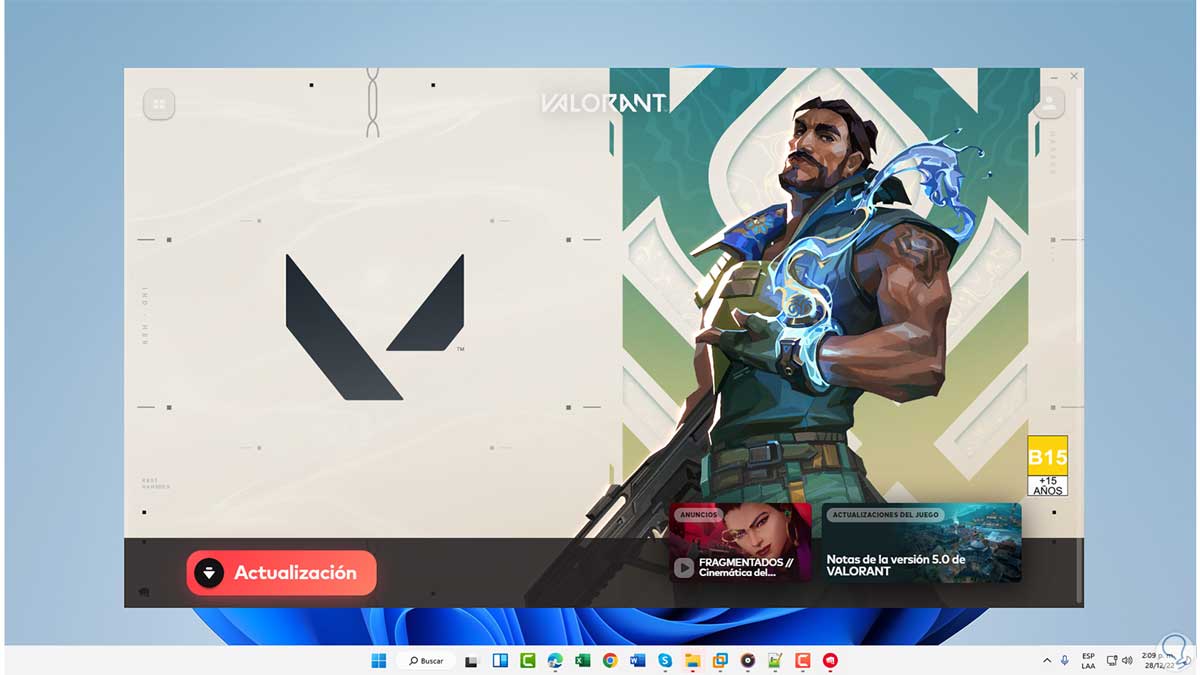
These are the ways available to allow Valorant to open in Windows 11 without the TPM 2.0 error and thus enjoy the available games.