Every day we handle various types of information on our computer, which can be represented in folders or individual files, but there are also images, audio and all kinds of elements that we can use on our PC. For security and availability of information, one of the most practical methods is to upload the most relevant data and files to the cloud..
This guarantees that from anywhere in the world where we have access to our account we can manage said files and its biggest advantage is security and stability since they are stable servers that have the best security protocols. TechnoWikis will explain how to make a backup copy of our PC (most relevant files in the cloud) and thus guarantee their availability.
To stay up to date, remember to subscribe to our YouTube channel!
SUBSCRIBE ON YOUTUBE
How to make a backup of our PC in the cloud
In this case we will use Google Drive, it is integrated into our Google account and allows us to have 15 GB of free storage, if more space is required we can buy one of the available plans, and Google Drive has key functions such as:
Keys in Google Drive
- Built-in protections against malware, spam and ransomware in order to preserve the integrity of the elements.
- Advanced search function.
- Drag and drop function supported.
- Featured folders and files feature.
- We can automatically convert uploaded files to the Google Docs or Google Sheets editor format.
Step 1
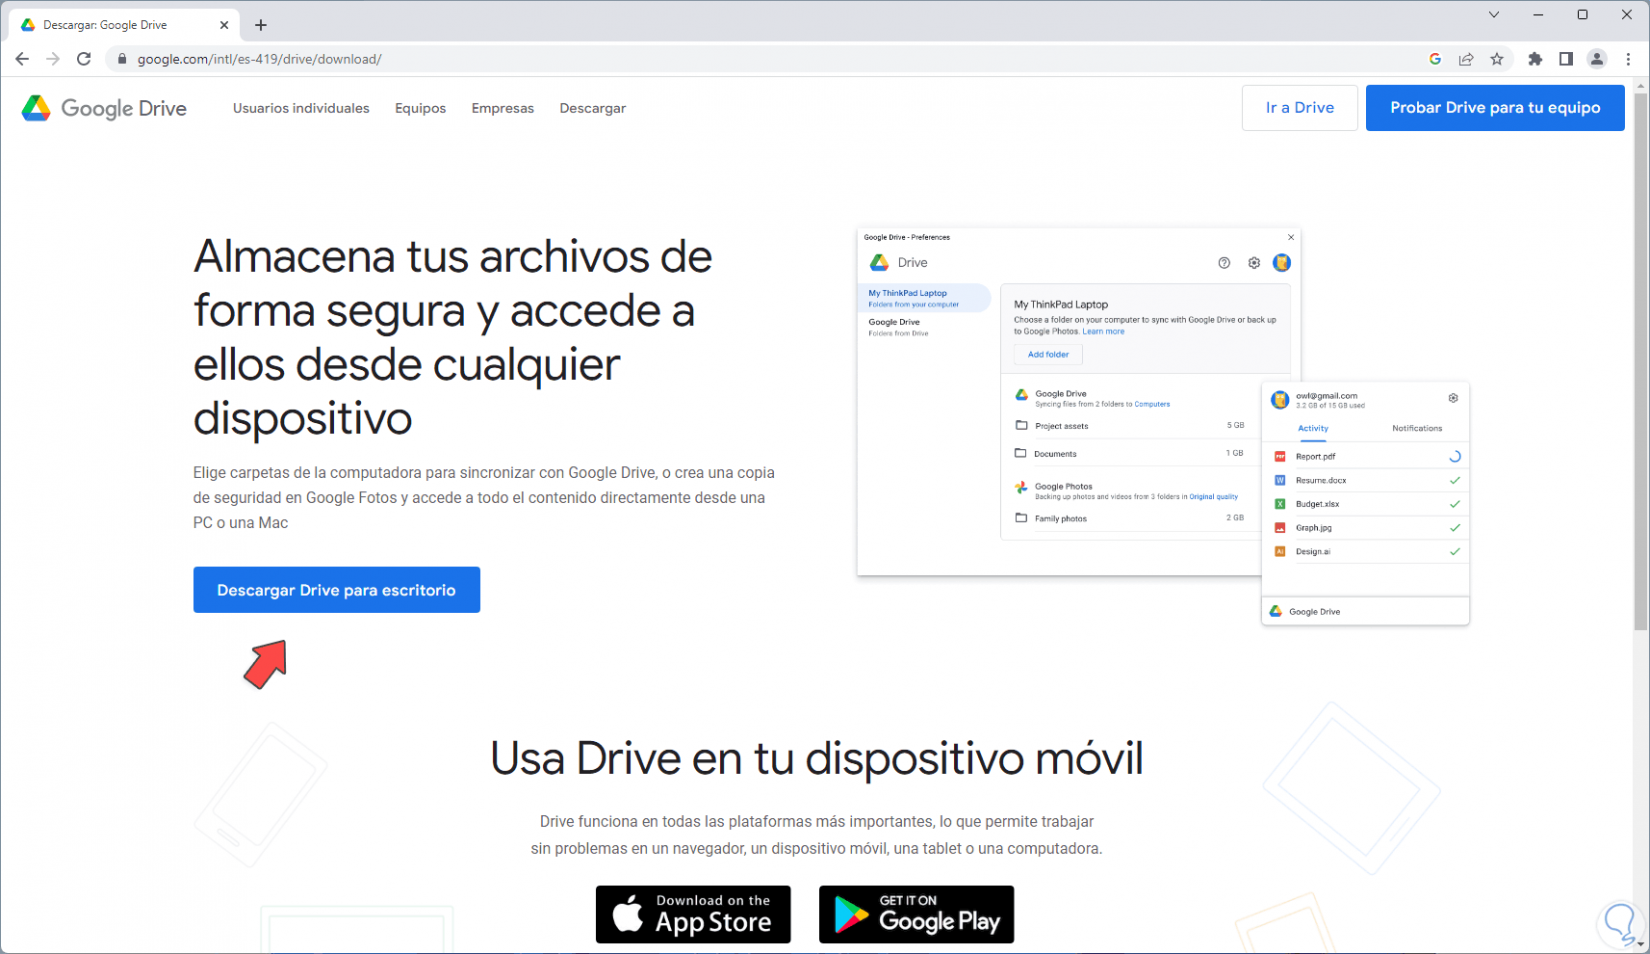
To start our process we will go to the following URL:
Google Drive
Step 2
Download Google Drive for desktop or computers:
Step 3
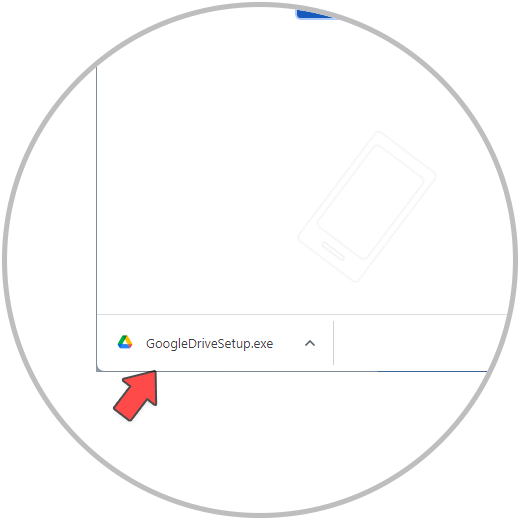
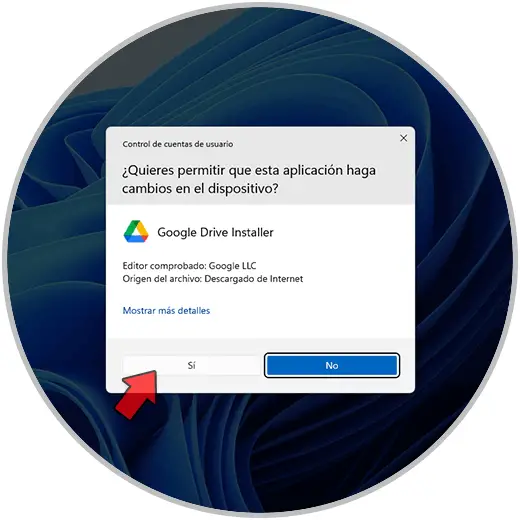
We execute the file and confirm the UAC permissions:
Step 4
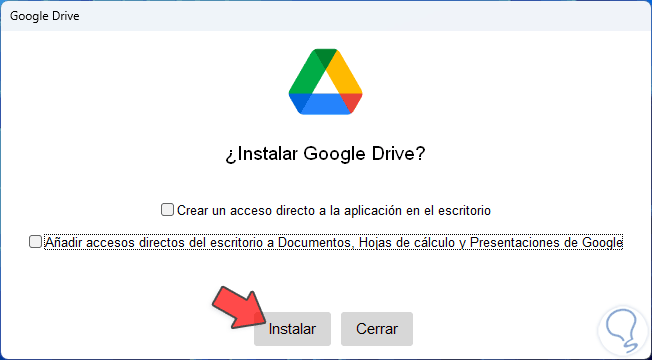
After this the installation wizard will be launched:
step 5
We can activate the boxes to create the shortcuts, click on "Install" to start the process:
step 6
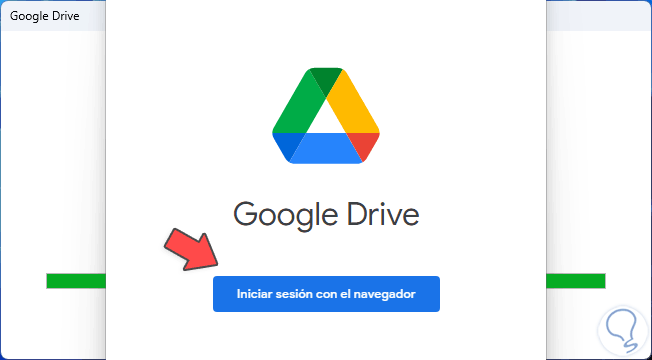
In the event that Google Chrome has not been logged in, we will see the following:
We click on “Login with the browser”..
step 7
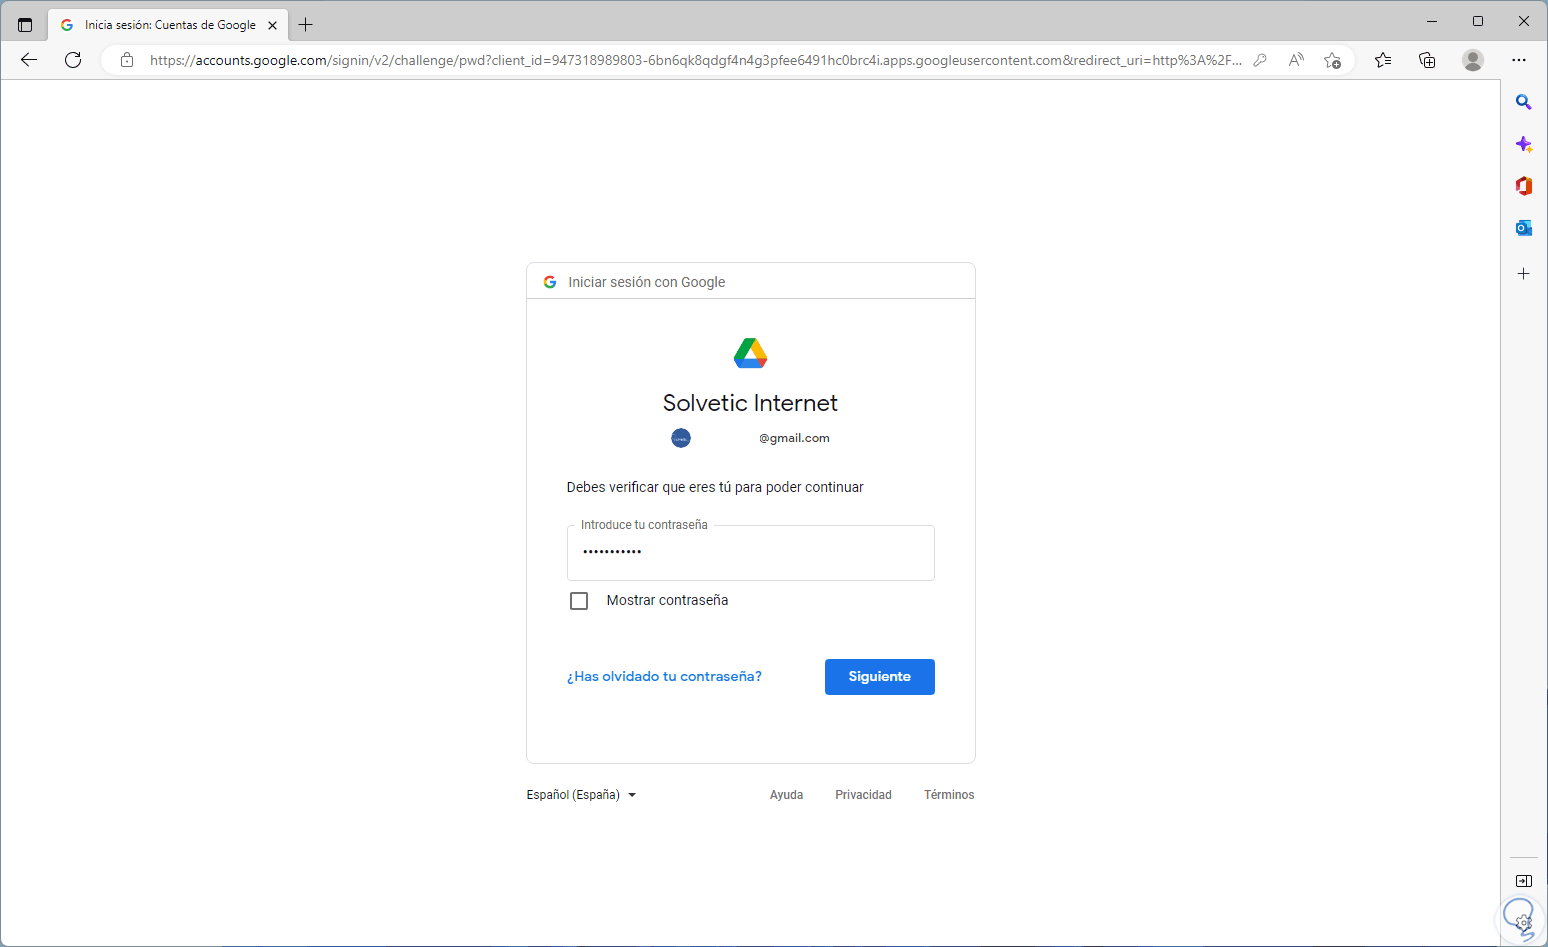
We will be redirected to a browser to log into Google:

step 8
We enter the password:
step 9
We click Next to see this:
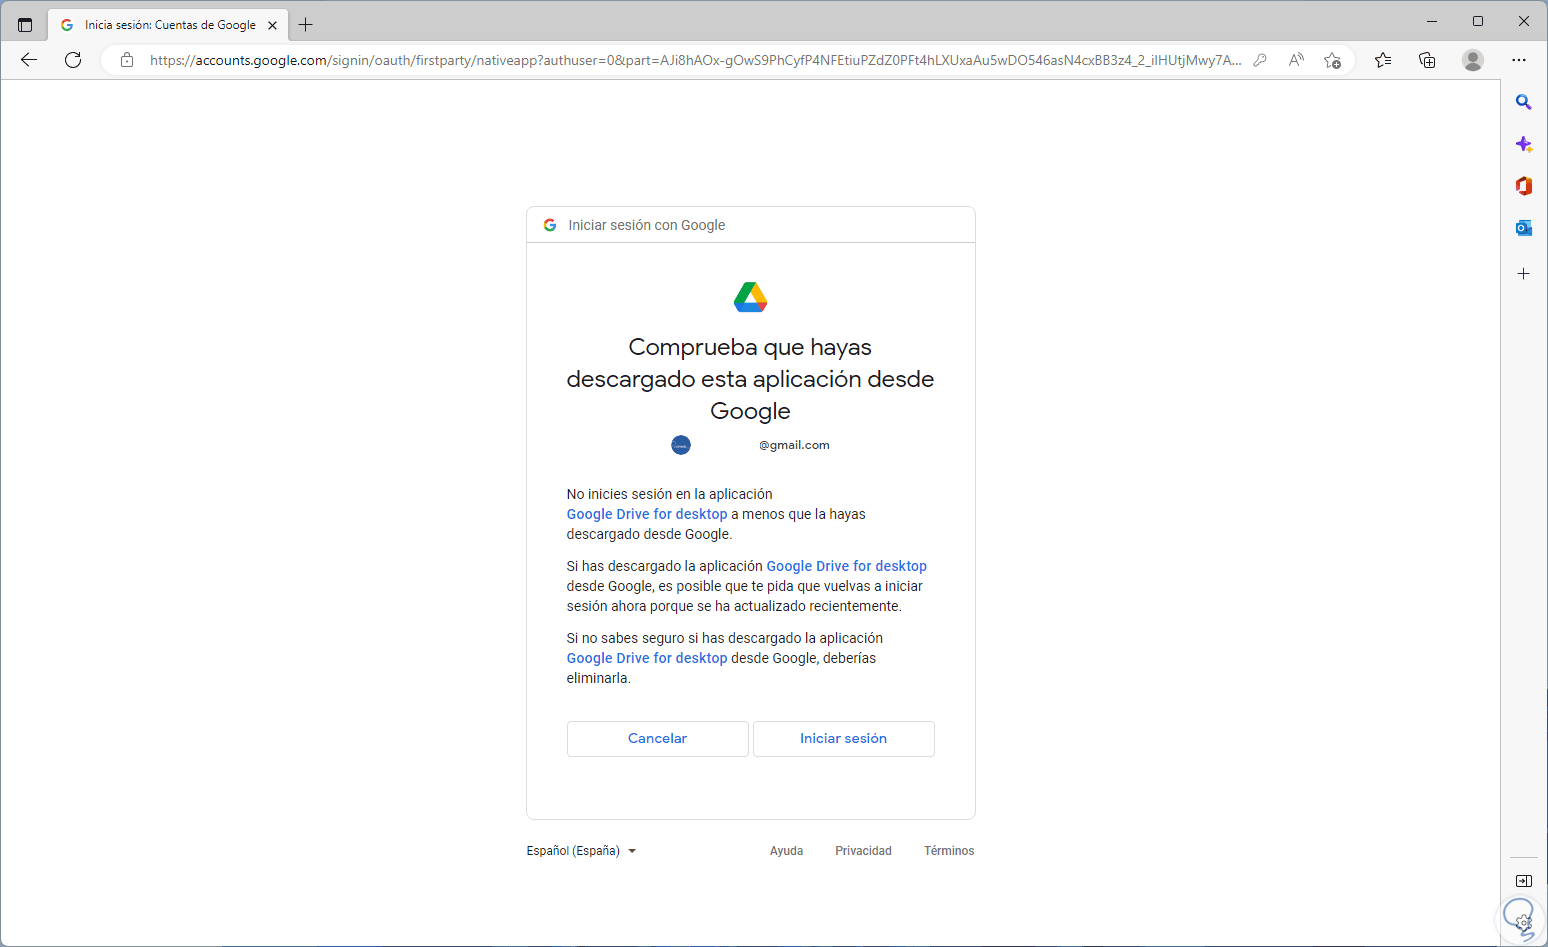
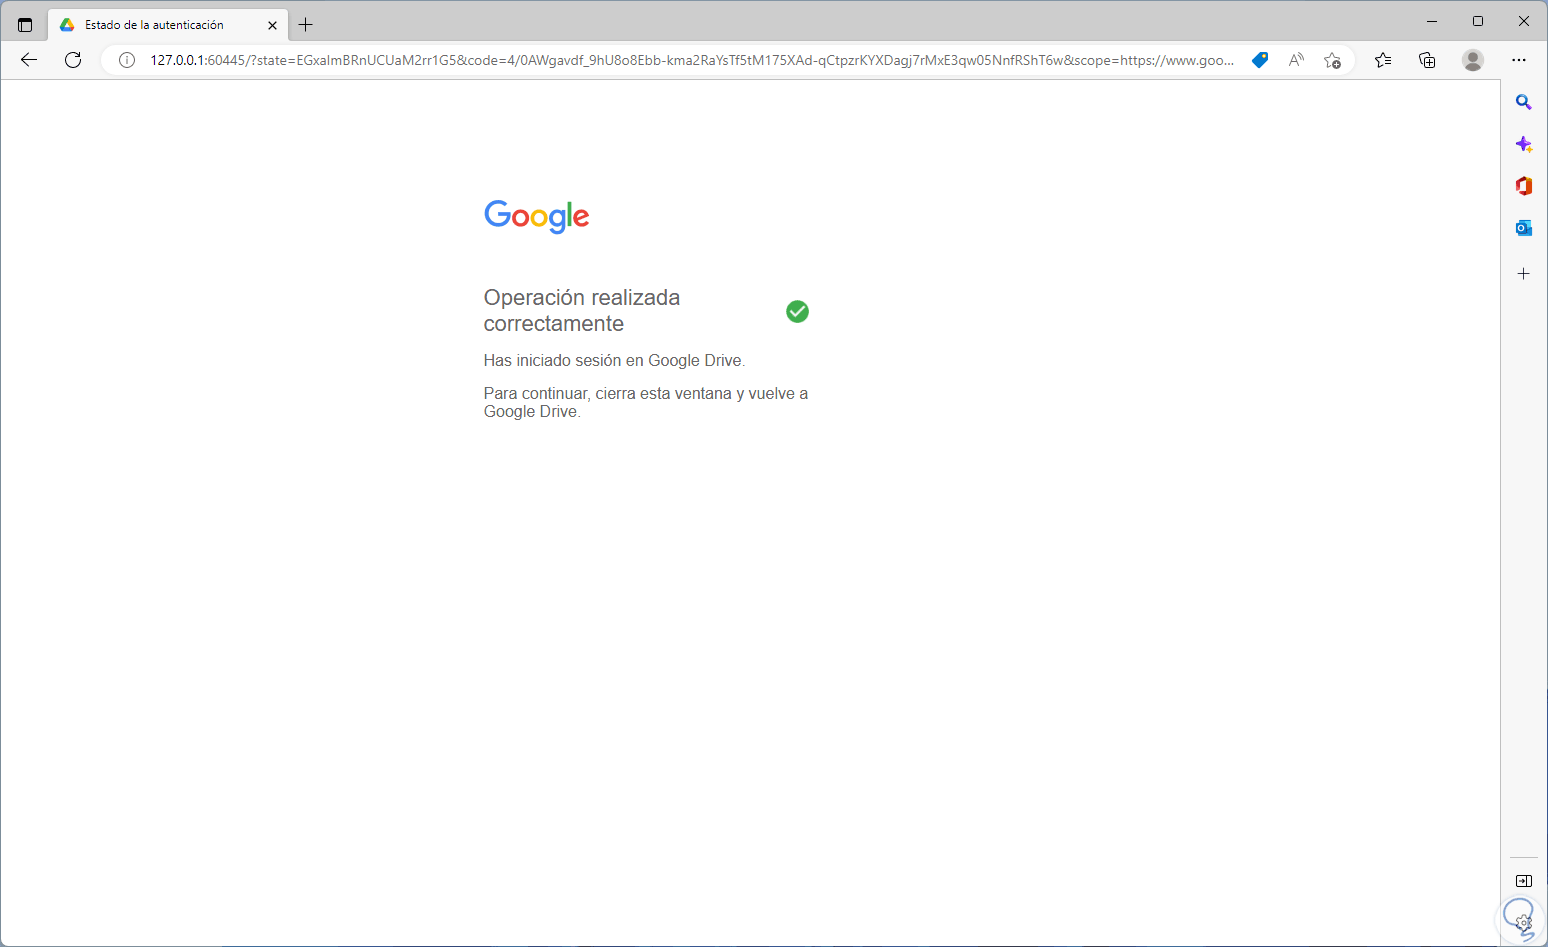
step 10
We click on "Login" to complete the process:
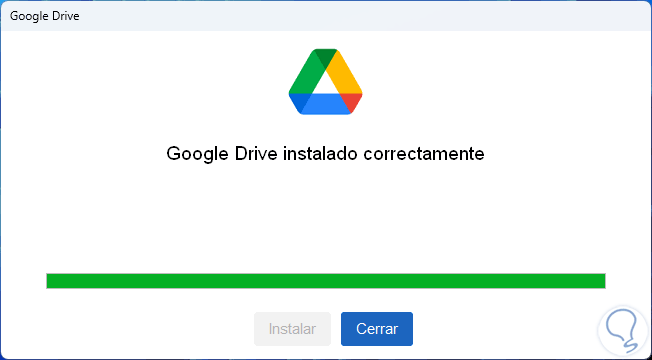
step 11
In the installation wizard we will see that the process has finished:
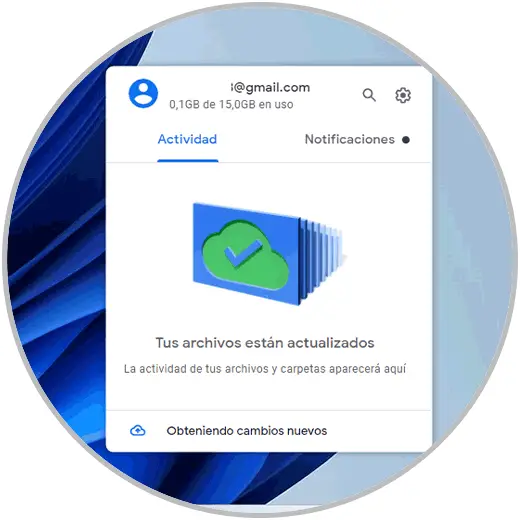
step 12
In the taskbar we click on the Google Drive icon
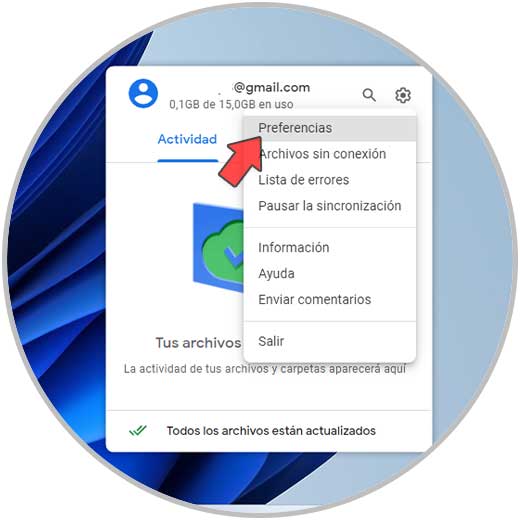
step 13
We click on the pinion icon and then click on "Preferences":
step 14
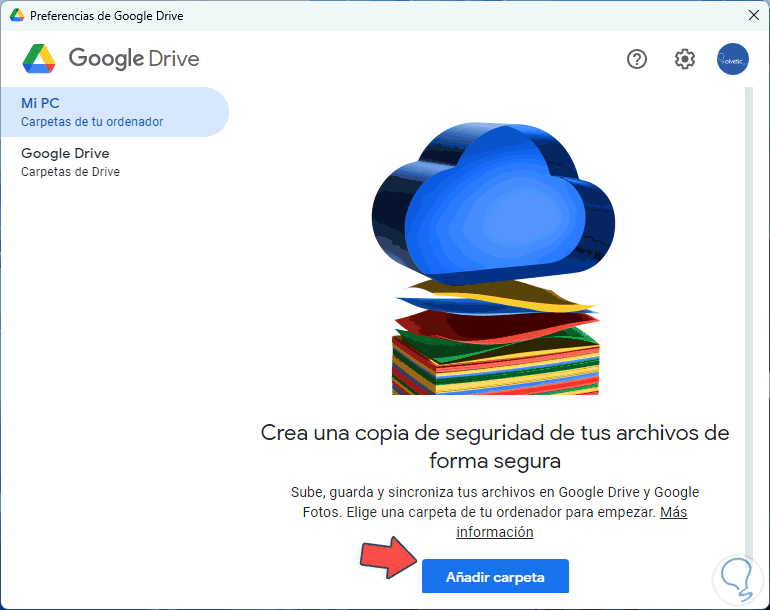
The following window will open.
We click on "Add folder" to add all the folders on the PC to save in the cloud:
step 15
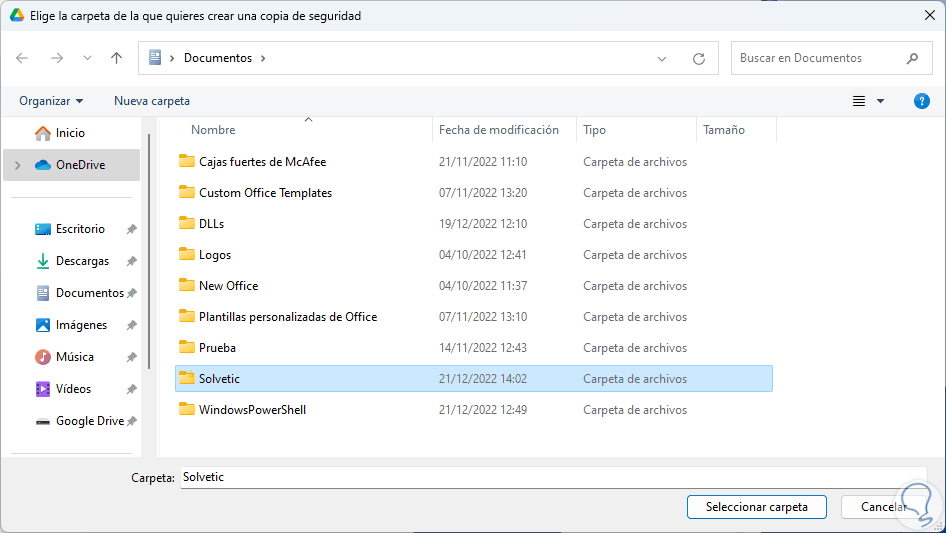
When selecting the folder we define the type of storage to use:
step 16
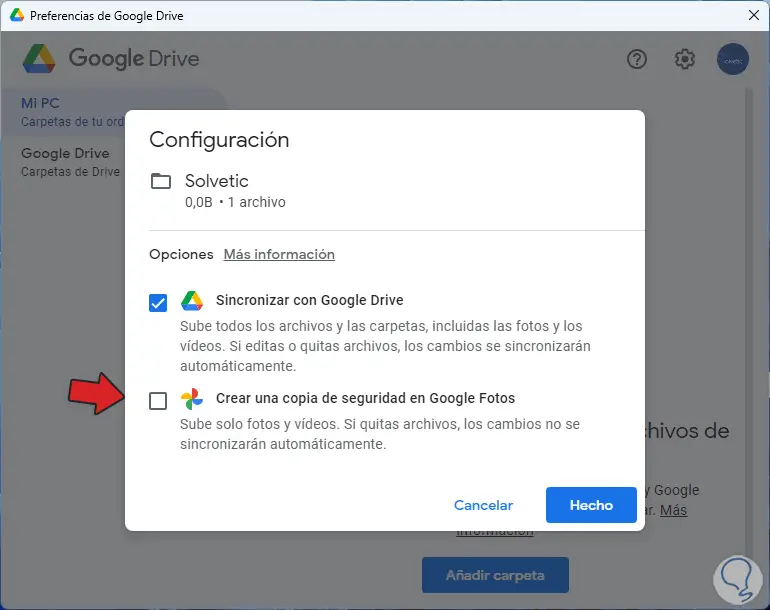
As we see the option "Create a backup in Google Photos" applies to the video and photo elements, otherwise we leave the option "Synchronize with Google Drive", click on "Done" to see the following:
step 17
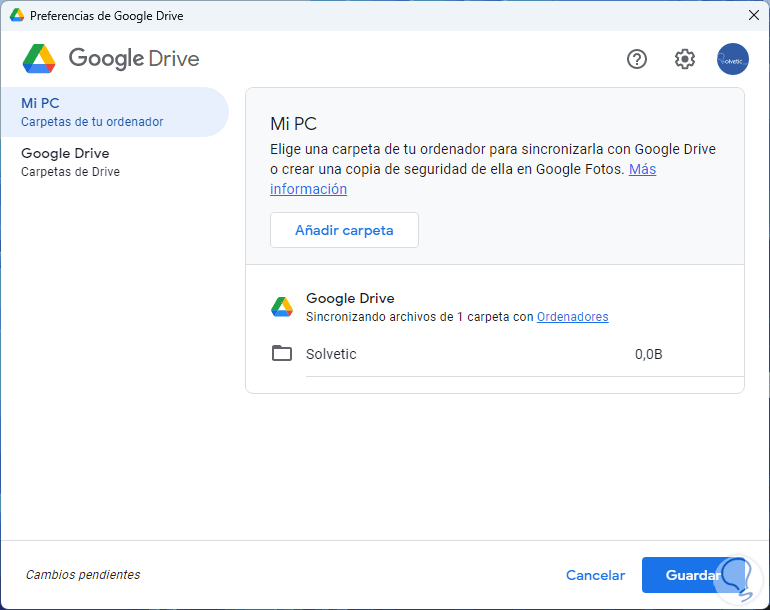
There we find the added folder or folders, we click on "Save" to apply the changes.
step 18
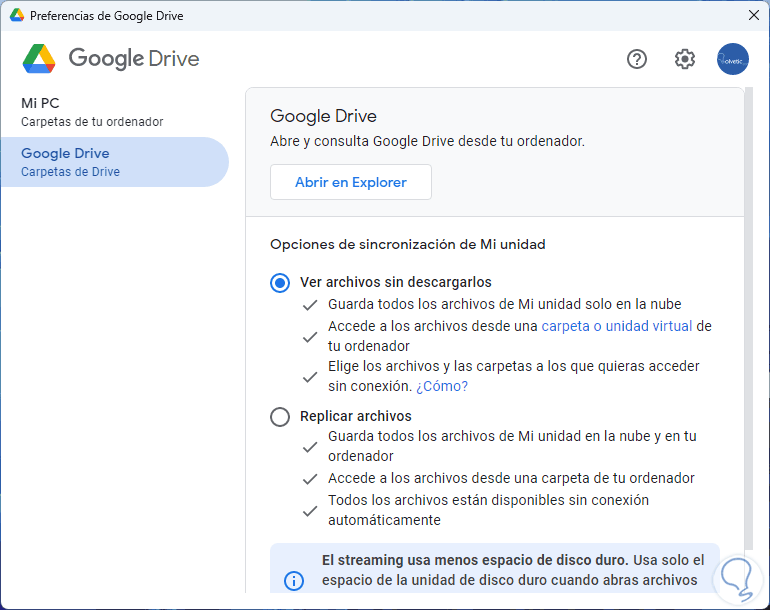
We click on "Google Drive" to establish the type of synchronization to use.
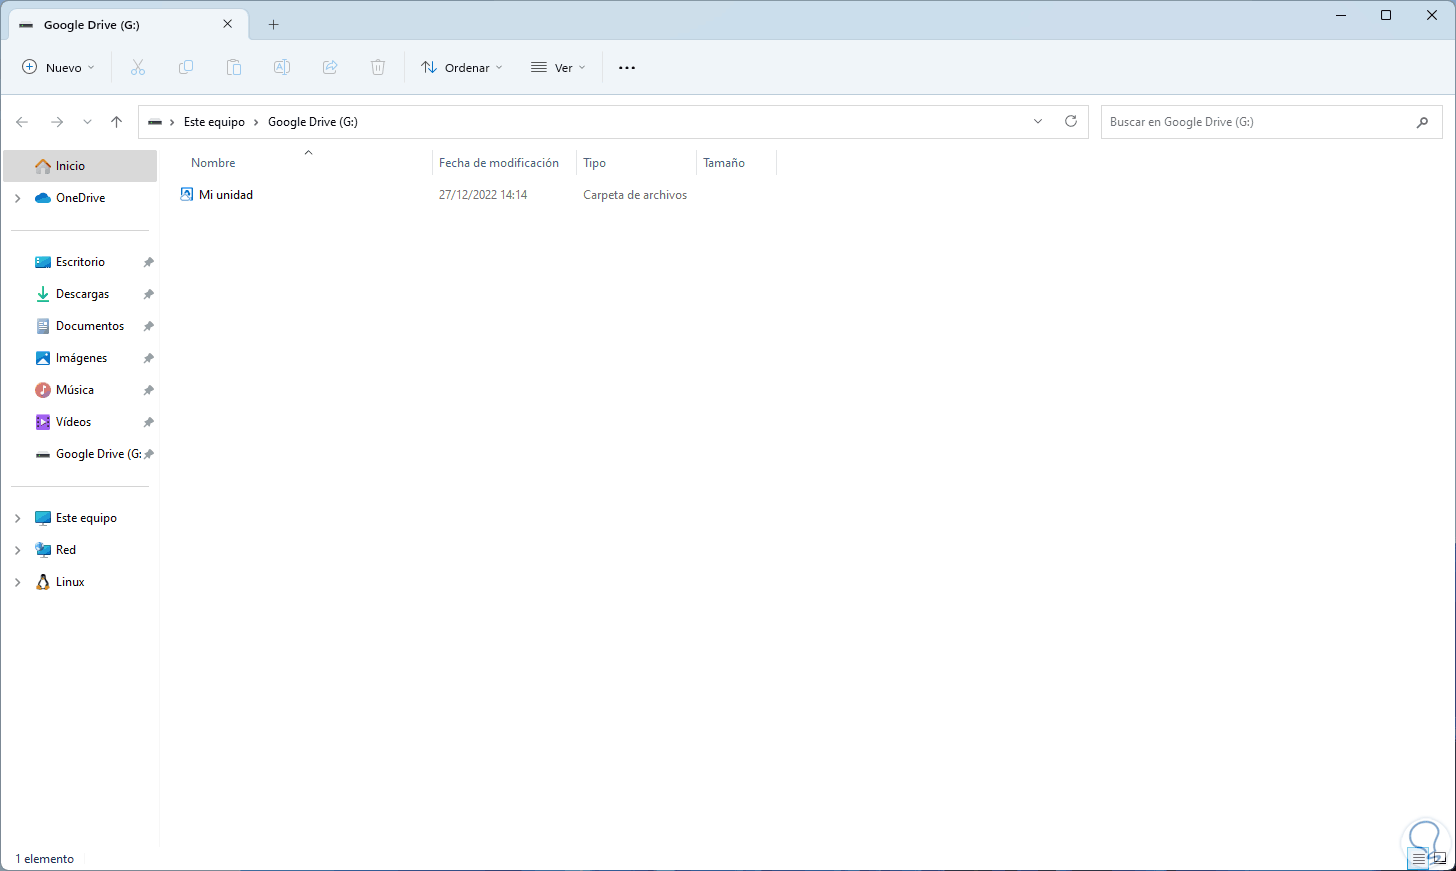
There it will be possible to choose the option that best suits the needs of each one, in this case we leave the default option, click on "Open in Explorer" to see the Google Drive folder in File Explorer:
step 19
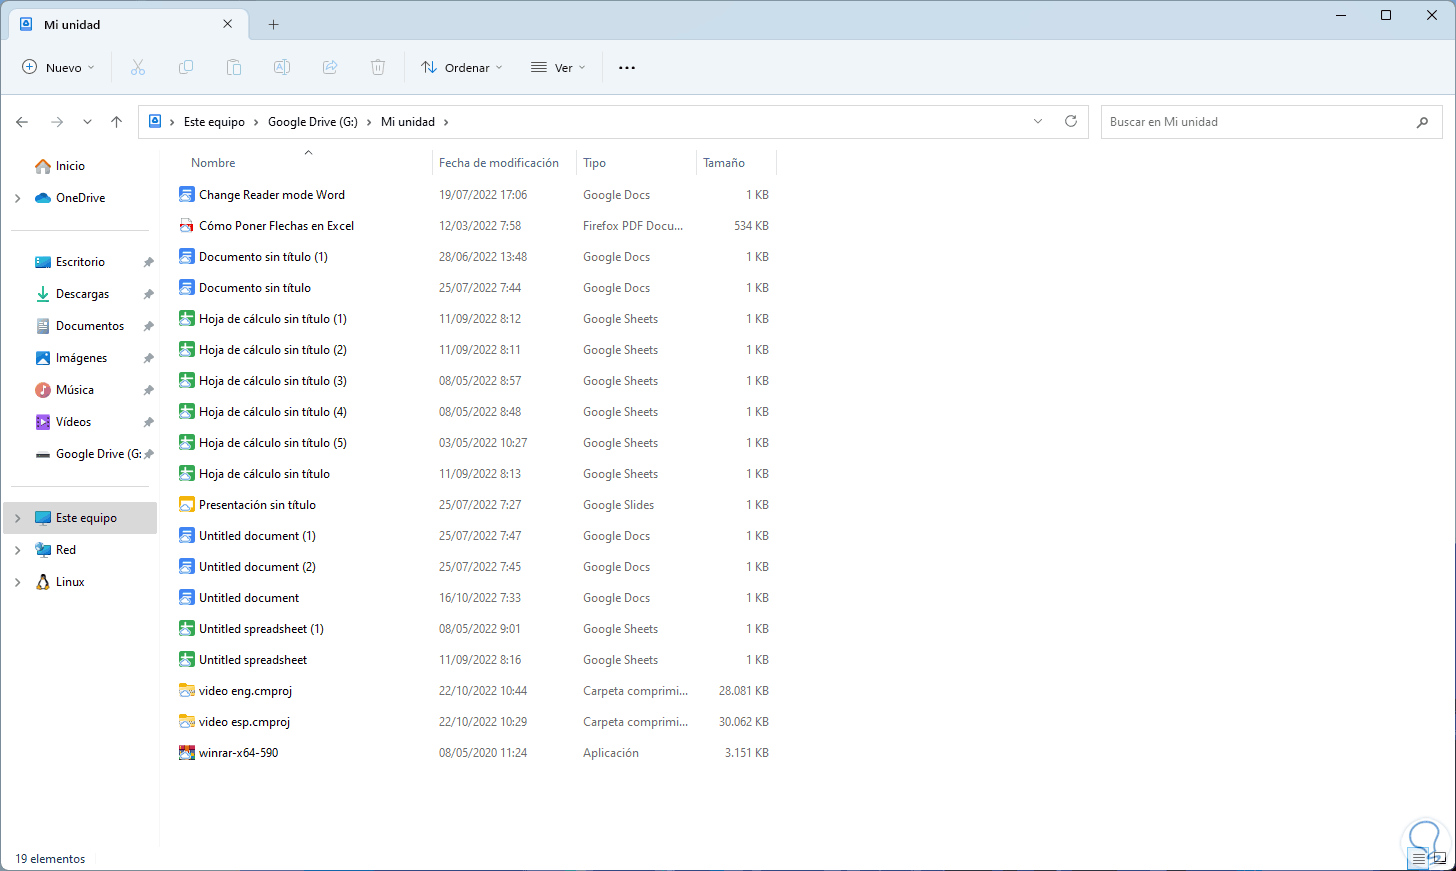
We access this and there will be the synchronized elements:
step 20
We access the Google Drive preferences again, click on the pinion icon
step 21
There it is possible to adjust all the configuration options as the case may be:
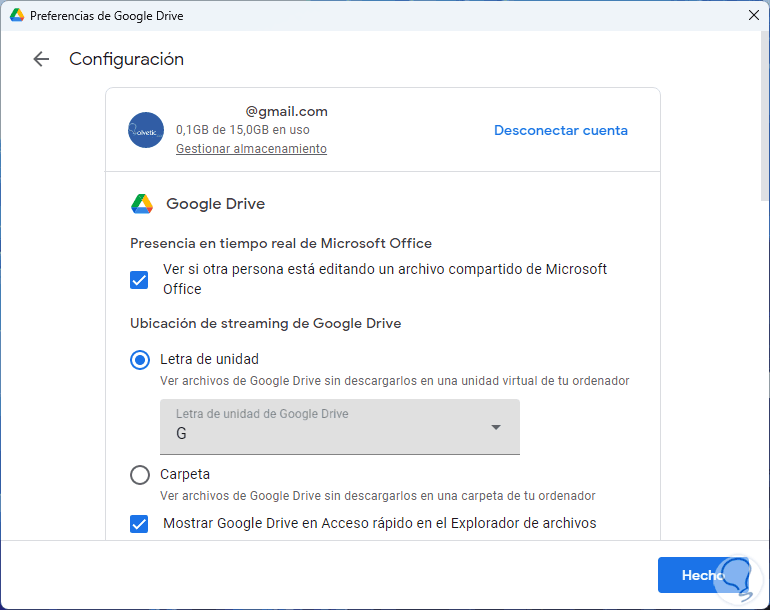
Step 23
At the top it is possible:
- Validate if someone is editing the uploaded Office files
- Select the letter with which Google Drive will be in File Explorer
- View Google Drive in Explorer Shortcut
step 24
Below we will see the following:
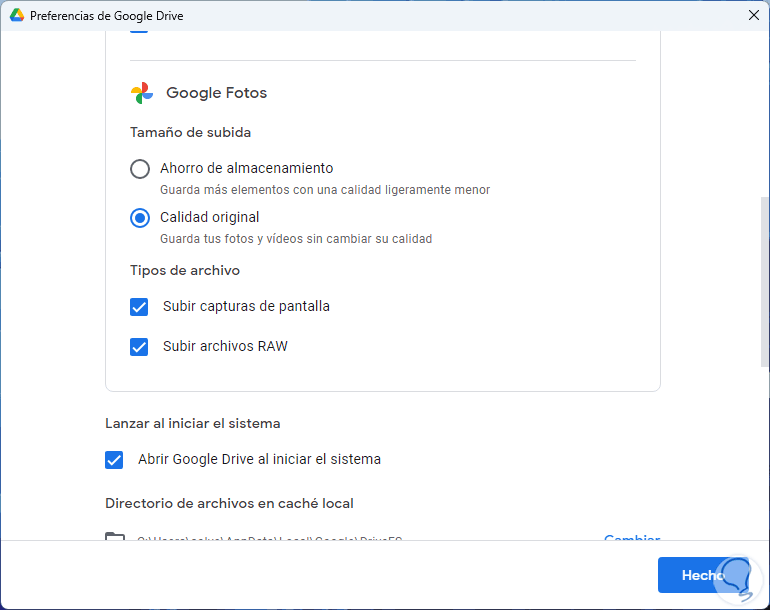
step 25
There it is possible to define:
- The quality of the files that will be uploaded to Google Photos
- Select allowed file types
- Open Google Drive next to system startup
Step 26
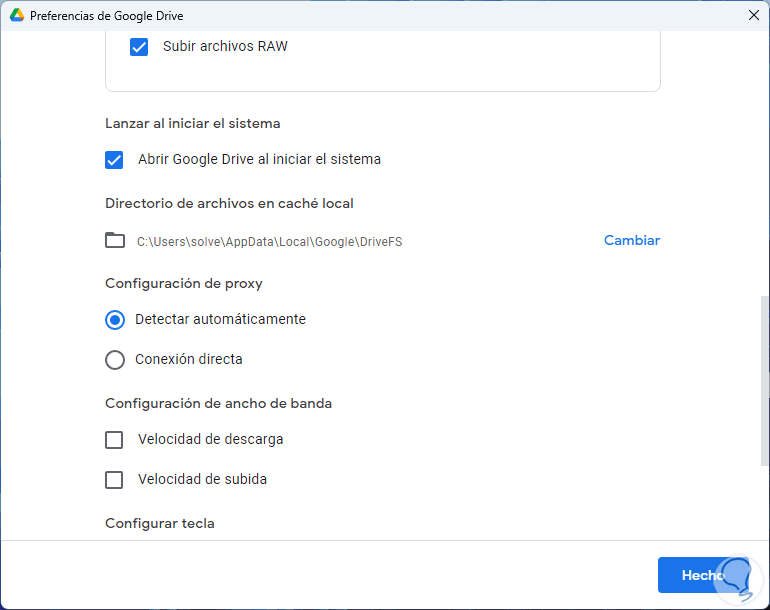
Then we will have extra options such as:
Step 27
Here it will be possible:
- Configure the dedicated bandwidth for both upload and download
Step 28
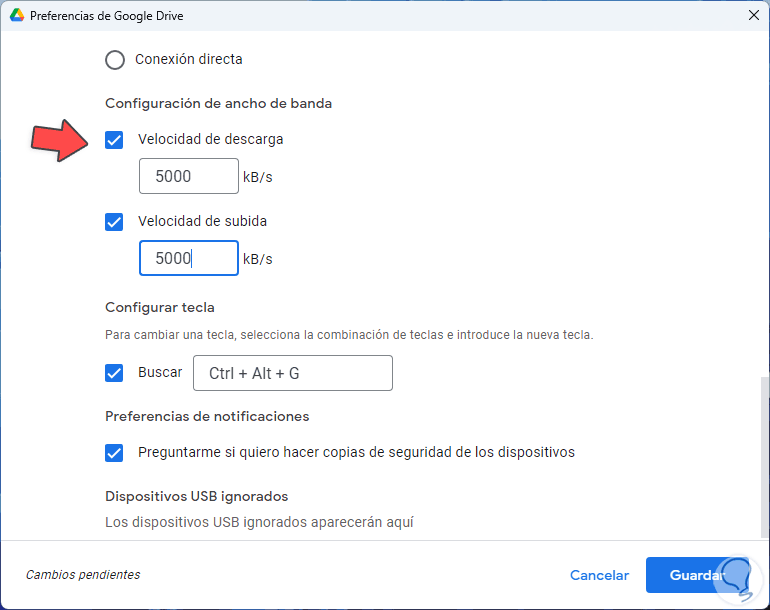
We activate the bandwidth boxes to establish it:
Step 29
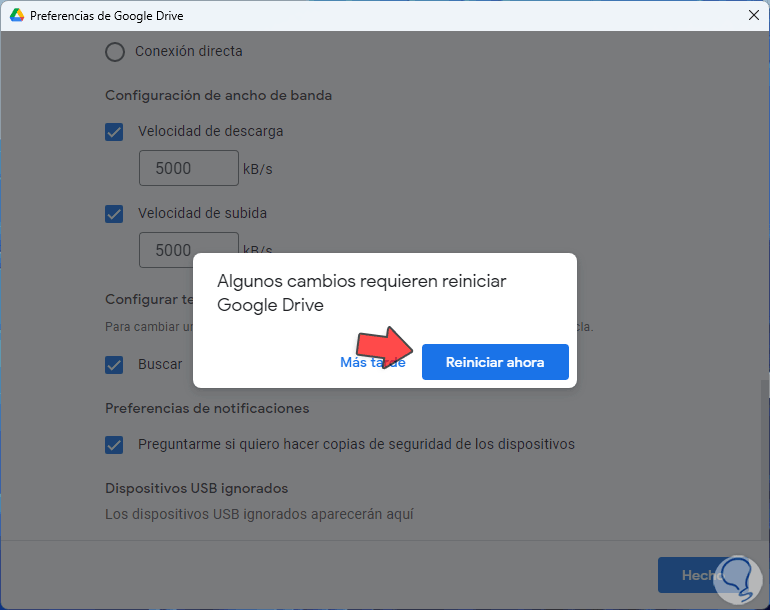
It is also possible to configure the keyboard shortcut to search Google Drive.
When applying the changes, Google Drive must be restarted:
step 30
We access the Google Drive configuration:

step 31
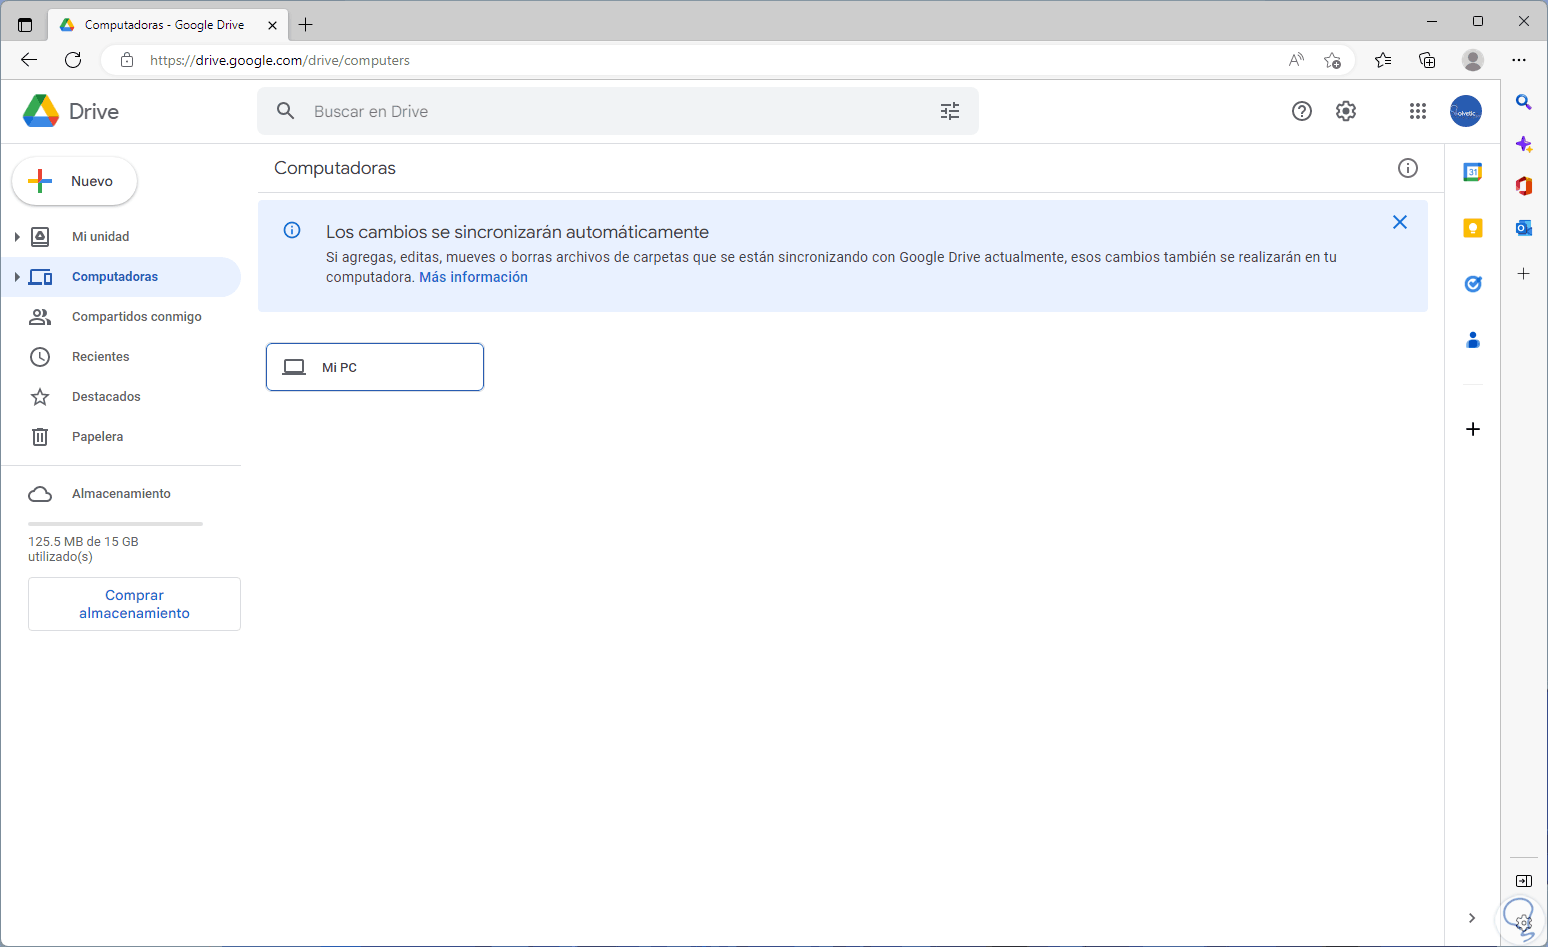
We click on "Computers" and this will directly open Google Drive on the web to manage the content of the PC from there:
step 32
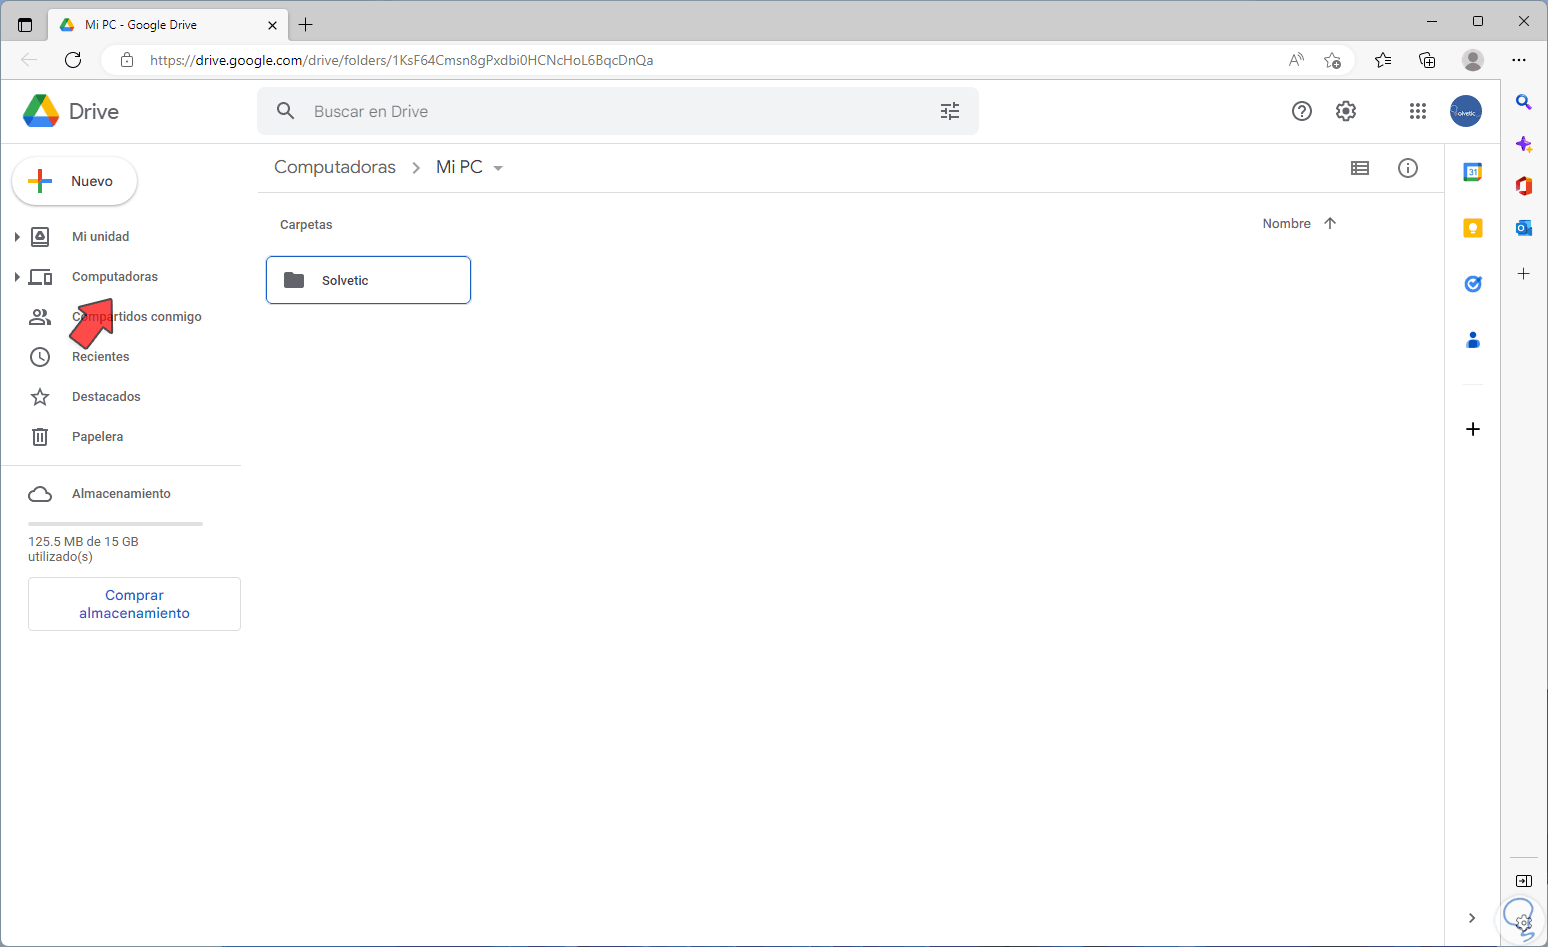
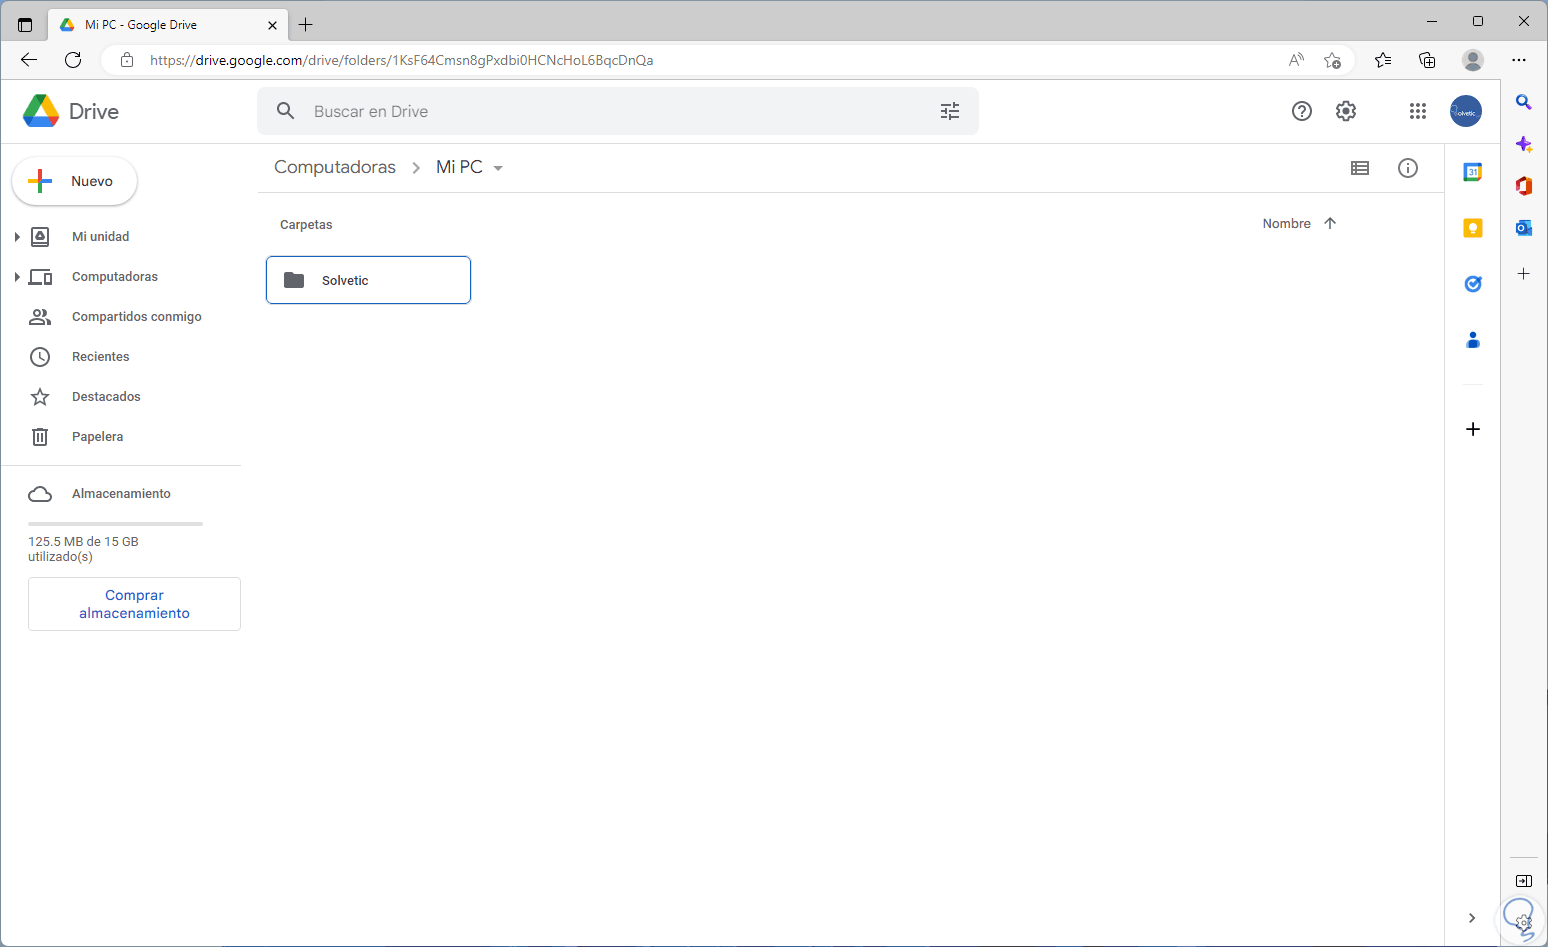
In the "Computers" section we will have access to each synchronized element:
Step 33
Everything we want from the PC to be in the cloud can be uploaded in this section:
This is the way to make backup copies of our PC in the cloud thanks to Google Drive.