The hard drive is one of the components, or perhaps the most vital, in any operating system since the operating system and applications are installed on it and can be used as a means to create backup copies of various types..
As administrators we know that the most coherent and practical is to partition the disk, that is, we can divide the current disk space into smaller parts, for example, on a 100 GB hard disk we can create a 20 GB partition just for our data. This is how we know that only this type of data will be in that space. Basically partitions allow better control over hard drive space and in Linux there are some types of partitions that are:
- Primary partitions: these are the primary divisions of the disk and in Linux it is possible to have 1 to 4 primary partitions or have 3 primary partitions and one extended partition, in this partition (if we are talking about the main disk) are the boot files of the system
- Extended partition: it is a medium in which we will have the opportunity to create logical partitions within them, we will only have one extended partition per hard drive and only logical partitions are allowed in them
- Logical partition: as we mentioned, these are created within the extended partition and in them it is possible to install operating systems or file systems compatible with Linux, as well as for processes such as swap memory or boot, and the limitation is 20 partitions logical for each extended partition
On Linux partitions it is possible to use file systems such as:
For this case we are going to create partitions using the Fdisk command, this command is integrated by default to manage everything related to the hard drive, such as managing the partition table, in this Ubuntu example, its basic syntax is as follows:
fdisk [options] <disk>
The parameters available for use are:
- -b: --sector-size <size>: Indicates the physical and logical sector size
- -B, --protect-boot : This parameter does not clear the boot bits when a new label is created
- -L, --color : display an output with color
- -l, --list: allows to see the current partitions
- -x, --list-details: allows to display more details of the partitions
- -n, --noauto-pt: Do not create the default partition table on empty devices
- -o, --output <list>: indicates which columns to display (gpt, dos, bsd, sgi or sun)
- -t, --type <type>: Allows you to work only on the given type of partition table
- -u, --units[=<unit>]: display the units: 'cylinders' or 'sectors' defined
- --btyes: output the size in bytes
- -C, --cylinders <number>: defines the number of cylinders
- -H, --heads <number> : defines the number of heads
- -S, --sectors <number>: indicates the number of sectors per track
TechnoWikis will now explain how to partition a hard drive in Linux.
To stay up to date, remember to subscribe to our YouTube channel!
SUBSCRIBE ON YOUTUBE
How to create a partition in Linux
Step 1
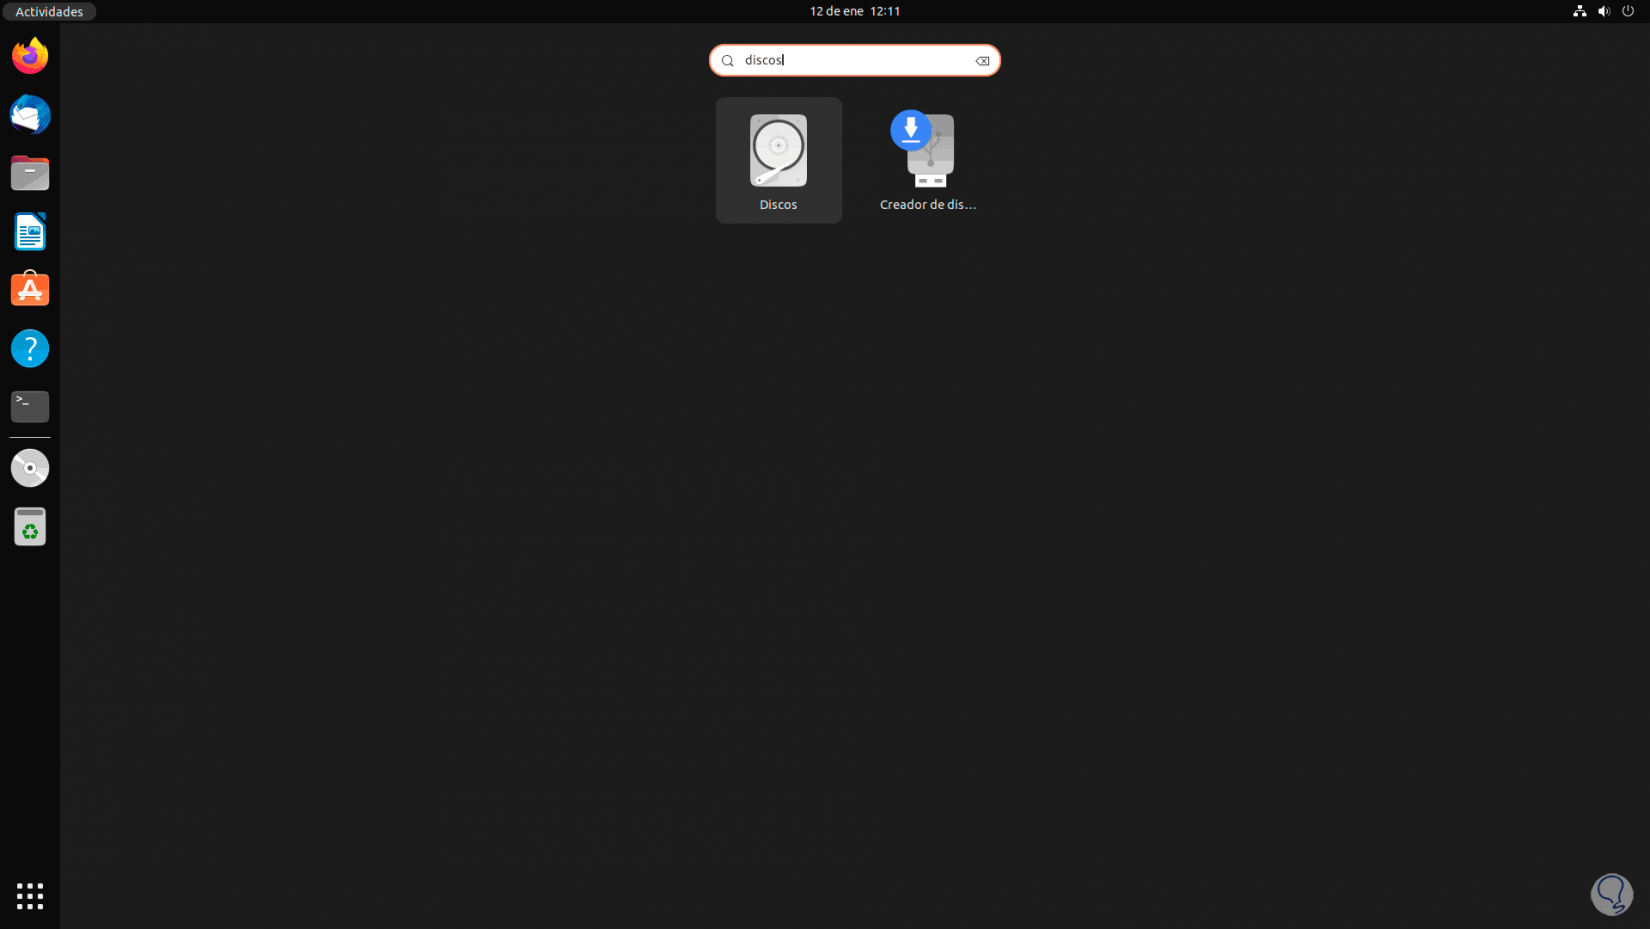
We open the Disks utility to check the disk on which the partitions will be made:
Step 2
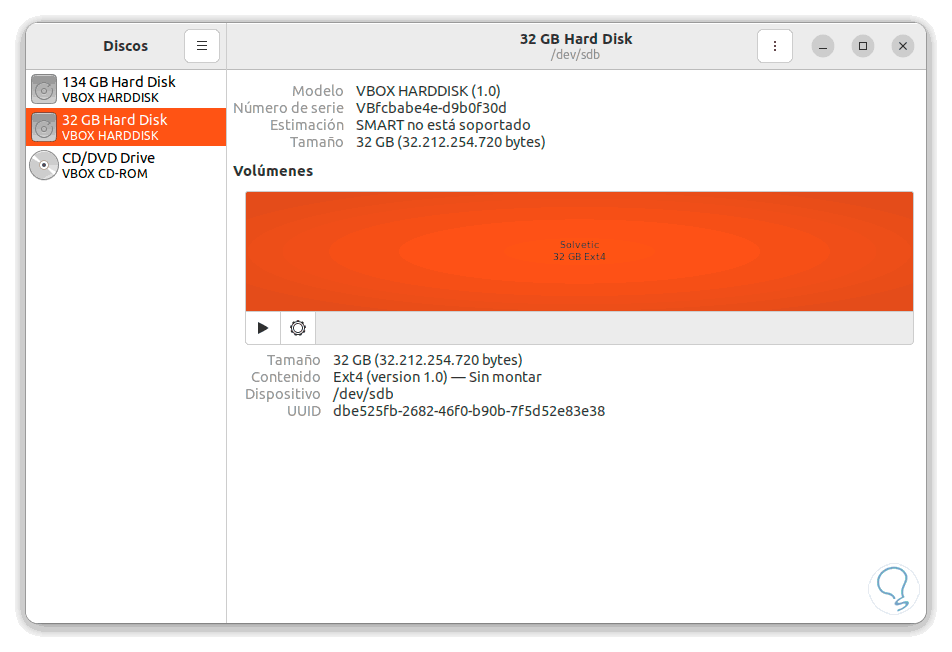
In the utility we see the capacity and details of the hard drive:
Step 3
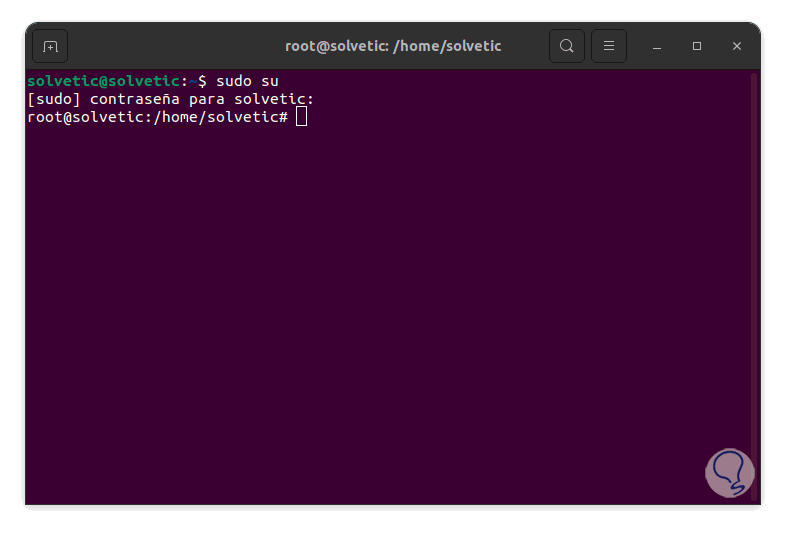
Now we open the terminal and access as root:
sudo su
We enter the administrator password:
Step 4
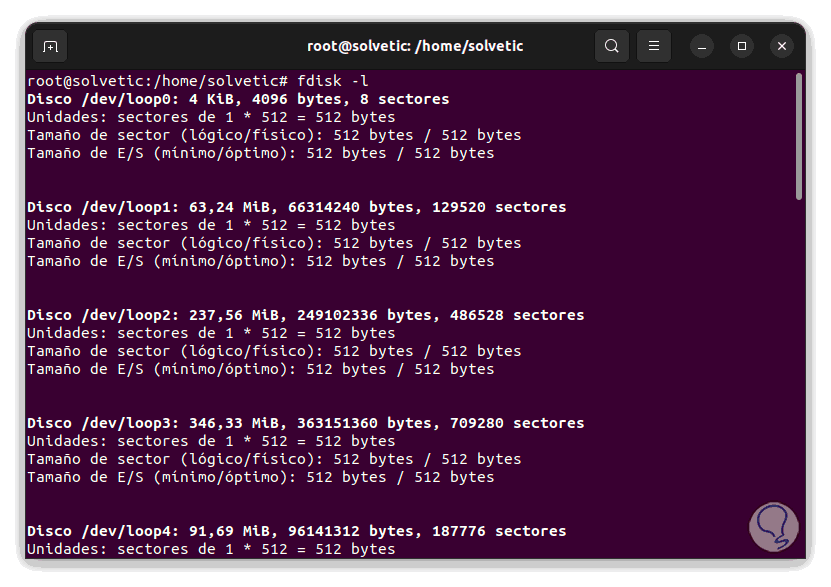
We list the disk structure:
fdisk -l
step 5
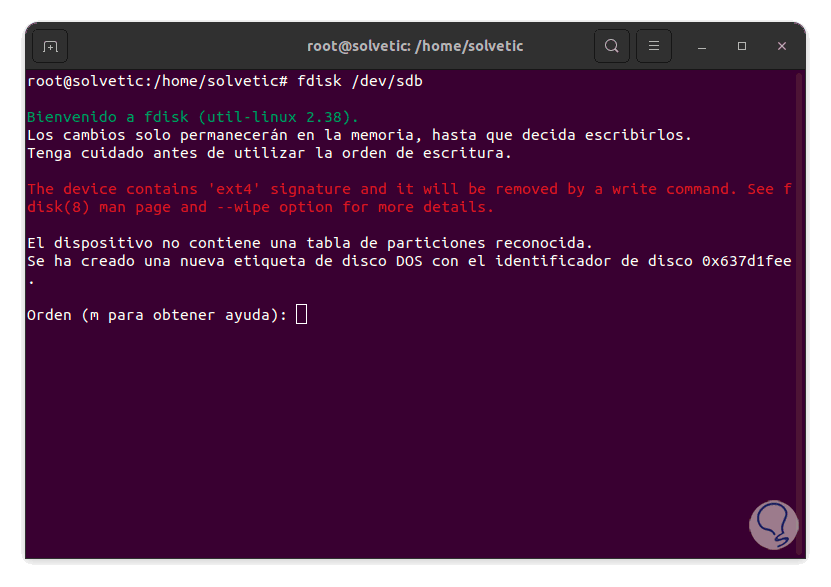
There we must observe the path of the disk to be partitioned, in this case /dev/sdb, then we select this disk::
fdisk /dev/sdb
Note
/dev/ refers to the name of the directory in which all the files on the device are located.
step 6
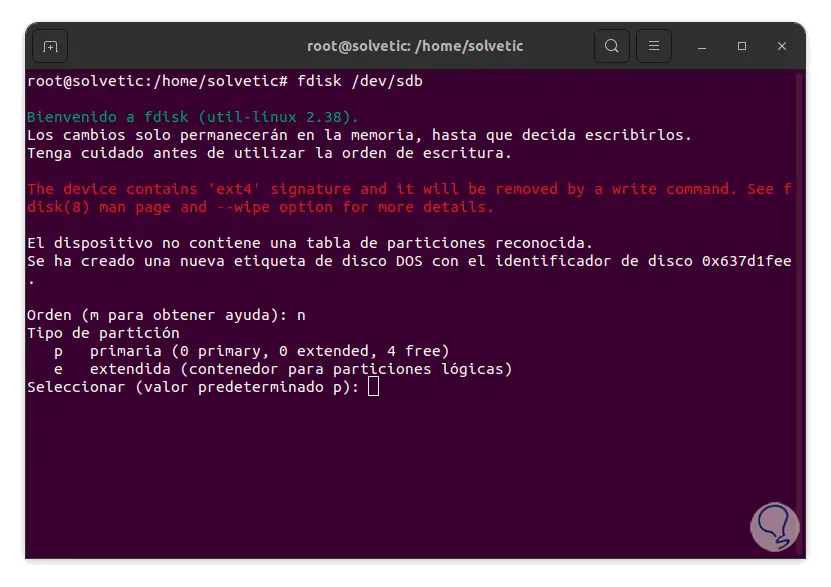
We create the primary partition by entering:
no
step 7
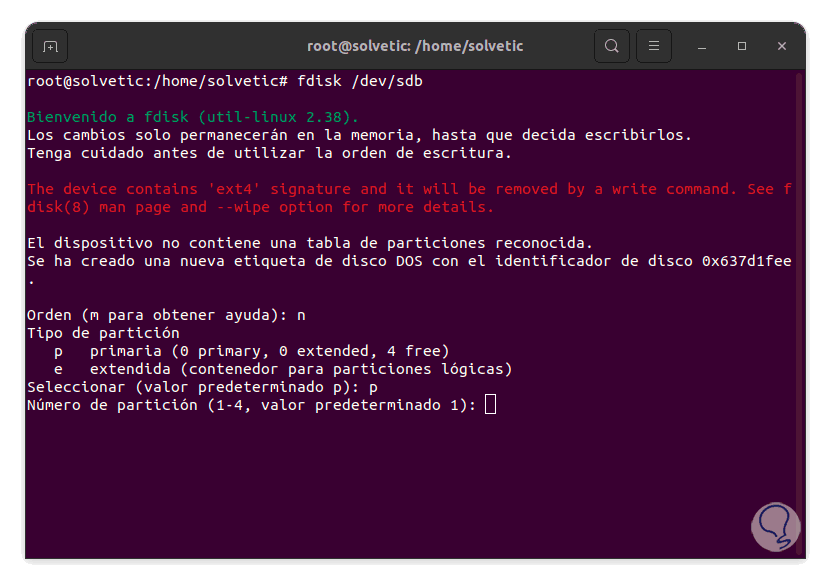
We enter "p" to be primary:
step 8
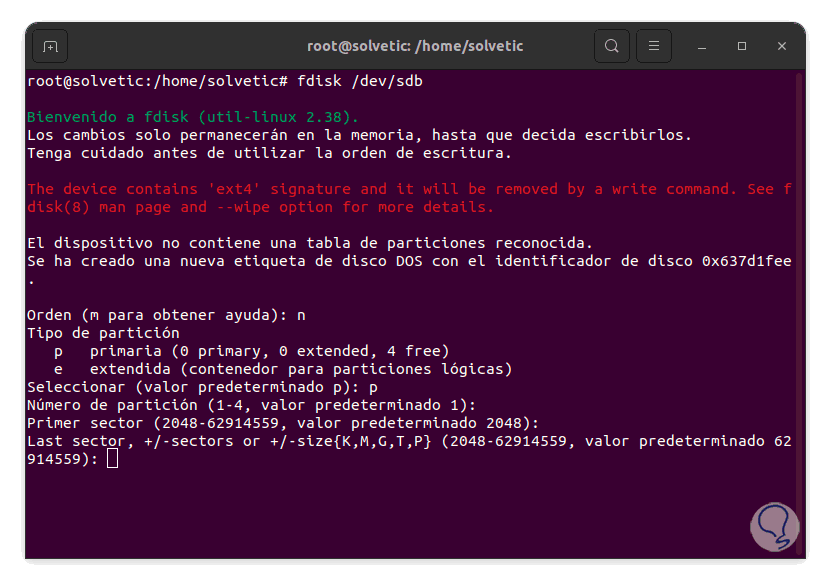
Press Enter 2 times to define the partition number and the initial sector:
step 9
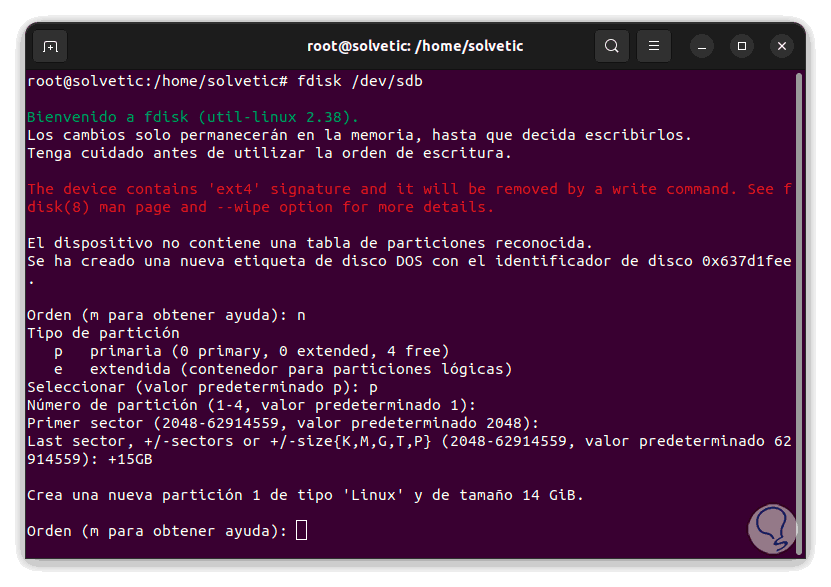
In the last sector (Last sector) we establish the size of the partition using the syntax:
+#GB
Note
We can replace GB by the desired measure, for example to use megabytes we will enter MB.
step 10
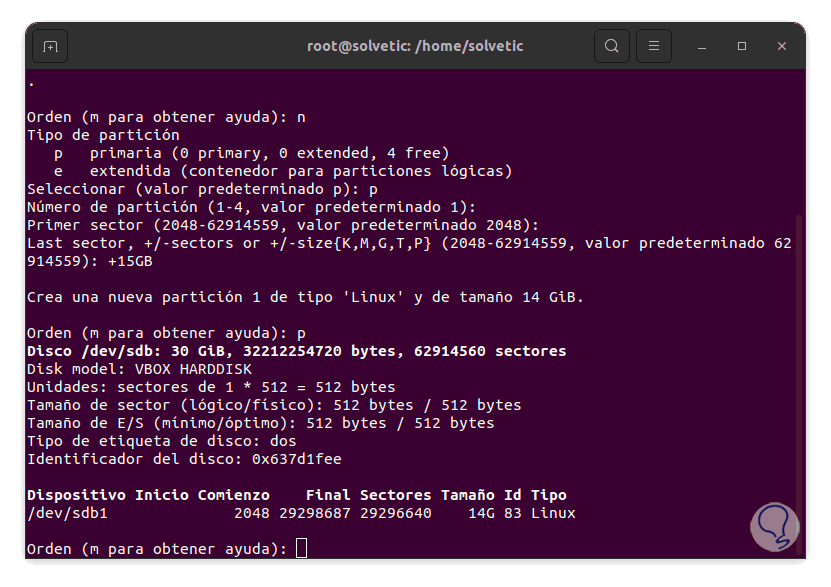
We execute "p" to see the partition created:
step 11
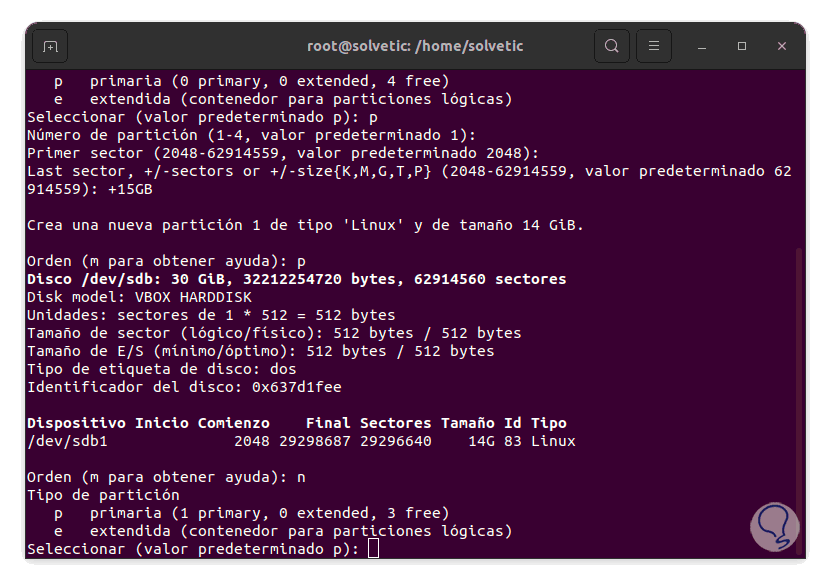
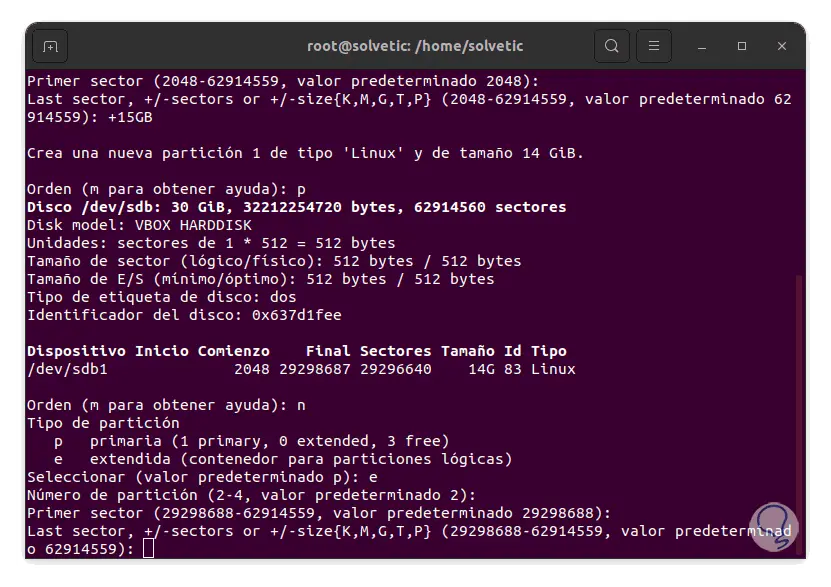
Let's create the extended partition, enter "n":
step 12
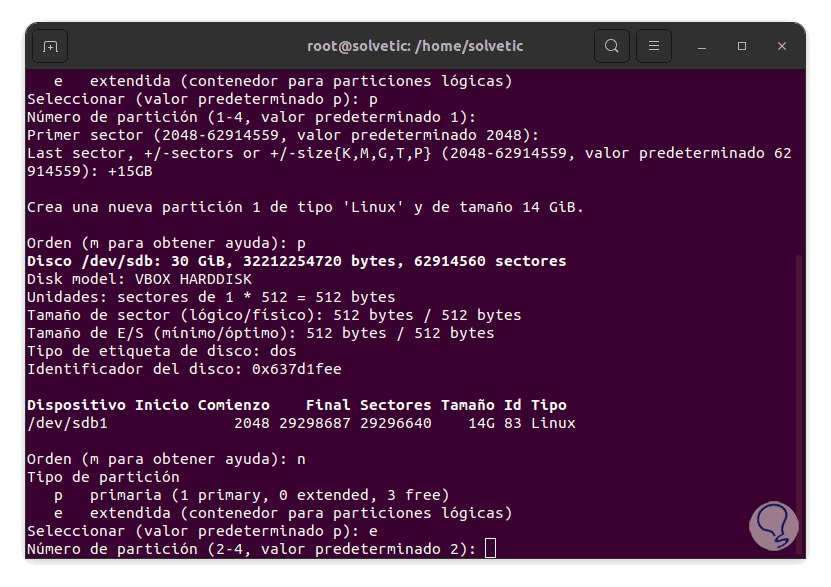
We enter "e" to be extended:
step 13
Press Enter 2 times to define the partition number and the initial sector:
step 14
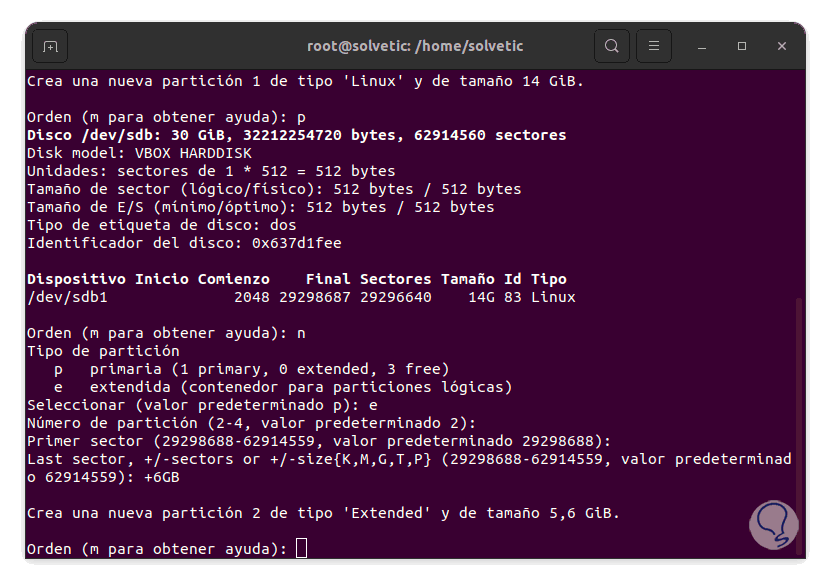
We set the size of the partition to the last sector using the syntax:
+#GB
step 15
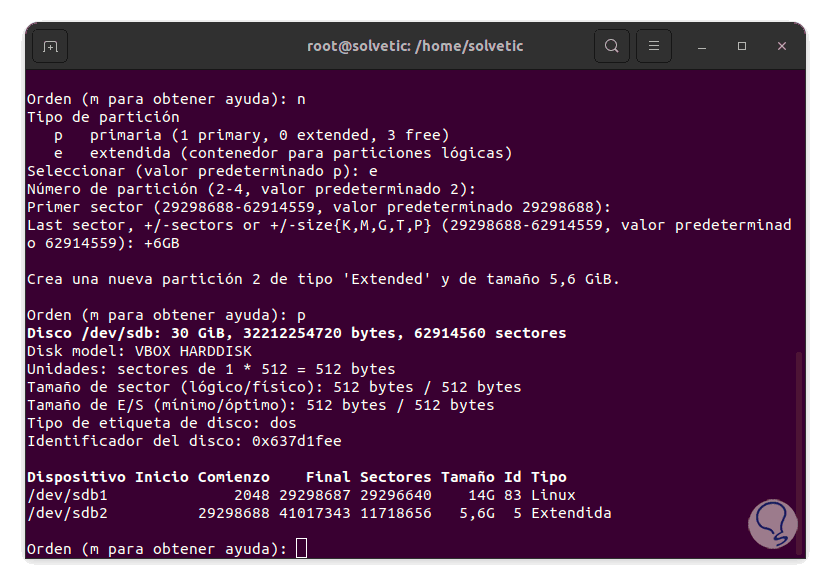
We execute "p" to see the current partitions:
step 16
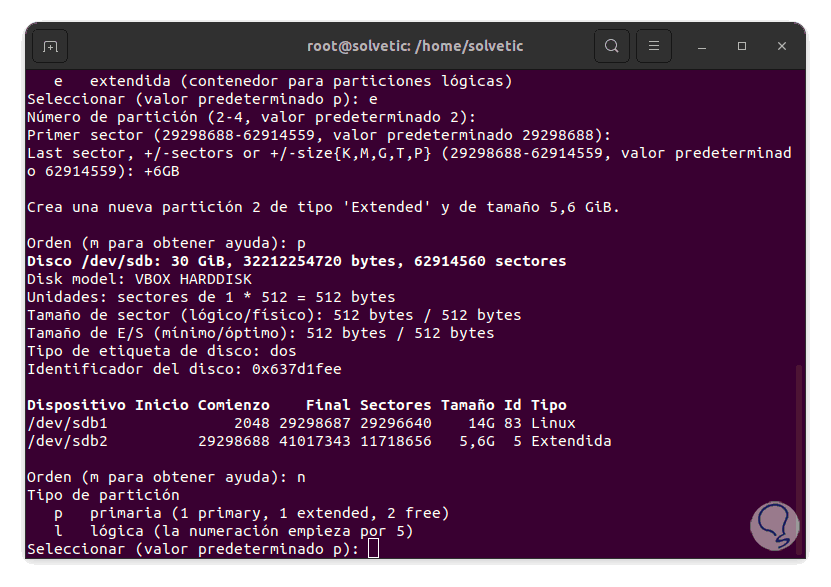
Let's create the logical partition, enter "n":
step 17
We entered "l" to make it logical, and this value has been enabled thanks to creating the extended partition in the first place:
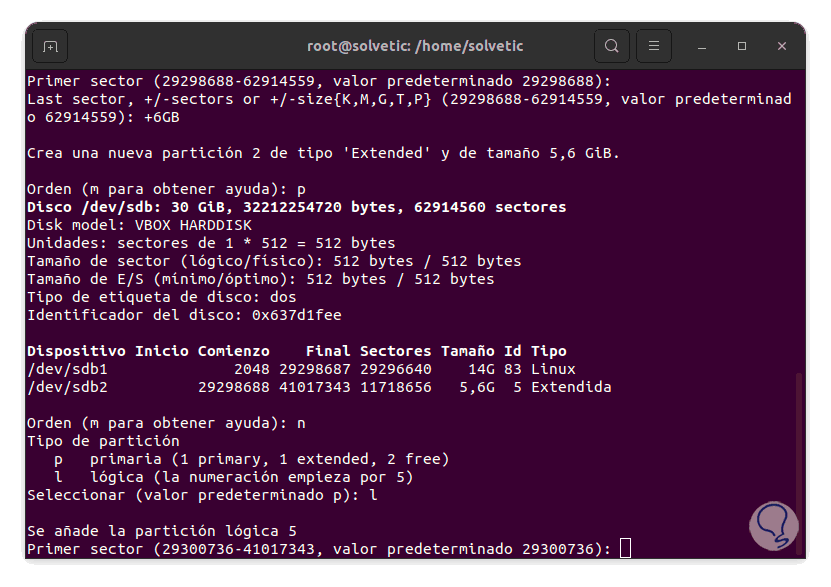
step 18
Press Enter 2 times to define the partition number and the initial sector:
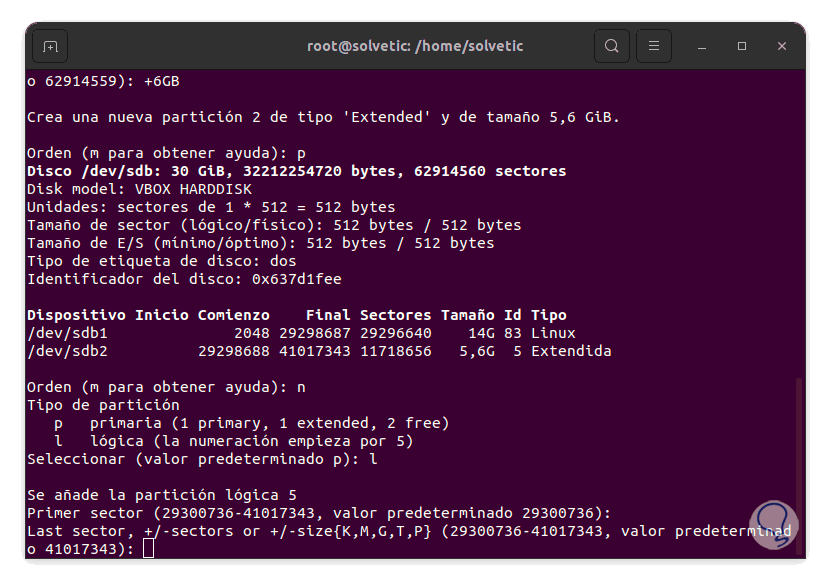
step 19
We establish the size of the partition:
+#GB
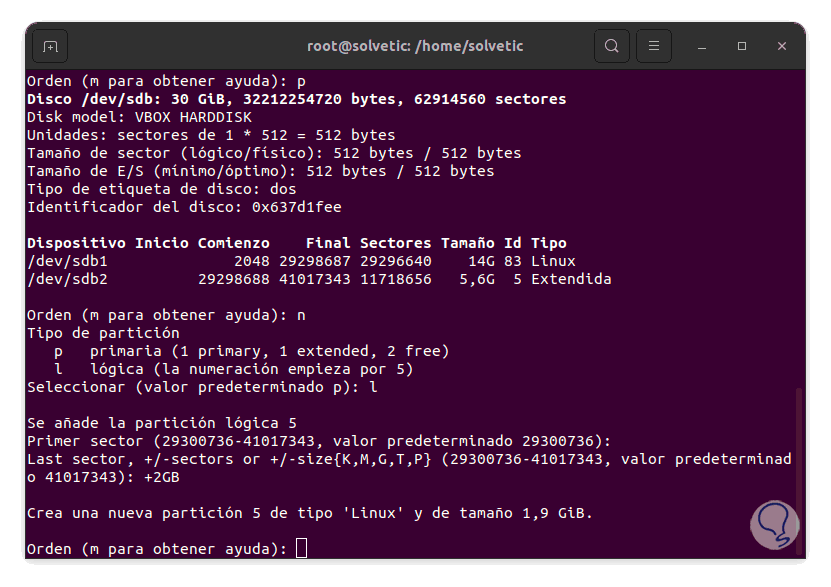
step 20
We execute "p" to see the current partitions:
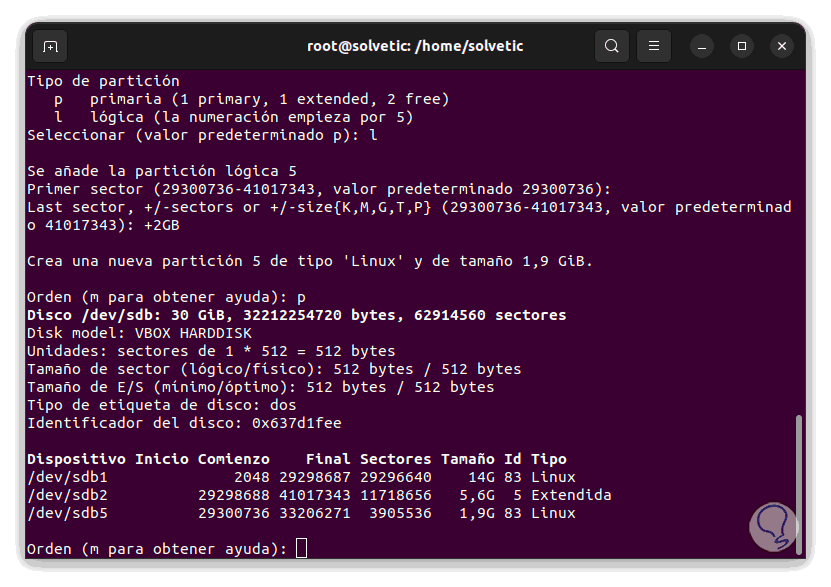
step 21
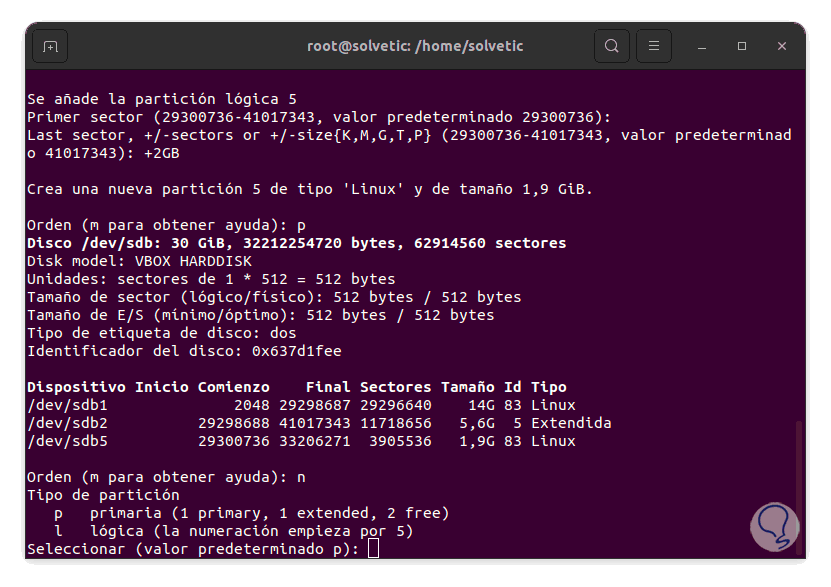
We will create another logical partition in the available space, enter "n":
step 22
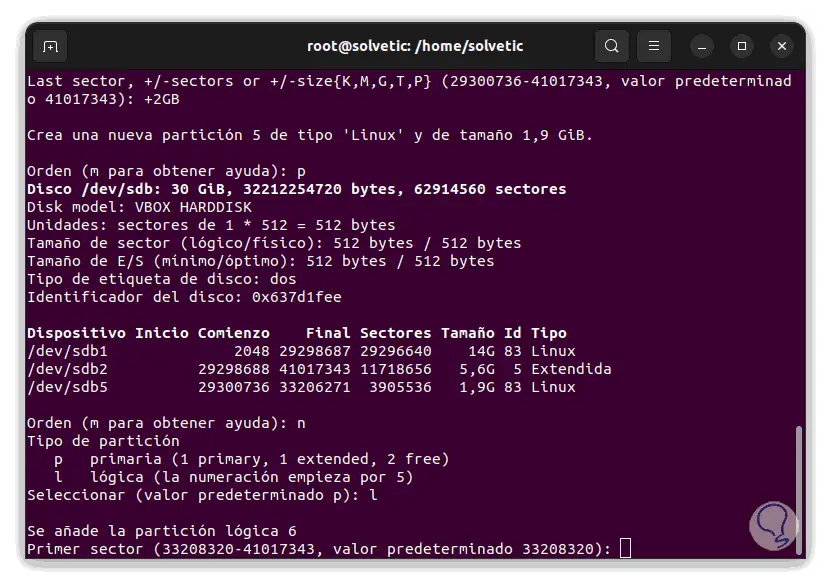
We enter "l" to make it logical:
Step 23
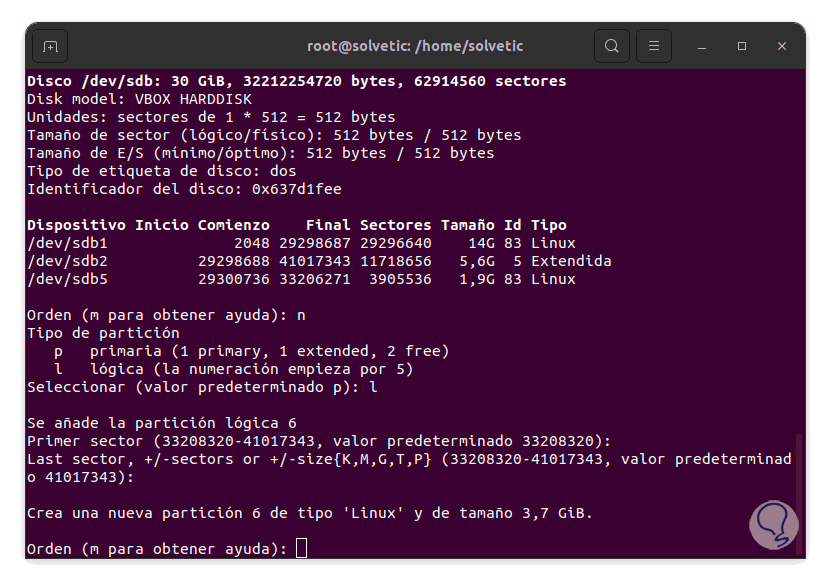
Press Enter 2 times to define the partition number and initial sector and set the partition size by pressing Enter to choose all available space:
step 24
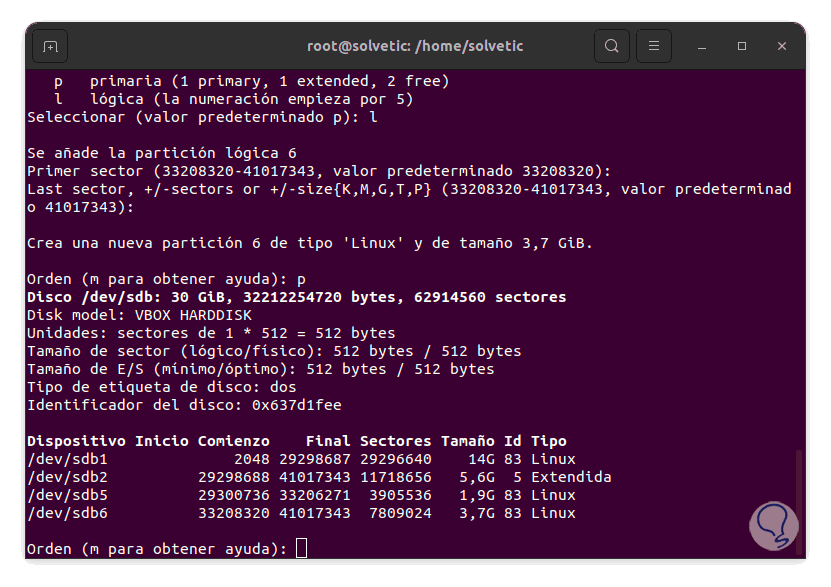
We execute "p" to see the current partitions:
step 25
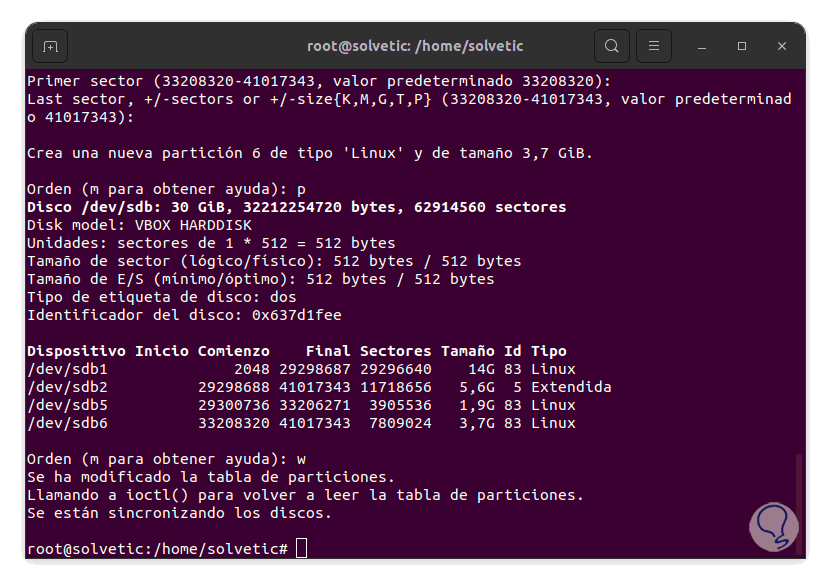
We apply the changes to the hard disk by executing:
w
step 26
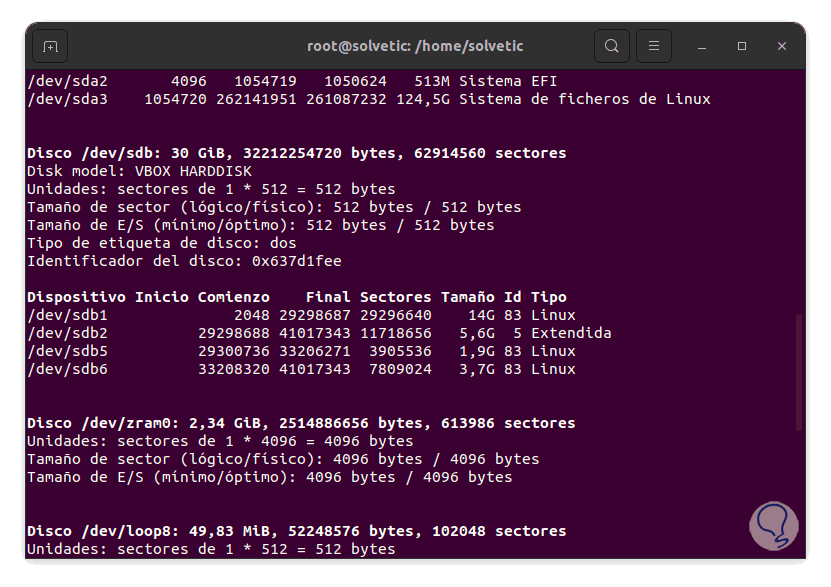
Run "fdisk -l" to list the new disk structure:
step 27
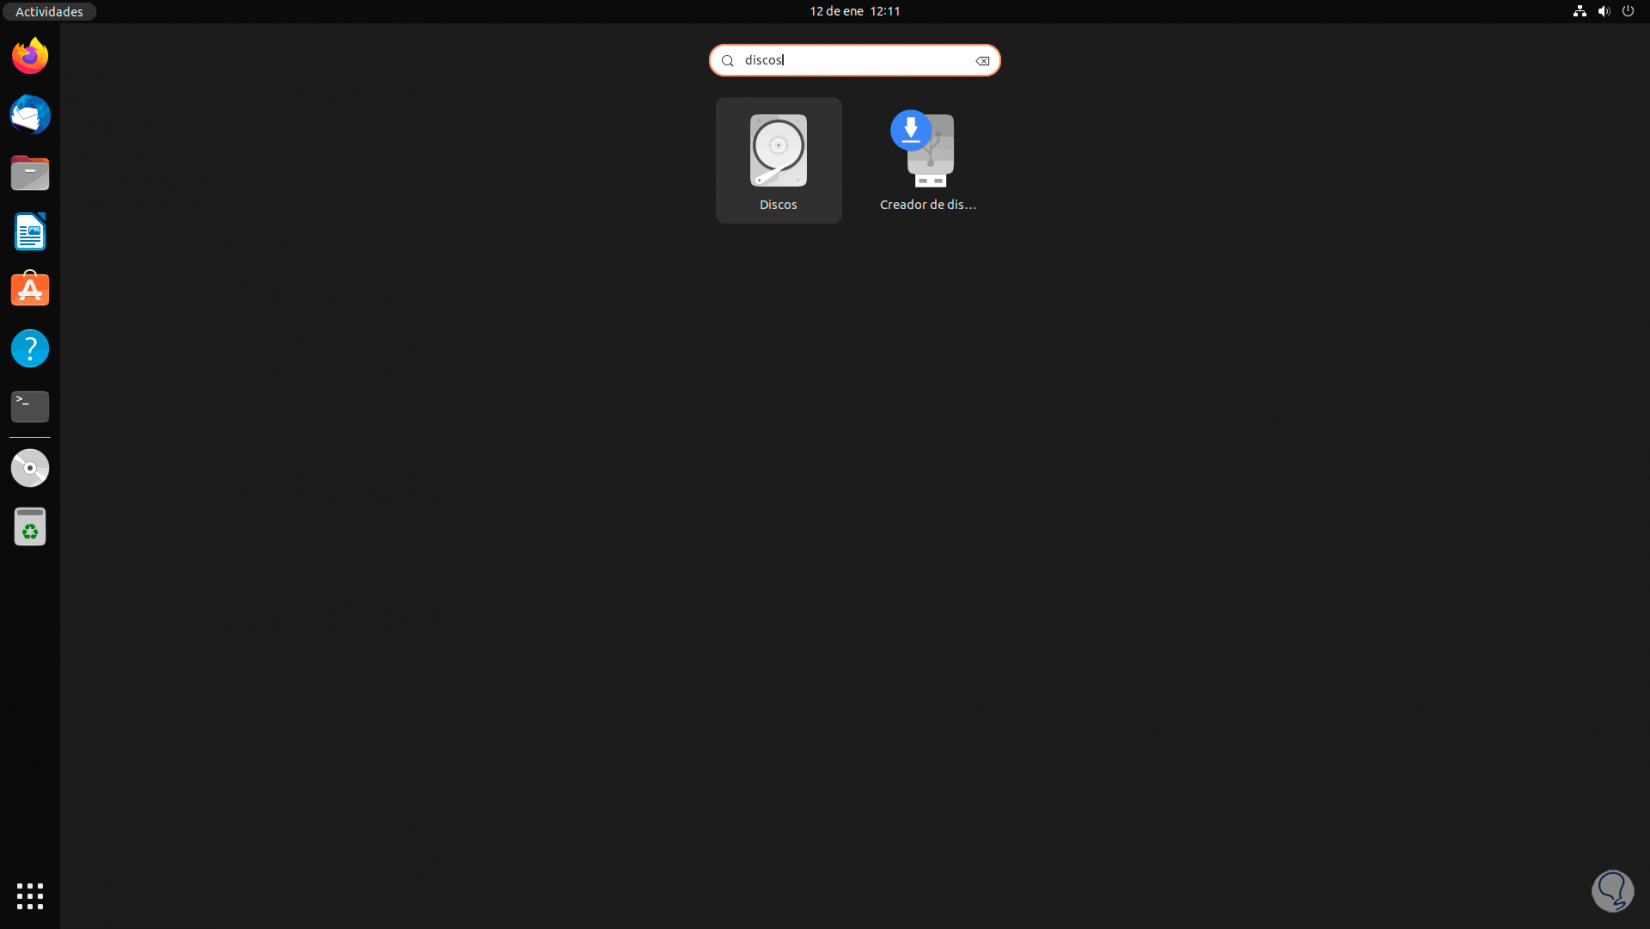
We open Discs:
Step 28
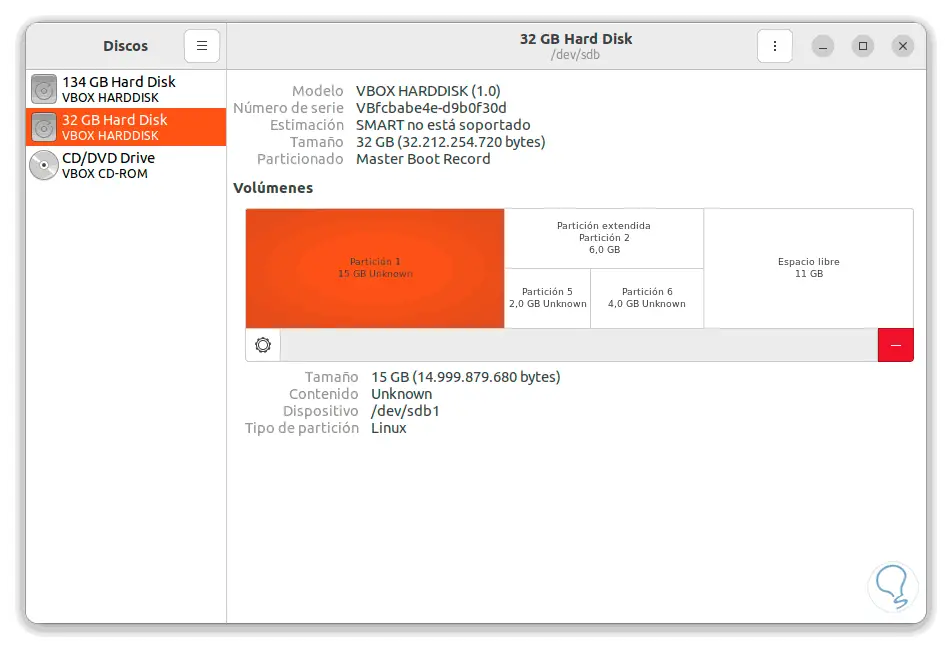
We can see the new structure of the disk in which we have worked:
This is all the process available thanks to Fdisk to partition our disks in Linux..