Word is one of the Office applications most used by millions of people around the world, who access it to create documents and manage different data, since it is very complete for this type of utility..
Microsoft Word allows the user to have various options to present the documents with spell correction and one of the most formal ways to do it is using the page headers, these give the possibility of adding data such as the name of the organization, email addresses or special notes and these will be reflected there in the header, but when a header is added in Word it will automatically be replicated on the other pages, but TechnoWikis will teach you how to change the header on different pages in Word.
To stay up to date, remember to subscribe to our YouTube channel!
SUBSCRIBE ON YOUTUBE
1 How to change Word header on different pages
Step 1
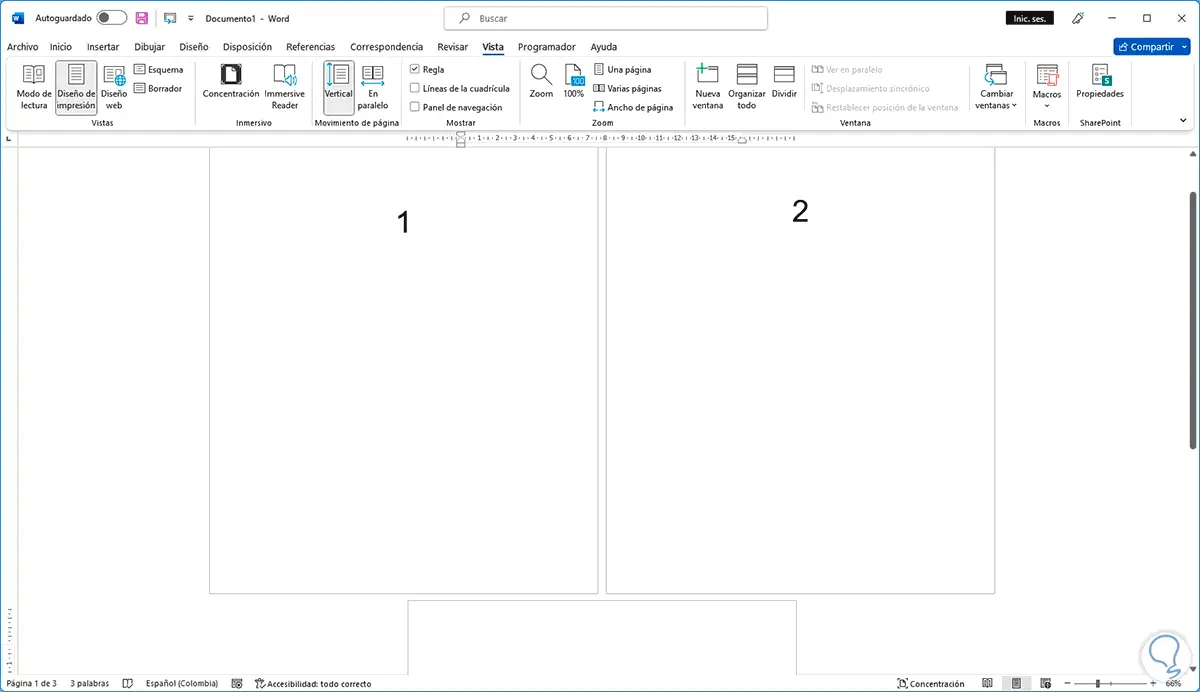
We open Word and validate the pages where the header will go:
Step 2
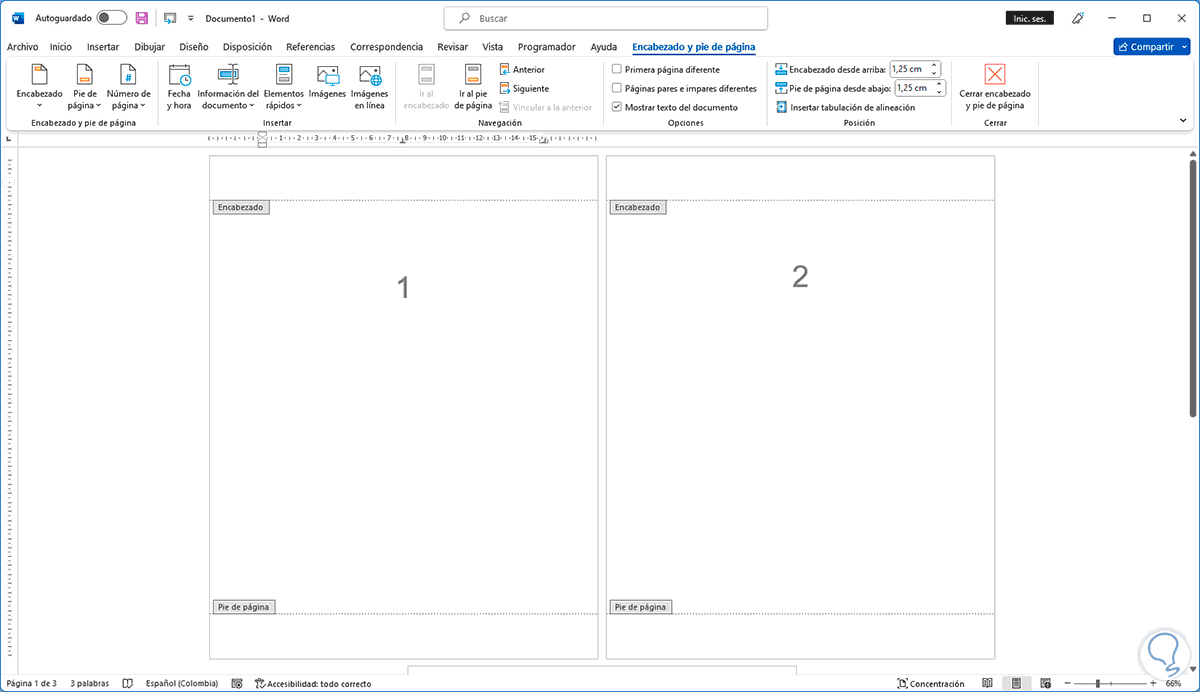
We double click on the header and we can see that all the sheets have the legend "Header":
Step 3
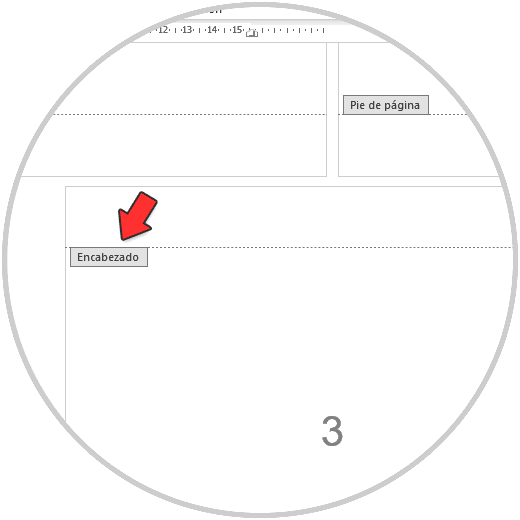
On the lower sheet we will see the same legend:
Step 4
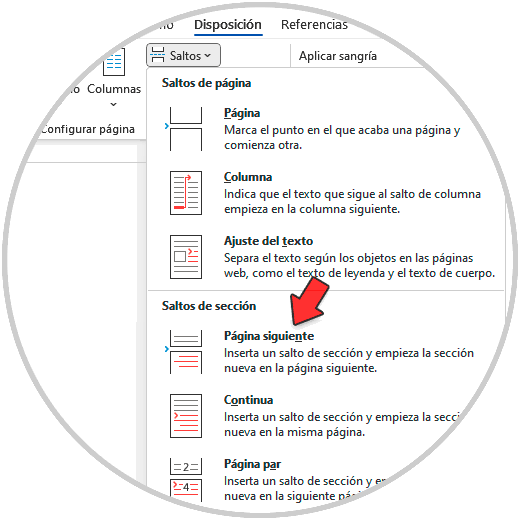
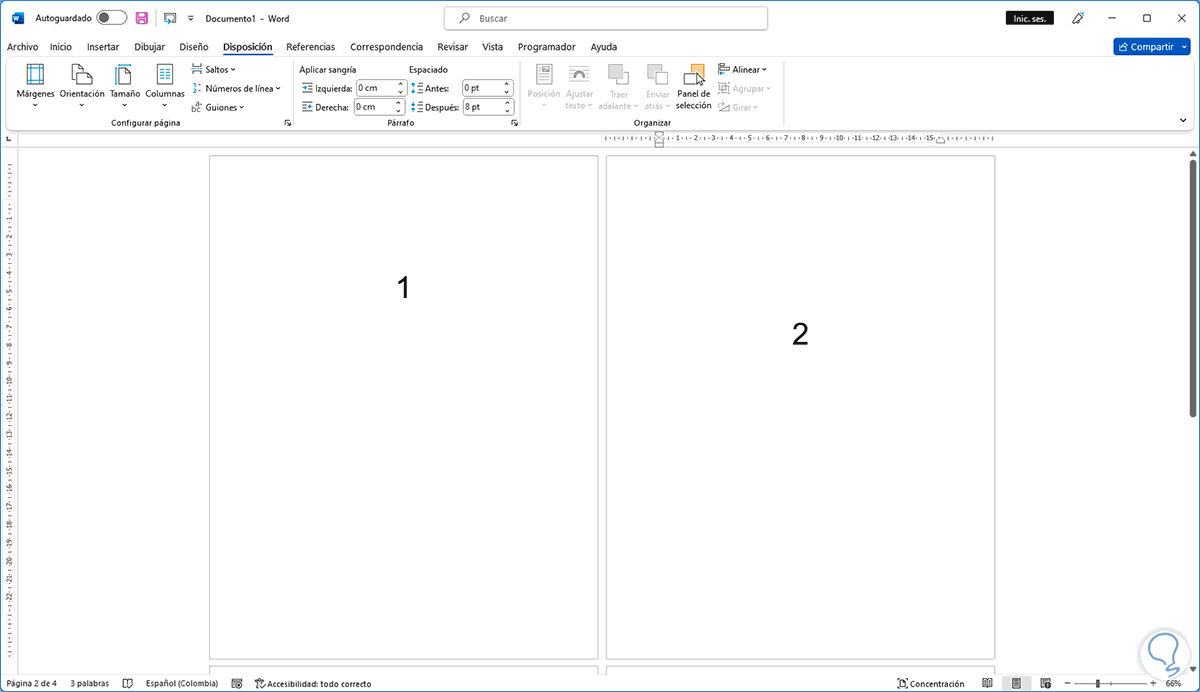
We leave the header and on the first page we go to the end of this and then we will go to "Layout - Breaks - Next page":
step 5
We will see the jump added:
step 6
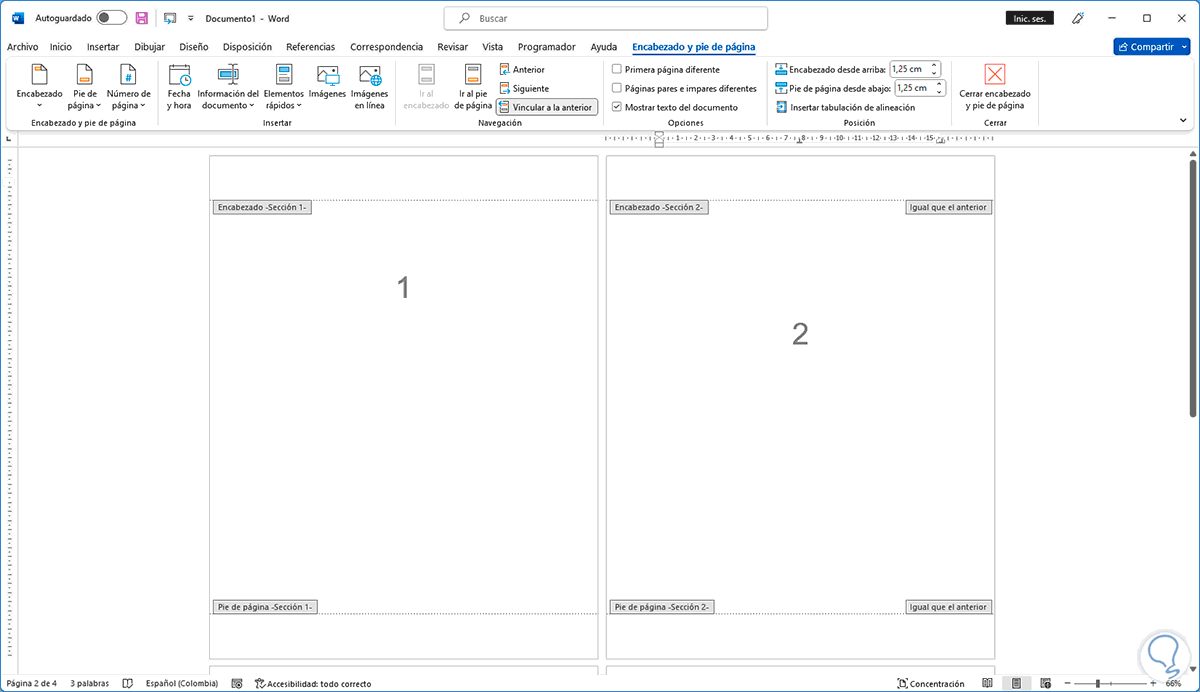
We double click on the header and now we can see that the legend "Section #" is added:
step 7
We place the cursor on the second page and click on "