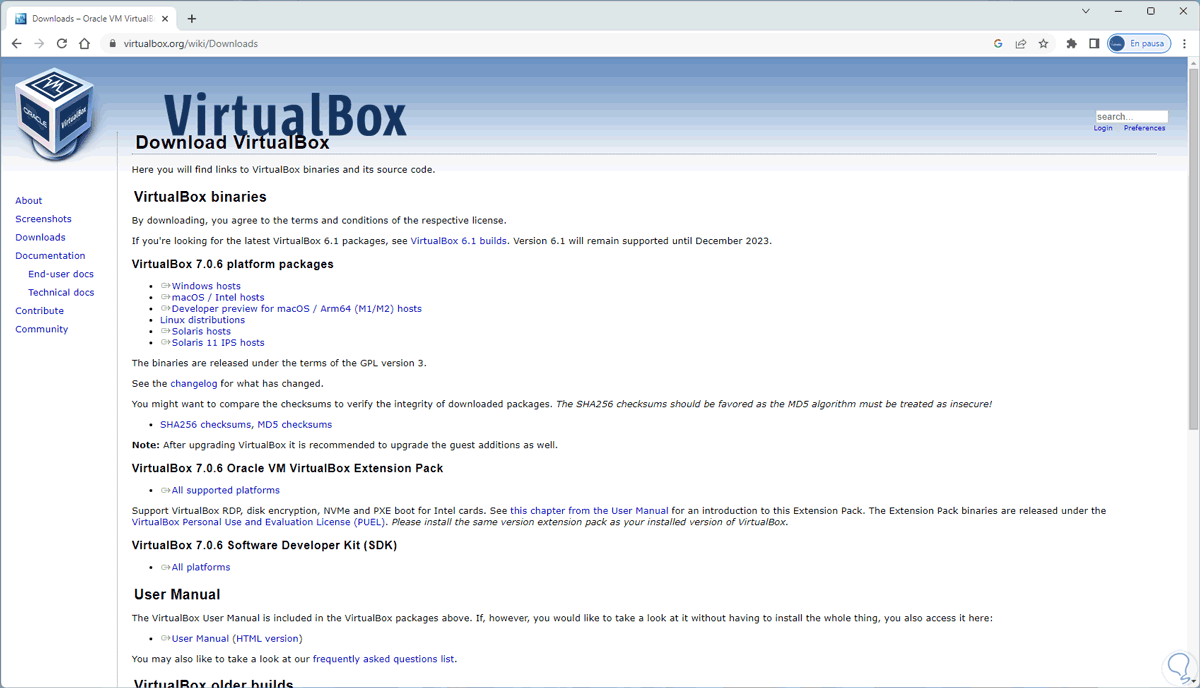
Virtualization is one of the most useful techniques that as users we can manage, since it removes the risk that a physical PC may suffer data loss, general failures, the presence of viruses, and it gives us the possibility of learning about a new operating system or applications. to determine the impact of these in a real environment. As users, we will be one step ahead to determine if a system is viable or not. On the subject of virtualization, one of the best applications to use is VirtualBox, which can be downloaded for free at the following link:
VirtualBox
VirtualBox Features
VirtualBox gives us a series of features such as:
- Guest Additions function which increase the capabilities of the virtual machine in aspects such as shared folders, integrated windows, 3D virtualization and much more
- Allows you to create VM (Virtual Machine) groups
- It has a VirtualBox Remote Desktop Extension (VRDE) with which it is possible to have remote access to a running virtual machine
Now, in order to install Windows 11 in VirtualBox in the new version 7.0 of this platform, these requirements have been removed, with TPM 2.0 being one of the most critical. Making virtualizations such as installing Windows 11 in VirtualBox can help us in management and support tasks, avoiding complete physical installations..
To stay up to date, remember to subscribe to our YouTube channel!
SUBSCRIBE ON YOUTUBE
1 Download Windows 11 ISO
Step 1
To download Windows 11 we will go to the following link:
Windows 11
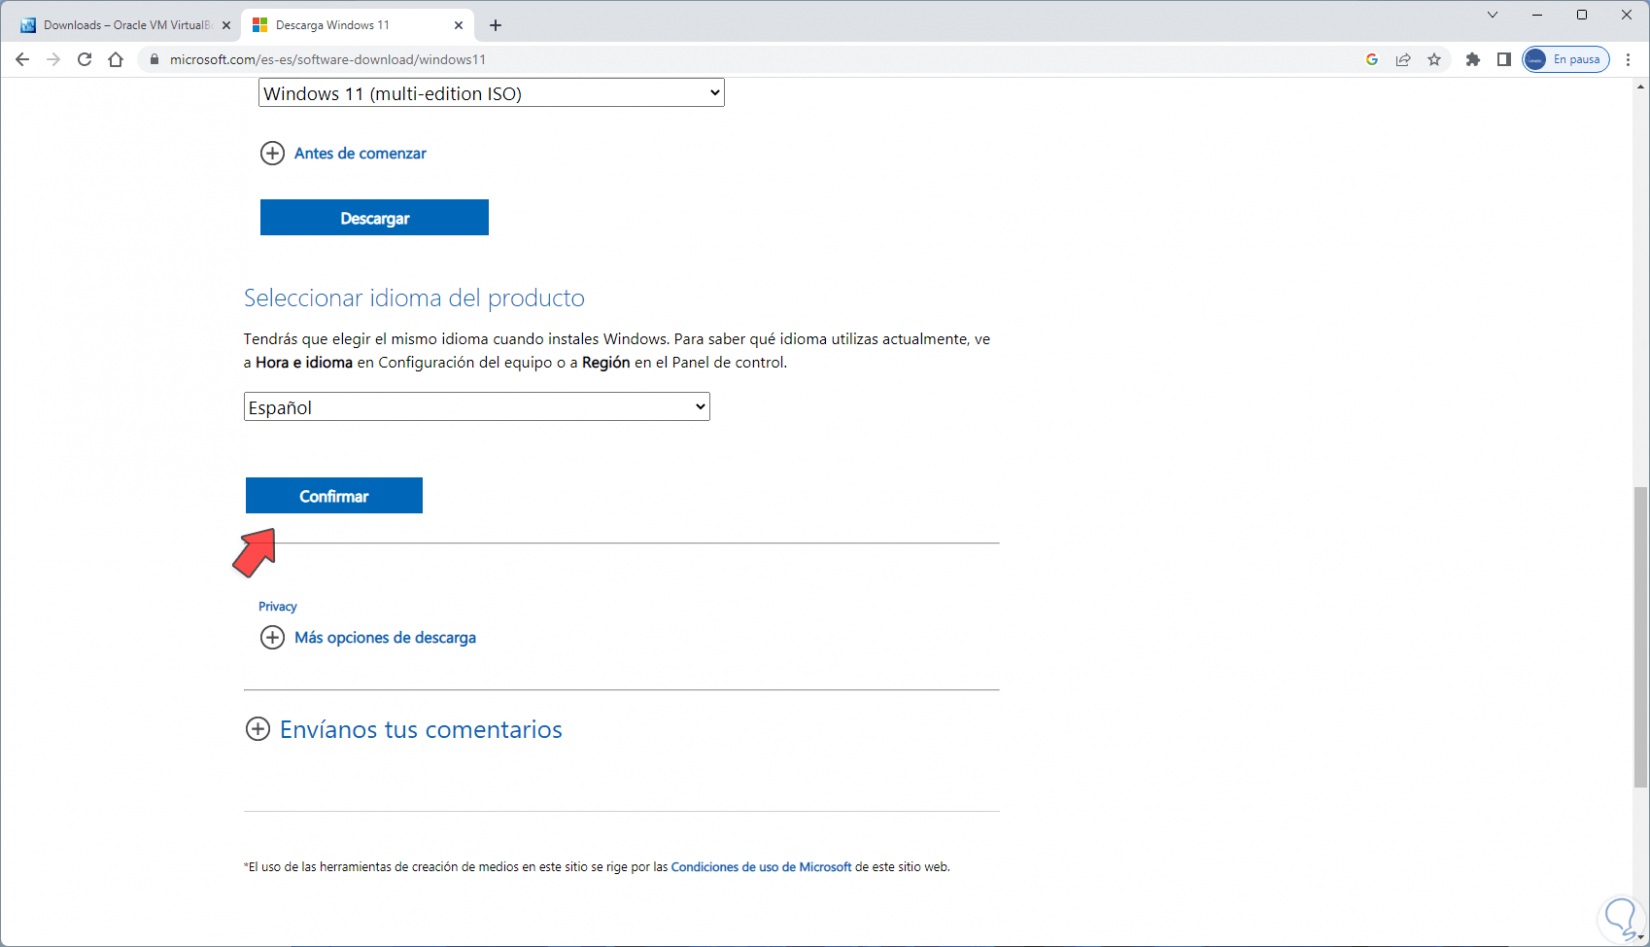
Step 2
We select the type of image and then click on "Download", now we select the language:

Step 3
We click on "Confirm":
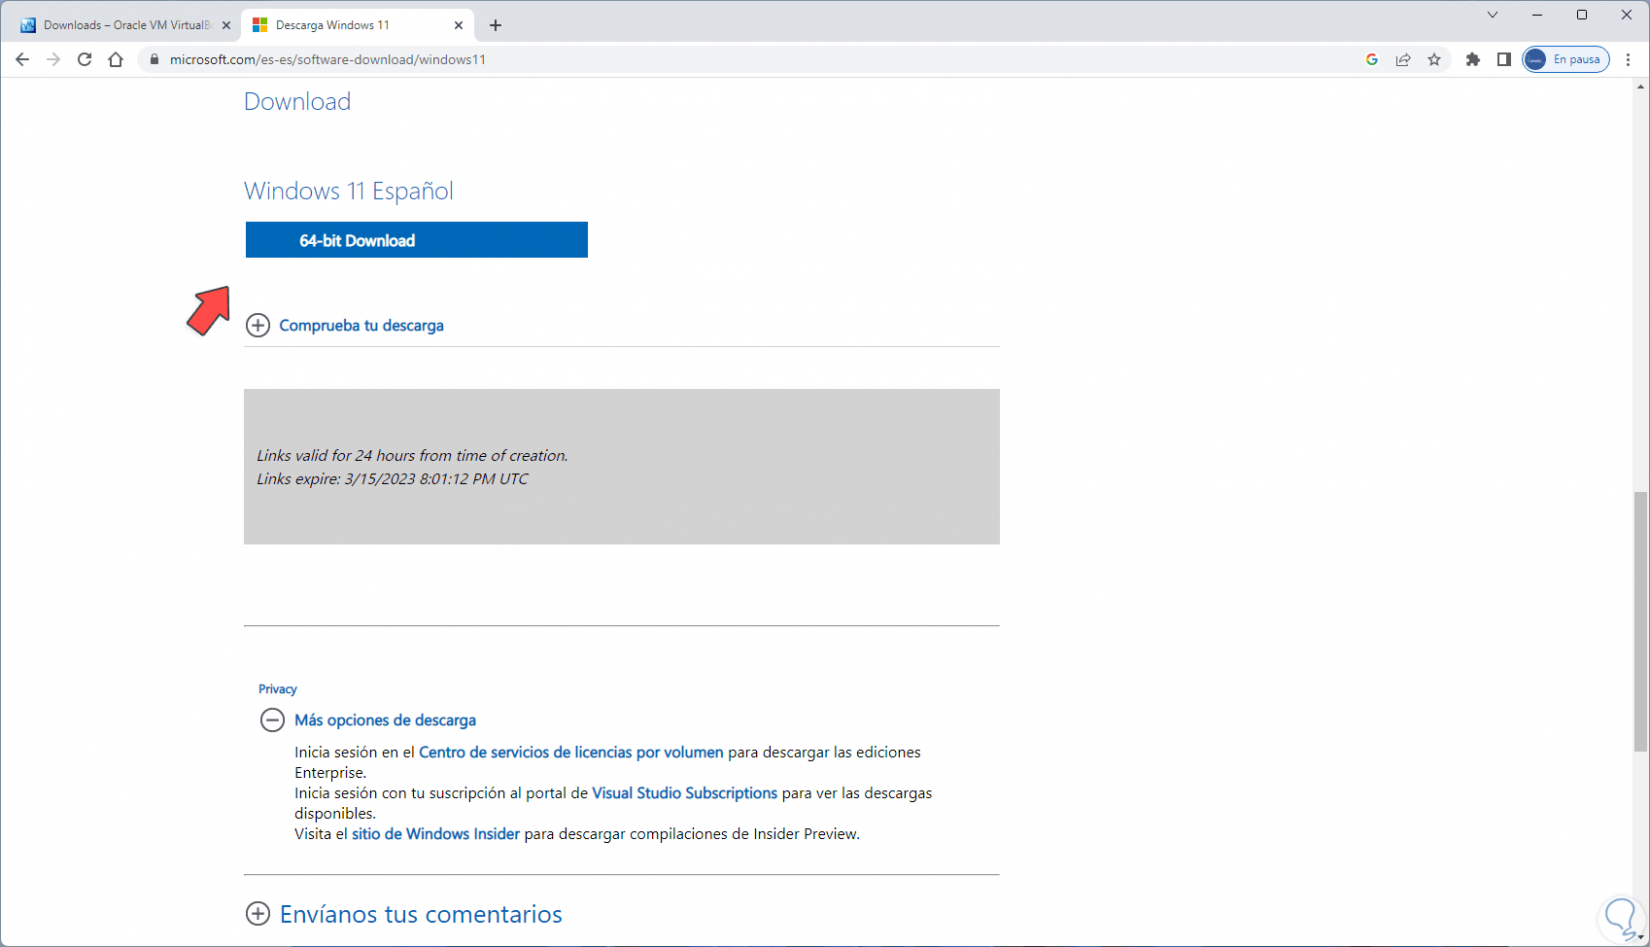
Step 4
The ISO download link will be available:
2 Install Windows 11 in VirtualBox
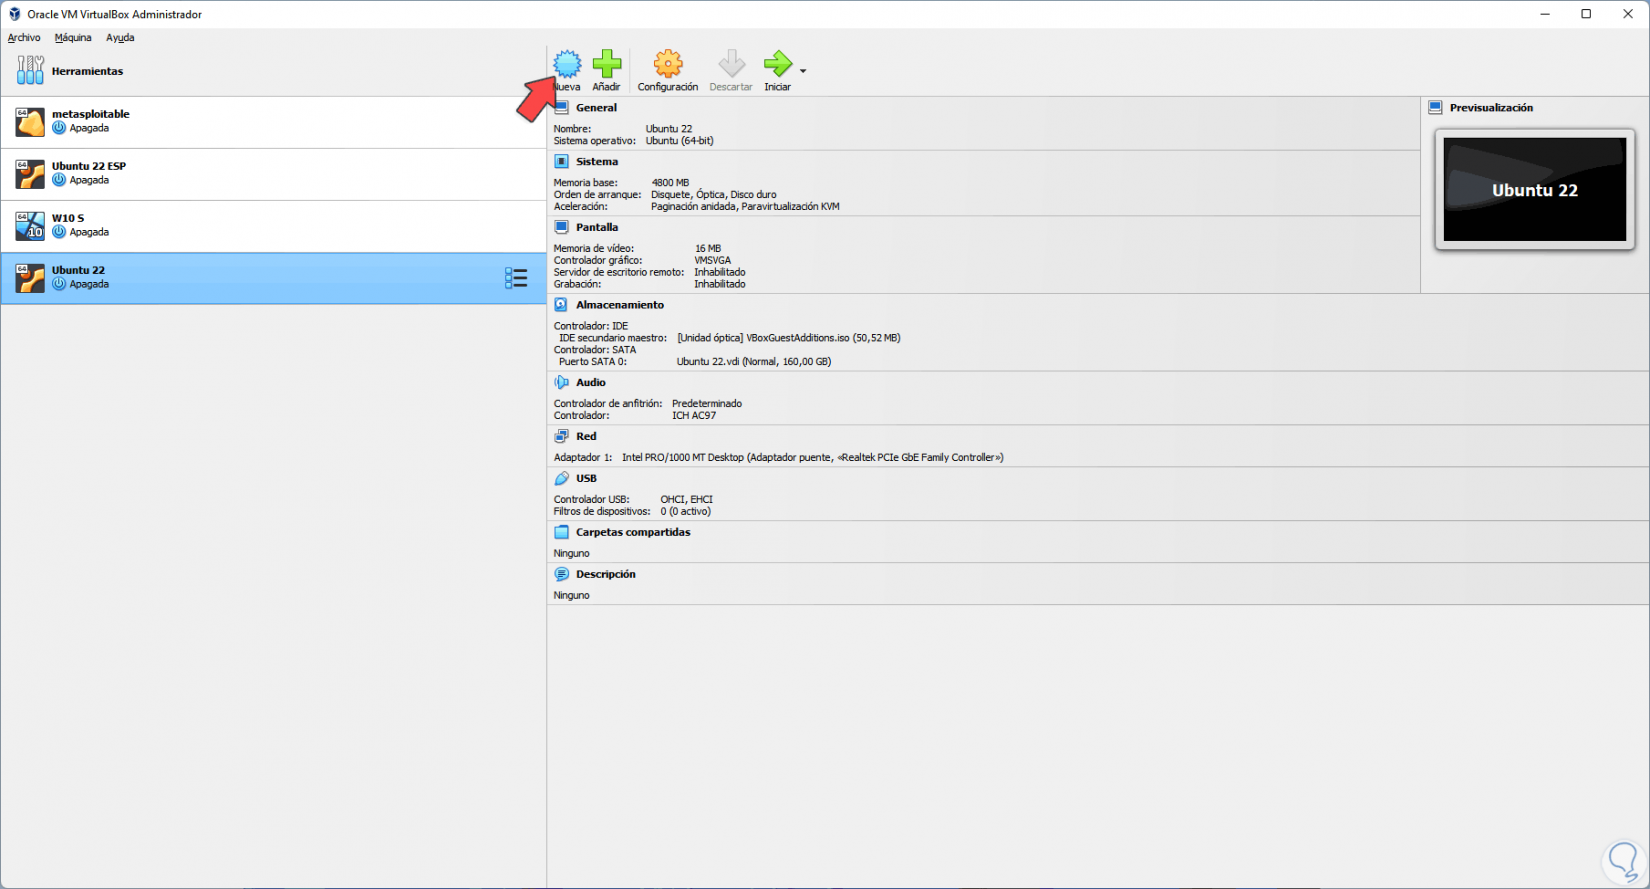
Step 1
Open VirtualBox and click "New":
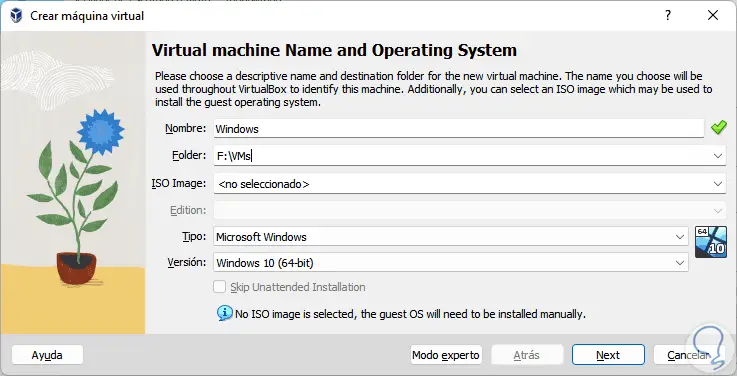
Step 2
The following window will open, in it we assign the name and location of the virtual machine:
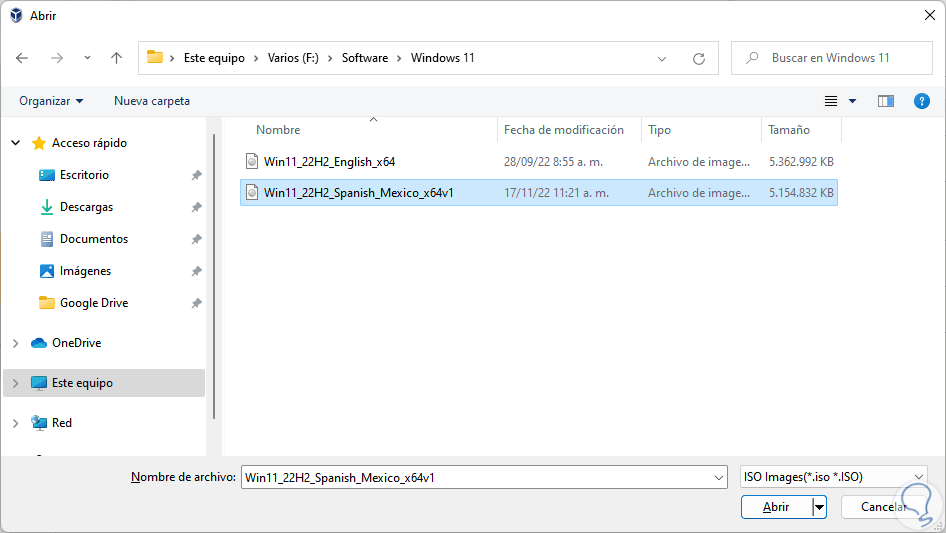
Step 3
In "ISO image" we select the ISO image of Windows 11:
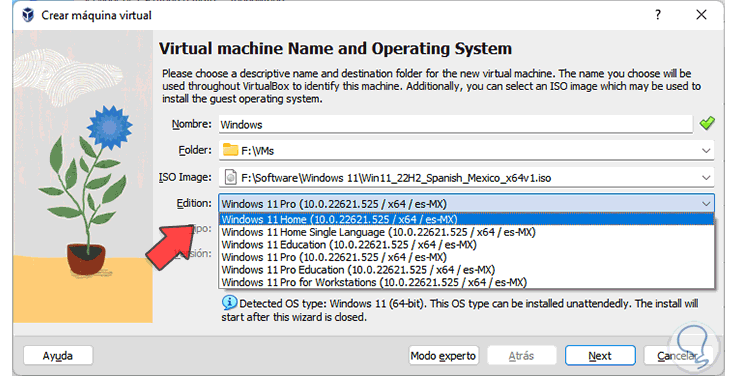
Step 4
Being a multi-edition ISO, in VirtualBox in "Edition" it will be possible to select one of the available options:
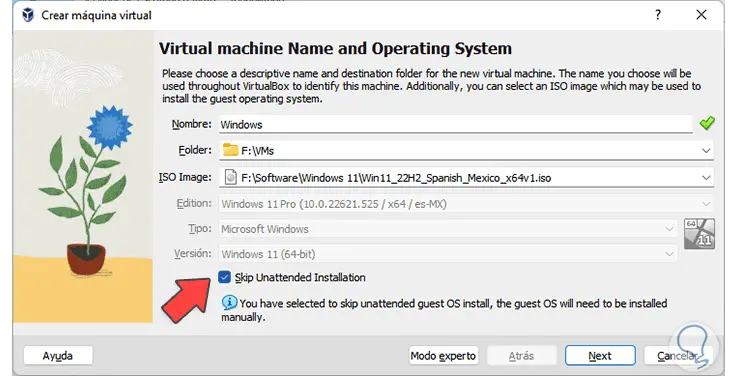
step 5
Activate the "Skip Unattended Installation" box to perform the configuration manually:
step 6
We click on "Next" to assign the RAM memory:
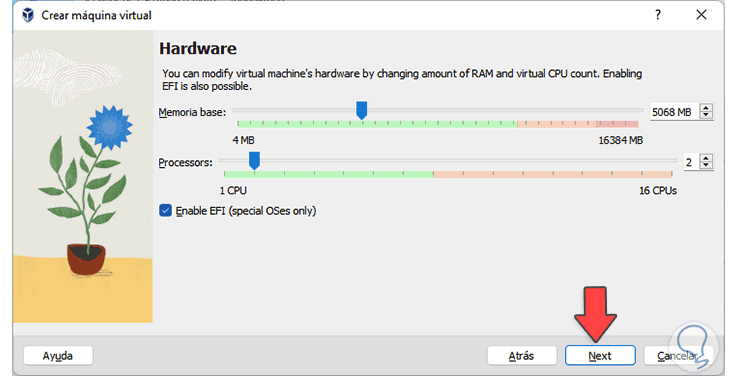
step 7
Now we define the size of the disk:
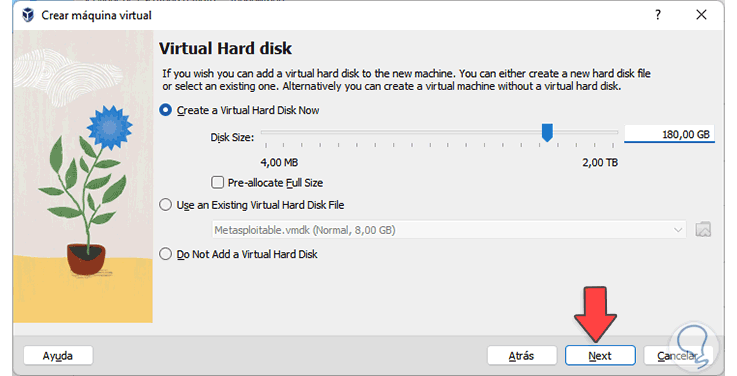
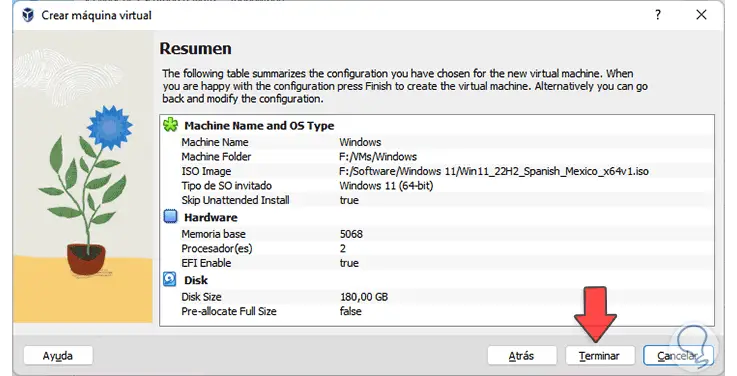
step 8
Then we will see a summary of the machine to create. We click "Finish" to see the Windows machine created:
step 9
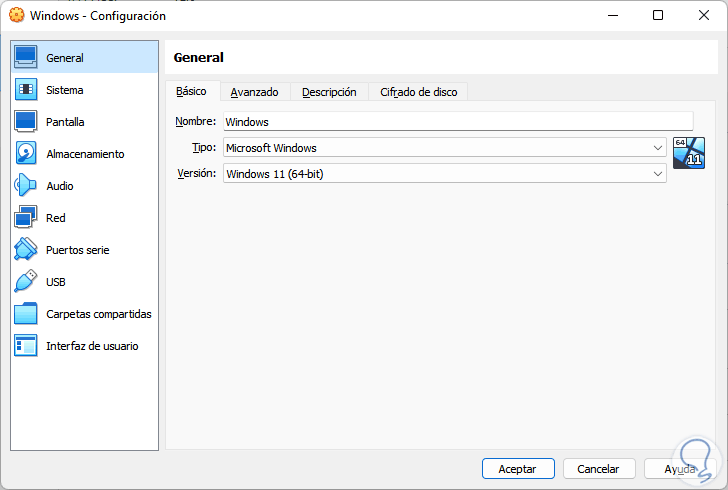
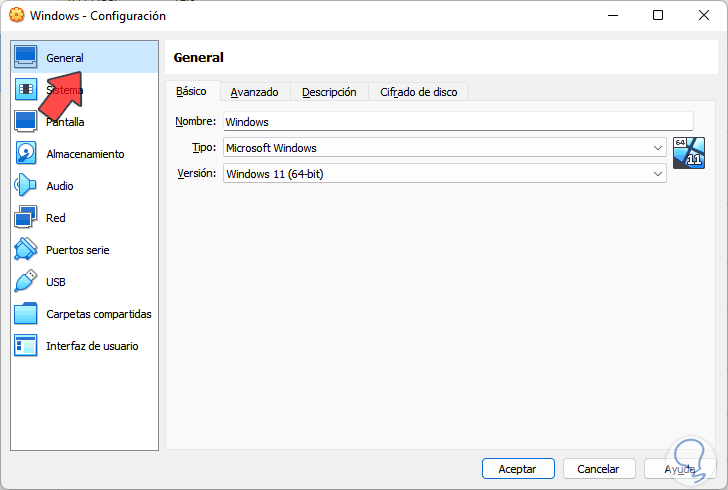
We click on "Settings" to access the general parameters:
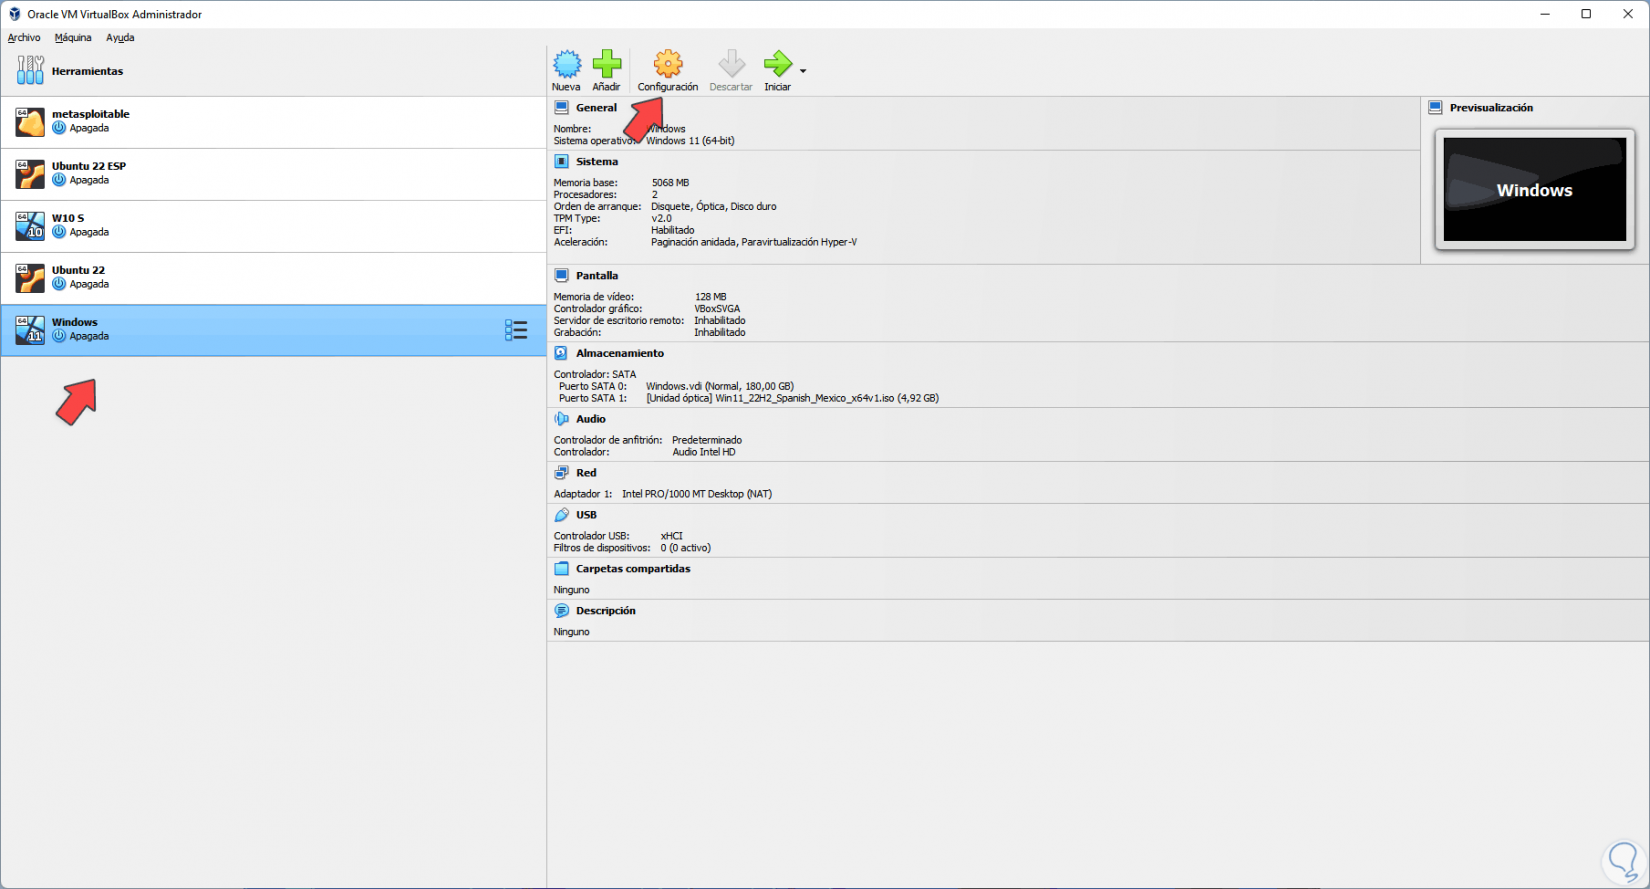
step 10
We will see the following options. In "General" it will be possible:
- Change machine name, type and version
- Activate the drag and drop function
- Activate the shared clipboard
step 11
We can configure this section:
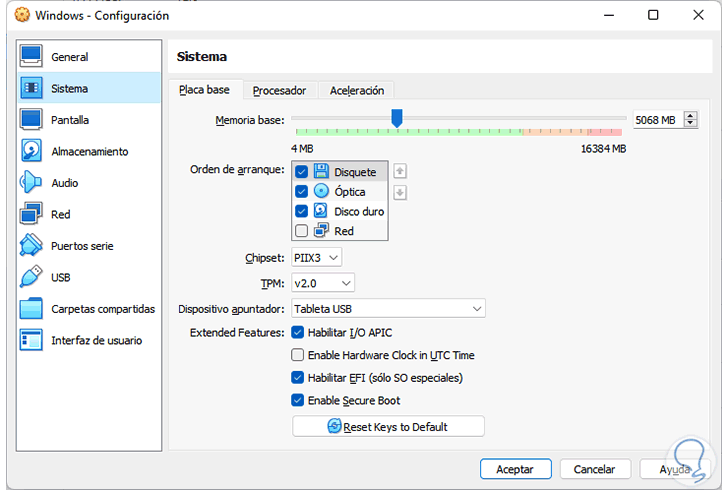
step 12
In "System" it will be possible:
- Configure TPM and Chipset
- Define the amount of CPU to use
- Activate or not the acceleration of the CPU
step 13
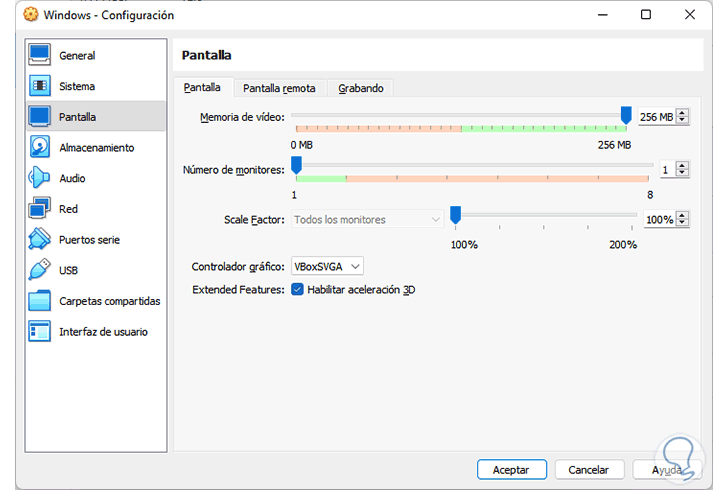
In "Screen" we will see the following:
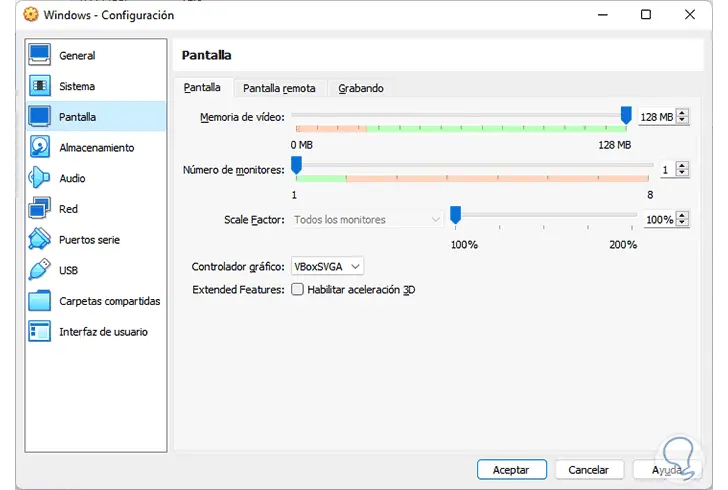
step 14
For a better experience of using Windows in VirtualBox, we activate the "Enable 3D acceleration" box and set the maximum value which is 256 MB:
step 15
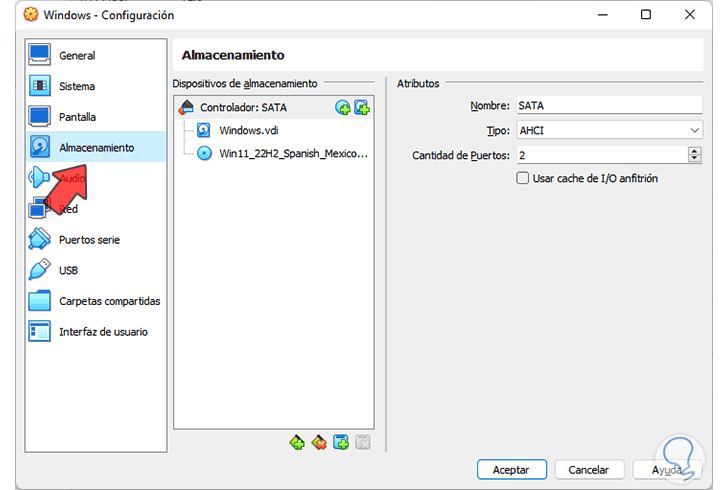
In "Storage" we will see the disc created, the CD/DVD drive and it will be possible to add more drives:
step 16
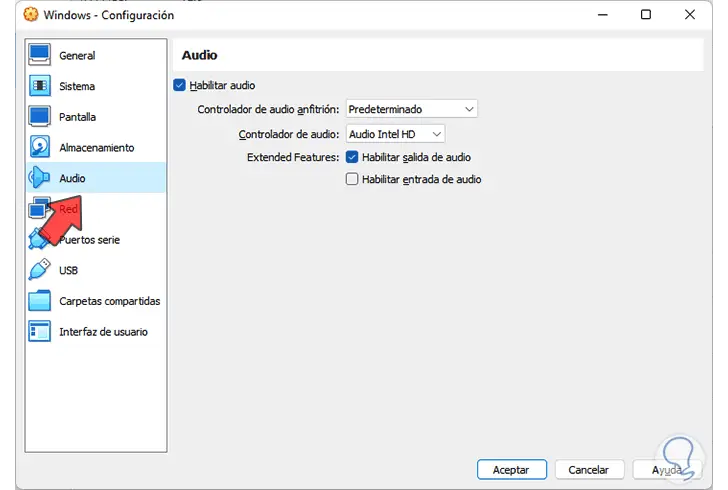
In "Audio" we can establish the controller to use as well as enable some functions:
step 17
In "Network" we establish "Bridge adapter" for the connection to the network:

step 18
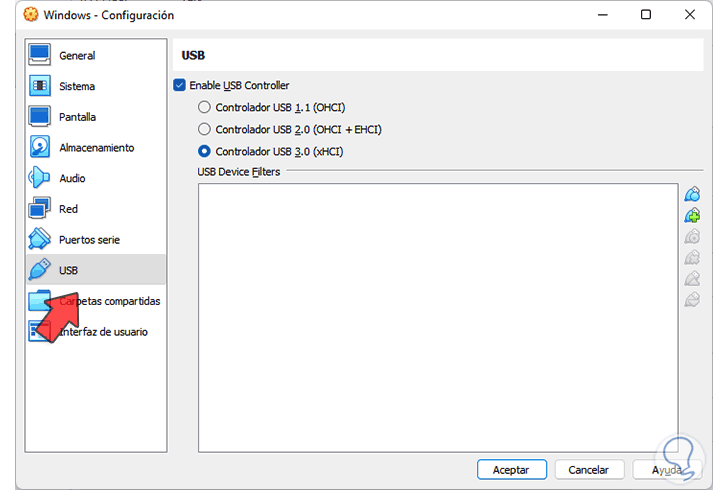
In "USB" we can choose the version of the USB ports to activate as well as add devices:
step 19
In "Shared folders" we can add folders from the physical PC to use in the virtual machine once the Guest Additions have been installed:
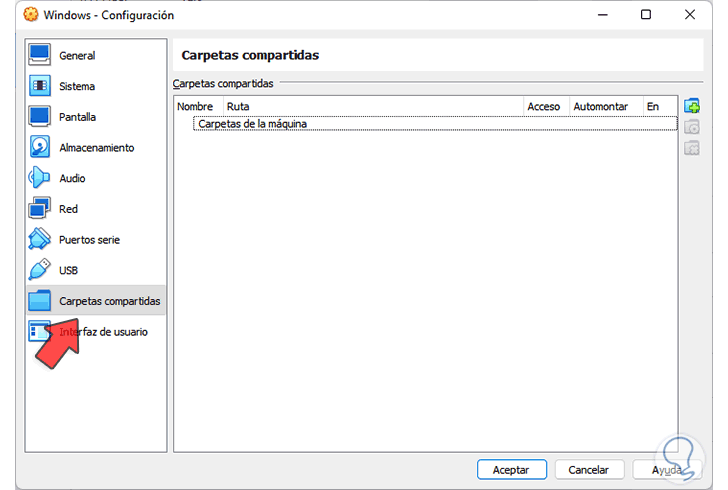
step 20
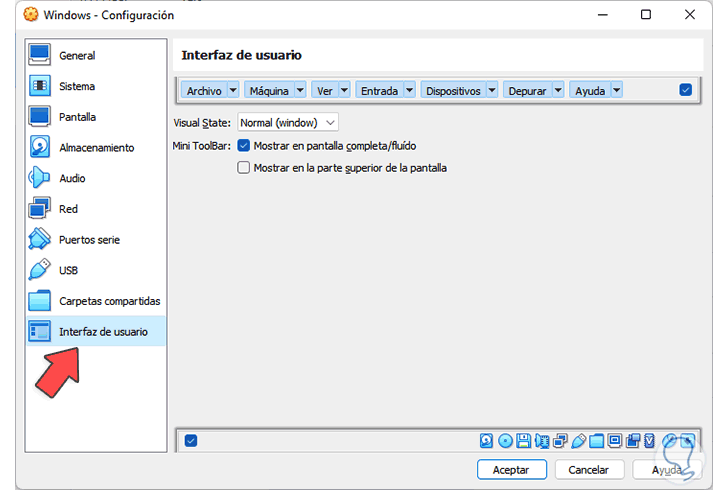
Finally in "User interface" we can adjust the global values of the virtual platform:
Apply the changes.
step 21
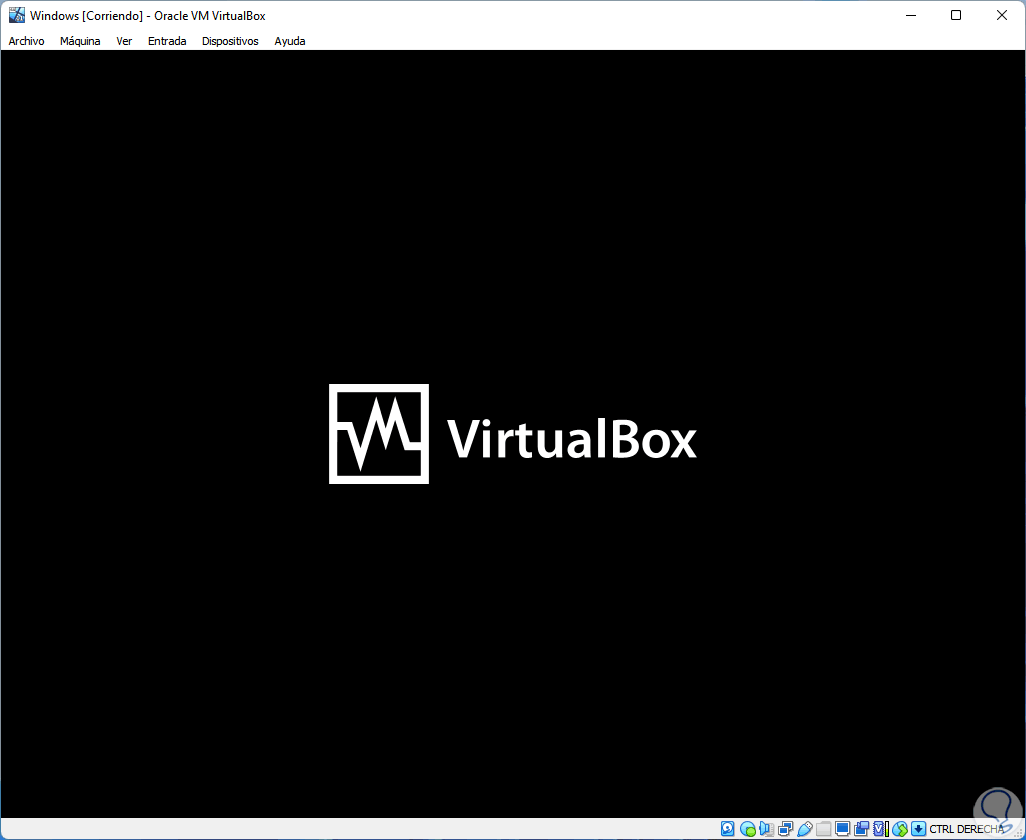
We click on "Start" to start the virtual machine and press any key to use the installer:
step 22
The Windows setup wizard will load. We click on "Next"
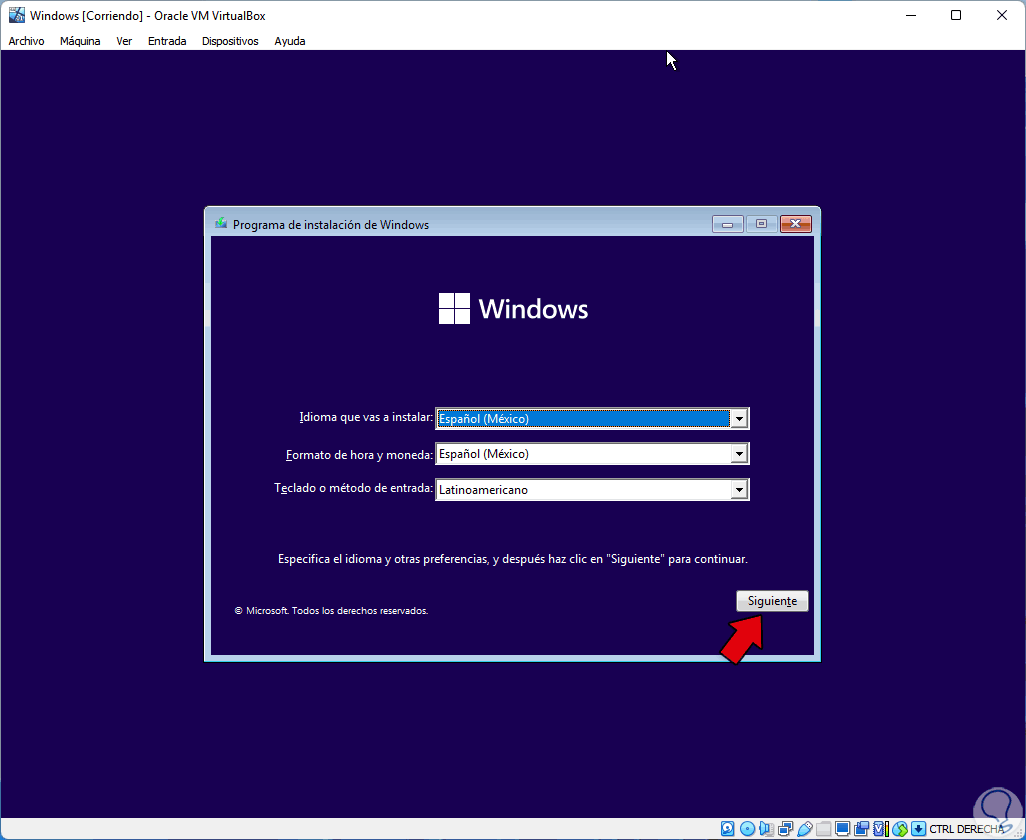
Step 23
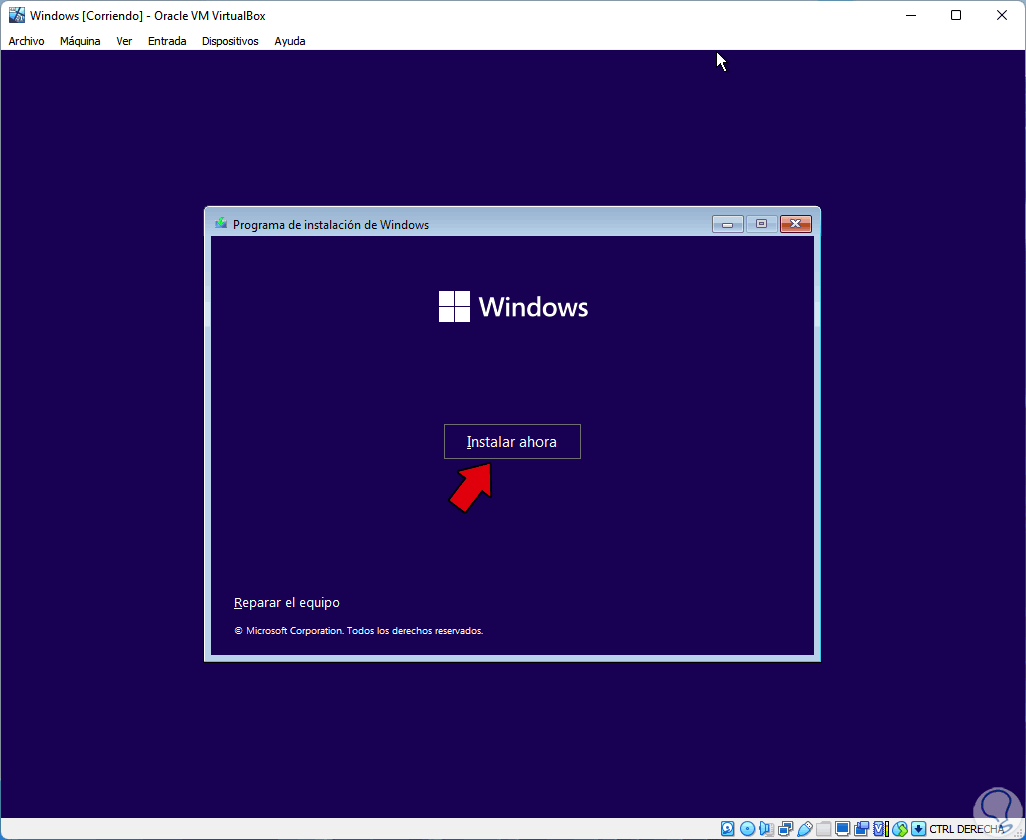
and then we click on "Install now":
step 24
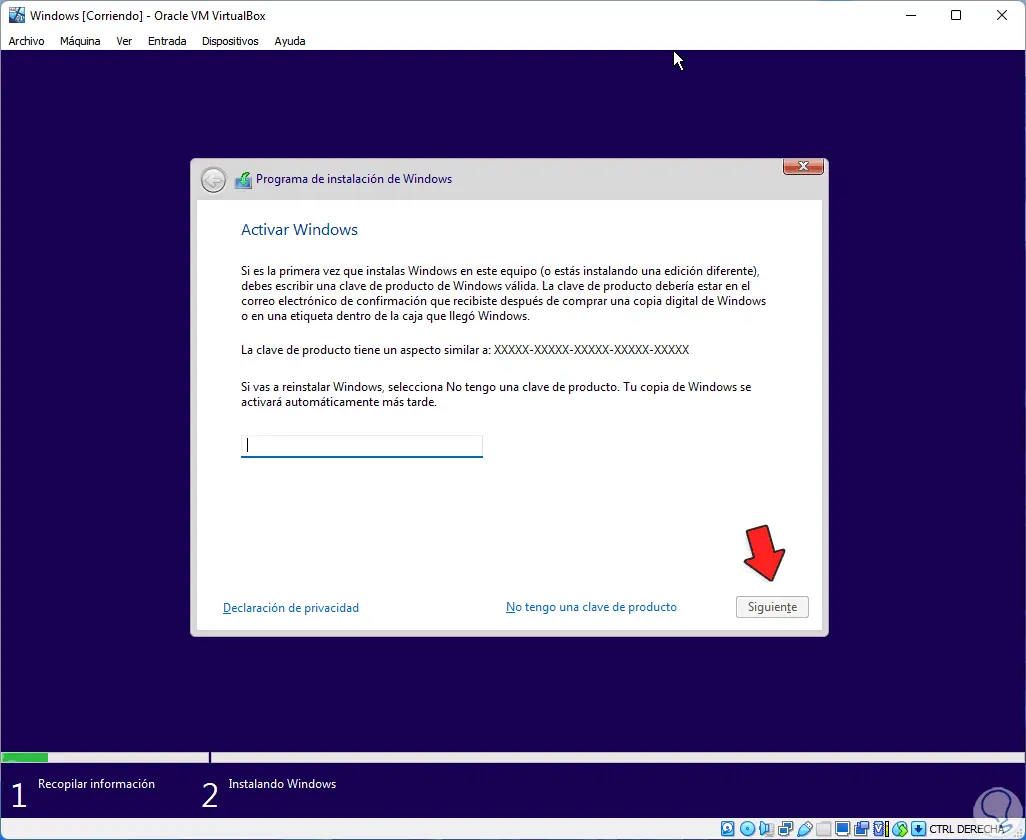
It is possible to enter (if we have) the Windows key:
step 25
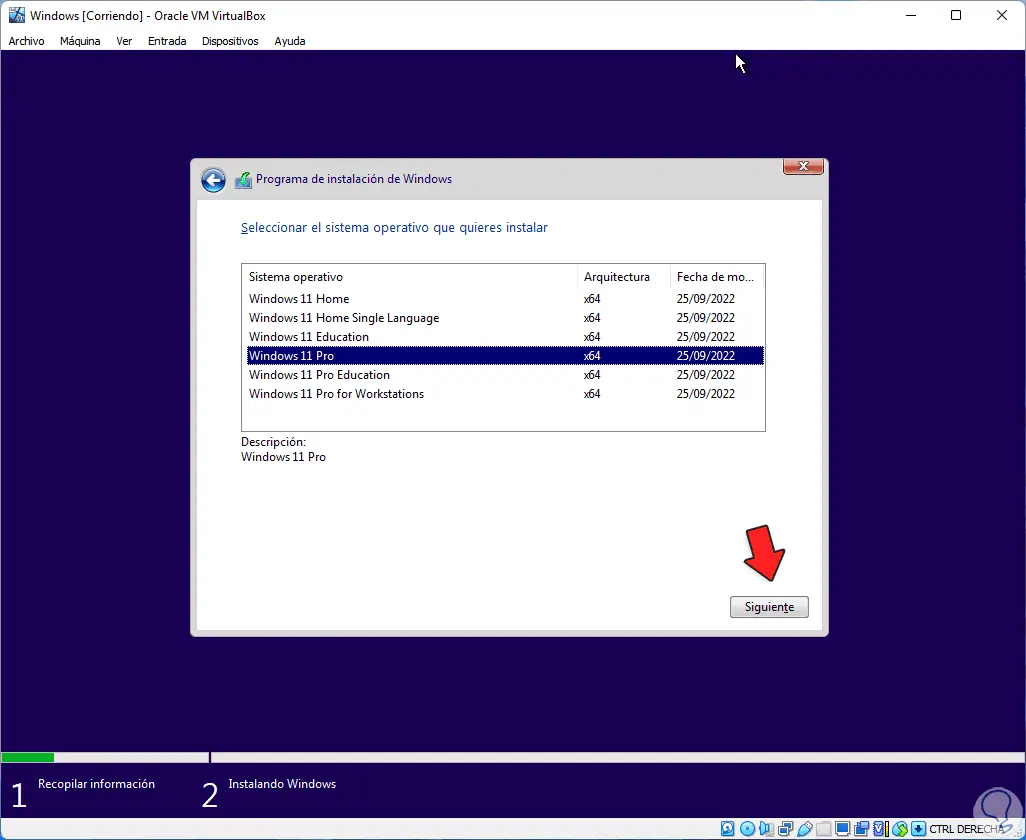
Select the edition of Windows to use:
step 26
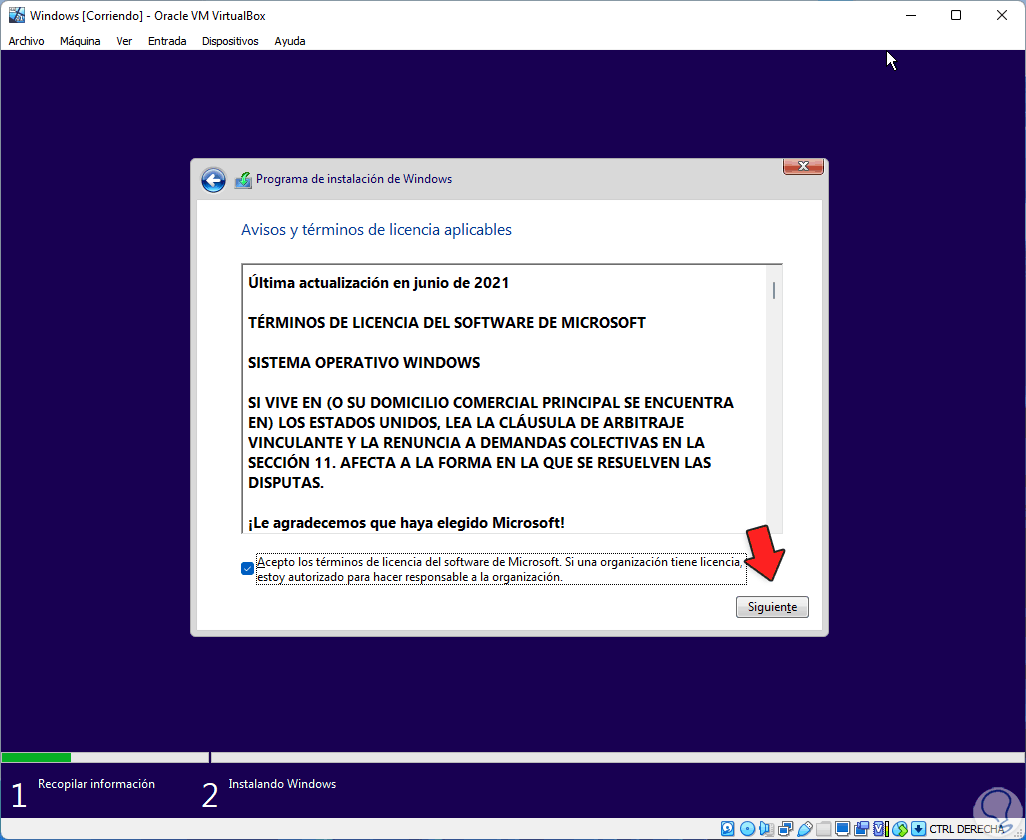
Accept the license terms:
step 27
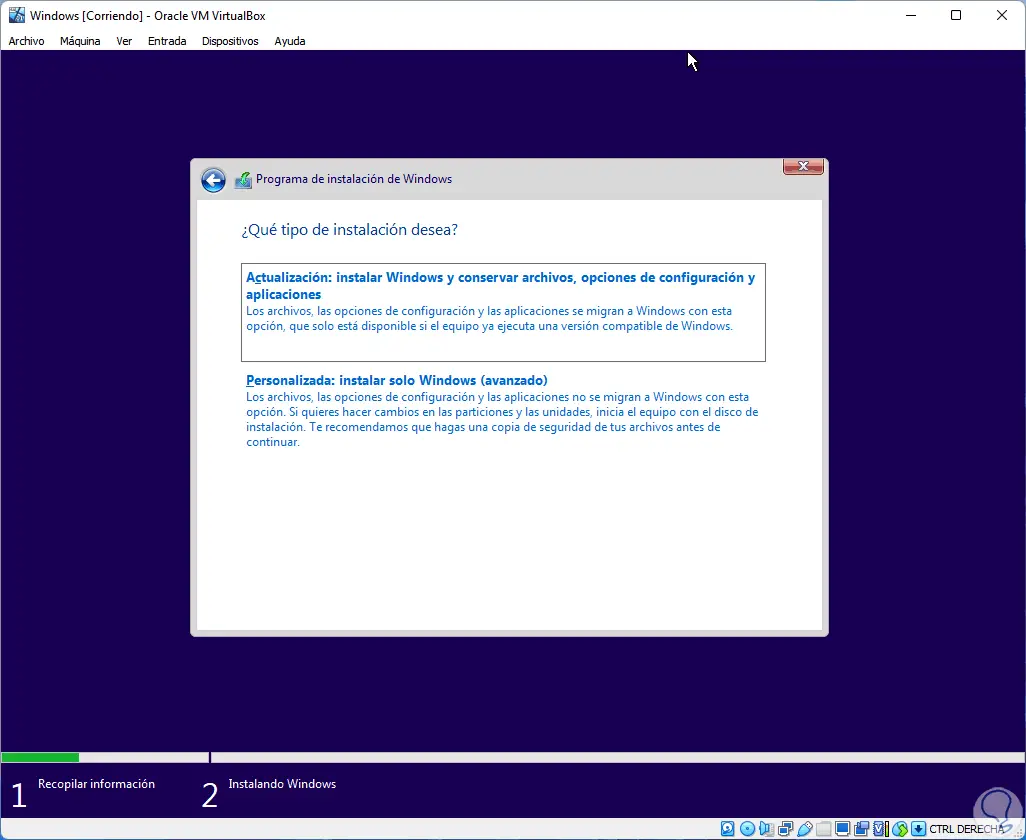
Click on "Custom":
Step 28
Select the hard drive where Windows will be installed:
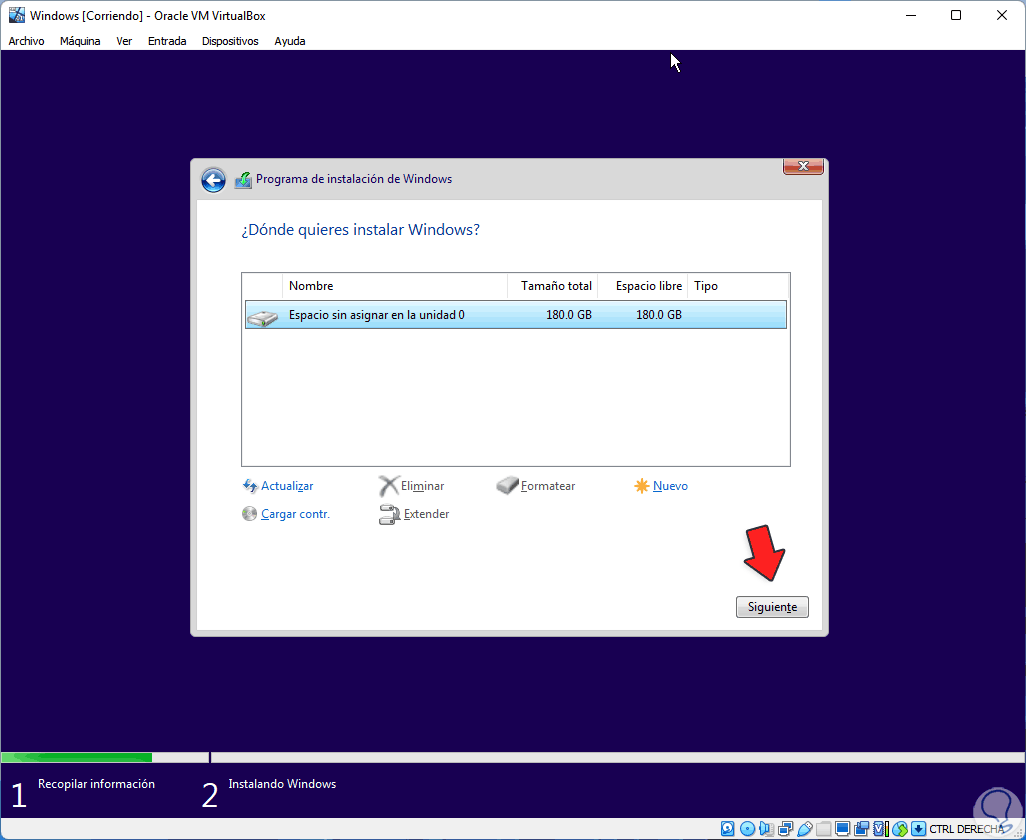
Step 29
Click "Next" to start the installation of Windows in VirtualBox:
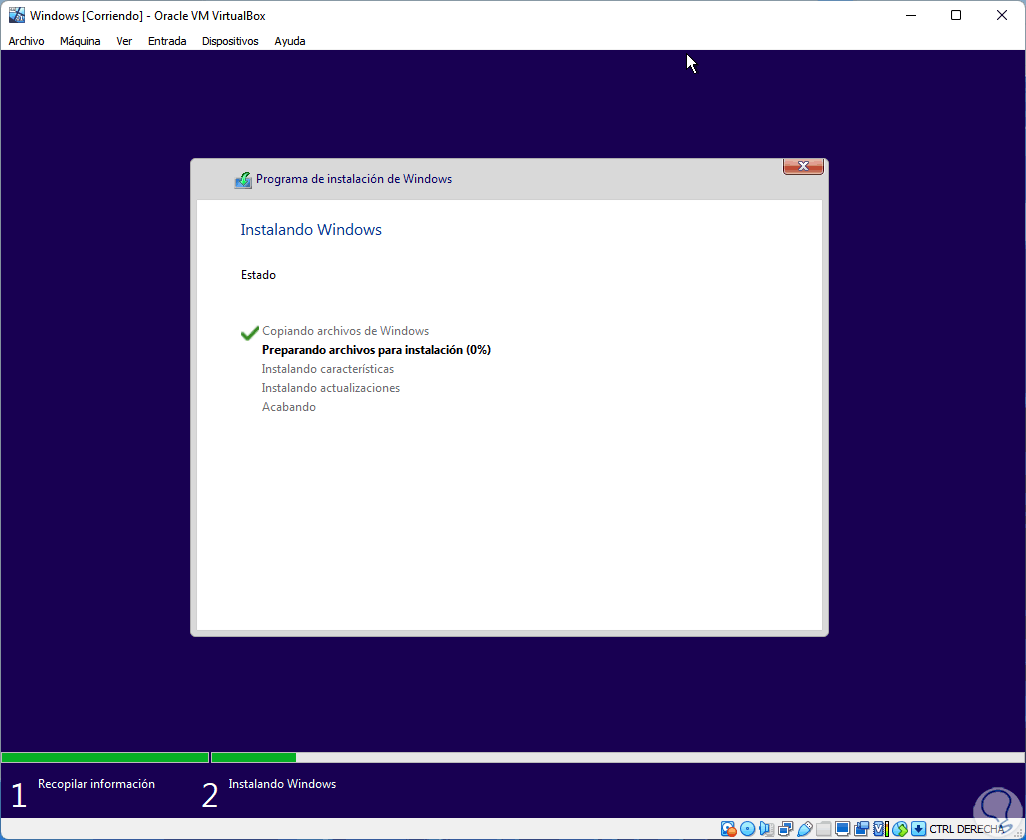
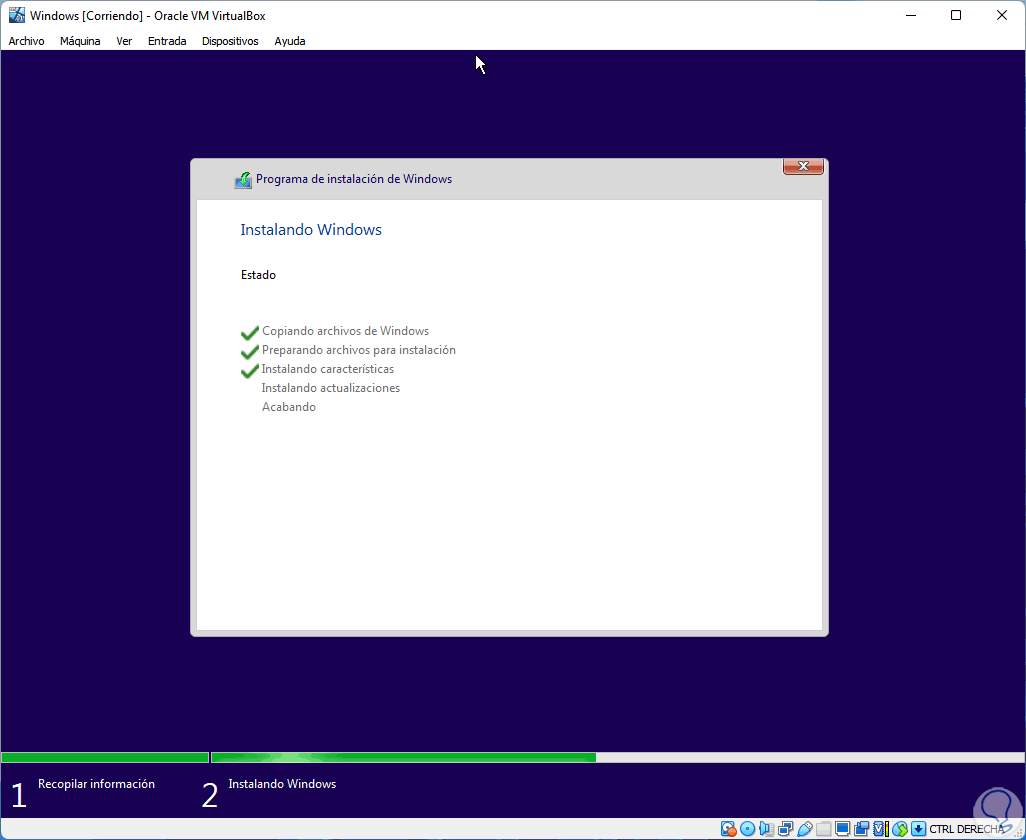
step 30
We wait for this process to finish:
step 31
The system will reboot:
step 32
The Windows environment will be loaded to continue with the installation:
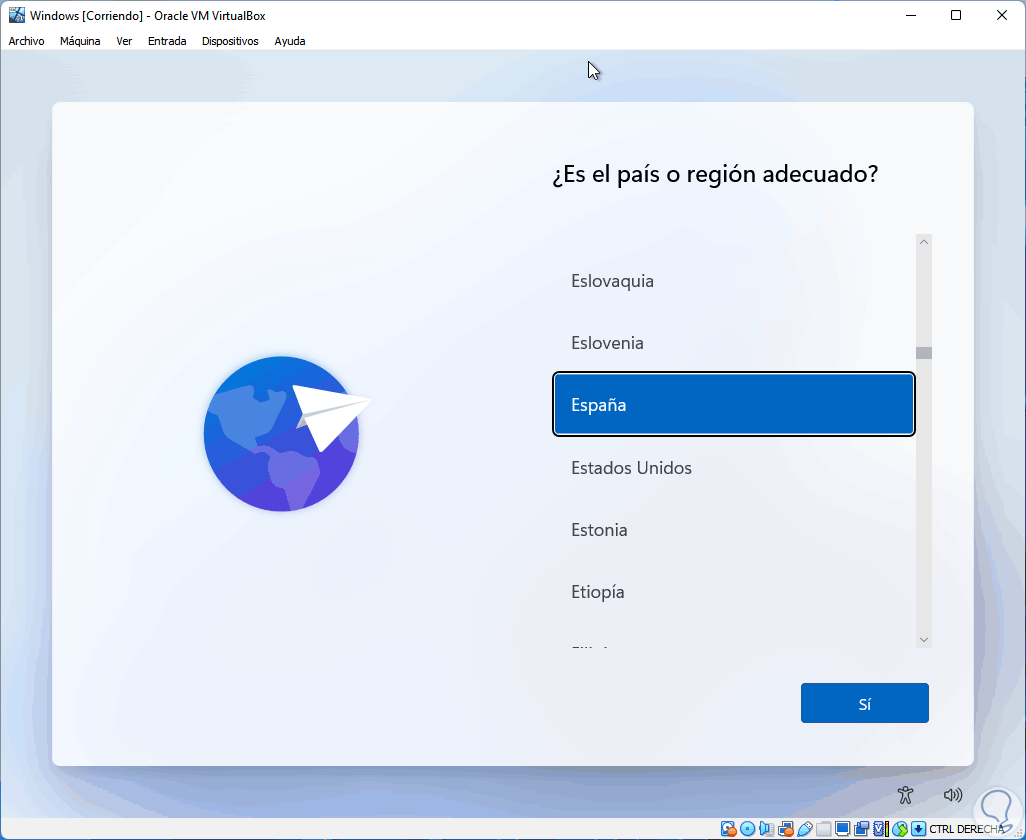
Step 33
Define the country:
Step 34
Select the language:
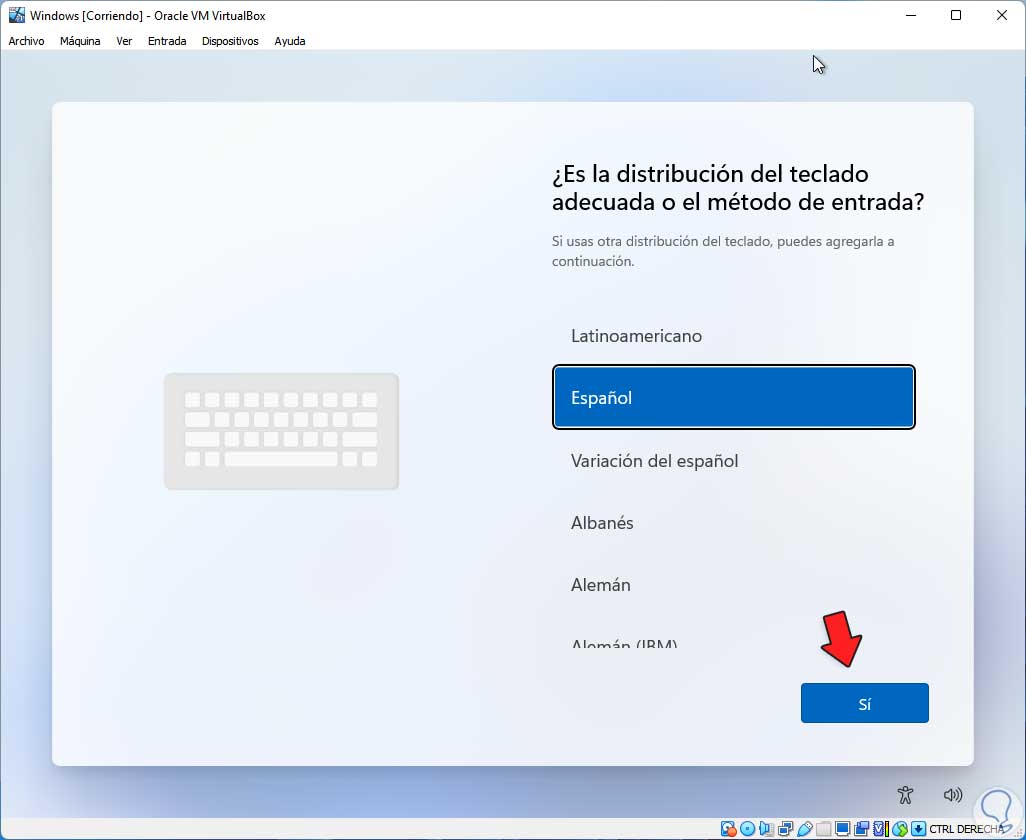
step 35
It is possible to add extra languages:
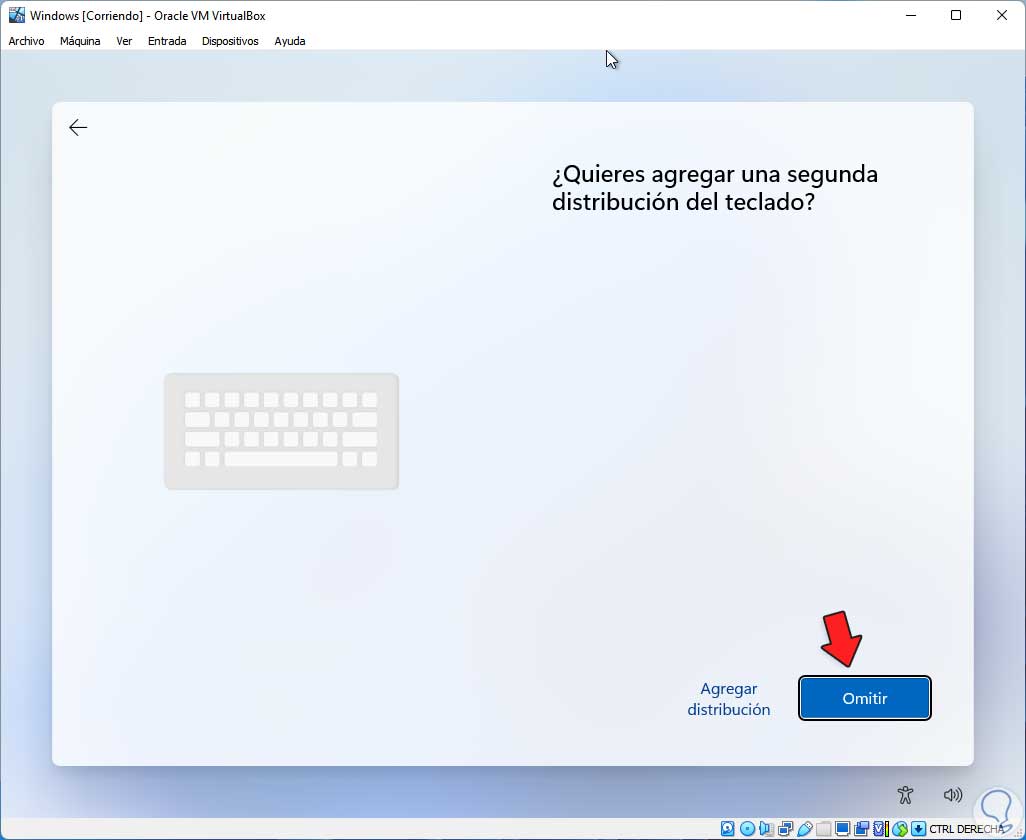
Step 36
Updates will be checked:
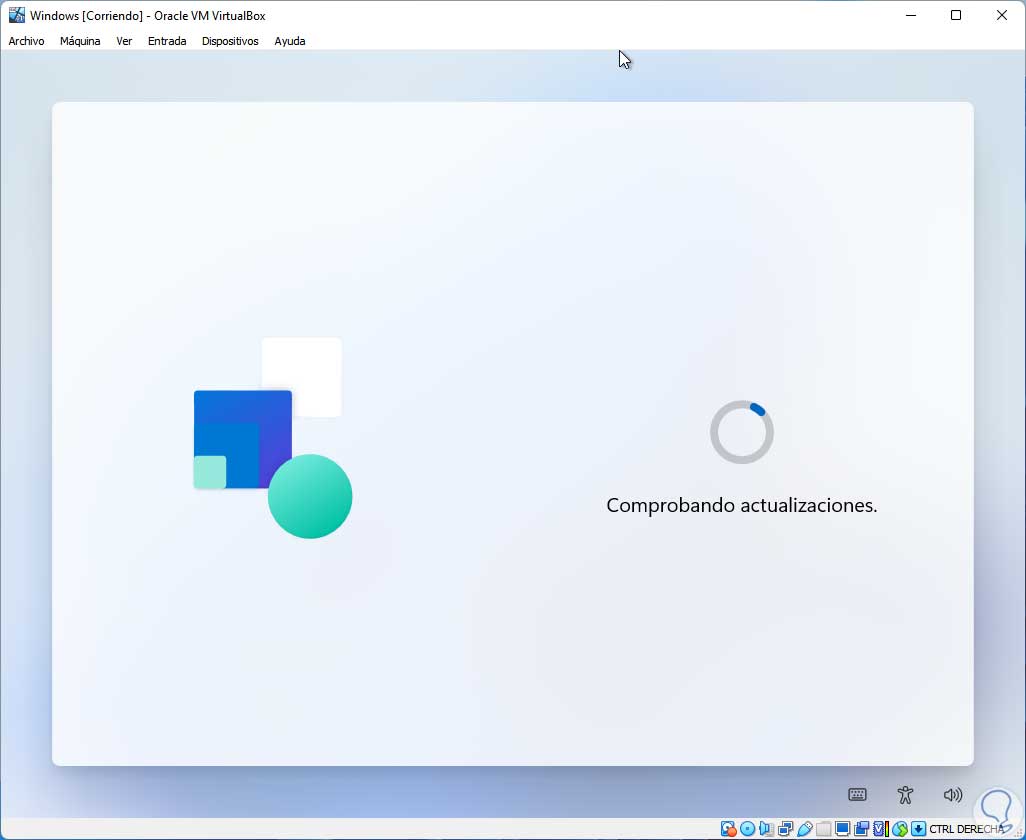
Step 37
Assign a name to the team:

Step 38
Defines the type of Windows usage:
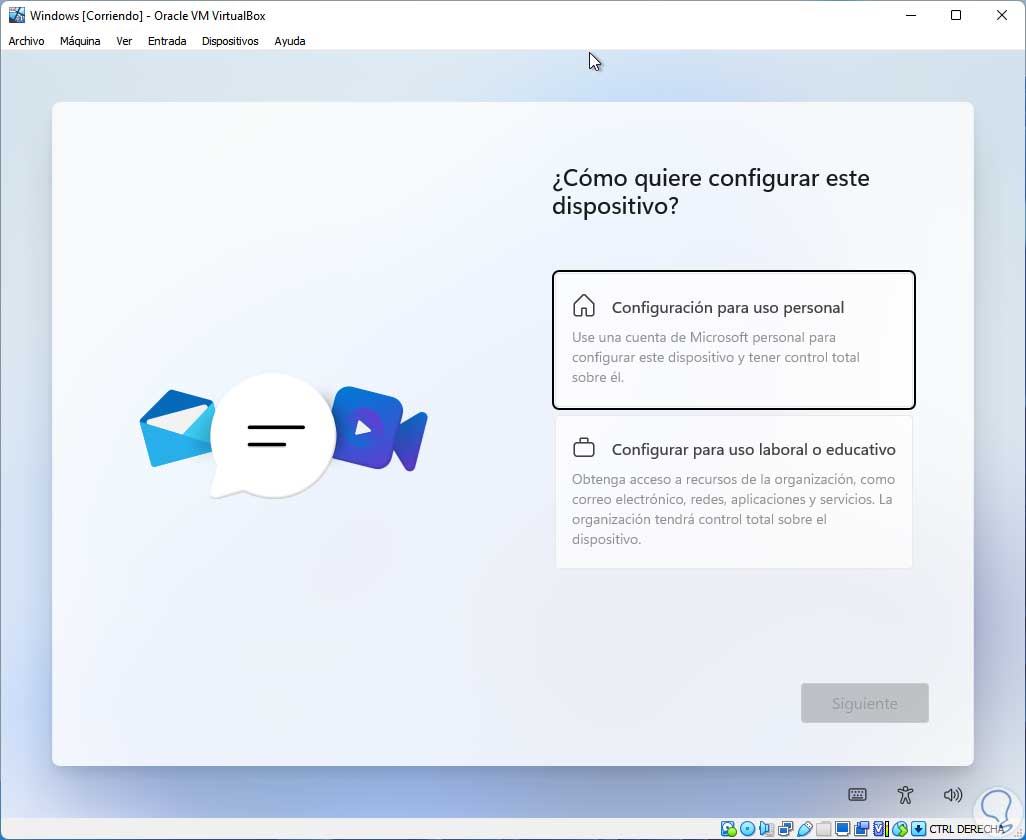
Step 39
Now we will see this:
step 40
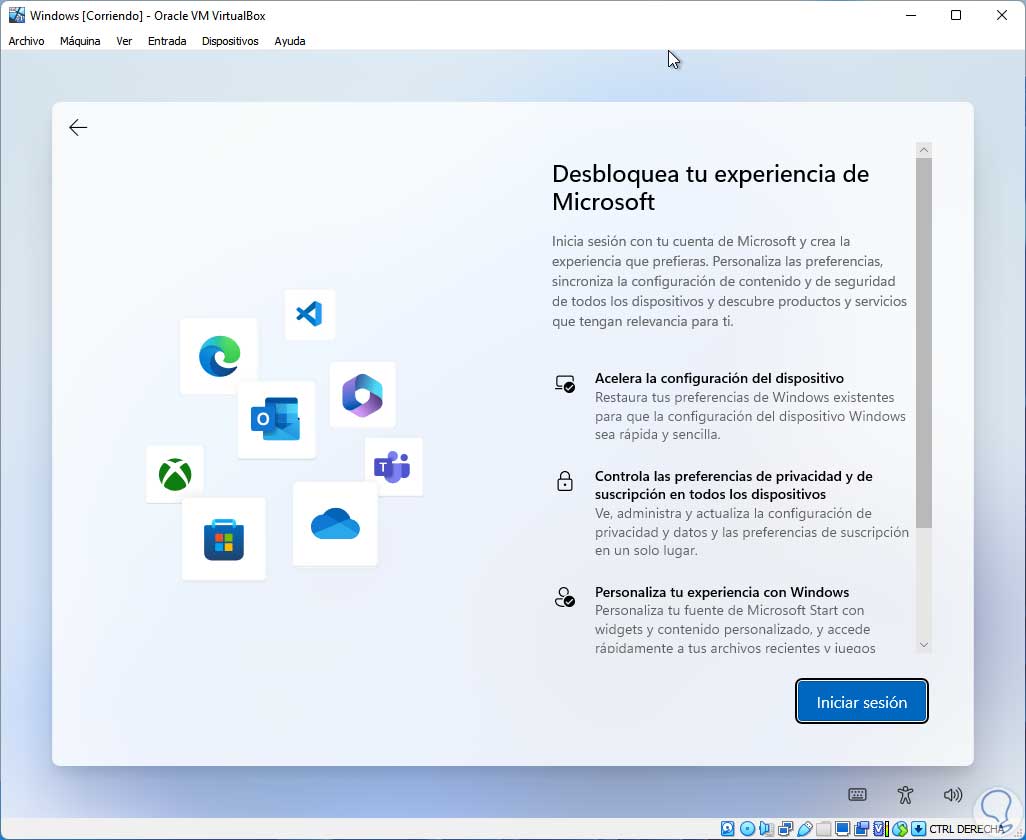
Log in:
Step 41
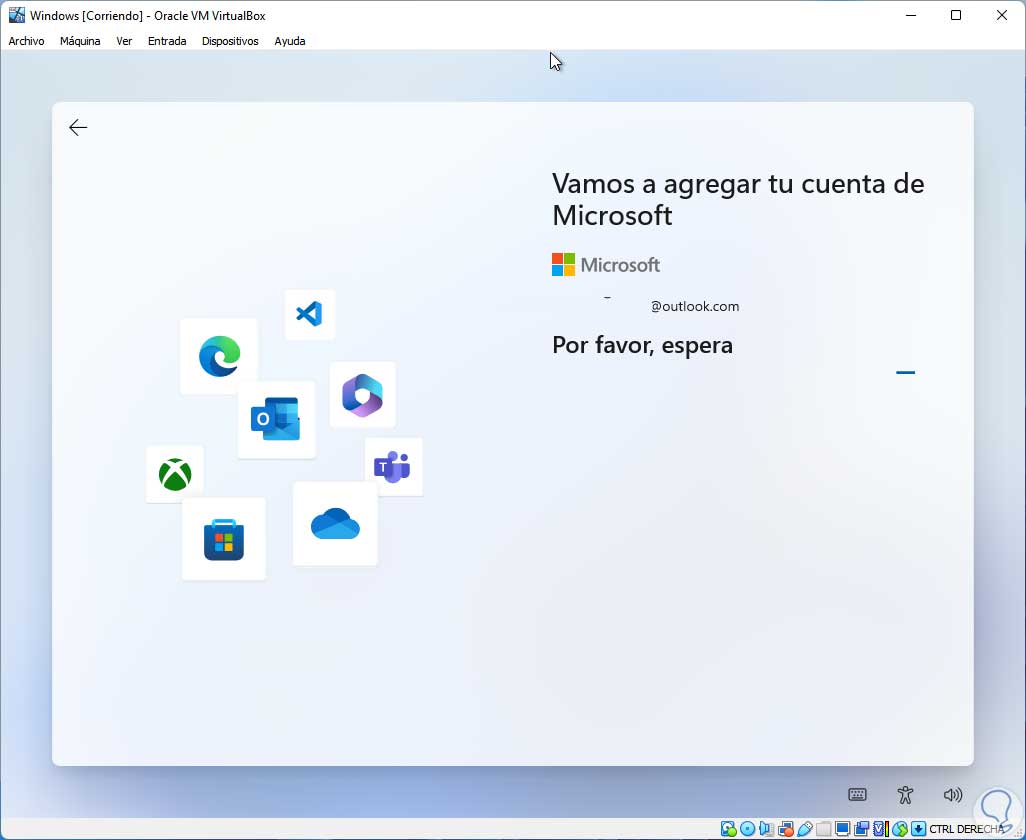
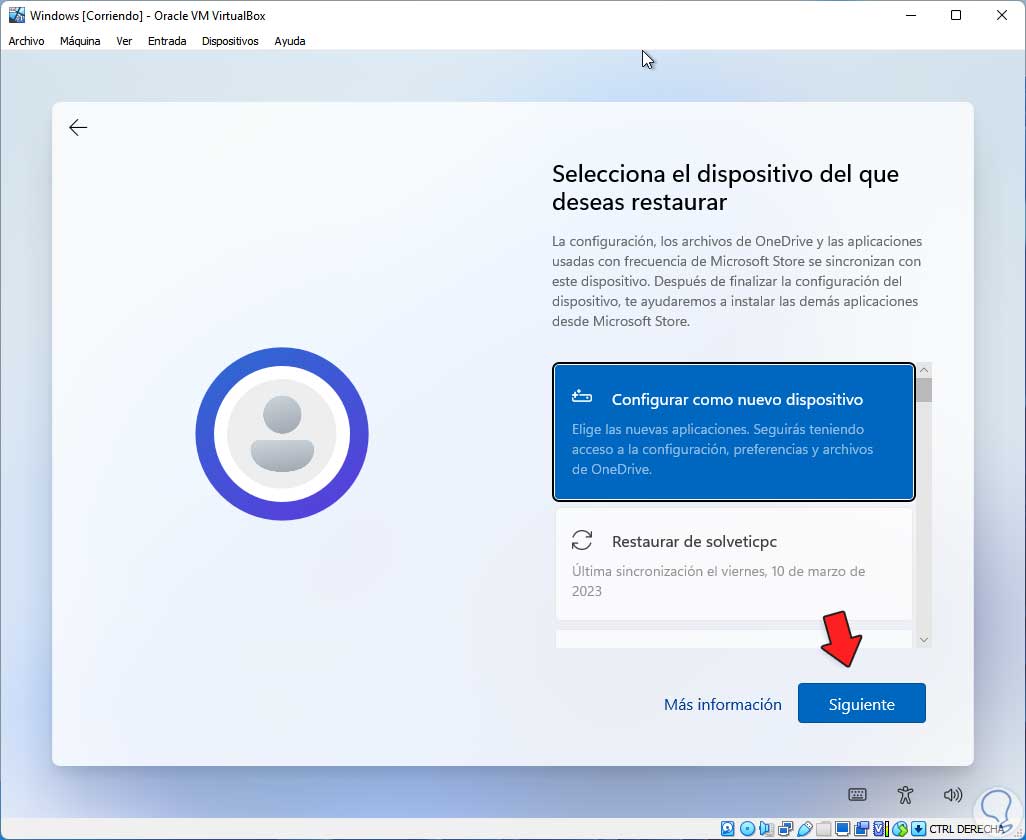
Select if it will be restored from another PC or it will be a new installation:
step 42
Now the following will be displayed:
Step 43
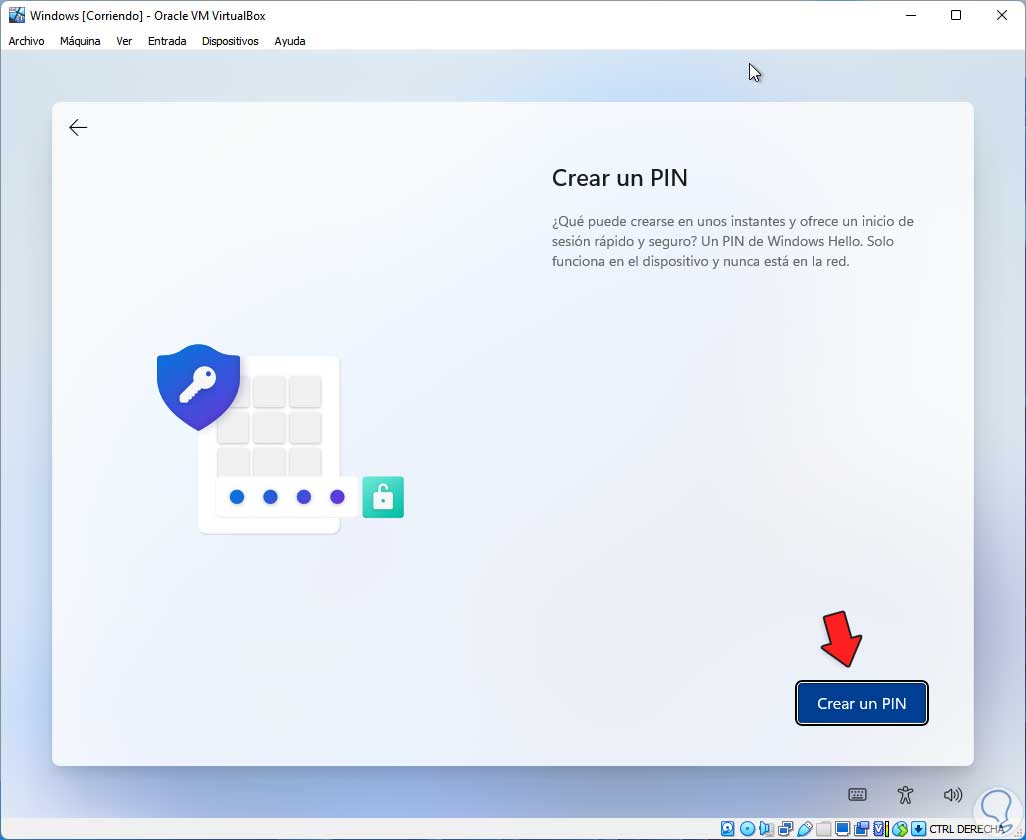
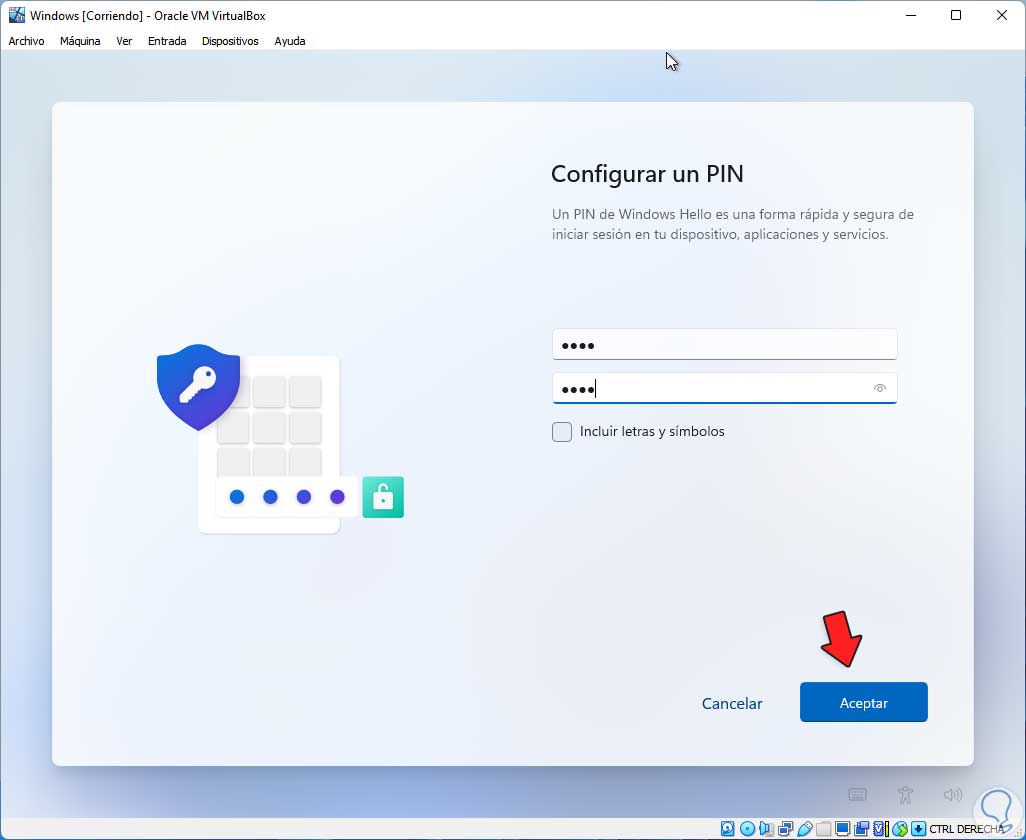
Create a PIN:
Step 44
Set the necessary permissions:
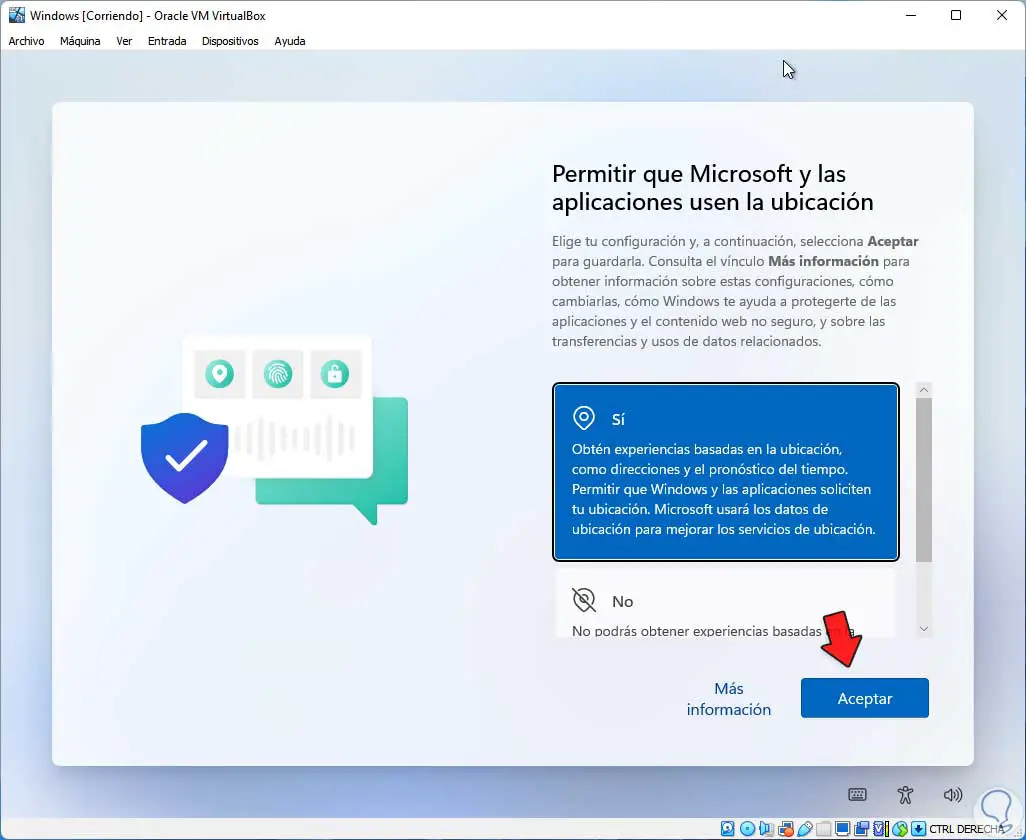
step 45
Select the customization criteria:
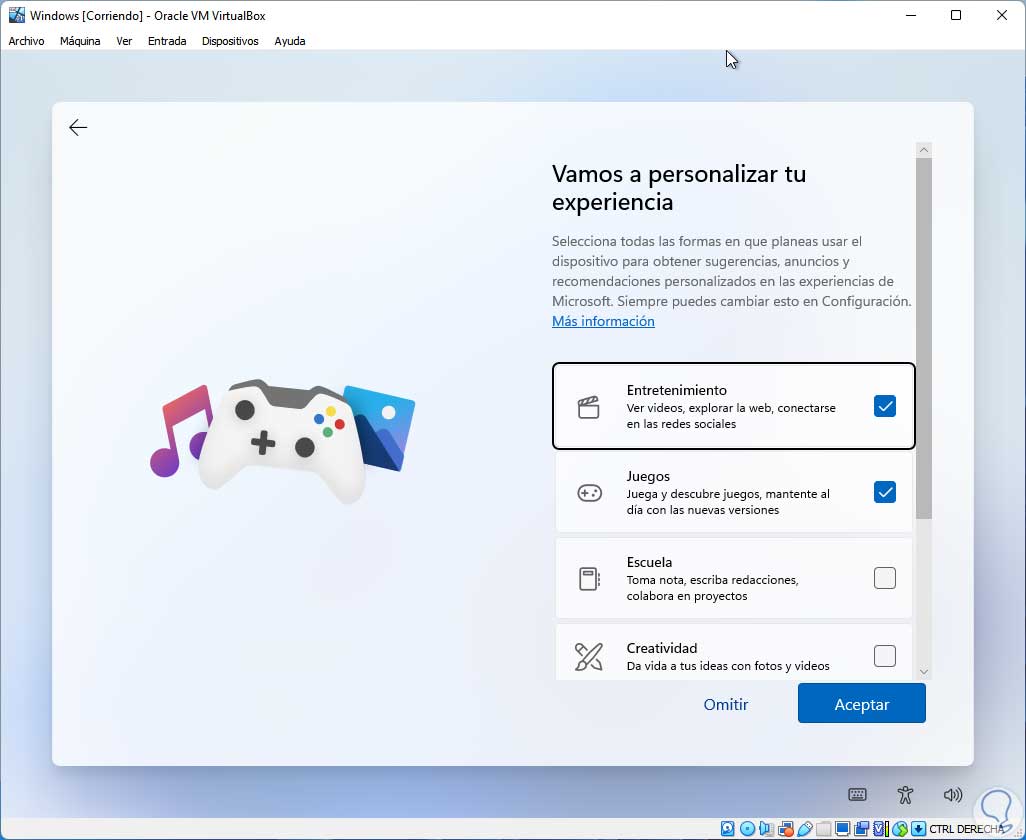
Step 46
Defines if the integrated applications will be used:
Step 47
We can activate OneDrive:
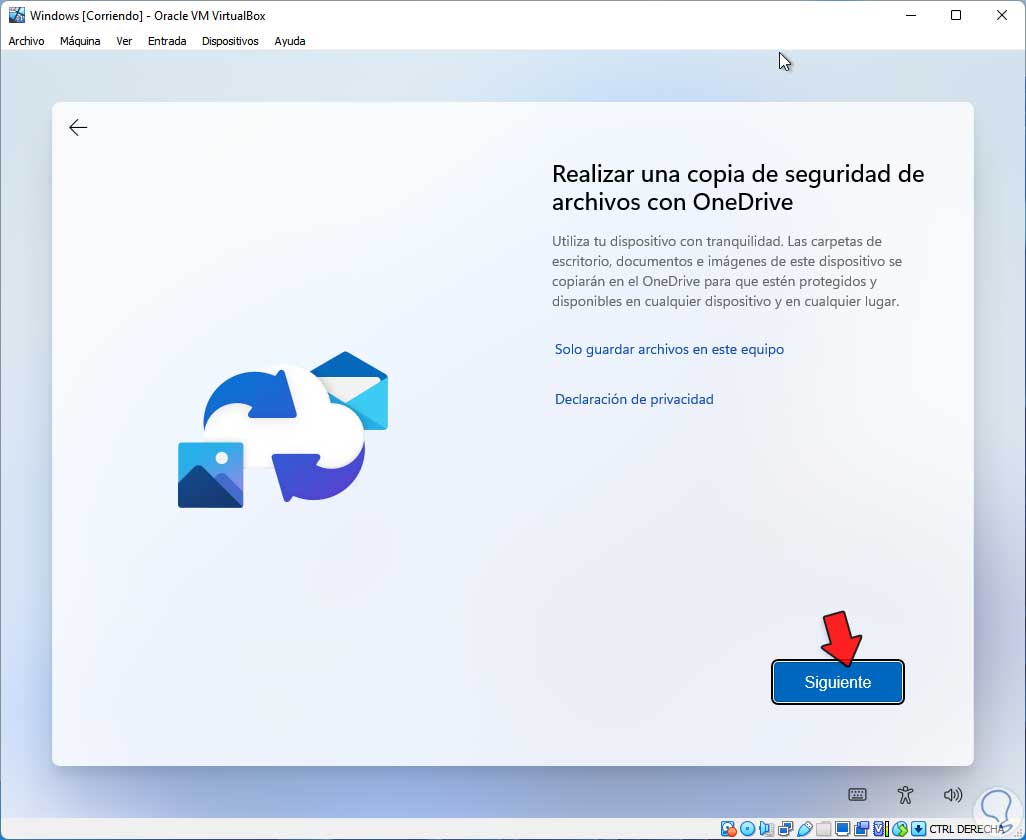
Step 48
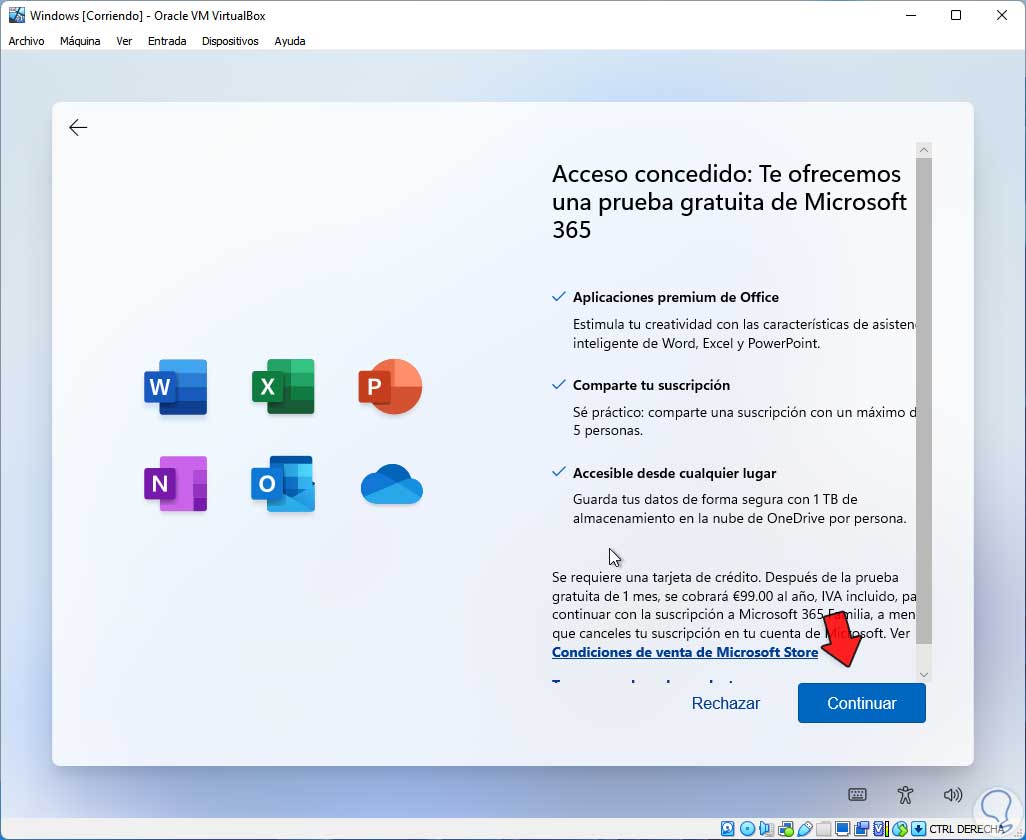
It will be possible to activate an Office trial:
Step 49
Wait for the system setup to finish:
step 50
Windows will be accessed in VirtualBox:
step 51
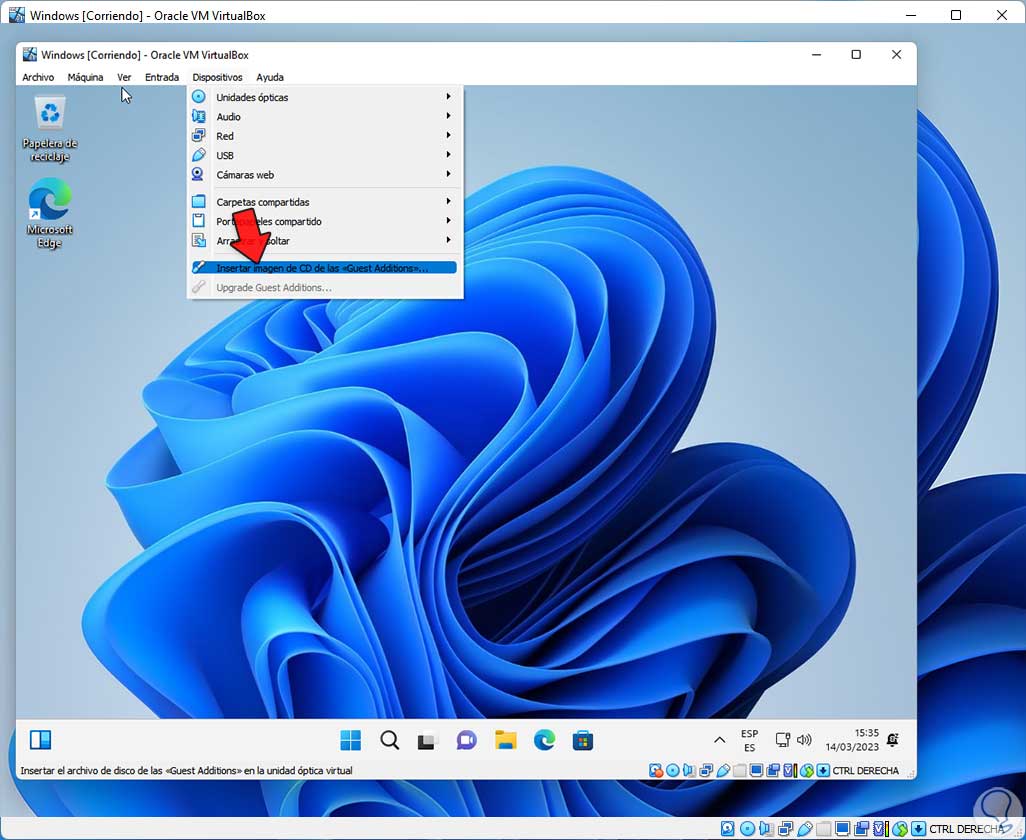
To add the Guest Additions, we will go to the "Devices - Insert CD image of the <<Guest Additions>>" menu:
step 52
If they do not open automatically, we go to File Explorer and in the CD/DVD drive we execute the application:
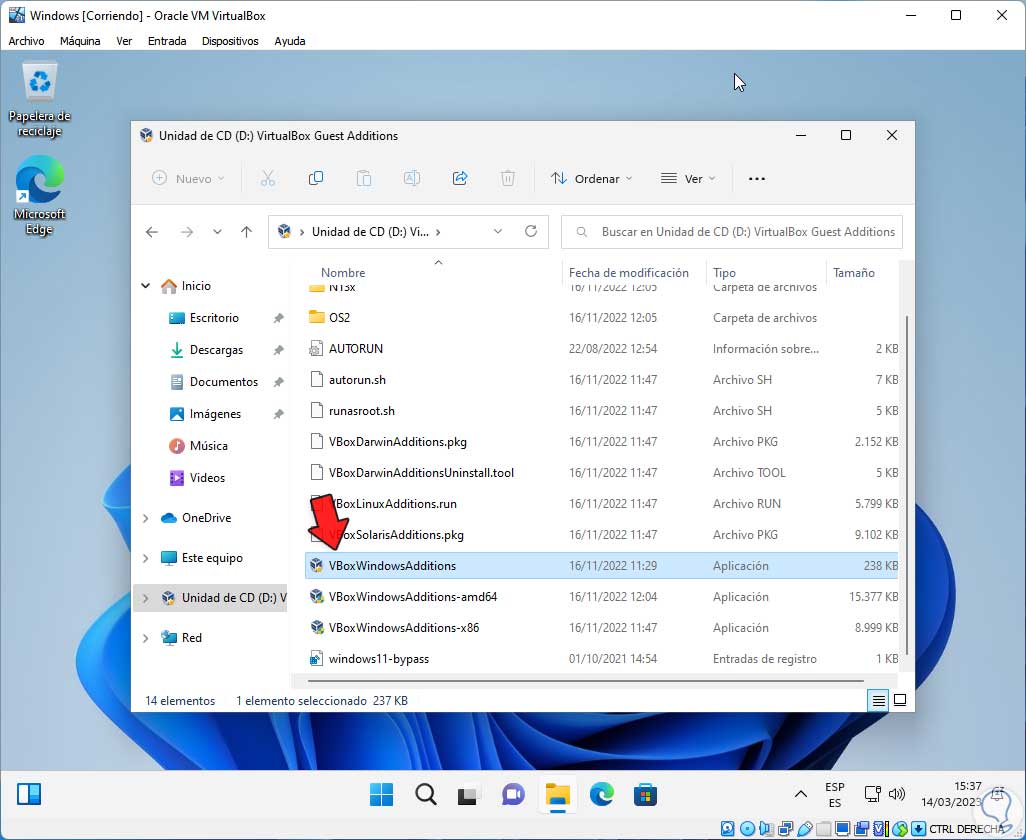
step 53
We grant permissions:
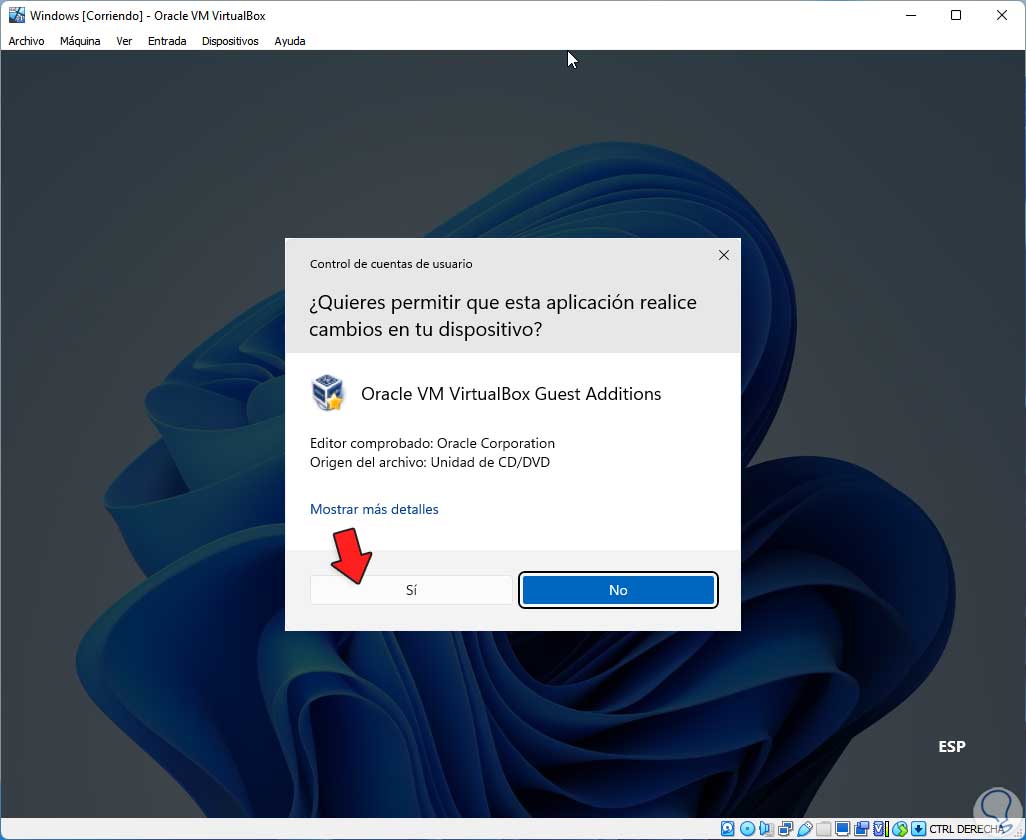
step 54
The wizard will open:
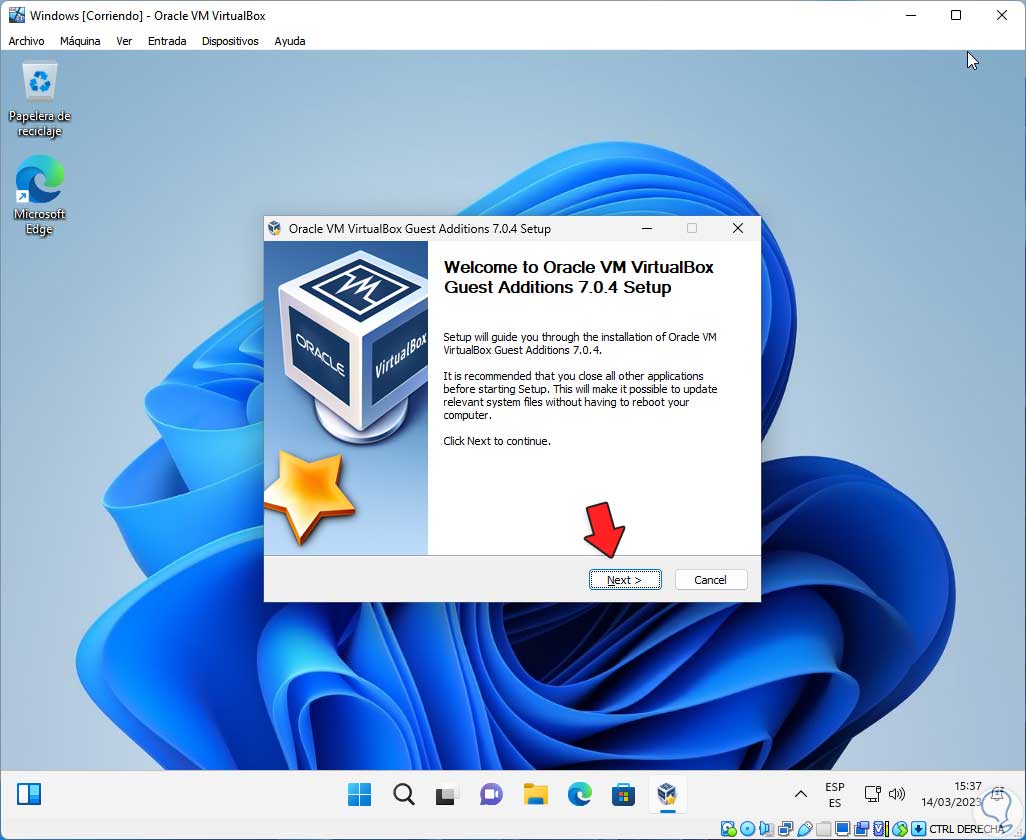
step 55
We click Next to define where it is installed:

step 56
We select the components to use:

step 57
We click on "Install" to start the process:
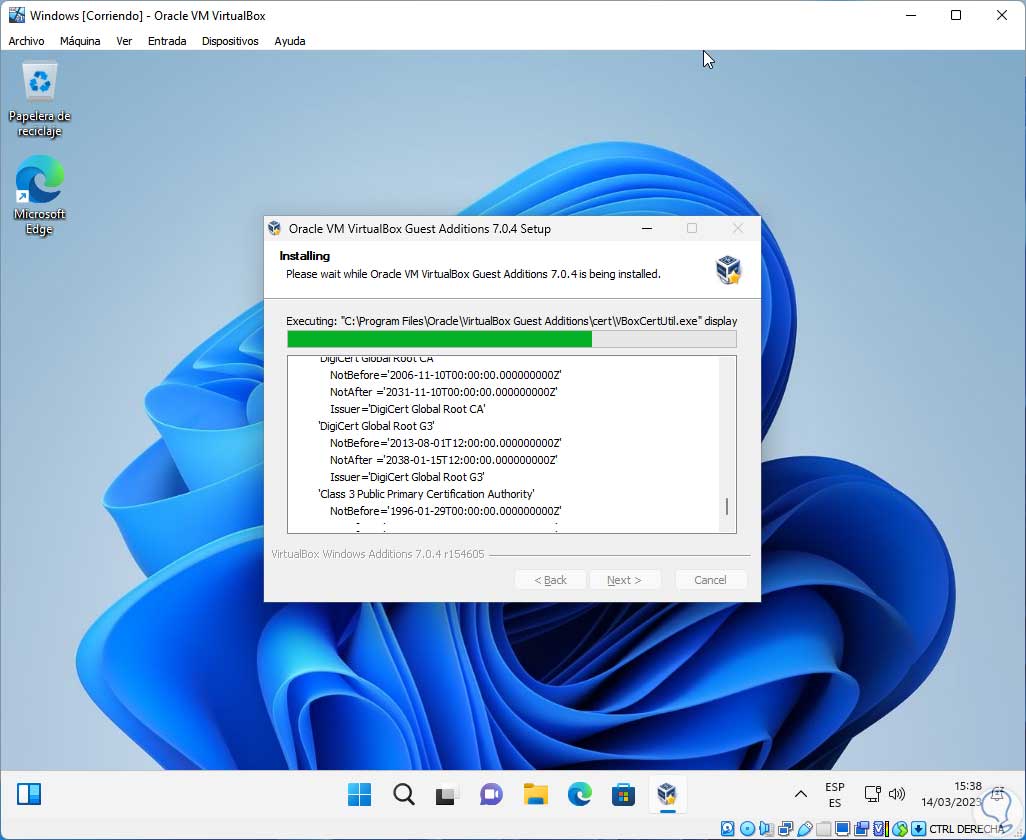
step 58
At the end we will see this:
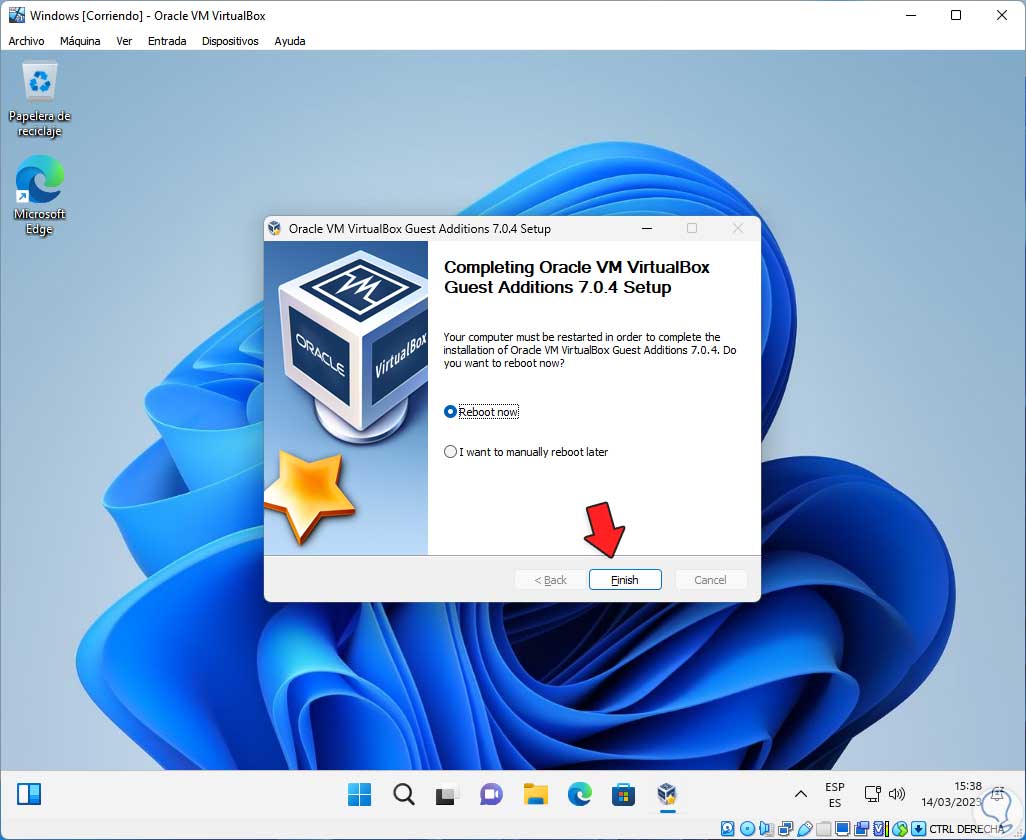
step 59
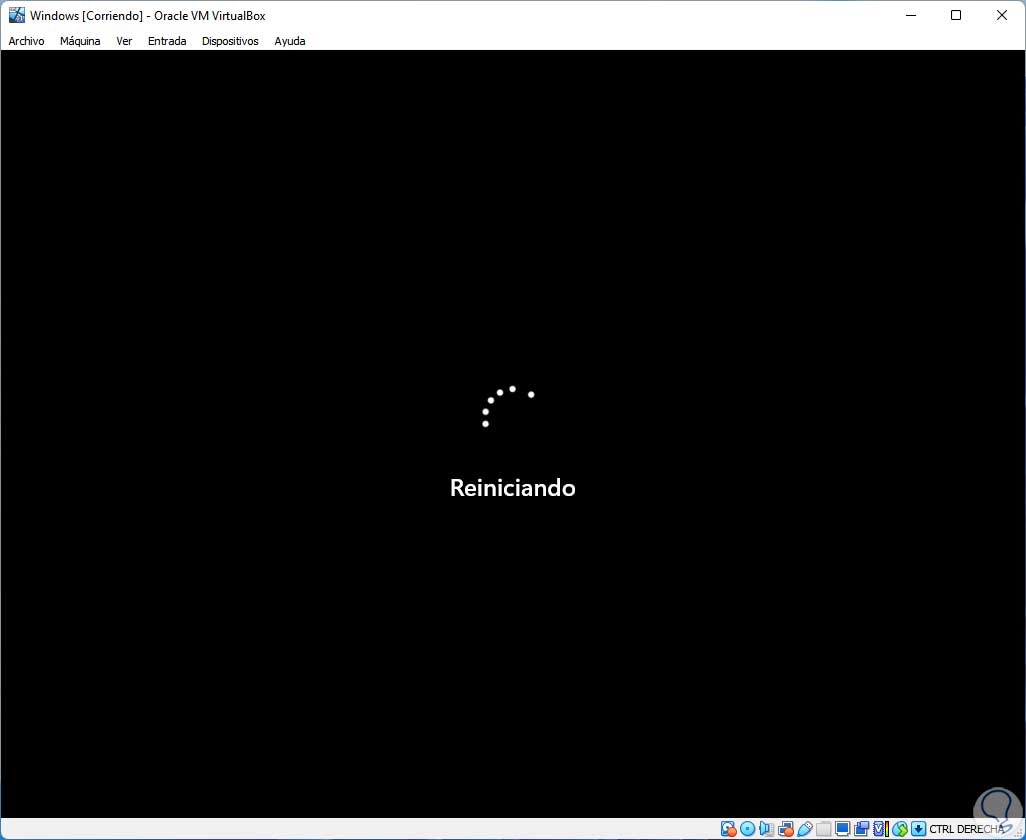
Reboot the virtual machine:
step 60
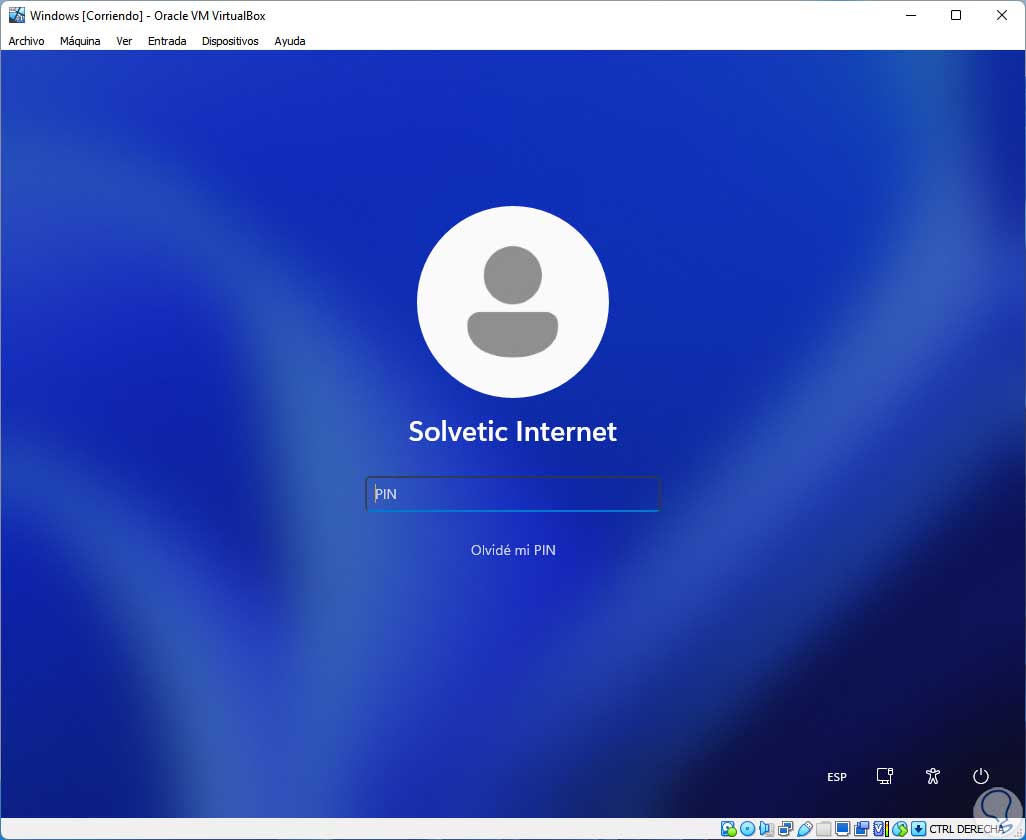
We start session:
step 61
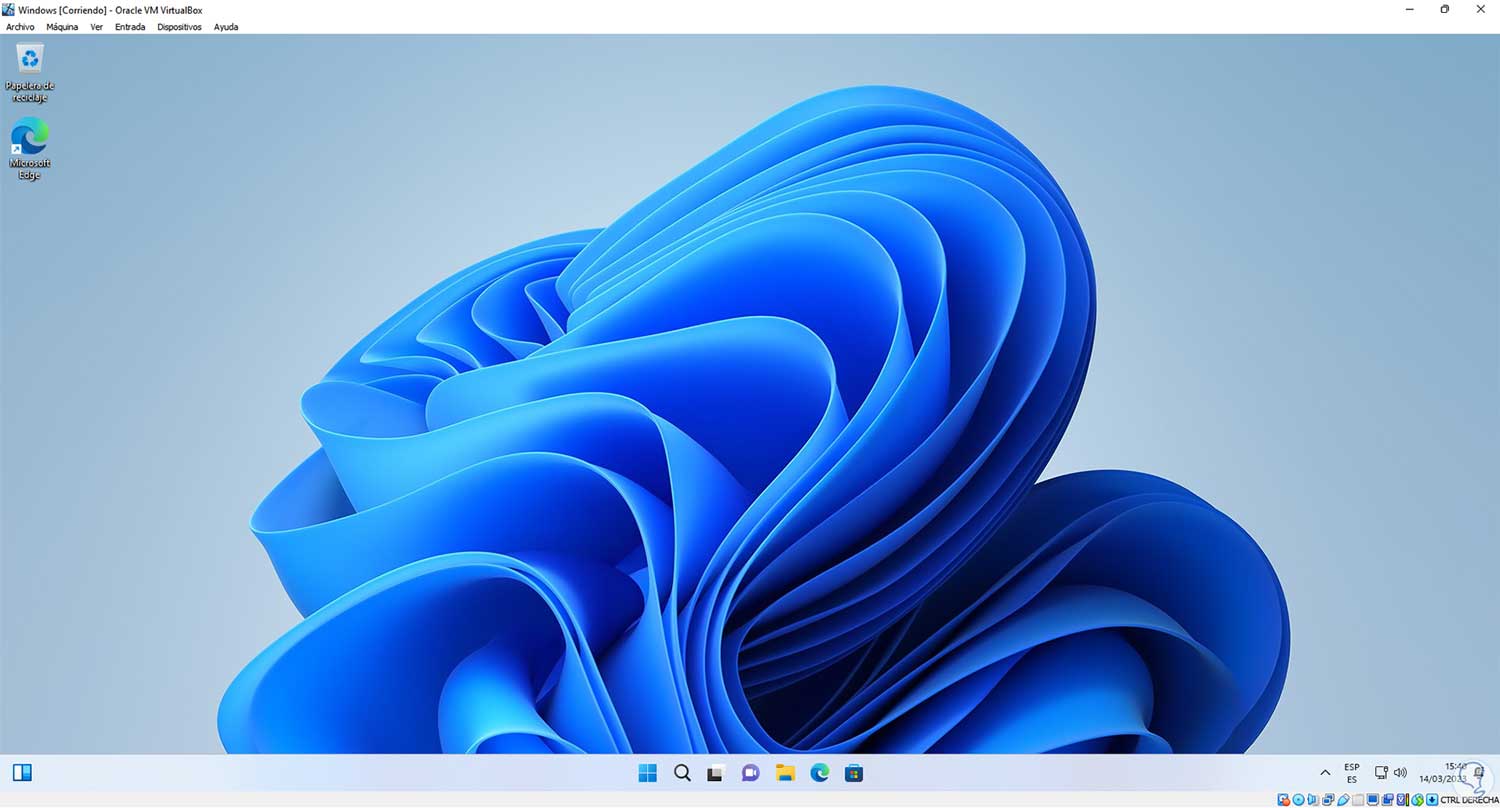
When logging in it will be possible to maximize the window to have full use of the Guest Additions:
This is the way to install Windows in VirtualBox and get the most out of each of its functions and features..