Remote support is one of the most practical technologies that as administrators, support staff and users we have in Windows 10 because with it it is possible that another user can access our computer and solve different problems that are being generated on the computer. Windows 10 has some tools available to run remote assistance over the network and thanks to these integrated applications it will be possible to establish a remote connection with the other user's computer without the need to physically go to where you are. In this way we will have control of the screen, it will be possible to edit the operating system configuration and installed applications and all these tools are included in all available editions of Windows 10..
In the new editions of Windows 10, the modern application of "Quick Assistance" is integrated but it will also be possible to use the classic application of Remote Assistance existing in Windows 10.

TechnoWikis will explain how to disable this functionality if we do not consider it useful or simply do not wish to receive this type of support..
To keep up, remember to subscribe to our YouTube channel! SUBSCRIBE
1. Disable Quick Assistance using Windows 10 System Properties
Step 1
To use this option we have two alternatives that are:
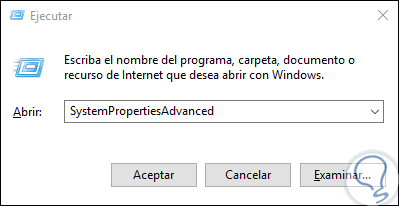
First, use the following key combination and run the next line. Press Enter or Accept.
+ R
SystemPropertiesAdvanced
Step 2
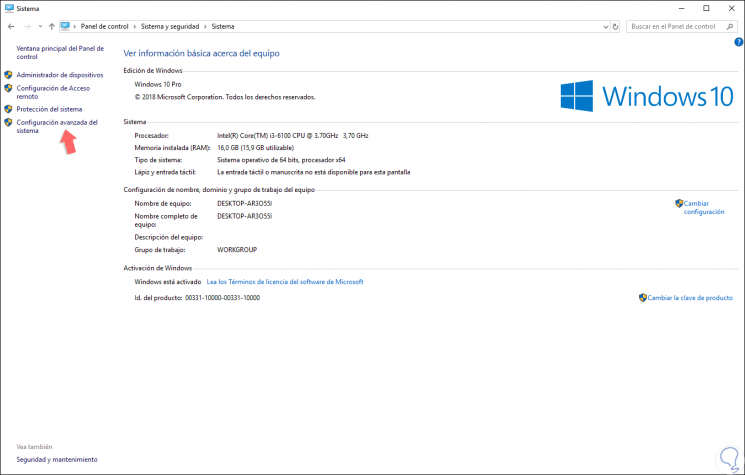
The second alternative is to go to the following control panel route:
Step 3
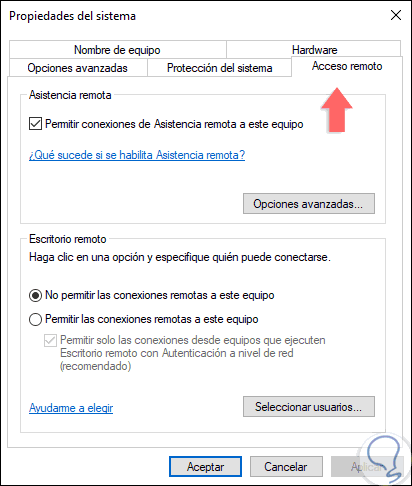
There we click on the “Advanced system configuration†line on the left side. In the displayed window we will go to the “Remote access†tab where we will see the following:
Step 4
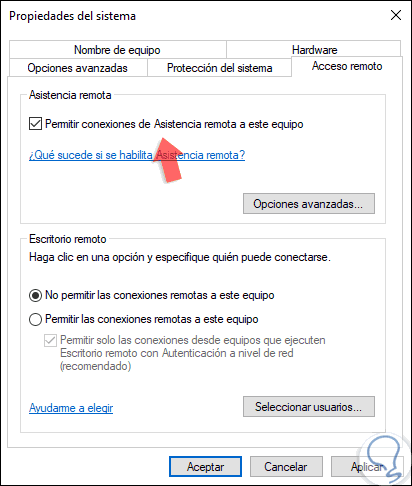
We can see that the box "Allow remote assistance connections to this equipment" is active by default, just uncheck this box to disable this function. Click on Apply and Accept to save the changes.

2. Activate Quick Assistance using Windows 10 System Properties
Step 1
If for some reason it is necessary to activate this functionality, we must go to the route mentioned above and check the “Allow remote assistance connections to this equipment†box and we can see that the “Advanced options†button is activated:
Step 2
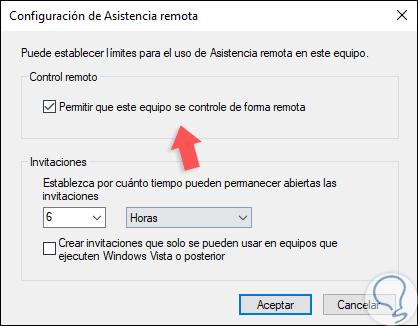
By clicking there it will be possible to configure aspects of the remote connection as. There we define the desired parameters and click on OK to apply the changes.
- Allow or not the remote control of the device (keyboard, mouse, etc.)
- Limit the time in which remote support invitations will be available
- Create invitations only for a particular type of system
3. Disable Quick Assistance using Windows 10 System Logs
For this option we must first make a backup of our information in case something goes wrong.
Step 1
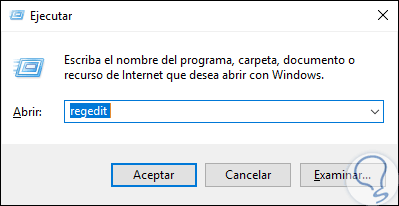
To access the Windows 10 registry editor, we will use the following key combination and execute the following command:
+ R
regedit
Step 2
Click on OK and in the window we will go to the following route:
HKEY_LOCAL_MACHINE \ SYSTEM \ CurrentControlSet \ Control \ Remote Assistance
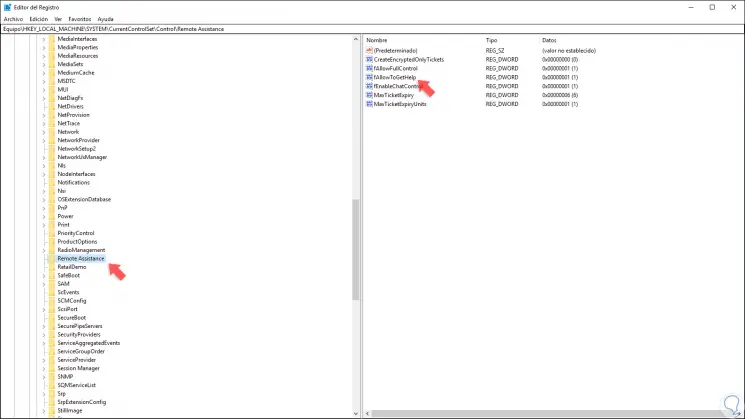
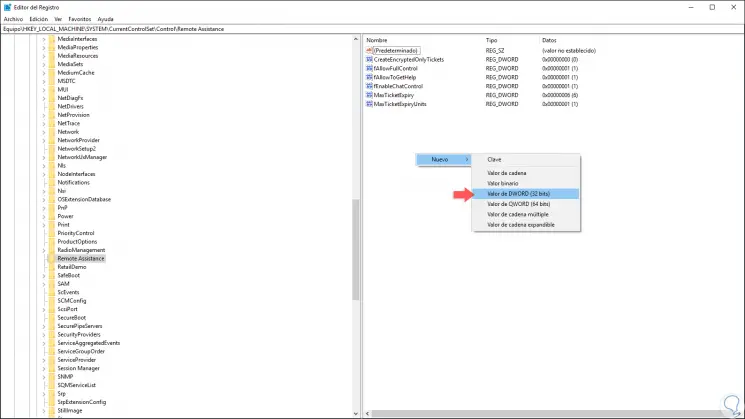
Step 3
There we must locate a register called “fAllowToGetHelp†if it does not exist, we must create it by right clicking somewhere free and selecting the option New / DWORD Value (32 bits):
Step 4
Now we will double click on this register and in the field "Value information" we assign the number zero (0). Click on OK to save the changes and it will be necessary to restart the system to apply the changes.
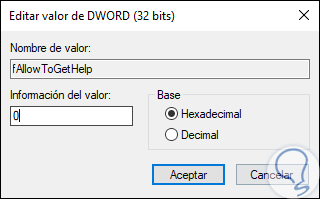
Note
To enable remote assistance again we must set the value to one (1).
Step 5
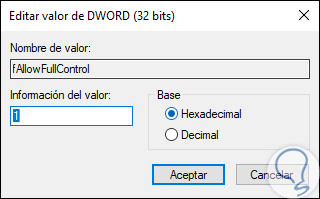
In this same key, we find the register called “fAllowFullControl†which can be set to one (1), if we want the person to take the remote control of the equipment. In case we do not want to take control we set the value to zero.
Note
These same registry changes can be executed with the command prompt, for this we access as administrators and execute the following commands to enable Windows remote assistance:
reg add "HKLM \ System \ CurrentControlSet \ Control \ Remote Assistance" / v fAllowToGetHelp / t REG_DWORD / d 1 / f reg add "HKLM \ System \ CurrentControlSet \ Control \ Remote Assistance" / v fAllowFullControl / t REG_DWORD / d 1 / f
4. Allow or not allow remote assistance through Windows 10 Firewall
For security reasons, Firewall rules are likely to prevent remote connection to the system as it can be detected as a threat and that is why we must enable or not, as appropriate, the permissions for remote assistance.
Step 1
To disable remote assistance through the System Firewall, we must access the command prompt as administrators and then execute the following:
netsh advfirewall firewall set rule group = "Remote Assistance" new enable = no

Step 2
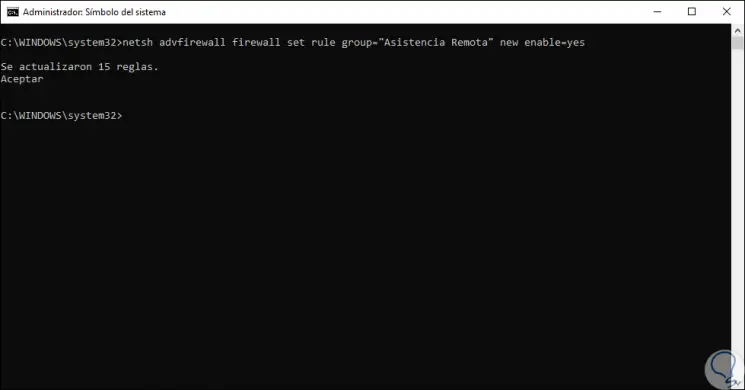
To enable it, we must execute the following:
netsh advfirewall firewall set rule group = "Remote Assistance" new enable = yes
Thus, we have activated or not activated remote assistance in Windows 10 remembering how important it is to make use of Windows 10 Fast Assistance.