The interconnection between operating systems is an essential task to facilitate the use of various files between computers and even more when these operating systems are not compatible with each other, such as Linux with Windows..
If you try to connect, for example, a USB medium with NTFS system to Linux t error will come out since Linux handles the EXT4 file system (or vice versa) with which the connection possibilities between both are limited, but today TechnoWikis will explain how to install Samba server in CentOS 8 and in this way have the possibility, secure and comprehensive, to transfer files between both systems.
Remember that you can download CentOS 8 in the following link:
What is samba
Samba has been developed as a group of applications that facilitate the connectivity of Windows for Linux and Unix without any problem of execution. Samba offers printing and file transfer services with secure, stable and high-speed functions using the SMB / CIFS protocol and with Samba it is possible to seamlessly integrate both servers and Linux / Unix desktop environments directly into Active Directory environments.
As we have mentioned, Samba uses the CIFS protocol (Common Internet File System) which has the mission of facilitating access to file and printing services resulting in access between both systems without errors..
Samba composition
Samba is composed of two fundamental programs that are smbd and nmbd which in turn implement four current CIFS basic services such as:
- Authentication and authorization.
- Service announcement (navigation).
File and print services are the most used of CIFS and are provided by smbd which in turn manages authentication and authorization of "shared mode" and "user mode" to protect shared files and print services when they are Access credentials requested.
Samba functionalities
Samba integrates various utilities such as:
- smbclient: this is a simple SMB client which has an identical FTP interface and thanks to smbclient we can connect to a remote SMB share, transfer files or send files to remote print shares.
- nmblookup: is a NetBIOS name service client with which it will be possible to search NetBIOS names on the network.
- Samba Web Administration Tool (SWAT): it is a utility that allows us to configure Samba remotely through a web browser.
Now you will learn with TechnoWikis how to install Samba on CentOS 8..
1. Install and configure Samba on CentOS 8
Step 1
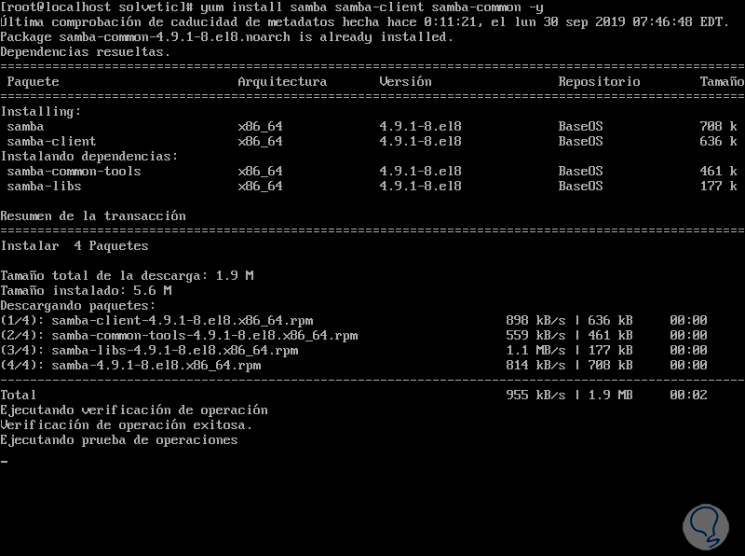
The first step we will take will be to install the associated Samba packages, for this we execute the following:
yum install samba samba-client samba-common -y
Step 2
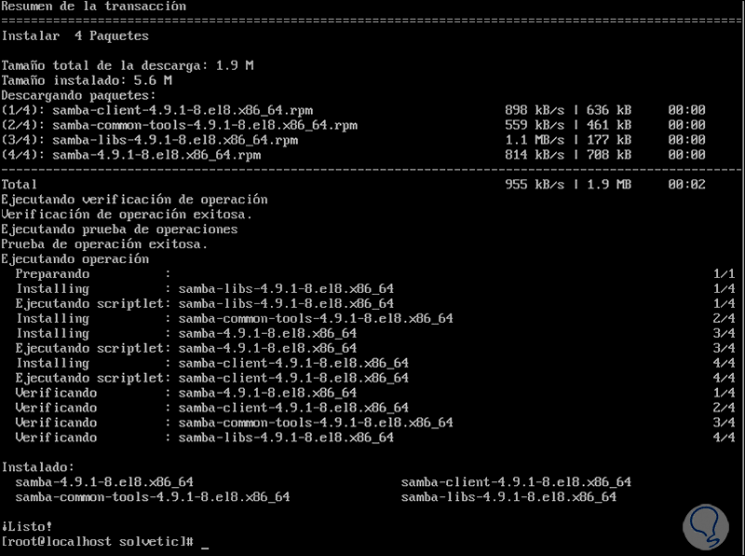
Once this process is finished we will see the following:
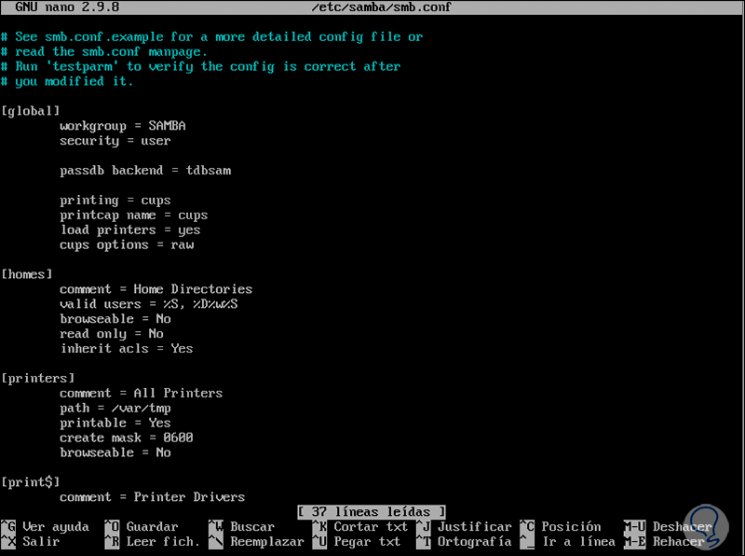
Step 3
The next step will be to edit the Samba configuration file which is in the path /etc/samba/smb.conf, for this we will use the desired editor:
nano /etc/samba/smb.conf
Note
TechnoWikis advises you to create a copy of this file in case of any error, for this you must execute the following:
mv /etc/samba/smb.conf /etc/samba/smb.conf.bkp
Step 4
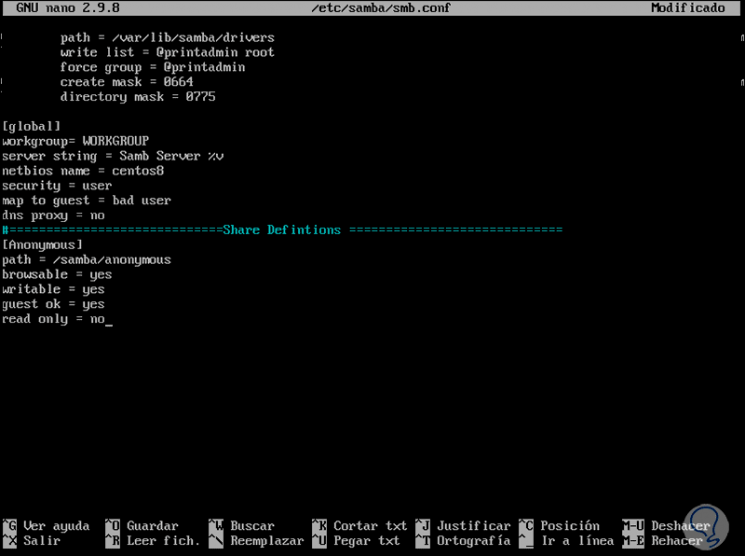
At the bottom of the file we will enter the following:
[global] workgroup = WORKGROUP server string = Samba Server% v netbios name = centos8 security = user map to guest = bad user dns proxy = no # ============================ Share Definitions =================== =========== [Anonymous] path = / samba / anonymous browsable = yes writable = yes guest ok = yes read only = no
Step 5
We save the changes using the following key combination:
+ O Ctrl + O
We leave the editor using:
+ X Ctrl + X
Step 6
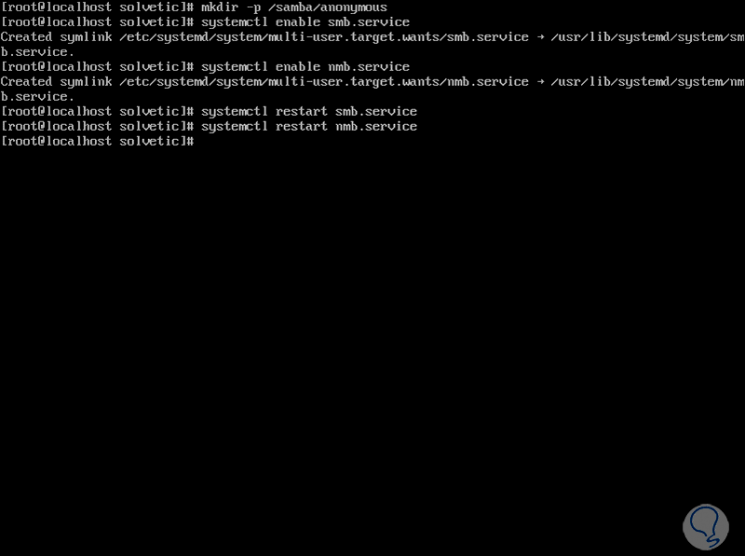
Now we proceed to create the Anonymous folder and restart the Samba service in CentOS 8:
mkdir -p / samba / anonymous systemctl enable smb.service systemctl enable nmb.service systemctl restart smb.service systemctl restart nmb.service
Step 7
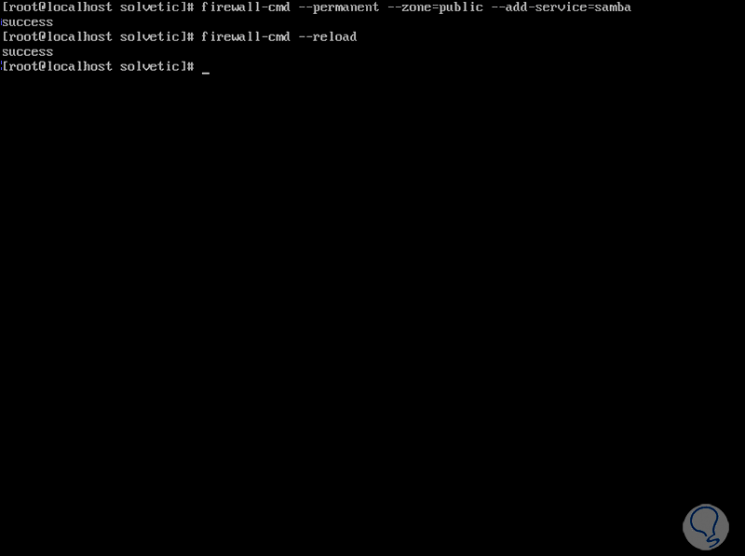
Now we will add the following rules in Iptables so that Samba connectivity is correct, for this we will use the following commands:
firewall-cmd --permanent --zone = public --add-service = samba firewall-cmd --reload
Step 8
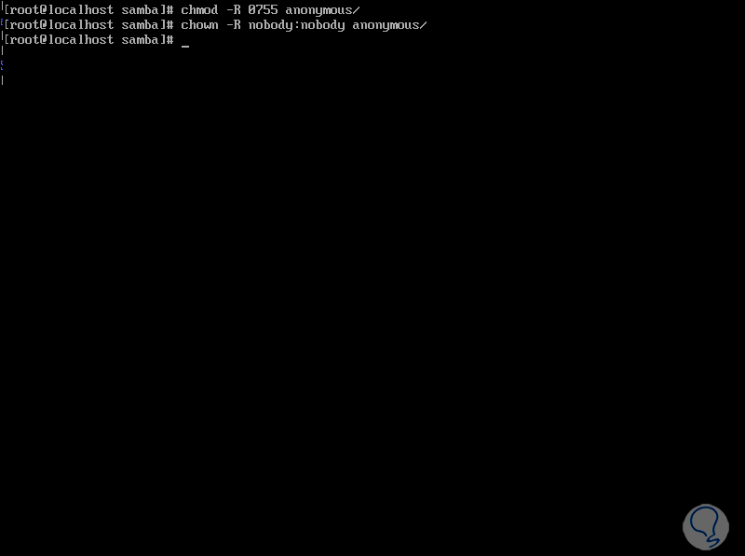
We proceed to modify the permissions to share items through Samba:
chmod -R 0755 anonymous / chown -R nobody: nobody anonymous /
Step 9
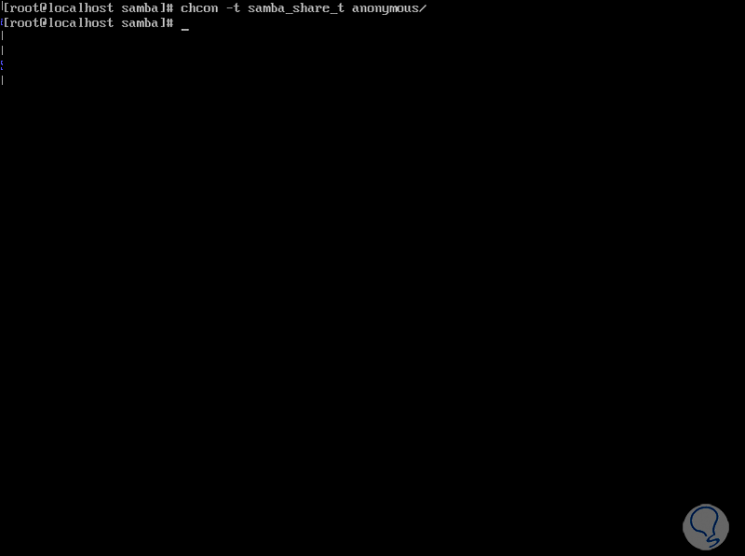
We proceed to grant the selinux permissions for the configuration of Samba:
chcon -t samba_share_t anonymous /
Step 10
With this configured, we access a Windows computer, in this case Windows 10, we will use the following keys and there we will execute the following line:
+ R
\\ centos8
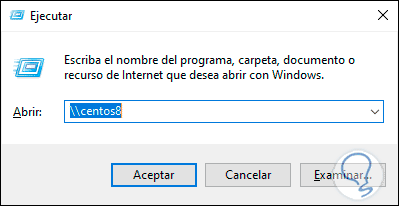
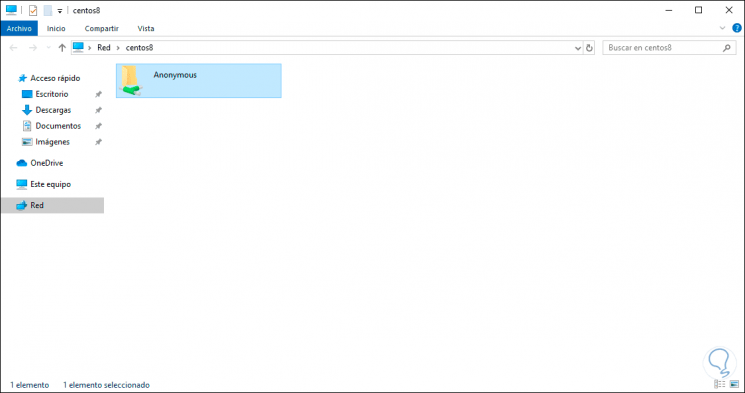
Step 11
Press Enter or Accept and we will access the “Anonymous†folder that we have created in CentOS 8:
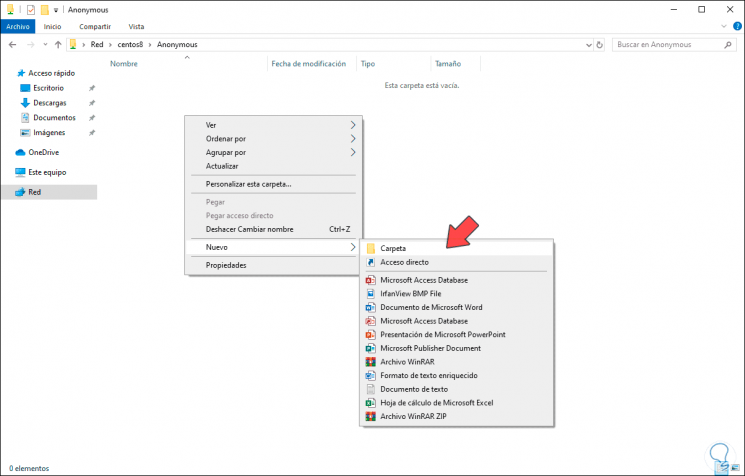
Step 12
There we can create files or folders:
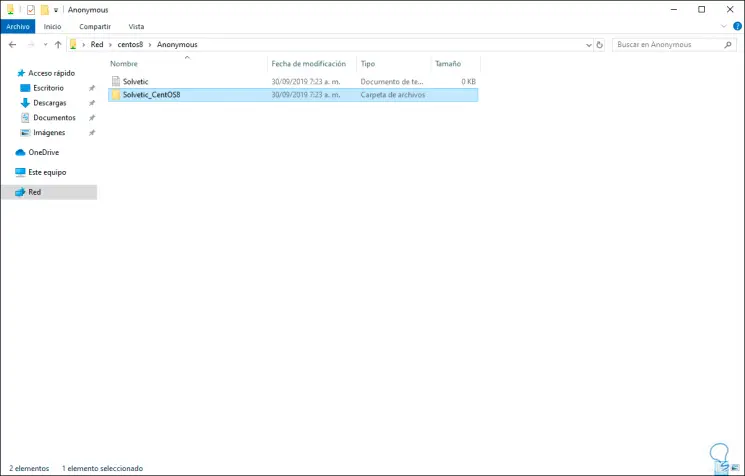
Step 13
We see the creation of the elements:
Step 14
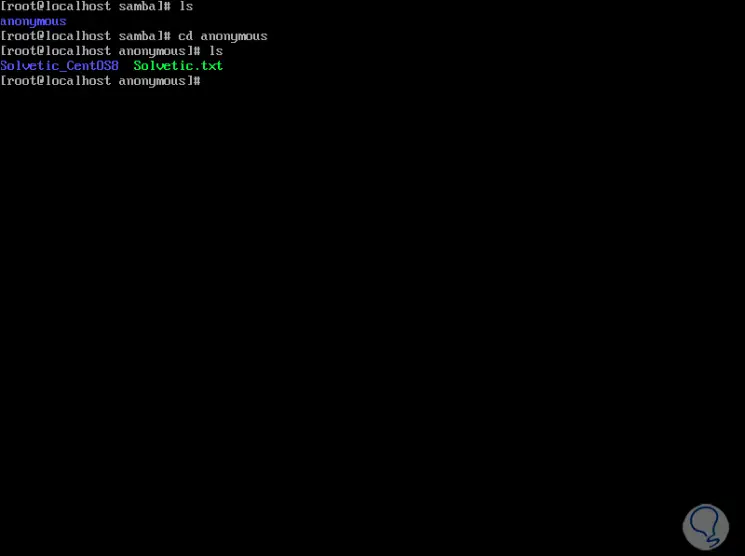
If we access this folder from CentOS 8 we can see the objects created:
2. Secure the Samba server in CentOS 8
As we see any user can access the folder and edit the content hosted there, but for security it is recommended to secure the Samba server
Step 1
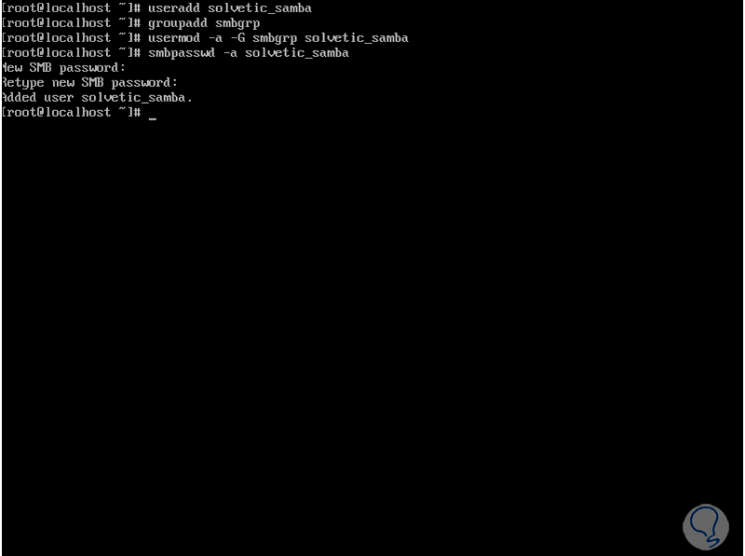
To do this we will create a group called smbgrp and a user called solvetic_samba to access the samba server using the authentication method:
useradd solvetic_samba groupadd smbgrp usermod -a -G smbgrp solvetic_samba smbpasswd -a solvetic_samba
Step 2
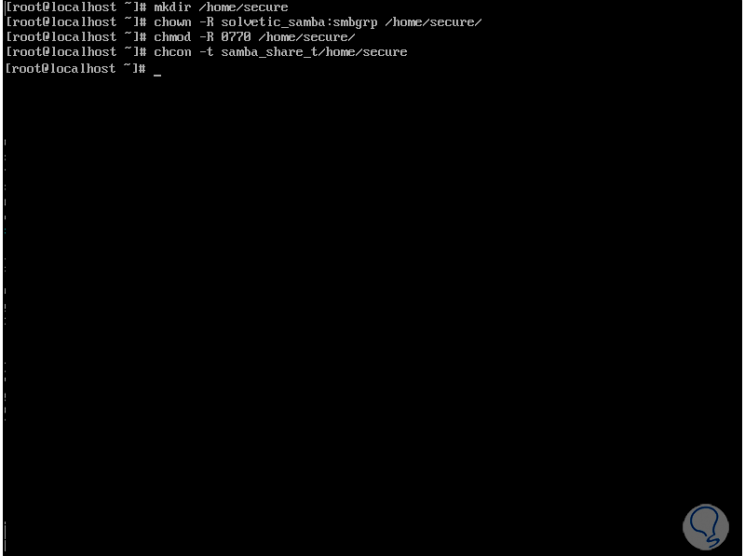
Next, we will create a new share and define the permission in the share:
mkdir / home / secure
chown -R solvetic_samba: smbgrp / home / secure / chmod -R 0770 / home / secure / chcon -t samba_share_t / home / secure /
Step 3
We access the Samba edition file again:
nano /etc/samba/smb.conf
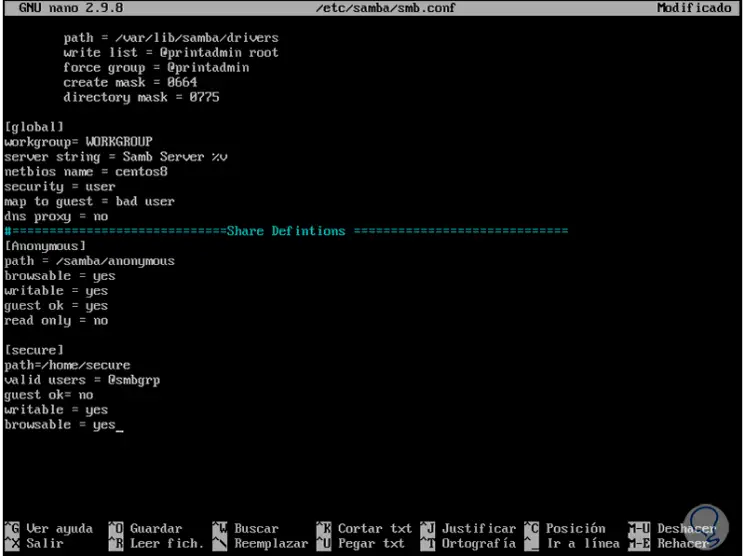
Step 4
There we enter the following:
[Secure] path = / home / secure valid users = @smbgrp guest ok = no writable = yes browsable = yes
Step 5
We save the changes using the following key combination:
+ O Ctrl + O
We leave the editor using:
+ X Ctrl + X
Step 6
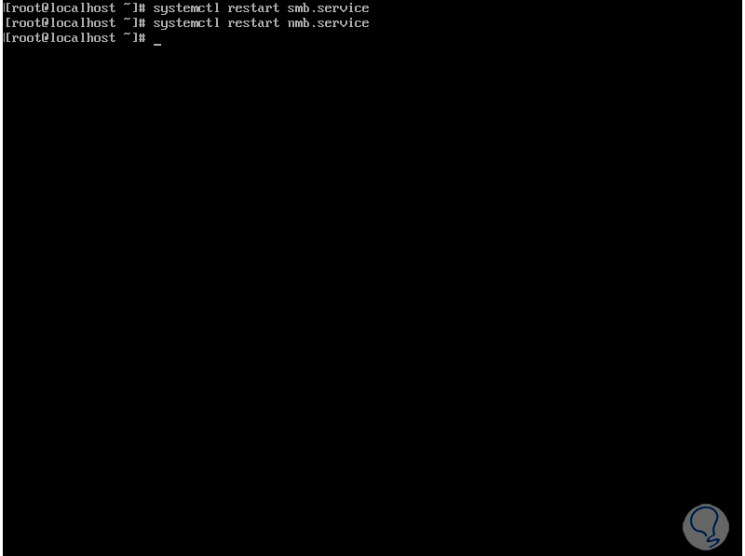
We restart the Samba service:
systemctl restart smb.service systemctl restart nmb.service
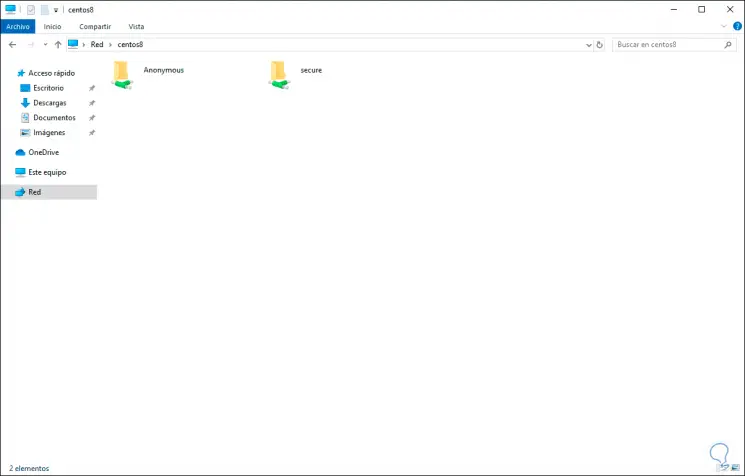
Step 7
Now if we go to the Windows computer and update the network path we can see the “secure†folder created:
Step 8
By double clicking on it we will see that the use of credentials is required to access:
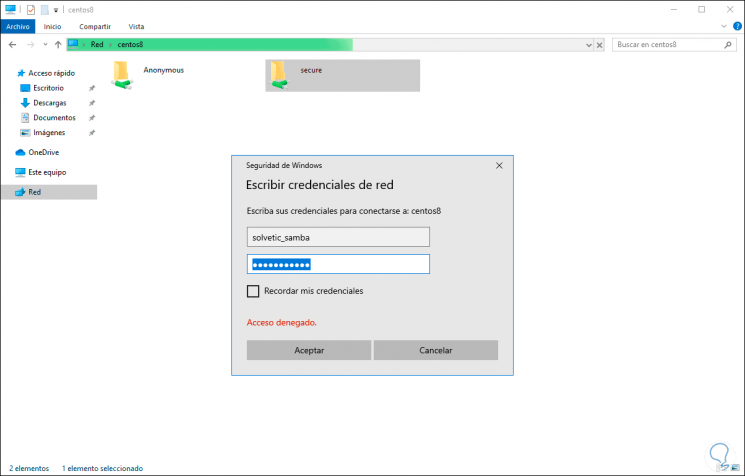
Step 9
Enter the correct credentials and click OK and there we can create or transfer what we want between Windows and Linux:
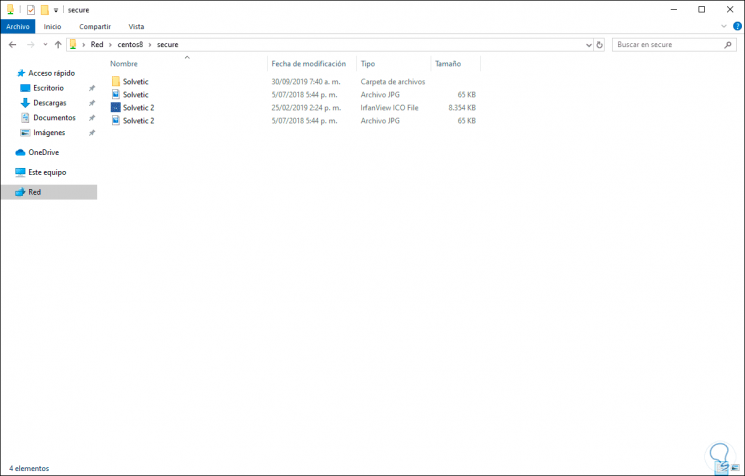
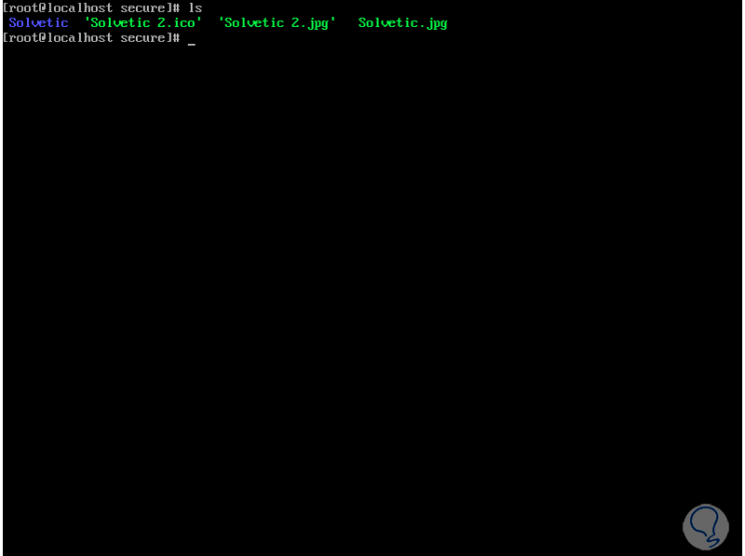
Step 9
From CentOS 8 we can access the folder to view the content hosted there:
With Samba the process of sharing elements between Windows and Linux will be much simpler in a safe and totally practical way.