One of the essential components in Windows, regardless of its version, are the users since with them it is possible to create a profile in the system and through the permissions allow that user to be able to perform different actions such as adding. Edit or delete users, install or uninstall applications, etc. Windows has the following types of users:
Windows users
- Administrator: this refers to the user who has the most privileges since through his profile he has full access to all files, settings and system resources and therefore can install and uninstall programs as well as make changes to the global options of the operating system.
- Standard user: it is the default account when a user is created in Windows, this type of user will be able to use a large part of the programs and applications and system configurations, but due to his profile he is not able to execute changes in the system nor will it be possible to install software without permission from the system administrator.
- Guest: This is a dedicated account for temporary users who require access to Windows but do not need to create or save files. These guest users have limited access to the system and therefore will not be able to make changes to the configuration.
- Service accounts: these are special accounts whose mission is to run Windows services that run in the background, these accounts will be able to perform activities without requiring the user to participate.
- System accounts: these are other special accounts that are used to run Windows processes in the background, they are accounts that have limited access to system resources and their primary task is to maintain the security and stability of the system.
At any time it is possible to change the type of an account from standard to Administrator and TechnoWikis will explain various ways to achieve this change..
Administrator Privileges
This Windows administrator user is an account that has elevated privileges and access to all system configuration, since it is able to perform tasks such as:
- You can install and uninstall software.
- It has access to advanced Windows functions which are not available to other users.
- You can create, manage and delete user accounts.
- It is possible to access all the files and folders of the system (including the hidden ones).
To stay up to date, remember to subscribe to our YouTube channel!
SUBSCRIBE ON YOUTUBE
1 Switch to Administrator in Windows from CMD
Step 1
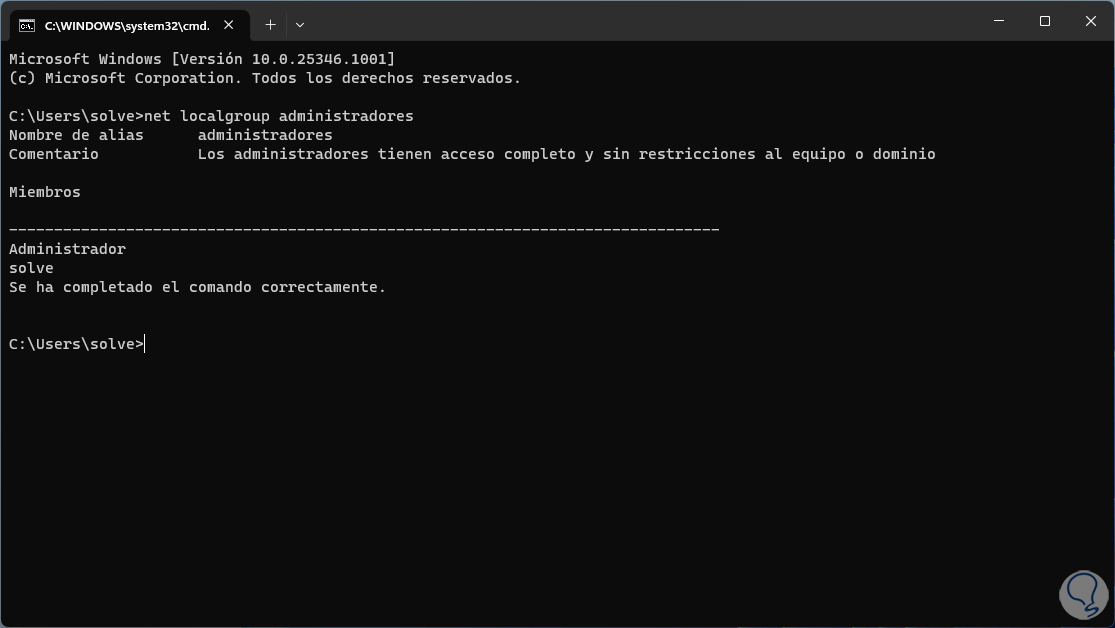
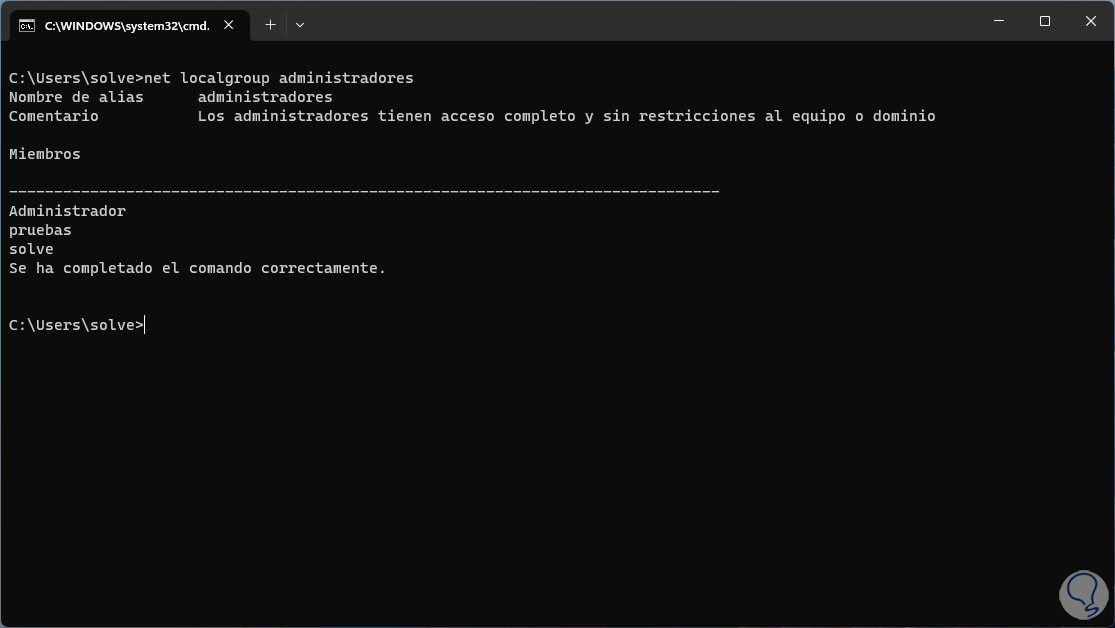
This is a simple and safe method that we can perform from the CMD terminal, first in a CMD console we check the users of the Administrators group with the command:
net localgroup administrators
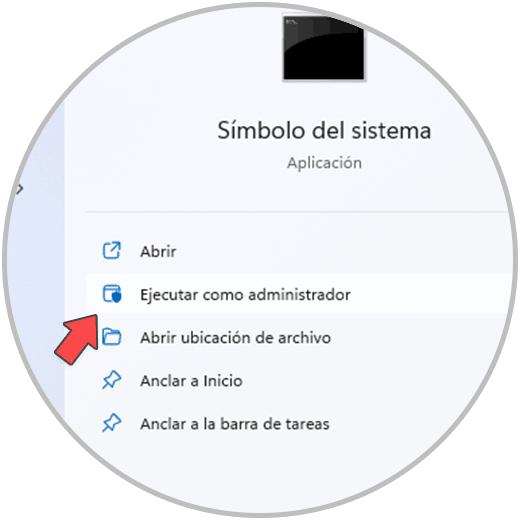
Step 2
We open CMD as administrator:
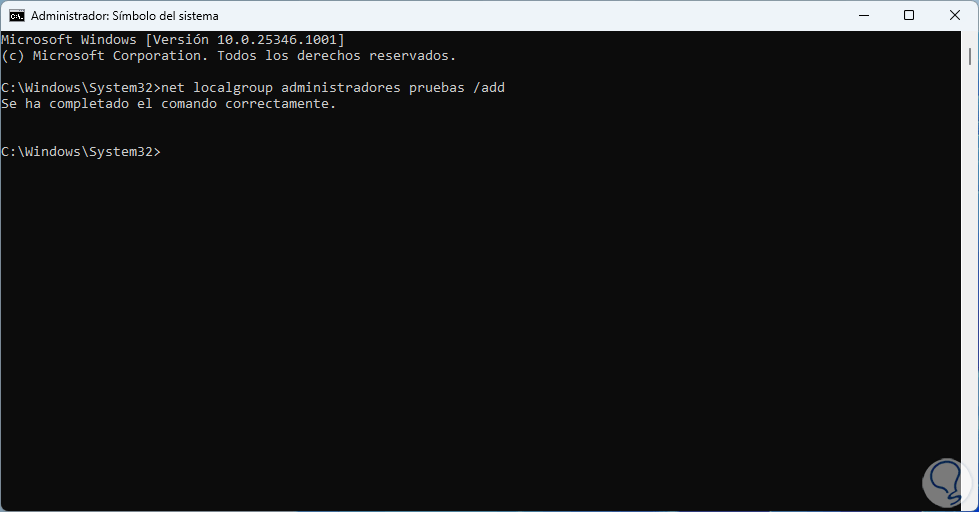
Step 3
Add the desired user to the Administrator group:
net localgroup administrators (user) /add
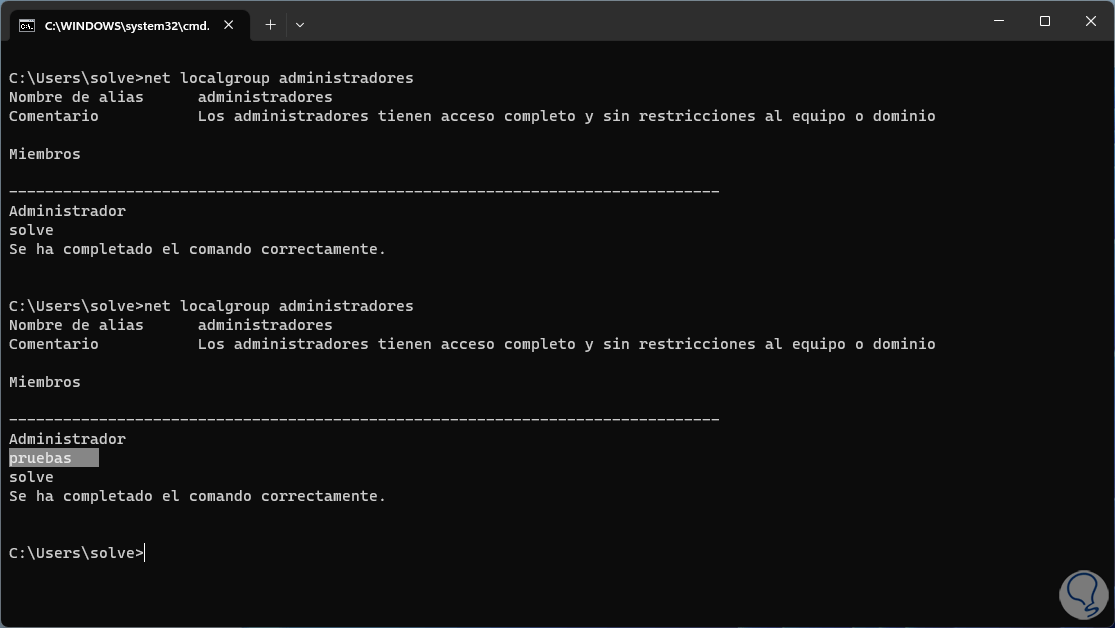
Step 4
In a CMD console check that this user has been added successfully:
net localgroup administrators
2 Switch to Administrator in Windows from PowerShell
The PowerShell console is another of the options we have to add a user to the Windows administrators group.
Step 1
To use this method we open PowerShell as administrator:
Step 2
We add the user to the Administrator group with the syntax:
Add-LocalGroupMember -Group "Administrators" -Member "user"

Step 3
In another CMD console we validate that it has been added correctly:
net localgroup administrators
3 Switch to Administrator in Windows from Control Panel
Step 1
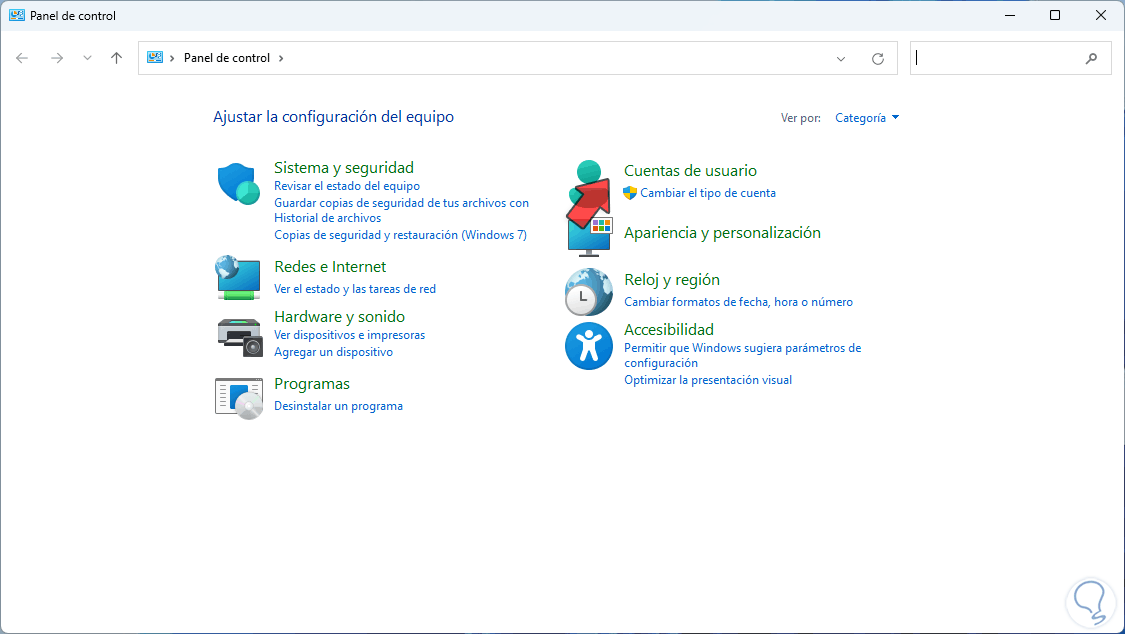
The Control Panel allows us to access a set of system parameters at a general level and users are one of them, we open the Control Panel:
Step 2
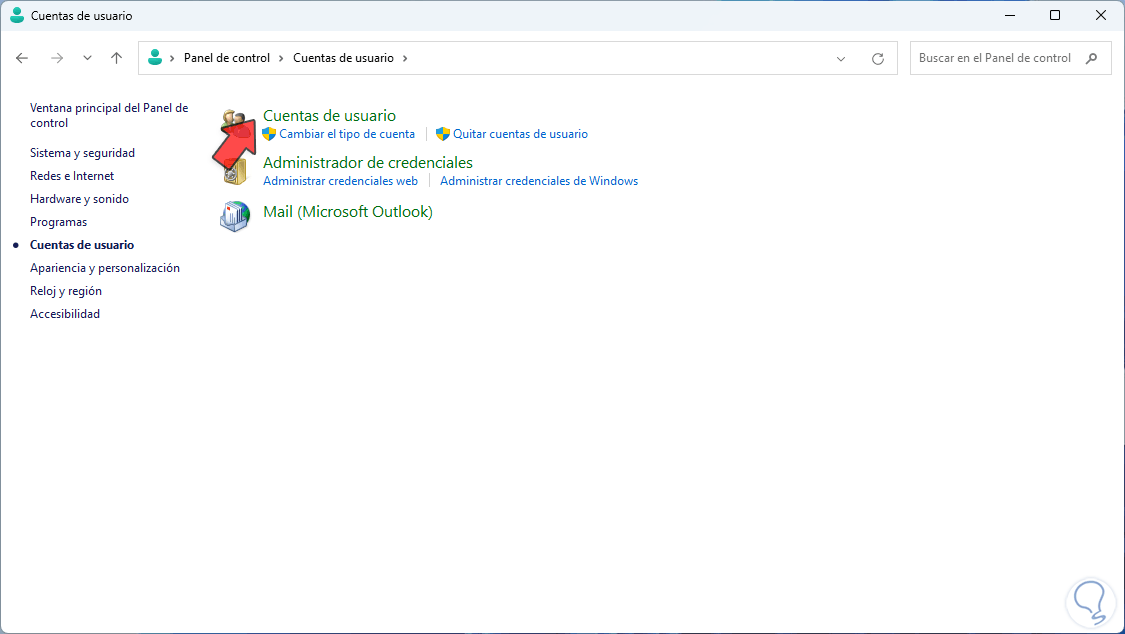
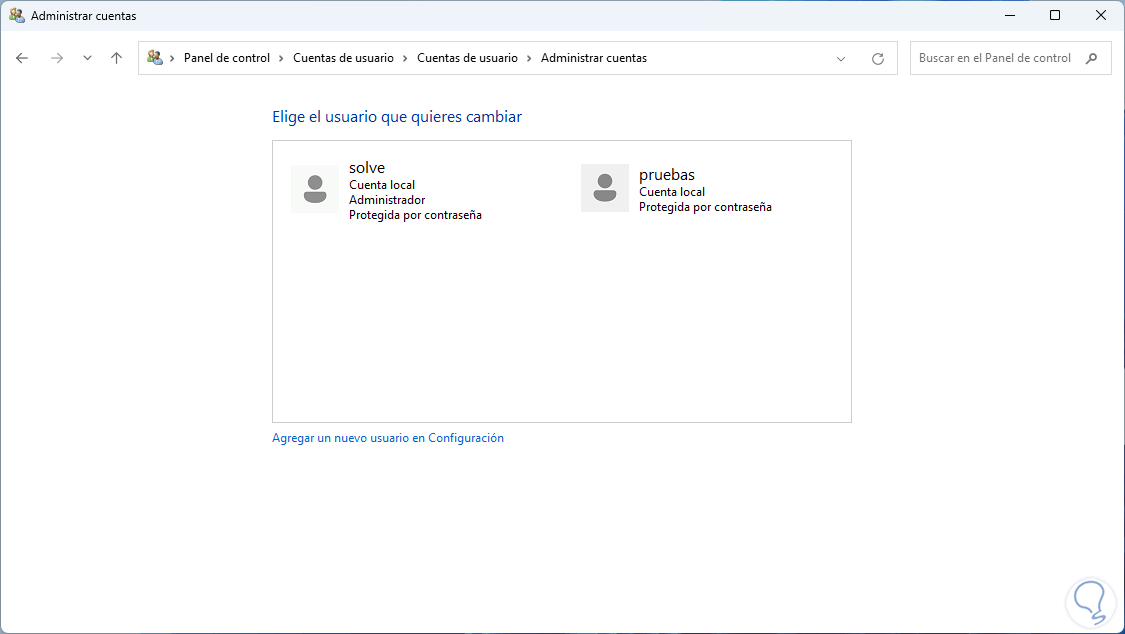
Let's go to "User accounts - User accounts":
Step 3
By clicking there we will see the following. We click on the user to add to the Administrators group
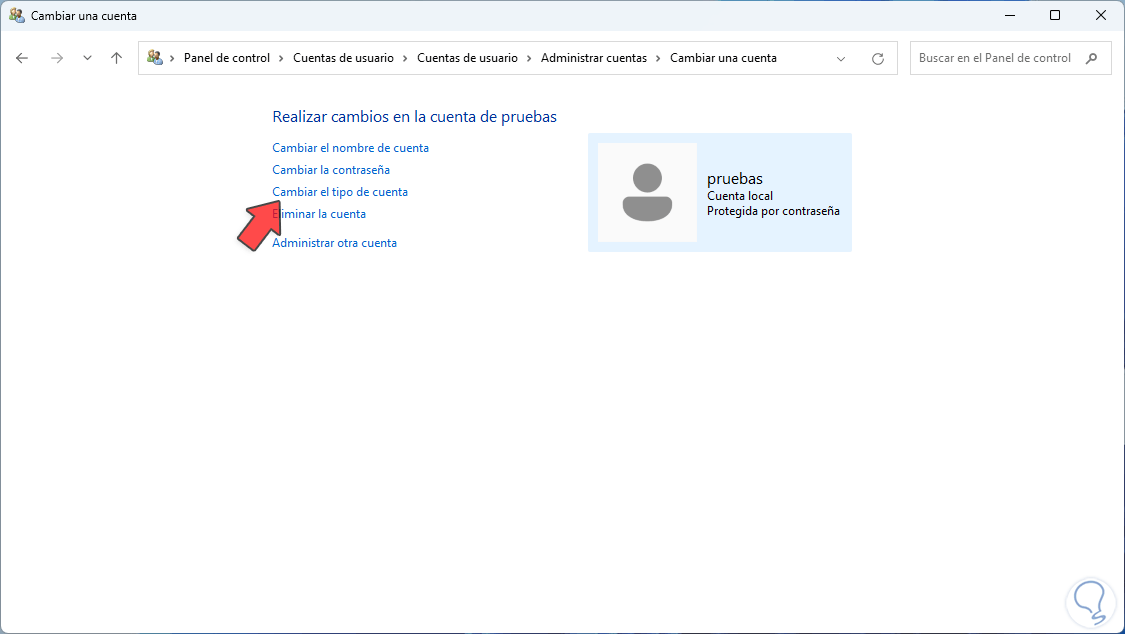
Step 4
and we will see the following options. We click on "Change account type"
step 5
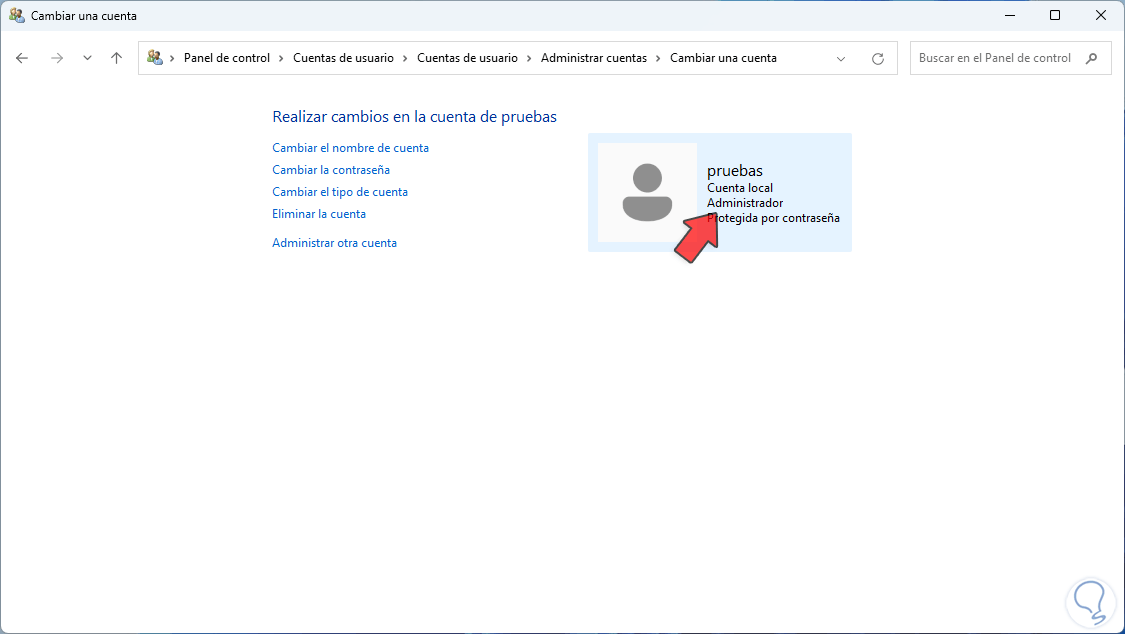
and in the following window we activate the "Administrator" box:

step 6
Apply the changes:
4 Switch to Administrator in Windows from Settings
This is perhaps the traditional method of adding a user to the Administrator group.
Step 1
We are going to:
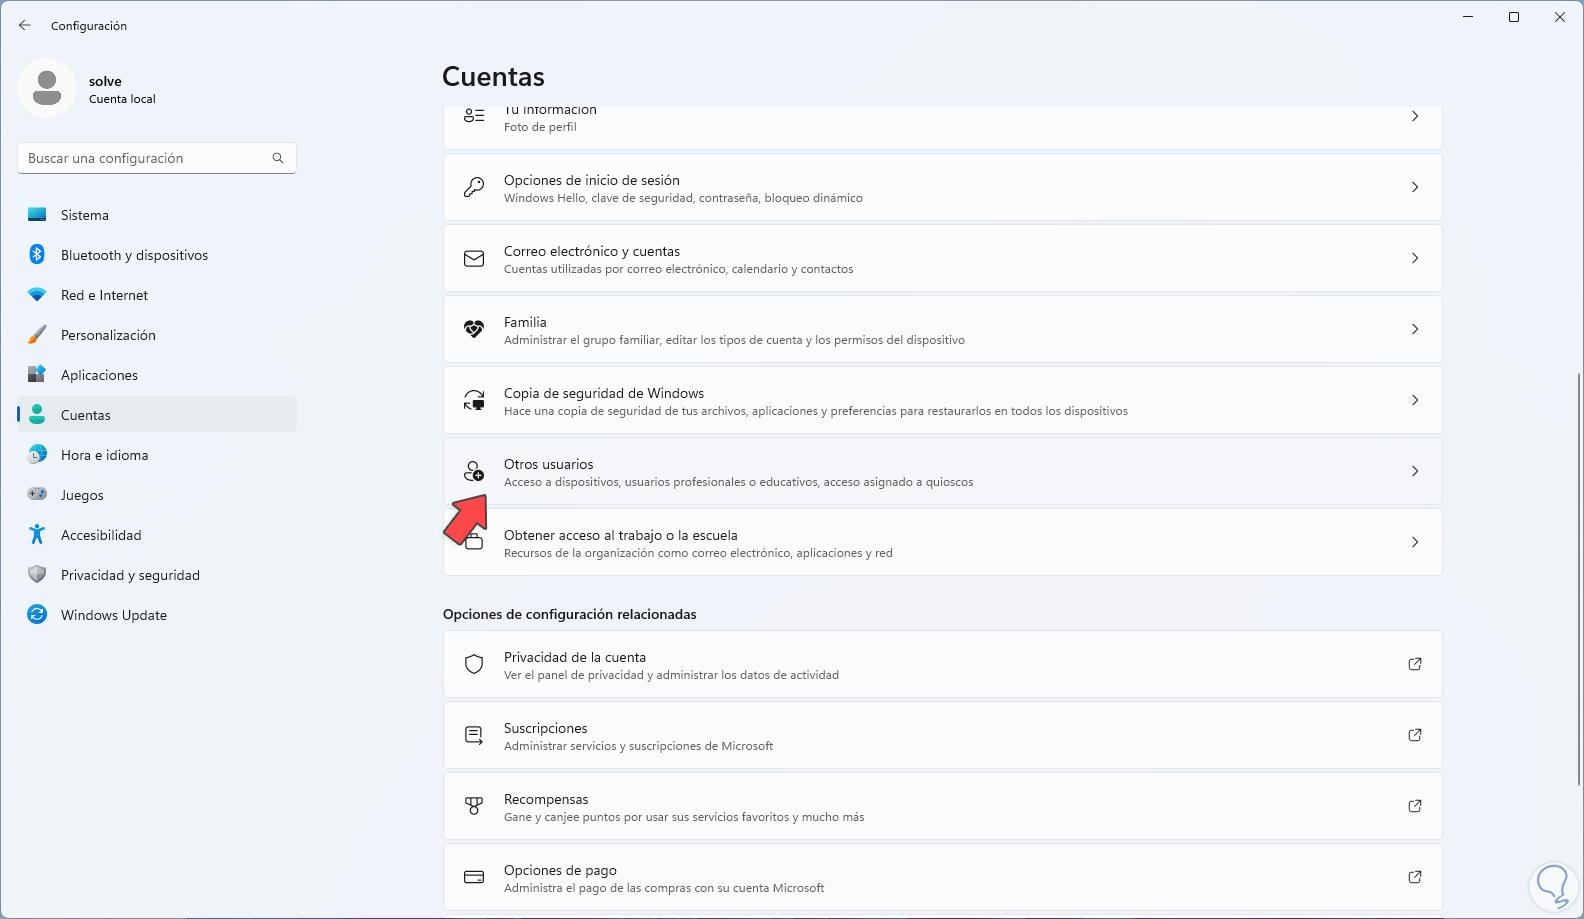
Step 2
In the Other users section we click on the user:

Step 3
We click on "Change account type" to see your default profile:
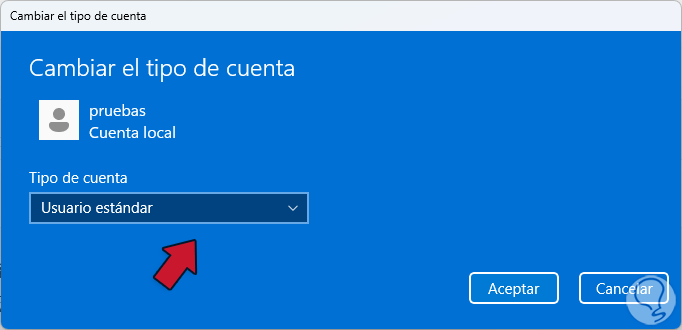
Step 4
Set "Administrator":
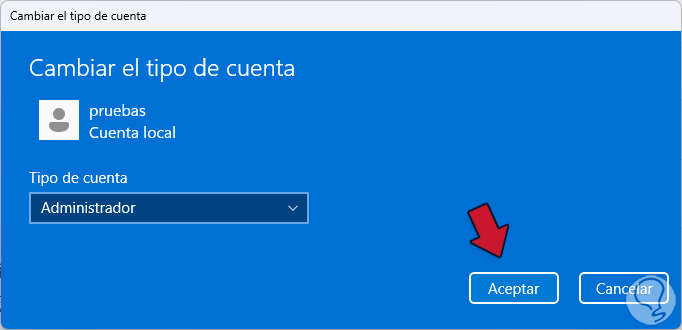
step 5
Apply the changes:

5 Switch to Administrator in Windows from User Accounts
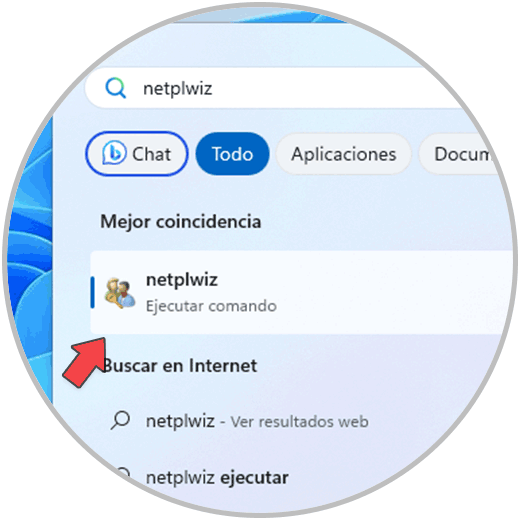
Step 1
Windows integrates a command with which it is possible to manage users in an integral way, in this case in the Start search engine we enter "netplwiz":
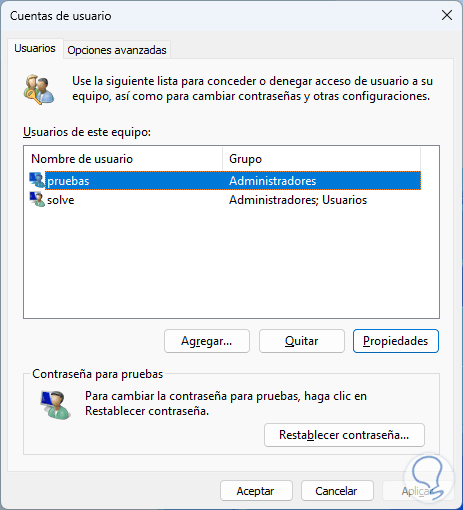
Step 2
Execute the command, in the displayed window select the user:
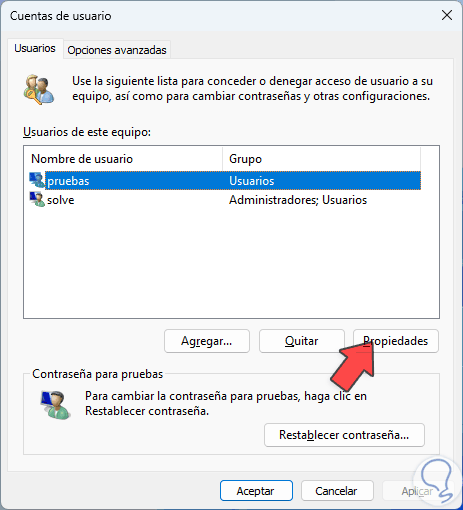
Step 3
We click on "Properties" and we will go to "Group membership":
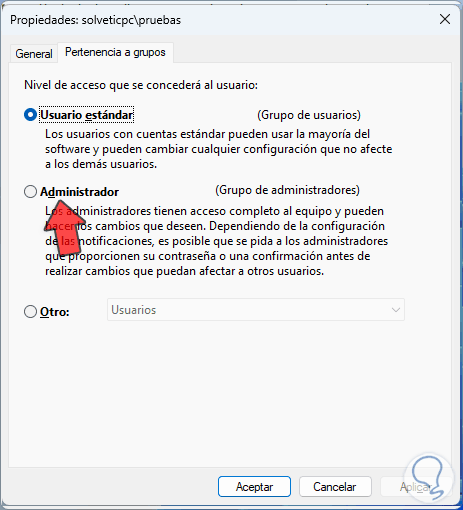
Step 4
Activate the "Administrator" box:
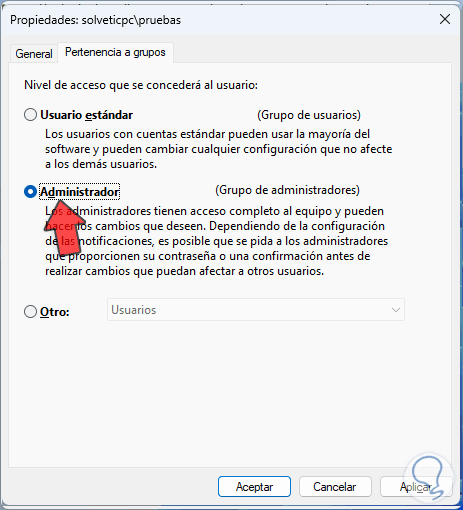
step 5
Apply the changes:
6 Switch to Administrator in Windows from Computer Manager
Step 1
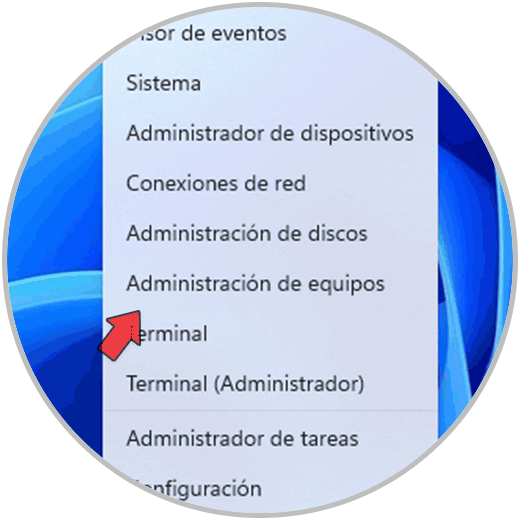
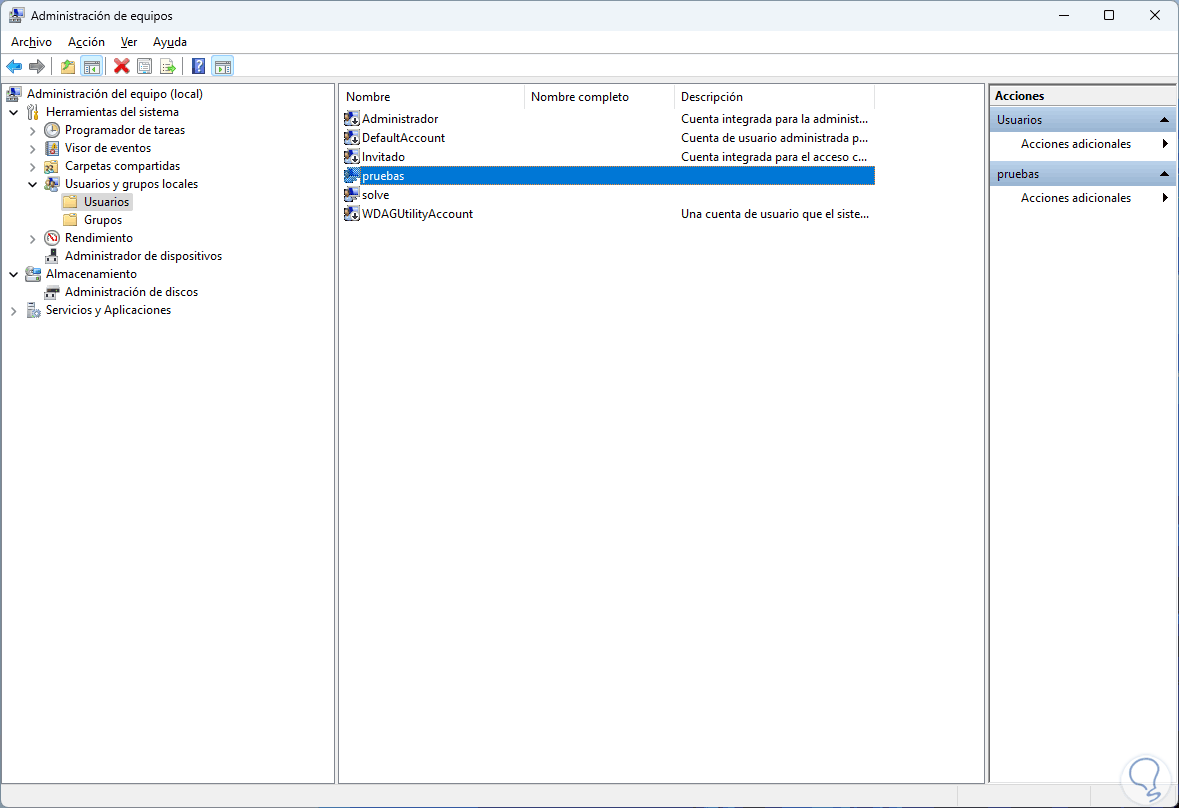
Computer Management is another of the methods that Windows offers us to manage not only users but many more system components, we click on the Start menu and select the "Computer Management" option:
Step 2
We go to "Local users and groups - Users" and there we double click on the user to add to the Administrators group:
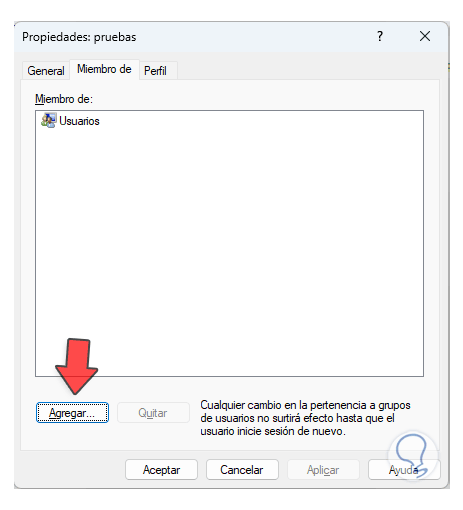
Step 3
In the "Member of" tab we click on "Add":
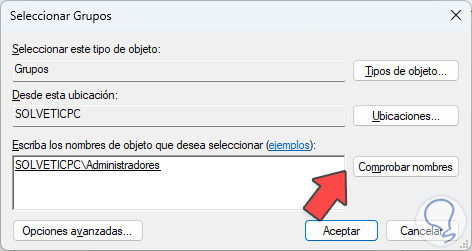
Step 4
We enter "Administrators" and click on "Check names":
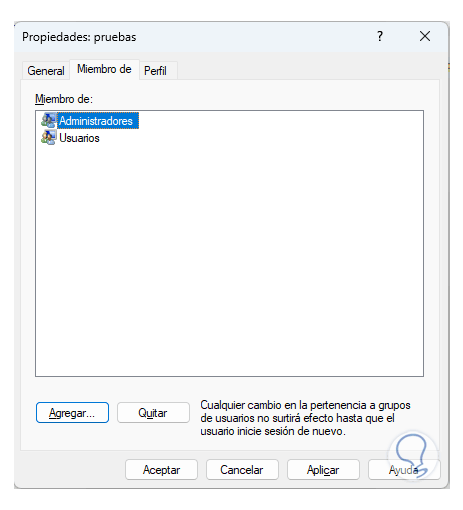
step 5
Apply the changes. There we click Apply and Accept to save the changes.
These options are ideal and functional to manage to change a user and make them part of the Windows Administrators group and thus optimize their permissions.