As daily users we are creating and managing all types of files such as text, audio, music, images, etc, and each of these files can be essential for our daily work or personal use, however, there are some moments where these files They can be deleted intentionally or unintentionally, for example:
When files are deleted
- The Delete or Del key was accidentally pressed on the file.
- Some applications have been executed that can delete system files.
- Due to issues of updates in specific situations, elements of the system can be eliminated.
- Personal debugging tasks that will cause us to delete files and then need them.
In these scenarios we find two options, when the file is deleted simply by pressing the Delete key or moving the file to the Trash. In this case it is simple to recover it since the Windows Recycle Bin has been created as a special folder on the hard drive where deleted files will be temporarily stored. By default they will be there for 30 days and then they will automatically be deleted, so if the file is in the Trash it will be very simple to go there and restore it.
The other scenario is if we have pressed the "Shift + Delete" key and with this theoretically we will have permanently deleted the file, but technically the file will be located in a small sector of the hard drive where there is still the possibility of recovering it using the appropriate tools. to explore these sectors and be able to recover those files. So that all is not lost, the recovery tools allow us to scan the system and recover text, image, audio, system files and many more with a high percentage of quality..

One of the most common tasks in deleting files is associated with USB media (devices or hard drives) where, being something portable and with a limited size, we can delete data to free up space but then need said files, we will focus there to explain how retrieve said information.
TechnoWikis will explain two methods to recover files from our USB devices and it is using the CMD console itself or using an exclusive app for it.
1 How to use 4DDIG to recover files from USB
4DDIG is a Tenorshare 4DDiG utility with which it is possible to recover various types of files from USB media or from local system hard drives, it has a powerful scanning engine to deeply analyze the selected drive and then categorize the detected items by type making the recovery process a really simple task.
4DIGG Features
Among its characteristics we find:
- Allows you to recover information from a hard drive that has been formatted
- It is possible to access deleted data from partitions that have been deleted
- With 4DDiG we can recover information from corrupt operating systems
- You can not only recover the files but repair them
- Scan and preview function to determine if the file is correct
- Allows you to merge fragments of a single video
- Supports NTFS, exFAT, and FAT16/FAT32 file systems
- It can be used on Windows 11/10/8.1/8/7
4DIGG extensions
Some of the extensions that 4DDiG is compatible with are:
- Photos: JPG/JPEG, TIFF/TIF, PNG, BMP, GIF, RAF, DNG and more
- Mail: MSG, PST, OST, EML, EMLX, MBOX and more
- Documents: DOC/DOCX, XLS/XLSX, PPT/PPTX, CWK, HTML/HTM, INDD
- Video: AVI, MOV, MP4, M4V, 3GP, TS, VOB, MTS, DV
- Audio: MP3, AIF/AIFF, M4A, WMA, WAW, APE, MID/MID, OGG and more formats
- Other file types: 7Z, WAR, ZIP, EXE, 7zip, BZ2, ISO, IMG, ASPX, CGI, ELM, IGY
4DIGG Media
The means, apart from USB, that we can use 4DDiG are:
- SD Card/Memory Card/TF Card
Step 1
The download of this application is available at the following link:
4DDiG
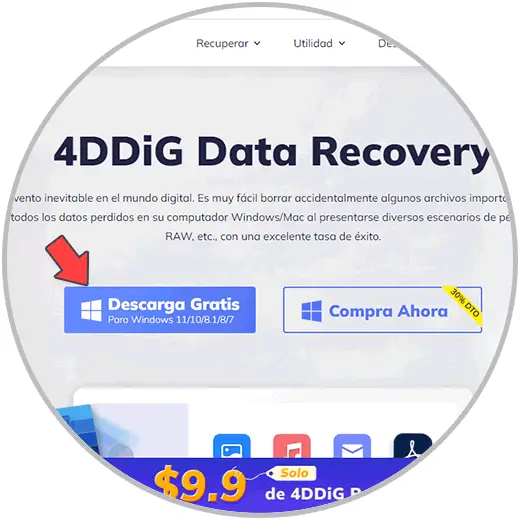
Step 2
There we click on "Free download" which has some limitations or buy the app directly, once downloaded we execute the file:
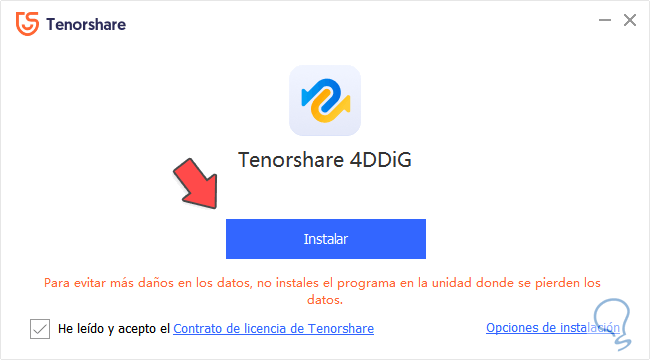
Step 3
We click on "Install" and we will proceed with the installation of 4DDiG:
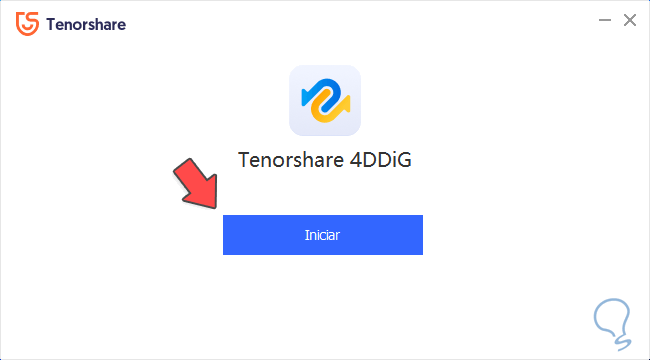
Step 4
At the end we will see the following. We click on "Start" to access the 4DDiG platform:
step 5
As we see there we find the various local units of the computer and a direct recovery from the Trash, the desktop or a special folder is offered.

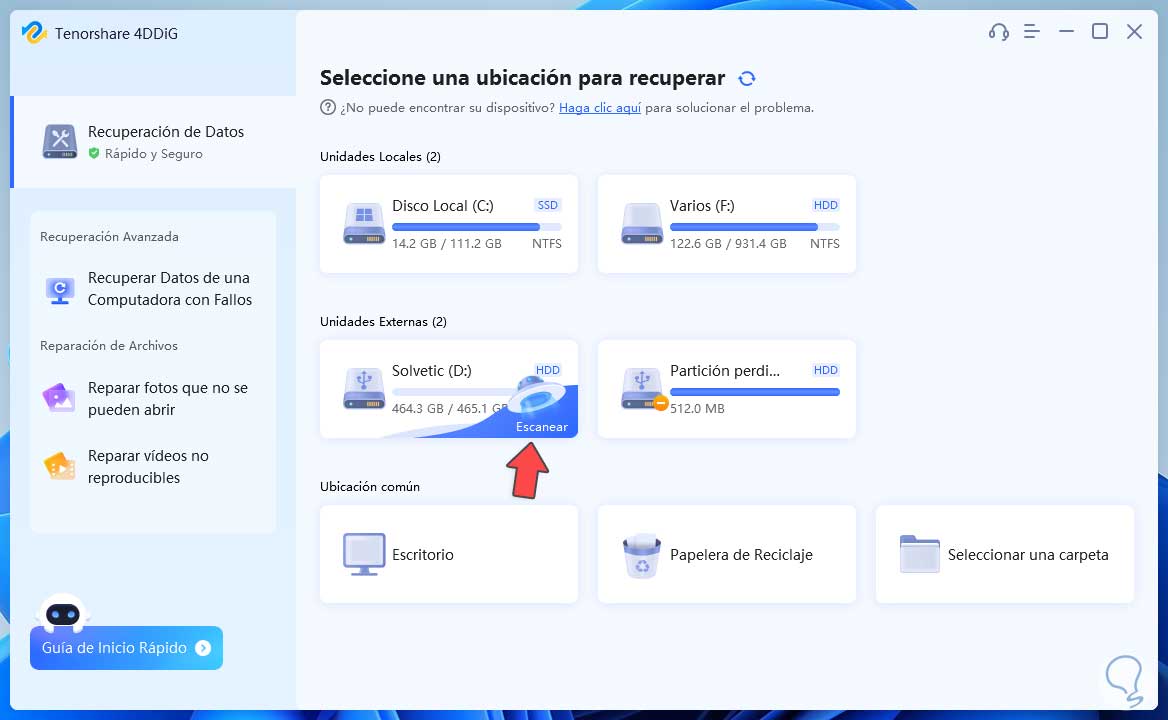
step 6
We click on the USB drive, in this case we will use an external USB hard drive, passing the pointer over it will activate the "Scan" option. We click there to see the following.
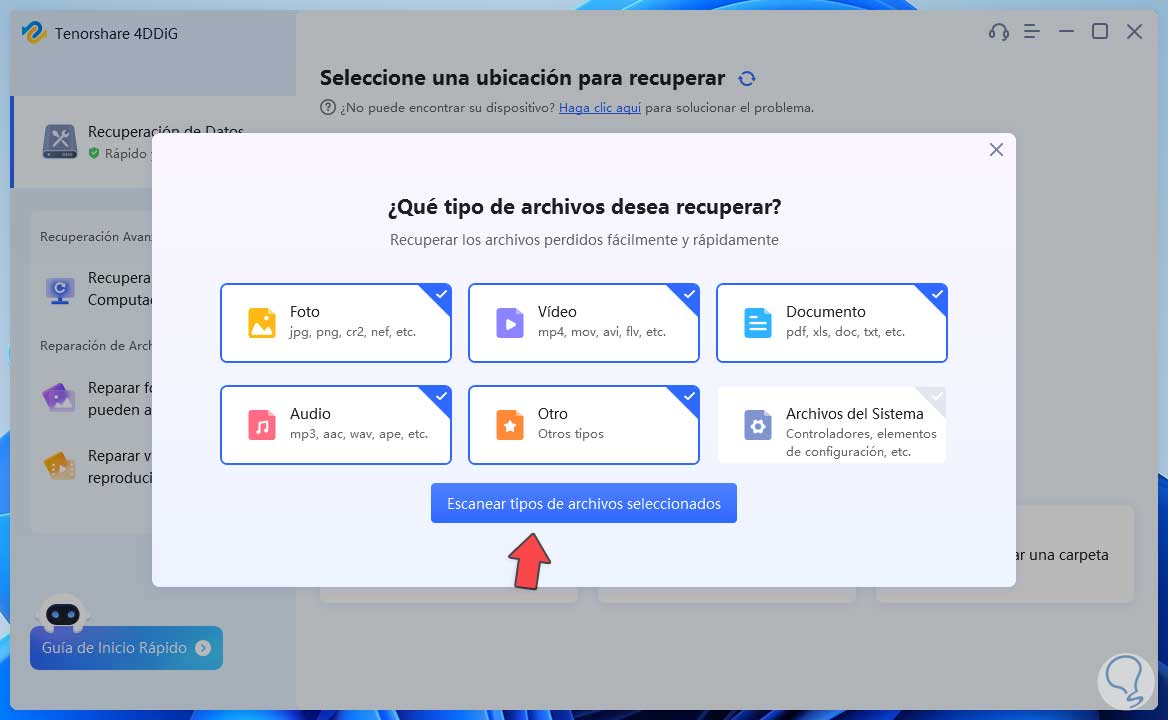
step 7
There it is possible to select what type of elements have to be scanned or we can leave all the options which is the default value. We click on "Scan selected file types" and the following will be displayed:
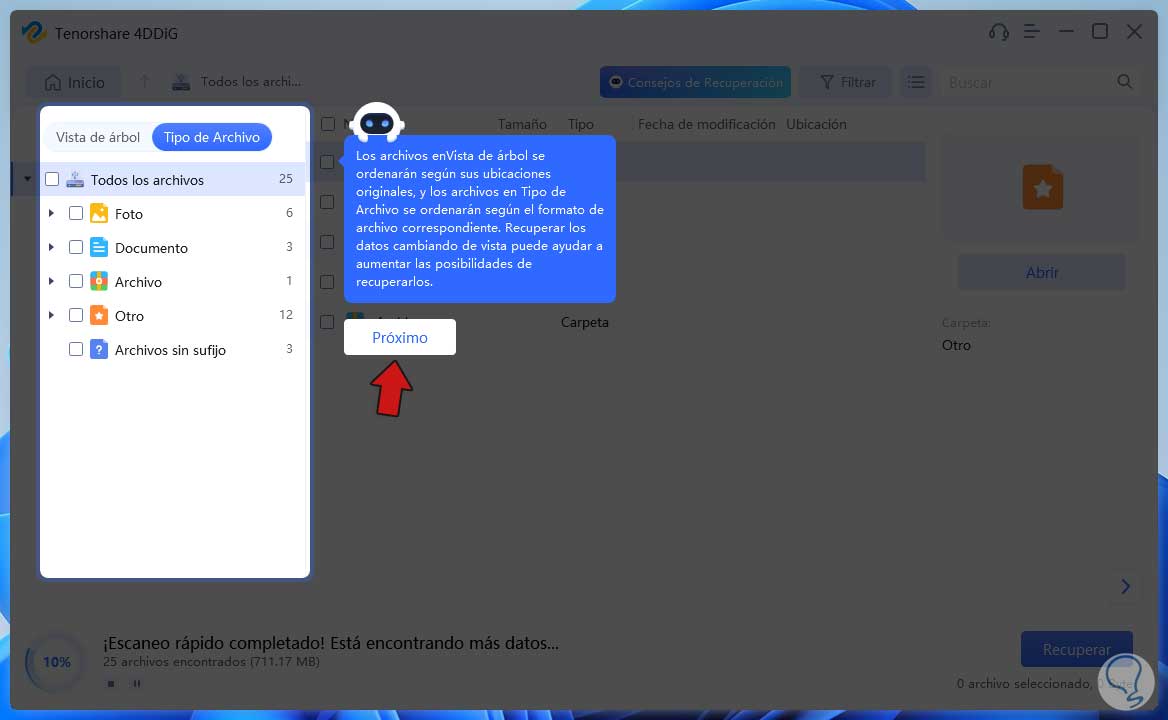
step 8
There it will be possible to see a small introduction to how we will see the results, we click on "Next" to start the scan of the selected USB drive:
step 9
The scanning process will begin:
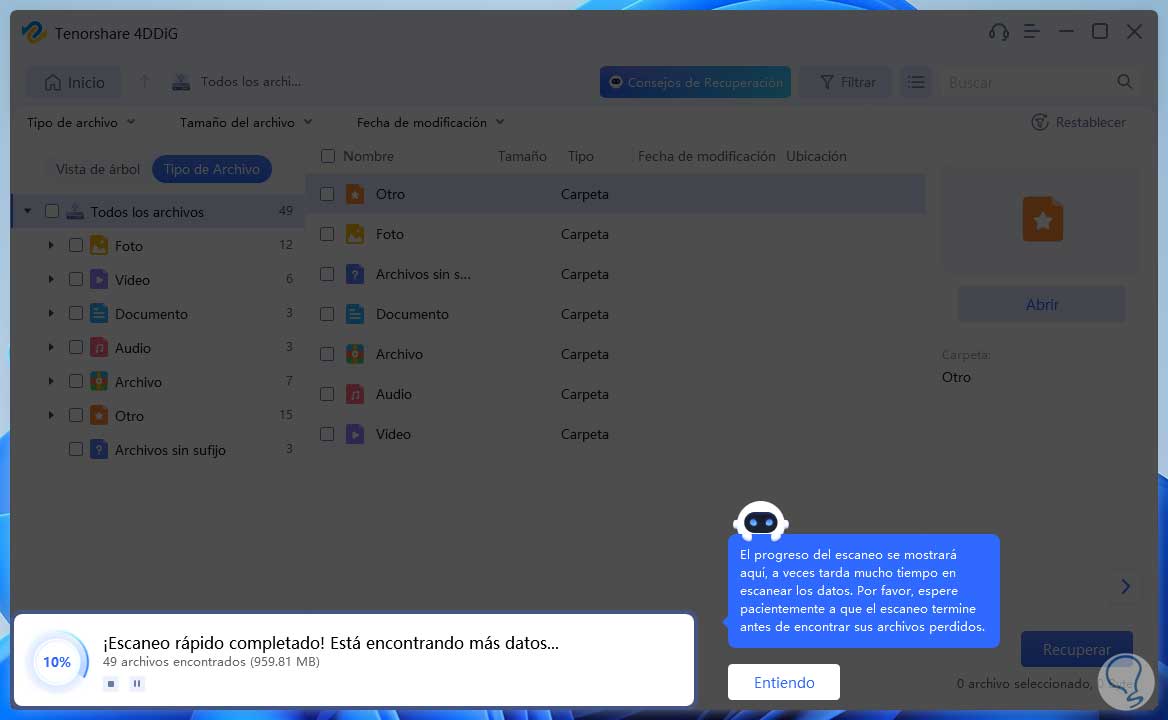
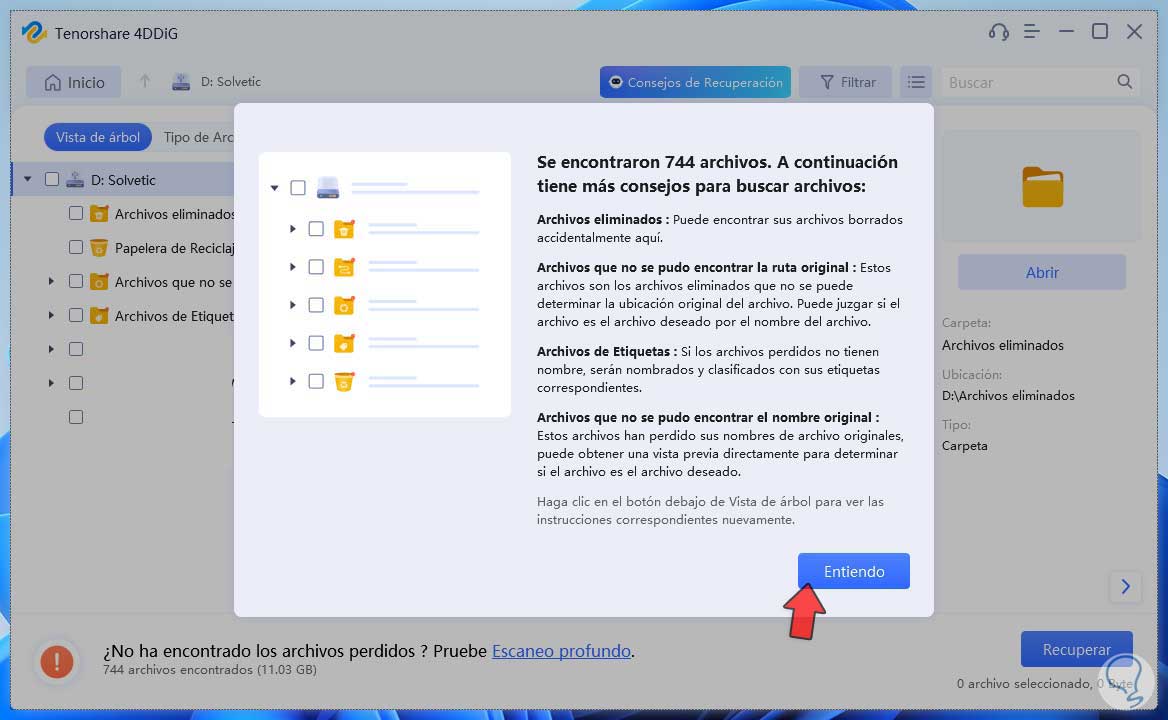
step 10
At the end of this process we will see a summary of the result. Note that the number of files detected and their size are indicated at the bottom. We click on "I understand" to see the structure of the information scanned by the utility:
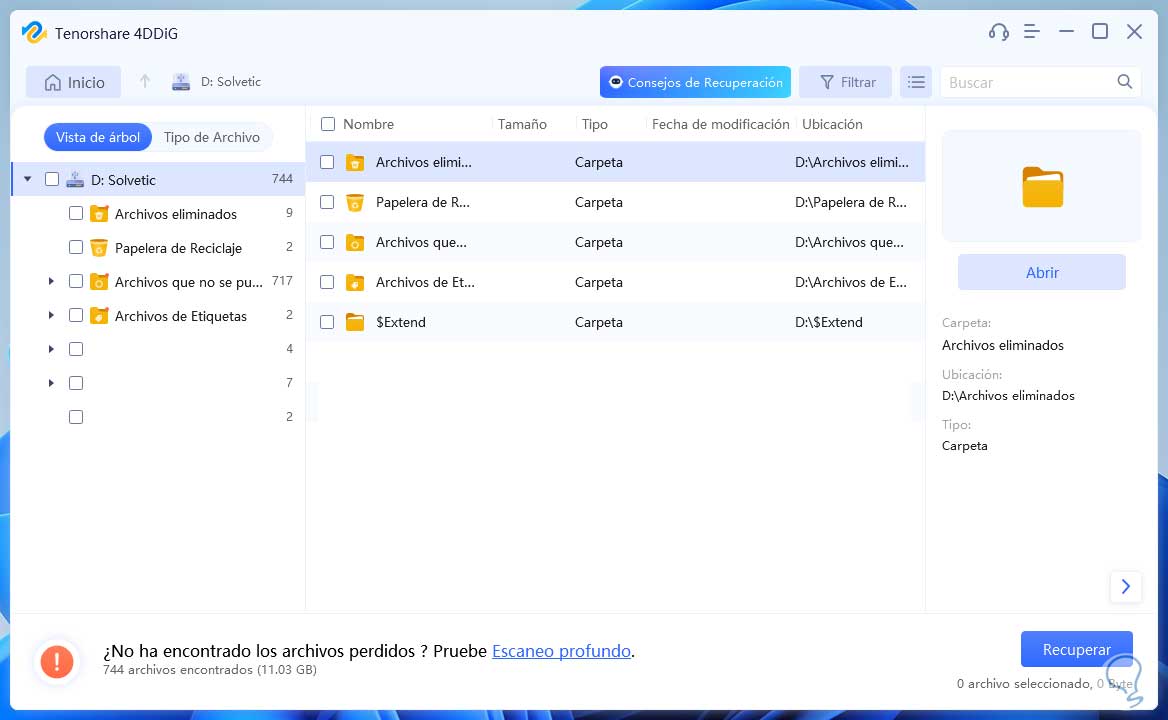
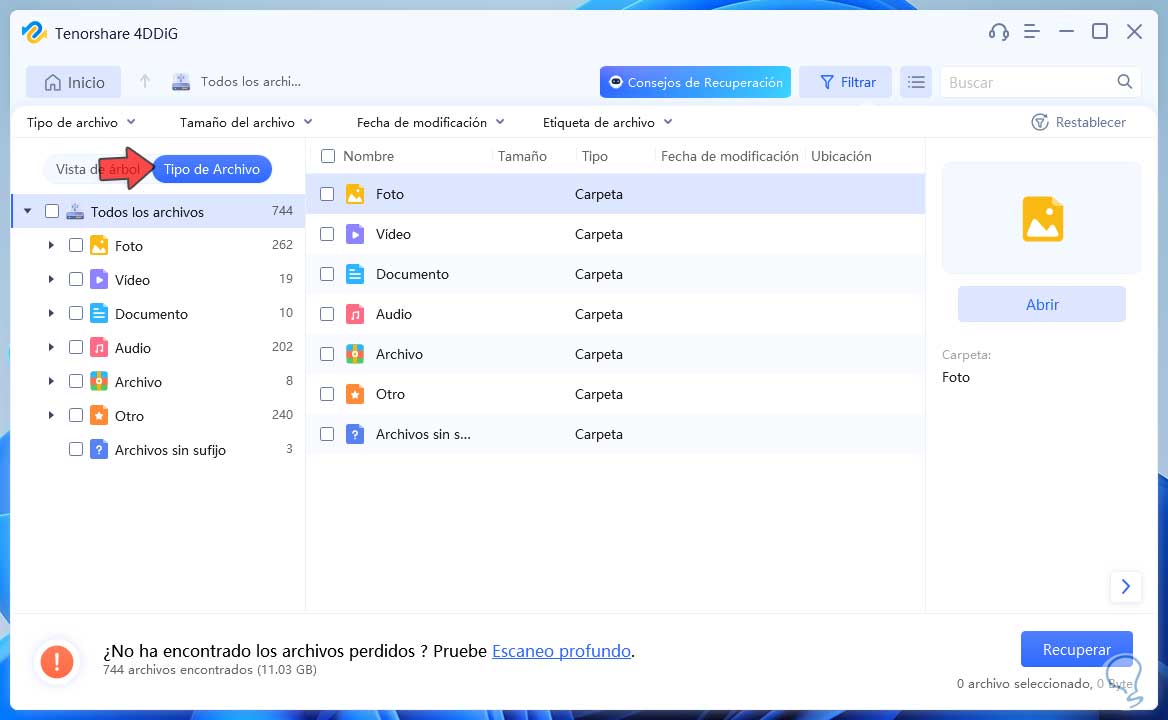
step 11
We click on any of the options in the left side panel to access the information collected:
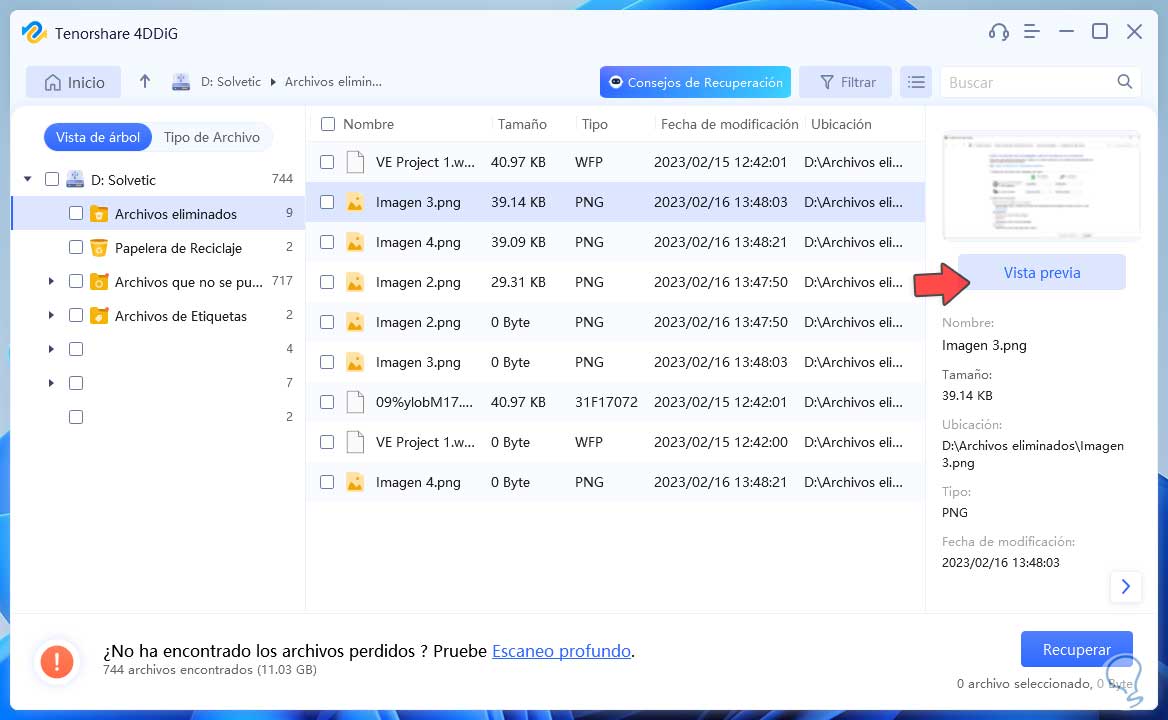
step 12
When selecting a file we will see a preview and details of that file on the right side, we can click on "Preview" for a better view of it:
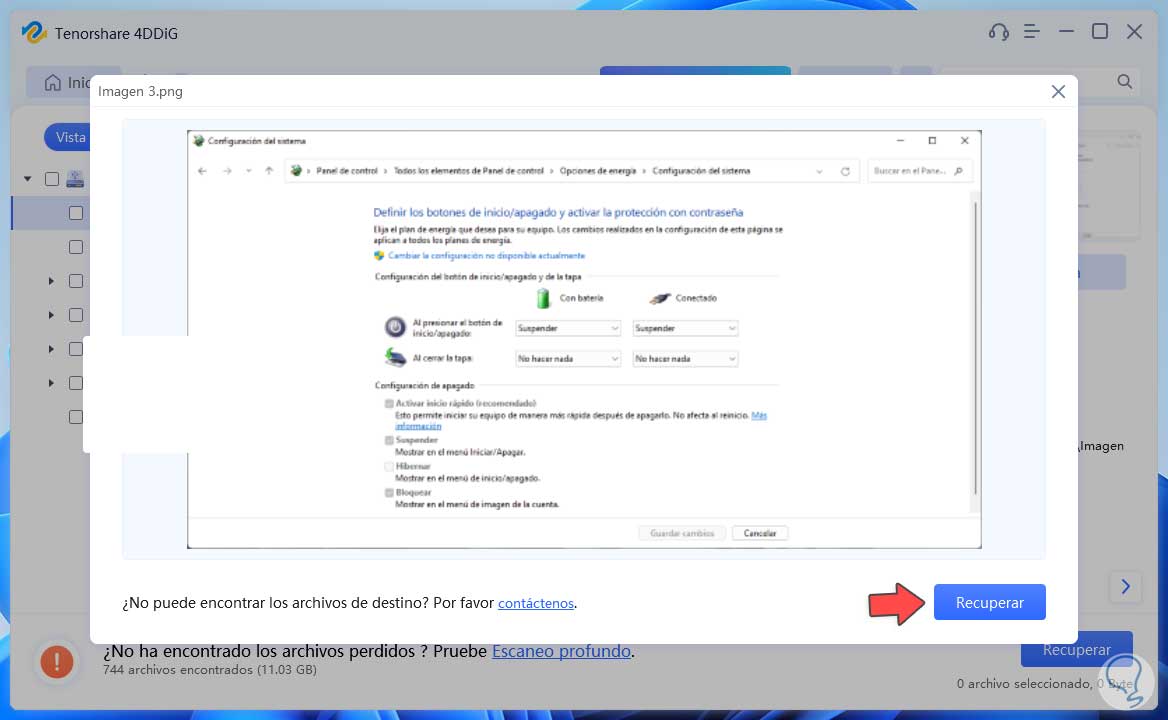
step 13
There we click on "Recover":
step 14
and then we must validate where the element will be retrieved:
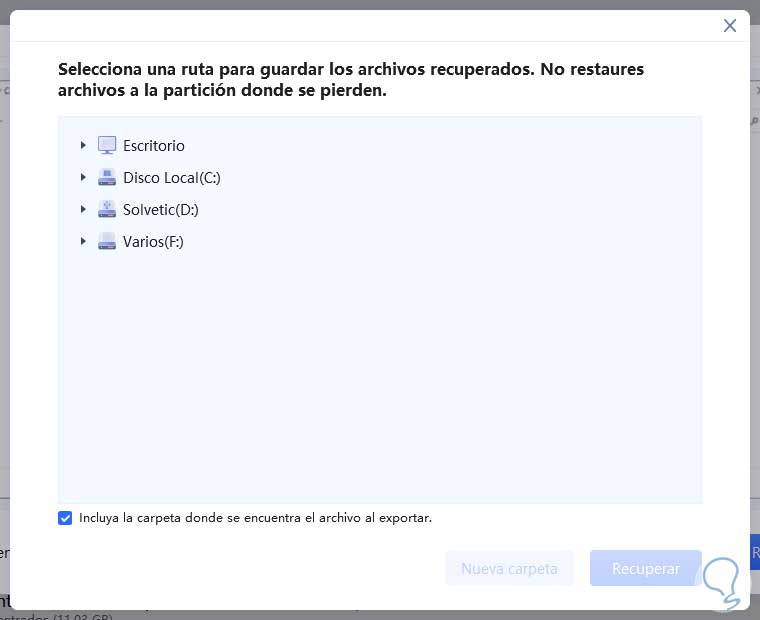
step 15
When selecting the route, the "Recover" button will be activated:
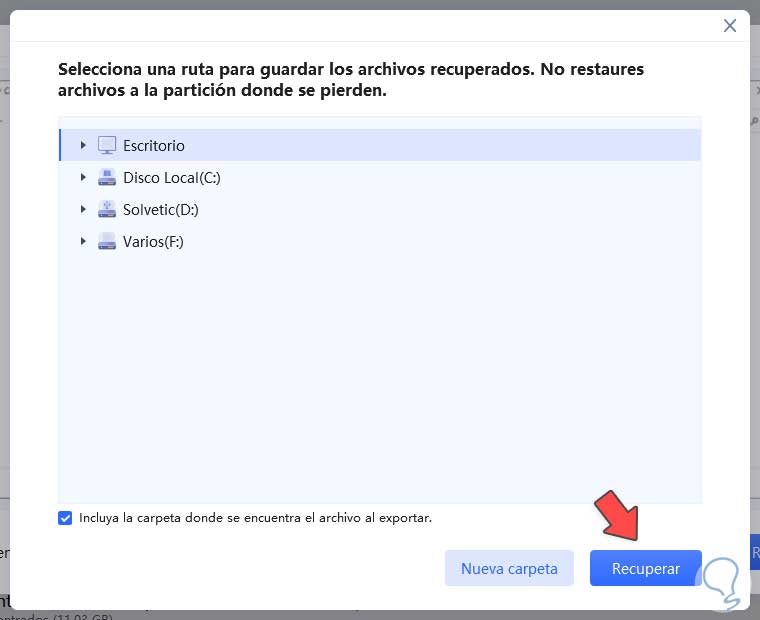
step 16
We click there and wait for this process to complete:
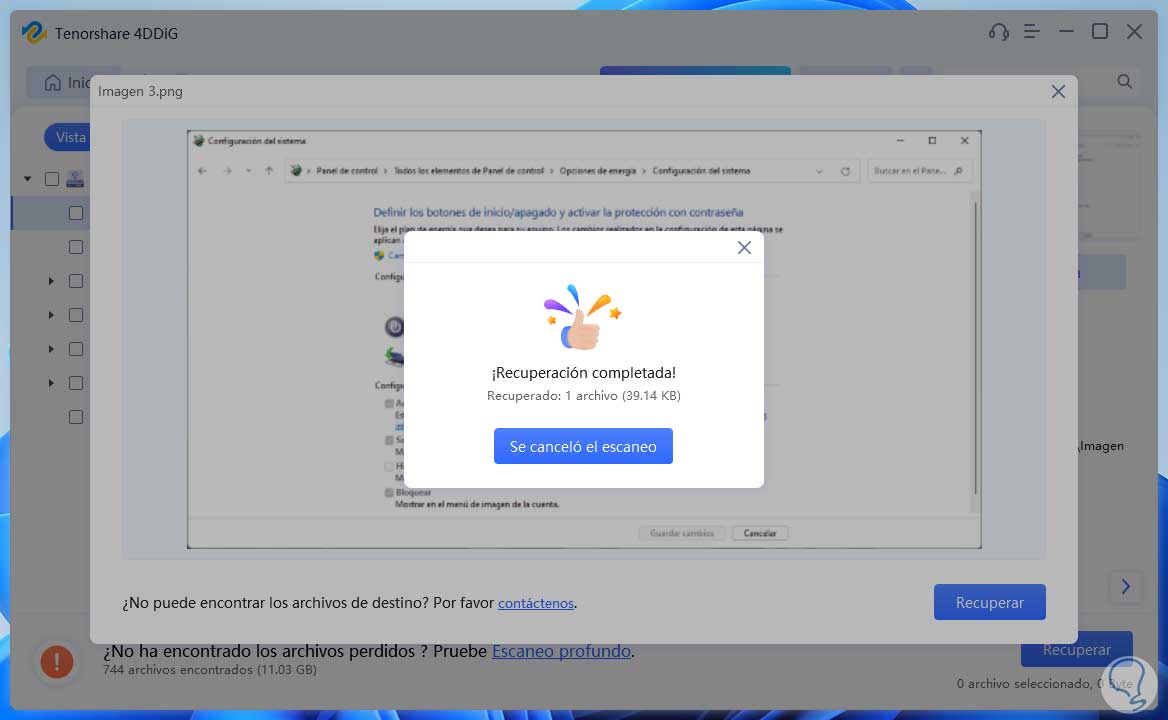
step 17
We can check on the destination that said object has been retrieved:
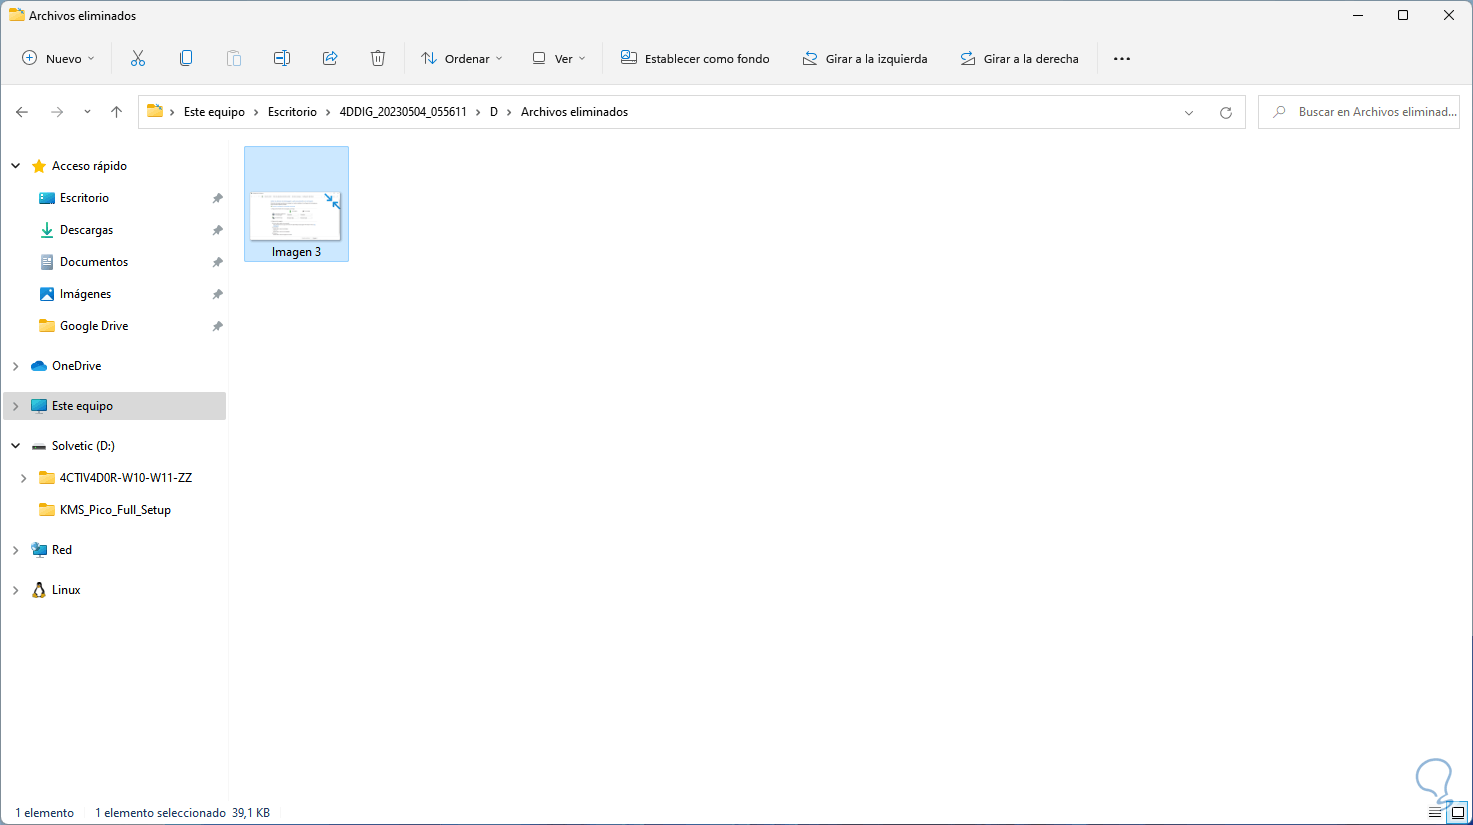
step 18
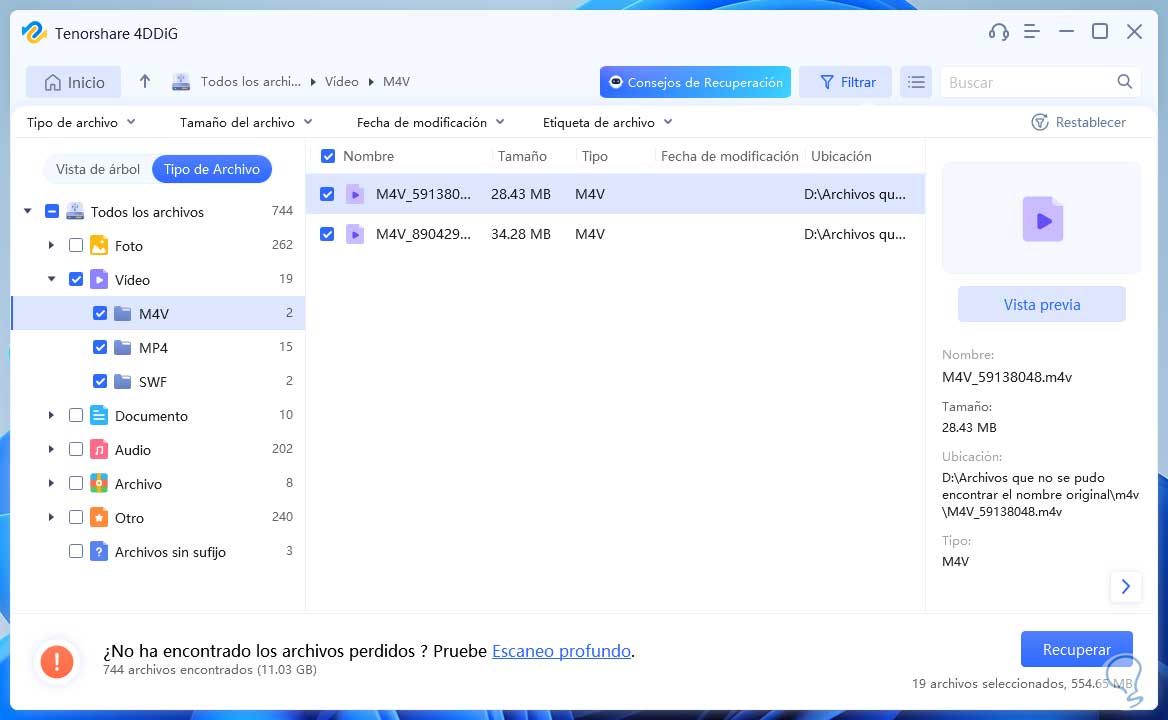
Within the 4DDiG console we can go to the "File type" tab to apply an exclusive filter on which elements to recover or view:
step 19
When selecting some type of file we find the files of this type recovered from the USB:
This is how 4DDiG will be of great help in recovering much of the files deleted from USB media..
2 How to recover deleted files from USB with CMD
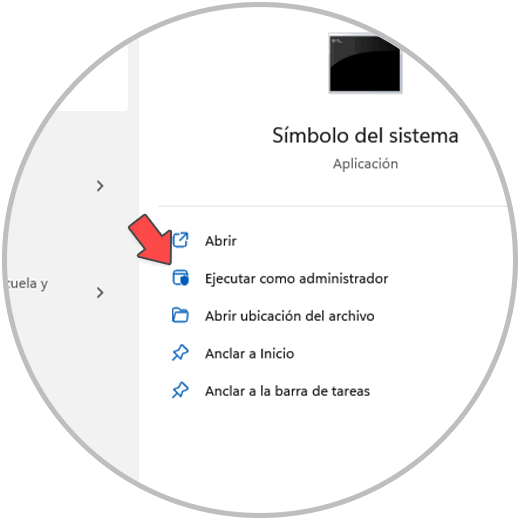
Step 1
Finally, if you want to use the system's own tools, it will be possible, for this we open CMD as administrators:
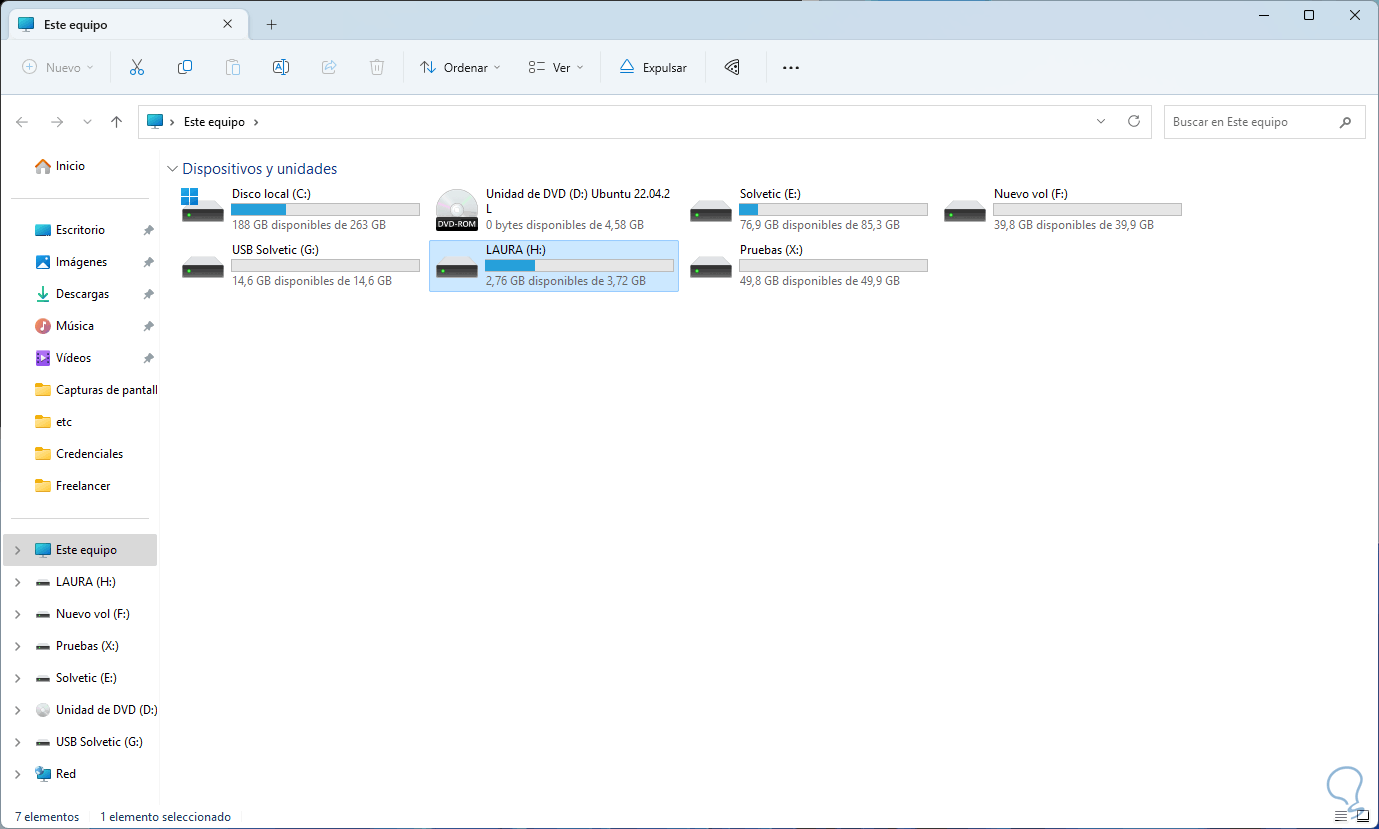
Step 2
We open the File Explorer to determine the letter that the system has assigned to the USB:
Step 3
In the CMD console we will run a unit scan by executing the following syntax:
chkdsk letter: /f
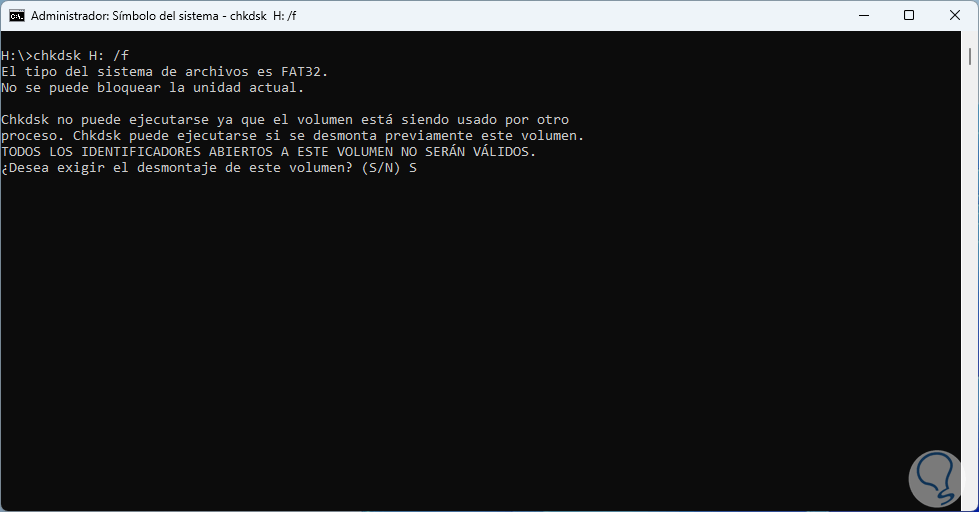
Step 4
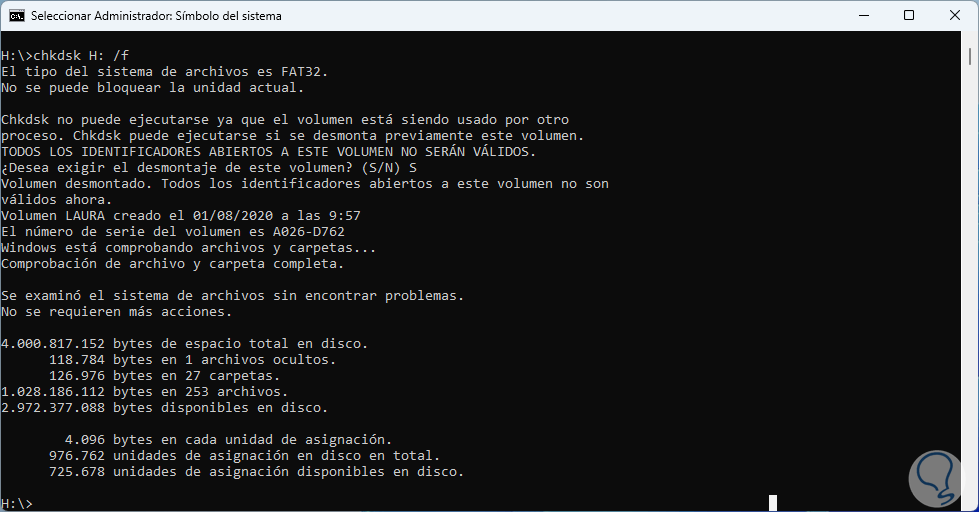
We wait for this analysis to end, we must confirm the process with the letter S:
step 5
CHKDSK is a command to check and fix errors on the hard drive and storage devices, with the /f parameter the drive will be checked for errors such as bad sectors, file system corruption and so on.
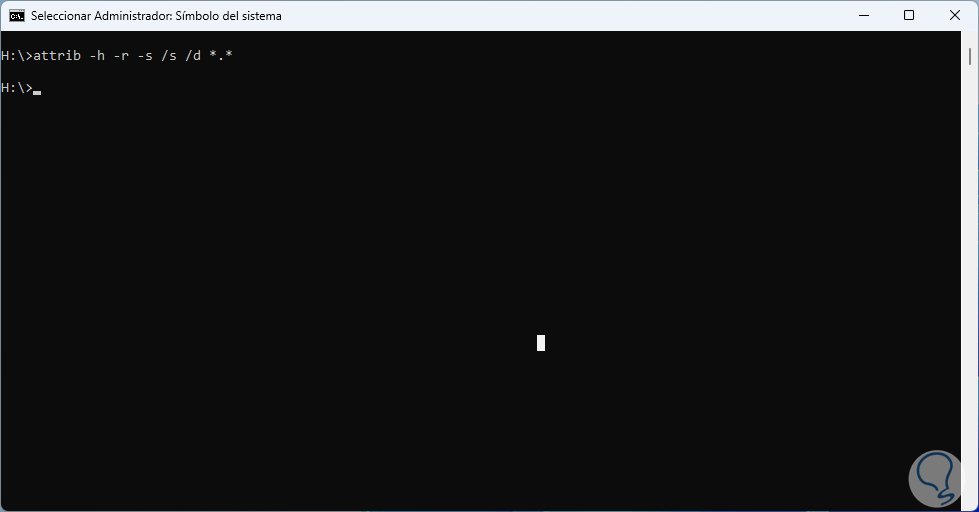
Now we execute the following accessing the letter of the USB with "letter:":
attrib -h -r -s /s /d *.*
step 6
The parameters used are:
- -h executes the Read Only attribute for the selected drive
- -s sets the System attribute to selected files
- -h apply the Hidden attribute to view hidden files on the USB drive
- /s – Allows you to search for specific paths
- /d: allows you to search in folders
step 7
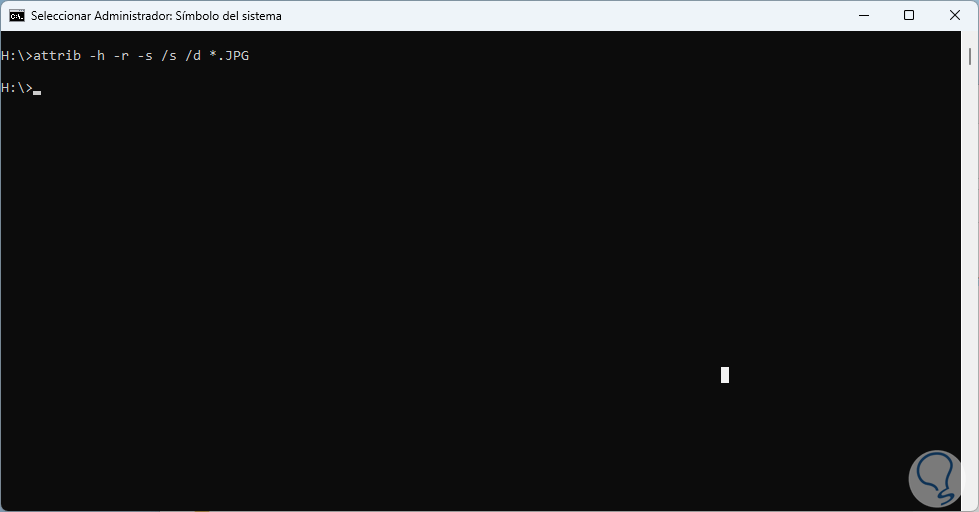
It will also be possible to specify a file type:
attrib -h -r -s /s /d *.extension
step 8
After this we will go to the USB and validate that the element has been recovered:
With these ways it is possible to recover deleted files from a USB and have them available again for administration.
As seen in the tutorial, USB data recovery that has been erased can be important for various reasons. First of all, important data that has been accidentally deleted can be recovered. Additionally, data recovery may be required for legal, business, or simply inadvertent deletion for personal use. Data recovery can be important to recover valuable user information such as photos, documents, and videos. Recovering deleted files from a USB flash drive can be critical to avoid losing valuable information and help in making important decisions, here are some good solutions to achieve it..