Currently, the use of wireless networks is traditional and highly booming due to its features, ease of configuration, scope and practicality to be used both in portable computers and in mobile devices and even household appliances..
Normally, within our coverage area there are different Wi-Fi networks available , some secure and others not so much, some with direct access and others with password , but it is common to see various networks available, in the case of Windows to access to see the networks available in our environment we click on the network icon in the taskbar and there we select the option Show available networks:
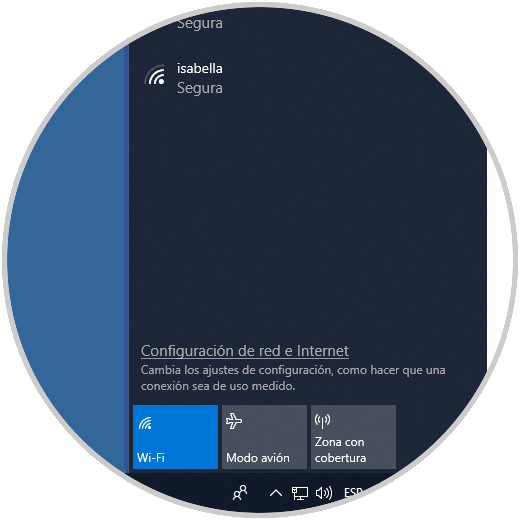
There by default we will see our Wi-Fi network and that of a nearby site, but certainly there are many more networks that because of their low signal are not detected or other networks may hide their SSID so that others do not have access to them.
TechnoWikis will explain how we can see and detect all networks in our coverage area.
What is NetSpot?
NetSpot is a professional application, but it offers a free version, focused on monitoring wireless routers, Wi-Fi analysis and troubleshooting available for macOS and Windows operating systems.
Main features
Some of its main features are:
- It integrates a function called Discover mode with which all the details of Wi-Fi networks are collected and this data is presented as an interactive table, within the collected data we have the network coverage, capacity, performance, configuration of APs, signal, interference, noise and more
- Display Wi-Fi data in real time on the map in a simple way
- Locate the best channels in the 2.4 and 5GHz bands
- It has customizable noise and signal level graphics which display changes in real time
- We will have access to channel information, type, provider, security type, transmission band for support tasks
- We can export the results in CSV or PDF format
- It has interactive heat maps in which detailed information of all wireless networks found at each point of the current map is housed
- It can solve Wi-Fi problems
- It is capable of performing performance tests with Iperf 3 or test servers with customizable speed to validate the current network speed and load
- It is possible to save the thermal maps as PNG
- Supports the import and export of BSSID aliases
1. How to download and install NetSpot on WIndows 10, 8, 7
Step 1
For its use it is enough to be in a network that works on the 802.11 network protocol and this way we will have access to more than 15 heat map coverage graphics, its download is available in the following link:
Netpot
Once downloaded, we proceed with the execution of the file and the following wizard will be displayed:
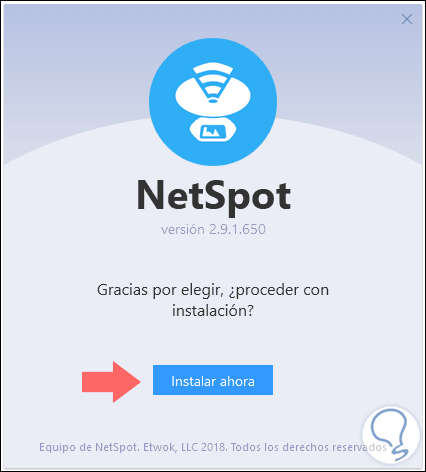
Step 2
Click on the Install now button to continue with the installation process:

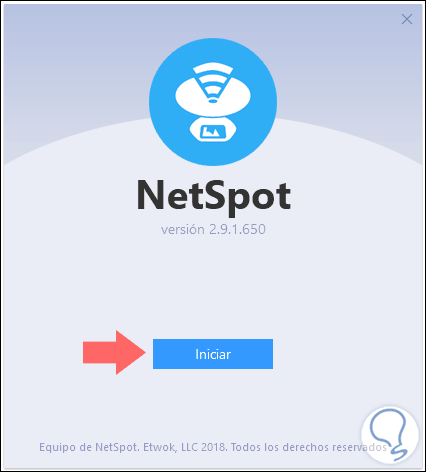
Step 3
Once installed, we will access the application and see the following:
2. How to use NetSpot in WIndows 10, 8, 7
Step 1
Click on the Start button to run the application and the following will be displayed:
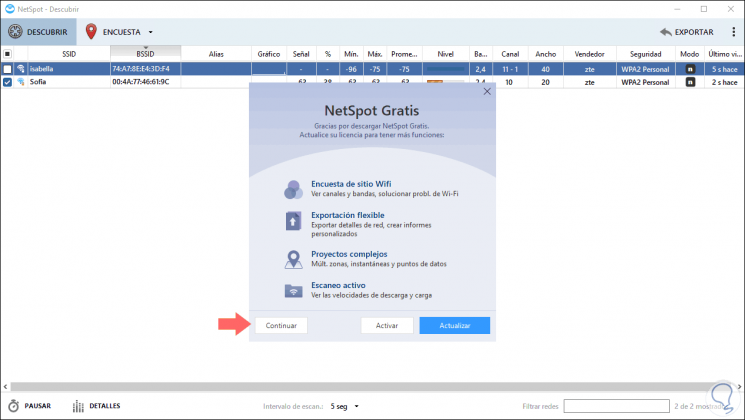
As we see, for advertising issues, you are invited to access the Pro application, we can click on the Continue button to continue with the free version..
Step 2
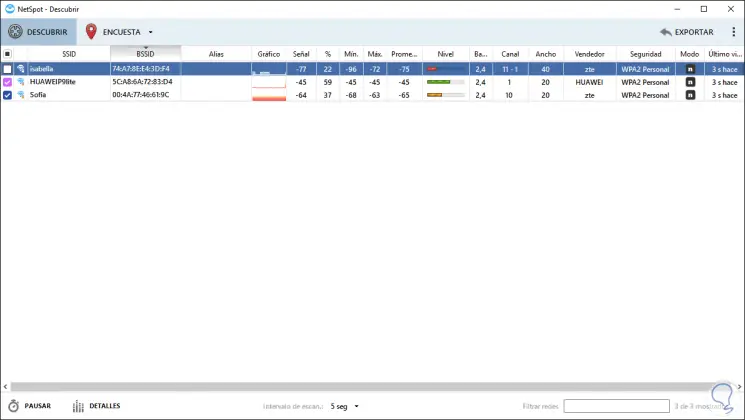
Once we access, the application will start the process of discovering the available networks:
Step 3
There we can wait a period of time for NetSpot to analyze the entire spectrum in our area and deploy the available networks.
Results generated by NetSpot
Among the results generated by NetSpot we have:
- Alias, if applicable, of the Wi-Fi network
- The current signal strength measured in dBm, the minimum, maximum and average signal, the current network signal level
- Wireless band in which the signal is emitted, the channel used and the frequency channel width (20, 40 or 80 MHz)
- Security or type of encryption used
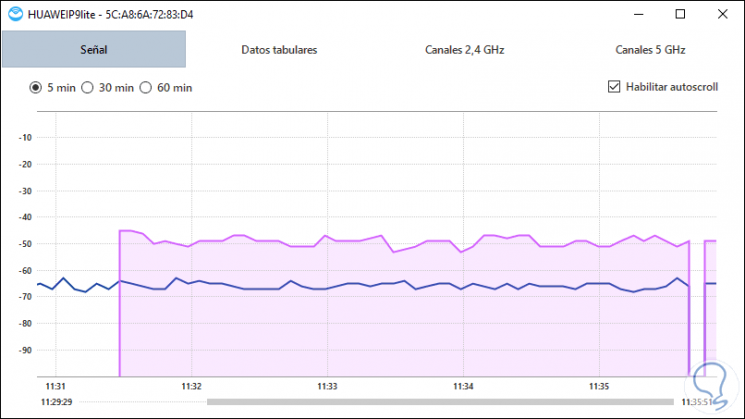
We can choose to double click on the graph of a signal to access details such as:
- Channels available in 2.4 and 5 GHz frequencies
At the bottom of the application we can set the time interval in which NetSpot will discover the available Wi-Fi networks, the options are:
Thus, we will have detailed information about the networks and we can decide to which network, as long as we have the respective permissions, we can connect taking into account two essential values ​​that are the security and the signal level.