The Windows 10 or Windows 11 Firewall has been integrated into the Operating System as a method that will help protect the computer from various external threats since the Firewall controls incoming and outgoing network traffic, being a filter that determines if a packet it is reliable or not. Thanks to the Firewall it will be possible to block or allow network connections based on the rules that have been established either by default or that we configure ourselves, within this segment we find port redirection or port forwarding..
Port forwarding or forwarding (redirection) of ports, is responsible for allowing incoming network connections to be redirected to a specific device on the local network. To do this, the configuration of the router or modem will be used, and the Firewall will also be used so that it takes care of the tasks of directing the incoming traffic to that indicated device.
Thanks to these port forwarding tasks it will be possible to remotely access a server or device on the local network, host an online game server and much more.
TechnoWikis will explain how to create a port forwarding in Windows and this process applies to Windows 10 and 11 equally..
To stay up to date, remember to subscribe to our YouTube channel!
SUBSCRIBE ON YOUTUBE
How to use port redirection or port forwarding in Windows
Step 1
In the Start search engine we enter "firewall" and click on "Windows Defender Firewall with advanced security":

Step 2
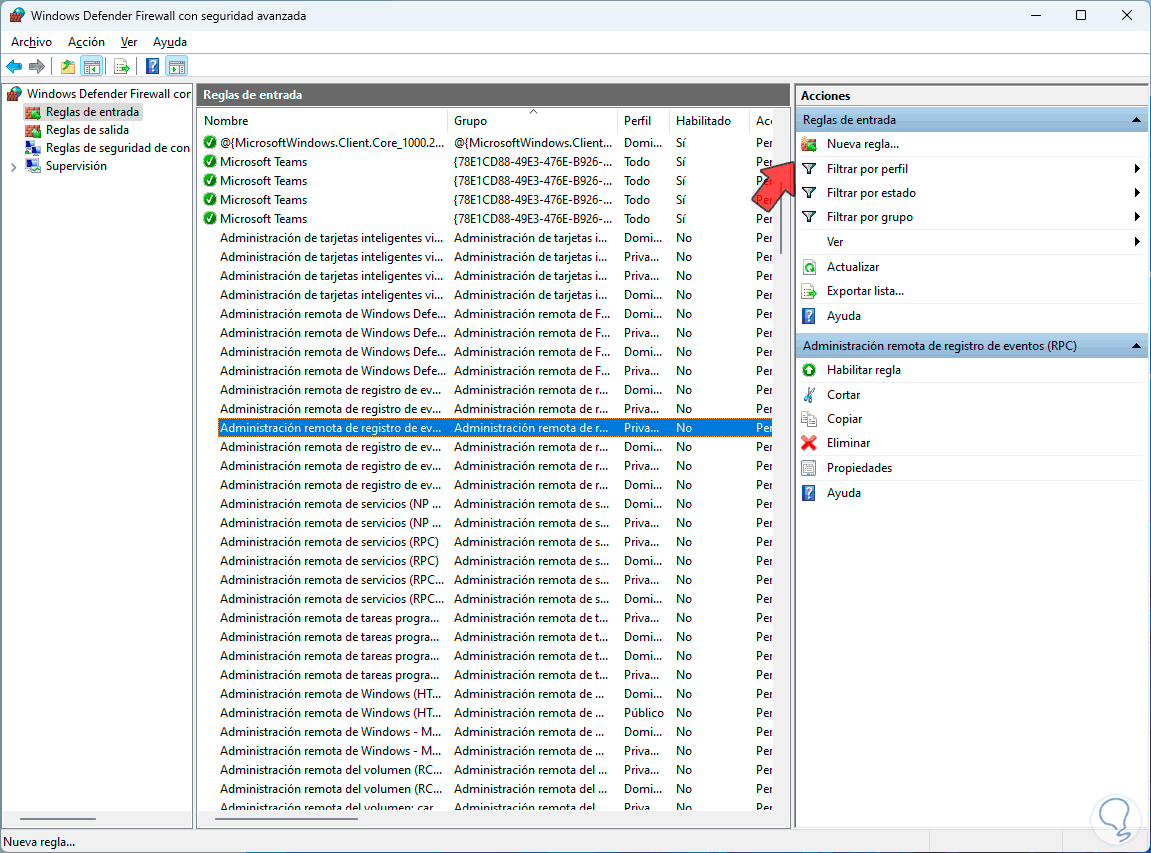
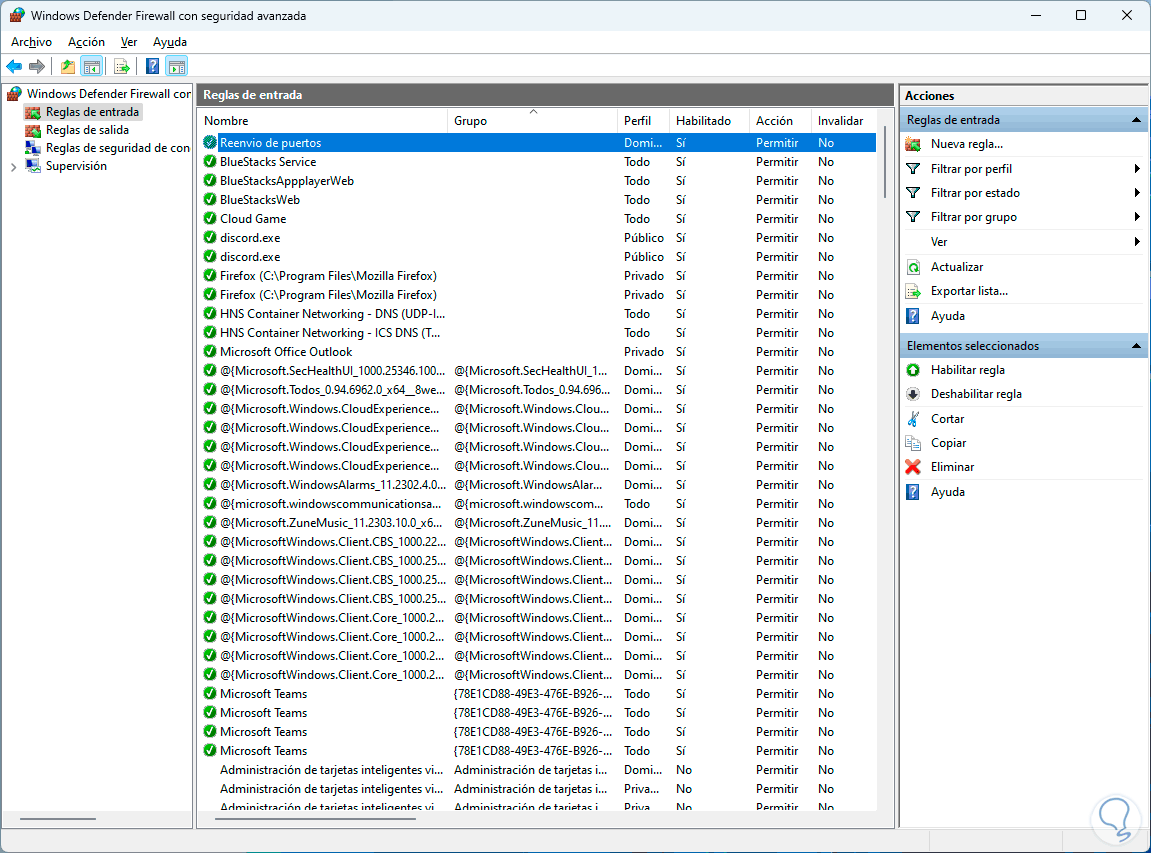
In the displayed window we click on "Input rules" to see all the rules currently available in the Firewall:
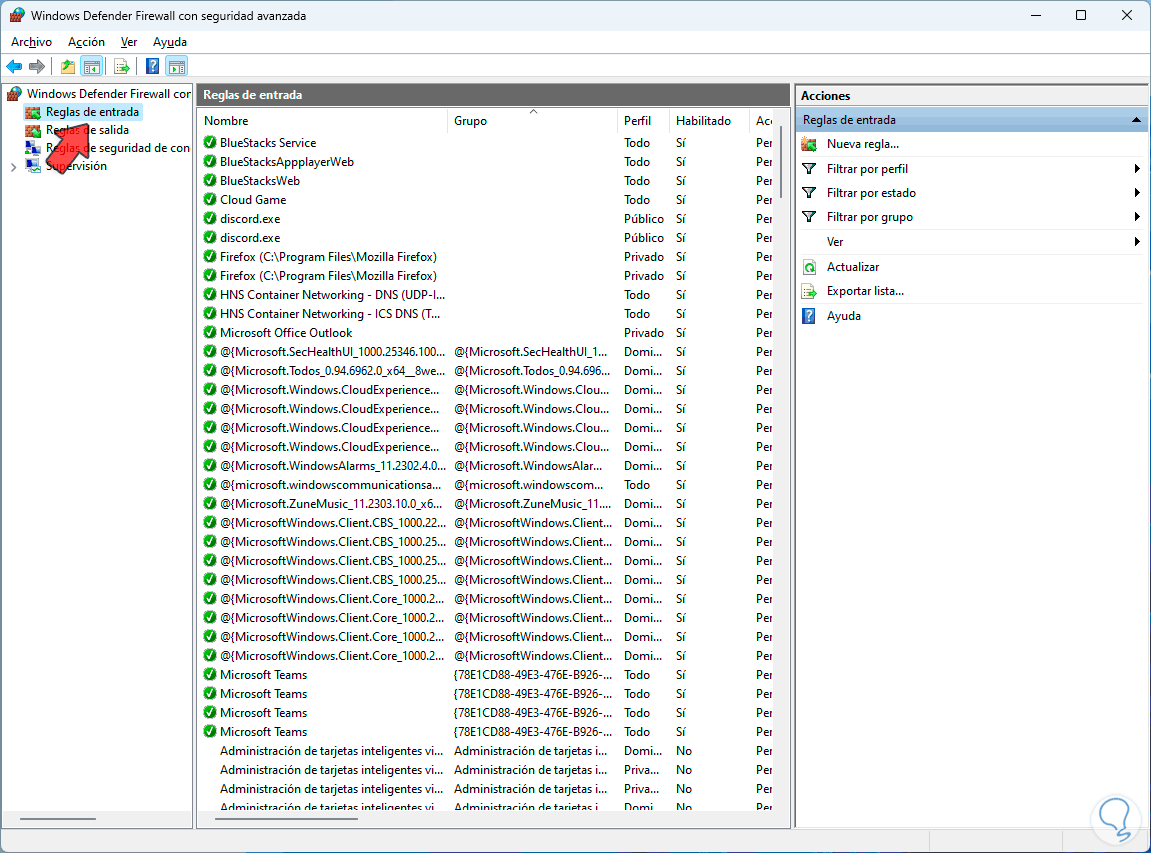
Step 3
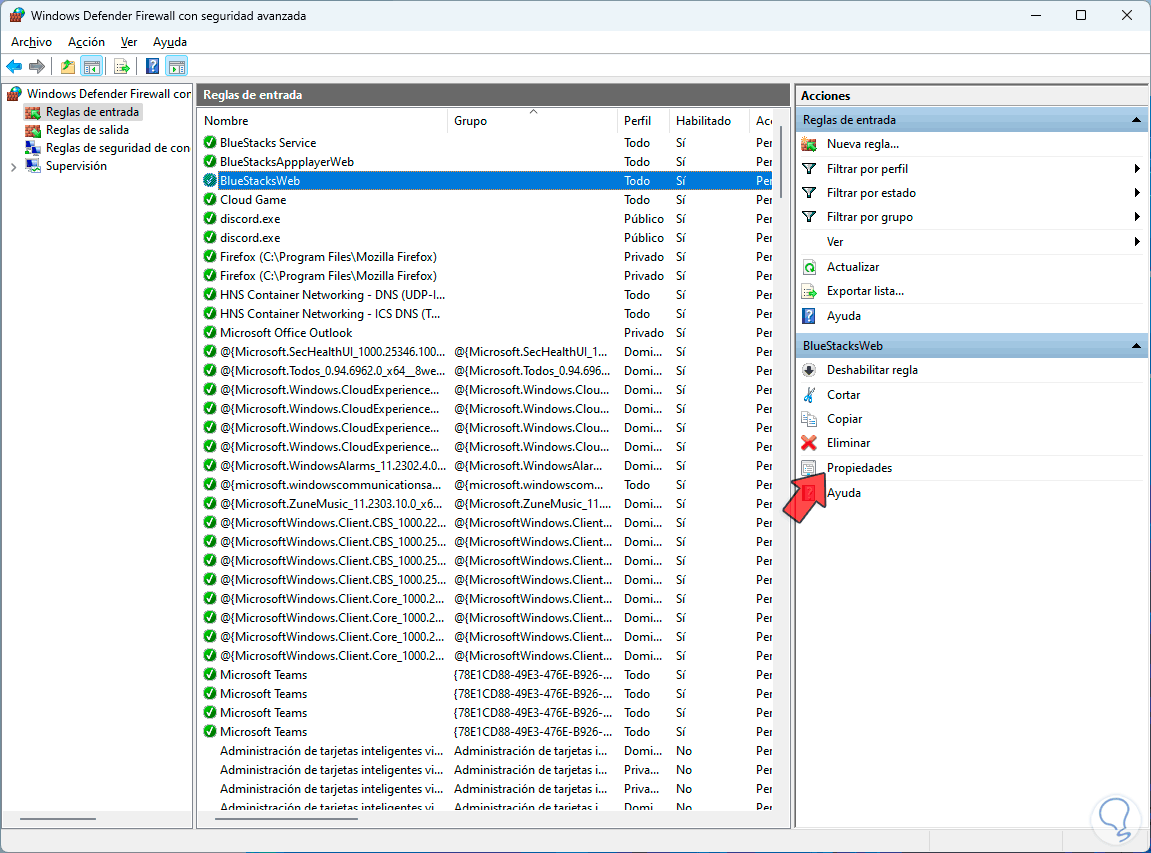
Select any of the rules and click on "Properties" to see its attributes:
Step 4
In the displayed window we go to the "Protocols and ports" tab to validate the general configuration:
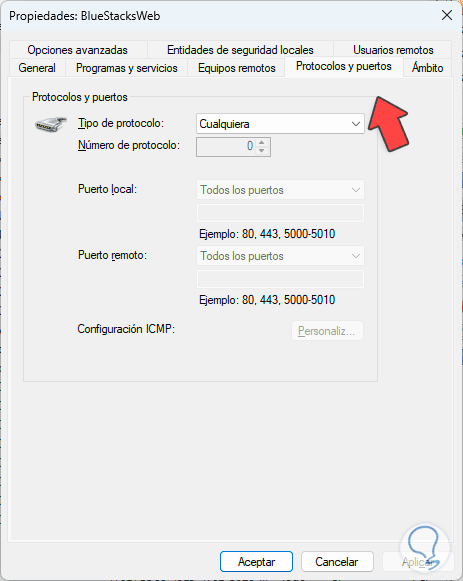
step 5
There these can be adjusted according to the network conditions to be used, in some already predefined rules some changes are not allowed:
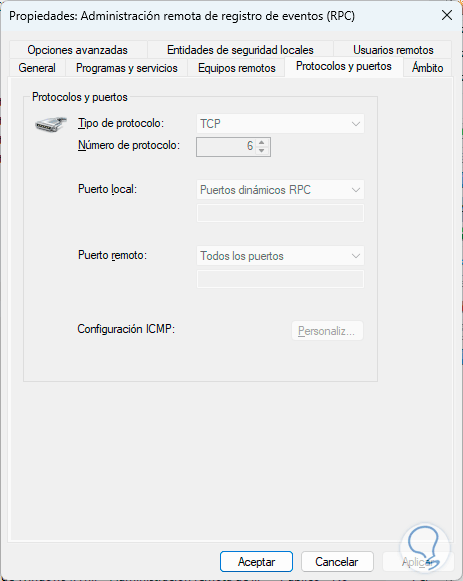
step 6
To create a rule we click on "New rule":
step 7
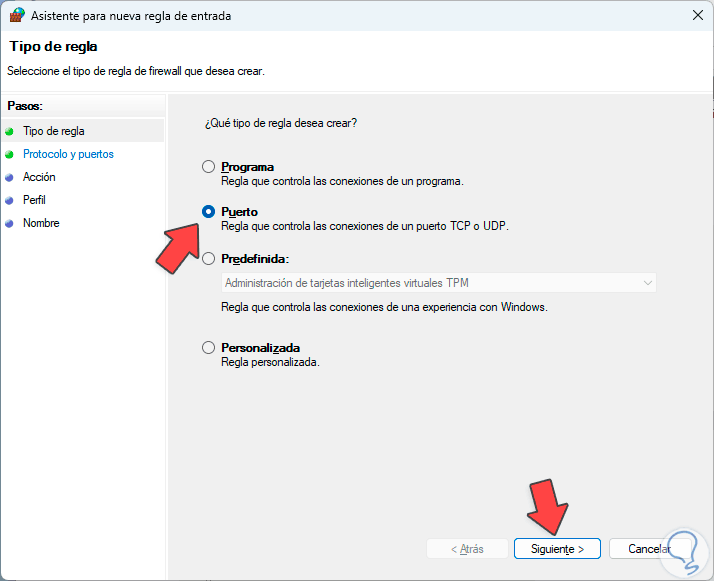
In the wizard, activate the "Port" box:
step 8
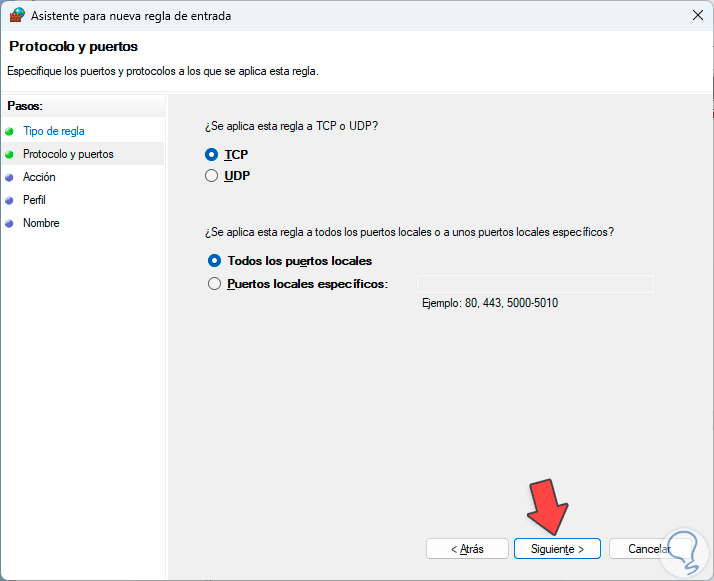
In the next window define the type of protocol (TCP or UDP) to use and where it will be applied:
step 9
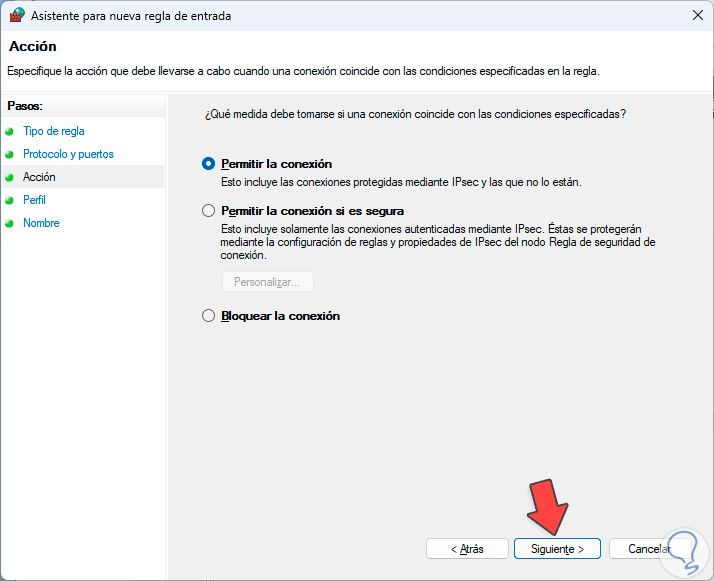
Next, define whether or not the connection is allowed:
step 10
It then determines where the rule will apply, i.e. on which network types:
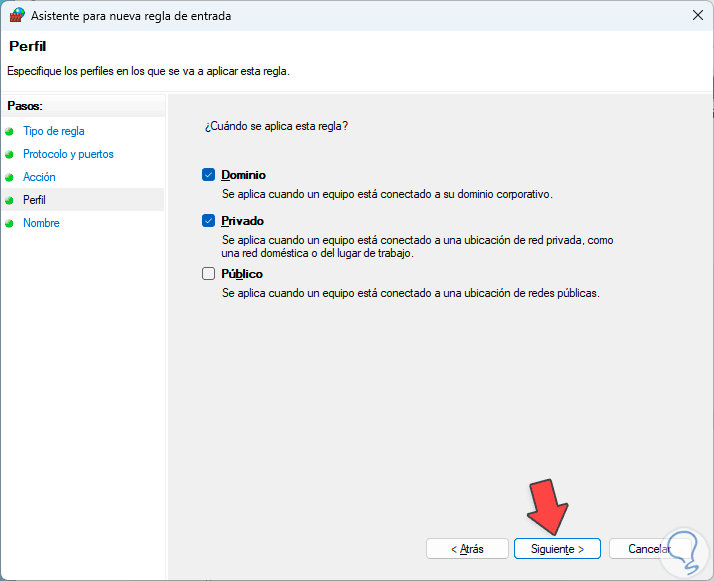
step 11
Finally we assign a name to the rule. We click "Finish" to apply the changes:
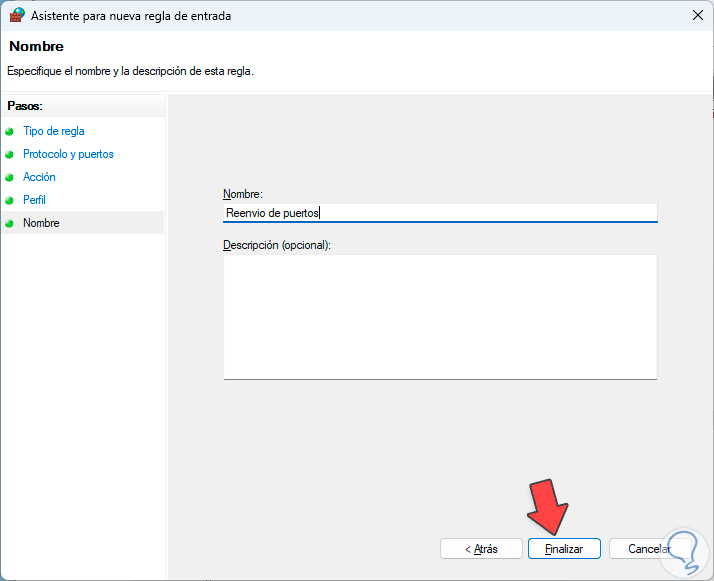
step 12
Now the port forwarding will be available in Windows:
Let's remember the importance of this type of port in Windows since, apart from adding security, it is ideal so that all Internet packet traffic that leaves or arrives at the local network can be managed towards a specific point, thus guaranteeing the delivery and availability of this.