When we use images in Windows 11, what we always expect is to see the preview or thumbnail of this image, which is key to knowing what its content is about and thus being able to work with it more directly, a problem in Windows 11 is that the user cannot see the images and the solution is at your fingertips with TechnoWikis..
Images are very important visual elements in our operating systems, and when we can't see them, it can hinder our daily tasks and access to our files. In addition, the images within the previews save us time in our tasks since it shows us the content in advance. Therefore, if it happens to you that you cannot see thumbnail images of files in Windows 11 Explorer, do not miss all the solutions that we propose.
To stay up to date, remember to subscribe to our YouTube channel!
SUBSCRIBE ON YOUTUBE
1 View images in Windows 11 Explorer by configuring its options
Step 1
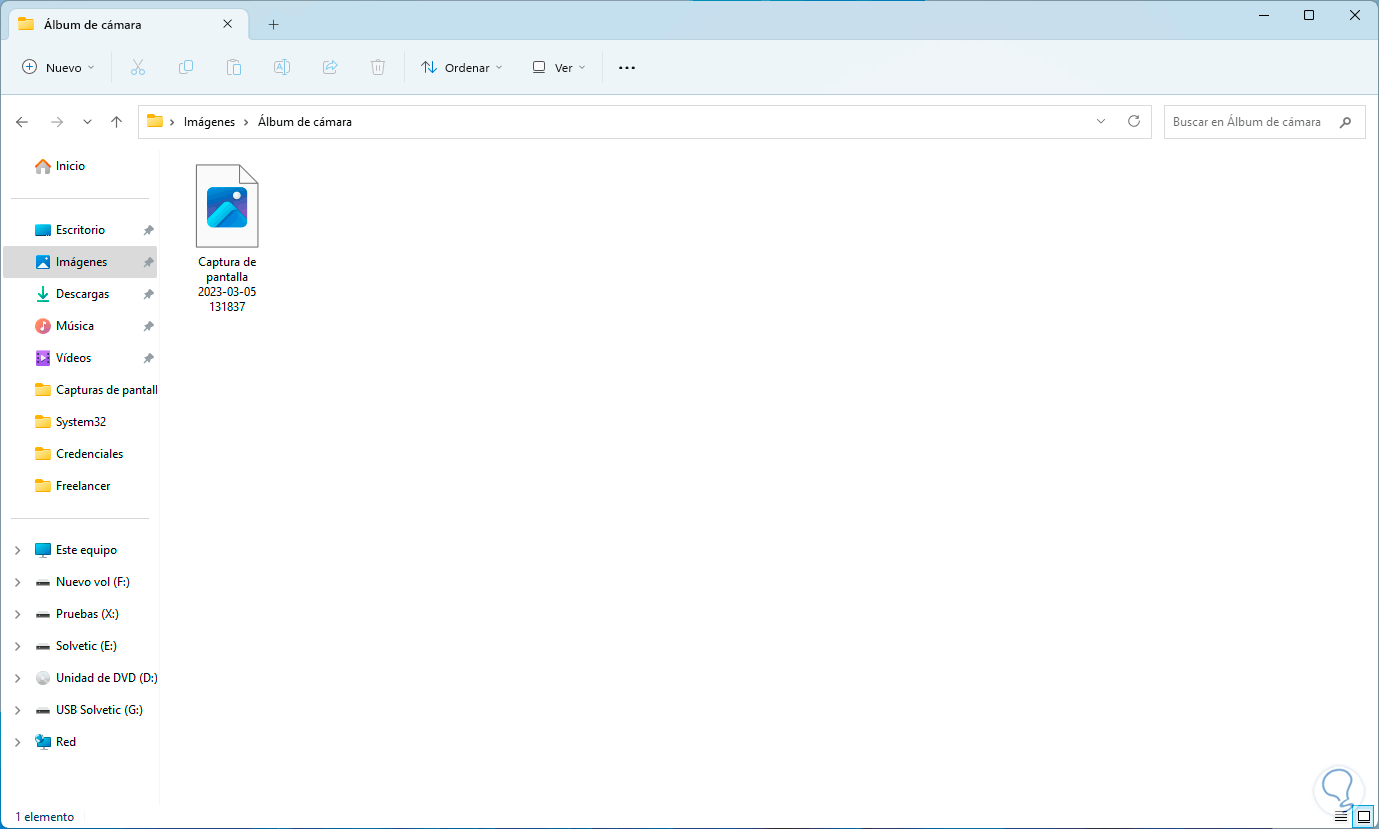
The first solution is directly from the File Explorer itself, to start we validate that the images are in icon format but their content is not visible:
Step 2
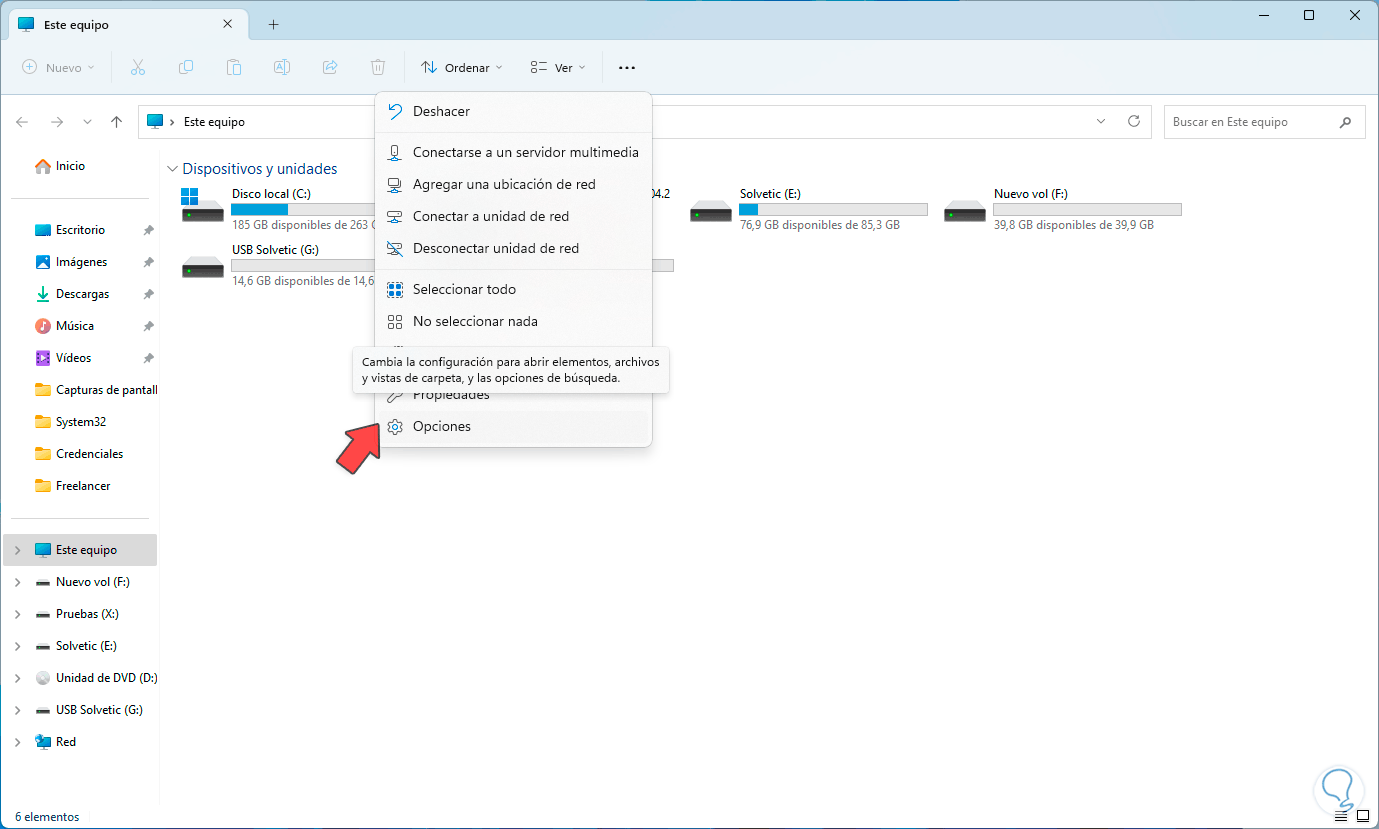
We use the Windows + E keys or we click on the File Explorer icon on the taskbar to access it, then at the top we click on "See more" and then we must click on "Options" to perform some tweaks:
Step 3
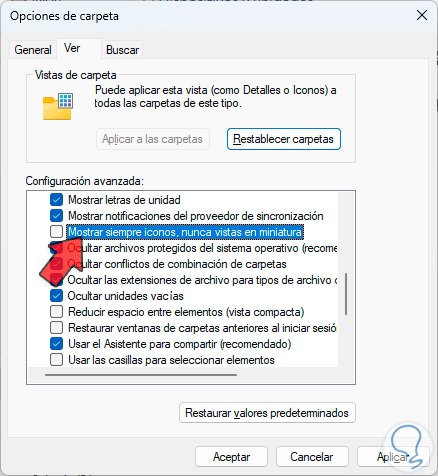
In the pop-up window we click on the "View" tab and there we will look for an option called "Always show icons, never thumbnail view", this must be unchecked:
We click "OK" for this change to be applied..
Step 4
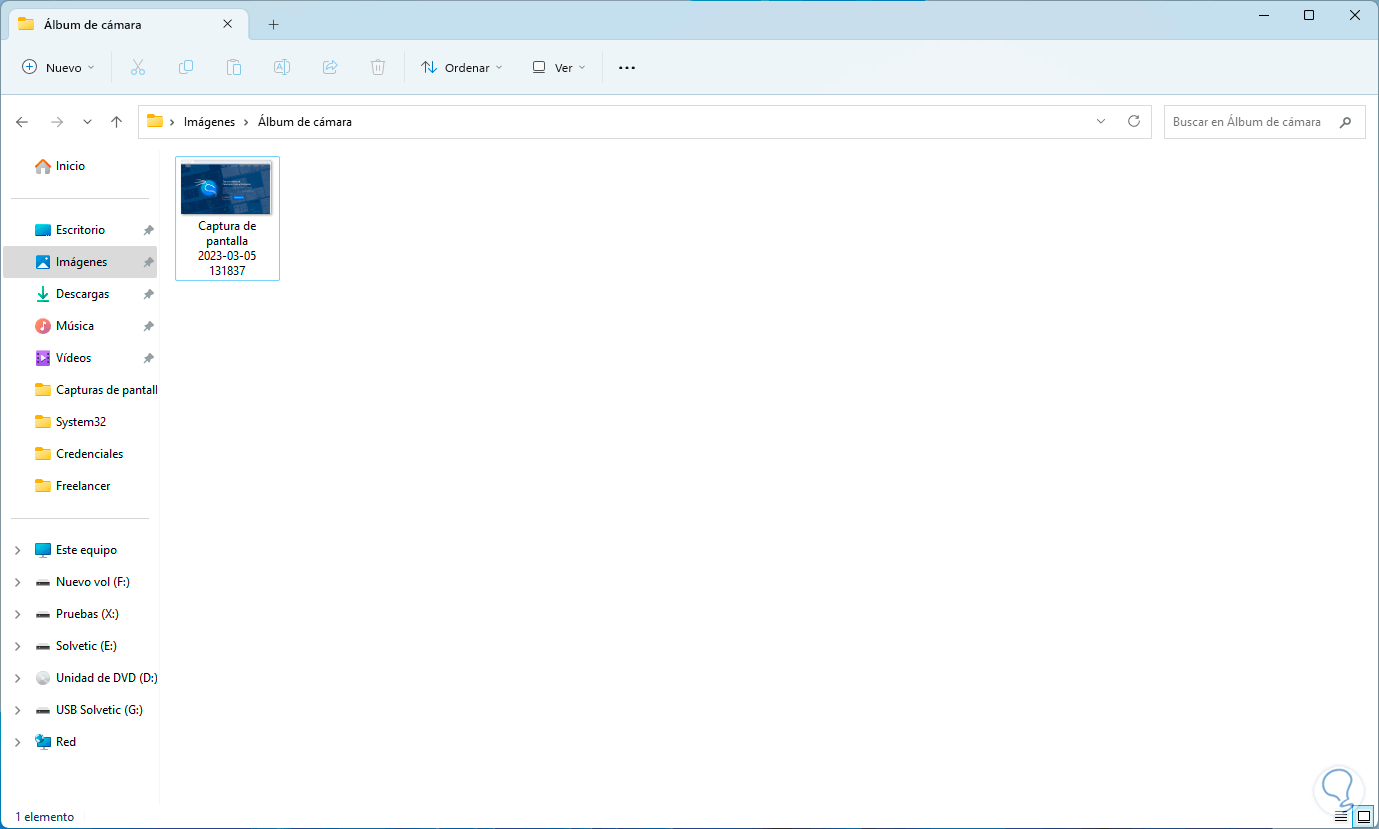
You can open the folder with the image again and this time the content will be visible:
2 View images in Windows 11 Explorer by deleting temporary
Step 1
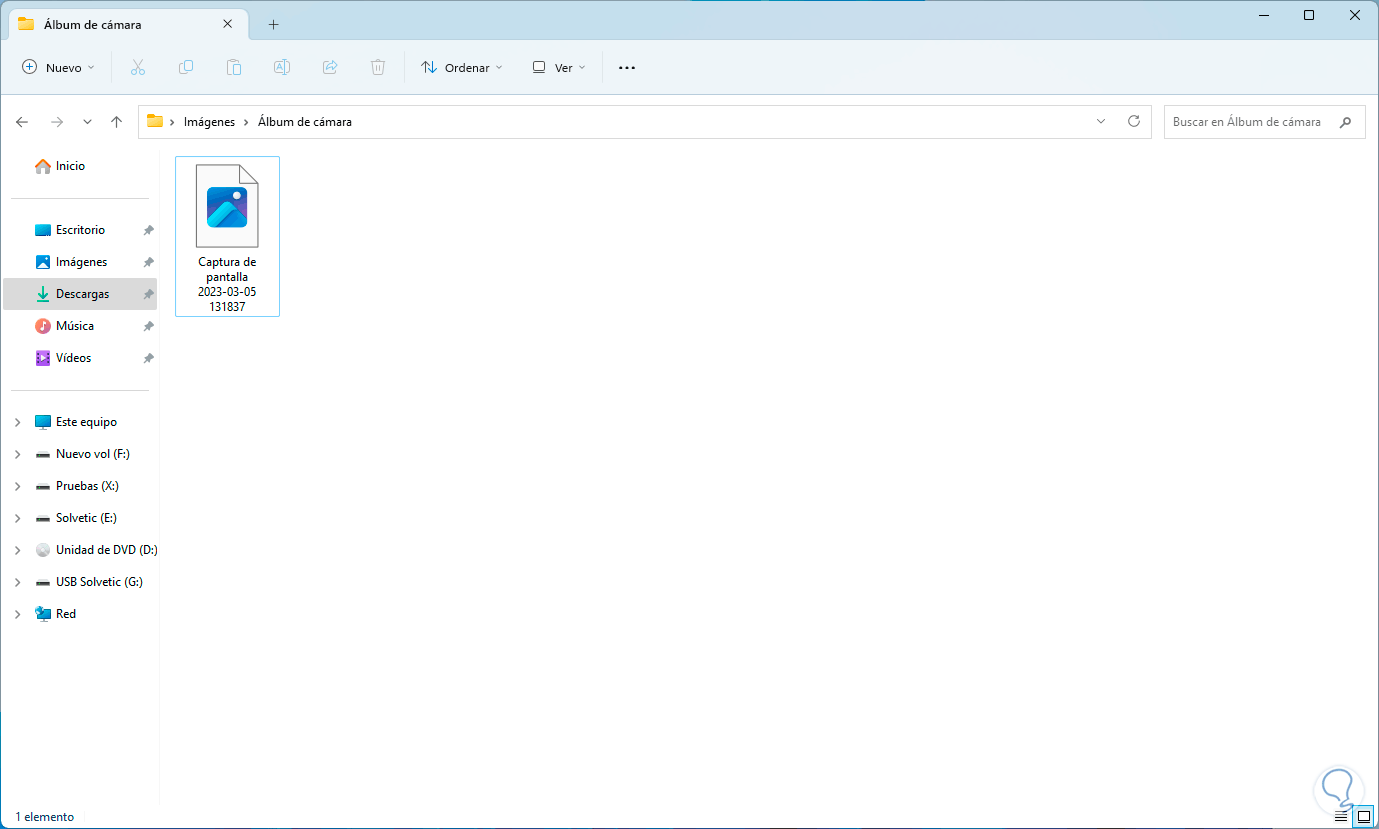
This is another of the options to recover the visibility of our images in Windows 11, to begin we validate that the images are in icon format but their content is not visible:
Step 2
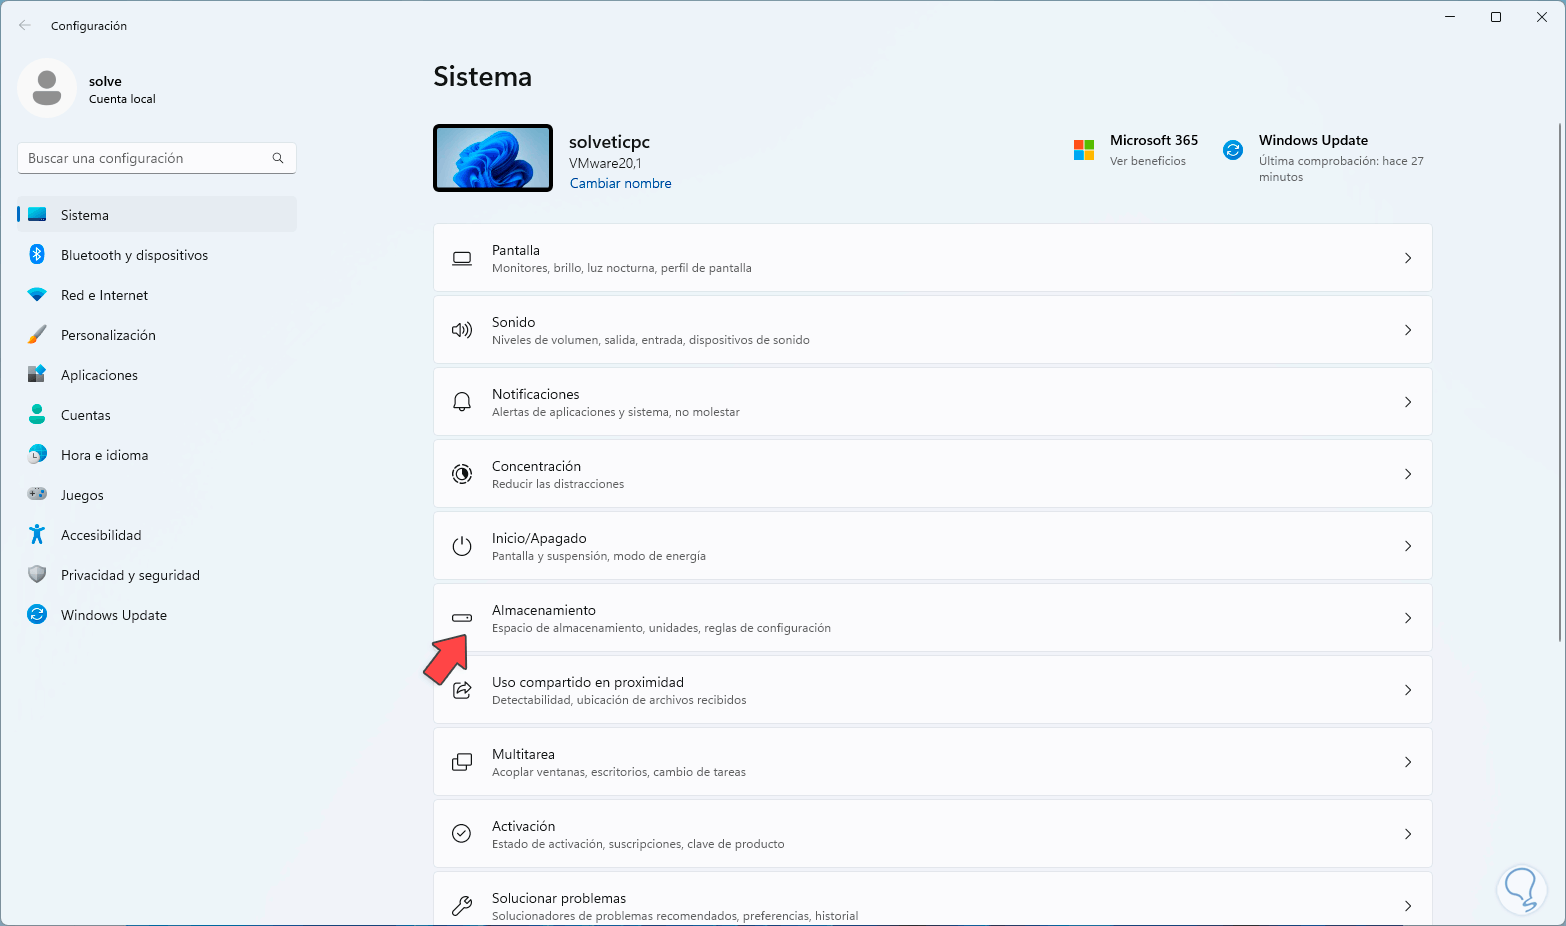
Now in this case we are going to:
Step 3
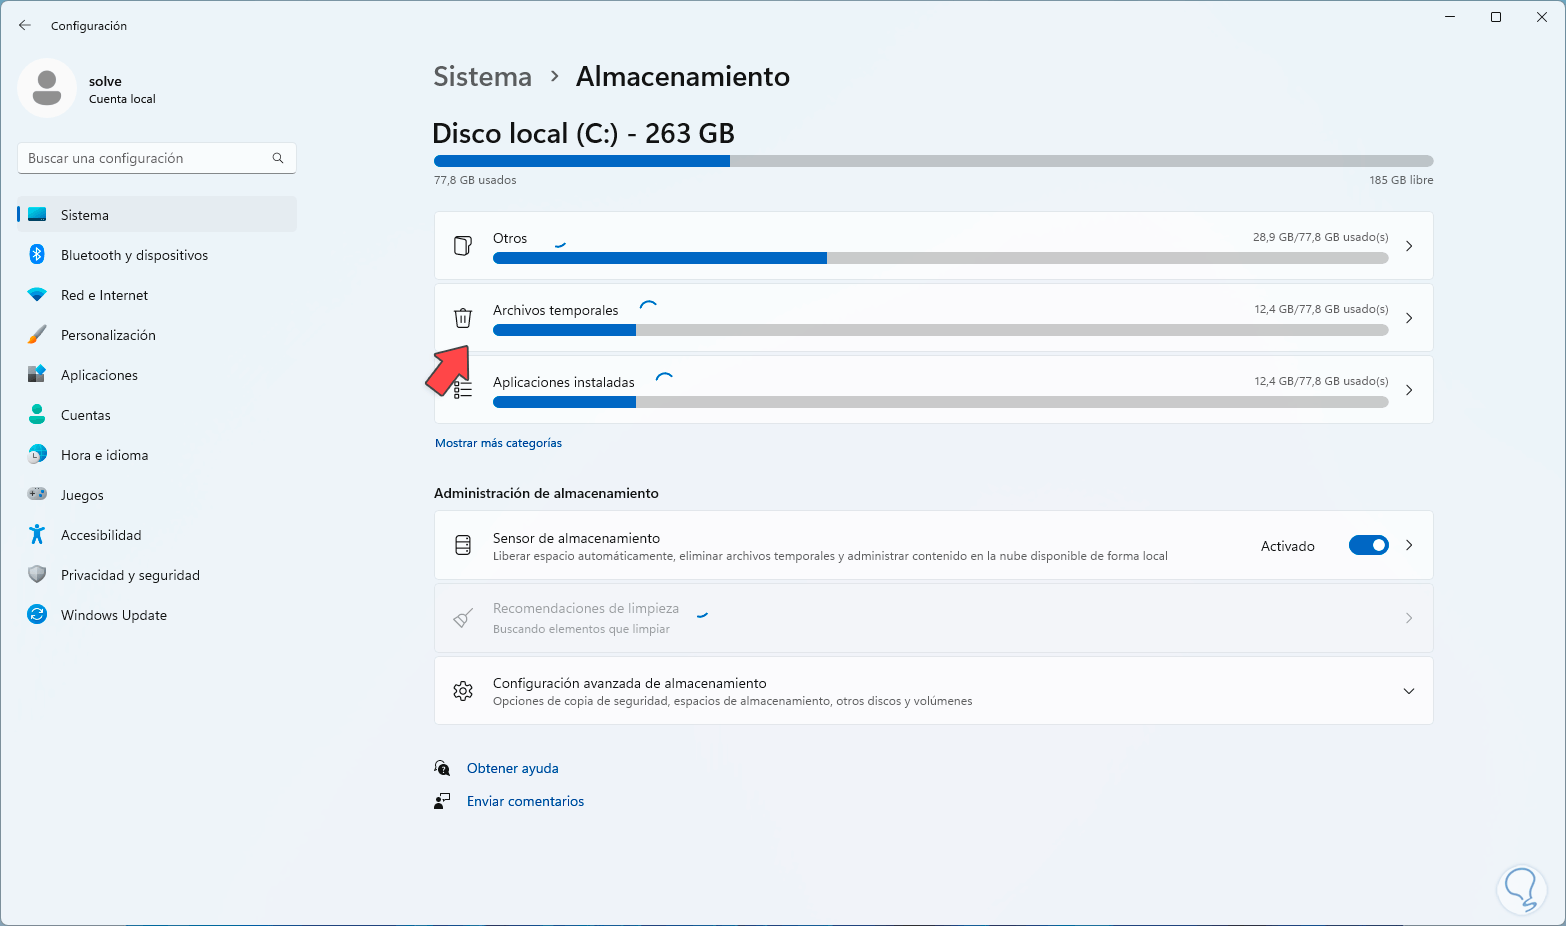
We will see a series of options:
Step 4
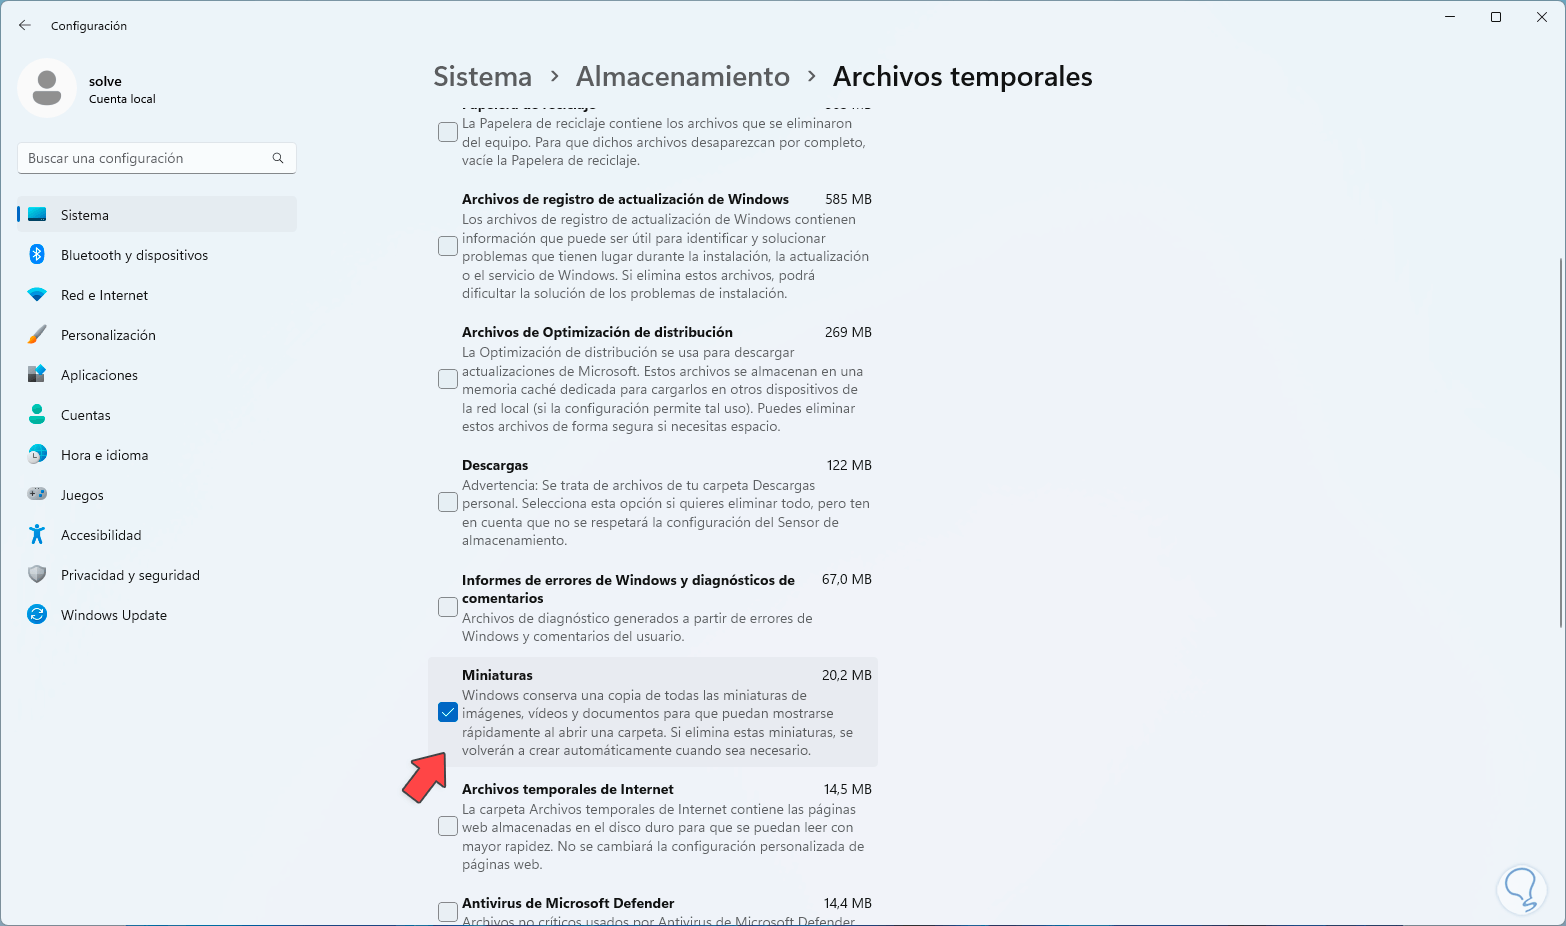
In this window we are going to click on the "Temporary files" option and we must wait for all the elements in this section to be analyzed and loaded, once loaded we are going to deactivate all the options and only leave the "Thumbnails" option active where relates directly to our images:
step 5
After this at the top we must click on "Remove files":
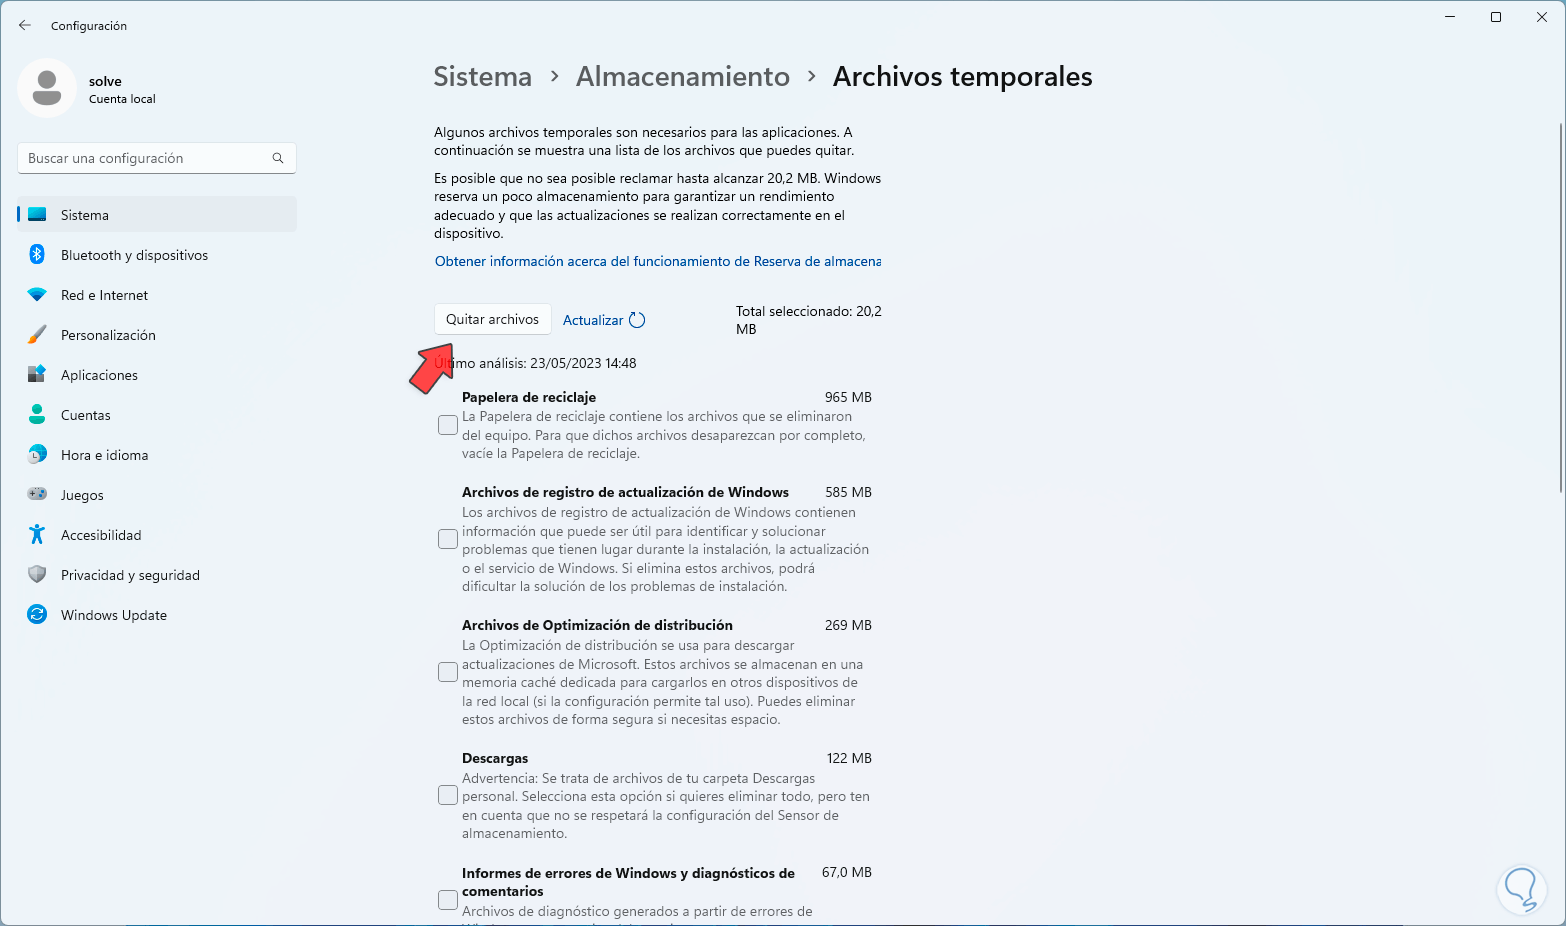
step 6
The following window will be displayed:
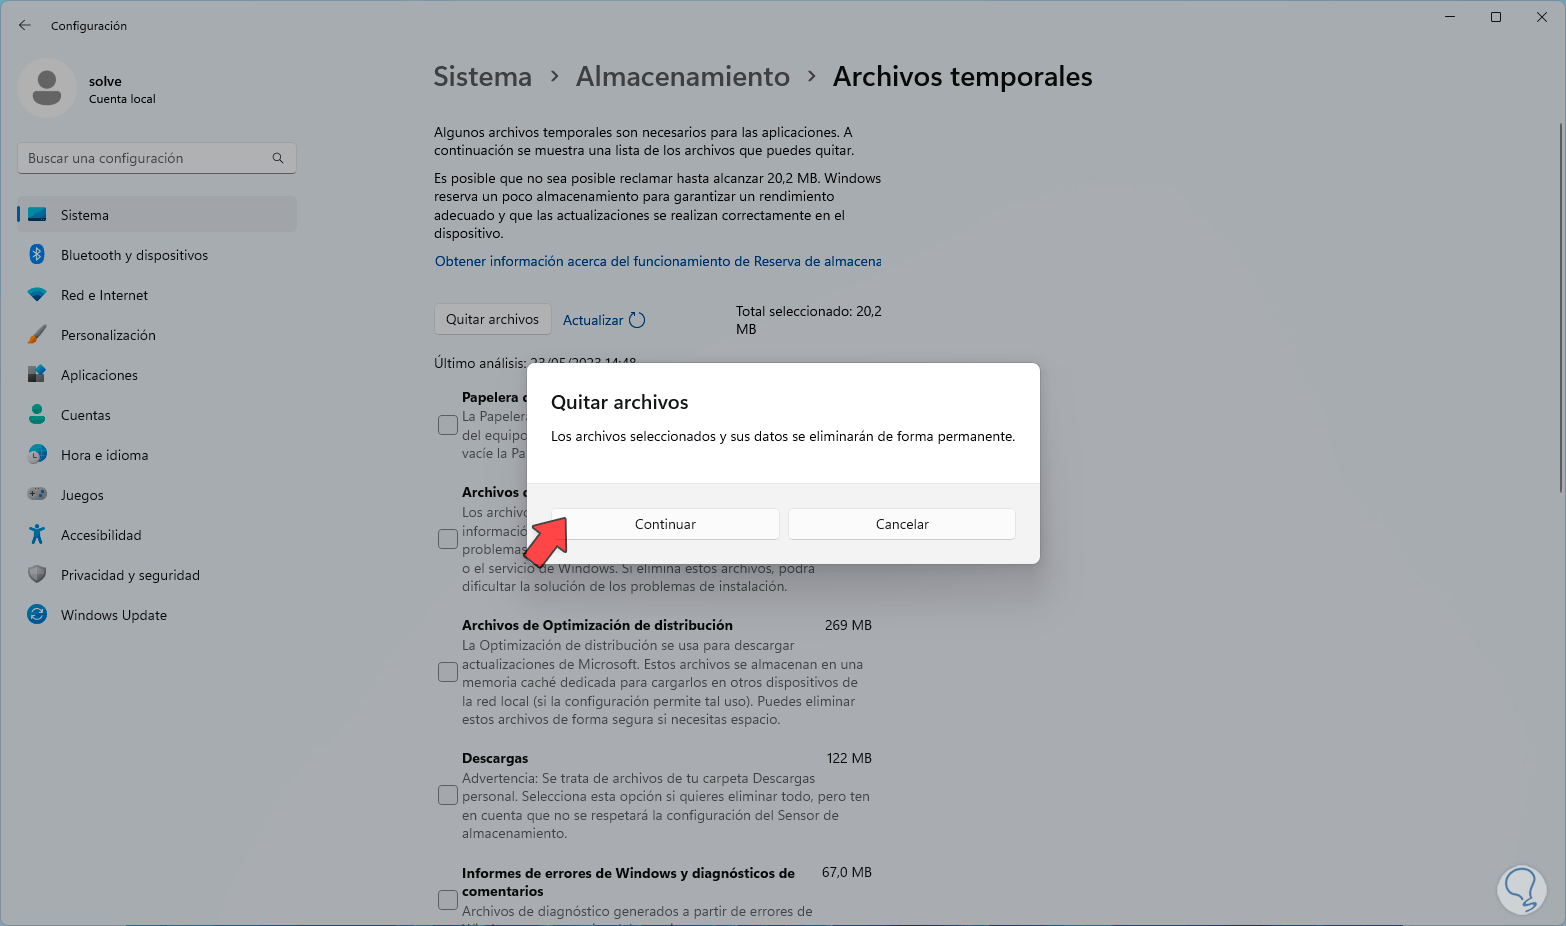
step 7
There you must confirm that this process is executed:
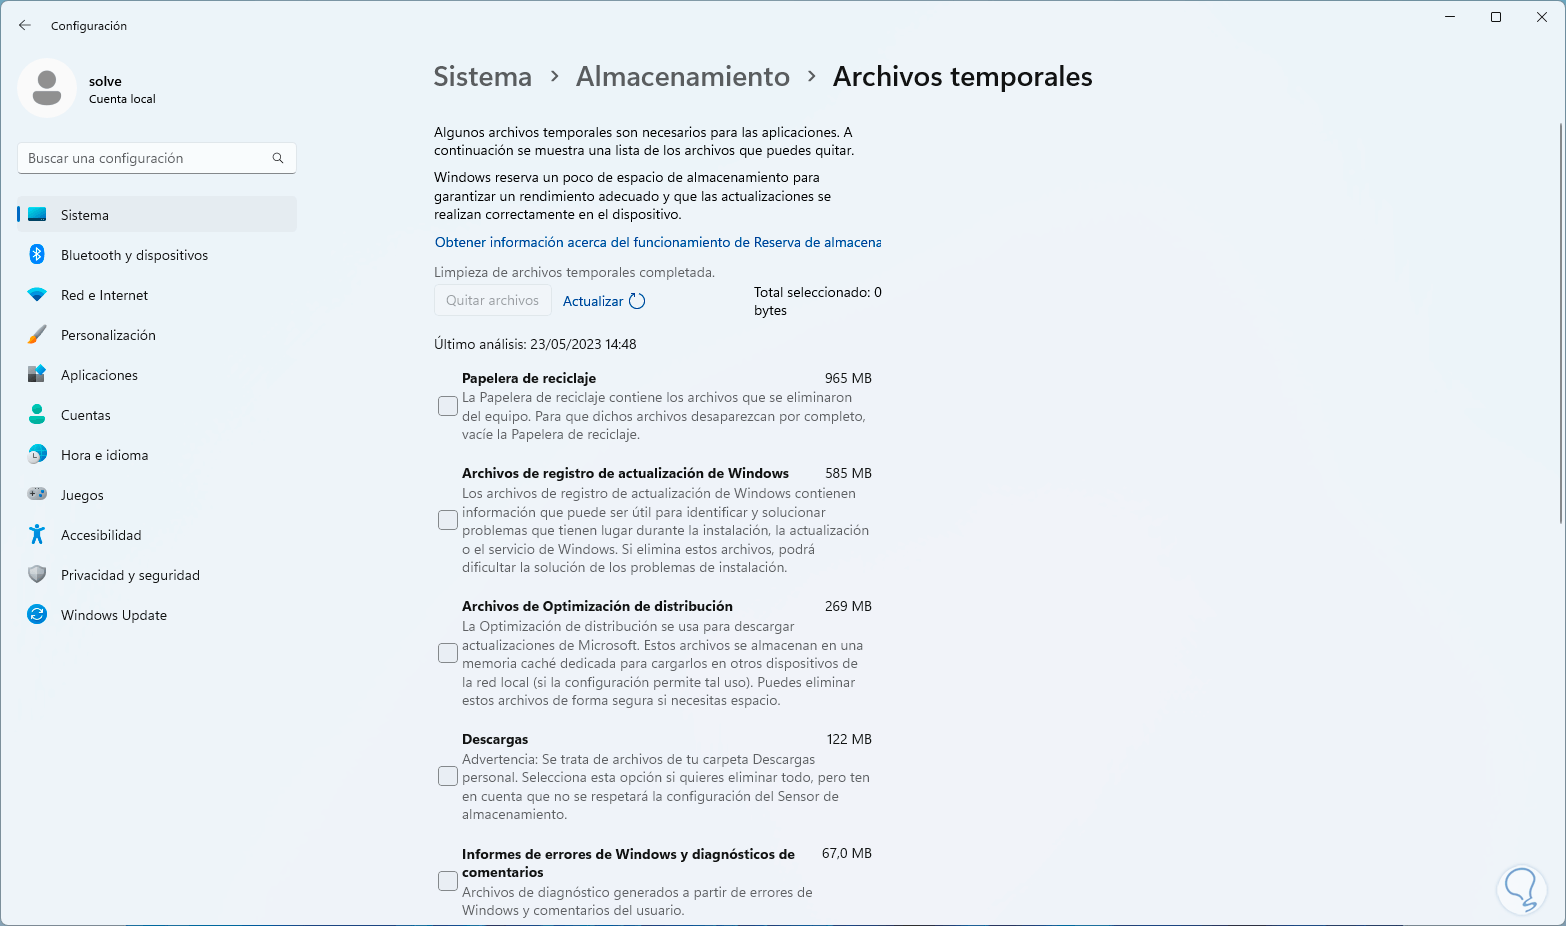
step 8
After this you can check that the image looks correct:
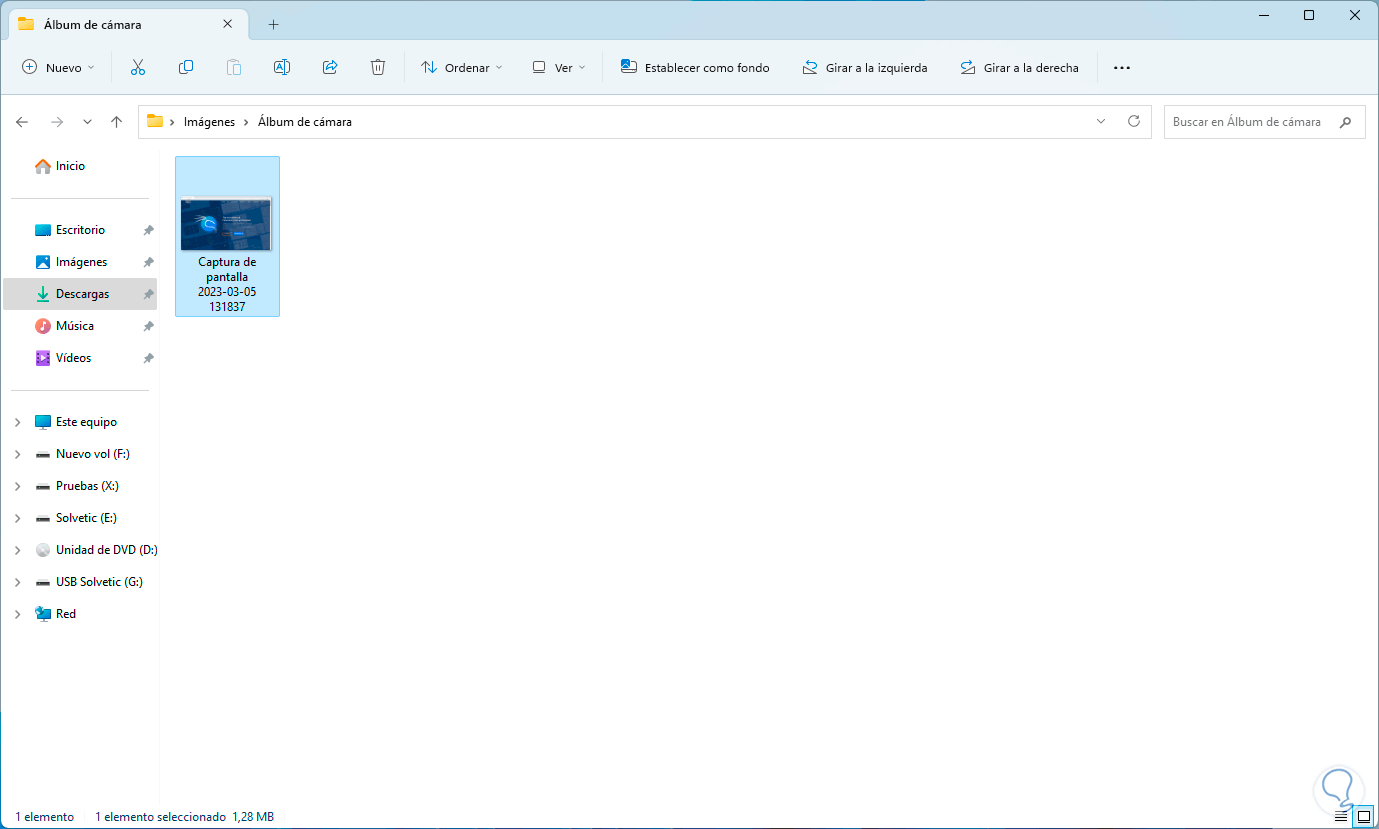
3 View images in Explorer Windows 11 freeing up space
Step 1
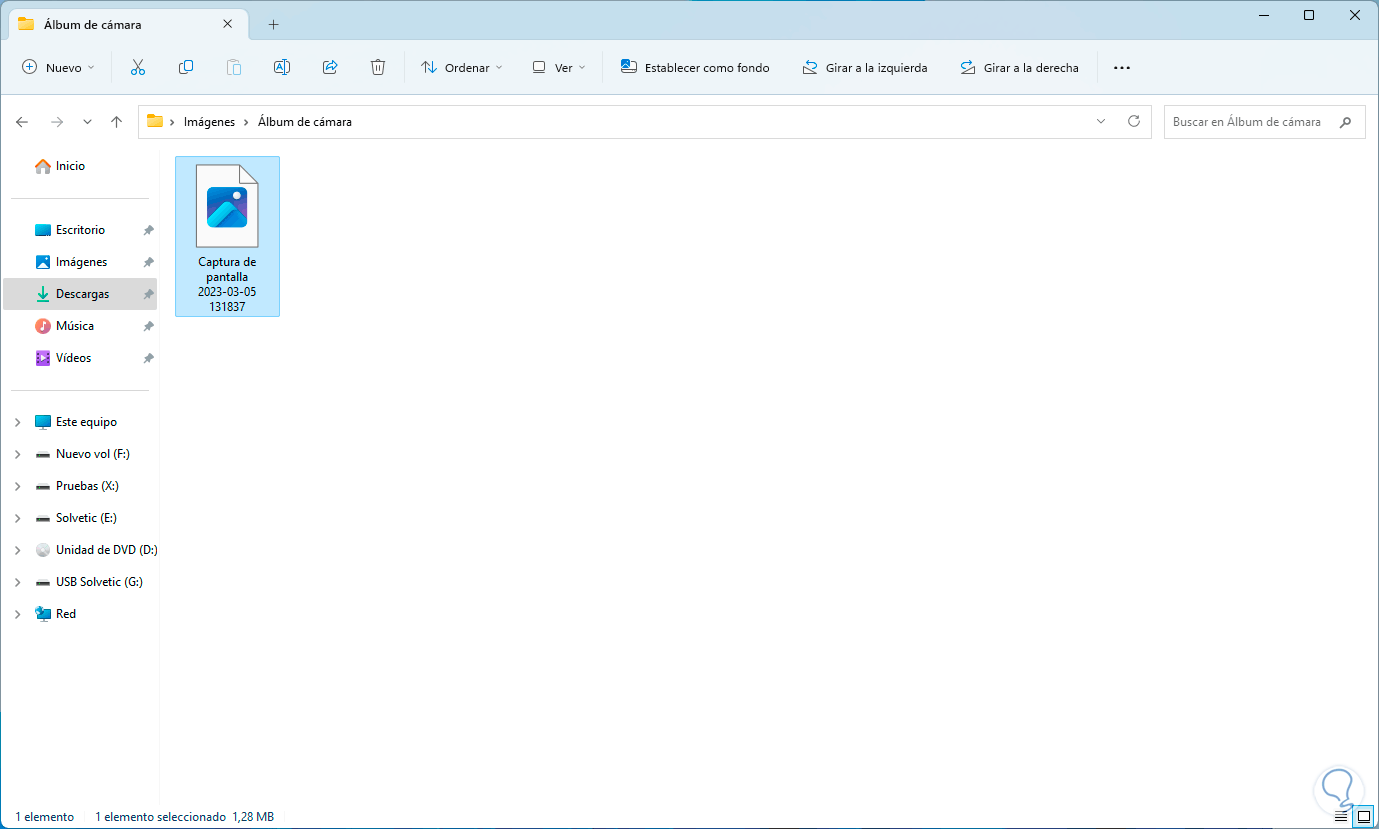
The Control Panel offers us access to another of the options to correct this error and to be able to see the image as it is, to use this process we first open the folder where you have the image to understand the error to be solved:
Step 2
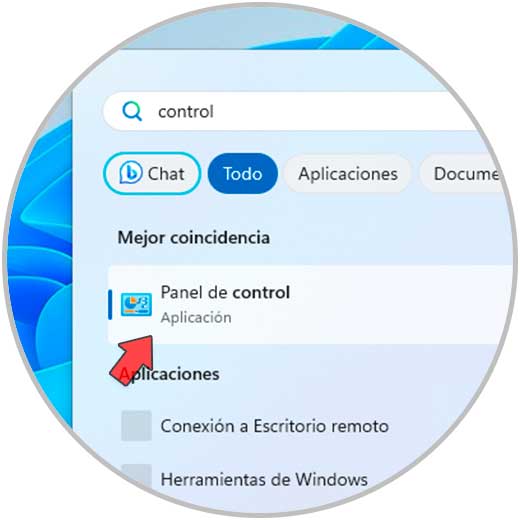
We open the Control Panel:
Step 3
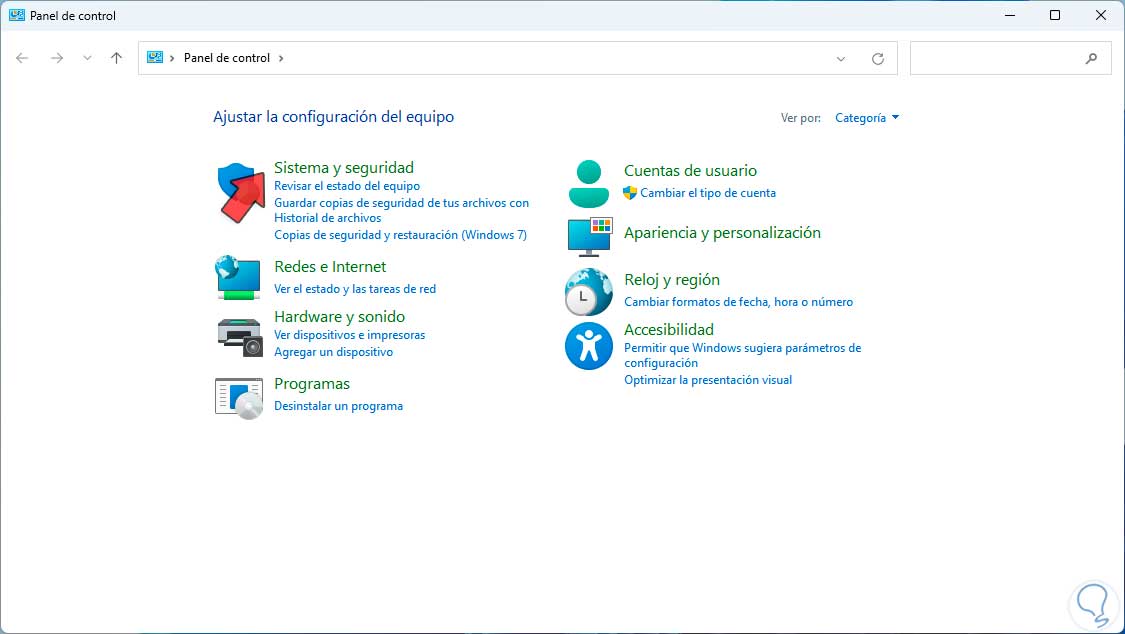
We will see the following options:
Step 4
We click on the "System and security" option to see this:
step 5
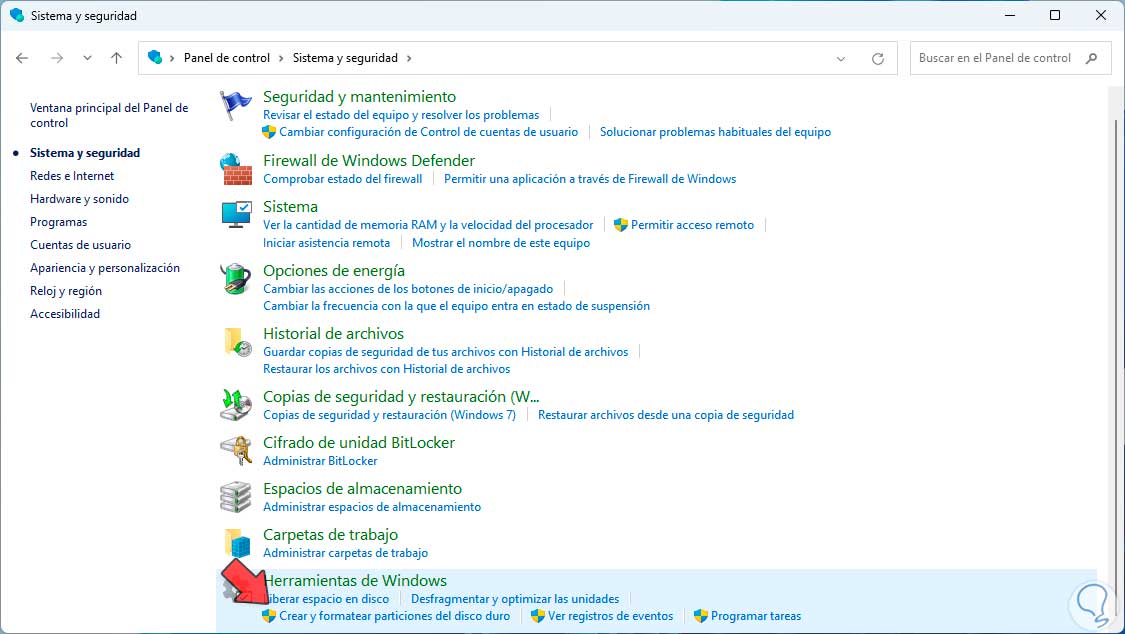
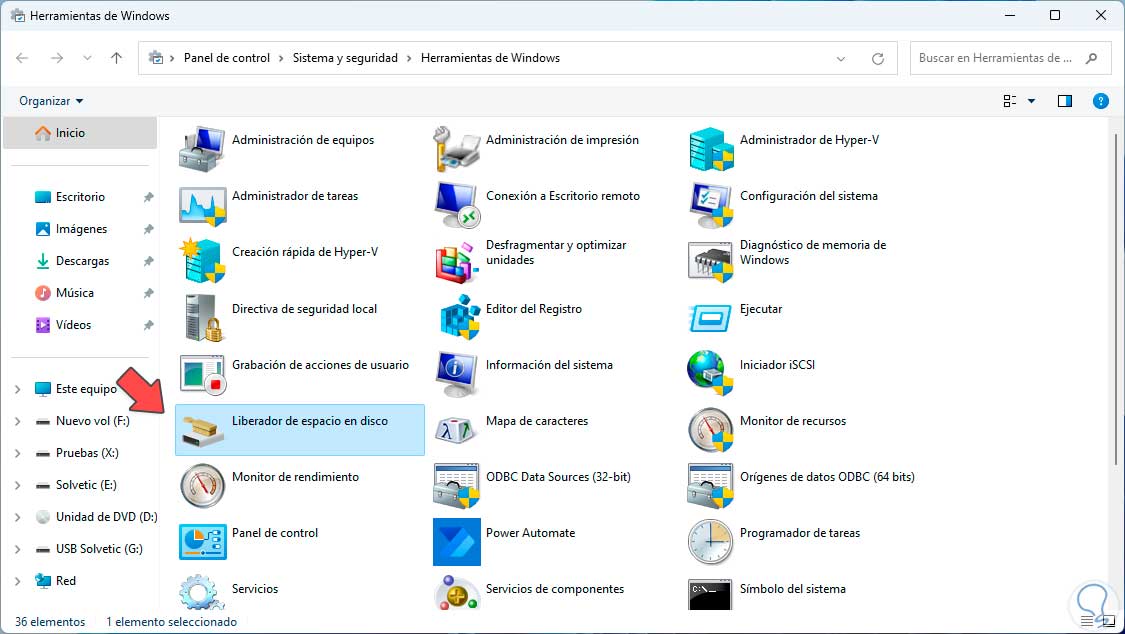
Now we are going to click on "Windows Tools" and we will have access to a group of tools:
step 6
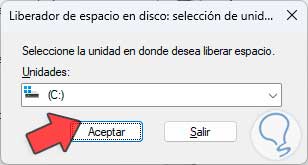
We click on the "Disk Cleanup" option to be able to perform a specific task on drive C, then in the small window we leave drive C to analyze:
step 7
Clicking on OK will perform the analysis of this:
step 8
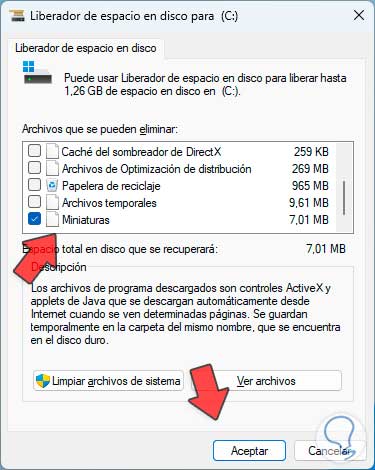
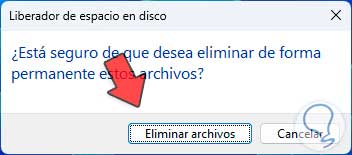
In this window where you can see all the files to be deleted, we only leave the "Thumbnail" box active, we will click on "OK" and it will be necessary to confirm the deletion:
step 9
After this we check that the image is visible:
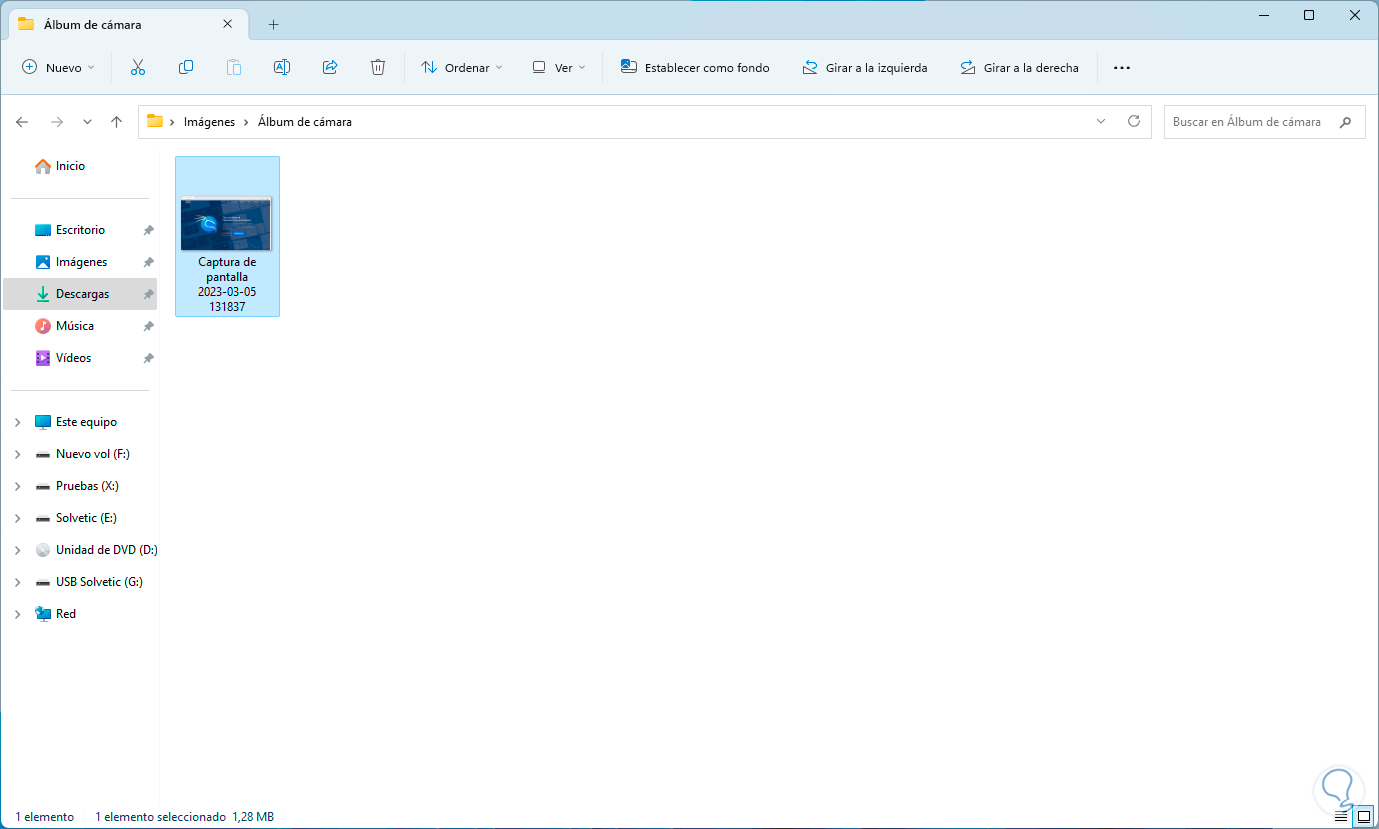
4 View images in Windows 11 Explorer from CMD
Step 1
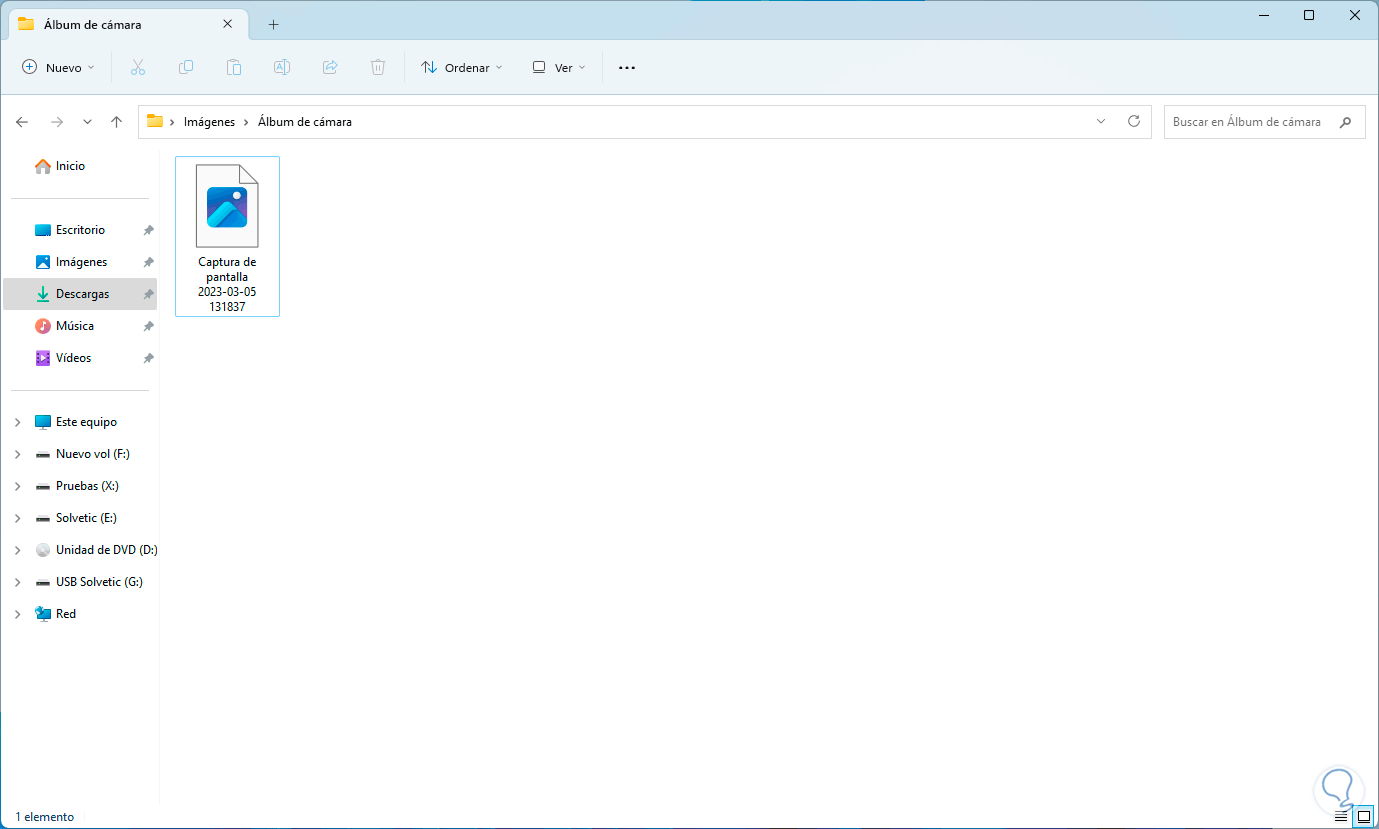
Finally, from the CMD console we can execute options to recover the visibility of the images, we validate that the images are in icon format but the content cannot be seen:
Step 2
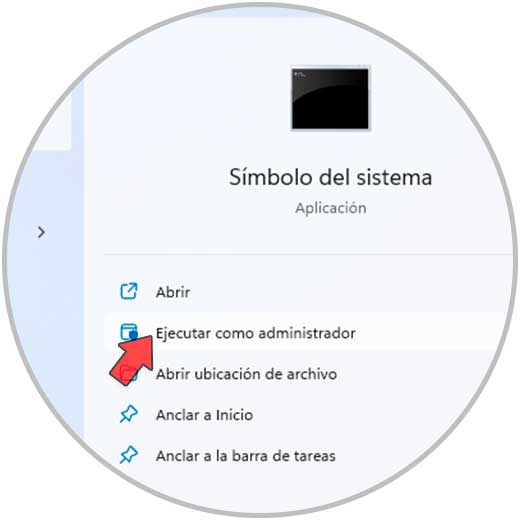
We open CMD by clicking on "Run as administrator":
Step 3
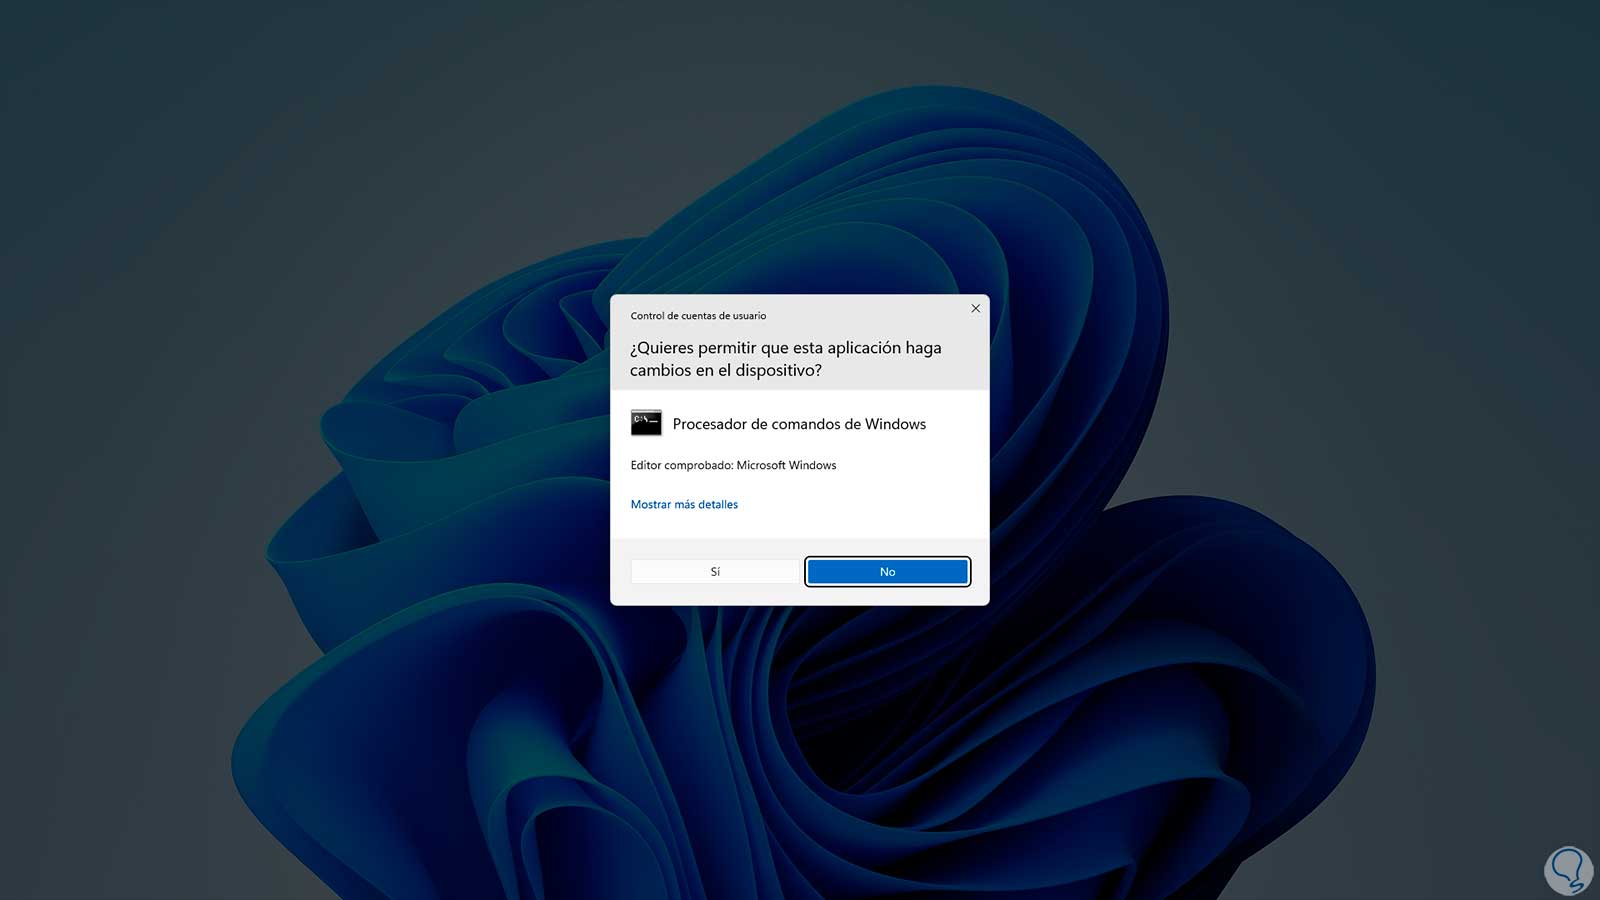
Accept UAC permissions:
Step 4
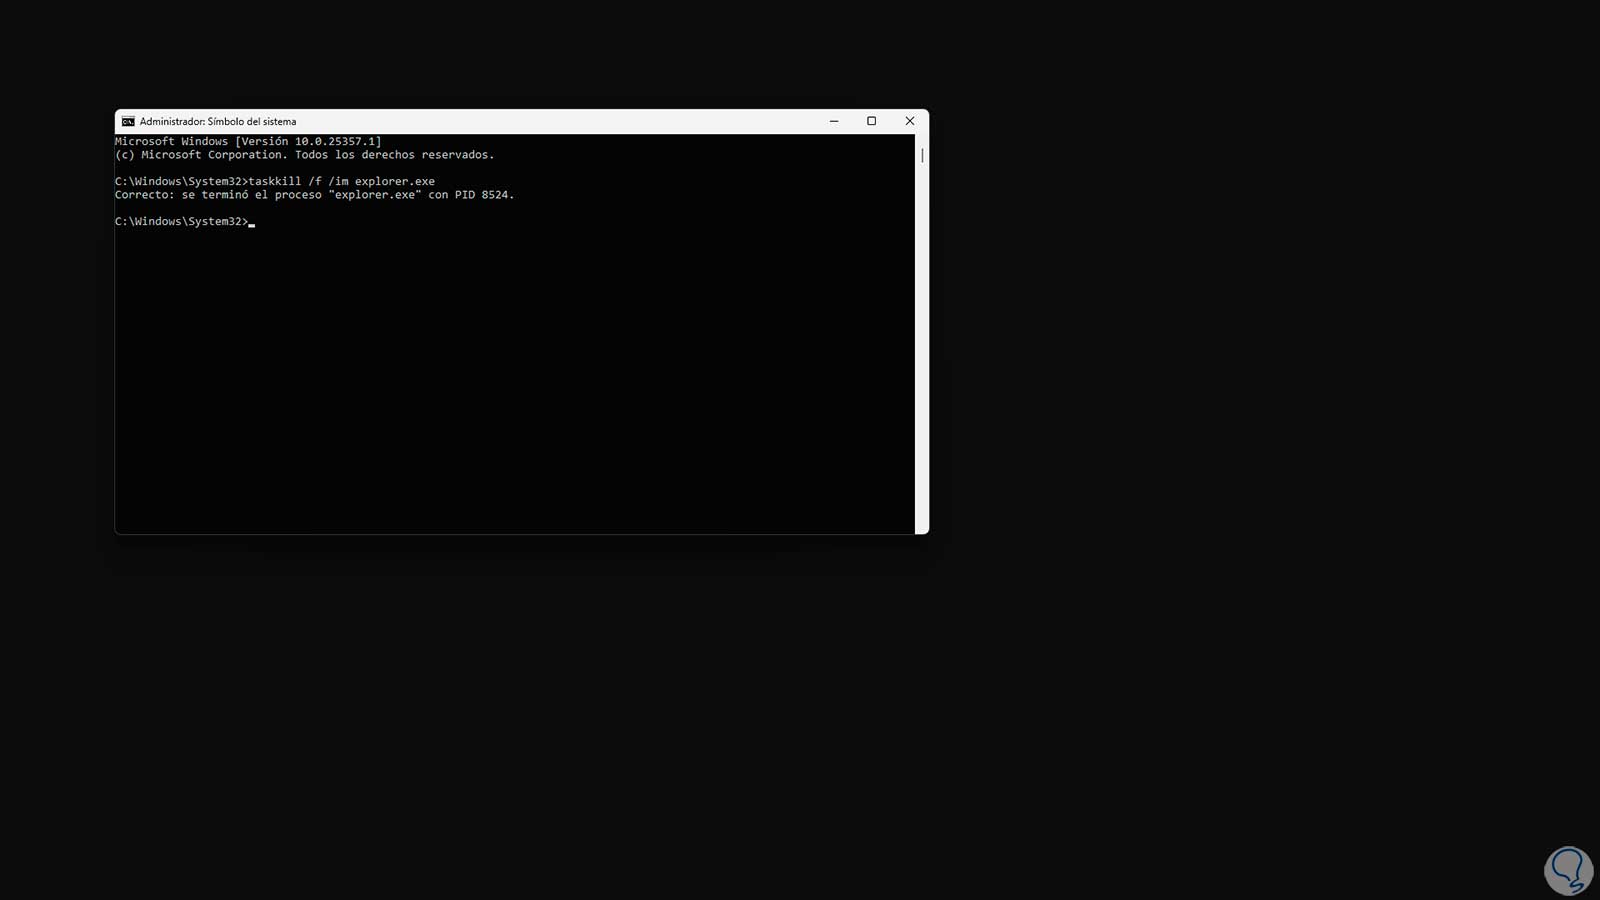
We end the Windows Explorer process with the command.
taskkill /f /im explorer.exe
step 5
The environment will be deactivated:
step 6
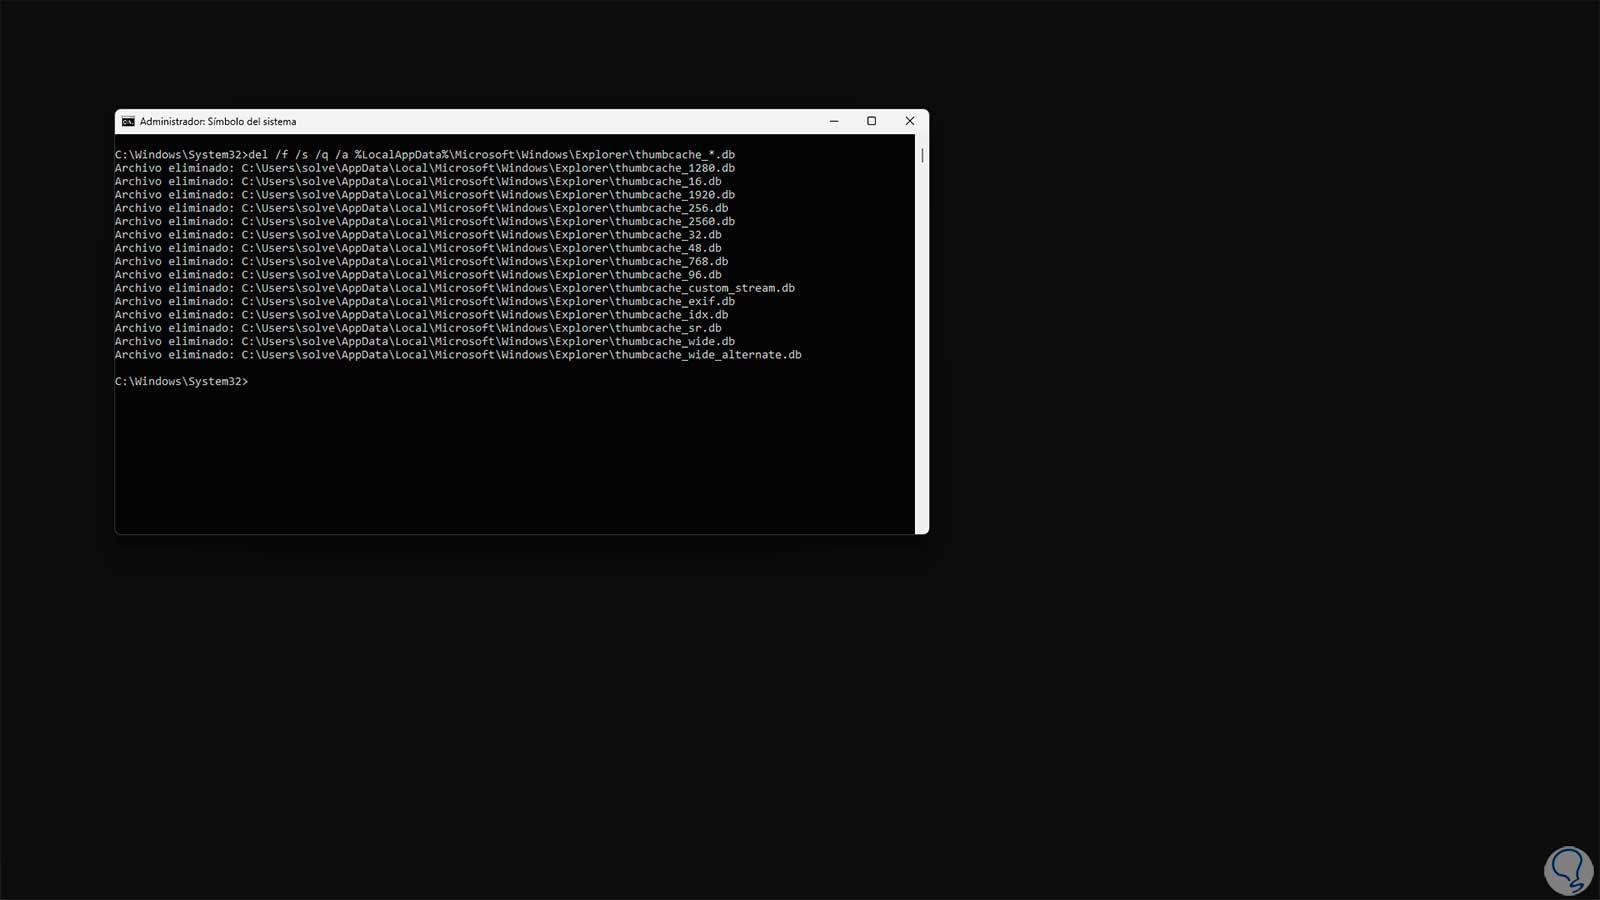
Now we must execute the following: Windows 11 thumbnails will be removed.
del /f /s /q /a %LocalAppData%\Microsoft\Windows\Explorer\thumbcache_*.db
step 7
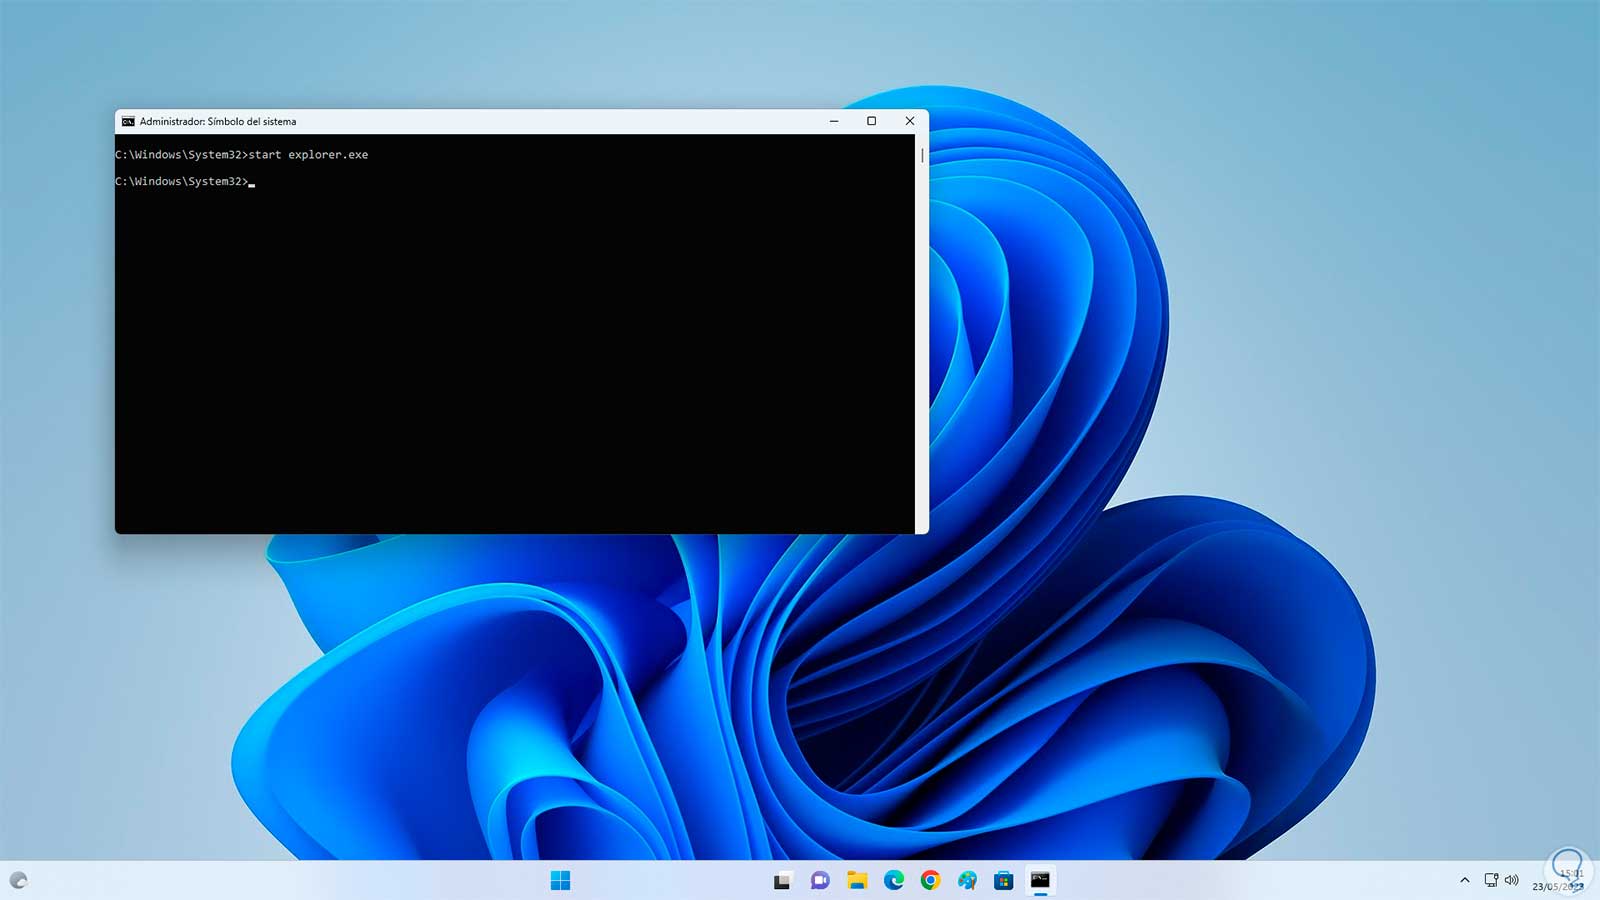
We activate Windows Explorer again using the command:
start explorer.exe
step 8
Now we simply check that the image is visible:
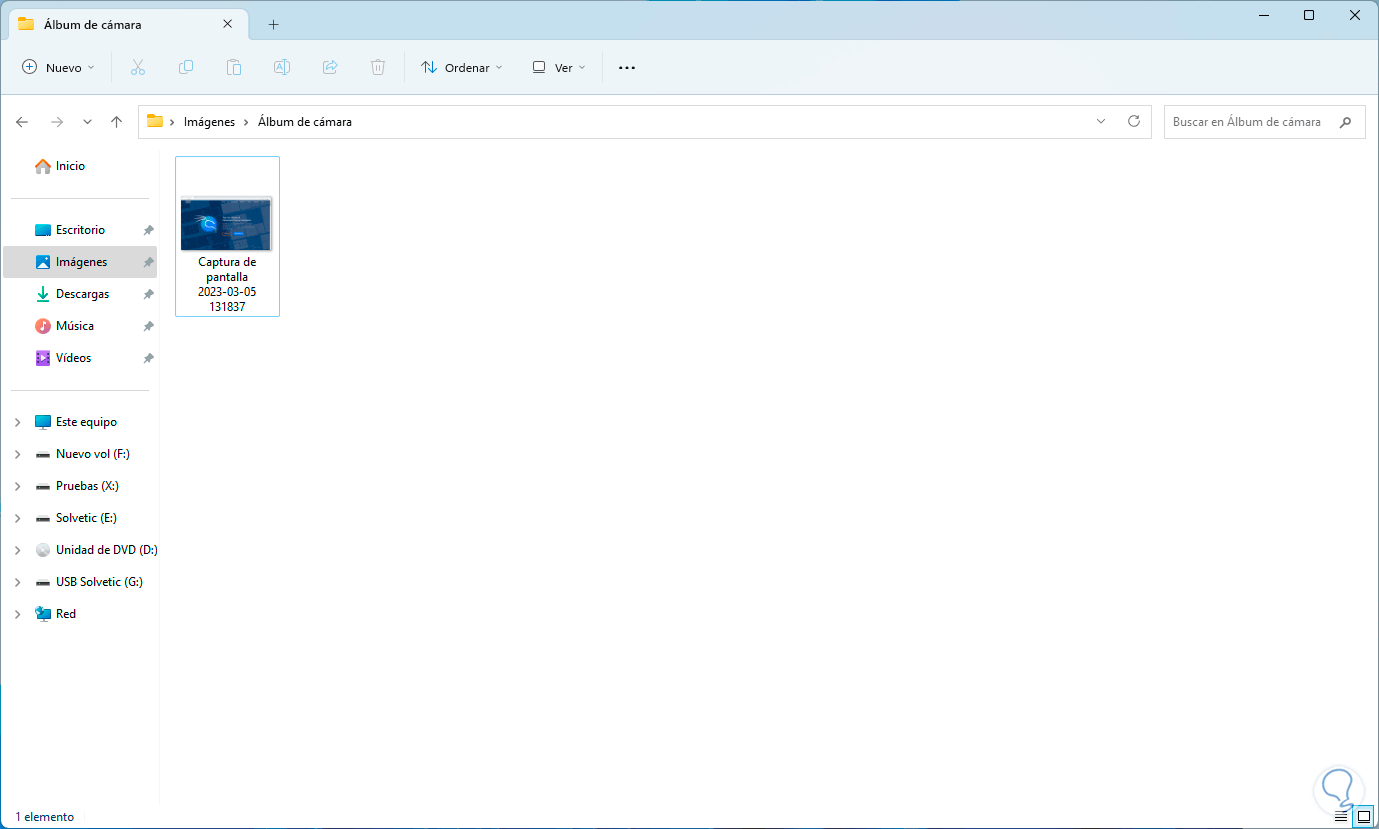
It is that simple to make our images visible in Windows 11 if they are not by default.