In Windows 11 we find a series of functions that have been designed for a special audience and one of these that is very striking are the live subtitles, these subtitles can be used by people who have some type of hearing disability and thanks to these subtitles is easier for them than listening to the audio part of a video or some compatible element such as a television series or movies..
We can configure both activating and deactivating these subtitles in some functional ways and TechnoWikis will explain each of them in this tutorial. In this way we will be able to put live subtitles in Windows 11 so that everything that is happening in our system is narrated in text.
To stay up to date, remember to subscribe to our YouTube channel!
SUBSCRIBE ON YOUTUBE
1 Turn Live Captions on or off Windows 11 from Settings
The first method to use will be directly from Windows 11 Settings.
Step 1
To achieve this we will go to the route:
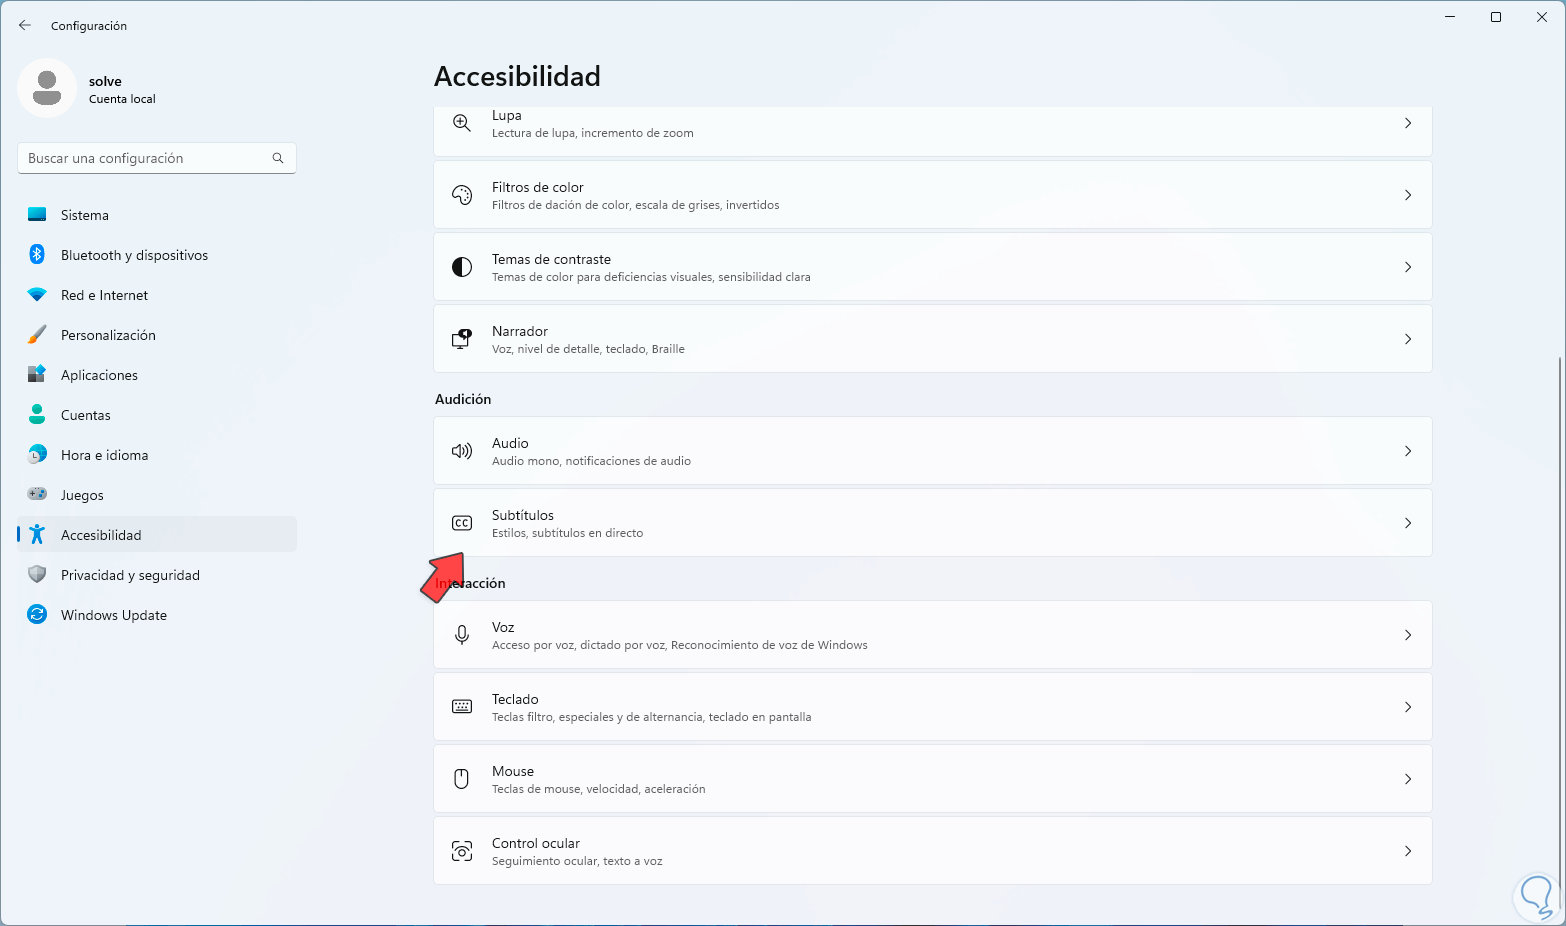
Step 2
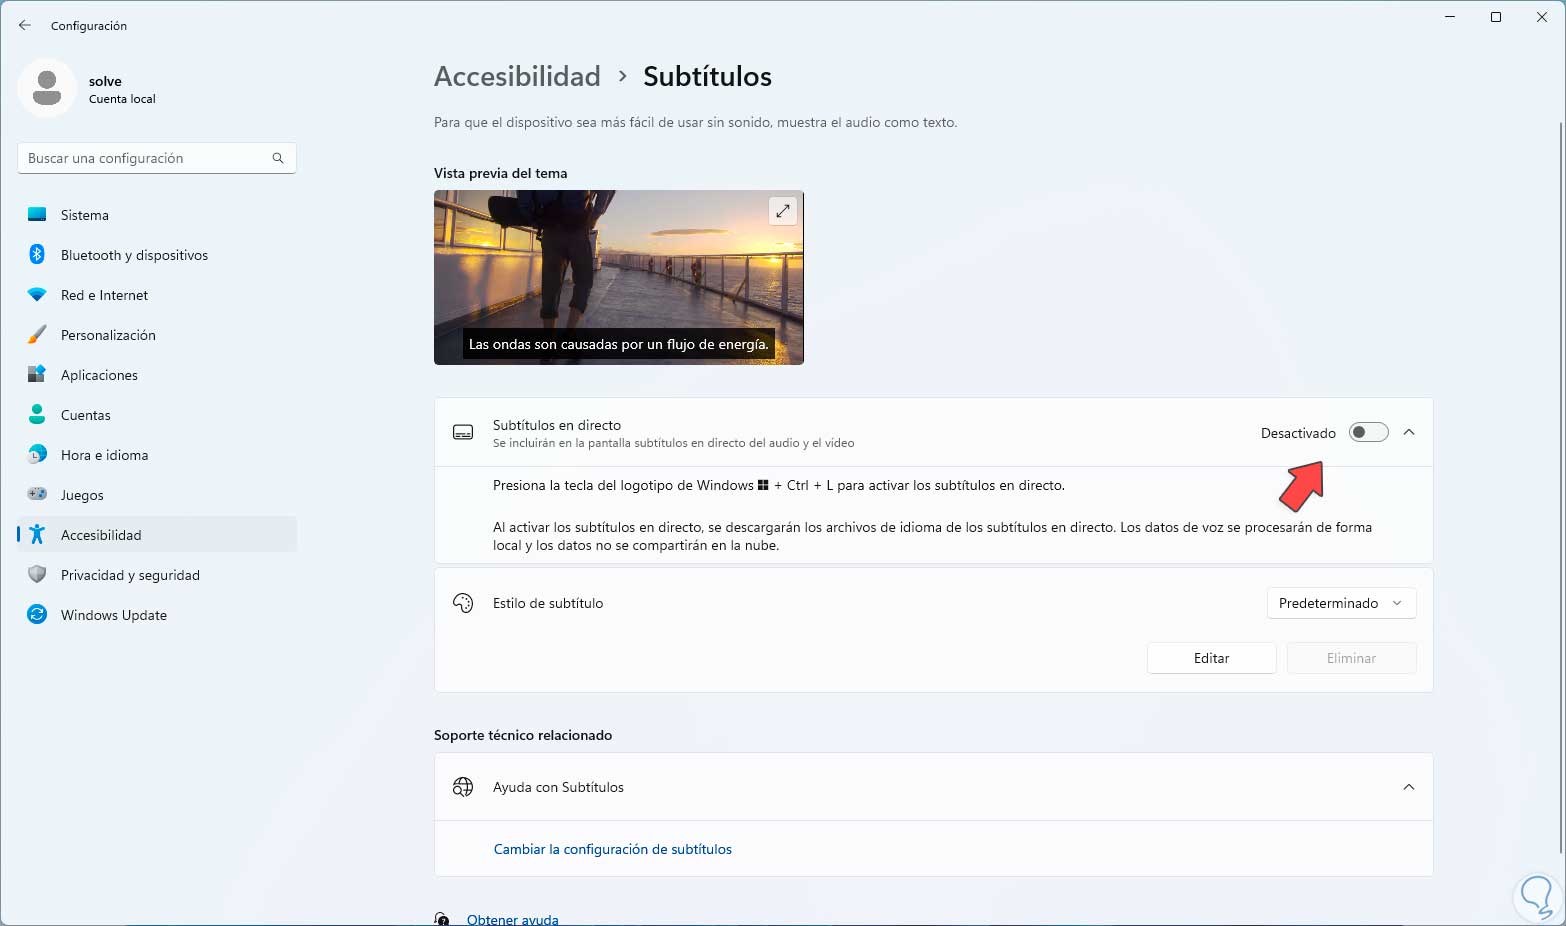
By clicking there we will see the following. To activate the subtitles we must click on the "Live subtitles" switch:
Step 3
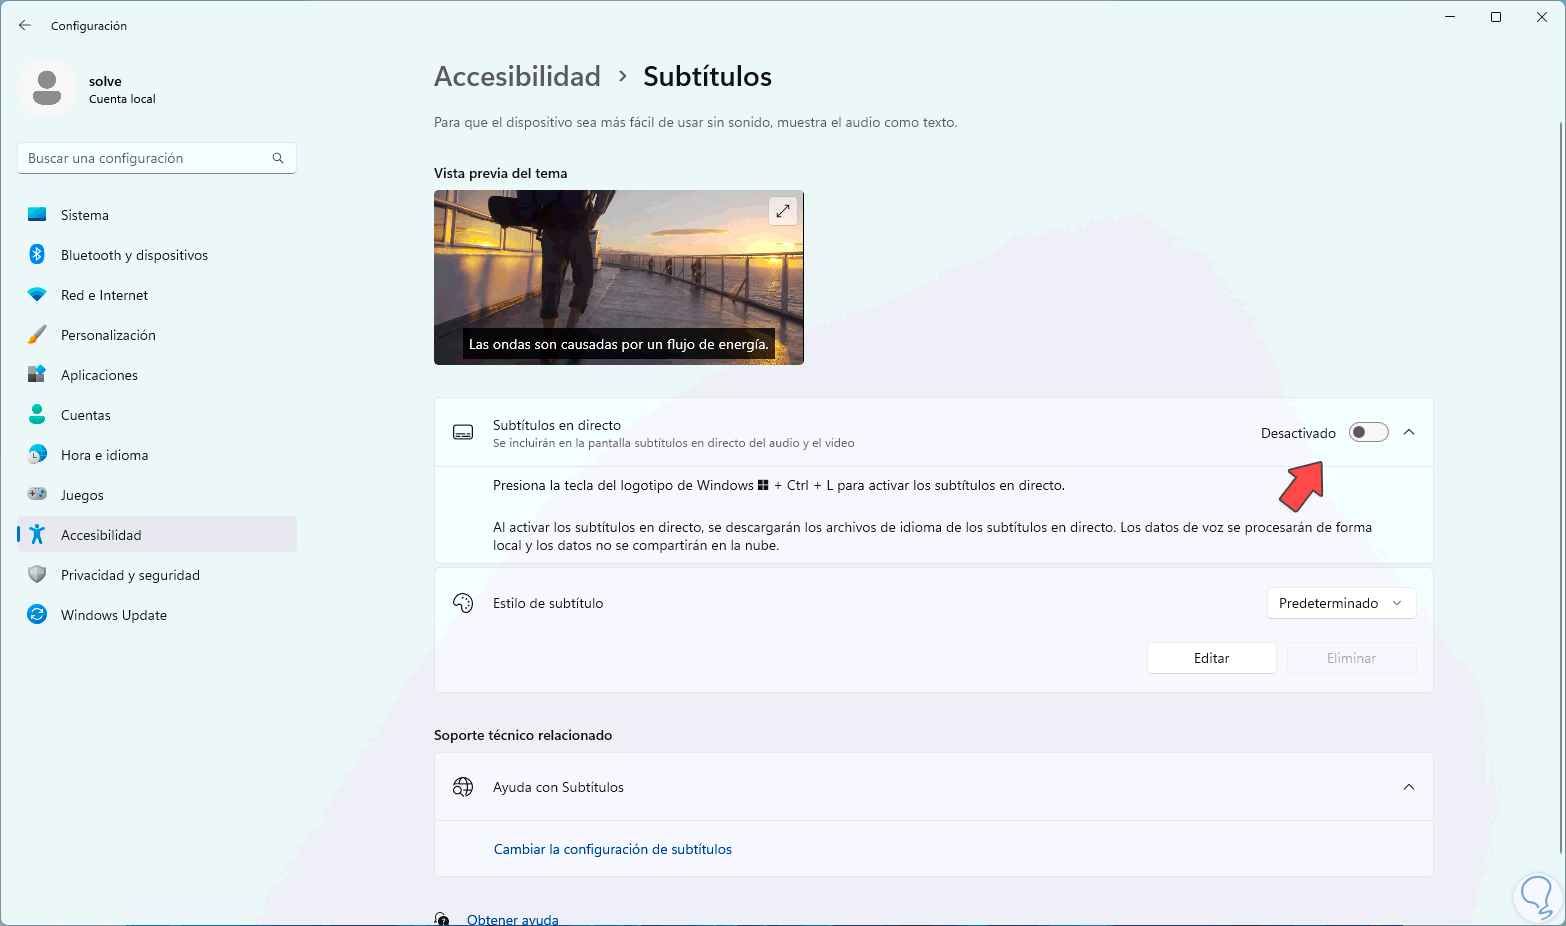
A new section will open at the top from where it will be possible to work with them:
Step 4
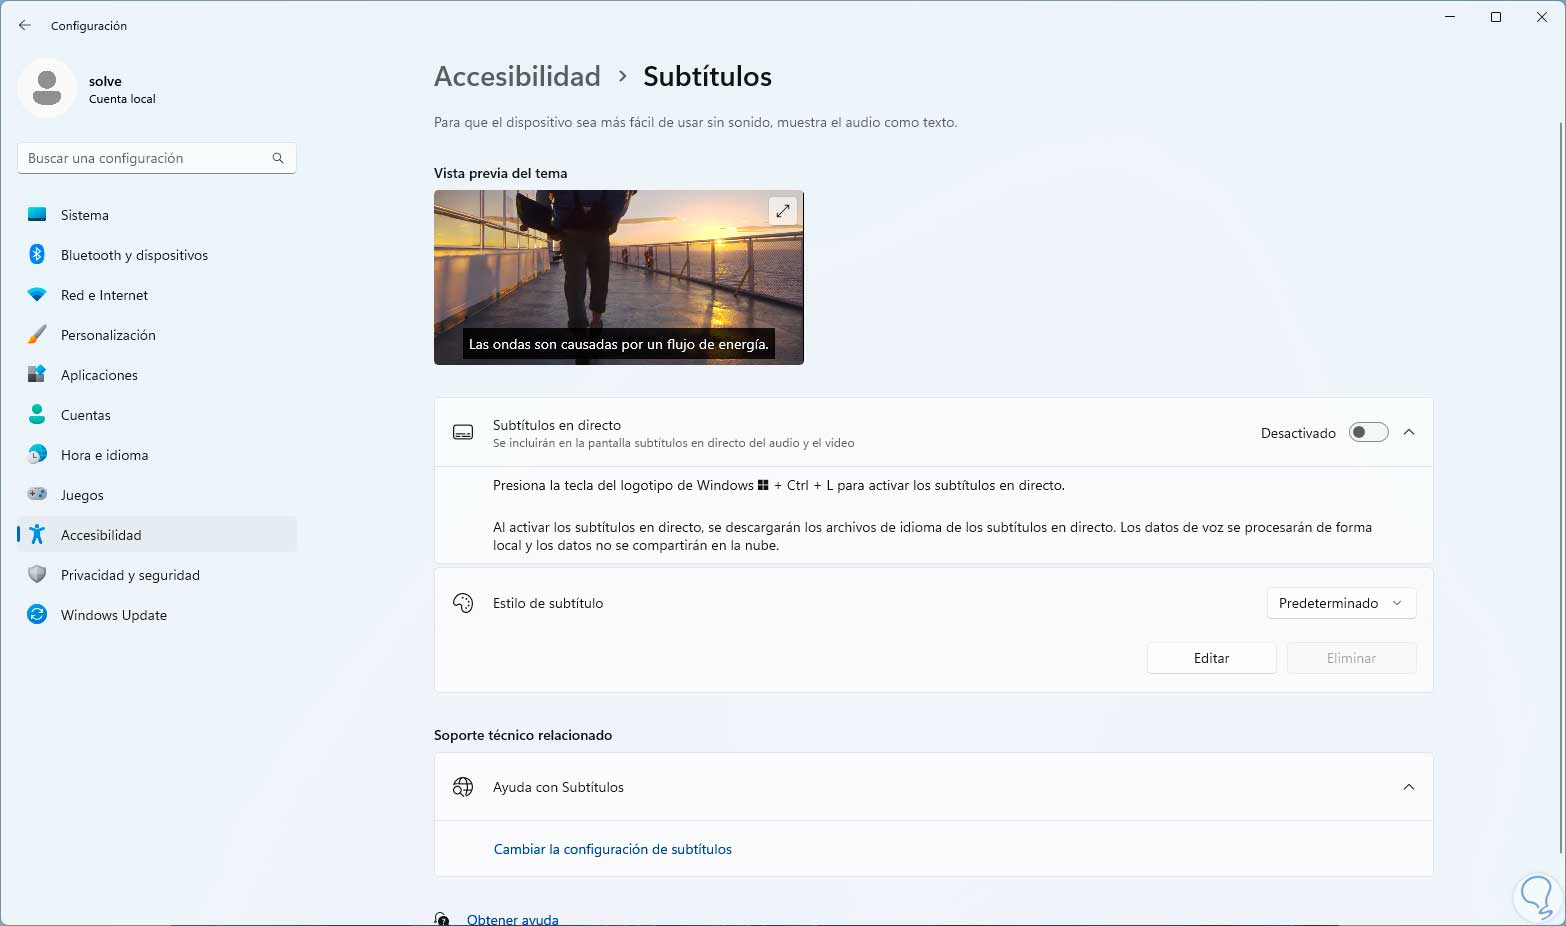
If we deactivate the switch this section at the top will be removed:
step 5
We are going to activate the switch again to open these options:
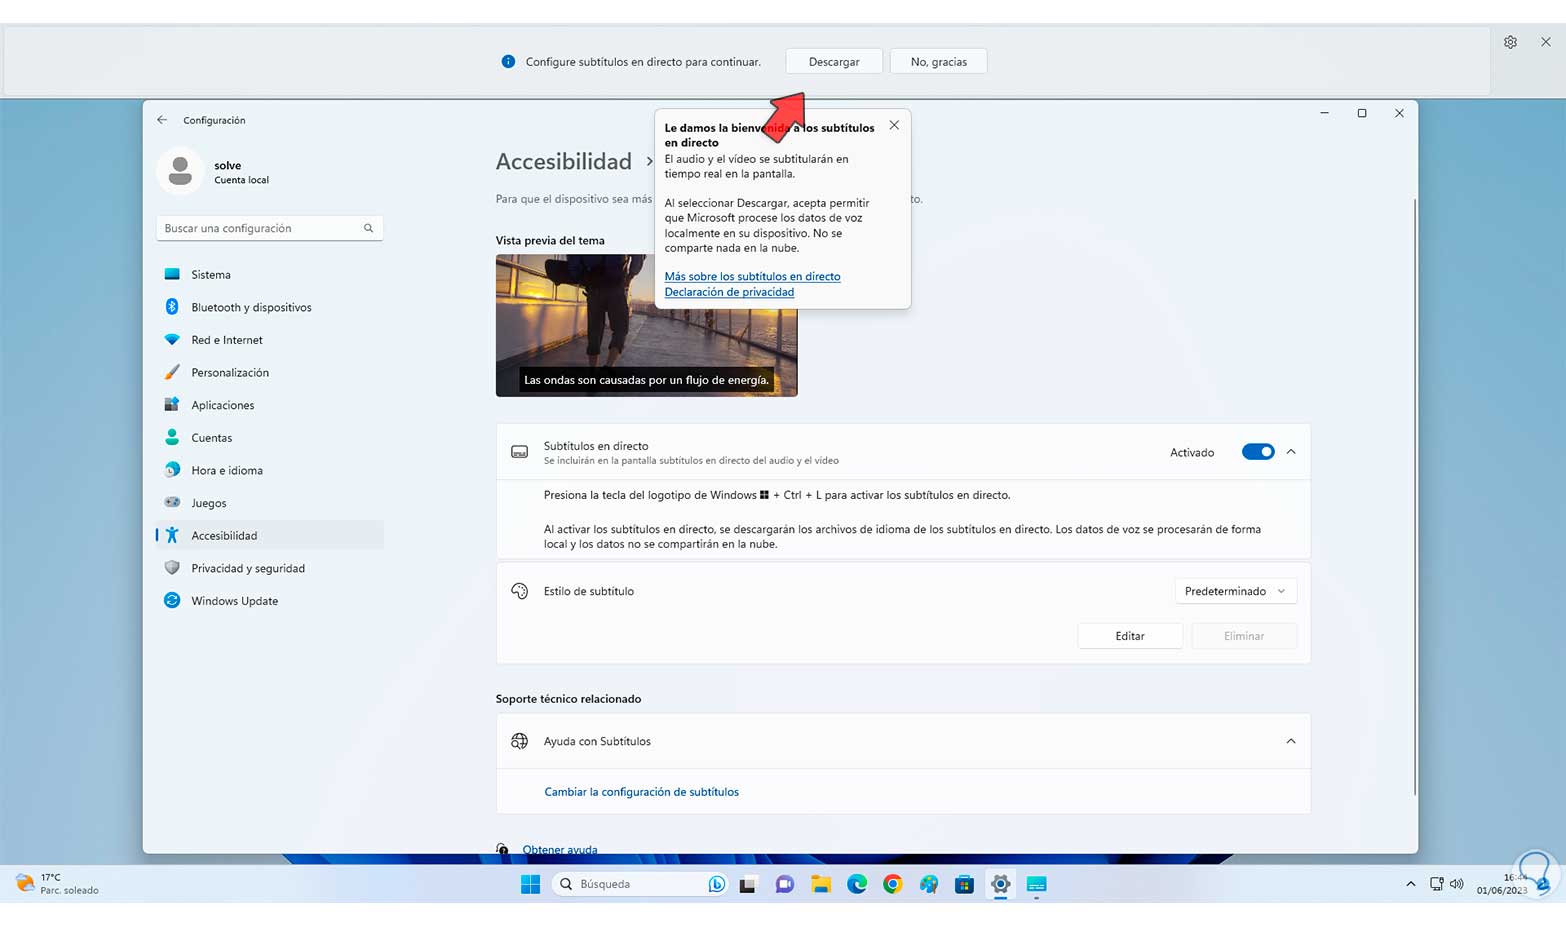
step 6
Now at the top we are going to click on "Download" so that the subtitles are downloaded in the system language:
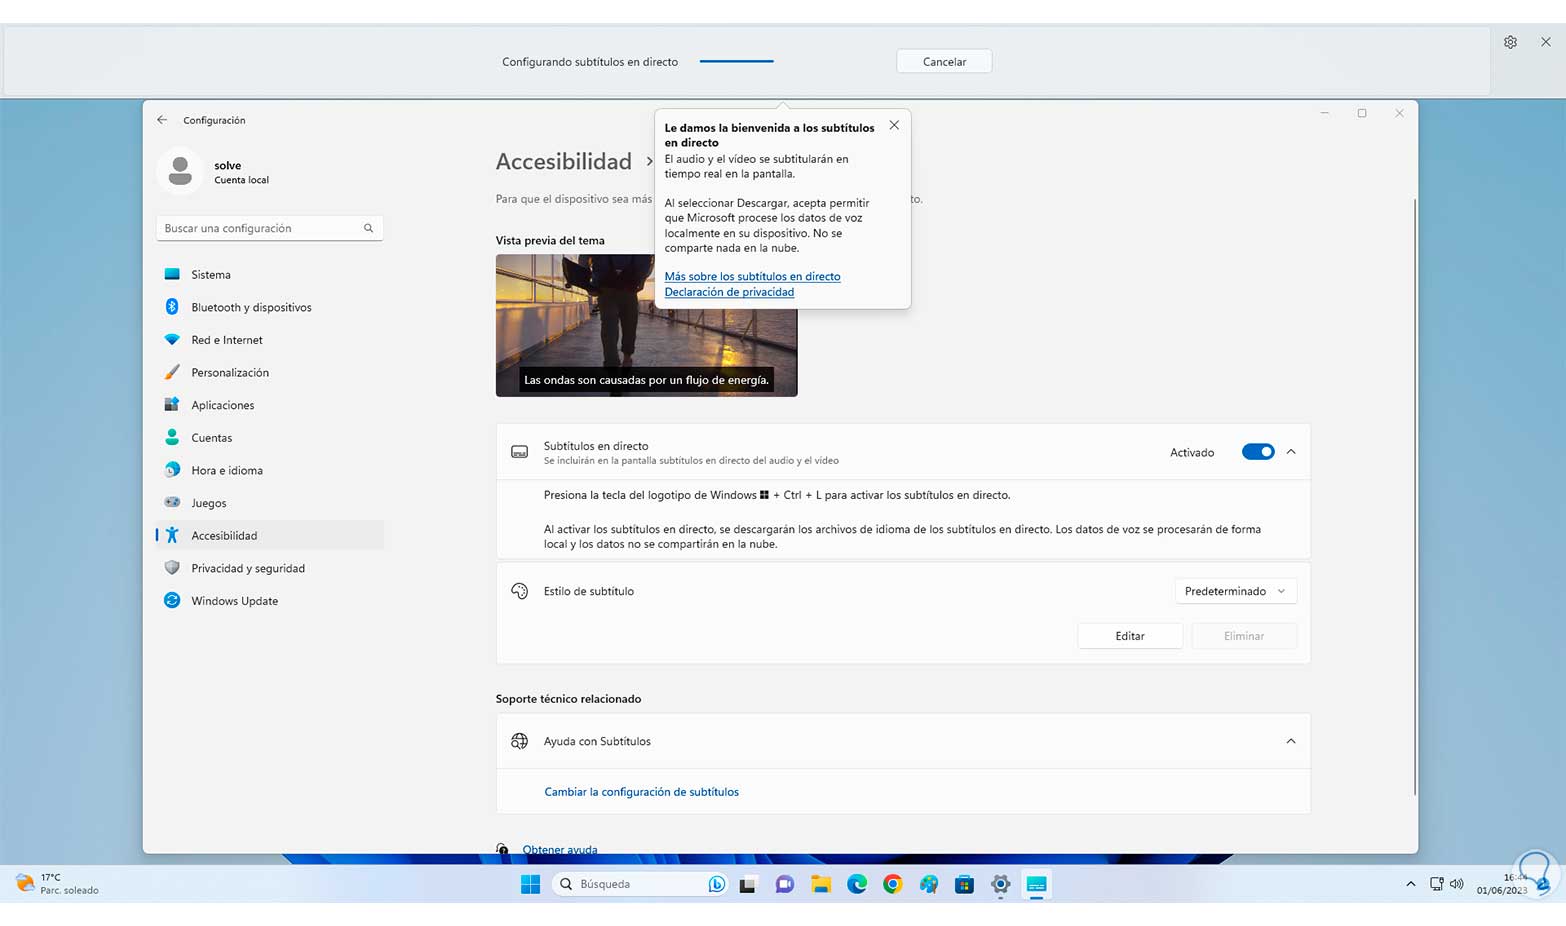
step 7
We hope this process progresses:
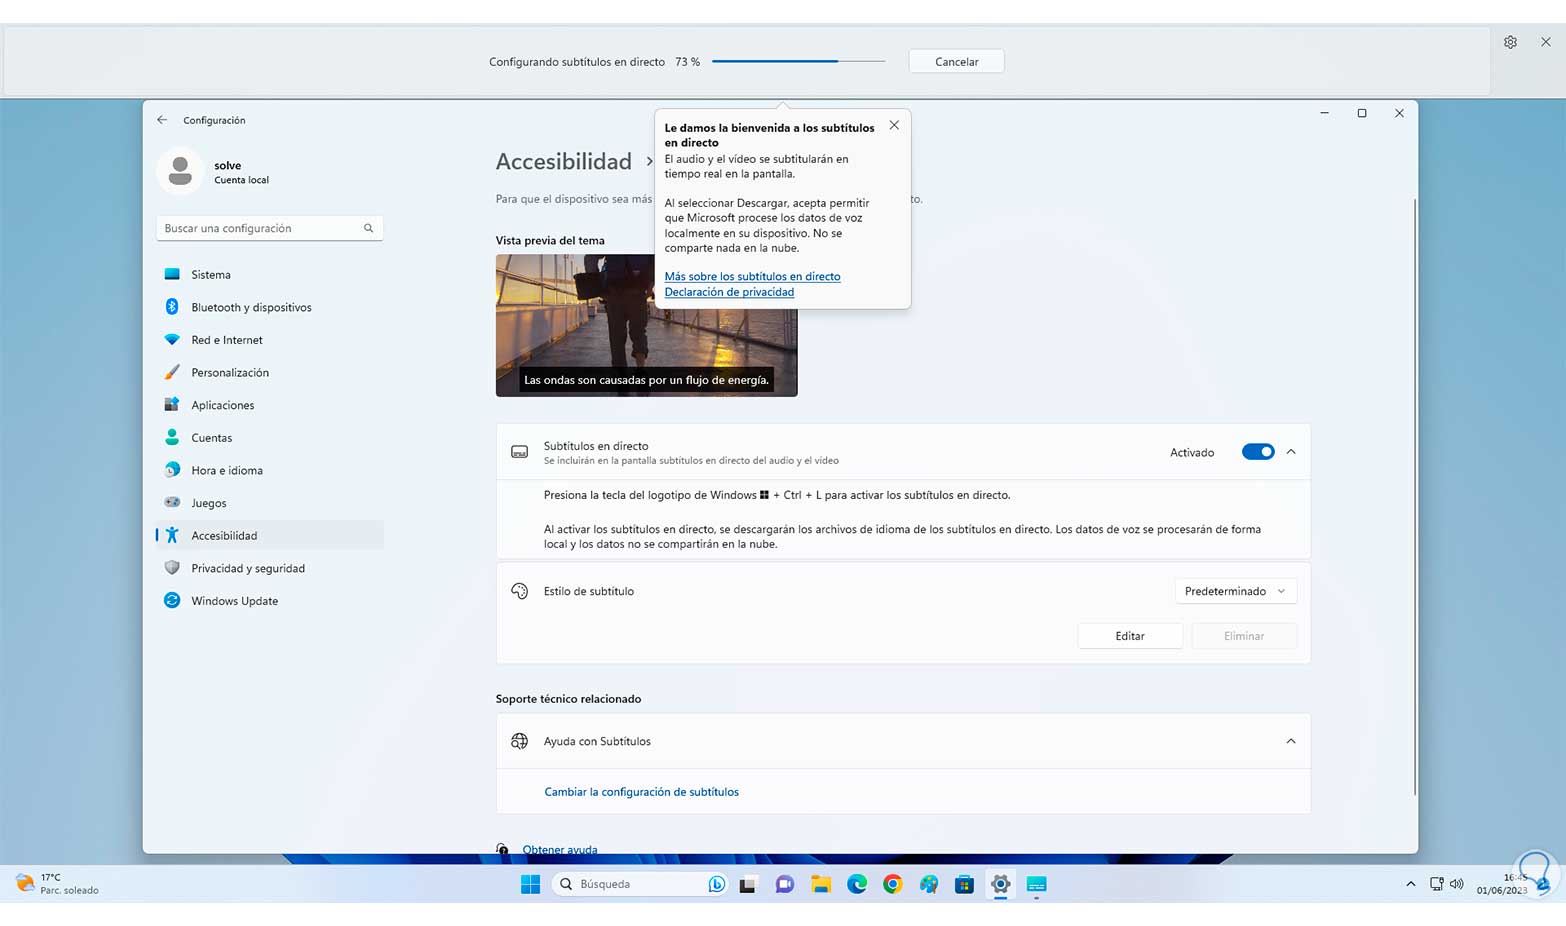
step 8
At the end we will see that it has been installed correctly:
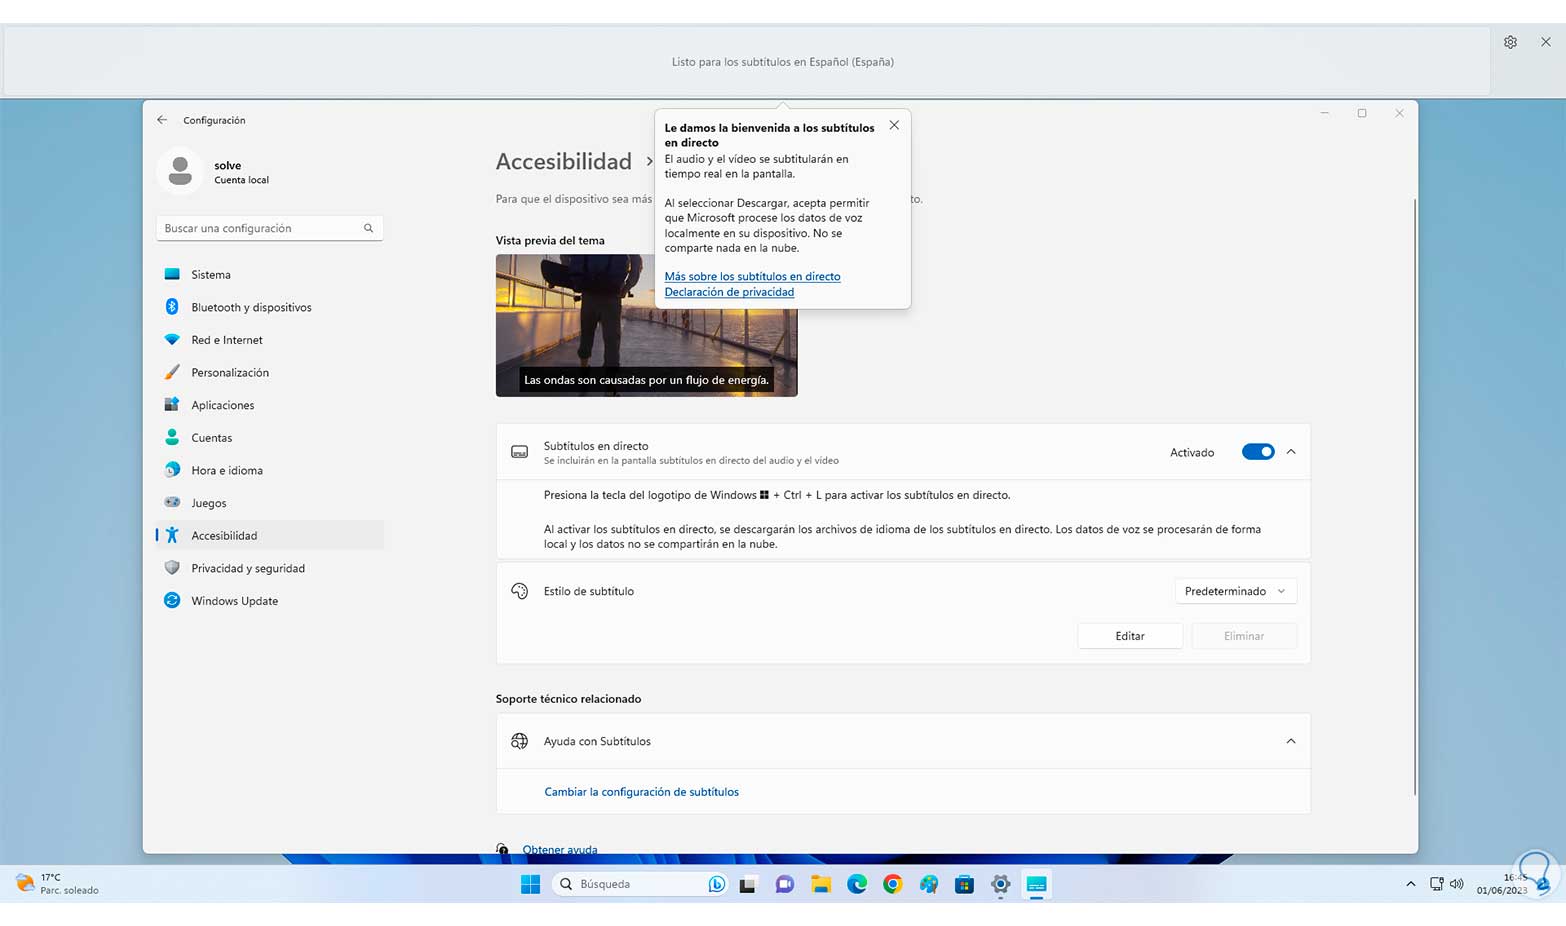
step 9
Now we can click on the gear icon to see the different configuration options offered by the subtitles in Windows. From "Position" we can define where the subtitles will be located on the screen:
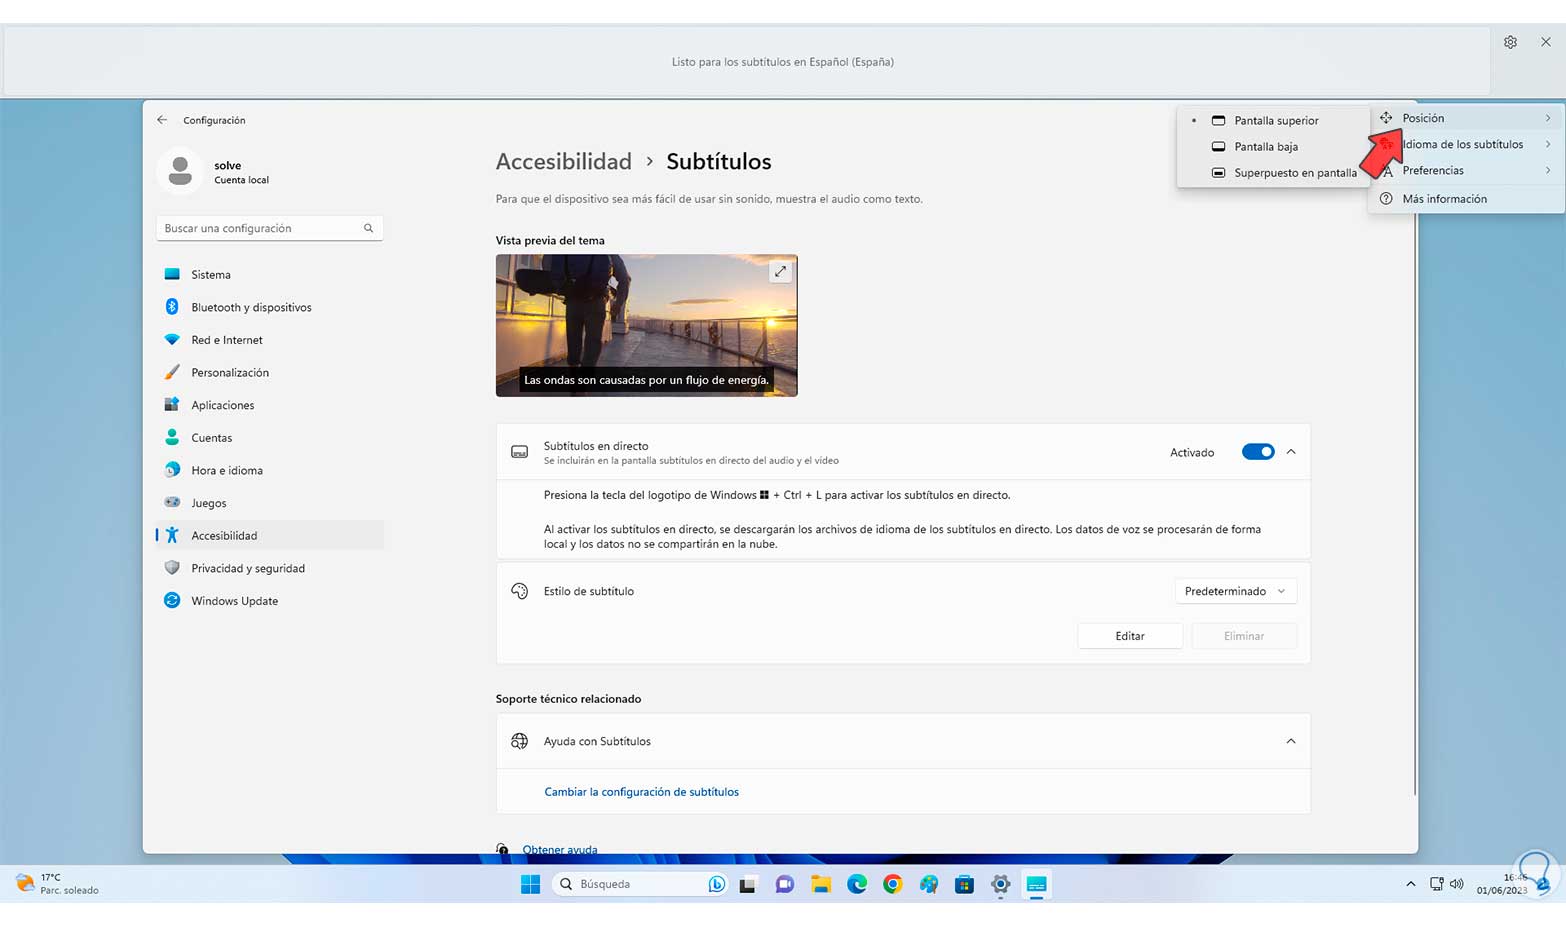
step 10
In "Subtitles language" we will see the downloaded language but it will be possible to add many more if necessary:
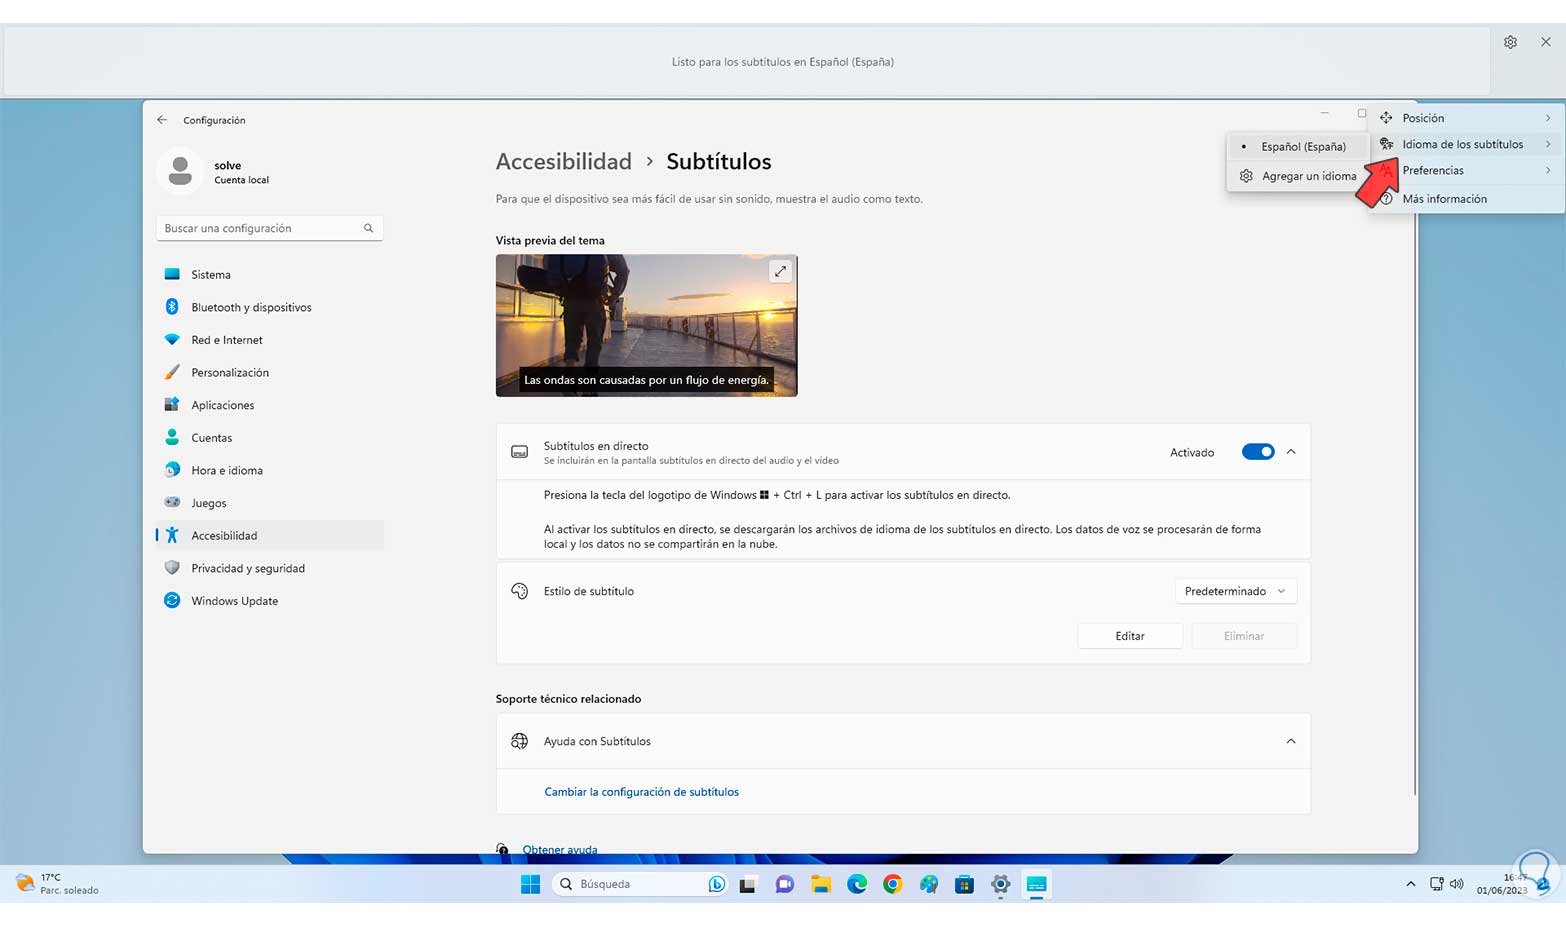
step 11
In the "Preferences" option we can define if words are filtered by type or the microphone audio is included (if applicable):
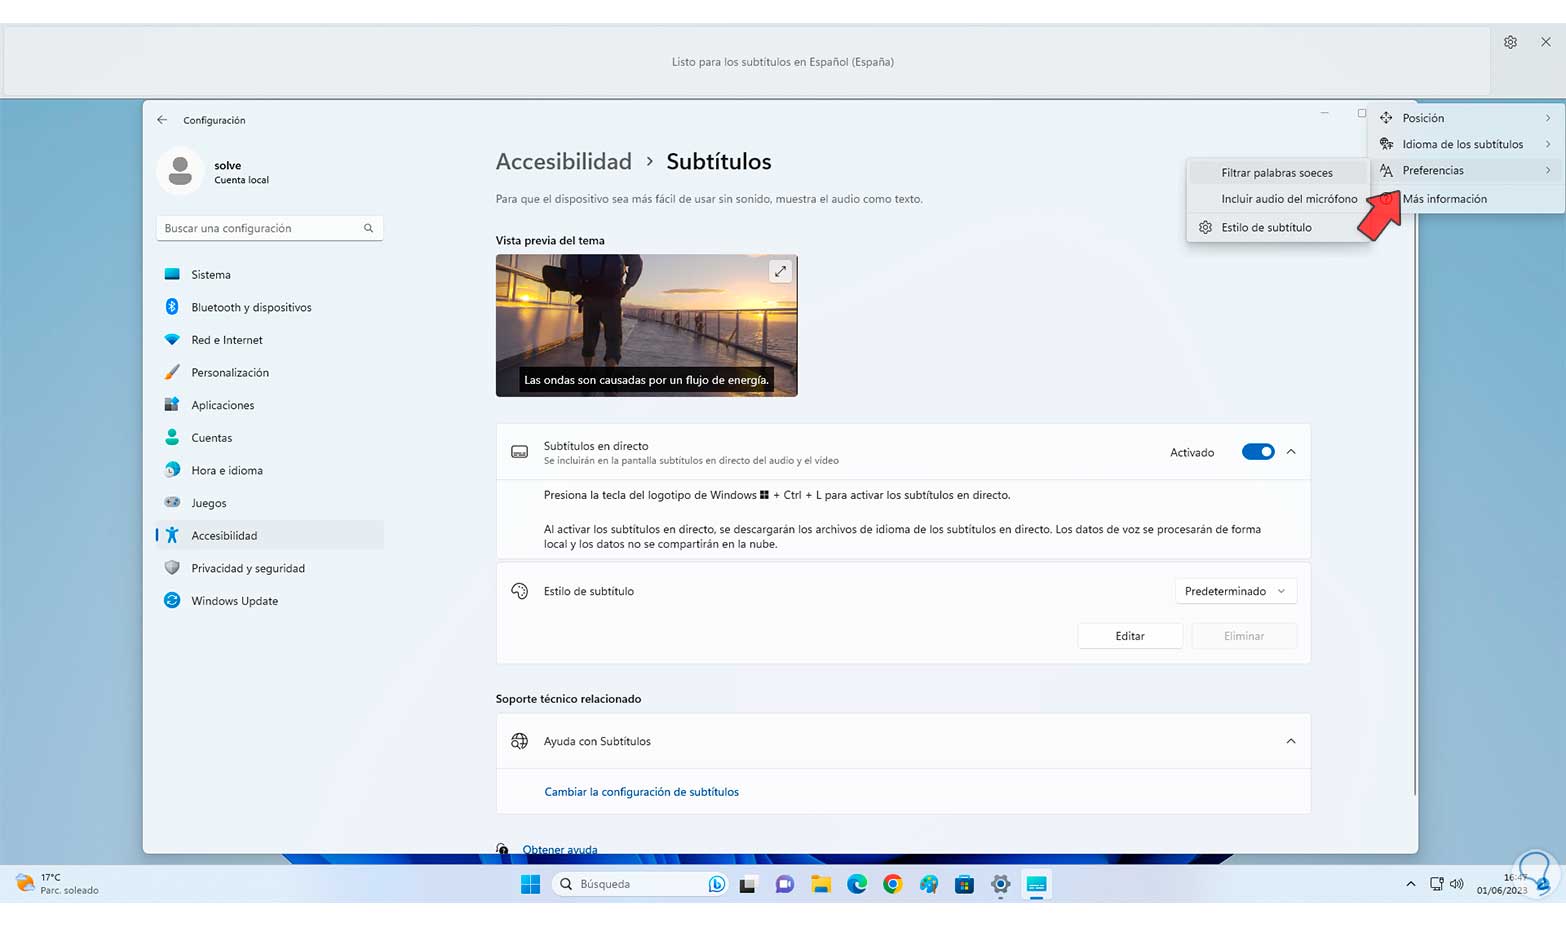
step 12
It will be possible to click on "Subtitle style" to select an option in the subtitle style that will give you a better viewing perspective:
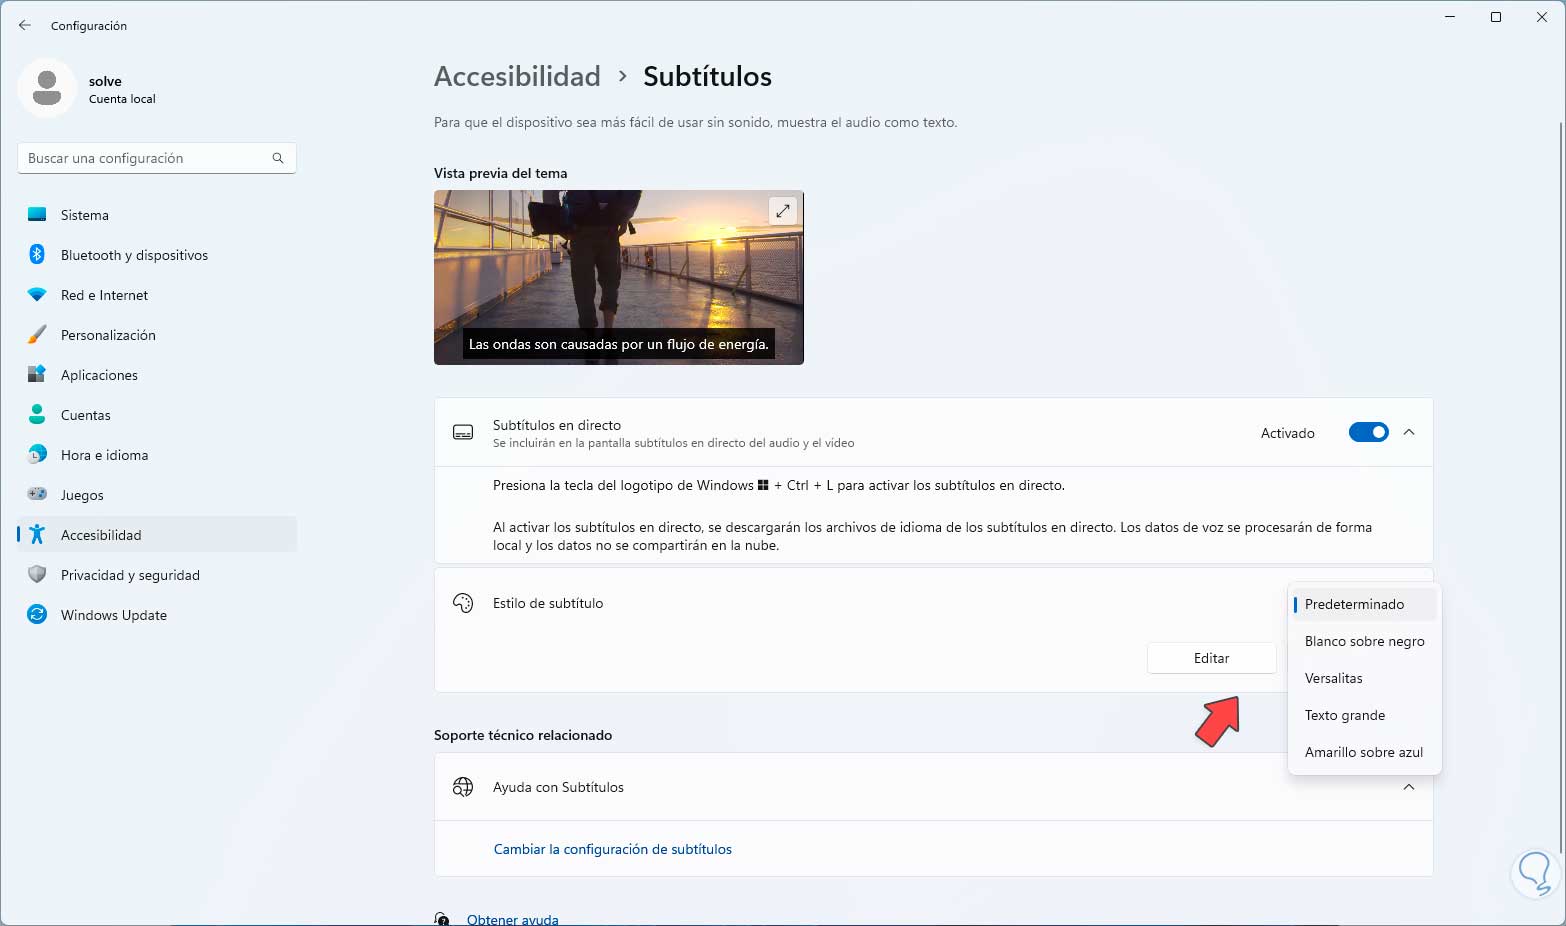
2 Turn Live Captions on or off Windows 11 from Quick Settings
This is another of the simple and functional options to enable or disable live subtitles in Windows 11.
Step 1
To do this we are going to click on the network icon in the taskbar or we will use the following keys:
+ A

Step 2
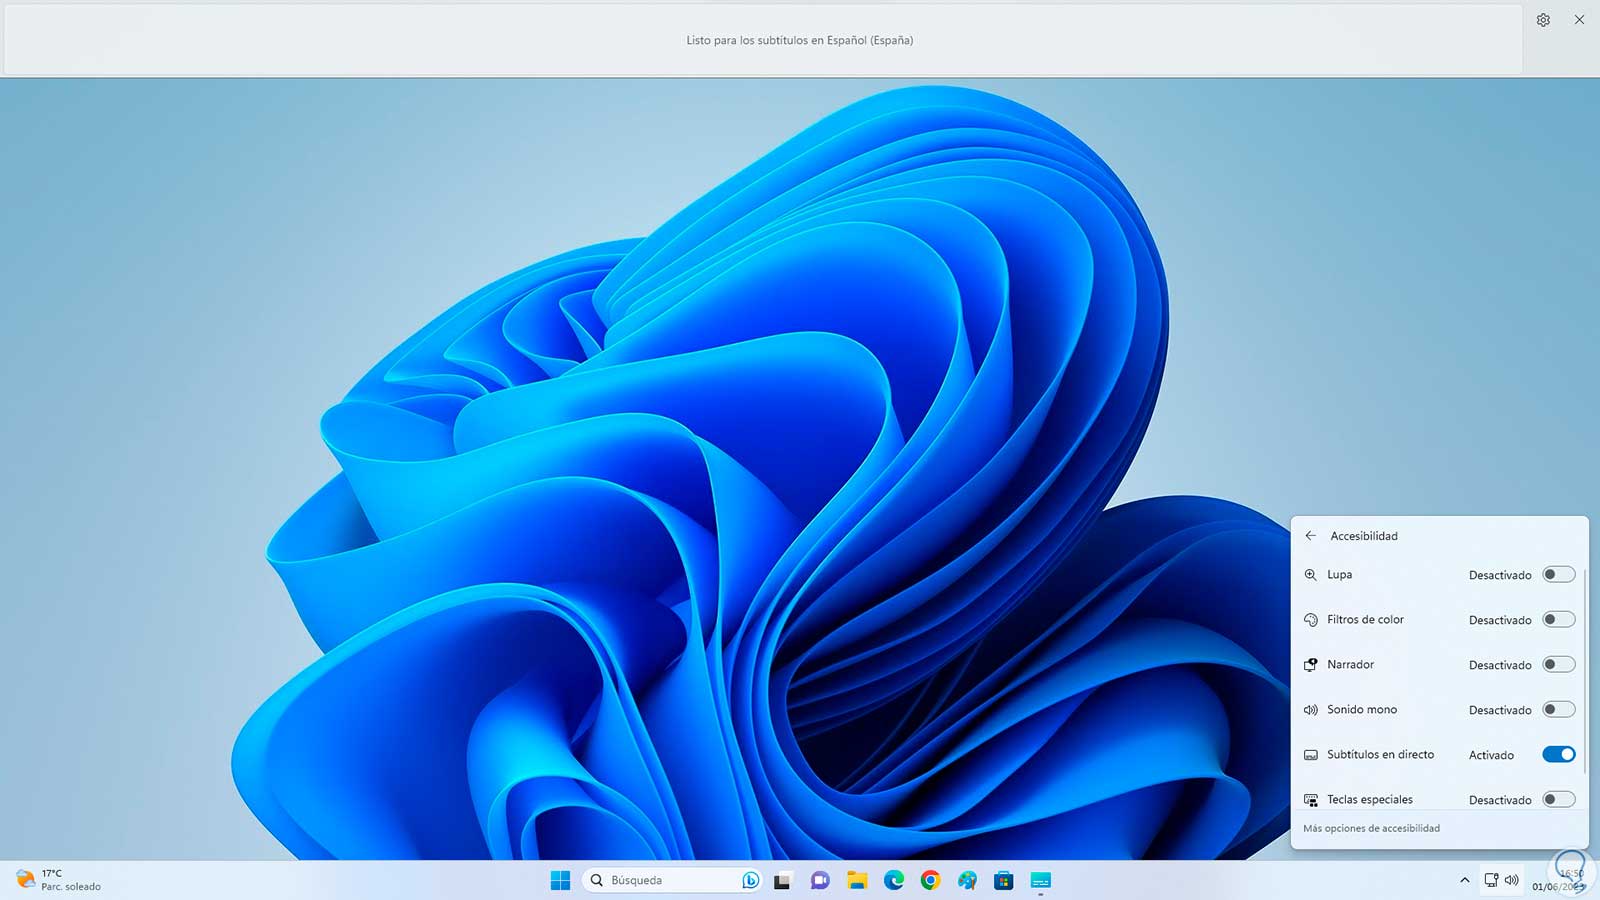
Now we click on "Accessibility" and a new list of options will open and live subtitles will be disabled by default:

Step 3
Turning on the Live Subtitles switch will open the subtitles option in Windows 11:
Step 4
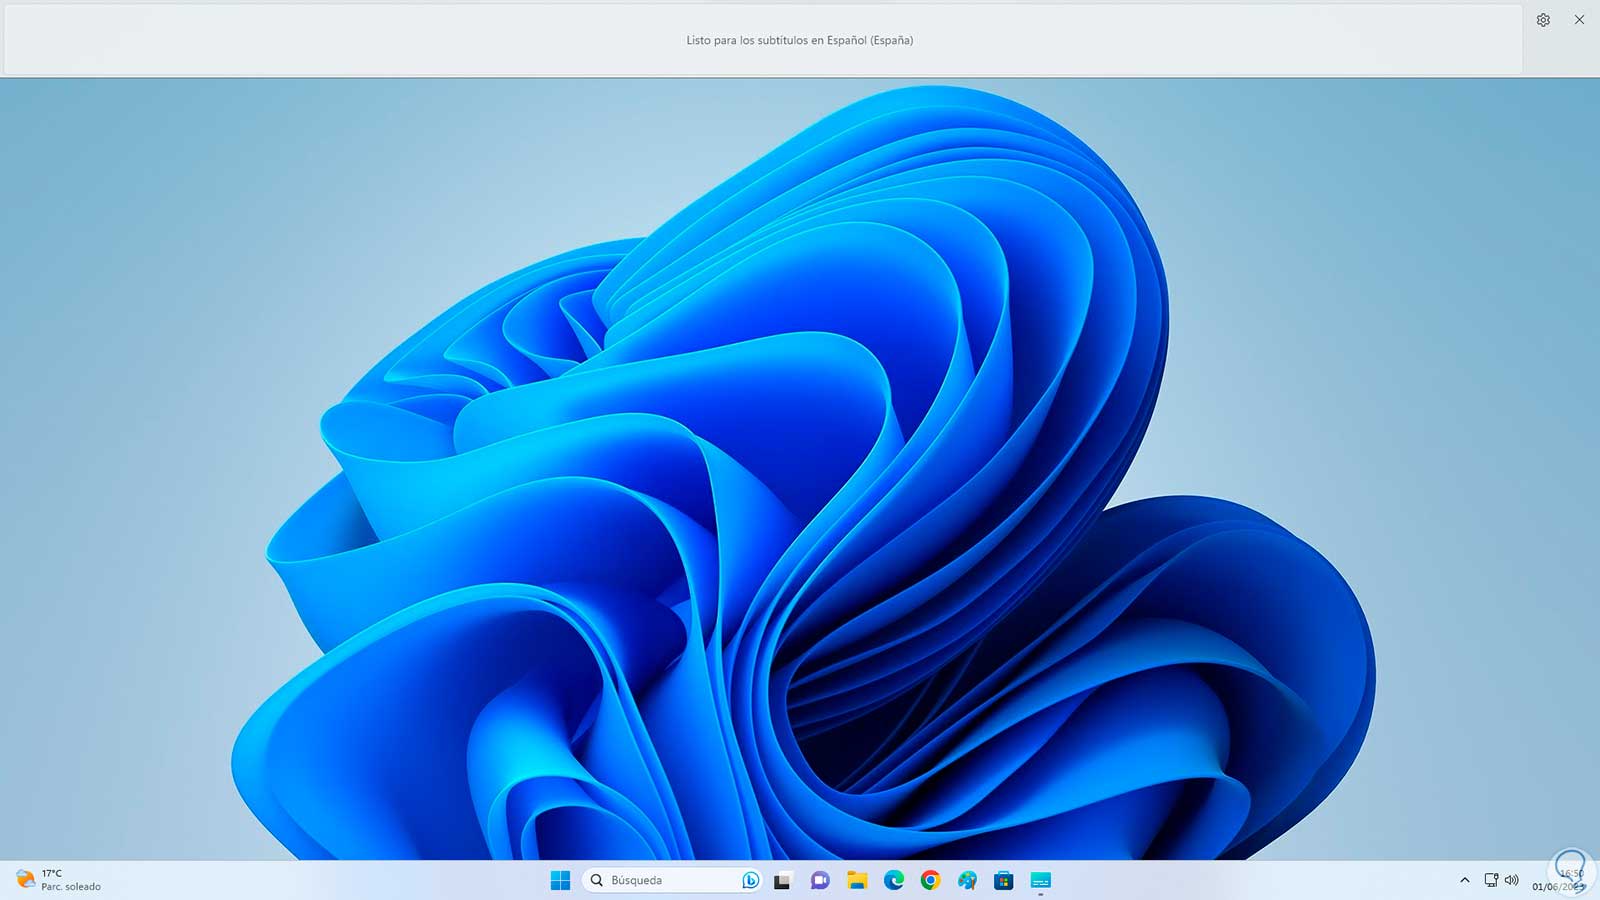
We will have live subtitles for when necessary:
3 Turn Live Captions On or Off Windows 11 from Task Manager
In case we have the subtitles active in Windows 11 and we want to remove them, the Task Manager is another option to use.
Step 1
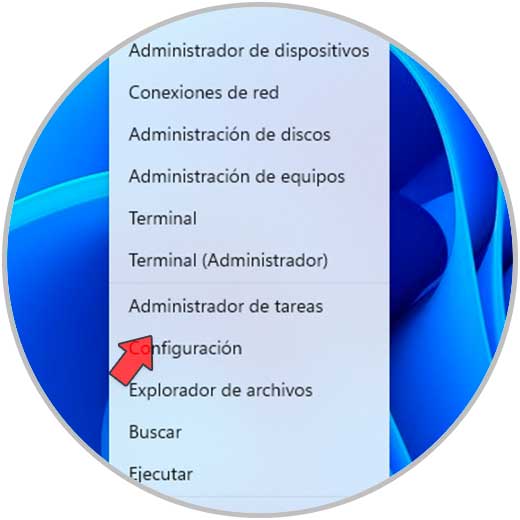
To do this, open the Administrator from the Start context menu:
Step 2
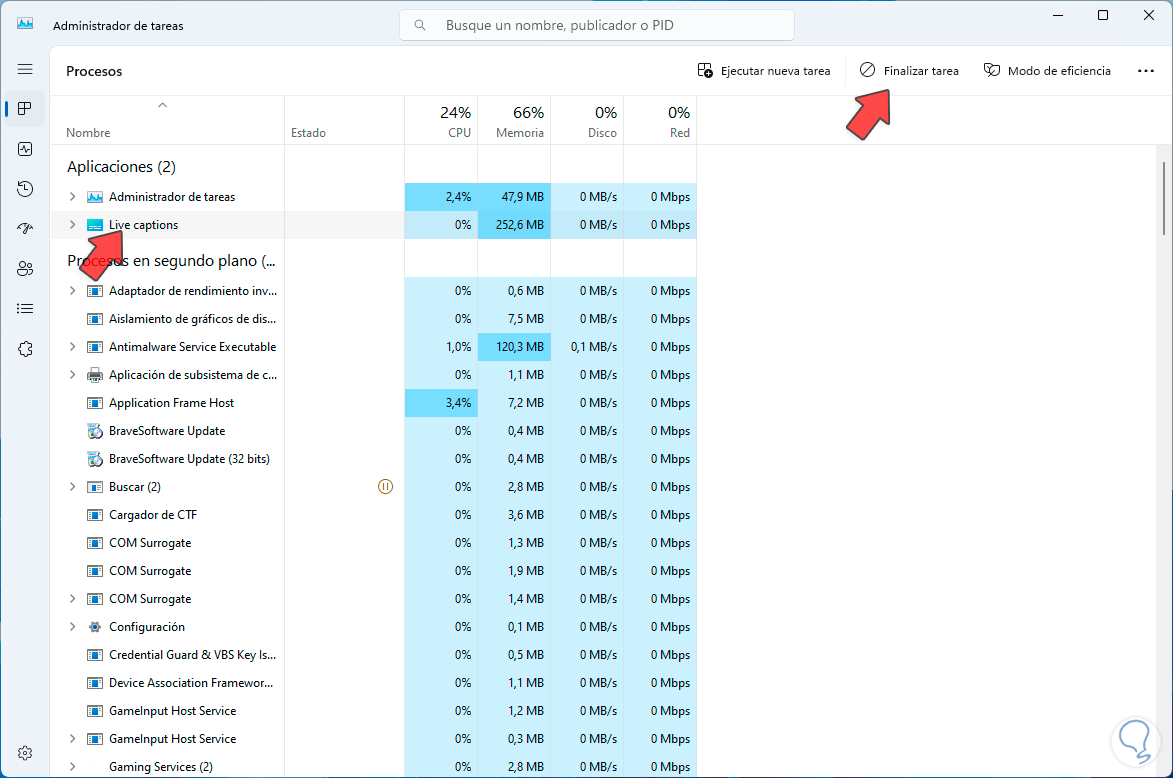
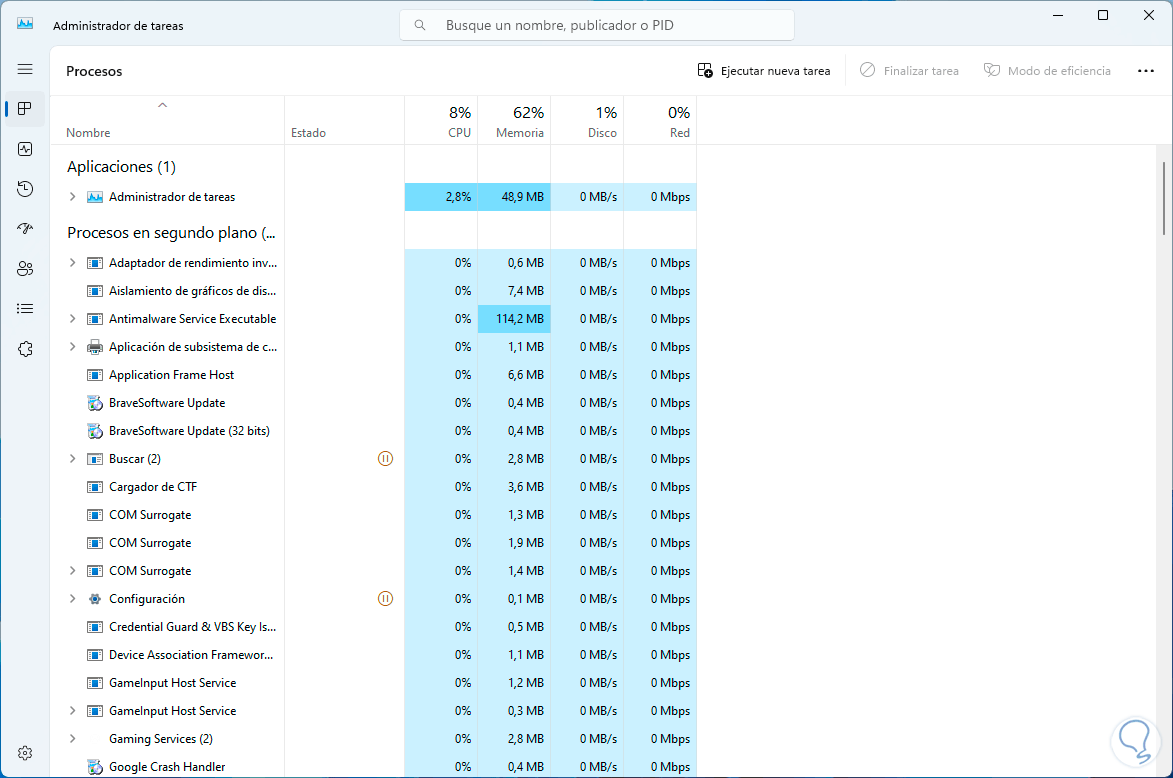
By default it will open in the Processes section in the Task Manager, there we will select the process called “Live captions”:
Step 3
Then we are going to click on "End task" located at the top:
Step 4
We see that the process has been closed and the desktop environment will be without the subtitles option:

These are the ways to activate or not the live subtitles in Windows 11 and have a much better vision tool..