OneDrive is the cloud platform developed by Microsoft, which is linked to our email, Hotmail or Outlook account . Thanks to this we have free storage , with the option to expand it if we pay for a plan to host all our most sensitive files in the cloud and always having the security and availability to access them from anywhere..
OneDrive allows us to share files , folders and photos with hundreds of users just by sending a link via email, text message, iMessage or Facebook so that they have access to this content; but without a doubt one of the best functionalities that have been introduced in OneDrive and in the new Windows 10 updates , is the "Files On-Demand" function.
This function is a feature through which it will be possible to access the files in the cloud using the already known "File Explorer" without the need to synchronize the elements directly with the device..
To optimally use File On-Demand, it is required to keep the files always available locally and be backed up in the cloud. But the hard disk will not always have the best storage options, so this requirement may affect the correct use of this function. OneDrive does not include an option to use a removable storage or external hard drive so we are limited only to the internal disks of the Windows 10 computer where we are using OneDrive.
The most practical option in this case is to relocate the OneDrive folder by default to another folder, partition or external hard drive and for this you must perform a disconnection, movement and reconnection process to that new destination. This is why today TechnoWikis will explain how to carry out this process comprehensively and step by step..
Step 1
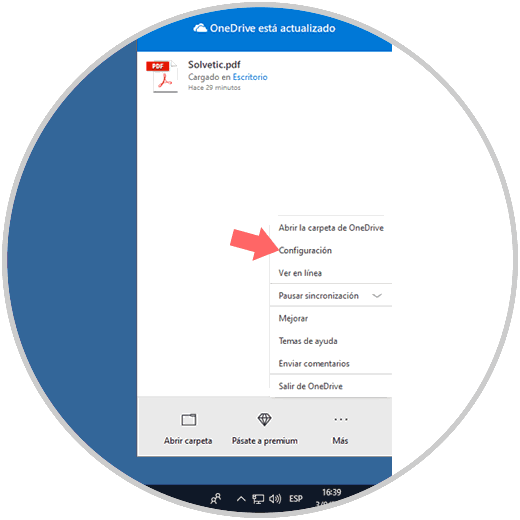
To carry out this process in Windows 10, we will right click on the OneDrive icon located in the taskbar and in the options displayed select "Settings":
Step 2
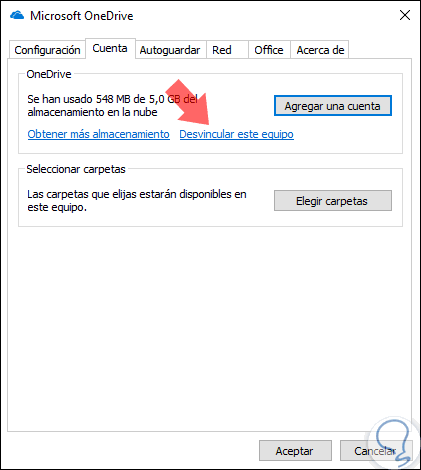
The following window will be displayed and there we will go to the "Account" tab, where we will need to click on the "Unlink this equipment" line:
Step 3
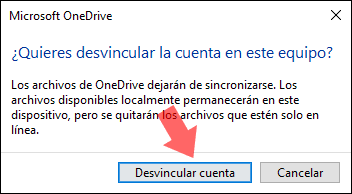
The following message will be displayed. Click on the "Unlink" account button to complete the process.
Step 4
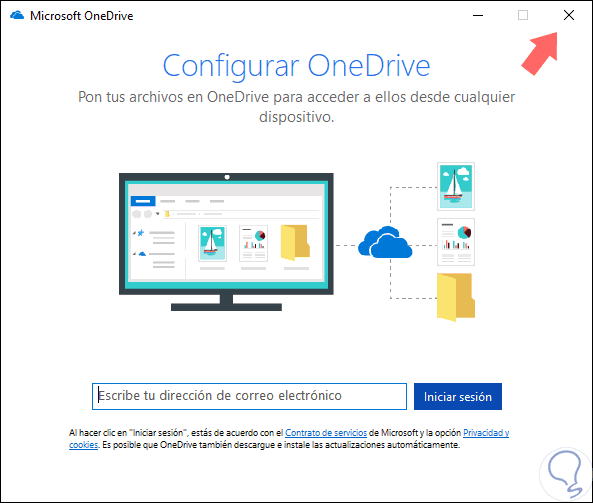
The OneDrive wizard will automatically be displayed. We can close it to continue with the configuration process.
Step 5
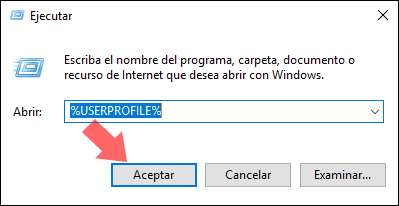
Now, we will use the following key combination:
+ R
We execute the following line:
% USERPROFILE%
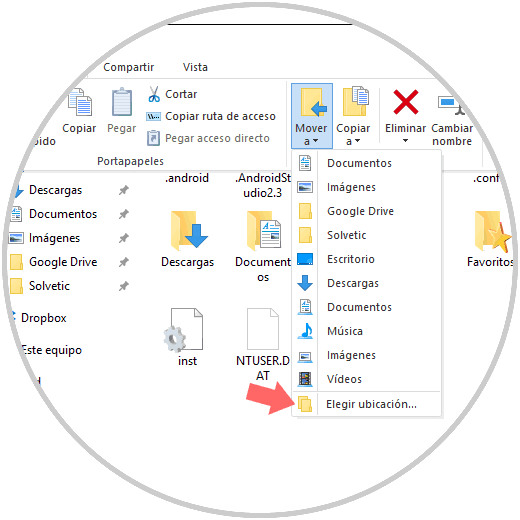
In the window that appears, select the OneDrive folder and go to the "Start" menu and there we will see the "Move" option located in the "Organize" group:
Step 6
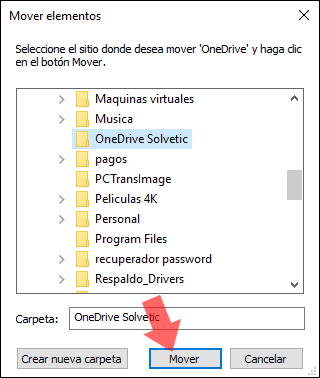
In the displayed list we select the "Choose location" option and in the pop-up window we will select the path where the OneDrive folder has to be moved.
Step 7
Click on the "Move" button.
Step 8
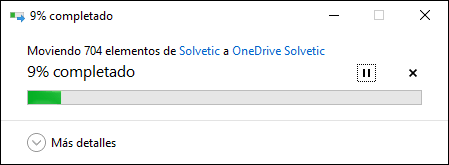
You will begin the relocation process of the OneDrive folder:
Step 9
Once the process is finished, click on the OneDrive icon again and now we must enter the email to log in:
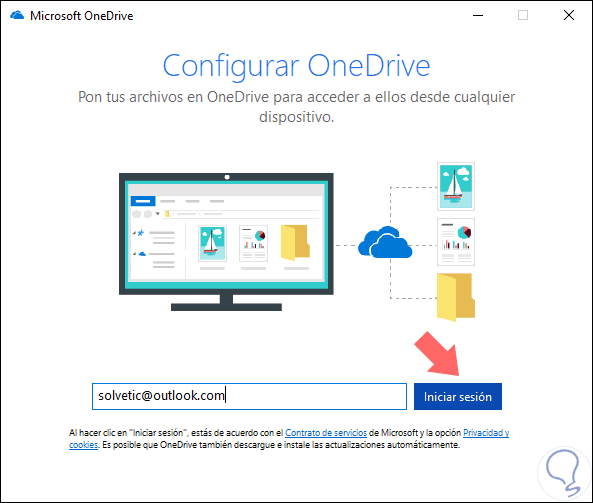
Step 10
The following window will be displayed once we enter the password:
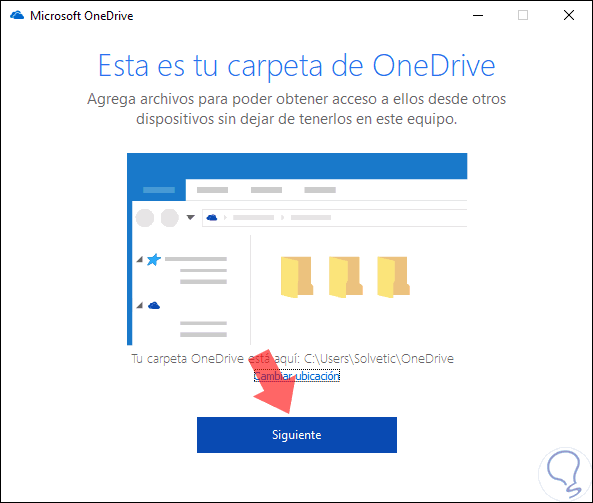
Step 11
We can see that by default the system leaves the OneDrive folder in its original path there we must click on the "Change location and go to the route" line, where we initially moved the folder. Click on the "Select folder" button.
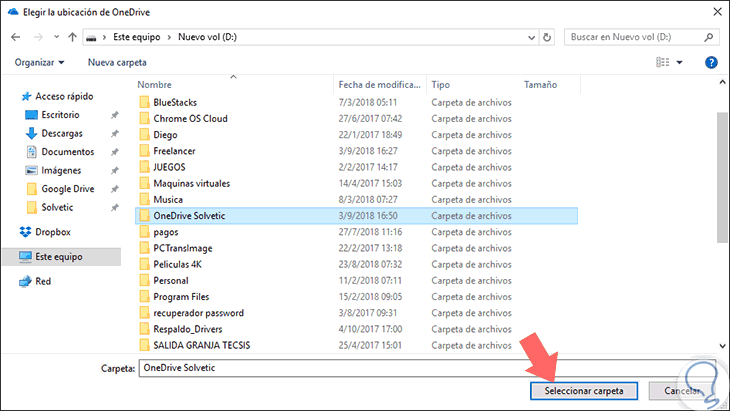
Step 12
The following message will be displayed. Click on the "Use this location" button, click on "Next".
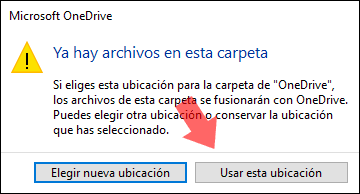
Step 13
A series of OneDrive tips will be displayed:
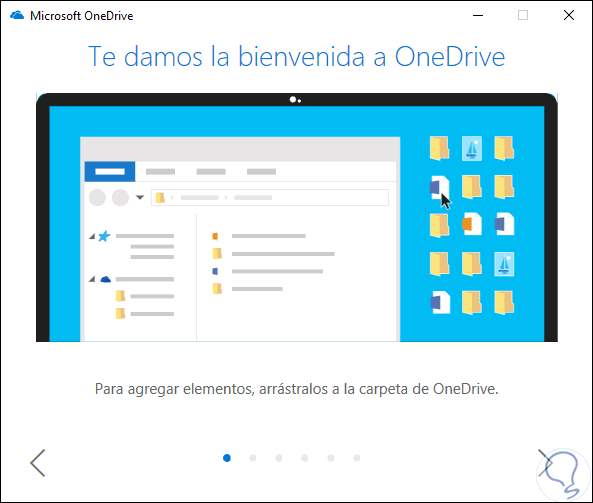
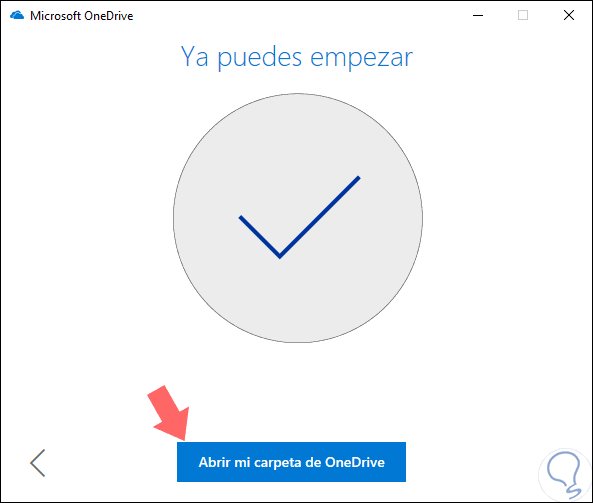
We are deploying one by one and at the end of these we will see the following. There we can click on the "Open my OneDrive folder" button.
Thus we will access all the elements that are housed there:
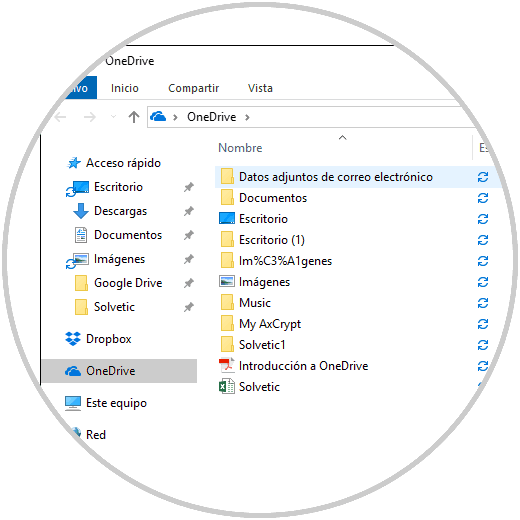
Once this process is finished, the OneDrive folder will now synchronize the files in the new location that we have defined and thus avoid using local disk space C and whether to take advantage of external media or partitions for everything related to OneDrive backup in Windows 10.