When we use Power BI sporadically or regularly, we can create our reports or even create a complete Dashboard using tables, graphs and other visual elements. When we explain what slicer is in Power BI, and we tell you how to use slicer in Power BI, we talked about how Power BI reports are interactive, but we can also use slicer so that other people, can see the data in a more personalized way using the filters..
Of course we can use Power BI individually, but we can also use Power BI to create reports that we will later want to share (within an organization, team, clients,...) For this reason, we are going to see which methods we can use to share the work done, and what limitations exist in some cases to be able to consume the report we have done.
1 How to share report from Power BI Desktop
From Power BI Desktop we already have the option of being able to save our reports in a file, by clicking on files, from the taskbar..
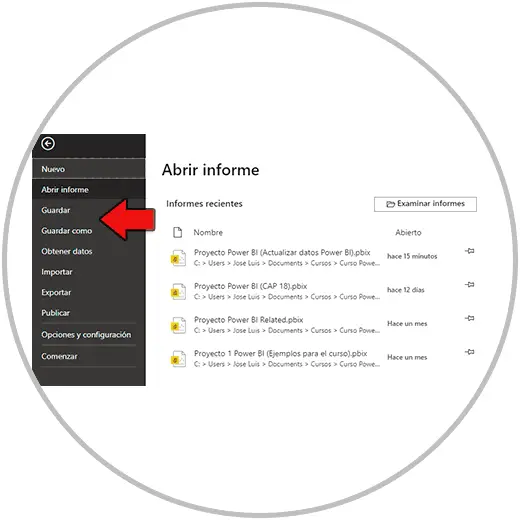
Here we will find the options to save our projects, which will be saved in a file that we can later share using email, using Teams or a messaging or sharing application.
This option would give us the opportunity to change any aspect of the report, the data model, the data and the tables of our project, since we would be directly sharing our entire project. Let's say that we are not only sharing the report that we have created, but that we are sharing the entire project and the person or people who open it will be able to see all the information in the tables, they will be able to see the data model that we have created, and they will be able to see also reports. The most important thing to note in this case is that with this sharing method, the person opening the report will be able to edit any part of the project. And as long as this person has Power BI Desktop installed..
When to share a Power BI Desktop project?
The files that we save from Power BI Desktop are saved in the "pbix" format. This tells us that the person with whom we share the report will also have to open it from Power BI Desktop. This person will be able to open the project, and will be able to edit any part of the project, modify the tables, relationships, change the model, create new calculated fields, measures, and also edit the reports, creating new graphs, removing visual elements, etc.
This method of sharing a Power BI project makes sense when the person who is going to receive it wants to review the entire process, or directly take over the project that you have done. It is not a method that should be used to report as a visual report, because for that we have other more professional methods that include viewing the report in reading format. He thinks that in a final version to report to a client or higher management, we would have to use a method that involves only sharing the reports, and not the entire project. And also that the reports can be interactive for the person who receives them, to be able to put filters and enter to analyze in more depth some fields or columns.
2 How to export Power BI report in PDF
But from Power BI Desktop we will also find other functions that will allow us to export the report to PDF, a practical resource in case you want to share a report, not give access to the entire project, and a resource to share only the visualizations created, and that the person who receives it cannot access the project or edit any aspect of the report. It is a “read-only” way of sharing.
Steps to export report in Power BI
We access the file, from the taskbar, and this time instead of saving, we will click on "Export"
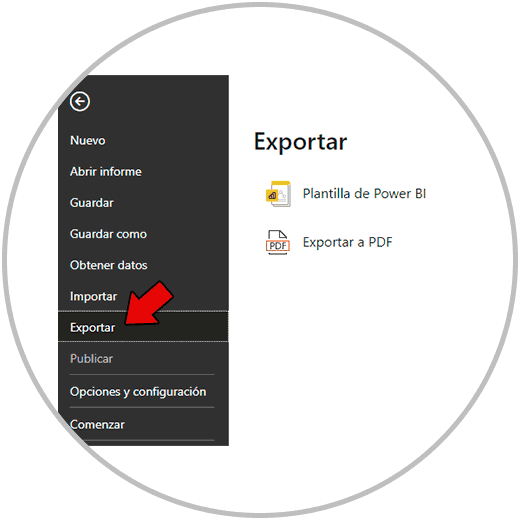
Once we click export, our report will be created in PDF format. As in the image, we have used our example Dashboard report to be able to export it to PDF.
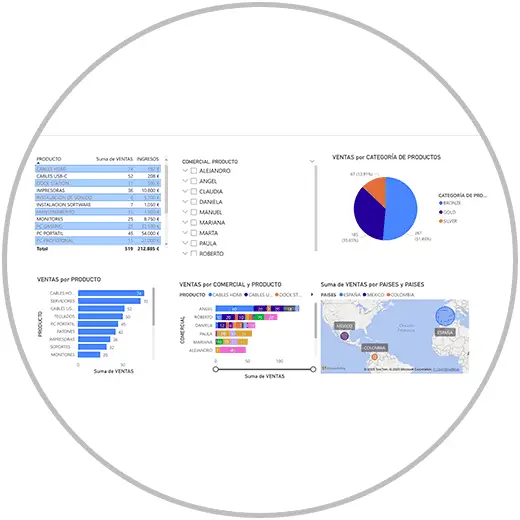
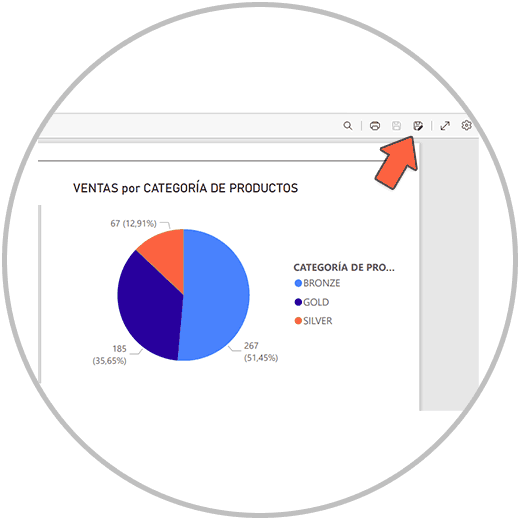
Now from the PDF options, we will save our PDF in a folder that we can share through our email.
When to export a Power BI report to PDF
We can use this way of sharing the work done in Power BI, when first, we only want to show the visual part of the project, that is, when we only want to share the reports, and not the entire project.
Secondly, we can use this method when we also want to share in such a way that we do not give rise to editing, that is, “read-only” sharing.
We will use this way of sharing when we want to show a "photo" of the reports made, if for example we want to add this photo to a presentation, or share it via email to help explain an analysis.
However, when we share a Power BI report in PDF format, we are leaving out the most important aspect of Power BI when it comes to professional reporting. By sharing a report via PDF, we do not allow this report to be interactive, and therefore the person or person who is going to receive it will not be able to interact with the visualizations, they will not be able to use the data segmentation to make filters in the reports and view the report in detail.
The possibilities of sharing a report in Power BI Desktop exist, as we have seen, saving the reports in a folder so that they can be shared later, or exporting the reports to PDF if we want to send an image of the final result.
However, these methods have many limitations on a day-to-day basis, and they do not make the most of the Power BI features of being able to report only the visual aspect, of working collaboratively, and of being able to use data segmentation, and the "interactive" aspects. ” which are so interesting.
From Power BI Service if we can better squeeze the options that exist to be able to share reports and Dashboards, in a much more professional way, as we are going to explain below.
3 How to share report from Power BI Service
From Power BI Service we will be able to make use of the most interesting functions when we want to share a job, a project, carried out in Power BI.
We are going to be able to share our reports with whoever we want, give access to “interaction” features, such as data segmentation, so that report recipients can use the filters, and we are going to be able to provide the possibility of being able to work independently. collaborative.
This way of sharing is also a more professional method as we are also giving other users the chance to see our reports at any time. To connect, enter our work area, and be able to consume the reports every week, or month, or day... without the need to receive a file by mail.
As we will see below, there are also limitations on the use of the Power BI Service when sharing reports, which are directly related to the use of the type of license that we are using. If we use a paid version such as the Pro or Premium license, we will not run into these impediments; We will run into some limitations if we are operating with the free license of Power BI.
Steps to share Power BI reports from Power BI Services
Once we have made our report in Power BI Desktop, as we already explained in how to update reports in Power BI, we are going to "Publish the report" from the taskbar, as we see in the image.
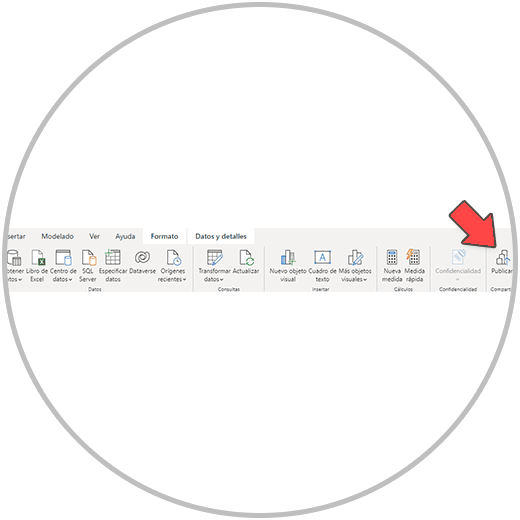
From here, our report will be published in our workspace in Power BI Service:
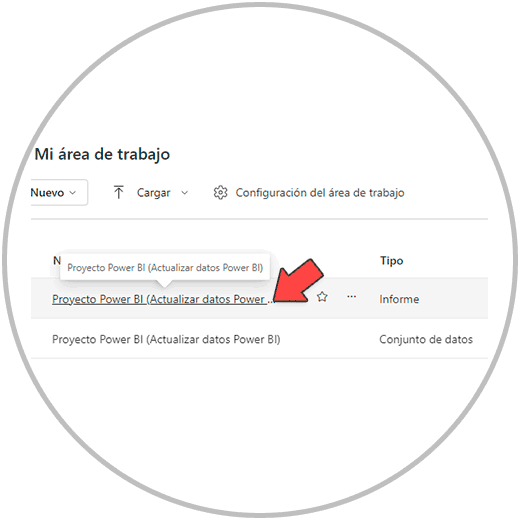
Now we click on the report that we want to open. Once open, we will find several ways to share it.
From file, in the horizontal menu that we are going to find with the open file, we are going to see the first of the options "Downloading file" that offers to download the file so that the entire project can be opened, from Power BI Desktop.
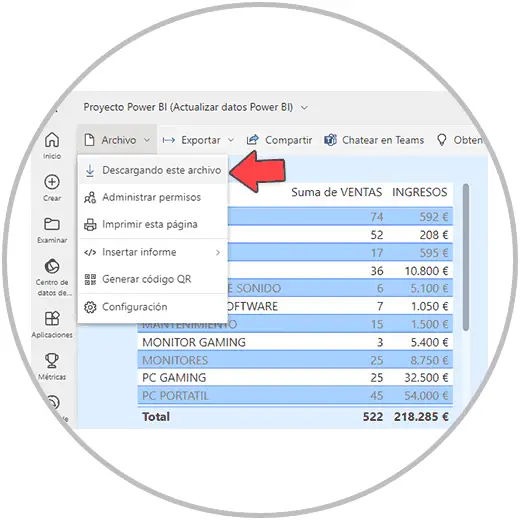
It is a way that does not add anything new, since it is something that we can also do from Power BI Desktop, as we have already explained.
From the menu, in Power BI Service, with the report open, we also find the possibility of exporting the file in various ways, in various formats: Excel, Power Point and PDF.
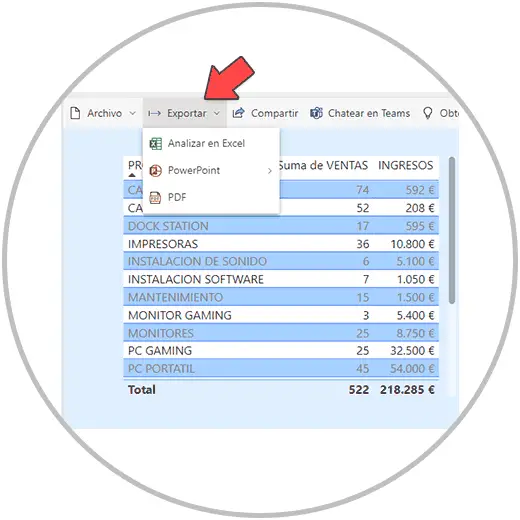
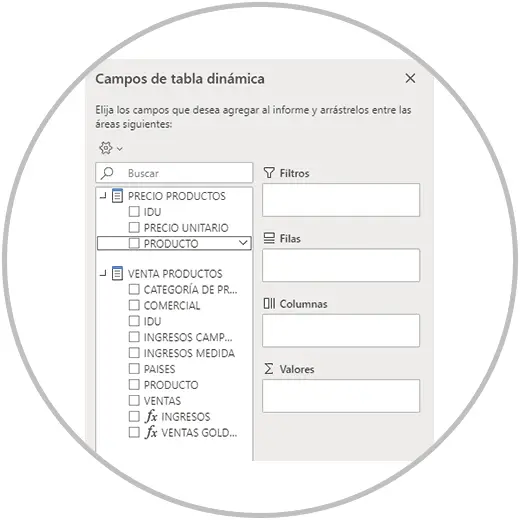
If we export in Excel, our data will be exported in a pivot table. A useful option in case you need to work with the data with which we have built the graphs.
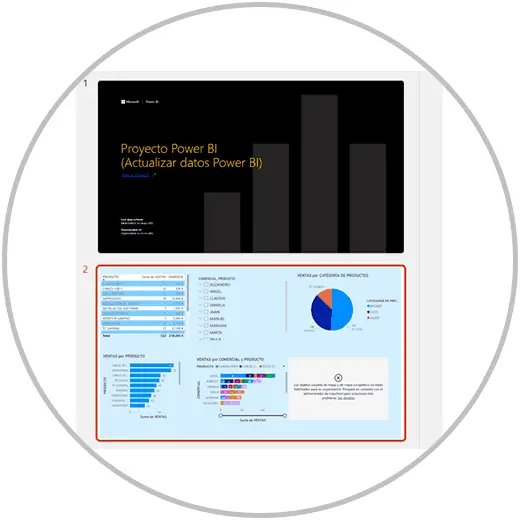
If we export to Power Point, we will generate a Power Point presentation with the visualizations created.
If we export in PDF, a report of the views will be created in PDF format.

These methods are useful in some cases, but they do not allow you to interact solely with the report visualizations, nor to collaborate simultaneously in a collaborative way. In order to work professionally in this regard, and as we have already mentioned, we are going to need a paid license. You will notice if you are using a free license when you click the share button or try to manage the permissions. You will come across this message:
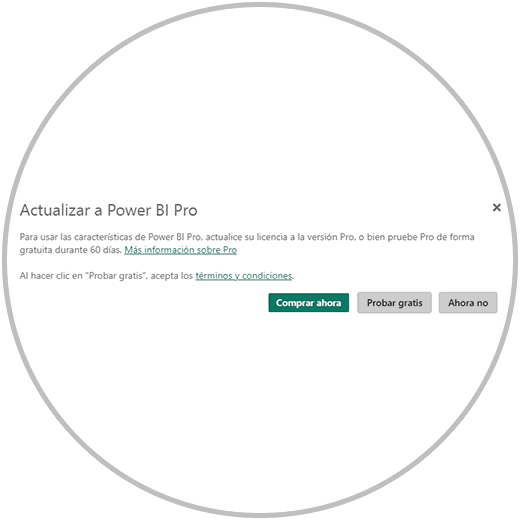
How to get a Power BI Pro license
As you have seen in the image, when trying to use one of the report sharing options or managing report access permissions, you will be able to see a message from which you will be able to upgrade the license for free , but only for 60 days.
By clicking on your profile photo that you will see in Power BI Service in the upper right corner, you will also be able to purchase your Pro account.
In any case, you can start using the 60 days of payment that Power BI offers you, in this way you will see if you need to pay or not for the paid license; Although, as we have already seen, if the intention of use is to be able to share the reports professionally, and manage the access permissions to your reports, you will have to end up acquiring a Pro or Premium license, when the trial period ends of the 60 days.
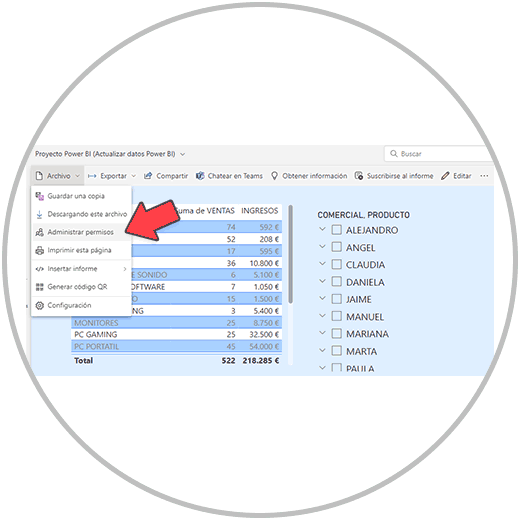
If you already have your Pro license, you will be able to manage the access permissions to your report from File, in "Manage Permissions"
And you will be able to share the report from the "share" option
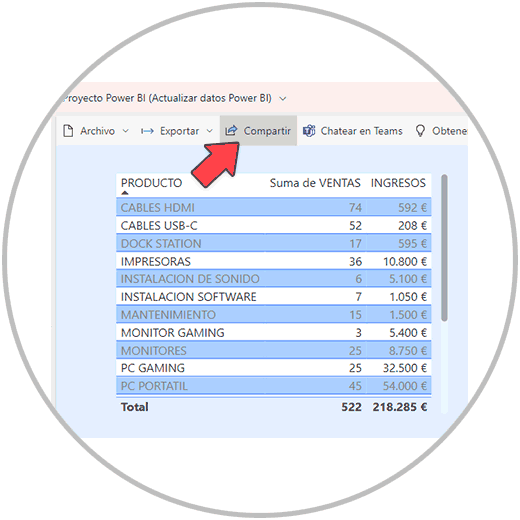
Now you will be able to see how to share your report, managing some very interesting configurations how with whom you want to share it, if it is only with specific people, with people from the organization or with people who currently have access to your reports. You can also generate a link that you can share, or directly send it through email or Teams.
In this way, you can choose which method to choose best in each case when sharing your reports and Dashboard. You can share the file or PDF using only Power BI Desktop, although as we have seen there are more interesting options from Power BI Services; As we have seen, the most interesting options when it comes to sharing information are only available with payment options. One of the payment options is the Power BI Pro license, which you can use for a period of 60 days for free and evaluate if it is worth paying after that period expires. As we always recommend, and being able to "upgrade" at any time, we recommend that you start using the free version and experience the limits that you will find. In case you need it,
If you are part of a company or organization, and you need to use Power BI to be able to face your day-to-day life, you will surely need a Pro or Premium license to start with, which will allow you to work with greater freedom when it comes to sharing and working. collaboratively.