One of the features of Windows 10 is that in an integrated way it includes a series of preinstalled applications which cannot be uninstalled using the traditional method from the control panel since they are universal applications of the operating system..
Many of these applications are of little use and therefore do nothing more than take up space on the hard disk and can be used for other types of activities. Therefore, TechnoWikis will explain how we can use Windows PowerShell to eliminate UWP (Universal) applications that are integrated in the local account or in all user accounts of our Operating System.
You know that we have Windows PowerShell tutorials section, today we focus on this way to delete and uninstall Windows 10 default applications..
1. Remove an application for all users with PowerShell in Windows 10
Step 1
To carry out this task we must access Windows PowerShell as administrators by right clicking on the Start menu, or using the following keys, and there by selecting the option “Windows PowerShell (Administrator)â€.
+ X
Step 2
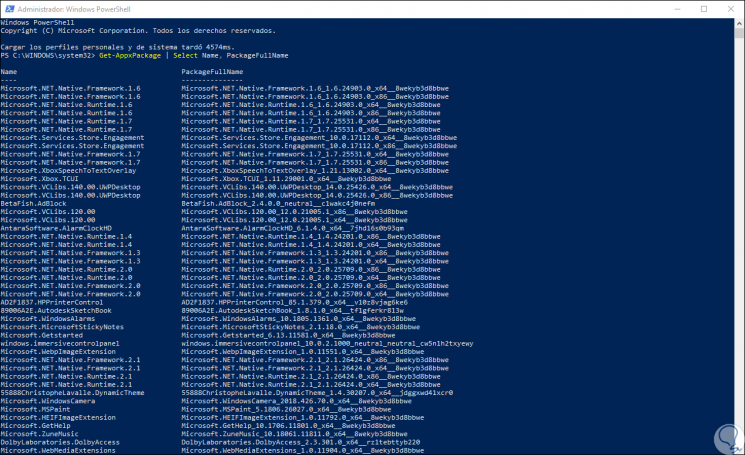
Once we access the console, we will run the following cmdlet:
Get-AppxPackage | Select Name, PackageFullName
Step 3
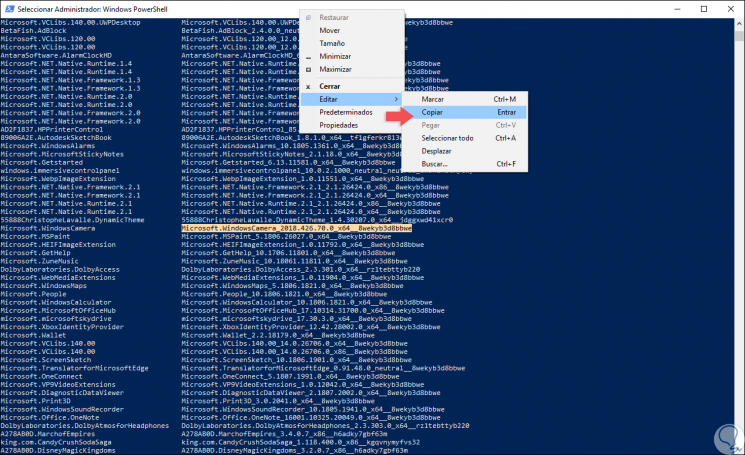
This command is responsible for displaying the entire list of universal applications installed on Windows 10. We must copy the name of the package, column “PackageFullnameâ€, for this we can select the name of the package and use two options:
- Right click on the title bar and go to "Edit / Copy".
Step 4
One of the advantages is that it will be possible to shorten the full names of the Windows 10 package including wildcards (**) to the name as such of the application, for example, we may enter * xboxapp * instead of entering the full name that it's Microsoft.XboxApp_41.41.18005.0_x64__8wekyb3d8bbwe. Now, if we want to delete an application for a single user account, we must execute the following syntax:
Get-AppxPackage PackageFullName | Remove-AppxPackage
Step 5
But if the objective is to eliminate this application for all users, we will execute the following:
Get-AppxPackage -allusers PackageFullName | Remove-AppxPackage
Step 6
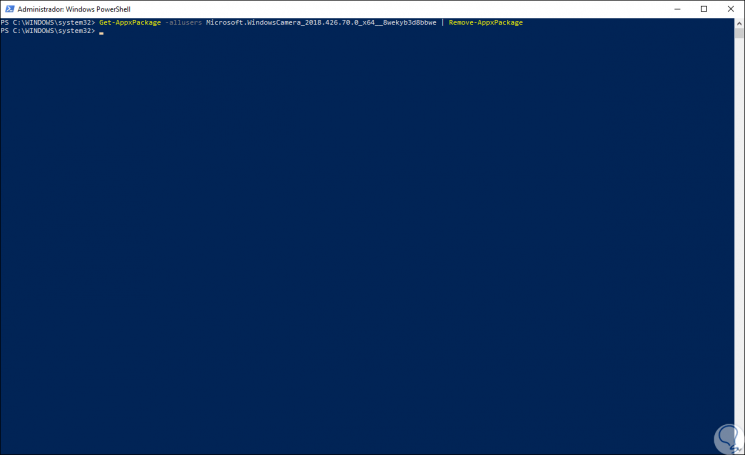
In our case we execute the following:
Get-AppxPackage -allusers Microsoft.WindowsCamera_2018.426.70.0_x64__8wekyb3d8bbwe | Remove-AppxPackage
Step 7
As a result we will see the following:
Step 8
Alternatively, we can use the example described above to remove an application using wildcards:
get-appxpackage -allusers * xboxapp * | remove-appxpackage
In this case we are removing the default Xbox app from Windows 10.
2. Remove all applications for all users with PowerShell in Windows 10
Step 1
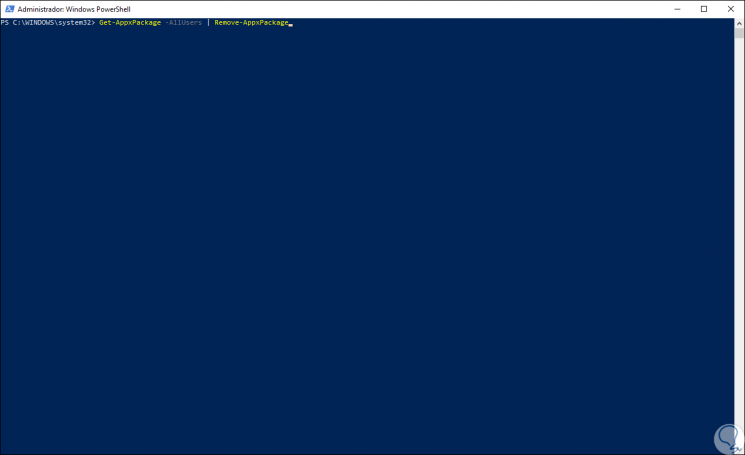
In case it is necessary that we remove all current applications for all users automatically, we must access Windows PowerShell and run the following. Press Enter to execute the action.
Get-AppxPackage -AllUsers | Remove-AppxPackage
Step 2
Now, if for some reason the reinstallation of all the universal applications that we have uninstalled is required, we can run the following line:
Get-AppxPackage -allusers | foreach {Add-AppxPackage -register “$ ($ _. InstallLocation) appxmanifest.xml†-DisableDevelopmentMode} 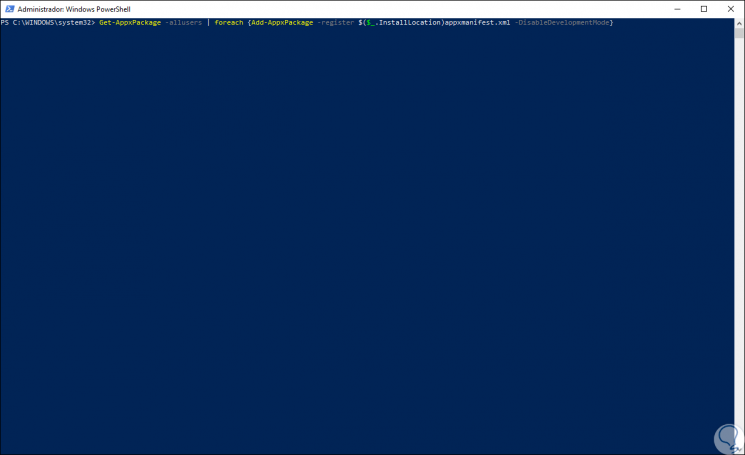
Step 3
If, on the contrary, you only want to install an application, we must execute the following:
Add-AppxPackage -register “C: Program FilesWindowsAppsPackageFullNameappxmanifest.xml†-DisableDevelopmentMode
This way it will be possible to manage everything related to universal applications in Windows 10 through PowerShell.