How many of us like to manage and manage all the parameters , services and options of Windows 10 through terminals ?, well, the development group of Microsoft thought of all of us and for that reason integrated Windows 10 Windows utility PowerShel This tool is Microsoft's advanced bet for terminal issues since Windows PowerShell is a command line shell that has been specially designed for the global administration of the system through hundreds of cmdlets, each with a special function..
To understand this terminal a bit, it is important to know that Windows PowerShell is based on the .NET Framework common language (CLR) runtime and the .NET Framework, which by default accepts and returns .NET Framework objects with the which the tasks of support, control and access to information take a new direction, interesting truth ?, well, thanks to the cmdlet (command-let), it will be possible to manage data, configure records or access and edit signature certificate stores digital and many more tasks.
PowerShell features
Among the most outstanding features of Windows PowerShell we have:
- Automatic loading module.
- Windows PowerShell automated workflows
- Cmdlets on objects (CDXML)
- Possibility of executing scheduled jobs
- Improvements in Windows PowerShell Web Access
- Cmdlet OneGet for the management of software packages
- Transcripts available on all hosts and many more
By default, Windows PowerShell is enabled in Windows 10 automatically but many users prefer to continue making use of the traditional command line command prompt (CMD) either by experience, knowledge or execution environment, in this case they choose to uninstall Windows PowerShell system and TechnoWikis will explain in detail how it is possible to carry out this process in Windows 10..
To stay up to date, remember to subscribe to our YouTube channel! SUBSCRIBE
1. How to uninstall Windows PowerShell in Windows 10
Step 1
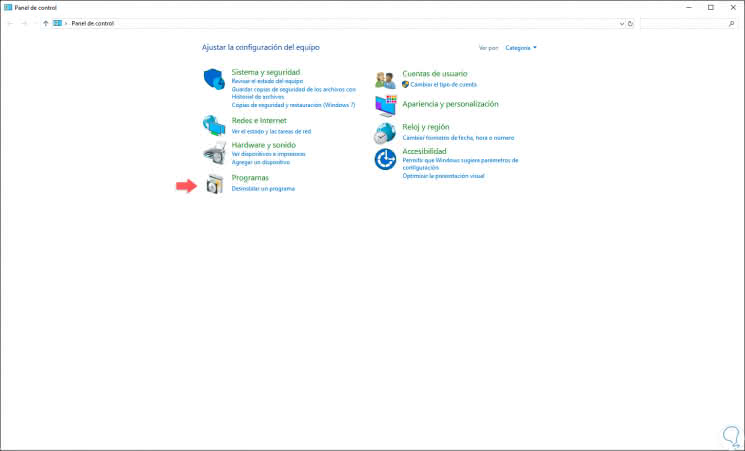
To carry out this process we must go to the "Control Panel" where we will observe the following:
Step 2
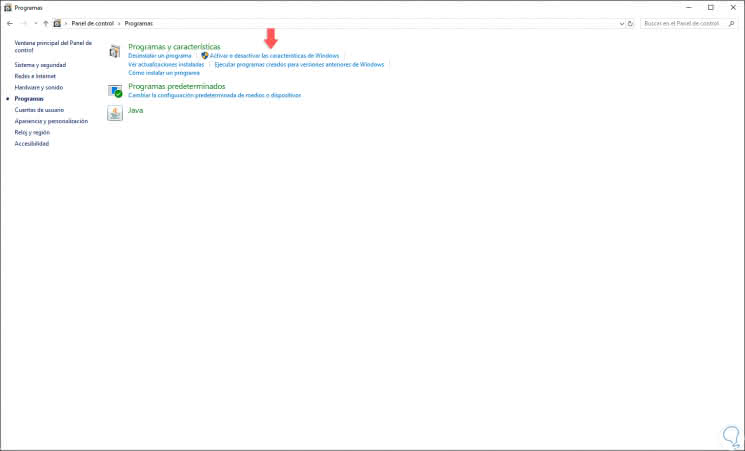
There we will click on the "Programs" line and the following will be displayed:
Step 3
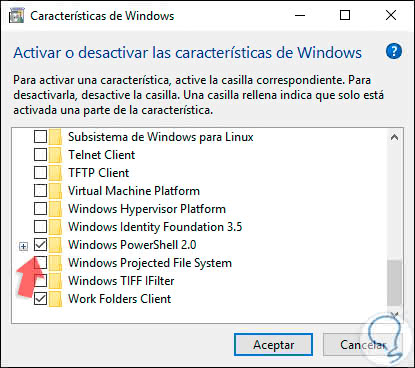
In this window we must select the line "Activate or deactivate Windows features" and in the pop-up window that will be displayed, we will place the "Windows PowerShell" line:
Step 4
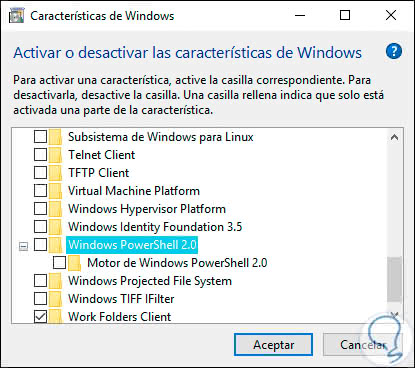
As we can see it is active, there we must unmark its box and by the way the linked processes will be automatically deactivated, if we click on the + sign we can see what these are:
Step 5
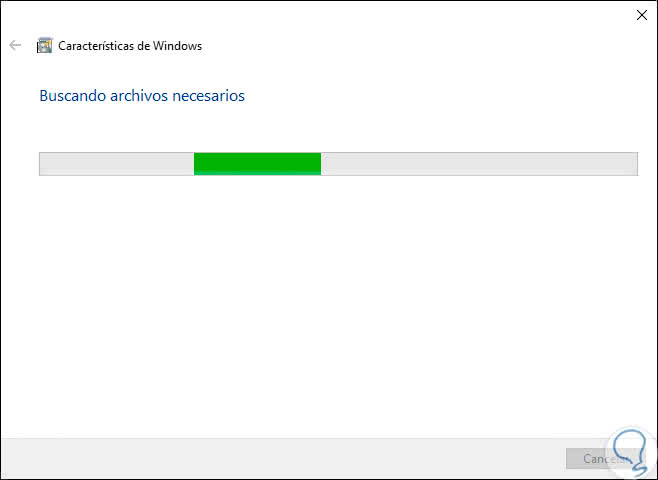
We click on OK for Windows 10 to start the process of uninstalling this utility, which first is based on the search of the files of the selected feature:
Step 6
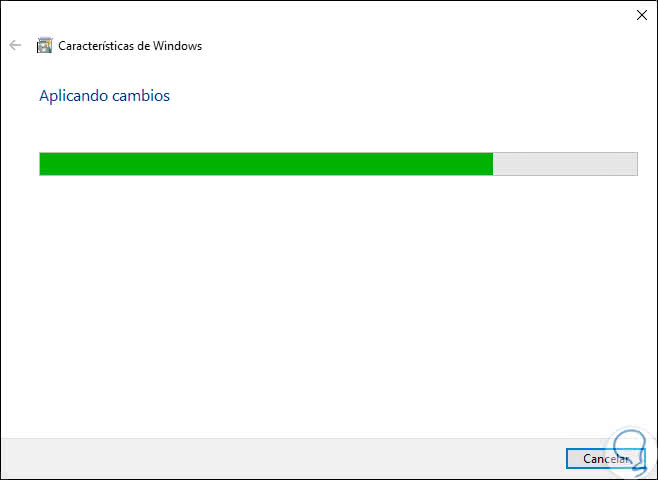
Then proceed to execute the requested changes:
Step 7
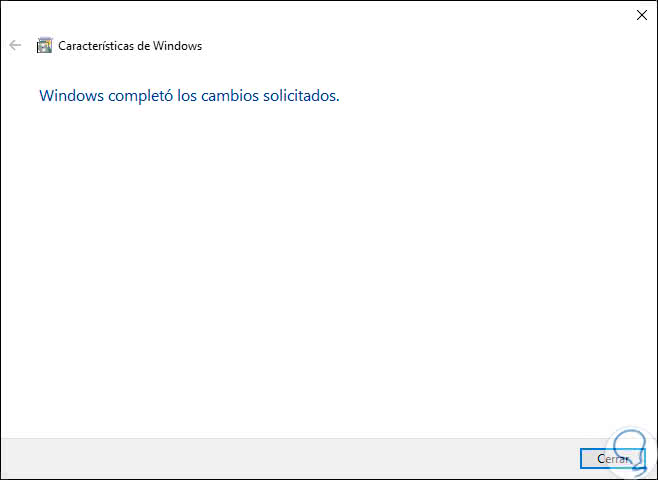
When this finishes we will see the following. We click on the Close button to exit the wizard and thus complete the process of uninstalling Windows PowerShell in Windows 10.
2. How to reinstall Windows PowerShell in Windows 10
Step 1
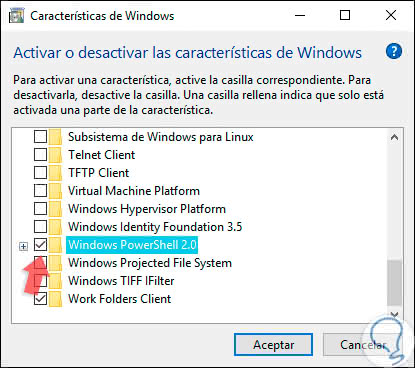
The moment we want to activate Windows Powershell again, we must go back to the Control Panel \ Programs path and there again select the option "Activate or deactivate Windows features" and this time activate the Windows PowerShell 2.0 box:
Step 2
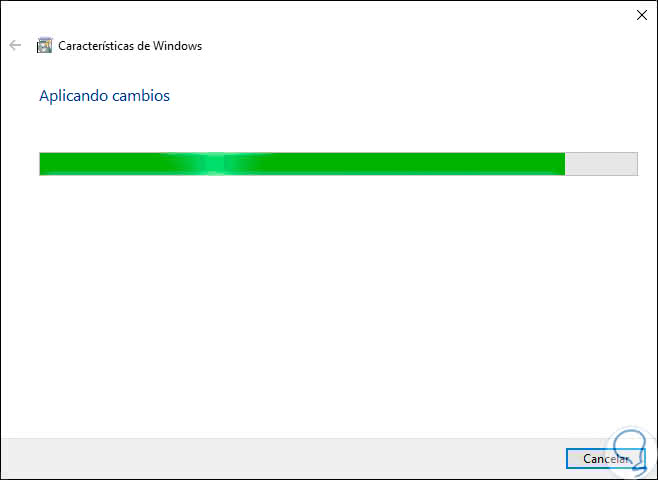
We click on OK for Windows 10 to start the file search process and its respective application in the system:
Step 3
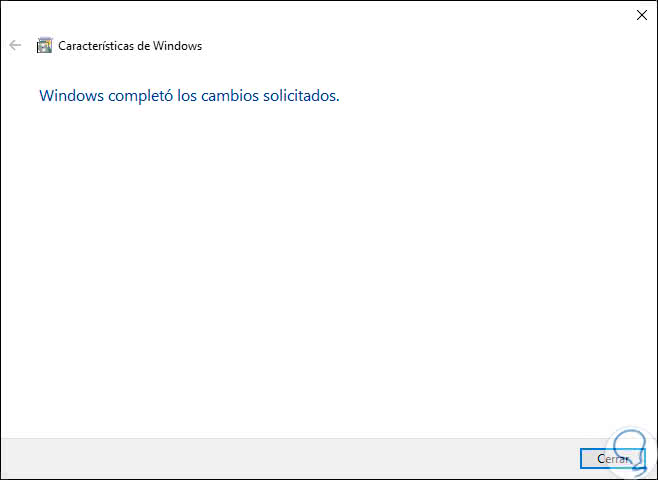
At the end we will see that the changes have been applied correctly:
Step 4
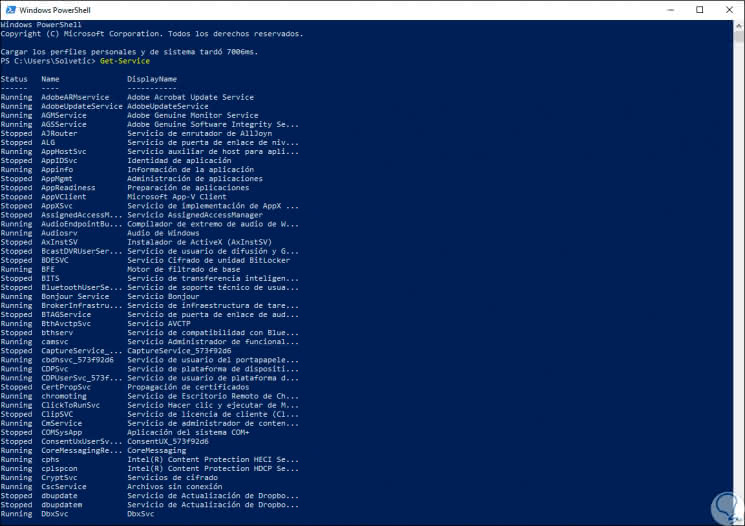
This way we will be able to use Windows PowerShell in Windows 10 again:
Note
As you may have noticed, the feature that TechnoWikis has taught you to disable which is integrated into the Windows 10 features is Windows PowerShell 2.0.
At the moment Windows PowerShell is in version 5.0, version 2.0 has some security flaws which can be used by attackers to compromise the security of the system and commit their actions. This is because being an old version does not have the same levels or security features of the most recent versions, so if we do not use it for what we have to have installed a feature that can put at risk the integrity of the system.
In this way we can remove the Windows PowerShell console from our Windows 10 and then reinstall it normally..