To stay up to date, remember to subscribe to our YouTube channel!
SUBSCRIBE ON YOUTUBE
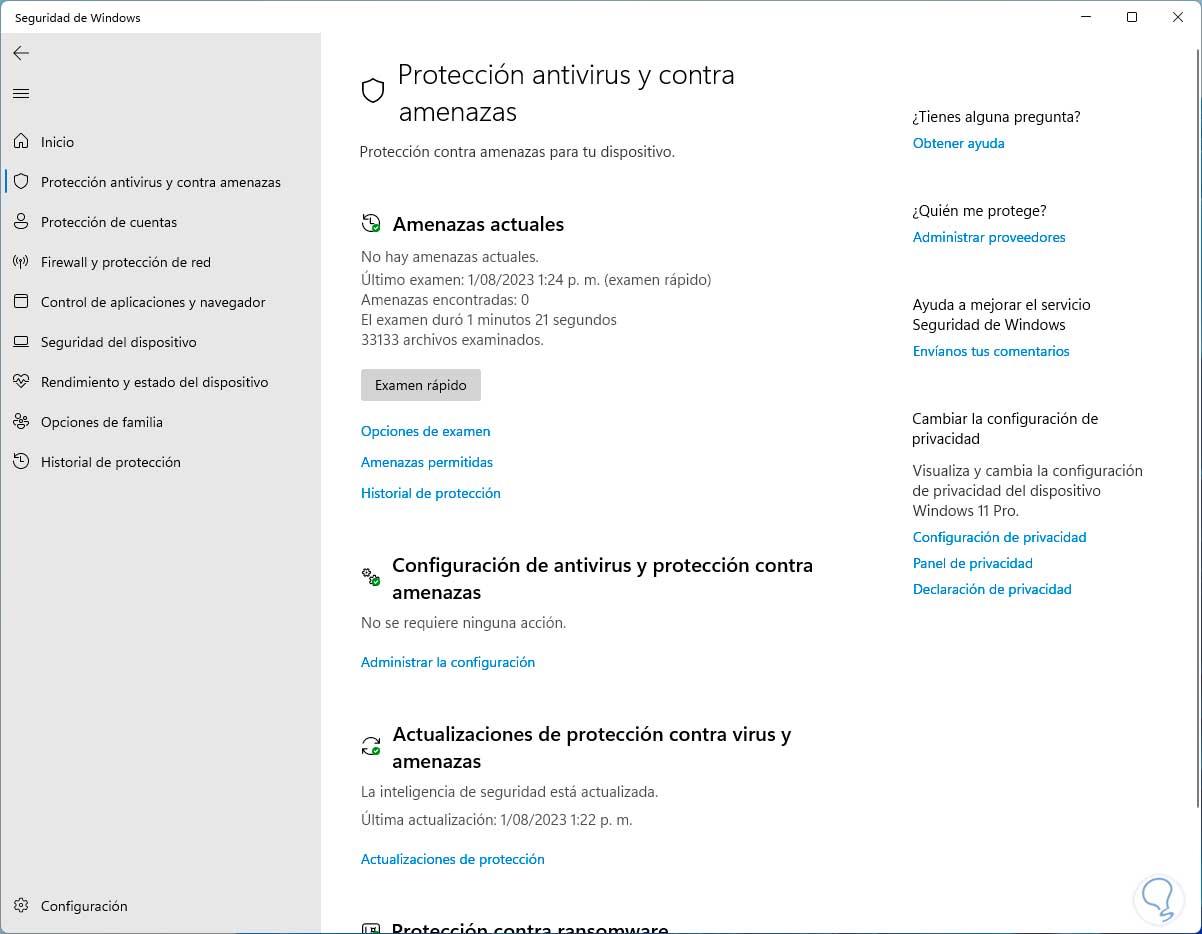
The antivirus in Windows is managed directly from the Windows Security utility and as such integrates a wide group of functions created so that the security and privacy of both the computer and the user are as protected as possible thanks to various processes that are executed both on foreground as background and the constant updates that allow the database of threats to be up to date and thus face this growing threat. But a much more comprehensive mechanism to analyze the computer is to do all this directly from the console thanks to the MpCmdRun command..
MpCmdRun (Microsoft Malware Protection Command Line Utility) is integrated into Windows as a command line function thanks to which it is possible to manage and execute tasks associated with Microsoft Defender Antivirus which, as we have mentioned, is the way Windows adds integrated security to protect your computer from malware, viruses, spyware, and other current threats.
Actions
With MpCmdRun we can perform some actions such as:
- Configure multiple alternatives and tasks of Microsoft Defender Antivirus highlighting the scan schedule, configure actions for the threats that are detected, establish notifications of any analysis or threat and more.
- Perform malware scans on the system and/or specific drives to find and remove threats using various scan options.
- Perform a diagnosis and resolution of problems associated with the antivirus.
- Detect and eliminate multiple types of threats.
- It allows updating definitions, malware definitions are files where information about the latest known threats is recorded, the MpCmdRun command is responsible for updating these definitions to be in the battle against threats.
The basic use of this utility is as follows:
MpCmdRun.exe [command] [-options]
commands
The commands available to use in Windows are:
- -Scan (-ScanType): performs the scan for software, the values we can use for ScanType are 0 (default), 1 (quick scan), 2 (full scan) or 3 (custom scan of files and directories)
- -Trace: start the diagnostic trace (tracert)
- -CaptureNetworkTrace -Path <path>: is responsible for capturing the network input in the Network Protection service and then stores it in a defined file
- -GetFiles: is responsible for collecting support information
- -GetFilesDiagTrack: collects details and sends them to the DiagTrack temporary folder
- -RemoveDefinitions [-All] – Restores installed security intelligence to a previous backup or to the default set in Windows
- -RemoveDefinitions [-DynamicSignatures]: will only remove dynamically downloaded signatures
- -RemoveDefinitions [-Engine]: allows to restore the engine installed in previous dates
- -SignatureUpdate: checks for new security intelligence updates
- -Restore [-ListAll] - Restores or lists quarantined items
- -ListAllDynamicSignatures: displays loaded dynamic security intelligence
- -RemoveDynamicSignature: removes dynamic security intelligence
- -ValidateMapsConnection: is responsible for validating that the network can establish communication with the Microsoft Defender Antivirus cloud service
- -ResetPlatform: Resets platform binaries to %ProgramFiles%\Windows Defender
- -RevertPlatform: Allows you to revert platform binaries to a previously installed version
Now let's see how to use this utility in Windows and thus analyze various aspects of the system..
How to use Windows antivirus in CMD
Step 1
To start we open the File Explorer and validate in the following path that the Windows Defender folder exists:
C:\Program Files\Windows Defender
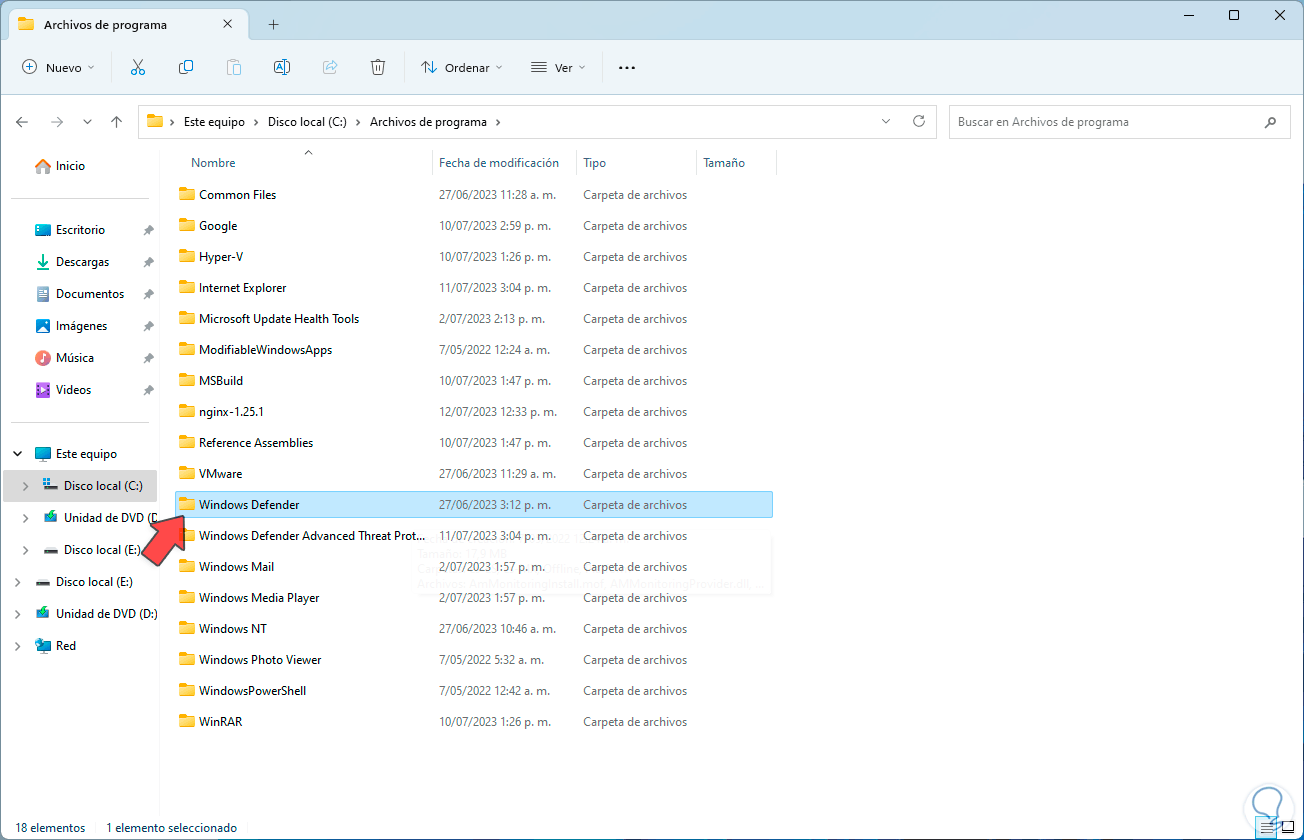
Step 2
We access the folder to see that the executable is available:

Step 3
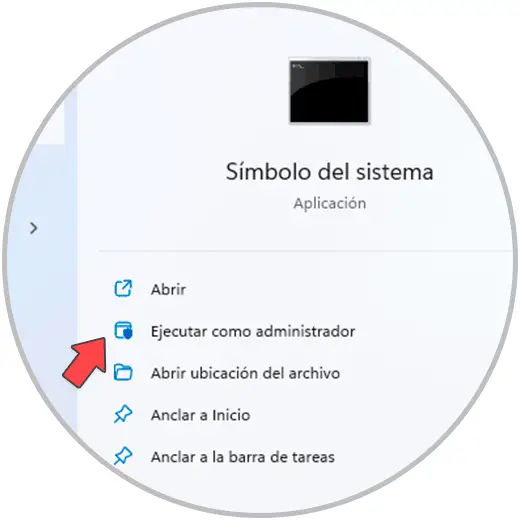
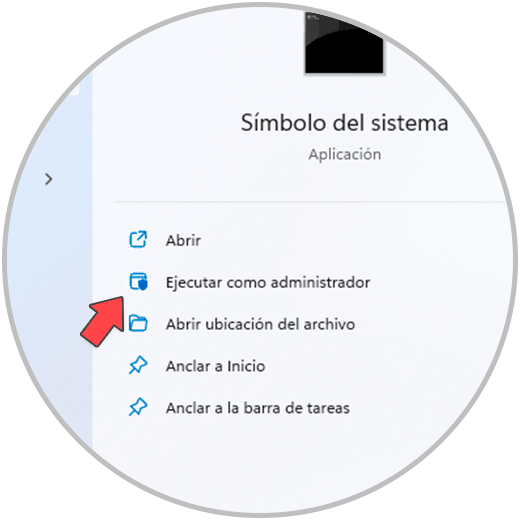
Now we are going to open the Command Prompt Console as administrator:
Step 4
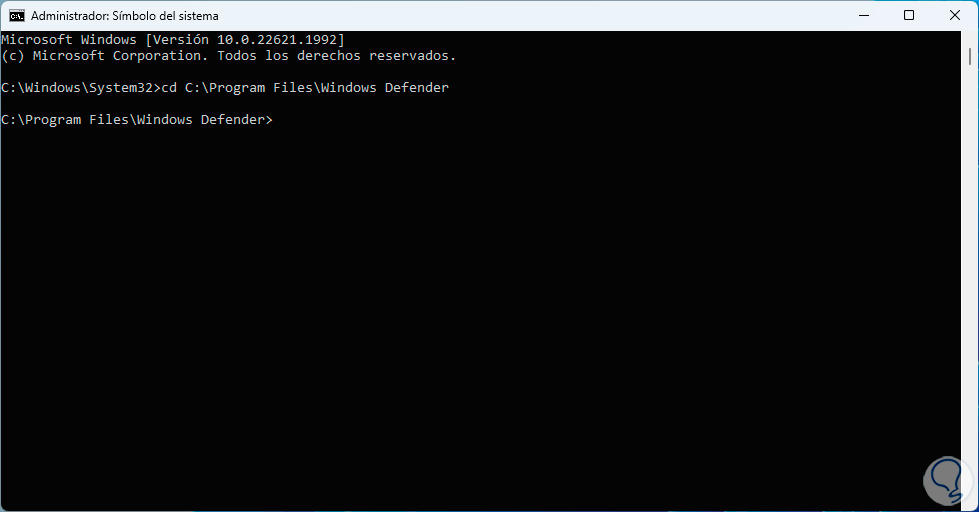
In the console we access the Windows Defender path using the "cd" command:
step 5
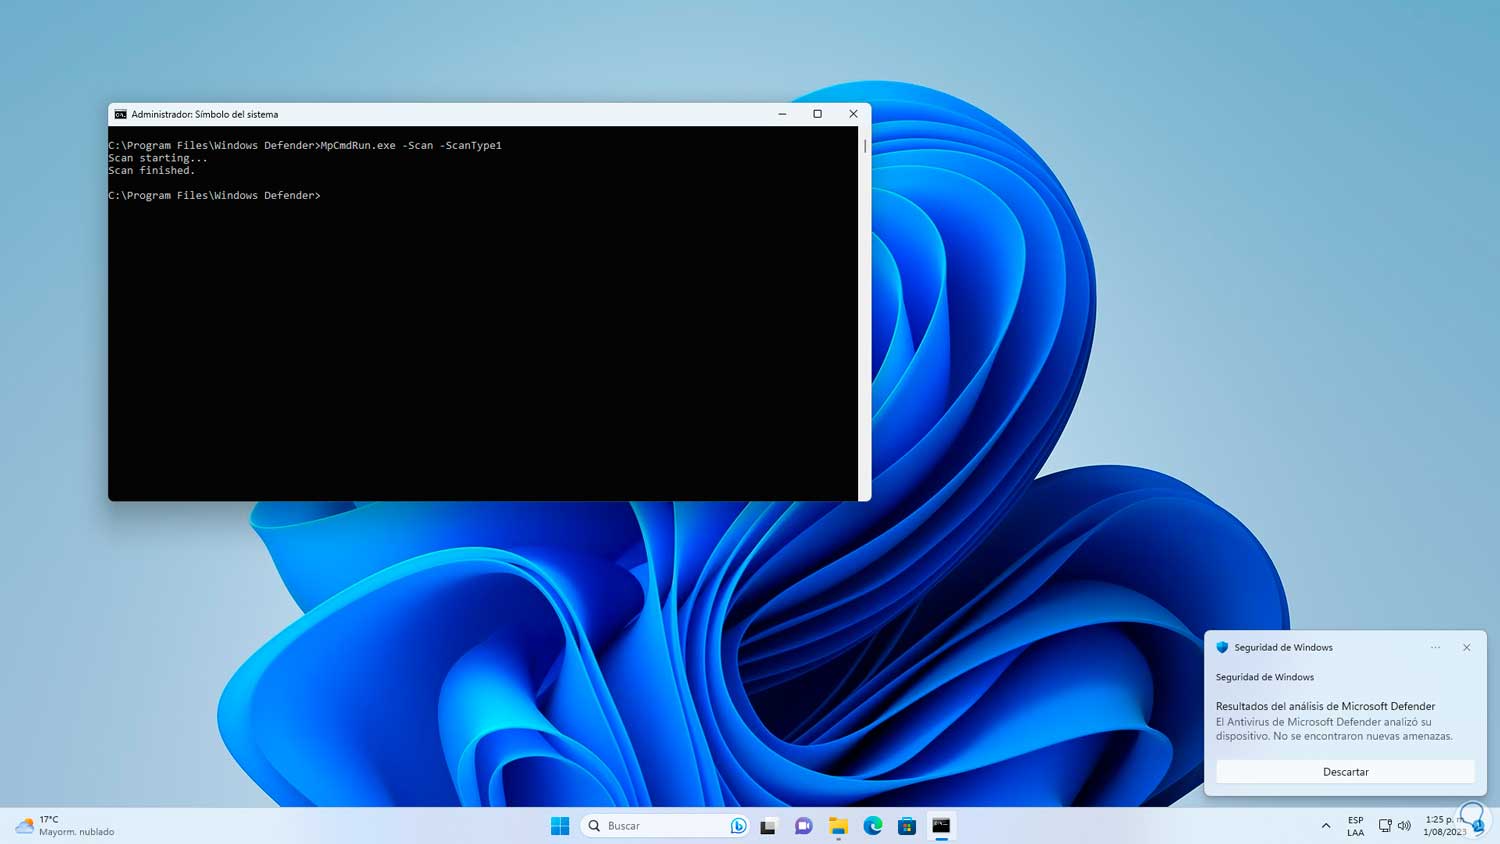
First let's run a quick scan using type 1:
MpCmdRun -Scan -ScanType 1

step 6
We wait for it to be executed and when this process ends we will be notified of the result:
step 7
We can see the result of the executed exam:
step 8
Now, to perform a full Windows scan, we'll run the following command using type 2:
MpCmdRun -Scan -ScanType 2
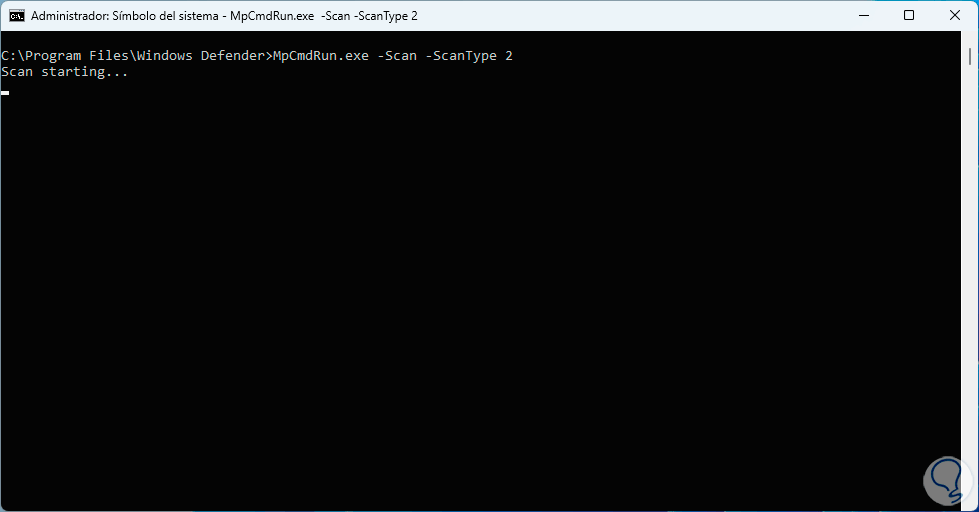
step 9
If it takes too long we can cancel it using the following keys, at the end we can see the result of the exam.
Ctrl + C
step 10
As we said, it is possible to perform a custom analysis, for this we first go to File Explorer and validate the path to be analyzed:
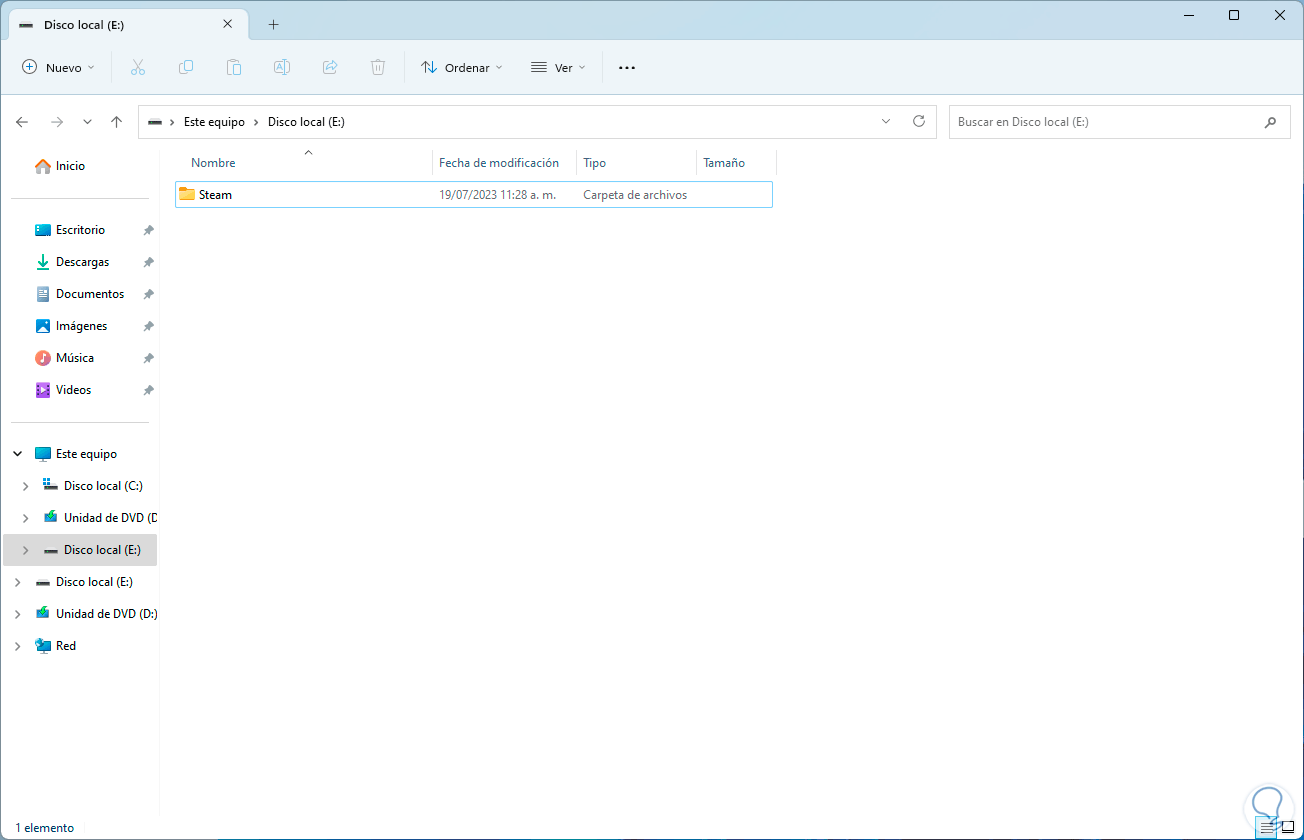
step 11
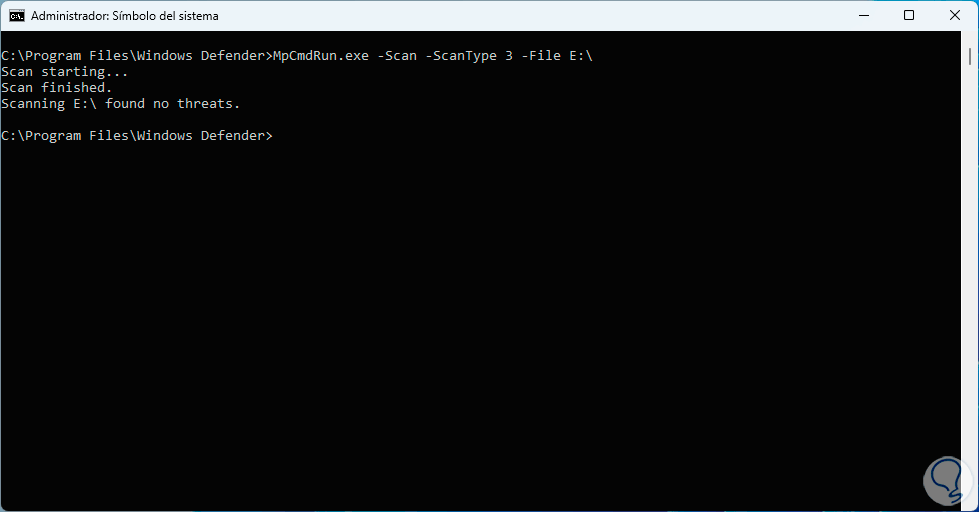
Now in the console we execute the following syntax:
MpCmdRun -Scan -ScanType 3 -File "path"

step 12
We hope it ends:
step 13
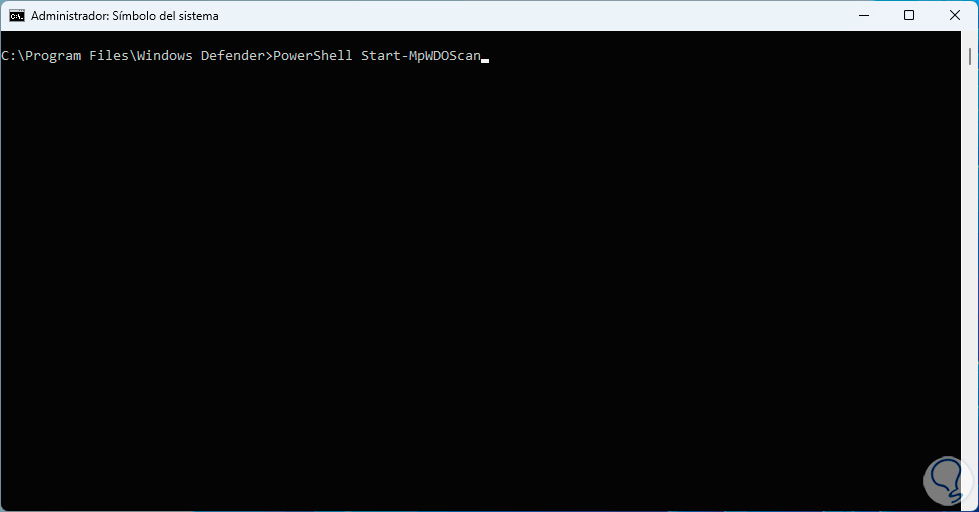
One of the most special exams is the offline analysis of the system which is ideal since we avoid using various processes and services, to perform this analysis in the console we will execute the following:
PowerShell Start-MpWDOScan
step 14
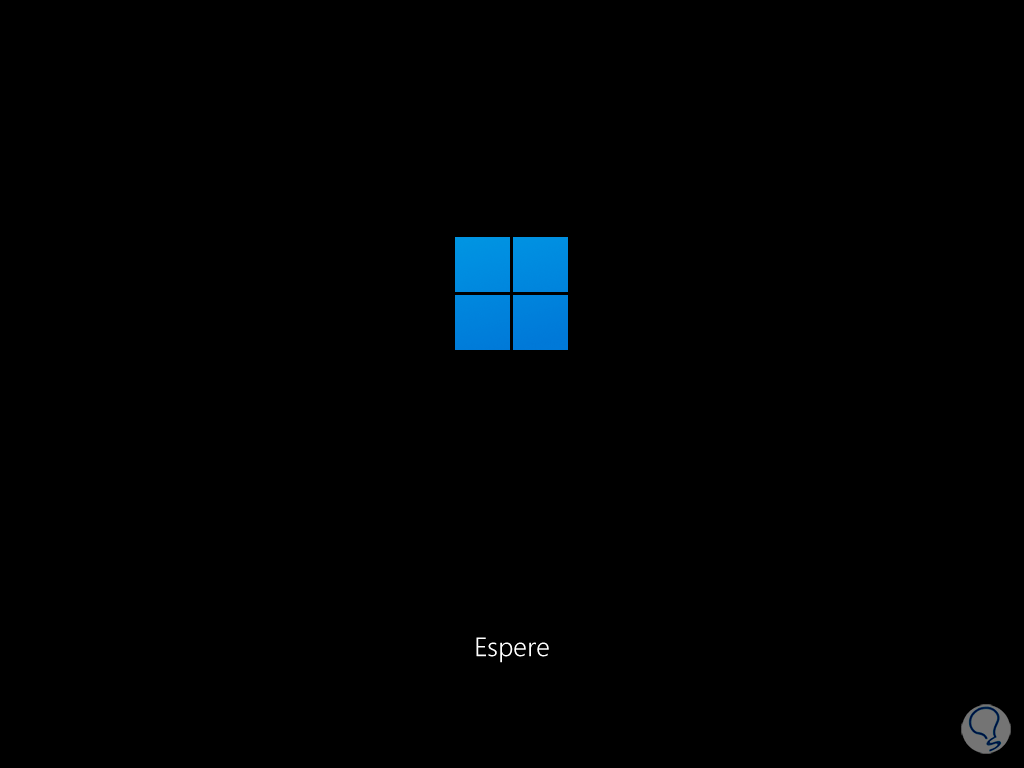
By pressing Enter, the system will be rebooted:

step 15
We wait for it to start loading the system:
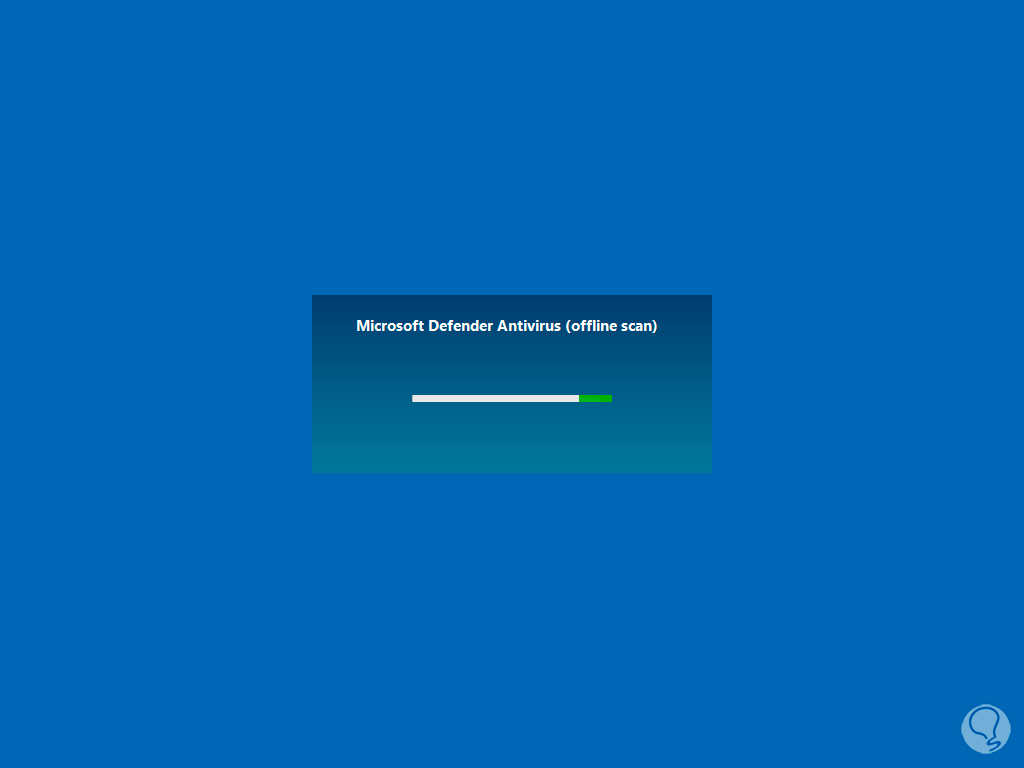
step 16
In a moment we will see that the system examination starts in offline mode:
step 17
Then it will be possible to see the status of the analysis in real time:
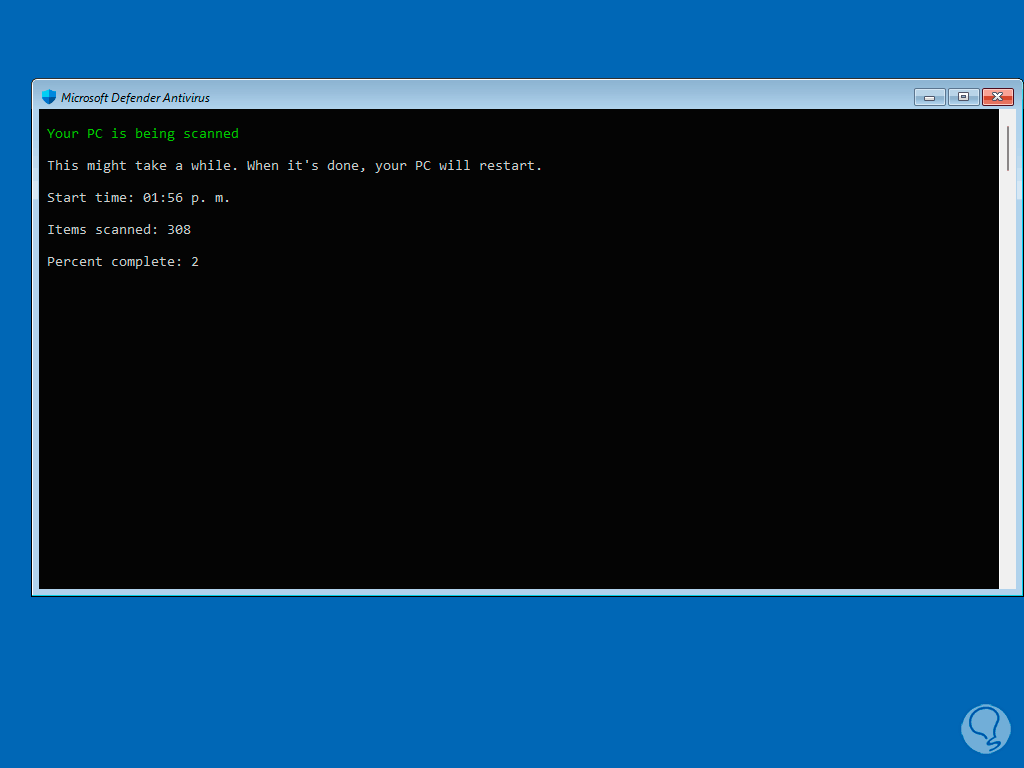
step 18
There we can see the analysis percentage:

step 19
Windows will automatically restart at the end of the analysis:

step 20
It is possible that when we log in we will have a result of this analysis:
step 21
Another of the available options is to analyze the boot of Windows, which can be compromised with some malware that makes the startup slow or that the data can be stolen from there, to execute this analysis we are going to open the console as administrator:
step 22
We go to the path where Windows Defender is and then we execute the following command for boot analysis:
MpCmdRun.exe -Scan -ScanType -BootSectorScan
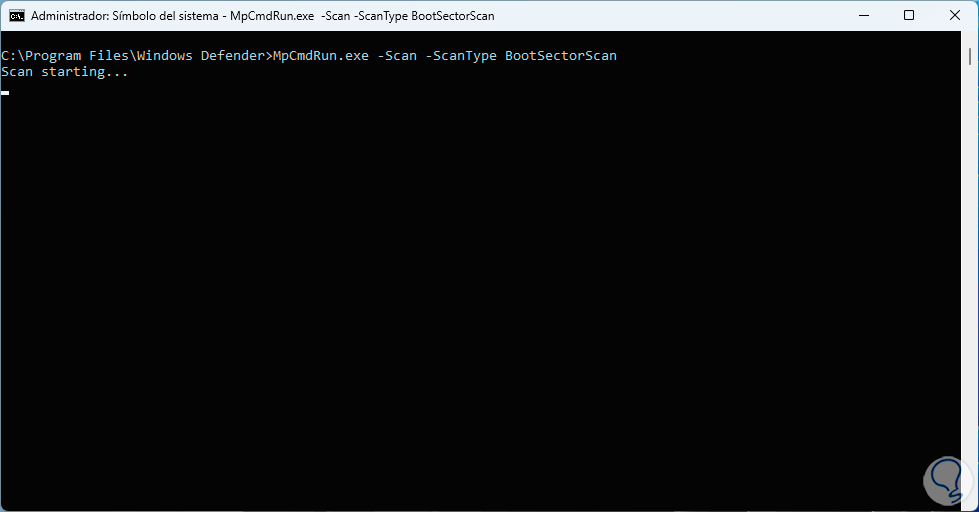
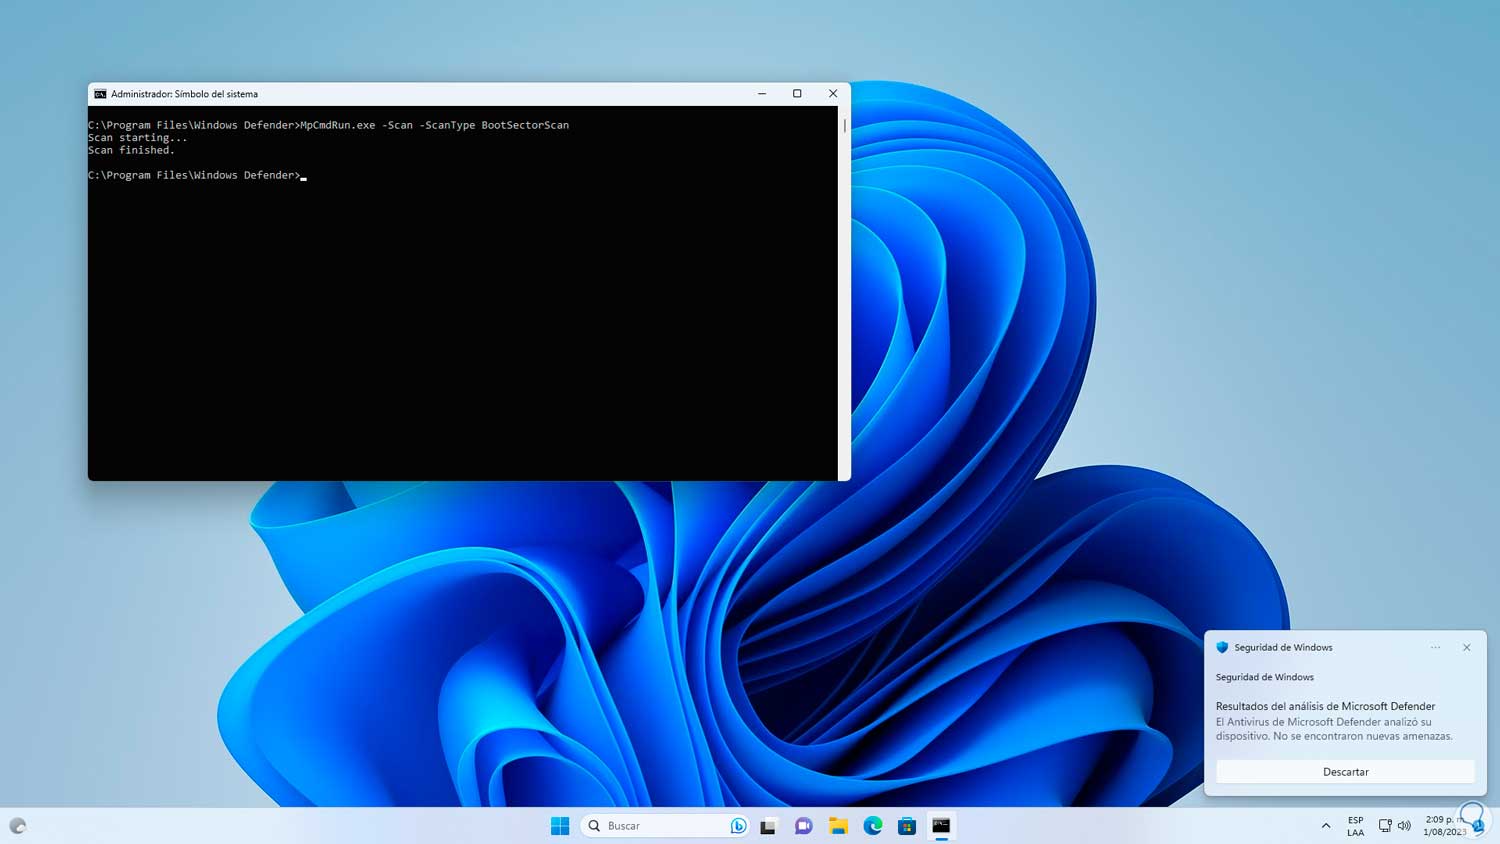
Step 23
We wait for the analysis to finish:
step 24
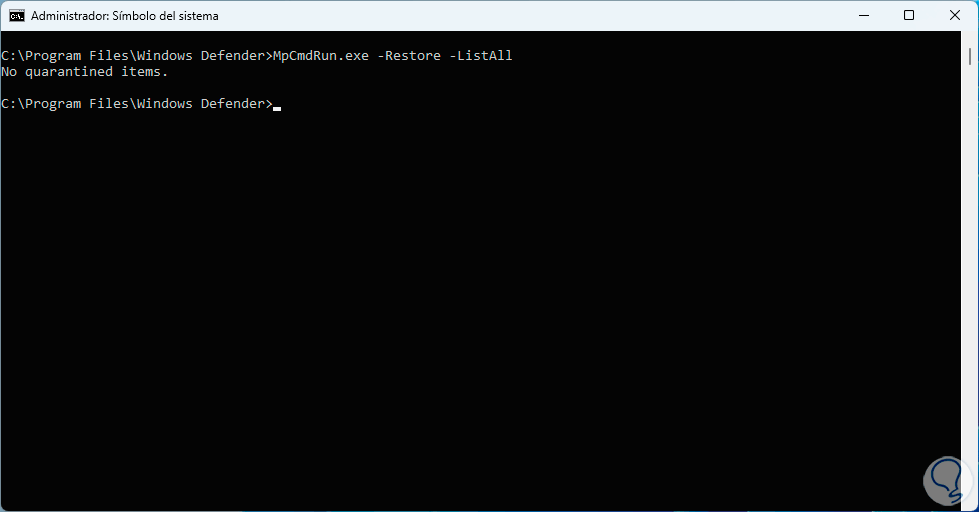
If we want to list the files in quarantine, we will execute the following command. In this case we do not have elements there.
MpCmdRun.exe -Restore -ListAll
step 25
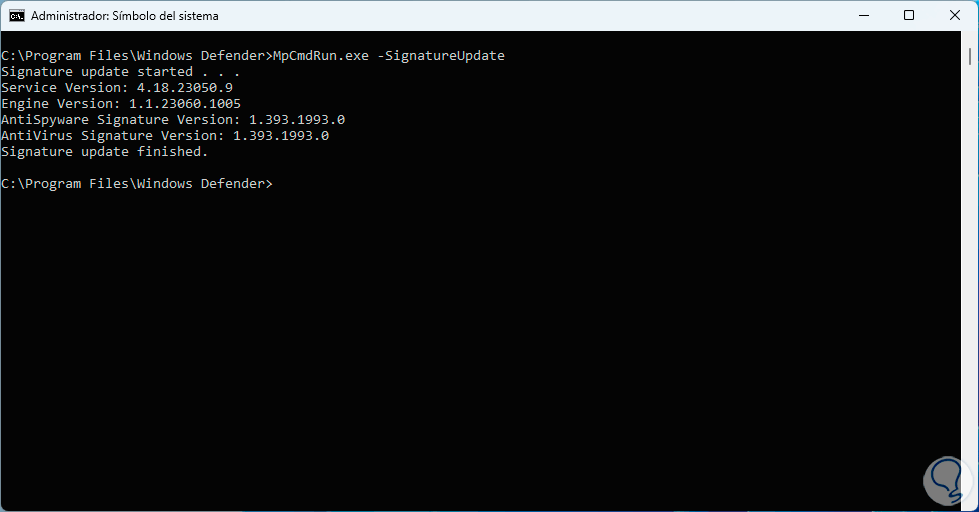
To update the signatures we execute the command:
MpCmdRun.exe -SignatureUpdate
Step 26
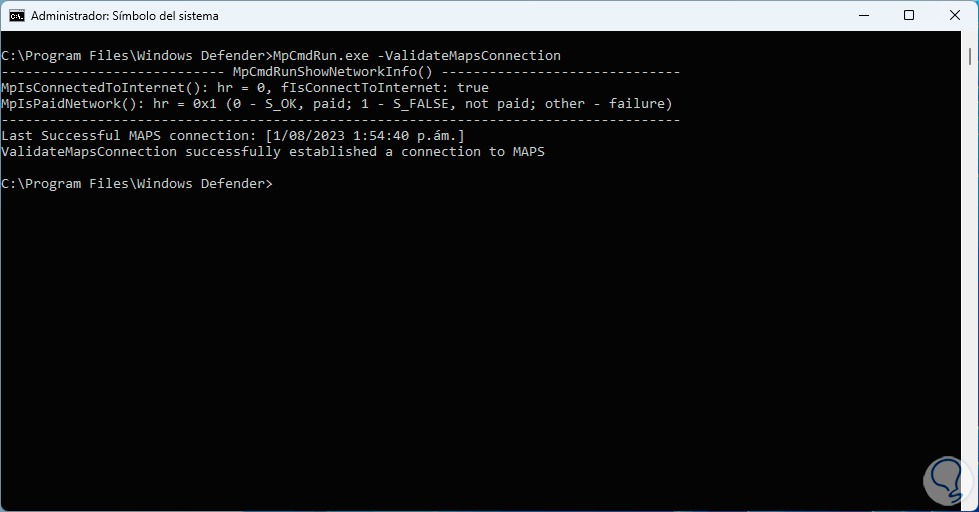
Now we can verify the status of the cloud service, for this we are going to execute the following command:
MpCmdRun.exe -ValidateMapsConnection
step 27
We can see the result of the connectivity tests.
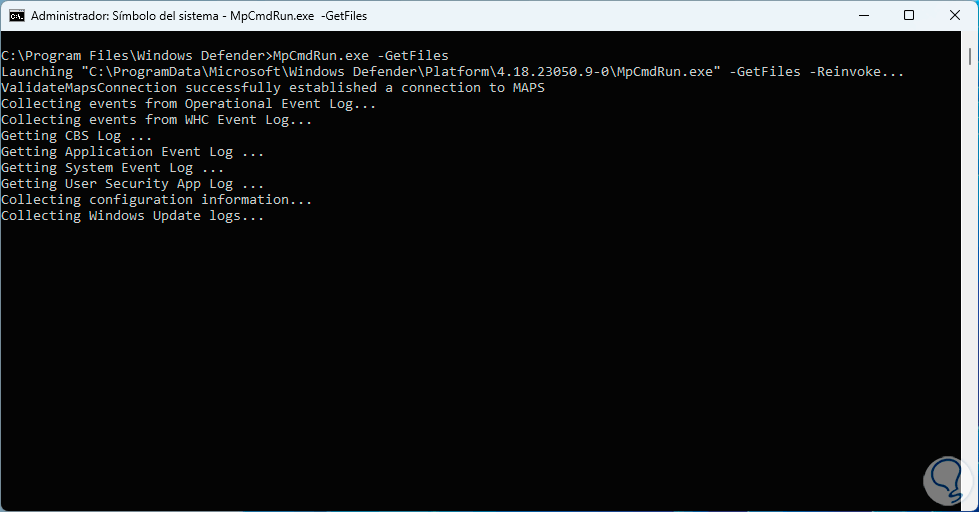
We can recover files, for this we first execute the following command to create the respective file:
MpCmdRun.exe -GetFiles
Step 28
Numerous processes will be loaded there:
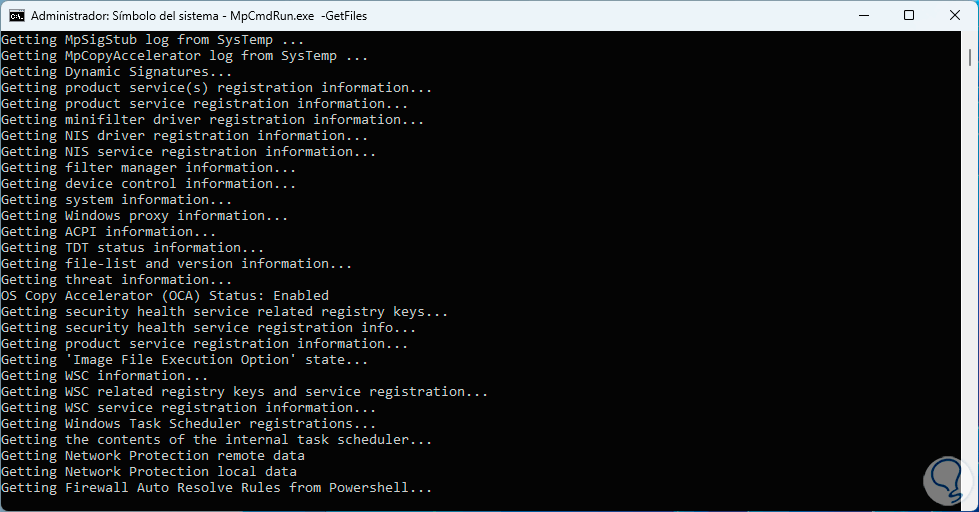
Step 29
We wait for the file to be created and we take into account the location:

step 30
Now we go to the path where the file was saved and to access it we will see the following:
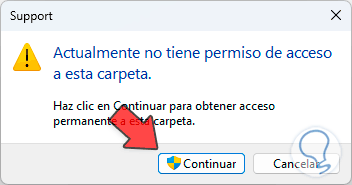
step 31
We will see the file:
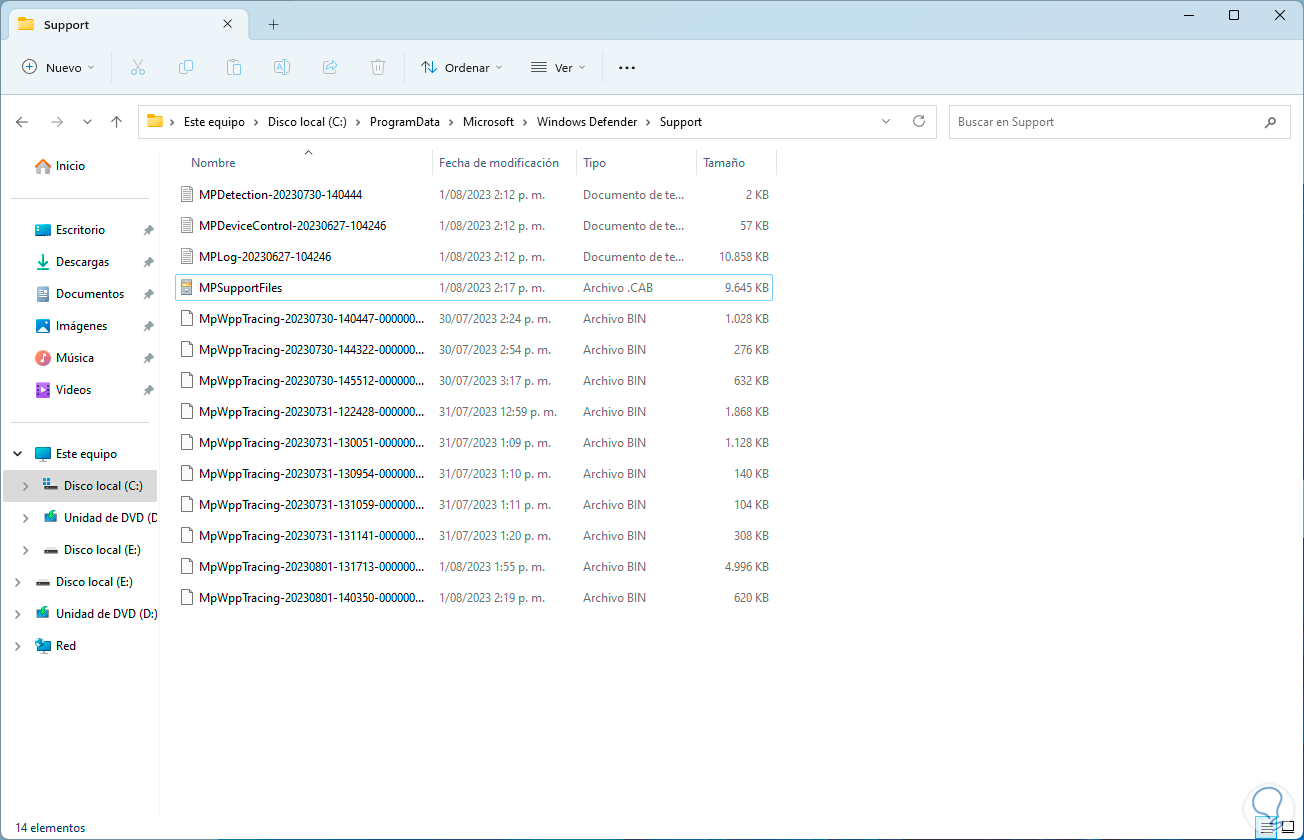
step 32
We right click on the .cab file and select "Open with - Windows Explorer":
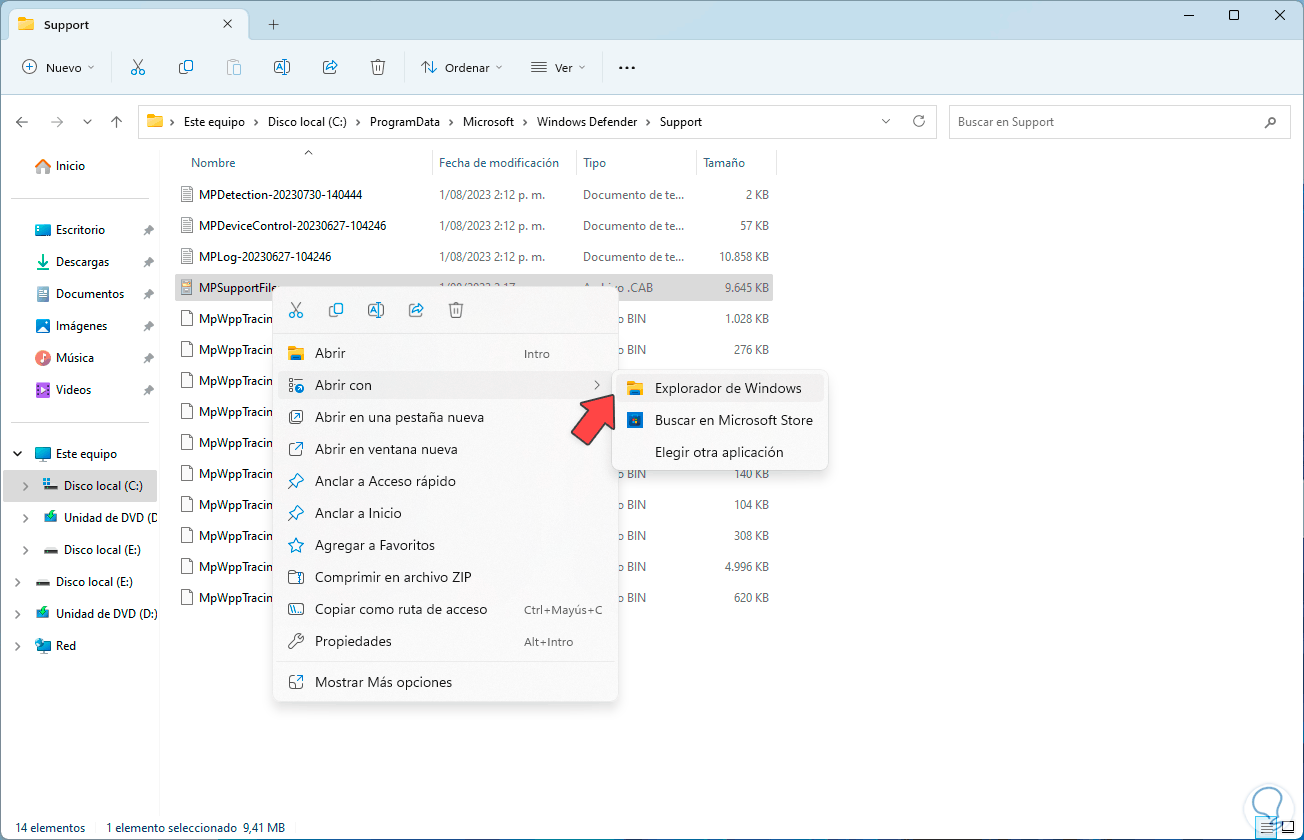
Step 33
We will have access to the content:
Step 34
If we want to remove the definitions we will execute the following command:
MpCmdRun.exe -RemoveDefinitions -All
33
step 35
To remove only the dynamic signatures we will use the command:
MpCmdRun.exe -RemoveDefinitions -DynamicSignatures
3. 4
Step 36
After this it will be possible to update the signatures again with the command:
MpCmdRun.exe -SignatureUpdate
35
Step 37
In case of failures we can reset Windows Defender to its values using the following command:
MpCmdRun.exe -ResetPlatform
36
Step 38
Or we can revert the platform to the previous version using the following command:
MpCmdRun.exe -RevertPlatform
37
This is how this utility gives us the opportunity to perform various types of analysis on the system to make sure that everything is protected, this covers both the parameters of the equipment and the system as well as the user's files and is an integral way of executing the alternatives provided by the Windows antivirus.