To stay up to date, remember to subscribe to our YouTube channel!
SUBSCRIBE ON YOUTUBE
Windows 10 and Windows 11 offer us as users some functional alternatives to manage the applications we use daily and one of these managers is winget, winget, which is the abbreviation of Windows Package Manager, has been developed to manage and administer software in aspects relevant such as installation, uninstallation and so on..
Tasks
Winget gives us the opportunity to perform tasks such as:
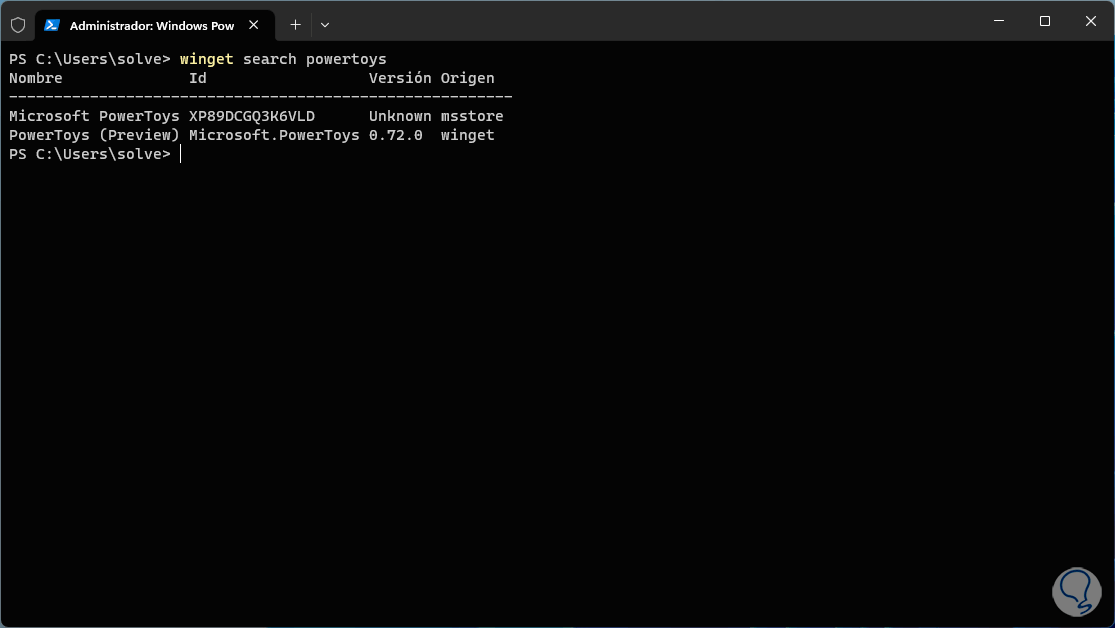
- Install or search for apps.
- List installed applications.
For many users today it is a problem to access and use winget since the error that the system does not recognize winget is thrown, for this reason in this tutorial we bring a series of options to correct this error and use winget 100%.
1 Register again Winget
Step 1
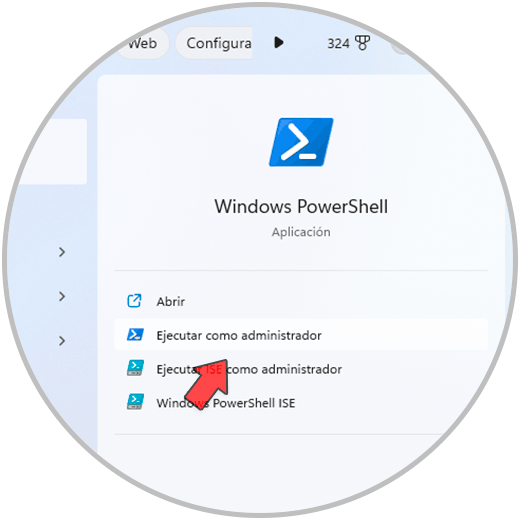
It is possible to correct this winget error by registering the utility again, this will overwrite all the files giving the solution, to achieve this we open PowerShell from the browser as administrator:
Step 2
In the console we execute the following syntax:
Add-AppxPackage -DisableDevelopmentMode -Register “C:\Program Files\WindowsApps\Microsoft.DesktopAppInstaller_1.19.2011.0_x64__######” -Verbose
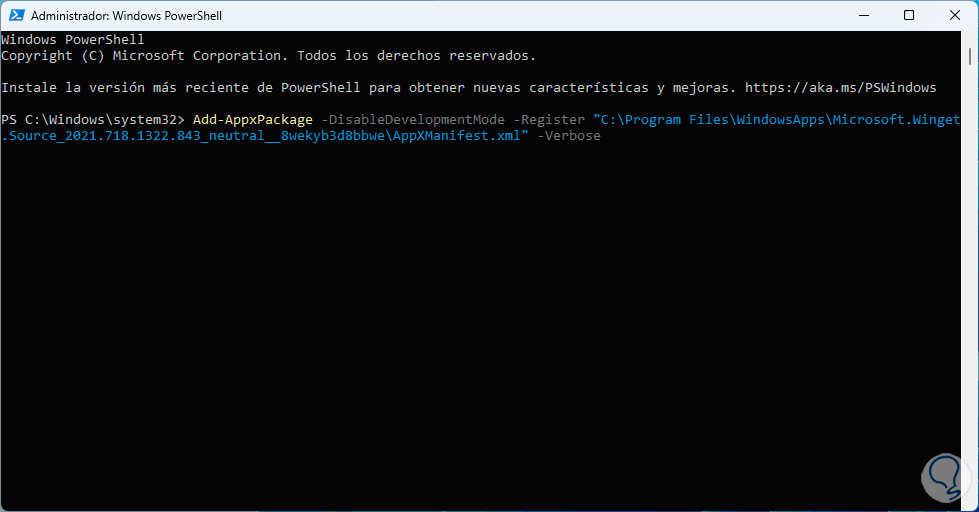
Note
In the path C:\Program Files\WindowsApps we must copy the correct name of the folder since it changes based on the version used.
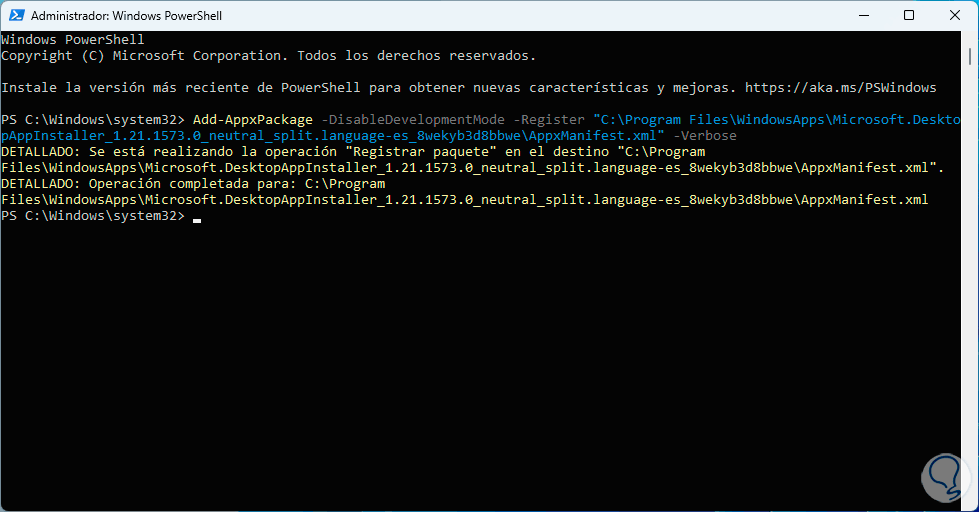
Step 3
Press Enter and wait for this process to finish:
2 Activate Windows Package Manager
Step 1
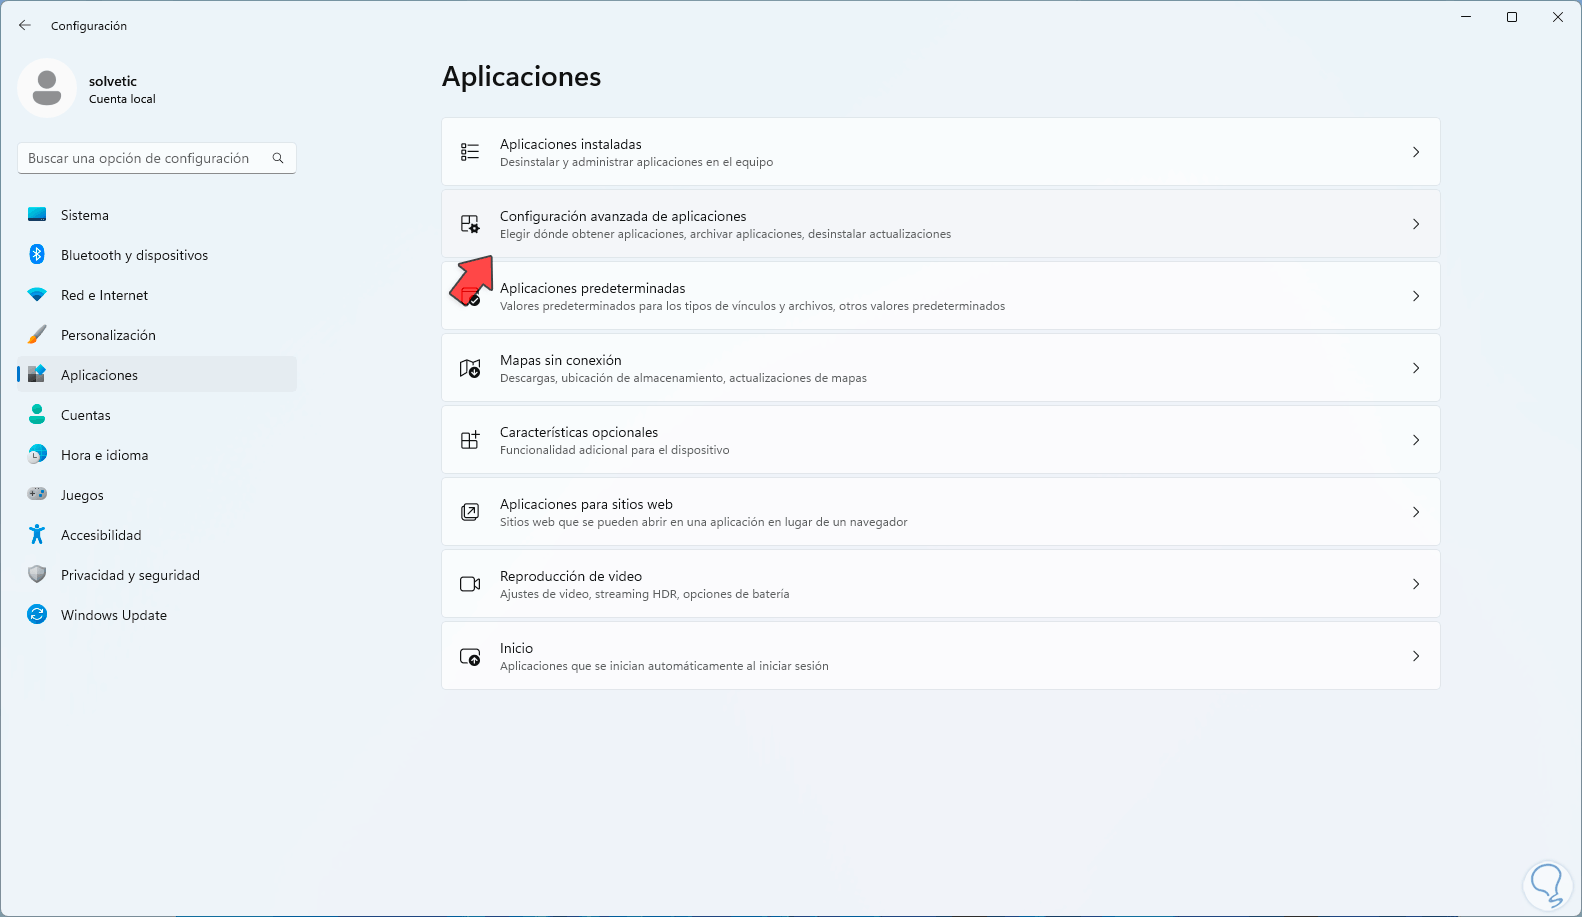
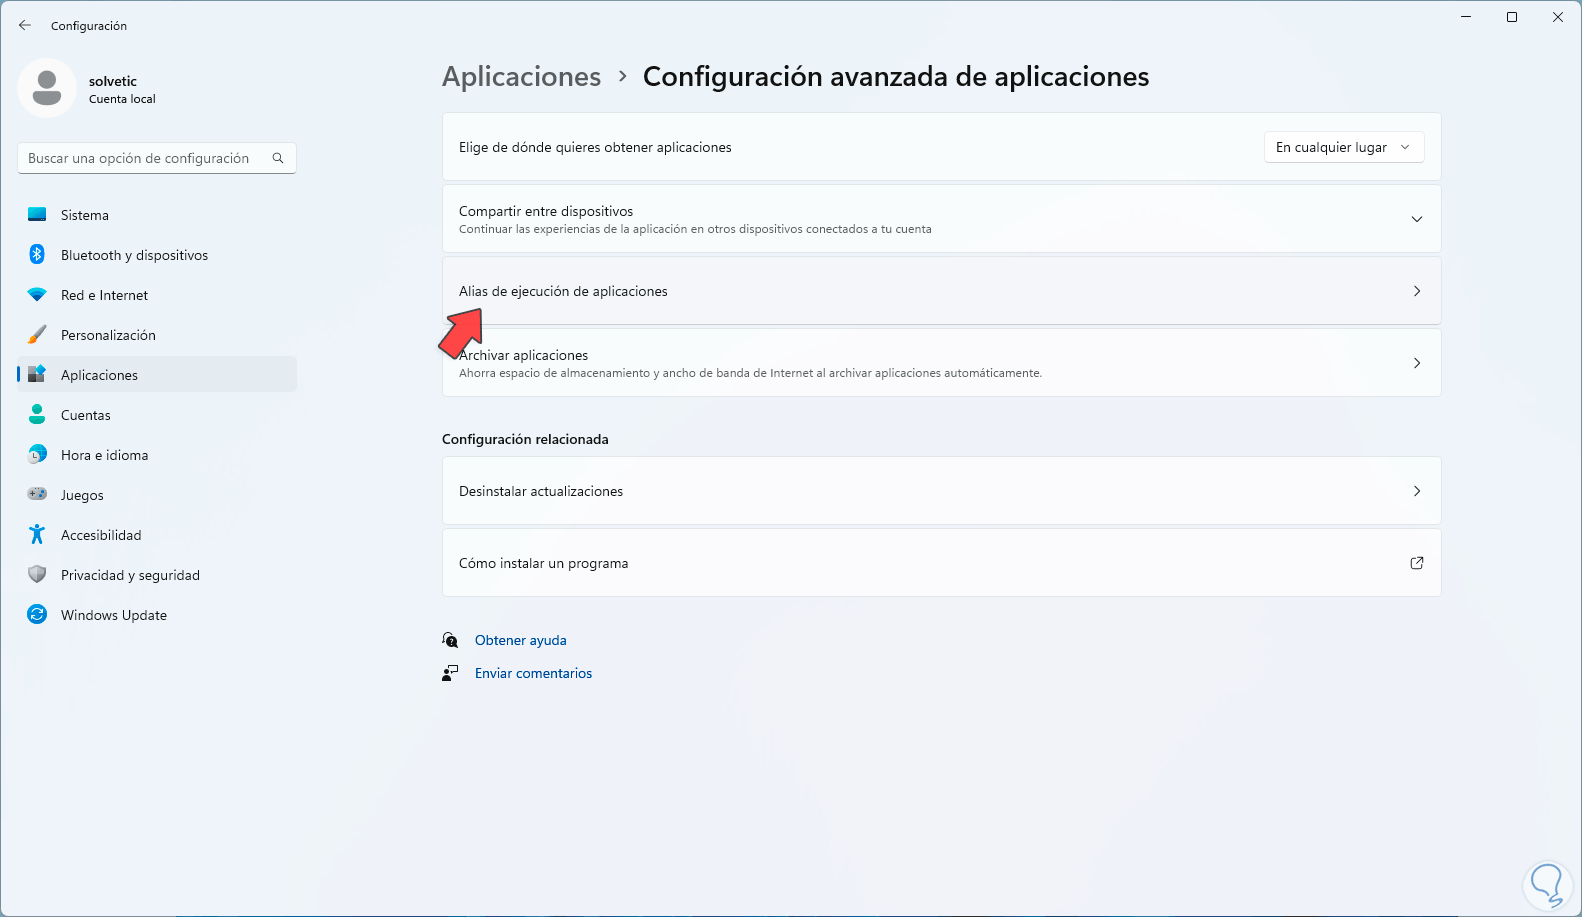
With this option we seek to validate that the use of Winget is active, to verify it we will go to the route:
- Advanced application settings
Step 2
By clicking there we will see the following options: Here we click on "Application execution aliases"
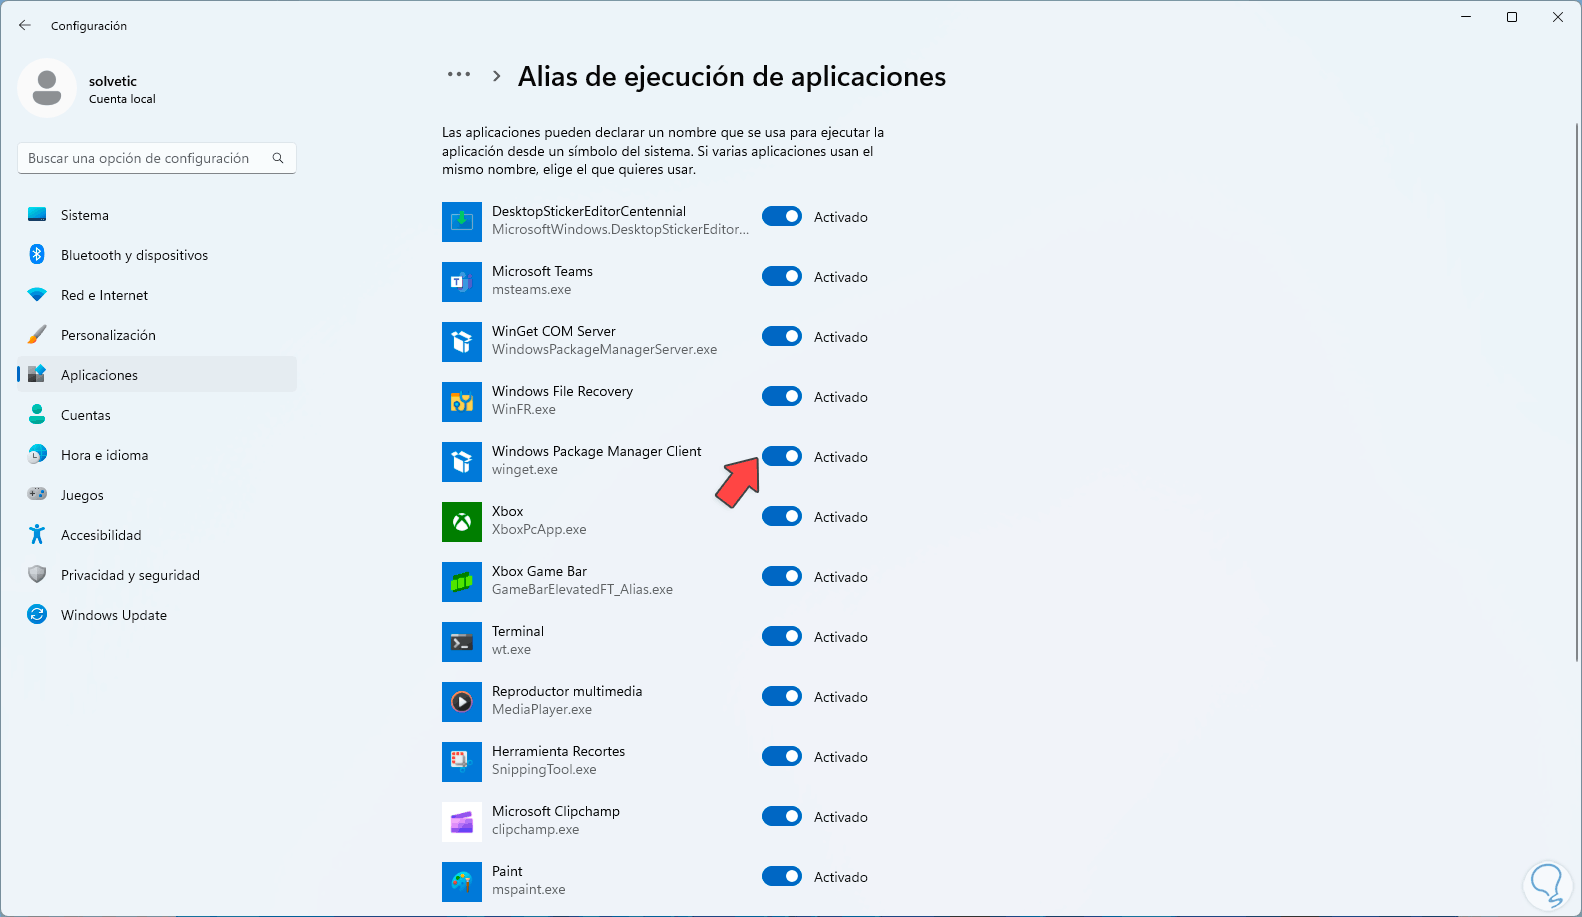
Step 3
and then we confirm that the "Windows Package Manager Client" switch is active:
3 Update Winget
Step 1
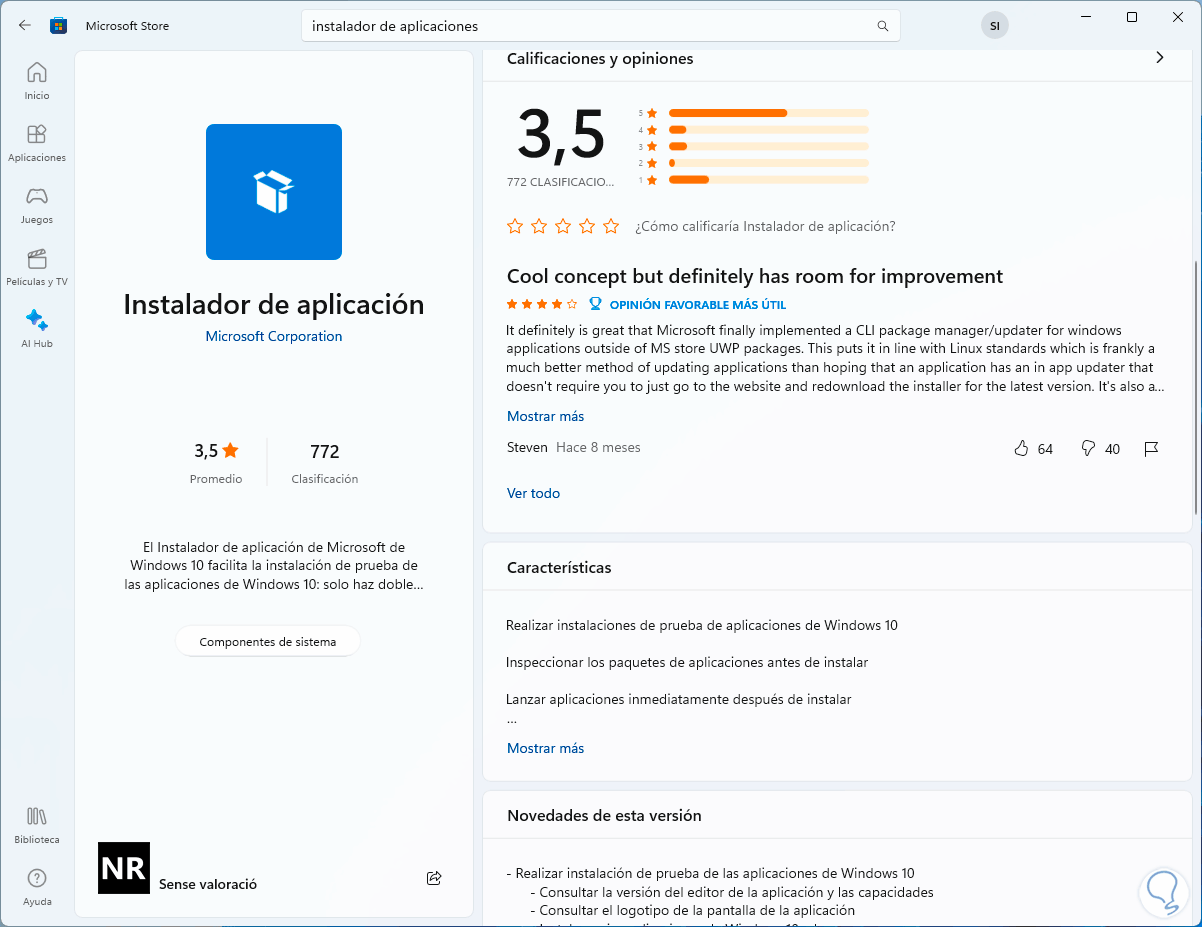
As with any application, if Winget is not up to date, it can trigger various errors, including the fact that it is not recognized by Windows. To check if there are updates, we are going to open the Windows Store and there we look for "application installer", click on " Application installer" and validate if the Update button is activated:
If it is not activated, it is because it has the latest available updates..
4 Reinstall Winget
Step 1
In case the error persists we can reinstall Winget, in this case it must be done from GitHub, to achieve this we will go to the following link:
winget
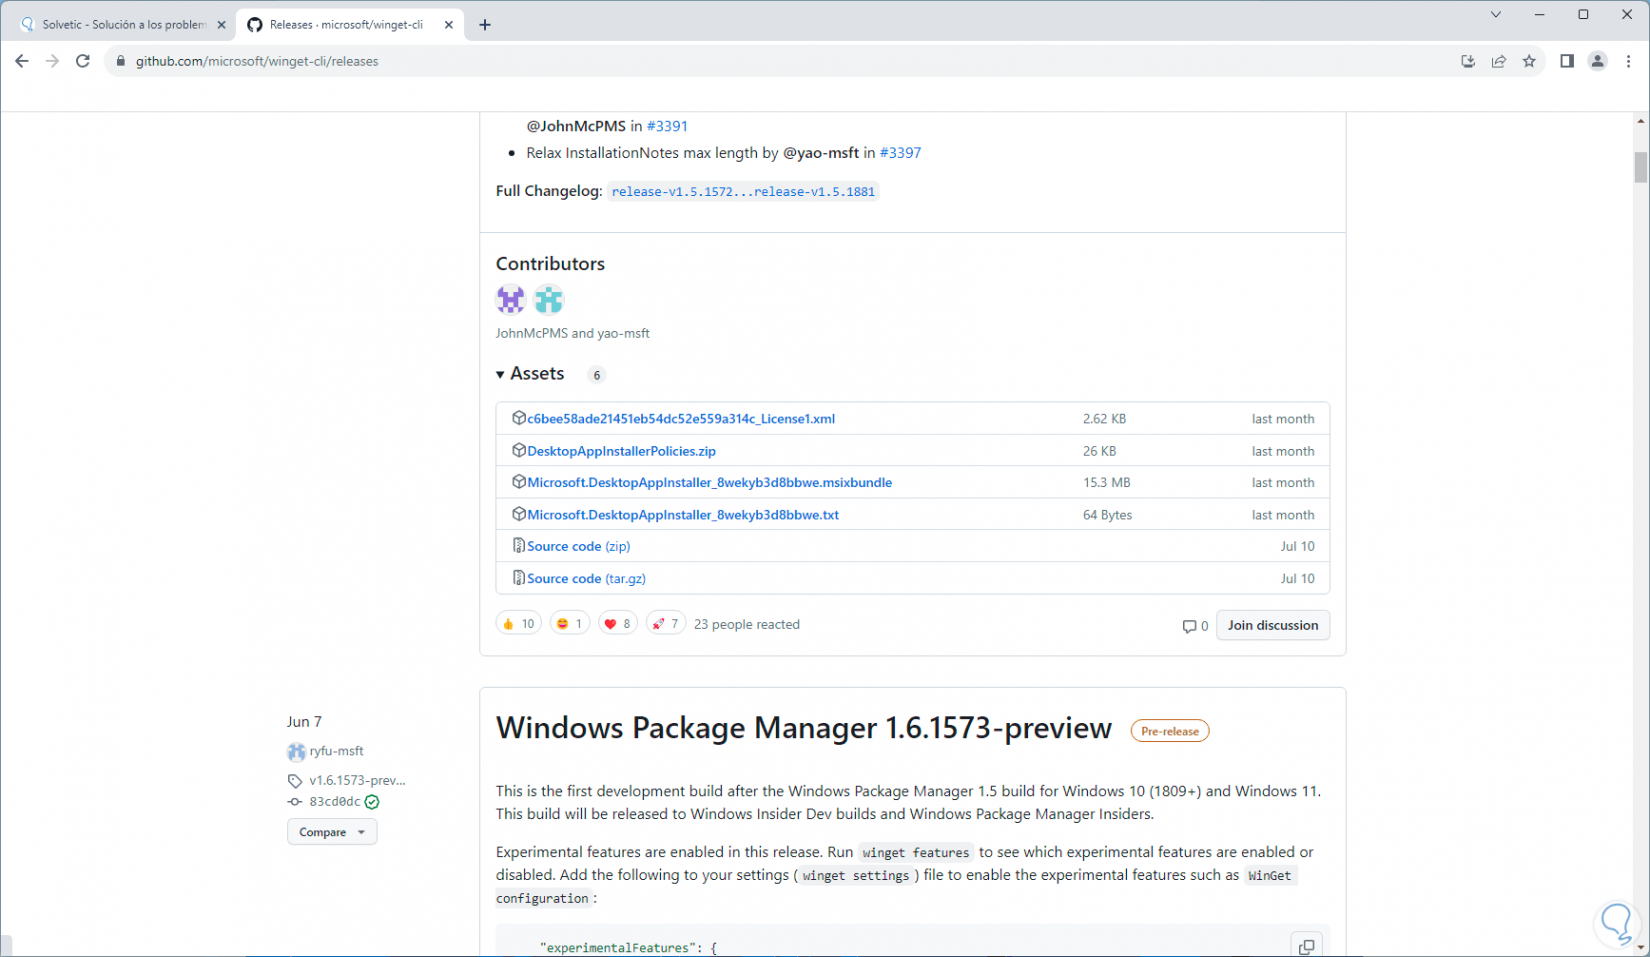
Step 2
There we download the MSIXBundle option:
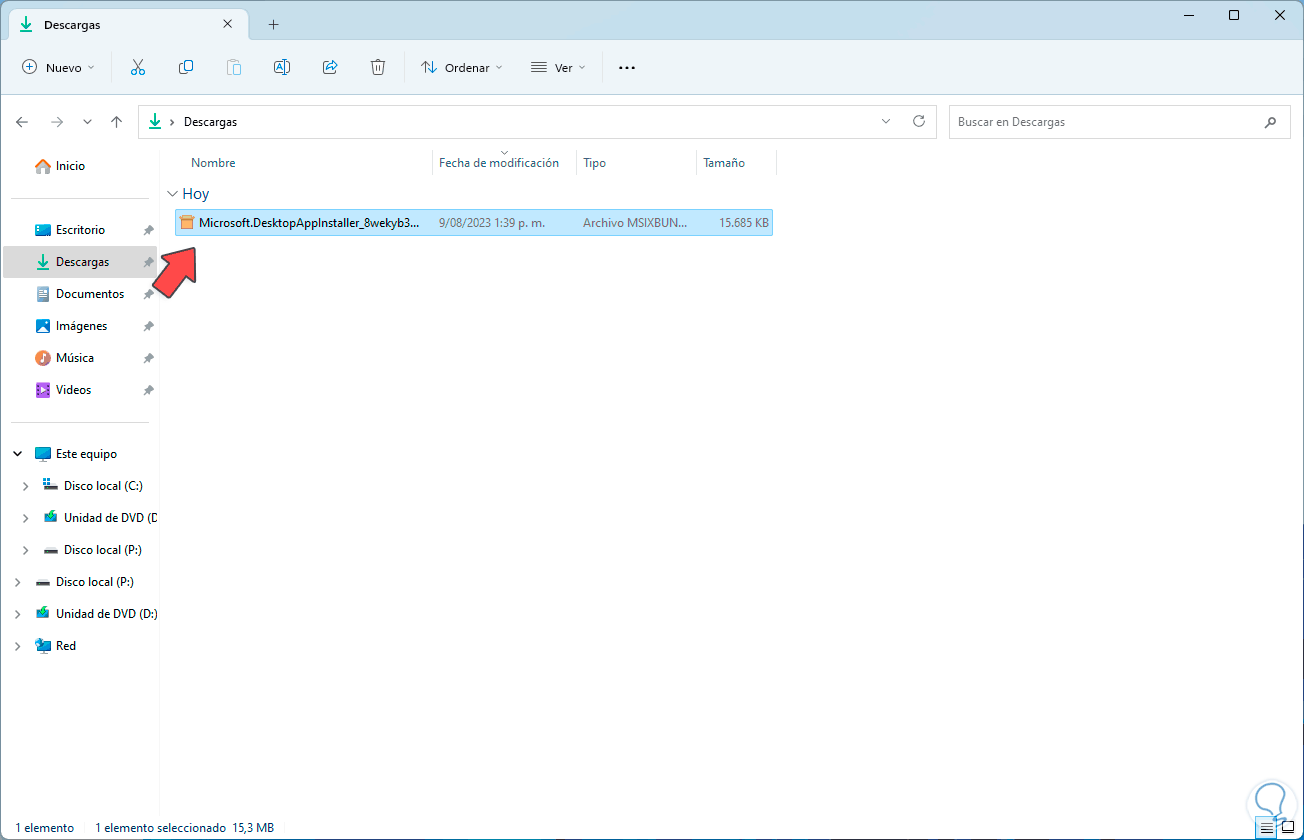
Step 3
We run the downloaded file to see the following:
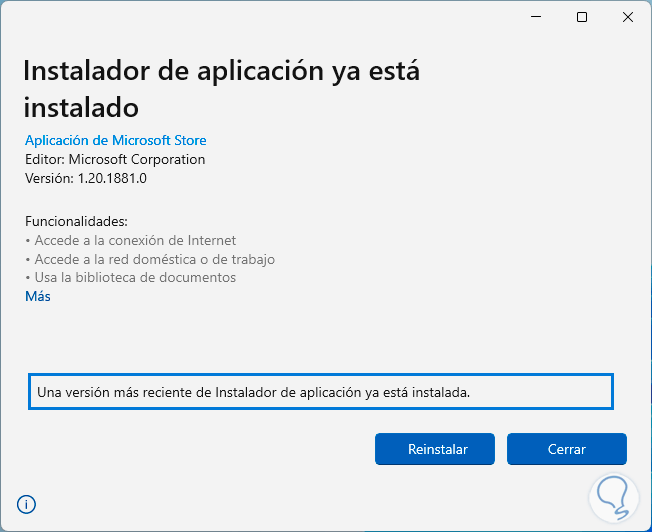
Step 4
We click on "Reinstall" and we will see the following message:
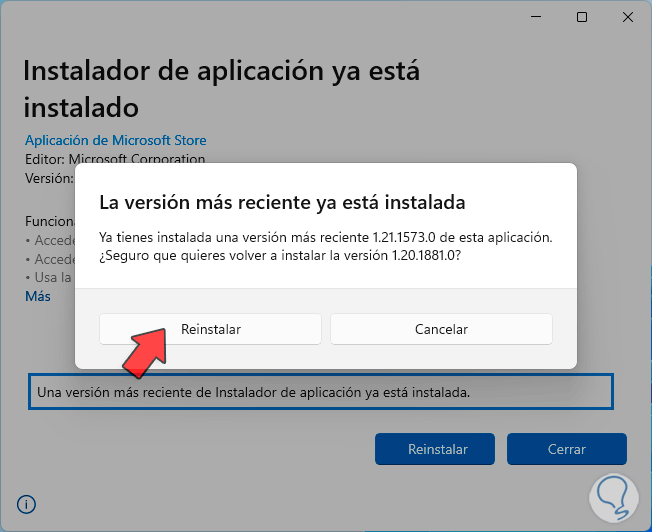
step 5
We complete the process by clicking on "Reinstall" again:
5 Edit System Variables
An error for which the system does not recognize Winget is due to failures in the system variables, we can add them again and check that Winget works.
Step 1
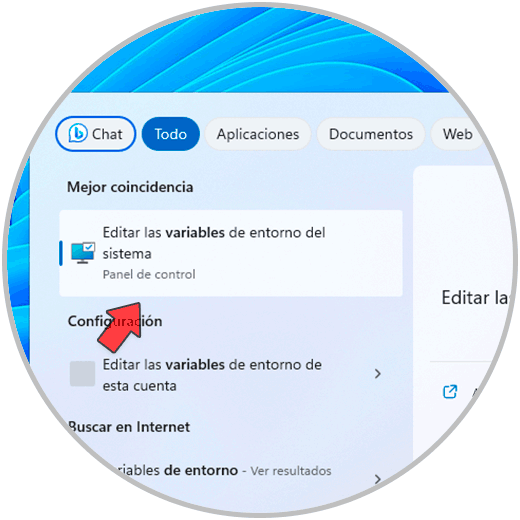
For this, in the search engine we enter the word "variables" and click on "Edit system environment variables":
Step 2
The following will open:
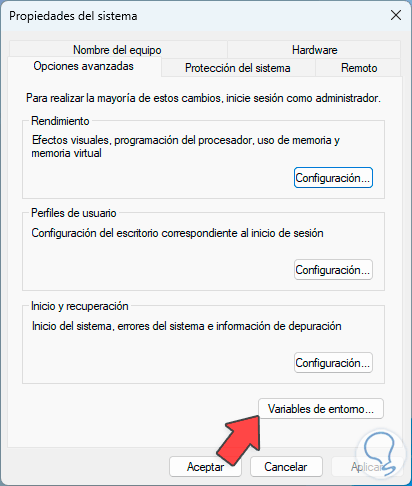
Step 3
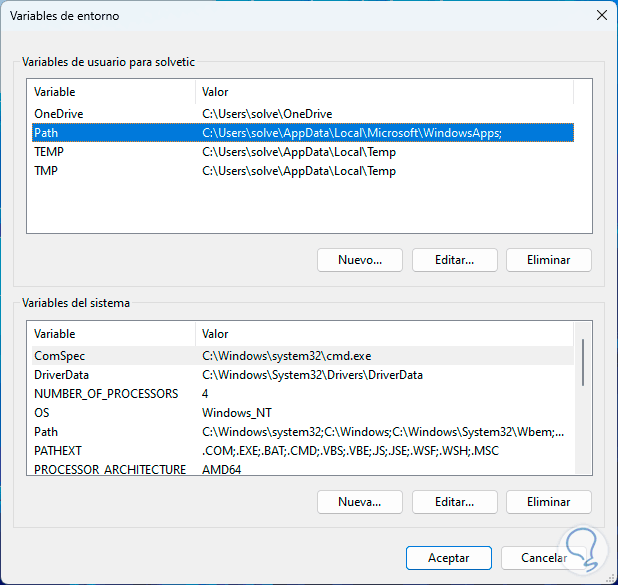
There we click on "Environment variables" and then in the "User variables" section we select "PATH":
Step 4
The following opens:
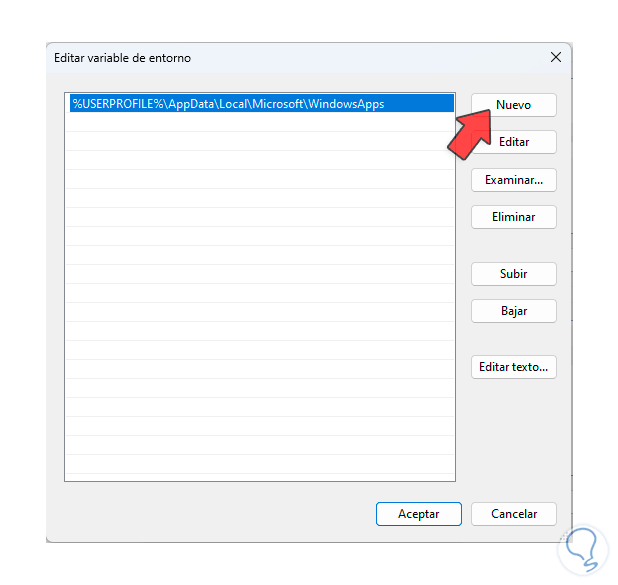
step 5
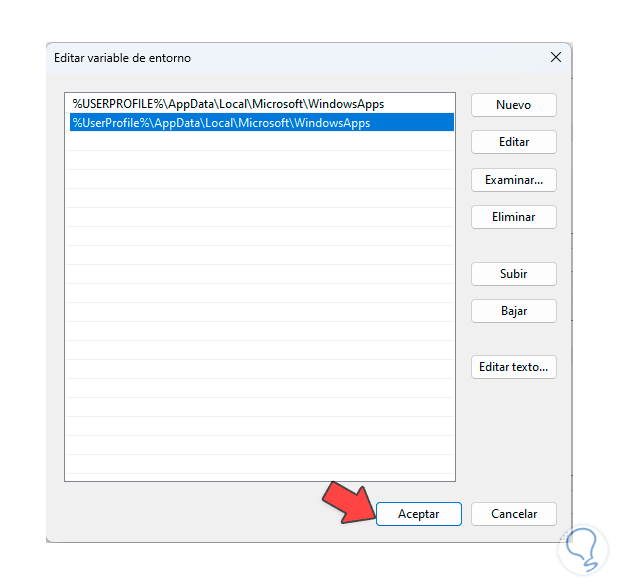
There we click on "New" and enter the following path:
%UserProfile%\AppData\Local\Microsoft\WindowsApps
step 6
We apply the changes.
6 System Reset
If none of the previous steps help to correct this error, we can reset the system.
Step 1
For this we will go to the route:
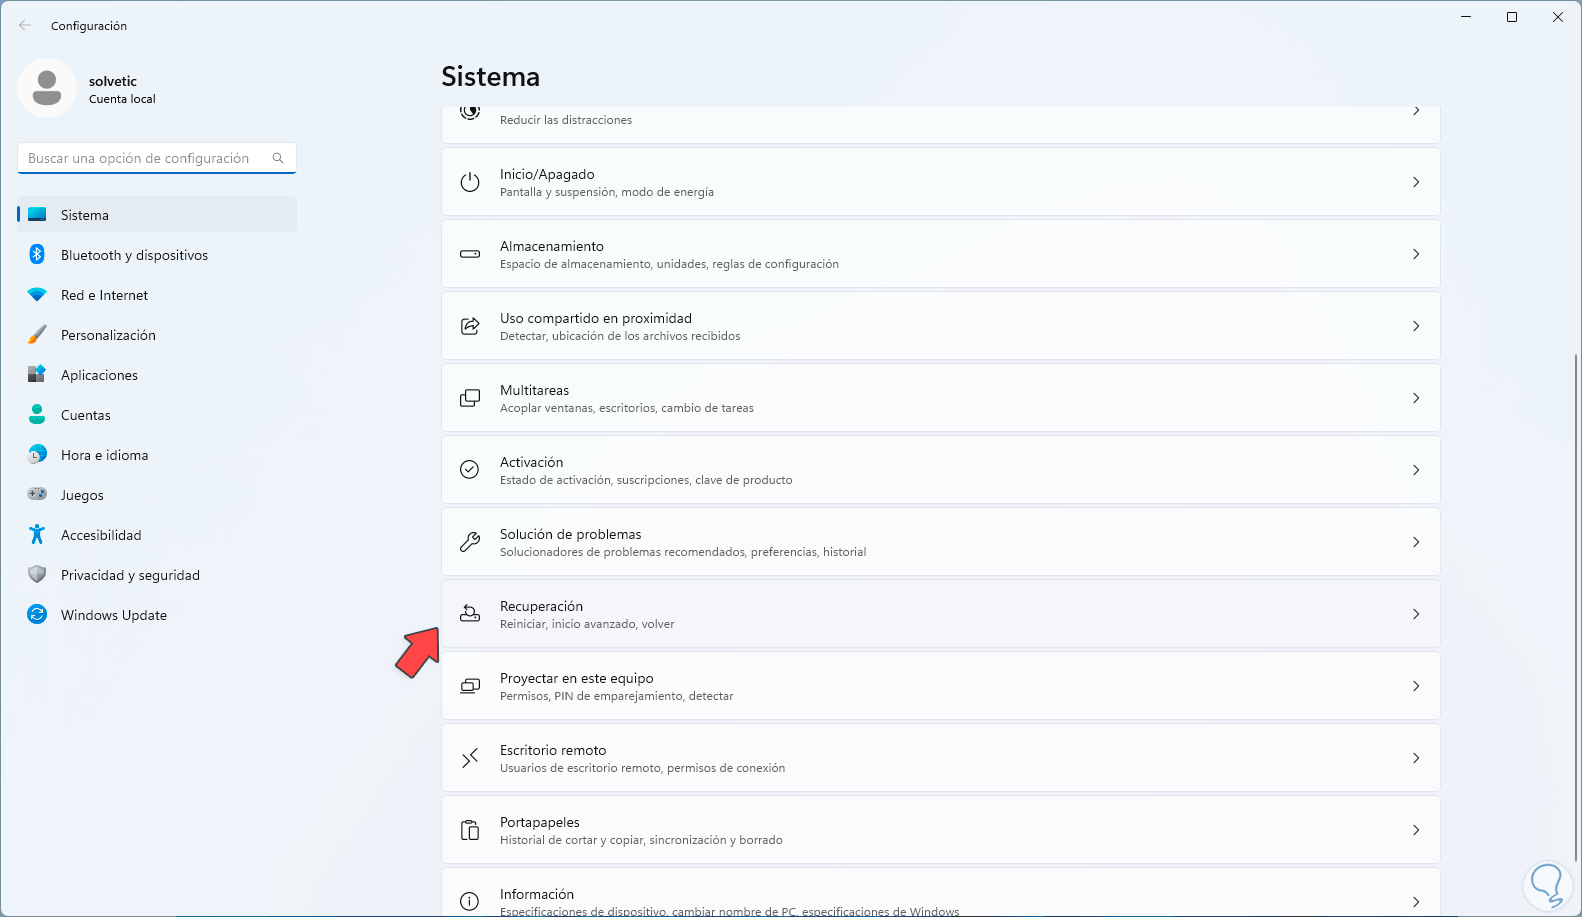
Step 2
The following will open:
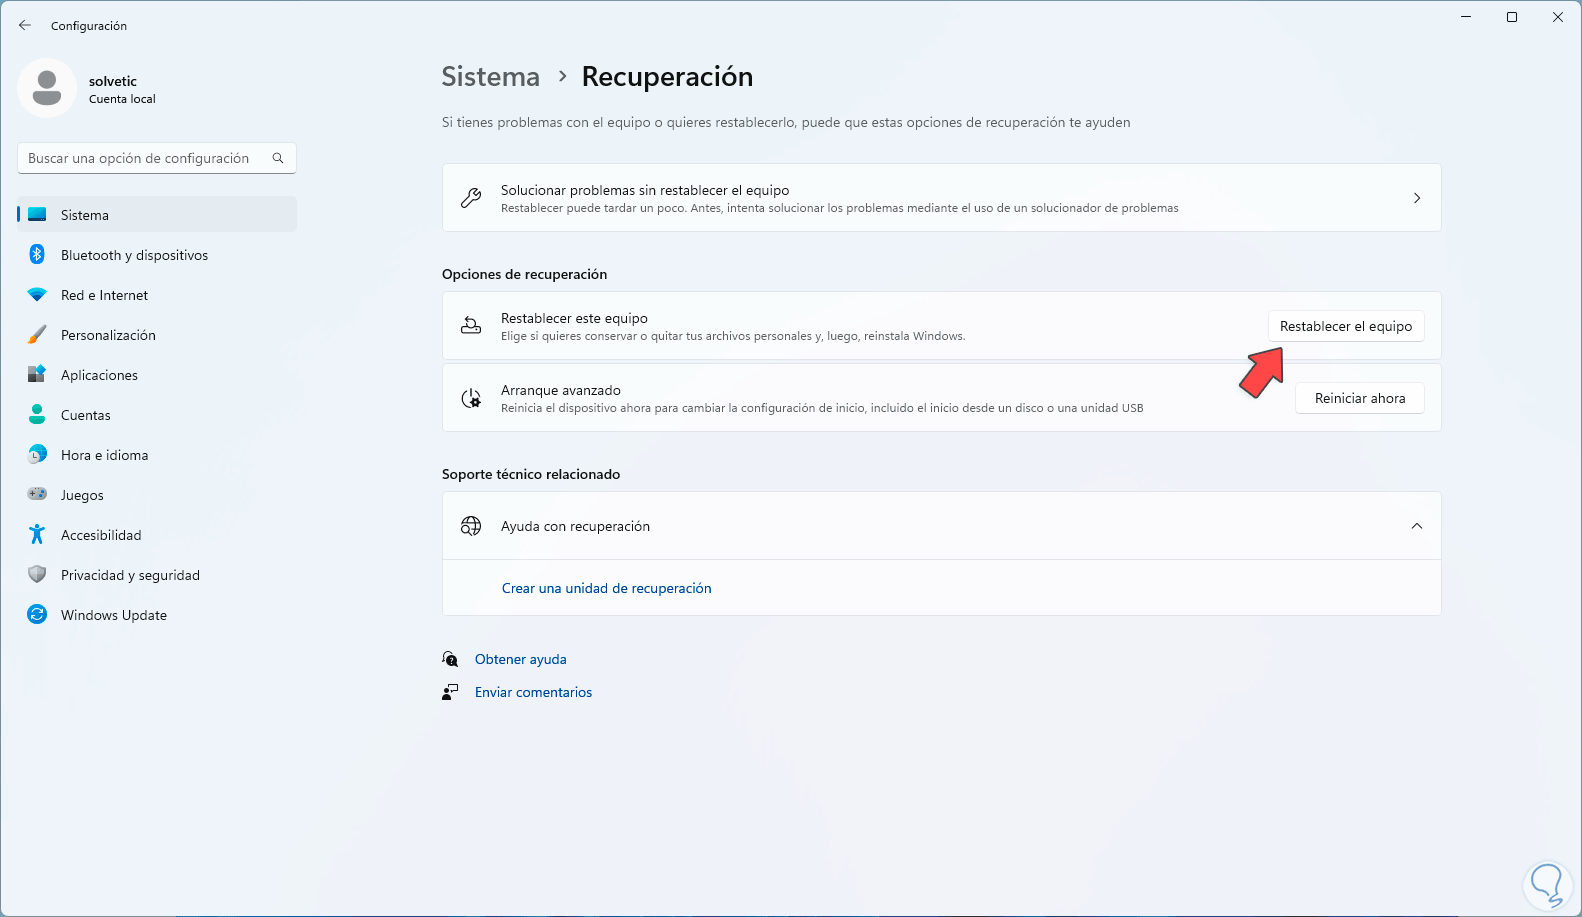
Step 3
There we are going to click on "Reset the equipment" and then select whether or not to leave the files:
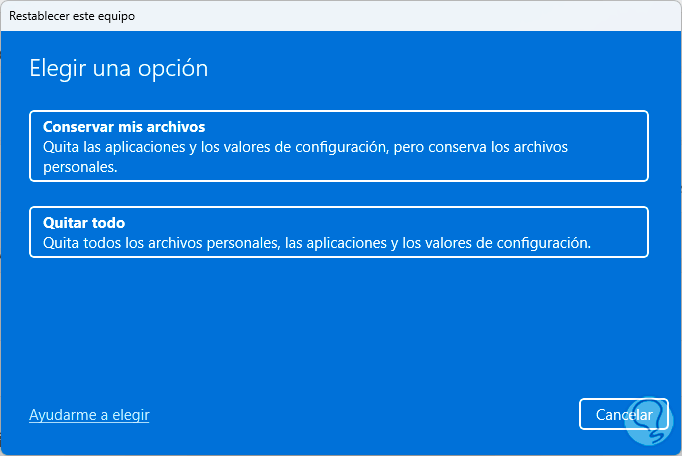
Step 4
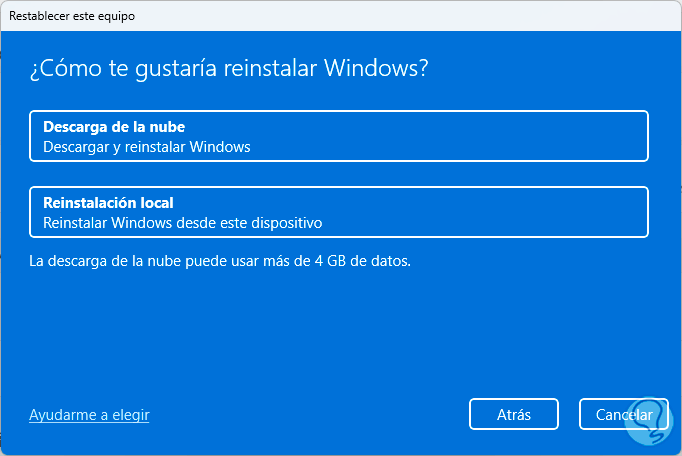
We define the installation method to use:
step 5
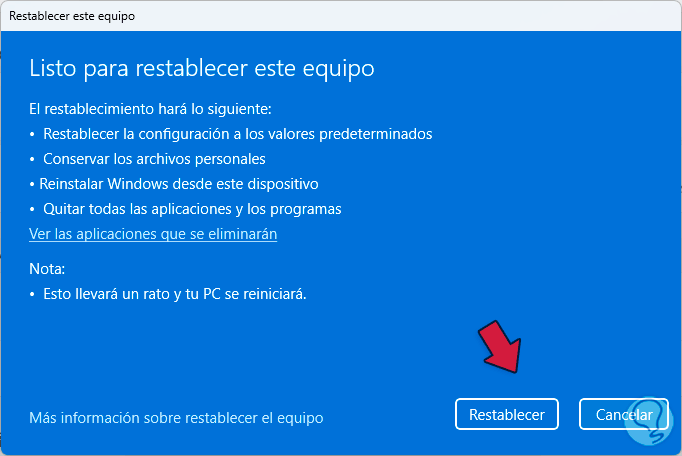
We will see a small summary:
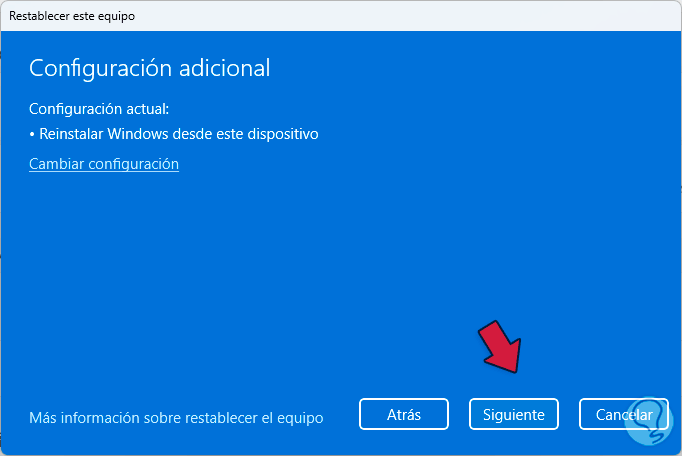
step 6
We click on "Next", we wait for the process to load and at the end we click on "Reset" to complete this task:
step 7
With any of the previous methods we can validate that Winget works, for example it is possible to execute the following from the terminal console:
winget -v

step 8
It is possible to search for applications:
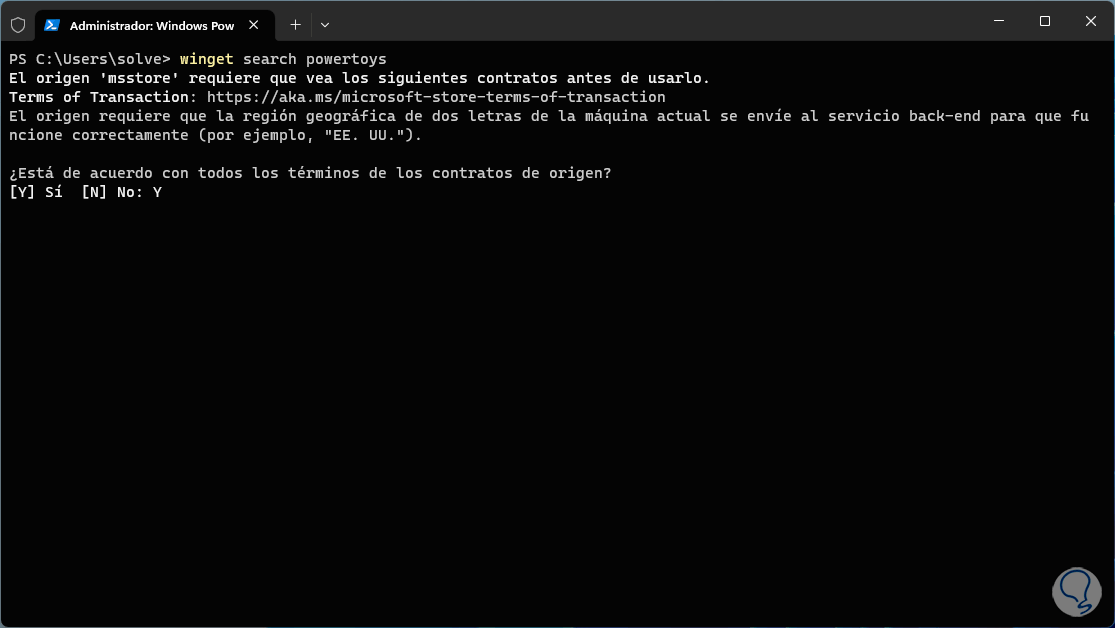
step 9
We accept to see the results:
Winget gives us a central point in Windows 10/11 for everything related to system applications and is a safe mechanism to work on these essential aspects in the daily face of a Windows computer.