The FTP (File Transfer Protocol) connection has been used for a long time to transfer files between computers in a secure (relatively) and complete way, but it is no secret to anyone that we are in an online world where security every day is a more sensitive issue and that all the information that travels on the network is vulnerable to being attacked or affected by some kind of threat. This is somewhat delicate since FTP is often insecure because it transmits data along with user credentials without any encryption..
If we are frequent FTP users; TechnoWikis brings a comprehensive solution to add better levels of security throughout the file transfer process using this protocol and is VSFTPD.
What is VSFTPD?
The VSFTPD utility has been developed as an FTP server with a GPL license for UNIX systems, including Linux where its security, speed and stability are highlighted.
Benefits and functionalities
Among its features and functionalities we find:
- Allows you to make virtual IP settings
- We can create virtual users
- Autonomous or inetd operation
- Wide user configurability
- Centrally manage bandwidth
- IP address configuration per resource or Per-source-IP
- Encryption support through SSL integration
VSFTPD usage
Currently VSFTPD is used by many FTP sites where they stand out:
VSFTPD uses a secure design so that all transmissions are always protected and so we are sure that they will not be exposed to attackers, for this purpose VSFTPD implements and executes:
- All analysis and management on remote network data that are considered potentially malicious are carried out in a process that runs as a user without privileges and this process is executed in a chroot (), in order to ensure that it is only can access the ftp file area.
- All privileged operations are controlled in a privileged primary process, the code for this privileged primary process is as small as possible for security.
- VSFTPD-2.0.0 introduces support for SSL / TLS using OpenSSL, thus, all protocol analysis is performed in a chroot (), running in a non-privileged user environment, thereby, both the pre-authenticated OpenSSL protocol and subsequent to Authentication will be secure.
Now we will see how to install VSFTPD on Ubuntu 18..
1. How to install VSFTPD on Ubuntu 18
Step 1
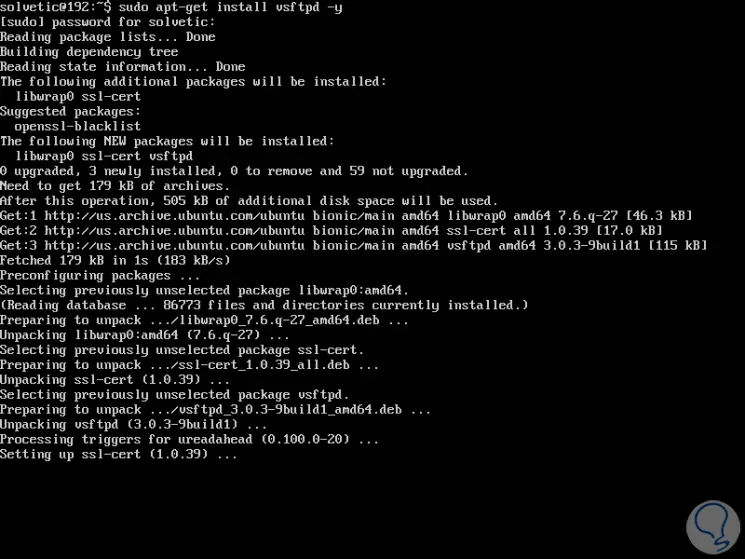
By default, VSFTPD is available in the Ubuntu 18.04 repository, so that for its installation we will execute the following:
sudo apt-get install vsftpd -y
Step 2
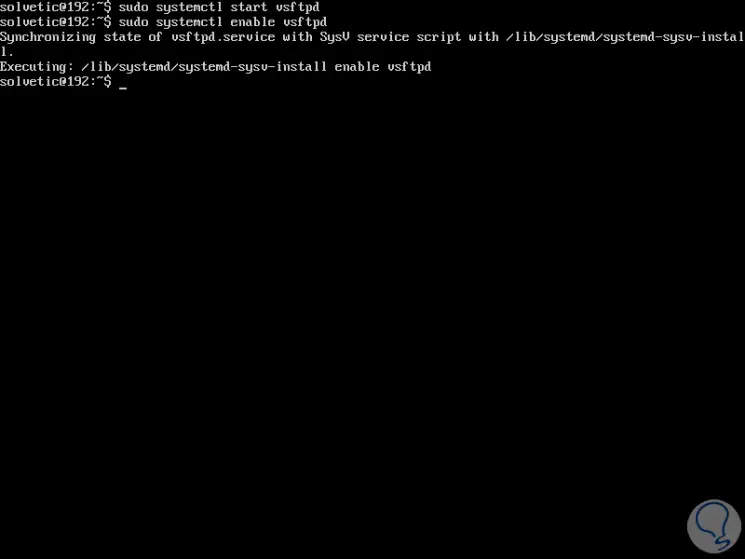
Once VSTFPD has been installed, we will start the Vsftpd service and enable it on Ubuntu 18 startup:
sudo systemctl start vsftpd sudo systemctl enable vsftpd
2. Creating the VSFTPD directory structure in Ubuntu 18
Step 1
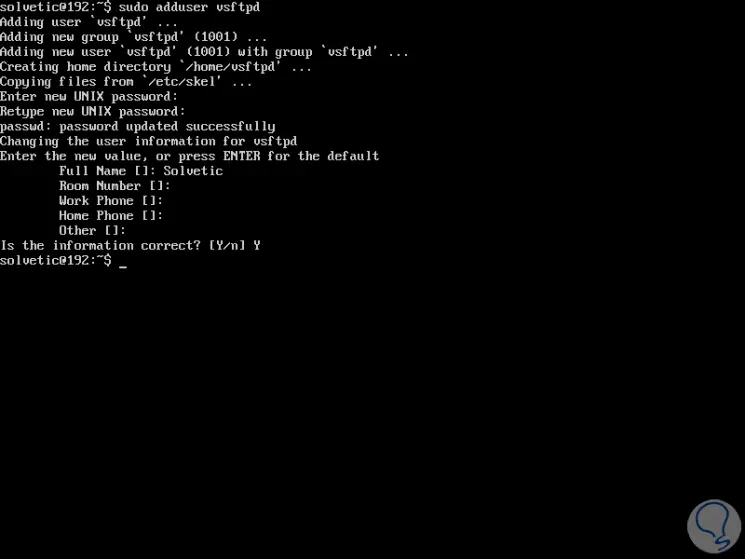
First, we will create the user to access via FTP, for this we execute the following:
sudo adduser vsftp
It will be necessary to complete the information, if applicable, displayed:
Step 2
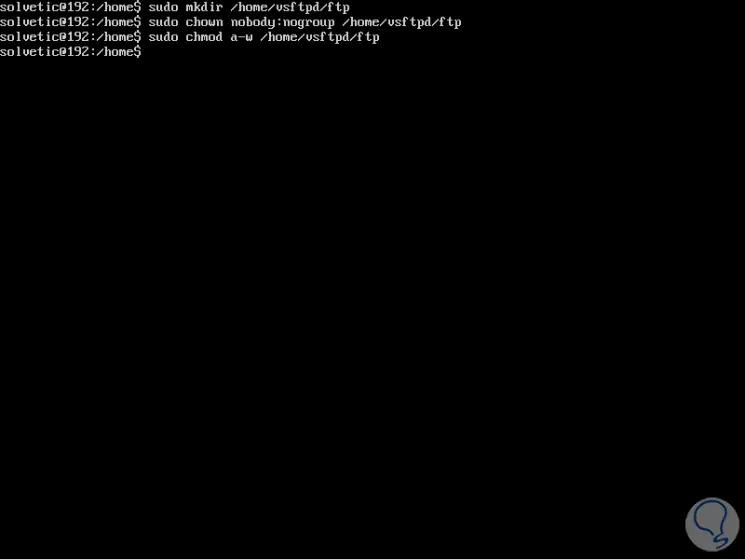
Now, let's create the ftp directory and set the property with the following command:
sudo mkdir / home / vsftpd / ftp sudo chown nobody: nogroup / home / vsftpd / ftp sudo chmod aw / home / vsftpd / ftp
Step 3
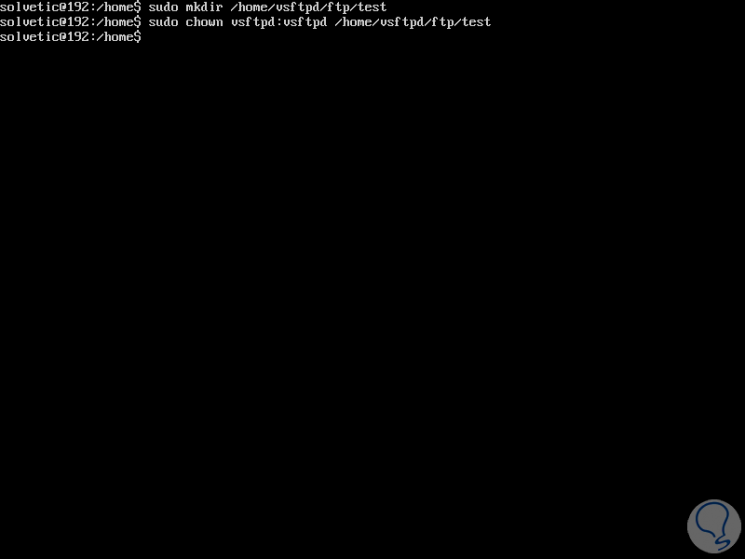
The next step is to create a directory to upload the files and you must provide ownership to the vsftp user like this:
sudo mkdir / home / vsftpd / ftp / test sudo chown vsftpd: vsftpd / home / vsftpd / ftp / test
3. How to configure VSFTPD in Ubuntu 18
Step 1
Now, we are going to carry out some configurations for the FTP server, first of all, we will create a backup copy of the original configuration file in case something goes wrong and thus have the integrity of the original file, for this we execute the following :
sudo cp /etc/vsftpd.conf /etc/vsftpd.conf.bak

Step 2
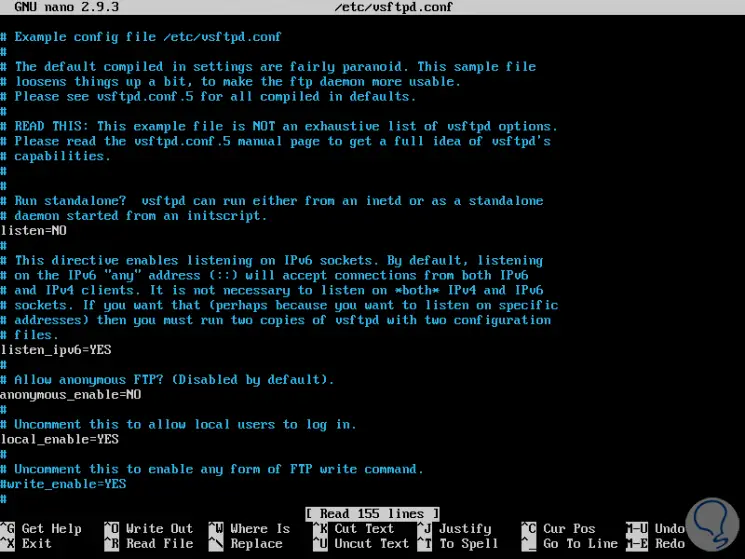
We will access the configuration file using the desired editor:
sudo nano /etc/vsftpd.conf
This will be the configuration file:
Step 3
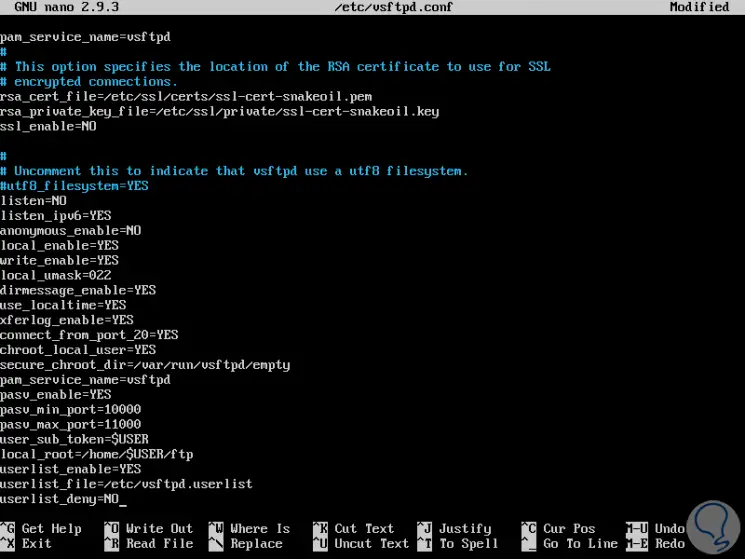
There we will add the following lines at the end of this file:
listen = NO listen_ipv6 = YES anonymous_enable = NO local_enable = YES write_enable = YES local_umask = 022 dirmessage_enable = YES use_localtime = YES xferlog_enable = YES connect_from_port_20 = YES chroot_local_user = YES secure_chroot_dir = / var / run / vsftpd / empty pam_service_name = vsftpd pasv_enable = Yes pasv_min_port = 10000 pasv_max_port = 11000 user_sub_token = $ USER local_root = / home / $ USER / ftp userlist_enable = YES userlist_file = / etc / vsftpd.userlist userlist_deny = NO
Step 4
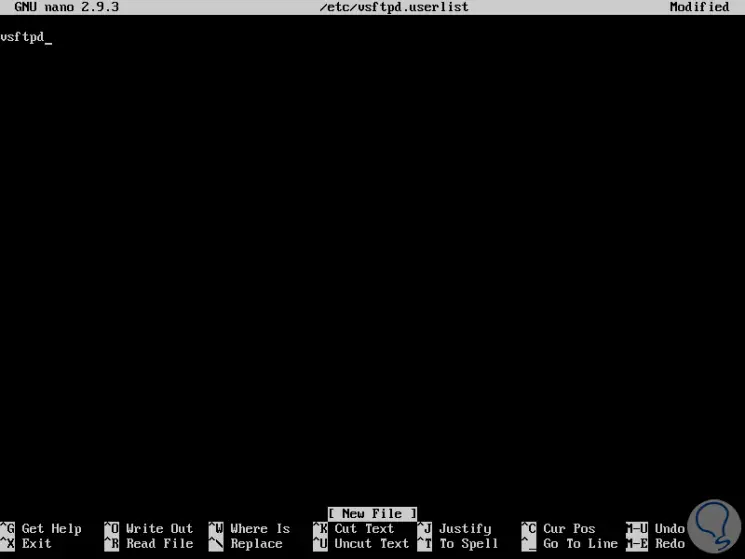
We save the changes using the key combination Ctrl + O and exit the editor using Ctrl + X. Now, we are going to add the vsftp user to the /etc/vsftpd.userlist file to allow FTP access:
sudo nano /etc/vsftpd.userlist
There we add the user created for FTP:
Step 5
We save the changes using the Ctrl + O keys and exit using Ctrl + X. We restart the VSFTPD service to apply the changes:
sudo systemctl restart vsftpd
4. How to access VSFTPD in Ubuntu 18
Step 1
To access VSFTPD we will go to a browser and use the following syntax:
ftp: // IP_address
When accessing the browser we will enter the username and password assigned:
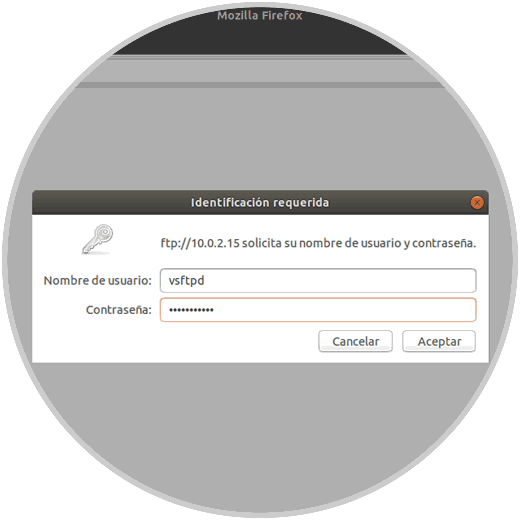
Step 2
Click on OK and we will have access to the server via FTP:

In this way we access with the basic FTP security settings.
5. How to secure the VSFTPD connection using SSL / TLS
For better security when transferring information, we will enable SSL / TLS in order to encrypt the data transferred through FTP.
Step 1
For that, you must create a certificate using OpenSSL with the following command:
sudo mkdir / etc / cert sudo openssl req -x509 -nodes -days 365 -newkey rsa: 2048 -keyout /etc/cert/vsftpd.pem -out /etc/cert/vsftpd.pem
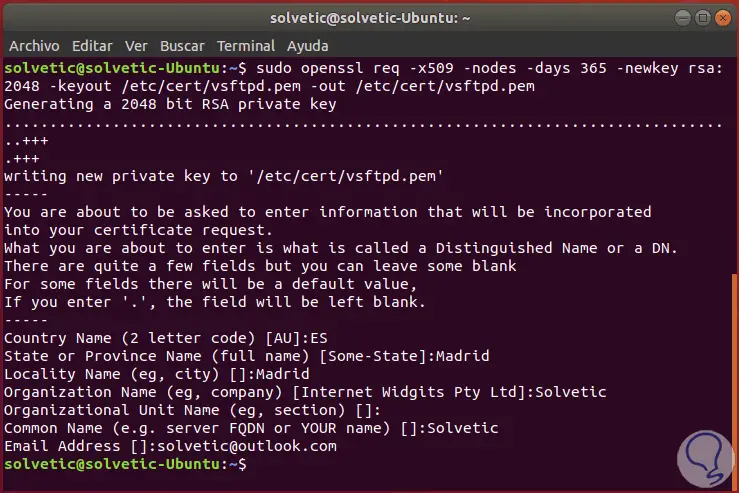
Step 2
In this case, when the certificate is created, details such as:
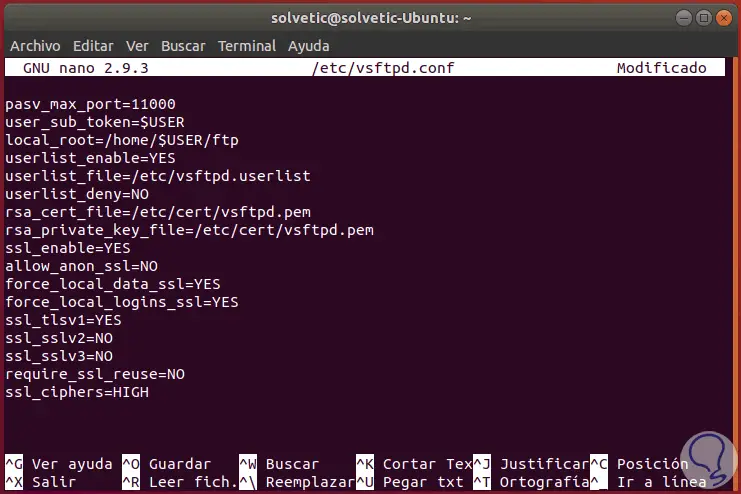
These fields are not mandatory to complete. Once this is done, we will make some changes to the vsftpd.conf file using the following command:
sudo nano /etc/vsftpd.conf There we will add the following lines to the end of the file: rsa_cert_file = / etc / cert / vsftpd.pem rsa_private_key_file = / etc / cert / vsftpd.pem ssl_enable = YES allow_anon_ssl = NO force_local_data_ssl = YES force_local_logins_ssl = YES ssl_tlsv1 = YES ssl_sslv2 = NO ssl_sslv3 = NO require_ssl_reuse = NO ssl_ciphers = HIGH
We save the changes using the Ctrl + O keys and exit the editor using the Ctrl + X keys..
6. How to access FTP using SSL / TLS in Ubuntu 18
Step 1
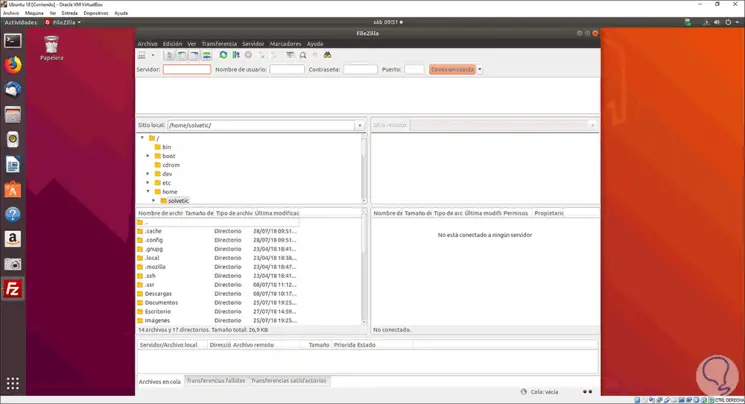
It will not be possible to access the FTP server through SSL / TLS from a browser, for this it will be necessary to install the FileZilla FTP client in order to access the FTP server since it supports FTP over SSL / TLS, to install this client we are going to execute the following:
sudo apt-get install filezilla -y
Once installed, in this case we will access from Ubuntu 18.04 Desktop, we access the application where we will see the following:
Step 2
There we go to the File / Site Manager menu and in the new window click on the New site button and configure it as follows:
- We assign a name to the FTP site
- In the Server field we enter the IP of the server to connect
- In the Protocol field we select FTP - File Transfer Protocol
- In the Encryption section we define Requires explicit FTP over TLS
- In the Access mode field we set Ask for the password and enter the name of the user created in VSFTPD
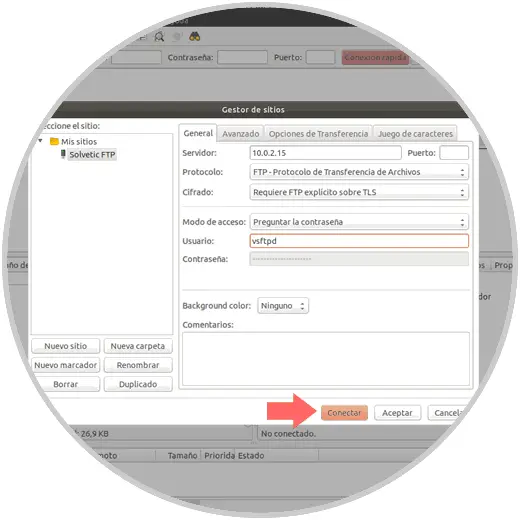
Step 3
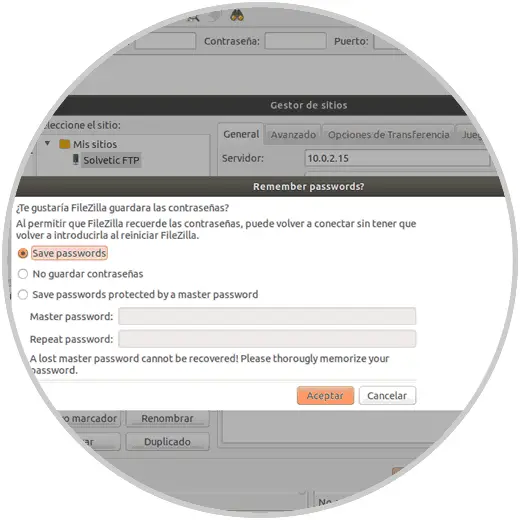
Click on the Connect button and the following message will be displayed. There we define whether or not we want to save passwords.
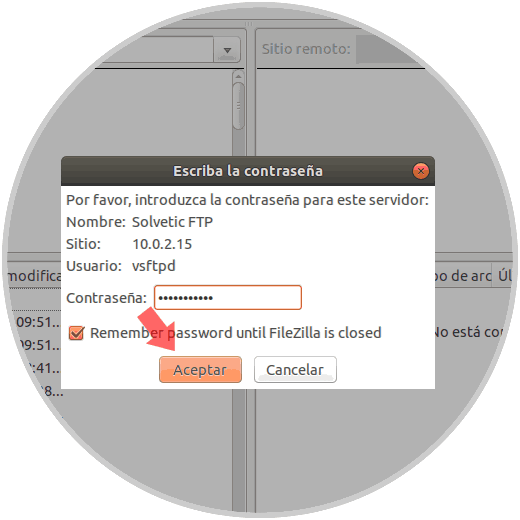
Step 4
Click on Accept and enter the password of the selected user:
Step 5
Click on Accept and now we will see the certificate that has been added with the details that we have configured:
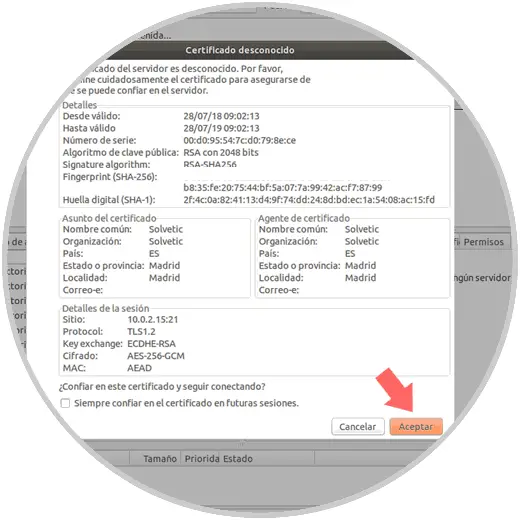
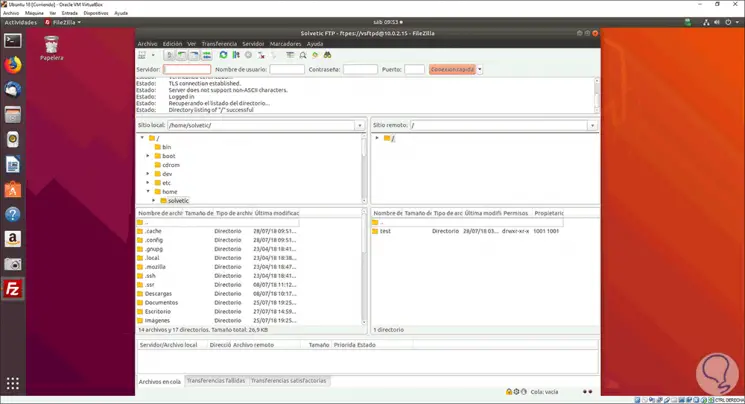
Step 6
Click on OK and now you will have access to the FTP server protected with SSL / TLS:
We have seen how to use VSFTPD to create secure, complete and dynamic connections in Linux.