As Windows 10 users, it is a good security practice to have the availability and integrity of the information we handle in the system, and especially if it is confidential or has a certain degree of importance, as would be the example of documents such as account statements, extracts, business files and more, are likely to be violated to steal the information hosted there and with this carry out bad decisions, hence the importance of always having the best security measures..
In addition to this, we can not only be victims of information theft, our systems can present some type of failures at the level of software or hardware that makes it impossible for us to access or recover the information, but if we have a backup of this it will be very easy to access it again and thus dispose of these elements.
Microsoft has implemented in Windows 10 a functionality called File History which by default creates backup copies of the files that are stored in libraries: Documents, Music, Images , Videos and Desktop, but obviously there is the option to add folders or Files manually that are not in the default folders..
That is why TechnoWikis will explain in detail how we can make this type of backup in Windows 10 to have the peace of mind of always having the most relevant information.
How does File History work in Windows 10?
The File History of Windows 10 carries out a process of backing up the files using a technique called Continous Data Backup, in which the system is able to make backup copies of the files in real time and It is fully compatible with incremental backups in which successive copies of data only house files that have been modified since the last backup made.
We recommend that you always make a regular backup of your system:
To keep up, remember to subscribe to our YouTube channel! SUBSCRIBE
1. How to activate File History in Windows 10
Before activating the "File history" in Windows 10, we must connect the external hard drive to the computer or it is also possible to assign a network drive in order to use it for the data backup process with the File history .
Step 1
Once we connect this device, in this case an external hard drive, to the computer, we go to the "Start" menu and there we select the "Configuration" utility or we can also use the following key combination:
+ R
There we will select the "Update and security" section

Step 2
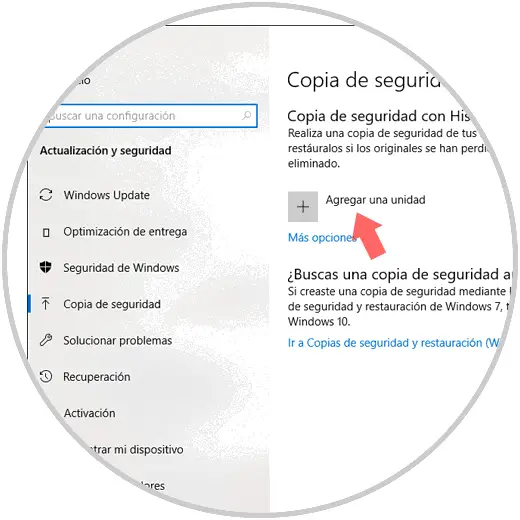
In the new window we go to the category "Backup" where the option to add our disk drive that we have connected. There we click on the option "Add a unit"
Step 3
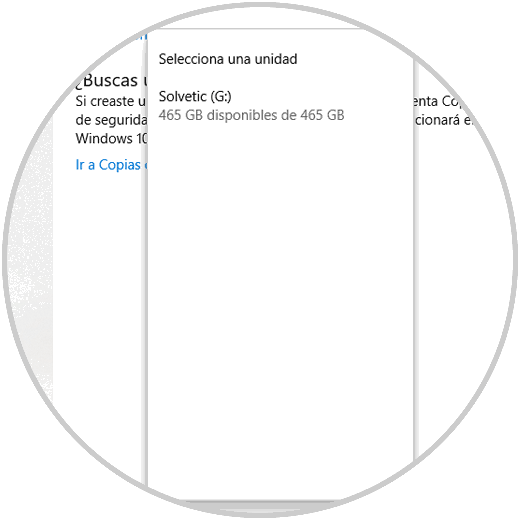
Thus, the system detects both the external and network units available for the "File History".
Step 4
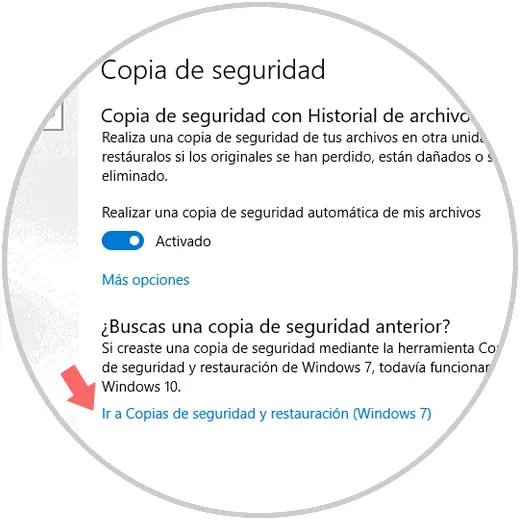
After 5 seconds we will see that the system accepts the unit and the "File history" is activated:
Step 5
File history is executed as a low priority background process and it is important to understand that the first time it is run to create the backups can take a long time taking into account the amount of information hosted in the libraries to be backed up.
There are different elements that play a fundamental role in the performance of the backup, these are
- Type of USB port used, we know that if a USB 3.0 port is used, the transfer speed will be much higher than USB 2.0.
- The type of hard disk used, if we use an HDD hard drive, the read and write rate will be lower than if we use a solid state hard disk (SDD)
- The speed of the network, if we use a network drive, since an unstable or slow network directly influences the backup.
Once the first backup is completed, the following will be faster to be backed up..
2. General Windows 10 File History options
The File History contains a series of options that are created to facilitate the management, frequency and behavior of the backup copies.
Step 1
To access these options click on the "More options" line and we will see the following:
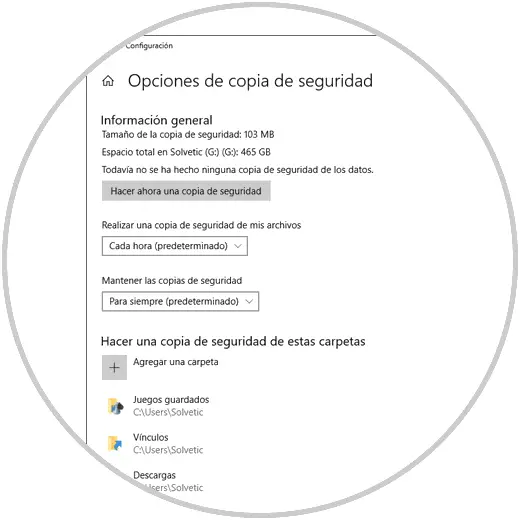
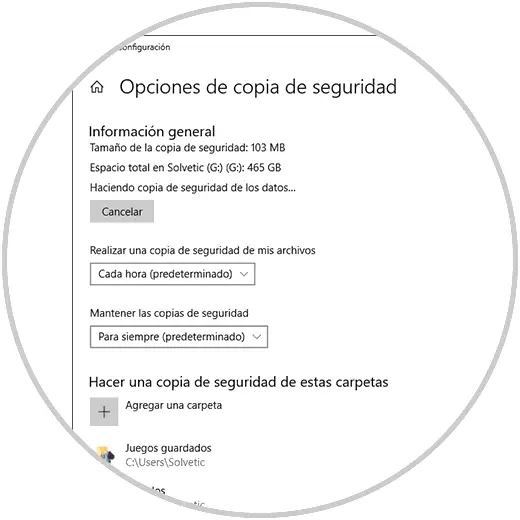
General information
In this section we find general details such as
- Current size of the device to use for backup
- Estimated backup size of Windows 10 files
- Date of last backup if executed
- Option to create the backup manually
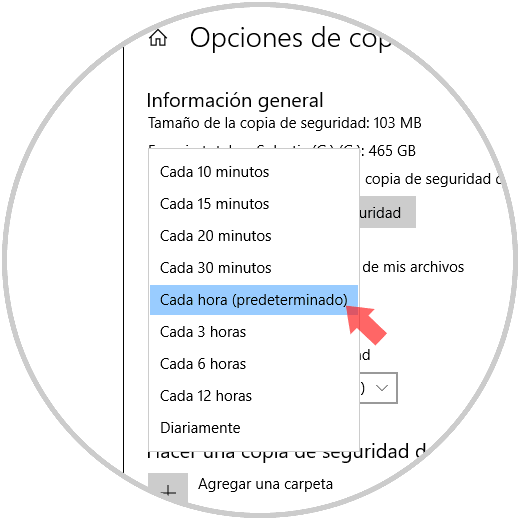
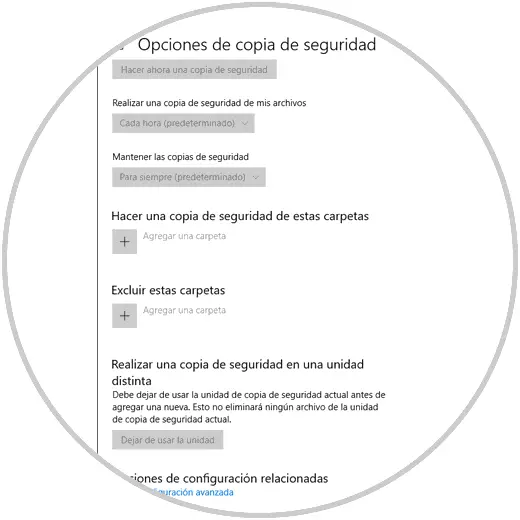
At the bottom of the general information we find the time frequency options available for the backups that we carry out with the "File history", these options are:
Back up my files
With this option it will be possible to define how often Windows 10 will make a backup of the information that we have defined, the default is Hourly, but when clicking on the drop-down arrow we will have alternatives in minutes, hours or daily.
It is important to remember that the unit must be connected for this purpose.
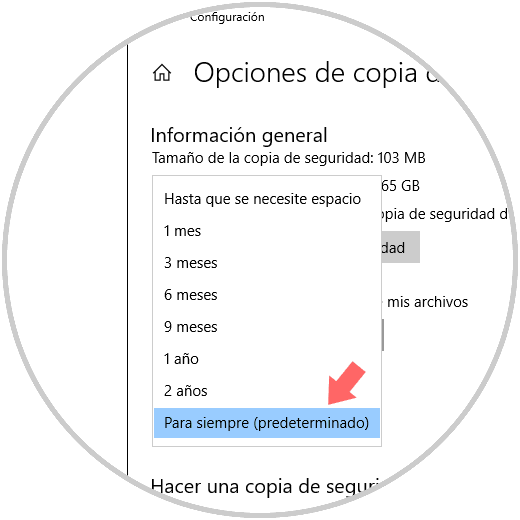
Keep backup copies
In this section we must define the amount of time that the File History will keep the available backups, the default is Forever but obviously this will have a high impact on the disk space level, we can define options in months or years :
Folder and file backup
In the middle part we find the folders that are defined by default to be backed up by the Windows 10 File History:
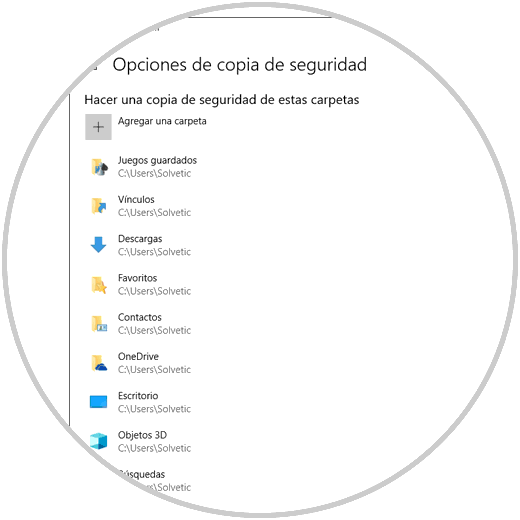
Step 2
If we want to add a folder or personal file that is not there, just click on the "Add a folder" button and in the pop-up window we proceed to select that item:
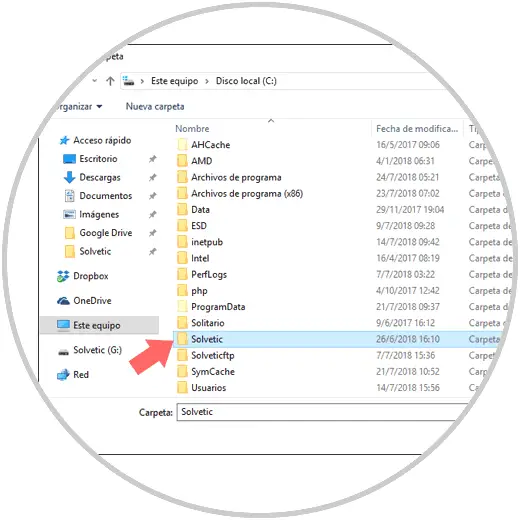
Step 3
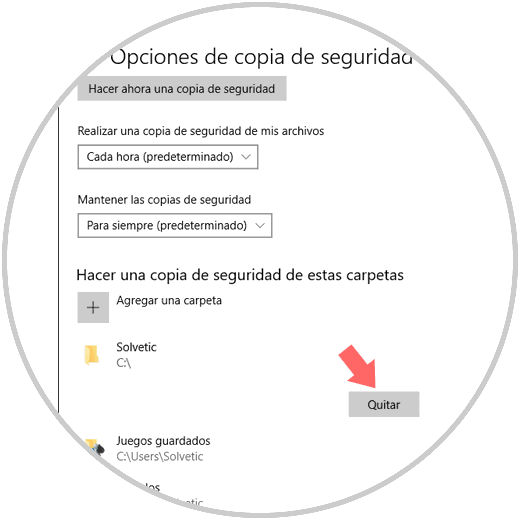
The ideal is to host the files within that folder and once defined click on the "Choose this folder" button to be added, if for some reason we consider that the backup of this folder is no longer necessary, just select it and click on the "Remove" button so that it is not included in the File History:
Step 4
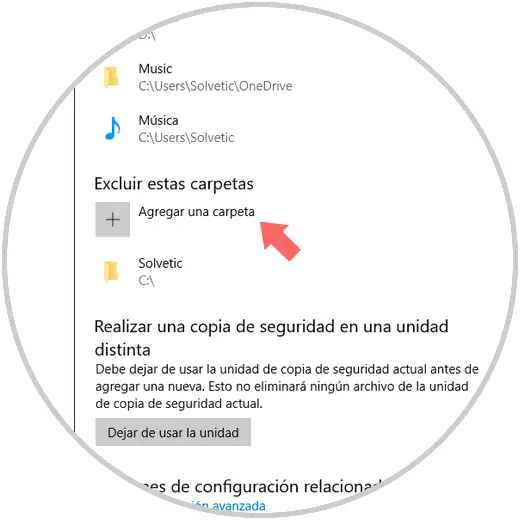
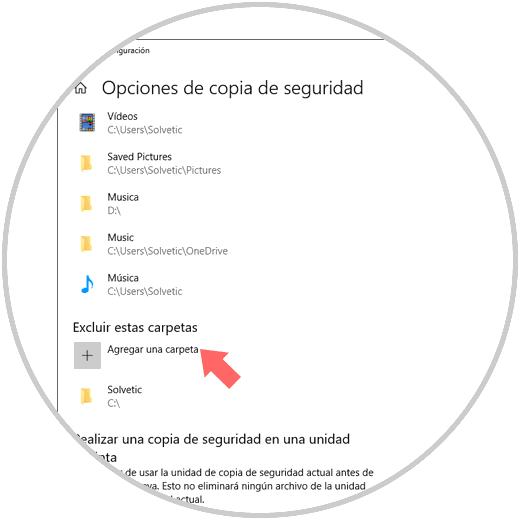
At the bottom we have the option to exclude specific folders without the need to remove them completely from History. Click on the "Add a folder" button
Step 5
We proceed to select it to be excluded from the backup:
3. How to run a manual backup Windows 10
In some specific cases, it may be necessary to carry out the process manually, just click on the "Make a backup" button now located in the General Information section and we will see that this process begins. This can be canceled at any time if necessary.
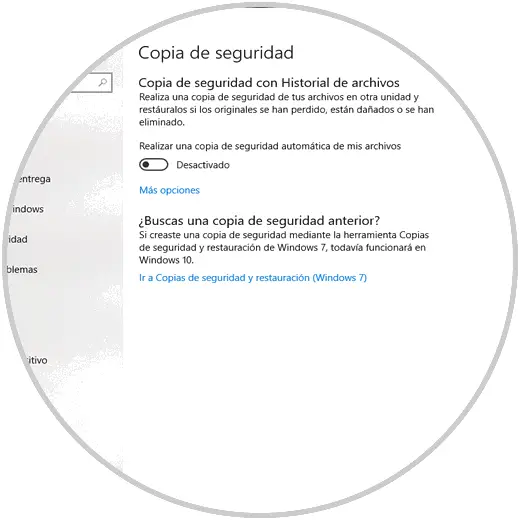
4. How to stop File History in Windows 10
If for some administrative or space reason it is required to prevent the File History from carrying out its process, we must go to the following route:
There, we click on the "Make an automatic backup" switch of my files so that their status becomes "Disabled":
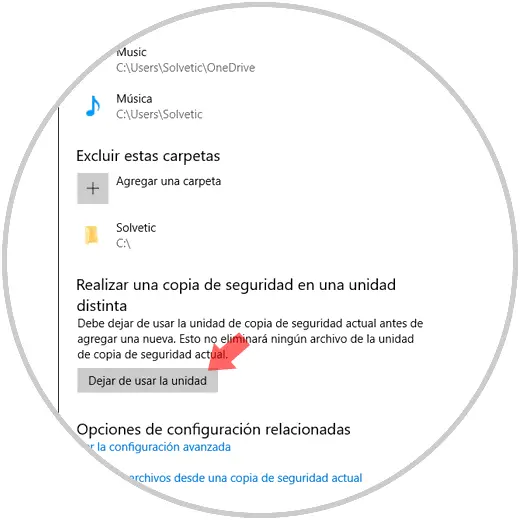
5. How to modify the backup drive in Windows 10
Step 1
If we want to create the backups on a different disk or network drive than the one initially set, we access the "More options" line and at the bottom we find the "Make a backup" section on a different drive. There we click on the "Stop using the unit" button so that the current unit is discarded.
Step 2
We can see that all the options have been deactivated until a new unit has been added as explained at the beginning of the tutorial.
Thus, we have seen how Windows 10 File History is a practical and integrated solution to the system to facilitate the process of backing up the most sensitive information.