It is normal that today with the advances of technology we use multiple devices to access information either personal or corporate and one of the most natural ways to do it is using one of the modern browsers that are available to us for free..
One of the advantages of today, is that we have a functionality that is ideal to stay synchronized with everything we do and this is achieved regardless of the type of device we use, mobile, portable, Tablet, etc, everything that Let's do in one will be synchronized with everyone else resulting in that we are always online.
TechnoWikis will analyze how to synchronize all devices in Google Chrome and Firefox Quantum browsers .
To obtain these browsers we can visit the following links:
- Google Chrome for Android
1. Synchronize devices in Firefox Quantum
Step 1
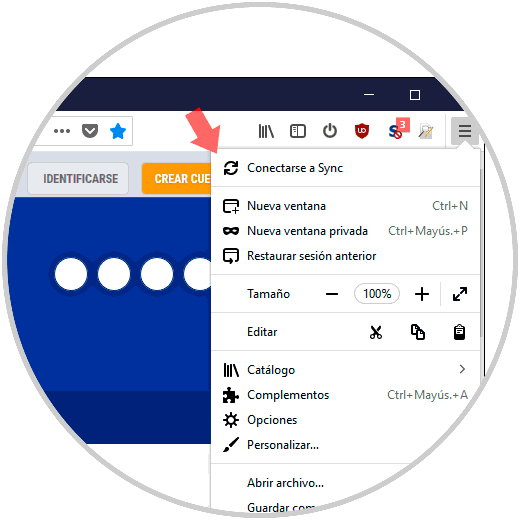
To start this process, we access Quantum, click on the menu icon and select the option “Connect to Syncâ€:
Step 2
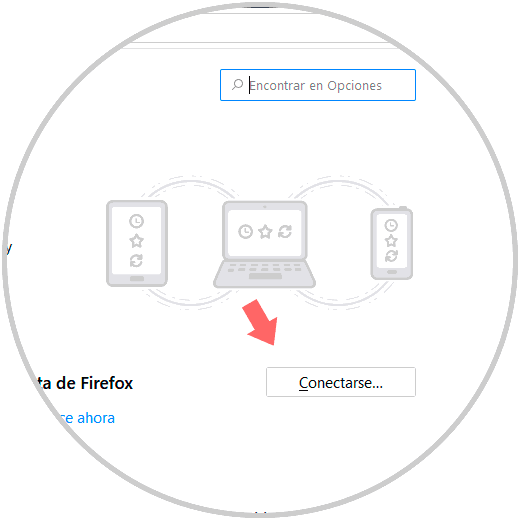
There we will see the following:
Step 3
We have two possibilities:
- Click on the "Login" button to access if we already have an account created.
- Click on the line “Do not have an account? Start now â€to create a new Quantum account.
Step 4
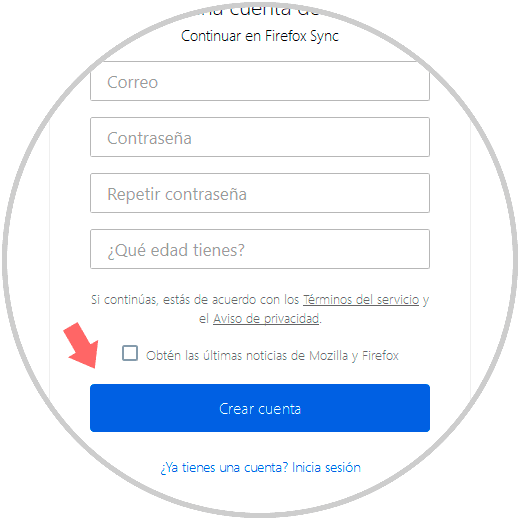
In the case of creating an account, we see that the information requested is minimal and we must be careful with assigning strong passwords:
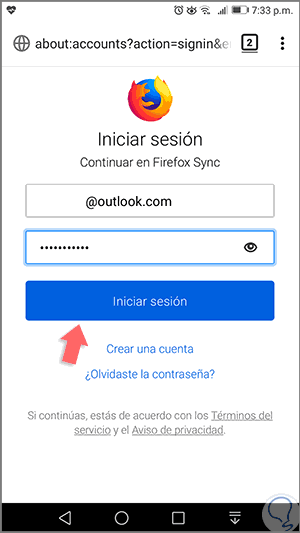
Step 5
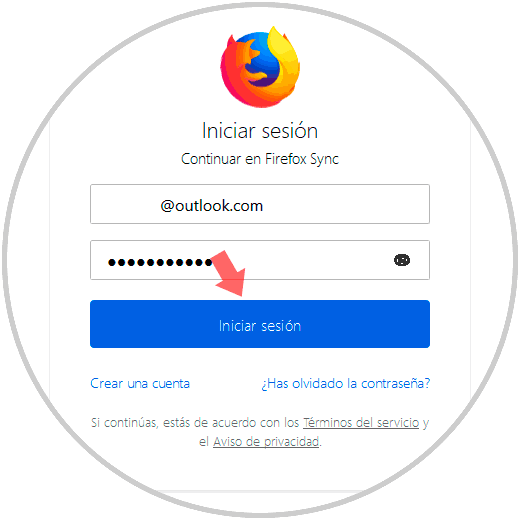
In the case of having an account created, click on "Login" and enter email and password:
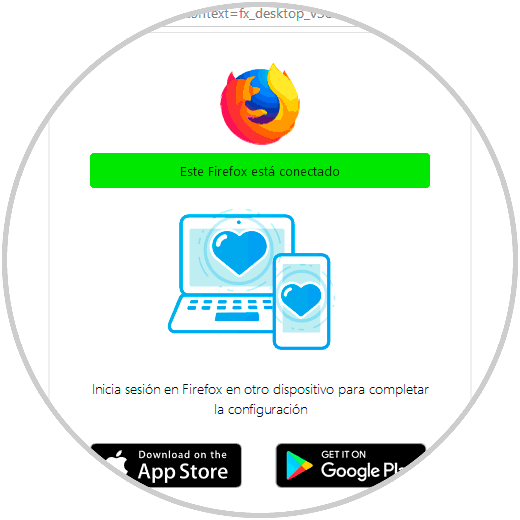
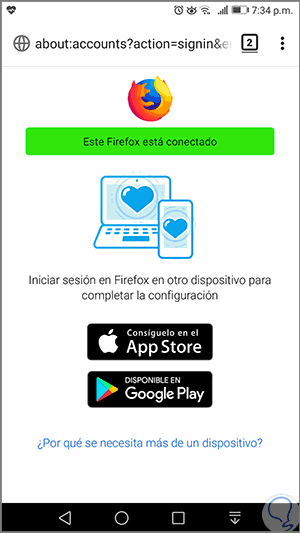
Step 6
Click on the "Login" button to load our session in Firefox Quantum and we will see the following:
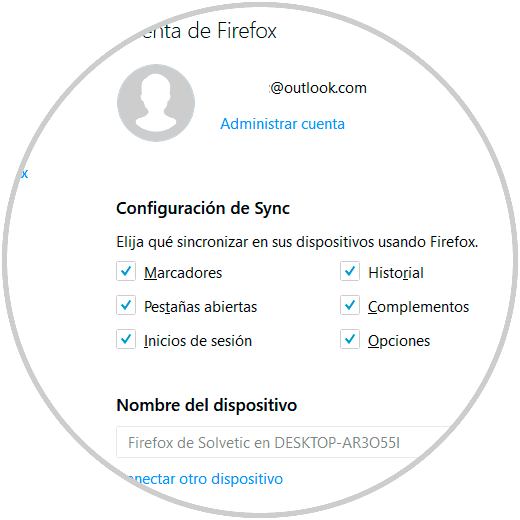
Step 7
We can access the "Sync Settings" option again to see the various elements that can be synchronized between the devices, some of the options are as follows.
Step 8
Simply activate the desired boxes for this. When this process has been done, Firefox will send a validation email to the registered email which we must approve for the synchronization to be activated correctly.
2. Validate Device Synchronization in Firefox Quantum
It will now be possible to log in to all devices to start the synchronization process.
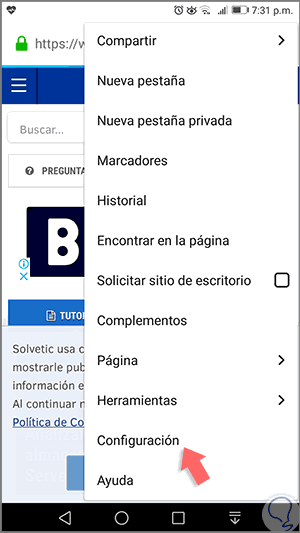
On Android
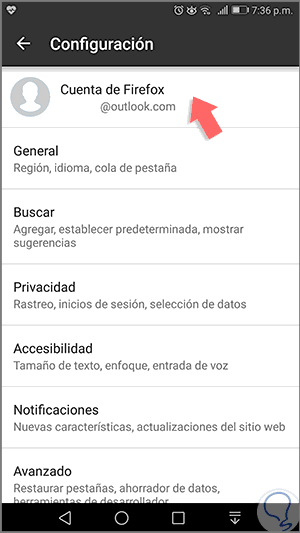
To do this we open Firefox Quantum on our mobile and click on the menu icon to select the "Settings" option:
Click on the "Start session" option:
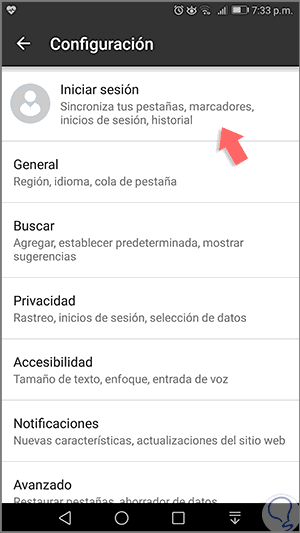
There we enter the email account with which you have logged into Firefox on the PC:
If we have enabled two-factor authentication, we must enter the generated code:

Once we access we will see the following:
On Android
To validate that the devices are being synchronized, we go to Firefox Quantum on the PC and there we click on the Start menu and click on the update icon located next to the account:
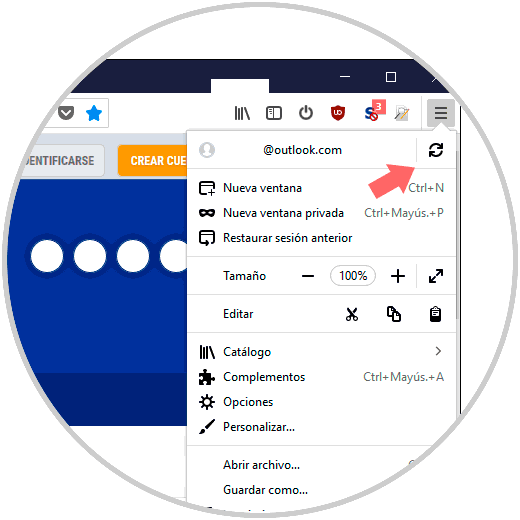
Now, we click on our account and we will see the following:
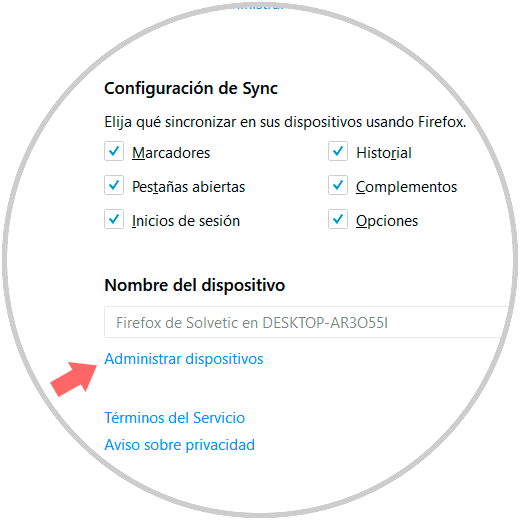
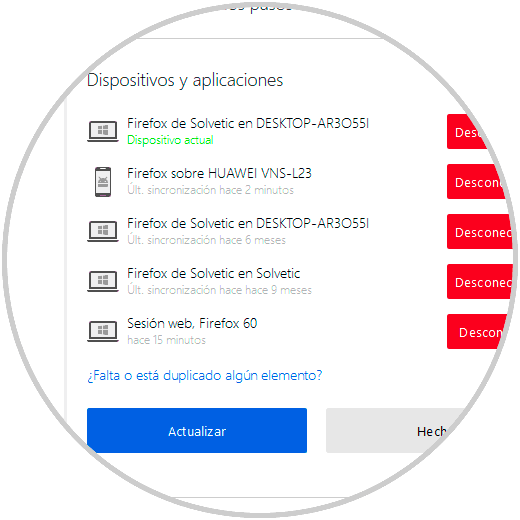
There we click on the “Manage devices†line and we will see details such as:
- Type of device where you are logged in
3. Remove a sync device in Firefox Quantum on Android
On Android
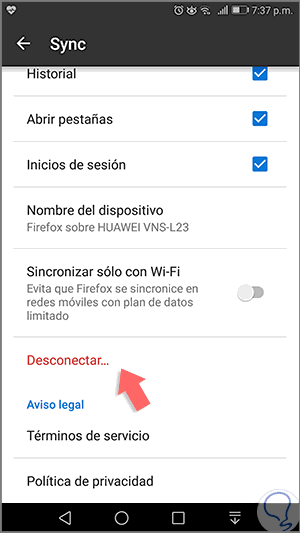
For this we have two options, the first one is directly from the mobile, for this we access the Quantum menu and click on our associated account:
In the displayed window we go to the end of it and click on the “Disconnect†line:
On PC
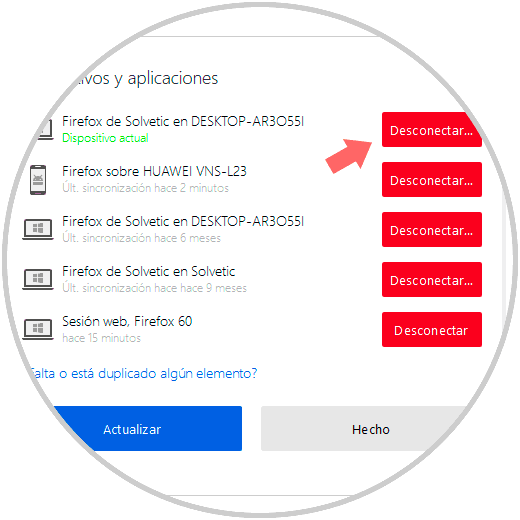
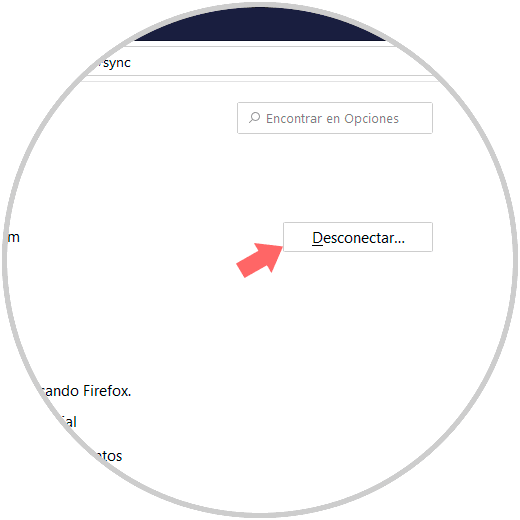
The next option is directly from the PC and there we can do the following. Go back to the "Manage devices" section and click on the "Disconnect" button on the device you wish to remove:
The next option is from the configuration of our account and there click on the "Disconnect" button and in this way the account will be disconnected on all the devices where it is registered..
4. Security and encryption between devices in Firefox Quantum
Firefox encrypts all synchronized data on the devices by default, but it is possible to add a higher level of additional security to the account using the two-step authentication method.
Step 1
To know more about this method we can visit the following link:
Step 2
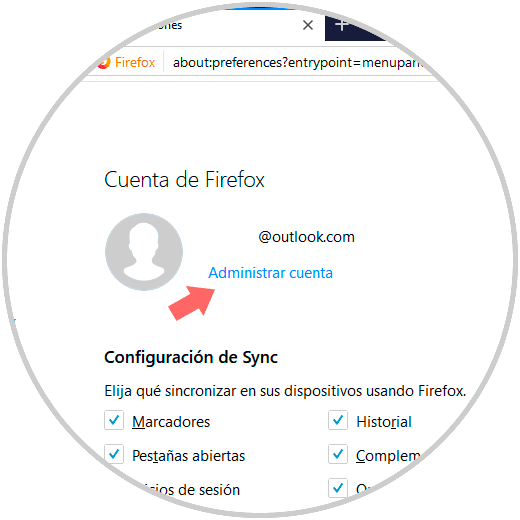
To activate this we go to the Start menu and click on our account and in the displayed window click on the “Manage account†line:
Step 3
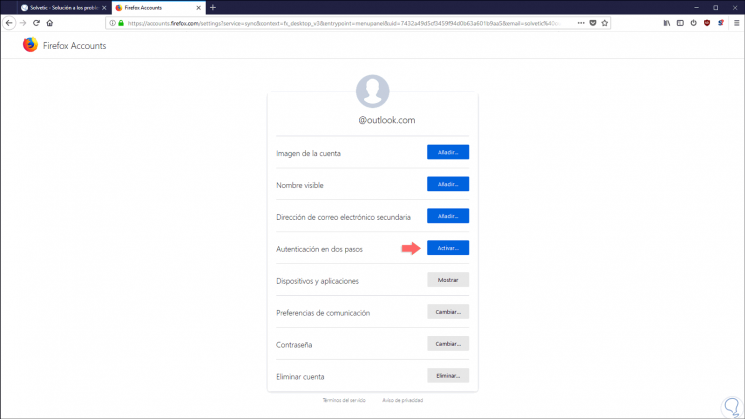
In the displayed window, click on the "Activate" button located in the "Two-step authentication" section:
Step 4
The following will be displayed:
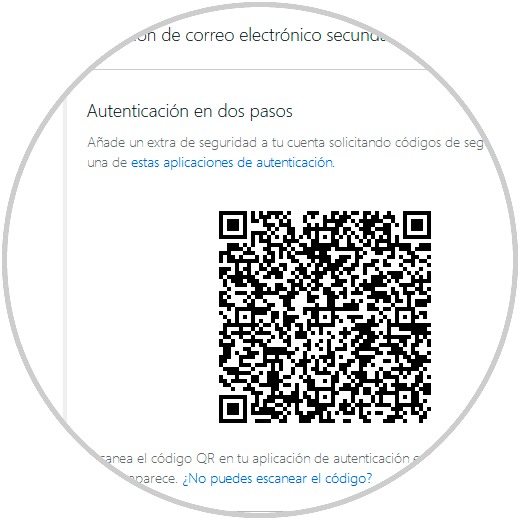
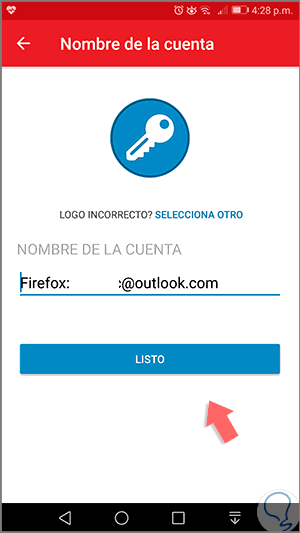
Step 5
This code can be scanned with a QR tool and this will be the result:
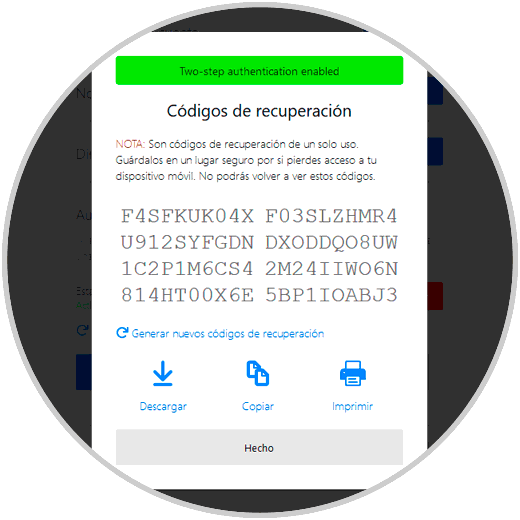
Step 6
Once the validation process is complete, a series of recovery codes will be generated in case the application fails:
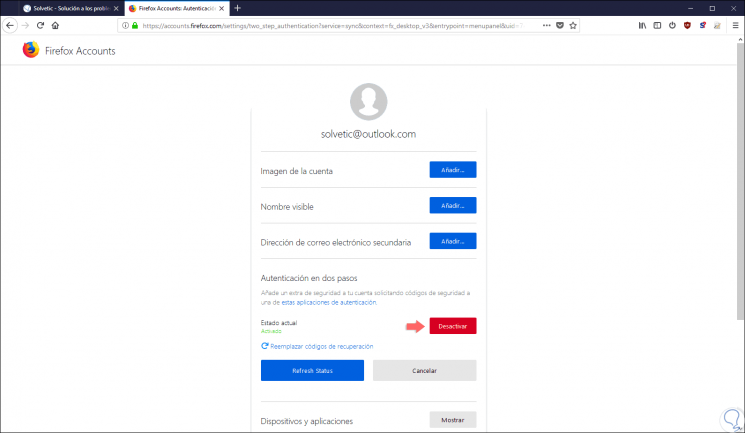
Step 7
Once this process is finished, we can access the “Two-step authentication†section again and then deactivate it, see its current status or replace the recovery codes. In this way we have learned to synchronize the devices with Firefox Quantum.
5. Synchronize devices with Google Chrome
Step 1
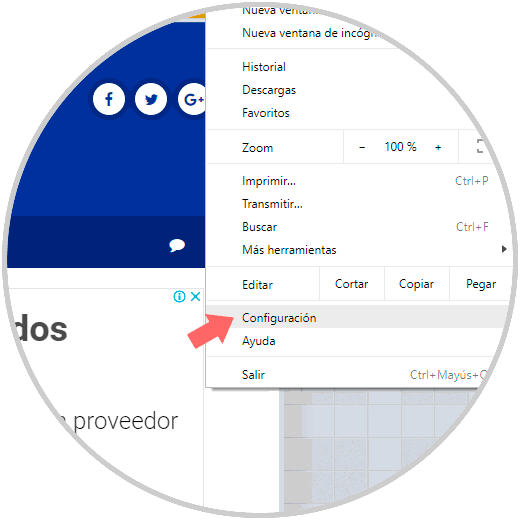
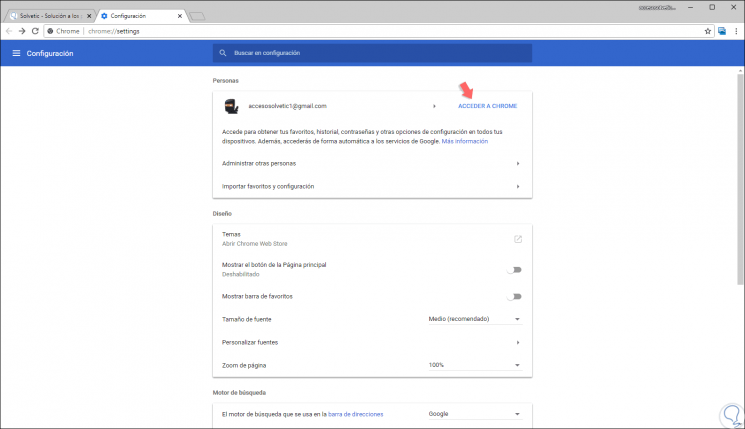
To carry out this process in Google Chrome, click on the "Customize and control Google Chrome" button and there we go to the "Settings" section:
Step 2
In the window that appears, click on the "Access Chrome" button located right next to our account:
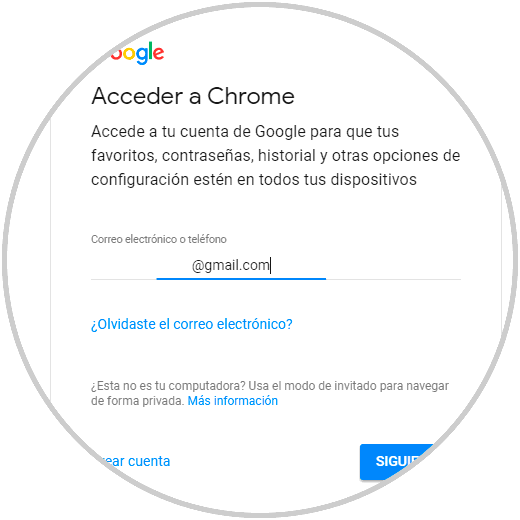
Step 3
We enter the email account:
Step 4
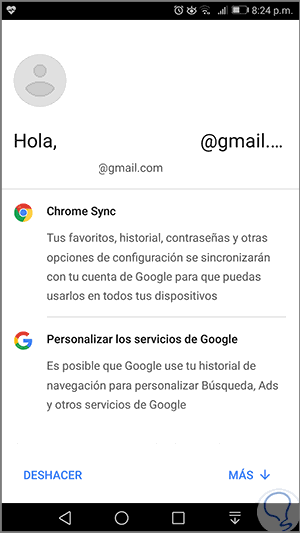
Once we enter the password, the following will be displayed:
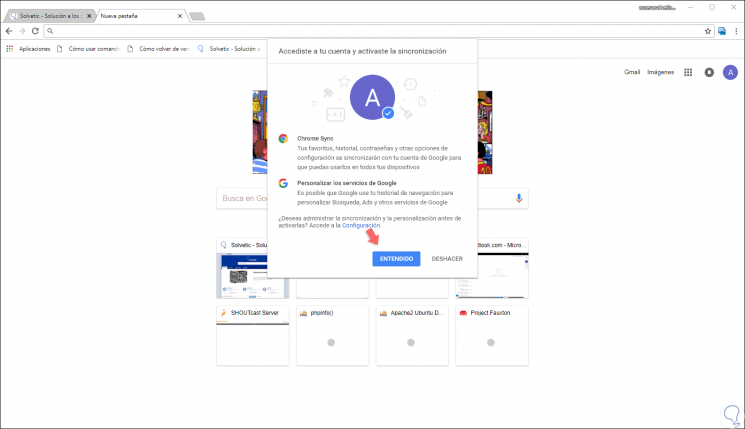
Step 5
Click on the "Understood" button. Now, to start the synchronization process in Google Chrome, we will go back to Settings and at the top we find the “Synchronization†section:
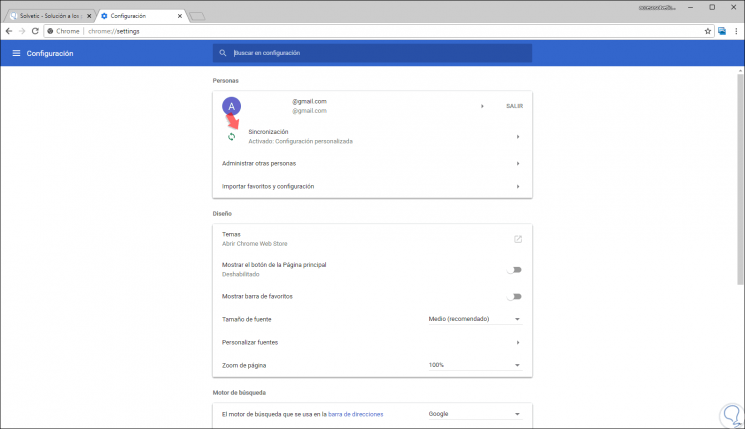
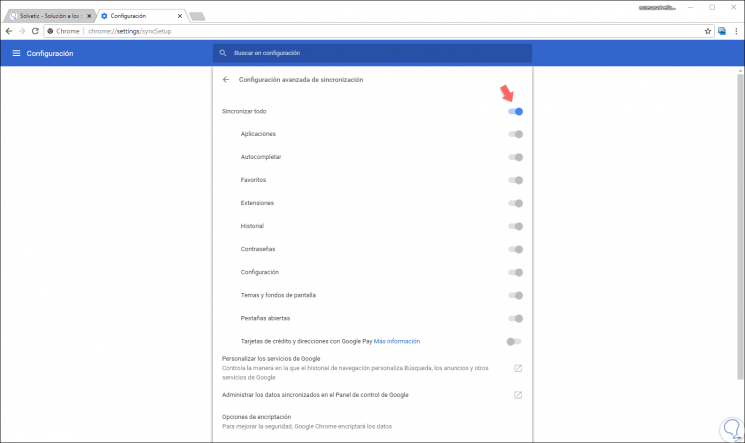
Step 6
Clicking there will display the following. There we can activate the “Synchronize all†switch or activate each switch as necessary.
6. Encrypt data to sync in Chrome in Google Chrome
Google Chrome Sync does not have the two-step authentication option, such as Firefox Sync, instead it gives us the ability to add a sync passphrase to the account.
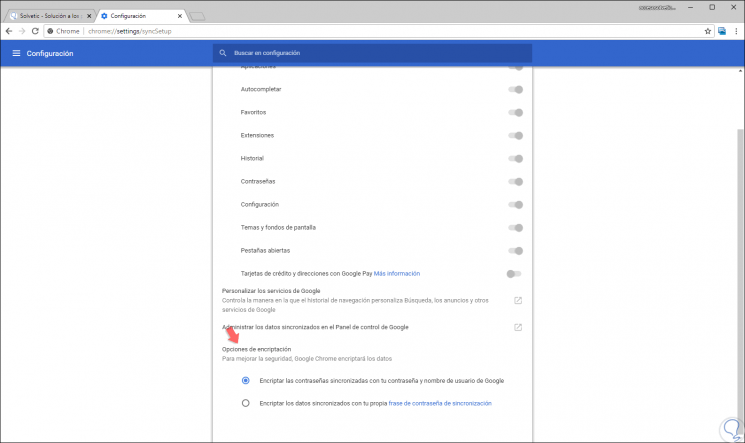
Step 1
To activate this, we will go back to the "Synchronization" section and there we go to the bottom where we see the "Encryption options" section:
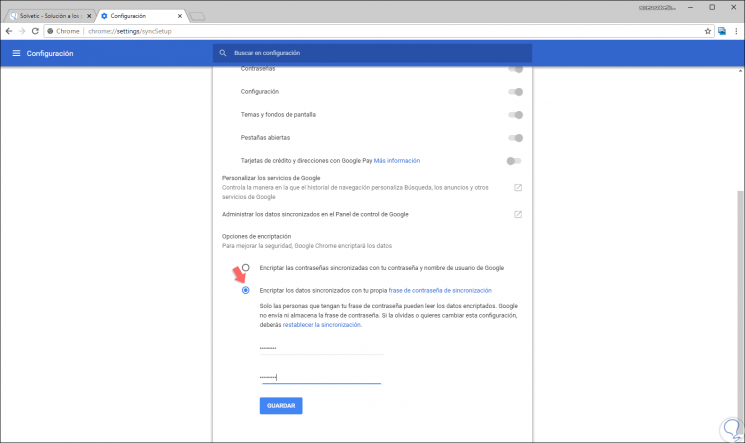
Step 2
We can specify our own password by checking the box “Encrypt synchronized data with your own synchronization password phrase†and it will be necessary to enter and confirm it. Click on the "Save" button to apply the changes.
7. Validate Device sync in Google Chrome
Step 1
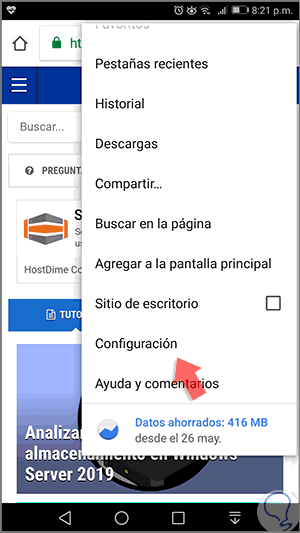
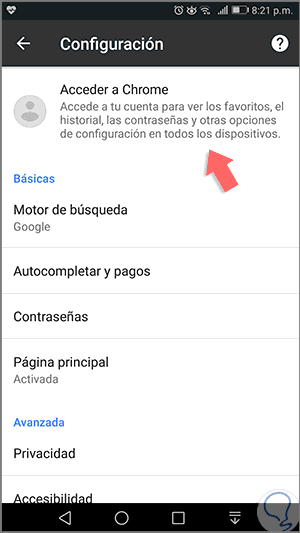
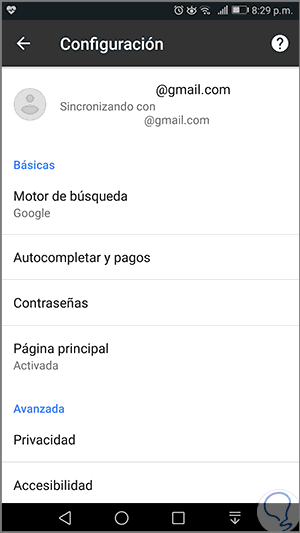
To do this, we access Google Chrome on our mobile, click on the start icon and select “Settingsâ€:
Step 2
In the displayed window, click on the "Access Chrome" section:
Step 3
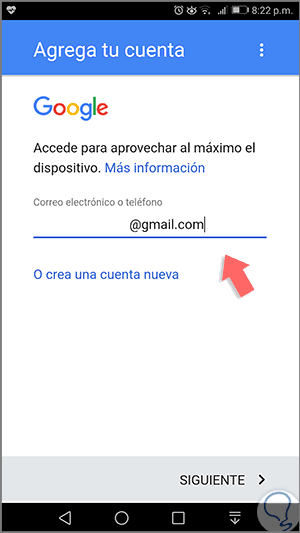
We enter our email account:
Step 4
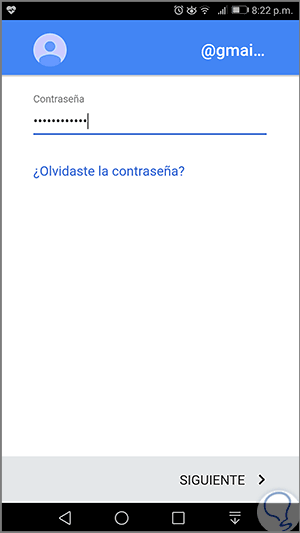
Then we enter the password:
Step 5
Once this is validated we will see the following:
Step 6
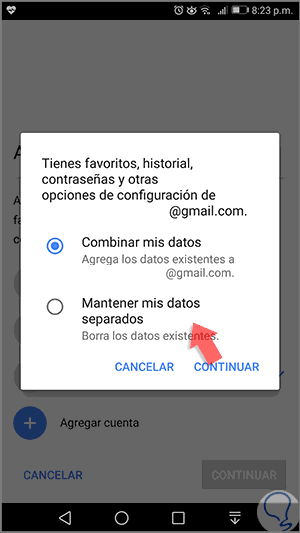
There we will have the opportunity to combine data in case of having an associated email account also or select "Keep my data separate" to not combine anything and leave each account separately.
Once we select this, the following will be displayed:
Step 7
There we click on the “Understood†button located at the bottom and we can see that the synchronization process begins:
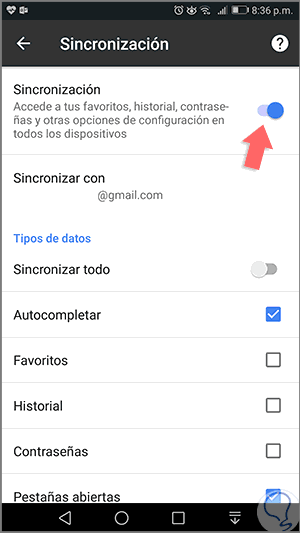
Step 8
We can click on our account to access the configuration of the elements to be synchronized, we can activate each switch separately or synchronize everything:
8. Stop syncing in Google Chrome
On PC
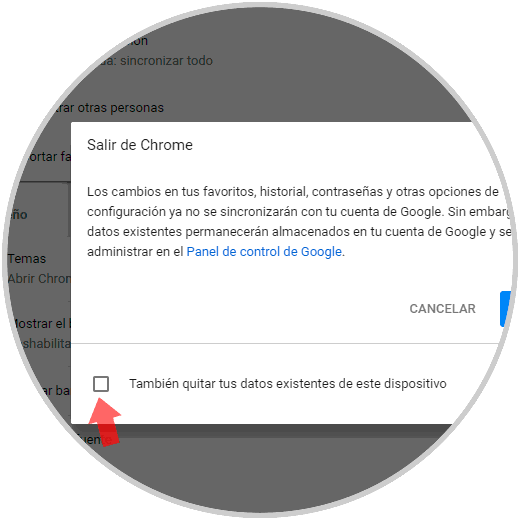
At the moment we do not want to use the synchronization services in Google Chrome we can leave them from the PC, accessing “Settings†and there by clicking on the “Exit†option:
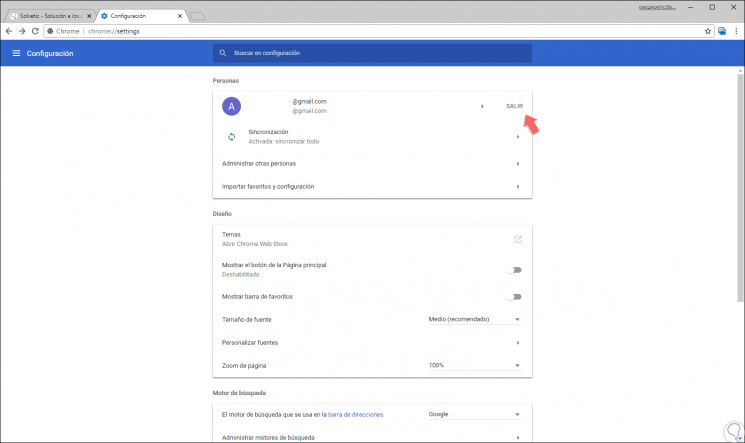
In this way we will leave all the active sessions, when clicking there the following will be displayed. There we can activate the “Also remove existing data from this device†box to completely erase the information.
On Android
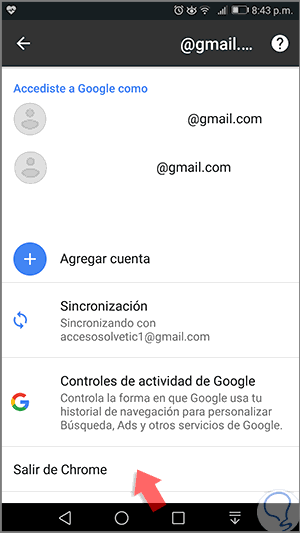
In the case of wishing to leave from the mobile, we go to Settings and there we click on our account, then, at the bottom, we can click on the “Exit Chrome†option:
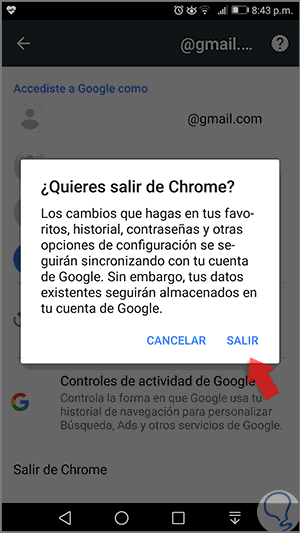
The following message will be displayed. Click on the "Exit" button to confirm the action..
9. Reset sync settings in Google Chrome
On PC
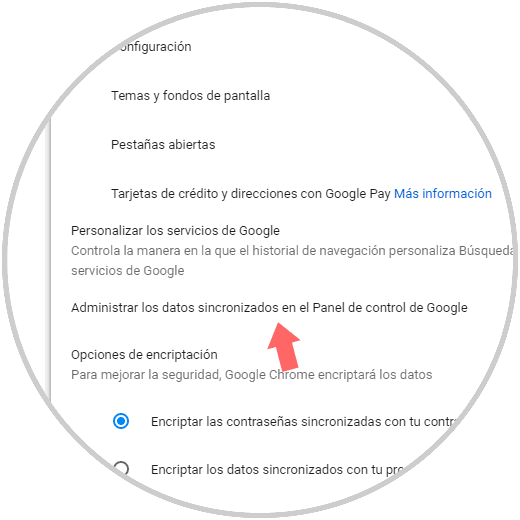
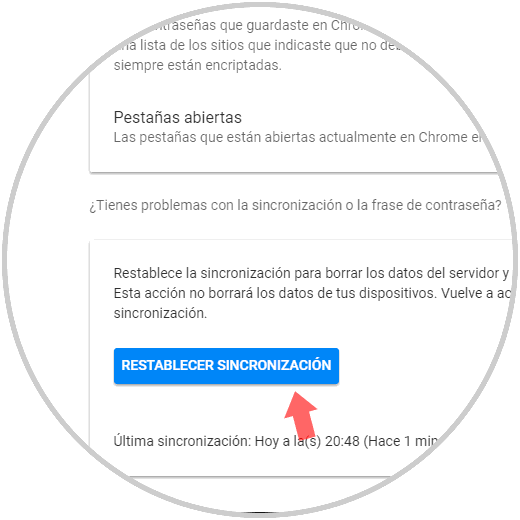
It is possible that at some point we want to restore the default values ​​of Google Chrome synchronization, for this we must go to “Settings / Synchronization†and there click on the section “Manage synchronized data in the Google Control Panelâ€:
In the pop-up window we find at the bottom the option “Reset synchronizationâ€:
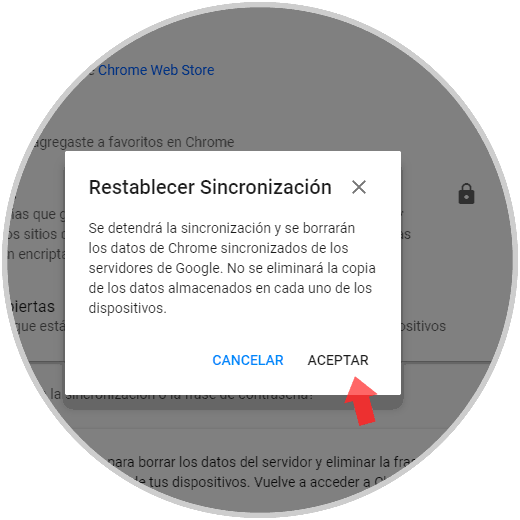
The following will be displayed. Click on the Accept button to confirm the process.
On Android
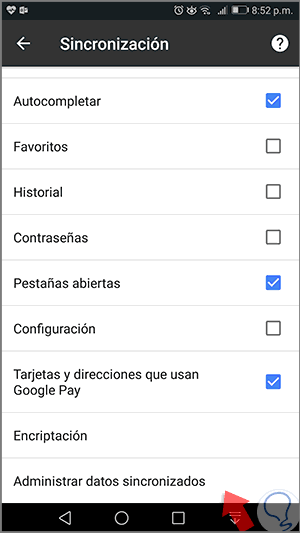
In the case of resetting the synchronization on Android or iOS we must go to “Settingsâ€, there click on our account and go to the “Synchronization†section and in the pop-up window go to the bottom where we select the option “Manage synchronized data†:
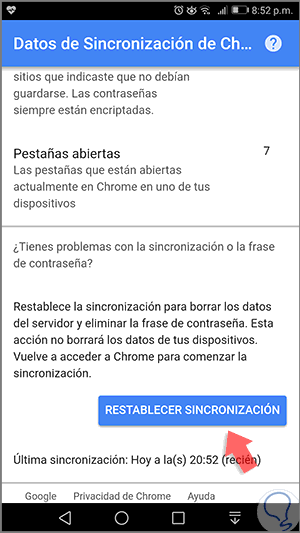
In the new window, click on the “Reset synchronization†button:
We have learned to synchronize all our activity between these two important browsers and the multiple devices where you can use them. Recall the importance of synchronization in a world where every moment we are on the network and nothing more valuable than knowing that all our data will always be there.