One of the best security measures that we should always keep in mind is the use of a firewall through which access or transfer of network packets may or may not be allowed, this is useful since there are millions of threats that are ready to penetrate our system and access valuable information..
The default firewall configuration tool for Ubuntu and Debian is UFW (Uncomplicated Firewall) which has been developed to simplify the management of the iptables firewall configuration, since UFW provides a simple method of use to create rules for IPv4 or IPv6 host based firewall. By default, UFW is disabled.
Through this tutorial we will learn a little more about UFW and how to perform its configuration process in Ubuntu or Debian.
What is UFW?
UFW gives us a much simpler framework of action to manage netfilter and has a command line interface to work with the Linux firewall, hence its name (Uncomplicated Firewall).
With UFW it will be possible to carry out various security actions on multiple system parameters and thus add better levels of security and privacy to all the information and processes housed there. To make effective use of UFW in Ubuntu or Debian we must have a root user or a user with sudo permissions, in case of not having one we can create it by executing the following lines in their order:
adduser "user" usermod -aG sudo "user" your - "user" sudo whoami
Now we will see the whole process to use UFW effectively in Ubuntu or Debian.
1. How to install UFW on Debian and Ubuntu
This firewall must be installed by default in Ubuntu and Debian but if not, we can install it using the APT package manager like this:
sudo apt install ufw
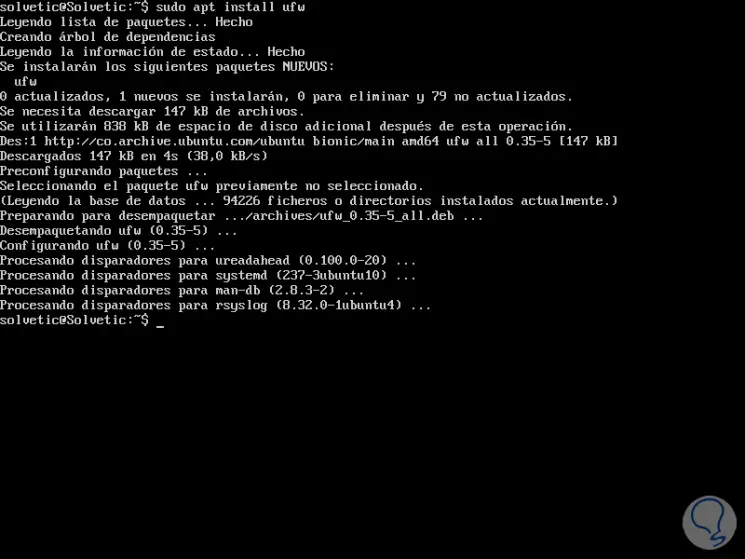
Once UFW is installed, we can run the following line to validate the current state of the firewall..
sudo ufw status verbose
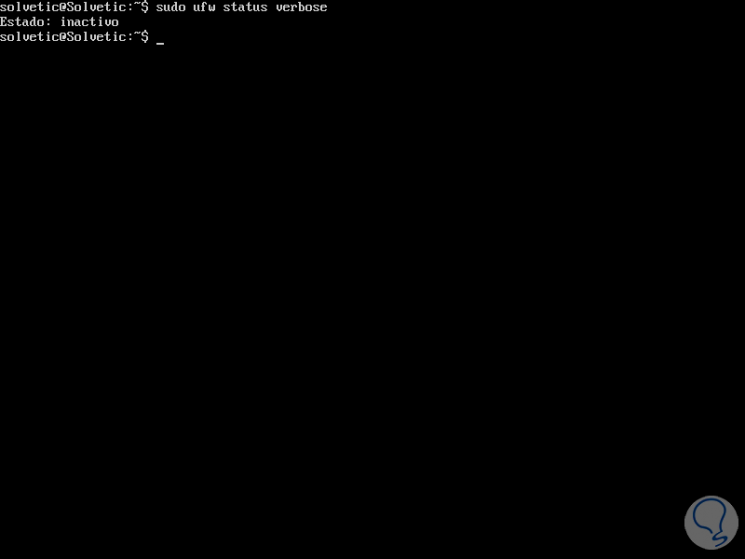
As we have indicated its default state is disabled.
2. How to enable UFW on Linux
To carry out the UFW activation process, we will execute the following command which loads the firewall and allows it to start when the system boots.
sudo ufw enable
Again we run sudo ufw status verbose to validate the new UFW status:
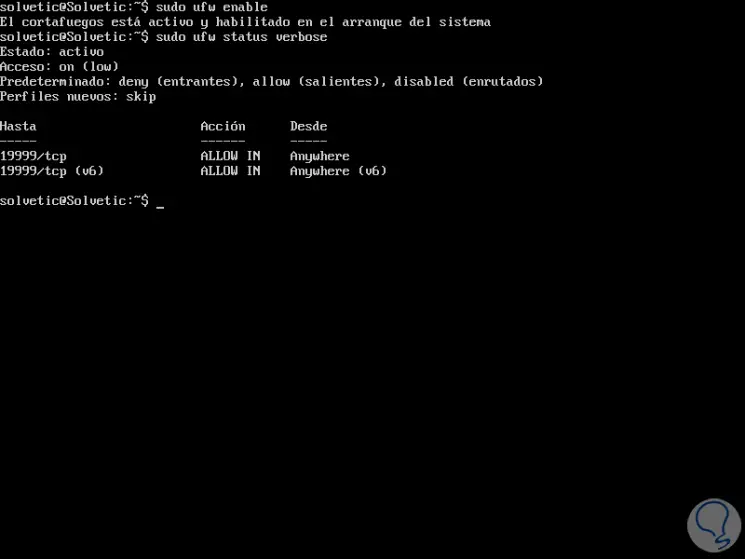
If you wish to disable UFW we will execute the following command which prevents it from being started from boot:
sudo ufw disable
3. Default policies in UFW Linux
When we activate UFW, a predetermined set of rules, or profiles, are used that are suitable for a home user but not for major issues.
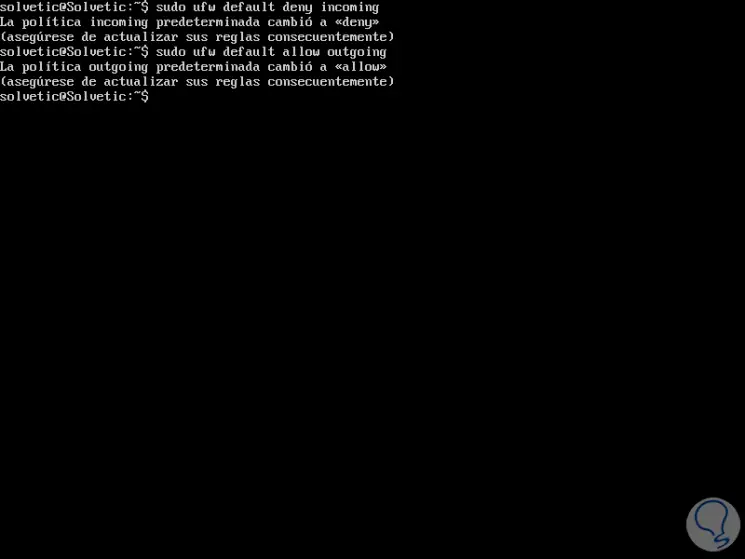
By default, the UFW firewall has rules to deny all incoming connections and only allows all outgoing connections to the server, so nobody can access the server and all services or applications running on Ubuntu or Debian can access the network External without problem..
These default UFW rules are found in the path / etc / default / ufw and we can edit them with the following command:
sudo ufw default deny incoming sudo ufw default allow outgoing
4. How to view profiles for applications in UFW Linux
When installing any software package through the APT package manager, an application profile is included in the /etc/ufw/applications.d directory which defines the service and keeps the UFW configuration active.
It will be possible to list all available application profiles in Ubuntu or Debian using the following command:
sudo ufw app list
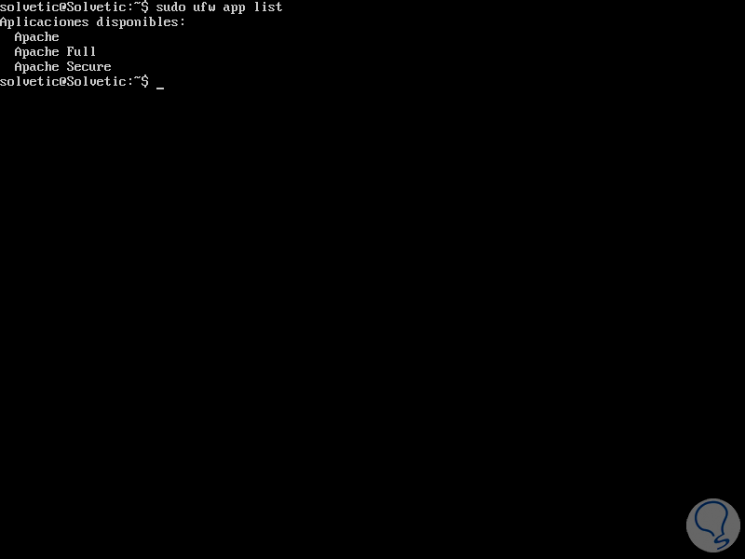
This result depends on the software package installations in the system.
If we wish to obtain more information about a specific profile and the rules defined for it, we will use the following command:
sudo ufw app info 'Apache'
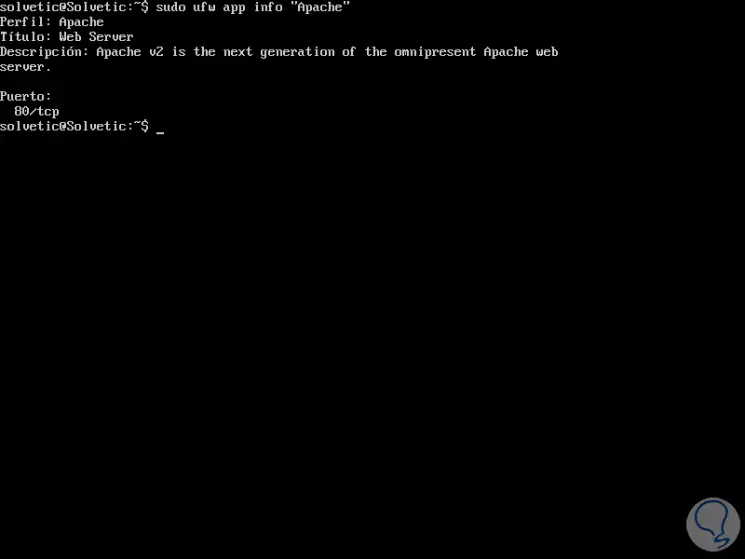
There we found all the information about that particular application.
5. How to enable IPv6 in UFW Linux
If Ubuntu or Debian is configured with IPv6, it will be necessary to validate that UFW is configured with IPv6 and IPv4 support. To verify this, we will open the UFW configuration file with some editor like that.
sudo nano / etc / default / ufw
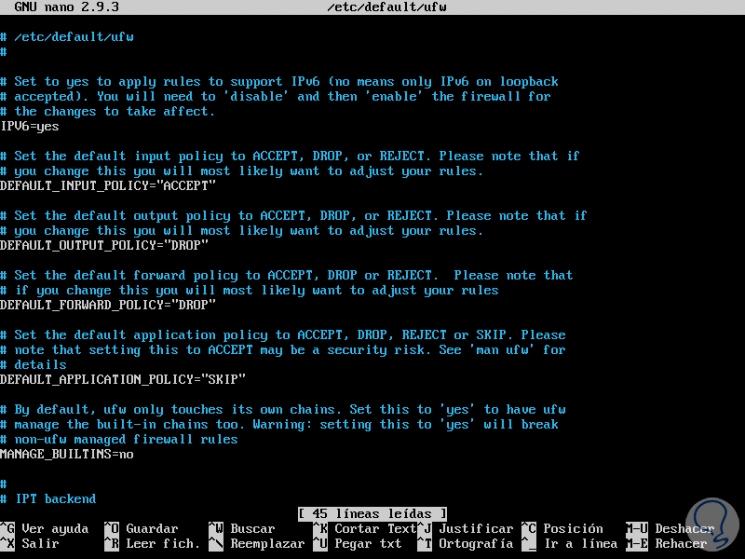
There we must ensure that the IPV6 row is with the value yes as follows:
IPV6 = yes
In case of making any changes, we save these using the Ctrl + O keys and exit the editor using Ctrl + X. Now, we will restart the firewall by running:
sudo ufw disable sudo ufw enable
6. How to allow SSH connections in UFW Linux
Remember that activating the UFW firewall will block all incoming connections and, if connected to the server through SSH from a remote location, it will not be possible to establish the connection.
To do this it will be necessary to enable SSH connections to avoid errors and this is achieved by executing the following command:
sudo ufw allow ssh
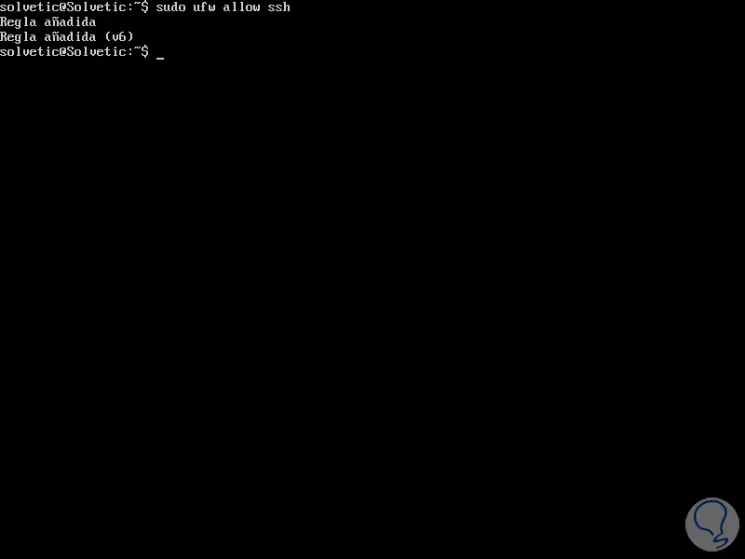
If you use a custom SSH port, it must be opened in the UFW firewall with the following command:
sudo ufw allow 2220 / tcp
If we want to block an SSH connection we can execute the following:
sudo ufw deny ssh / tcp
7. How to enable specific ports in UFW Linux
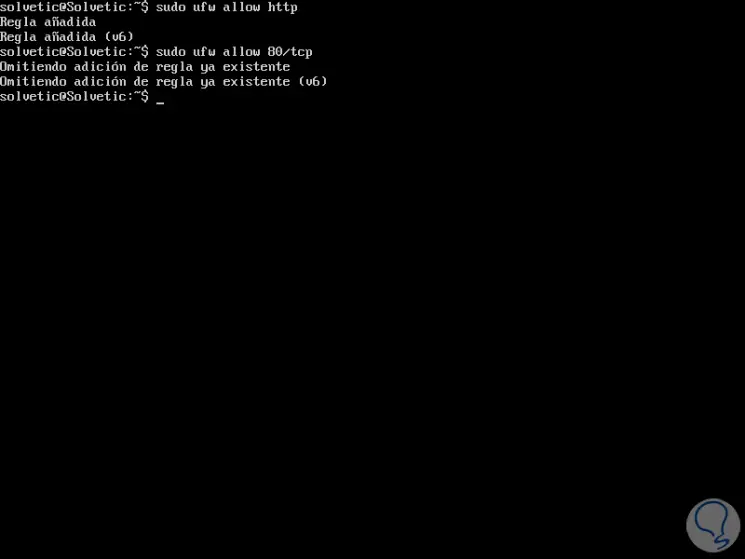
With UFW it will also be possible to open a specific port in order to allow connections to a certain service through it, for example, if you need to configure a web server to listen on ports 80 (HTTP) and 443 (HTTPS) of By default, we will execute the following as appropriate:
Allow port 80
sudo ufw allow http (By service name) sudo ufw allow 80 / tcp (By port number) sudo ufw allow 'Apache' (By application profile)
Allow port 443
sudo ufw allow http sudo ufw allow 443 / tcp sudo ufw allow 'Apache Secure'
Allow a range of ports in UFW
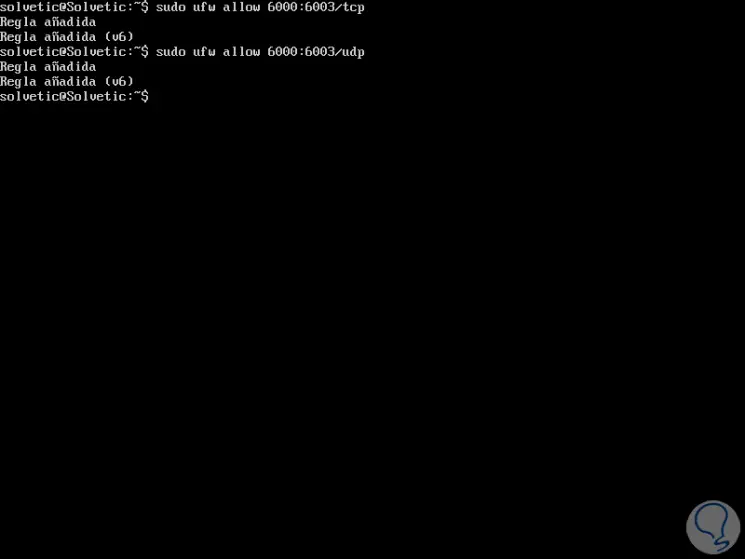
Sometimes we can have applications that will make use of a specific tango of ports that must be authorized in UFW, to activate a range of ports we will execute the following:
sudo ufw allow 6000: 6003 / tcp sudo ufw allow 6000: 6003 / udp
Allow an IP address
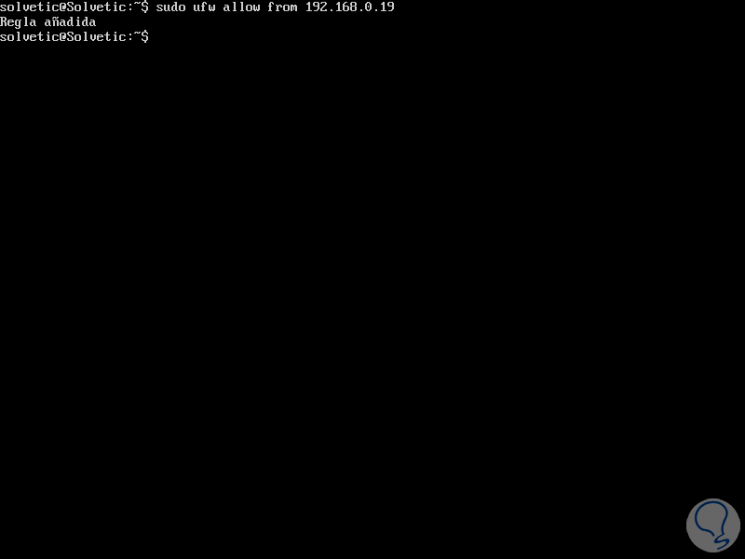
UFW gives us the option to allow access of a single IP address to the system, for this we must execute the following:
sudo ufw allow from 192.168.0.19
Now, if we want to enable the use of an IP address on a specific port we will execute the following:
sudo ufw allow from 192.168.0.19 to any port 22
Allow access to subnets on a specific port
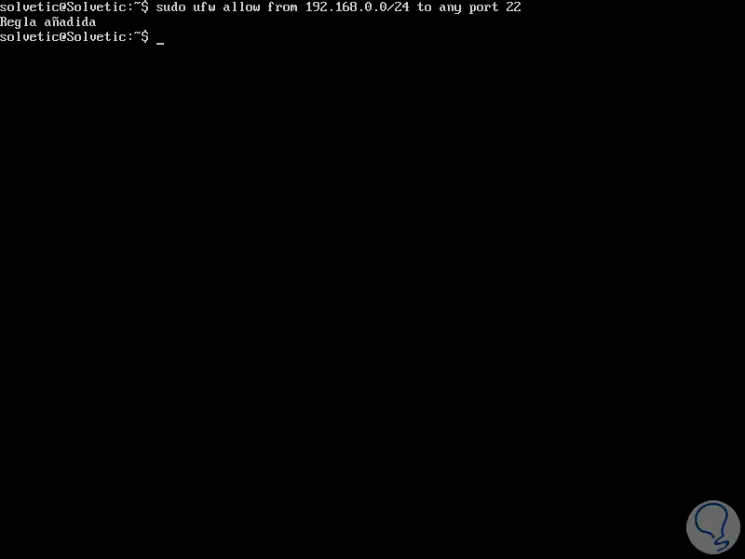
UFW gives us the option of allowing connections for particular IP addresses ranging from a range such as 192.168.0.1 to 192.168.0.254 to port 22 (SSH), for this we execute the following command:
sudo ufw allow from 192.168.0.0/24 to any port 22
Specify a network interface
Like the previous methods, UFW allows us to activate the use of a specific network interface, for this we execute the following:
sudo ufw allow in on eth3 to any port 22
Deny connections in UFW
By default, all incoming connections in UFW are blocked, unless the connection has been specifically opened in UFW, in this case we have opened ports 80 and 443.
Now, if our server is being affected by an IP address 11.12.13.0/24, we can execute the following to prevent that network from accessing Ubuntu or Debian:
sudo ufw deny from 11.12.13.0/24 to any port 80 sudo ufw deny from 11.12.13.0/24 to any port 443
8. How to delete rules in UFW Linux
We have 2 options to eliminate UFW rules, by rule number and by actual rule.
Step 1
To eliminate the UFW rules using the rule number, we must first list the rules by numbers with the following command:
sudo ufw status numbered
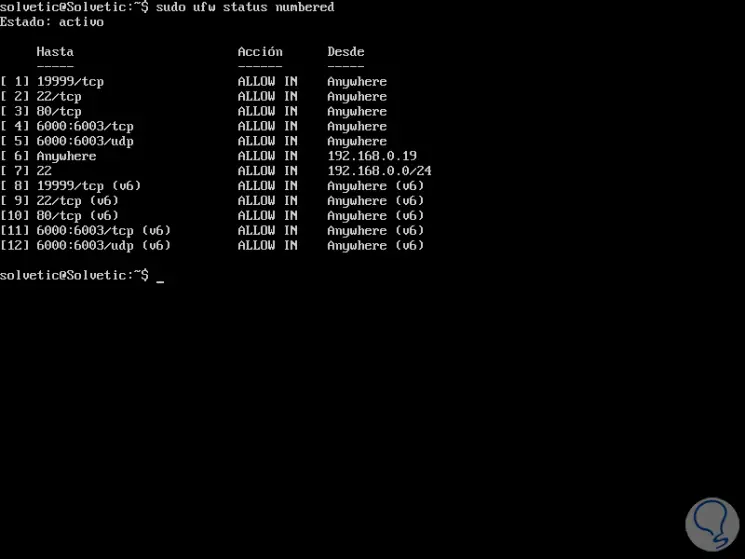
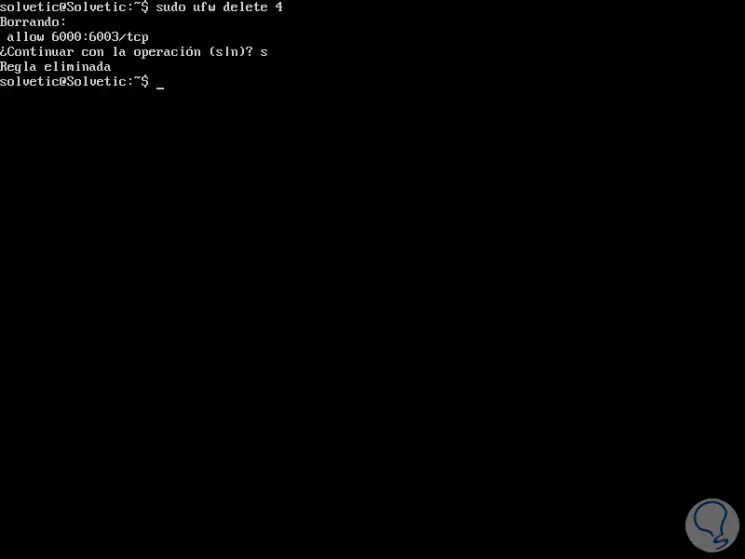
Now we can eliminate the rule using the following syntax:
sudo ufw delete #
Step 2
The second option is to delete a rule by using the real rule, for example:
sudo ufw delete allow 22 / tcp
UFW Dry Run Rules
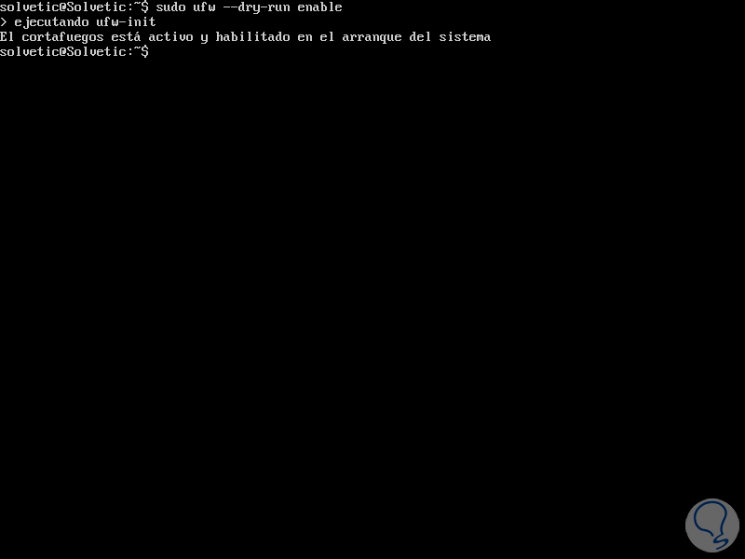
It will be possible to execute any UFW command without making any changes to the system firewall using the --dry-run flag, with this the changes that should occur are displayed:
sudo ufw --dry-run enable
9. Advanced functions of UFW
Some of the routes where UFW hosts its configuration with:
There you will find the main configuration for default policies, support for IPv6 and kernel modules
The rules of these files are calculated before the rules that are added through the UFW command
The rules in these files are calculated after the rules added using the UFW command
Refers to kernel network optimizable variables
Define whether UFW is enabled at startup and configure LOGLEVEL
UFW is a practical and complete tool to manage hundreds of security values ​​in Ubuntu and Debian in a practical and totally simple way.