One of the great advantages of Windows File Explorer is the ability to carry out complete searches of elements, files, multimedia, images, etc., in a complete and comprehensive way thanks to its indexing process which detects the search criteria entered to display the expected results..
In specific situations, some users encounter an error that indicates that "there are no elements that match their search" which finally means that it is not possible to carry out optimal results as expected.
Today TechnoWikis will explain in detail how to solve this error and thus allow the expected results in File Explorer to be correct..
1. Run the Windows 10 troubleshooter
Windows 10 includes a problem solver which has been designed with the aim of offering integral solutions for various aspects of the system and its components, giving automatic corrections or providing advice to follow.
Step 1
To use the troubleshooter for Windows search topics, we go to the following path:
Step 2
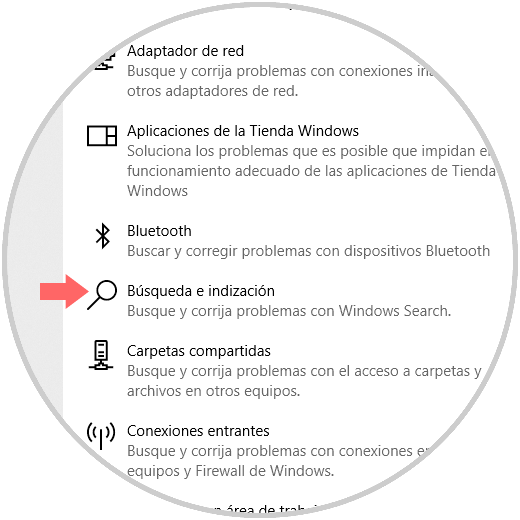
There we go to the "Troubleshoot" section. There we click on the “Search and indexing†option and the following button will be activated:
Step 3
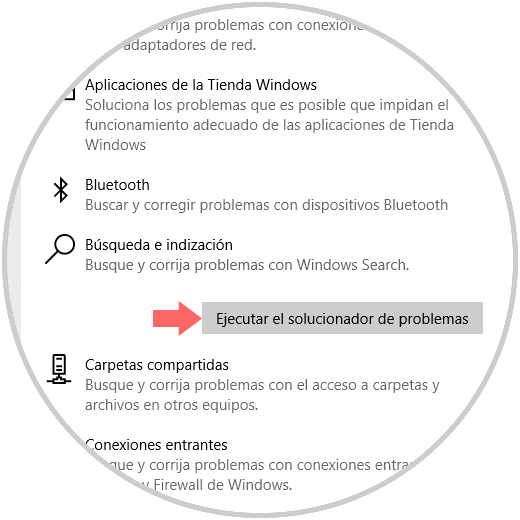
Click on the "Run the troubleshooter" button and after an analysis we will see the following.
Step 4
There we activate the box according to our problem and click Next to complete the steps of the wizard.

2. Check the indexing locations of Windows 10
The Windows 10 search system analyzes and searches files in indexed folder locations, so in some cases we may need to add some folders to these indexed locations in order to make the search much more complete.
Step 1
To perform this task, we will go to the next route.
Step 2
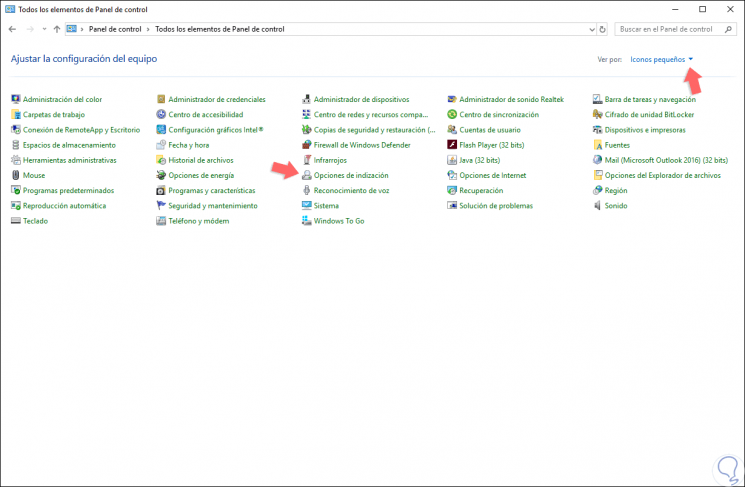
There we select the line “Indexing options†where we will see the following:

Step 3
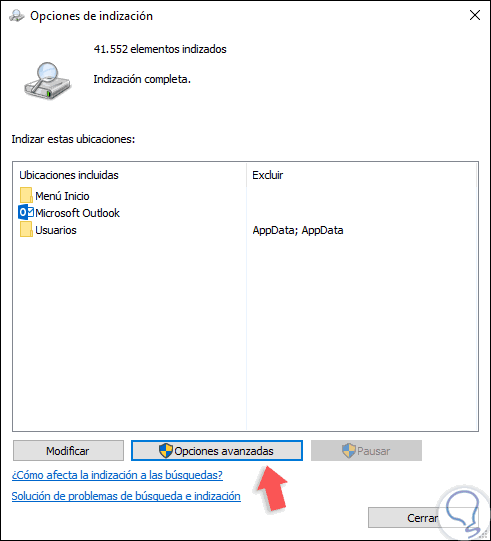
There we have the folders that are defined by default, to add new folders click on the "Modify" button and in the window displayed click on the C drive to expand your folders and there select the new folders that will be added to the search from the browser Windows:

3. Rebuild the Windows 10 indexing system
In many cases, the Windows Explorer file search errors occur due to errors or damage to the search index, in this case one of the best solutions is the reconstruction of the index so that the entire search process returns to its natural state.
Step 1
For this reconstruction, we go back to the next route.
Step 2
There we select the line “Indexing options†where we will see the following:
Step 3
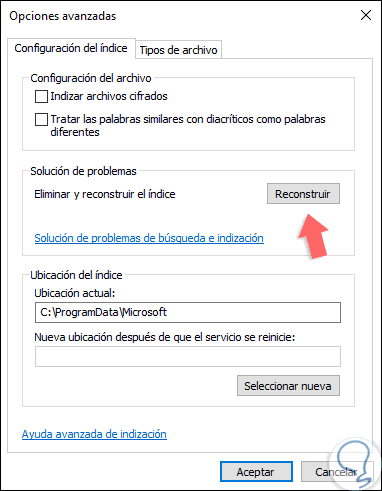
There we click on the "Advanced Options" button and the following will be displayed:
Step 4
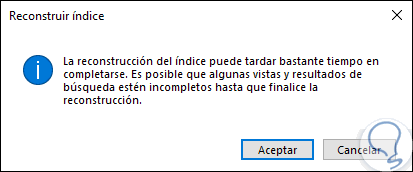
There we click on the "Rebuild" button located in the "Troubleshooting" section and clicking there will display the following. Click on OK to apply the changes.
4. Activate the option to always search for file names and content in Windows 10
This option is not selected by default, but it is important to select it so that the search process always searches the names and contents of the files in the non-indexed locations.
Step 1
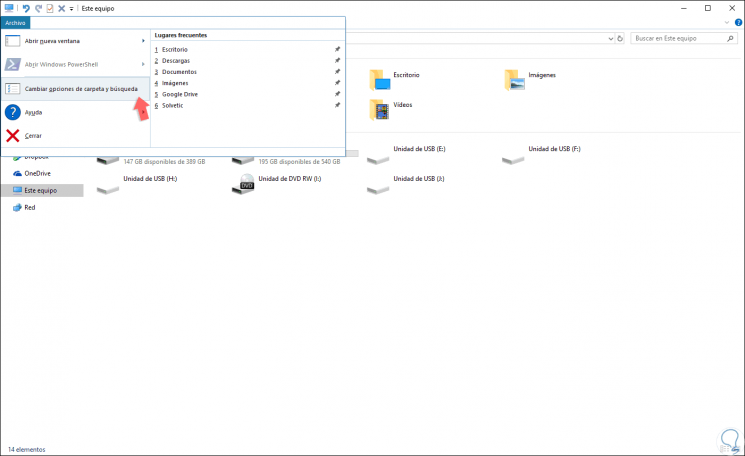
To do this, we will go to the file explorer and there we go to the “File†menu and select the “Change folder and search options†line:
Step 2
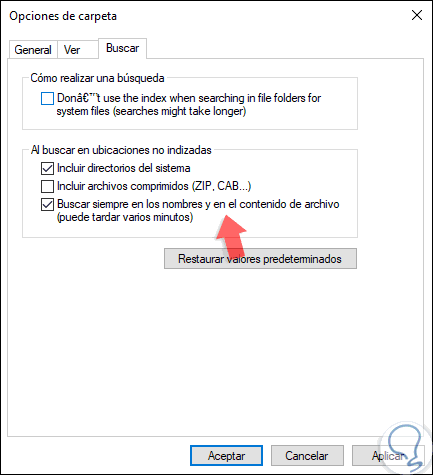
In the displayed window we go to the “Search†tab and there we will activate the “Always search in names and file content†box. Click on the Apply and Accept button to save the changes.
5. Check the search service in Windows 10
The analysis process in Windows is based on its search service which, if for any reason is disabled, will prevent the results from being displayed and create conflicts in the search process.
Step 1
We can check the search service using the following key combination and executing the "services.msc" command.
+ R
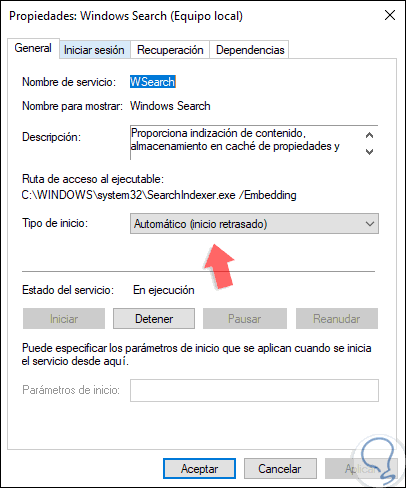
Step 2
In the window that appears, we locate the service called "Windows Search", double click on it and set the value "Automatic" in the field "Startup type". In case of being stopped, click on the "Start" button.
6. Allow indexed content in Windows 10
This option allows all the elements of the unit to have their indexed content which will facilitate the search process.
Step 1
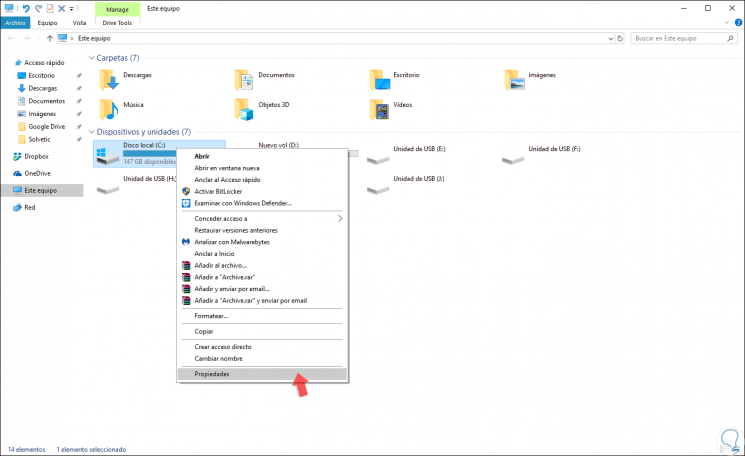
We can check this status by going to the file browser and right clicking on the C drive and selecting "Properties":
Step 2
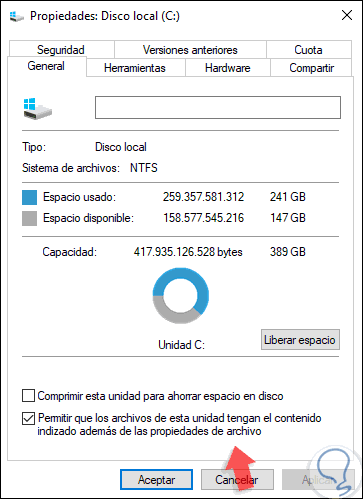
In the unfolded box we activate the “Allow files from this unit to have indexed content in addition to file properties†box. Click on Apply and Accept to save the changes.
With any of the solutions offered, it will be possible to correct everything related to the search for elements in Windows and thus have the best results.