That Instagram is one of the most used social networks today is not pure chance. The social network of images and videos since its timid beginning has not stopped incorporating functions until it is what it is today. What began as a wall to which photos and comments could be uploaded with mentions, has been incorporating new and striking features such as Instagram stories, live videos , facial filters , superzoom or surveys among endless more..
On Instagram we have the possibility to make a conversation of edited images sent through direct or direct messages since elements can be included in the photo received as a response. In addition, you can manage the times that you can display an image that we send through direct message is possible.
In the direct messages of Instagram, we have the possibility of sending a photo that can only be seen once and then self-destruct, the possibility that it can be seen again or the possibility that it will remain in the chat. Next, we explain how to do it..
To keep up, remember to subscribe to our YouTube channel! SUBSCRIBE
1. How to mix and edit photos sent by direct message Instagram
Now the direct or private messages of Instagram give us the possibility to superimpose photos that send us on new photos and edit them by drawing or putting stickers on it.
Step 1
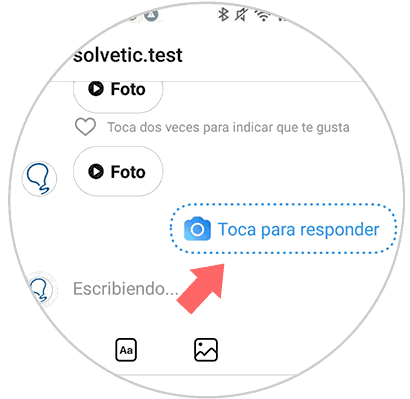
To do this you must enter Instagram in direct messages and receive a photo. Once received, you must click on the “Touch to reply†button
Step 2
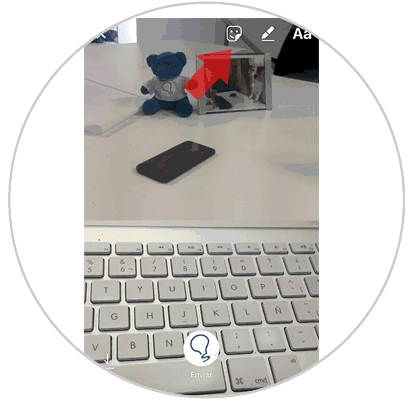
When you press “Replyâ€, the photo they sent you will appear in a thumbnail in the upper right corner of the screen.
Step 3
If you click on the photo it will occupy the upper half of the screen and you can answer by adding another image from your camera in the large central button. You can even add a filter on the face icon.

Step 4
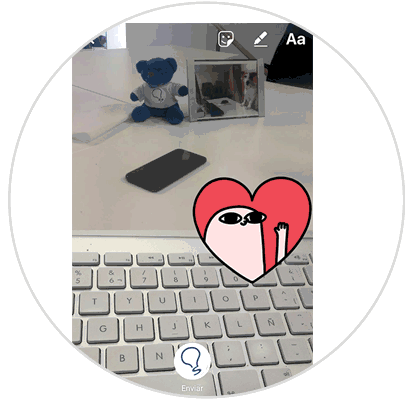
You can also answer with another image that is in the gallery of your phone by sliding up and choosing the image you want. Finally, it is possible to add text, draw, and add stickers or stickers to the icons in the upper right corner of the screen. Click on “Send†and you will send the superimposed and edited image.
2. How to choose the times we want to see our photo sent by direct message Instagram
This is the second new functionality of the Instagram application when we send a direct message, and it is the choice when we take a photo from the camera of the application the times we want the other person to see them.
Step 1
The first thing we should do is take a picture from the conversation we want to send it to.
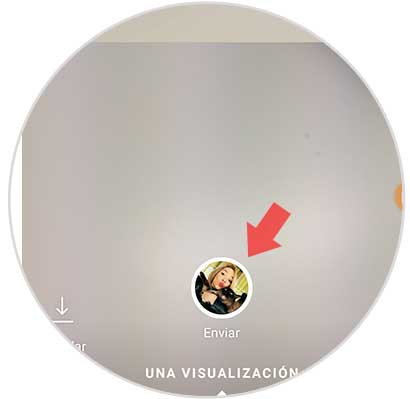
Once we have taken the photo, we will see that at the bottom we have two shipping options.
A visualization
This option allows the receiver to view the photo only once and then disappear.
Allow to see again
With this we will be giving the option that the image can be seen again by the receiver.
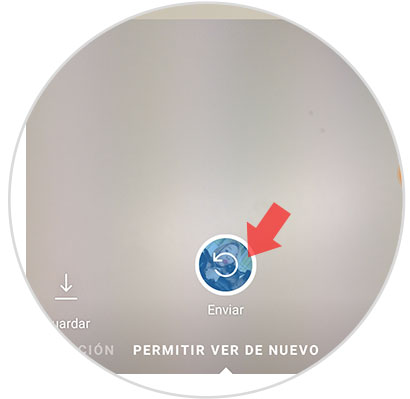
Depending on the option we select, the receiver will have different access to the photo sent by us through the chat. In this way we will be able to use the photos as it suits us and make the conversations more fun..