The personalization and appearance of our operating system and its components will always be an objective to which many users aim to not limit ourselves to the basic configuration by default. In Windows environments, punctually Windows 10, it will be possible to customize from the same lock screen onwards..
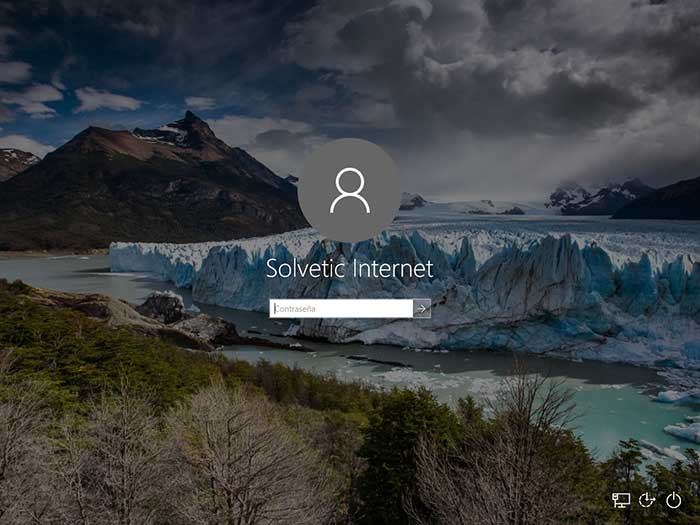
Windows 10 has a new integrated function called Windows Featured Content that in its English version will be called Windows Spotlight. This function offers us an ideal option to modify the lock screen background and with which different background images will be displayed. Occasionally it offers suggestions directly from Bing which is the default Windows 10 search engine. This feature of Windows featured content is available in all Windows 10 desktop editions without any problem.
The featured Windows content offers alternatives such as:
Background image
Windows featured content displays a new image on the lock screen daily. Initial background images are included during system installation and additional images are downloaded continuously.
Feature suggestions, fun facts, tips
The background of the lock screen may occasionally suggest the features of Windows 10 that as users we have not yet tried.
Now we are going to analyze how to troubleshoot Windows Featured Content in a practical way..
1. How to re-register the Windows 10 Featured Content application
The first option to use is to register the function again so that all the associated services work as expected.
Step 1
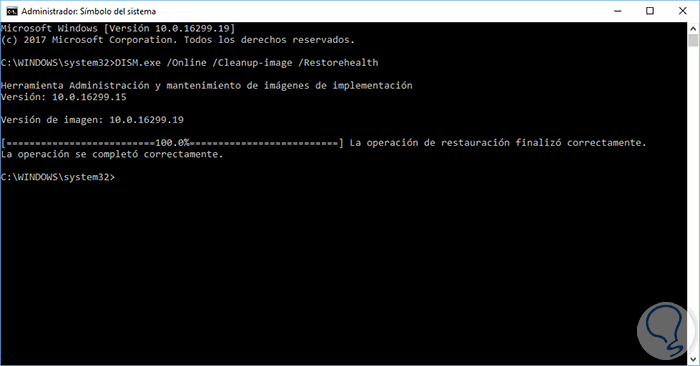
To do this, we will access the command prompt as administrators and first we will execute the following command:
dism.exe / online / cleanup-image / restorehealth
This command makes use of the DISM tool, which has the mission to blunt and correct the system image to detect faults and anomalies and proceed with their respective correction.
Step 2
There we wait for the tool to execute its analysis process and we will see the following result:
Step 3
Now, let's execute the following:
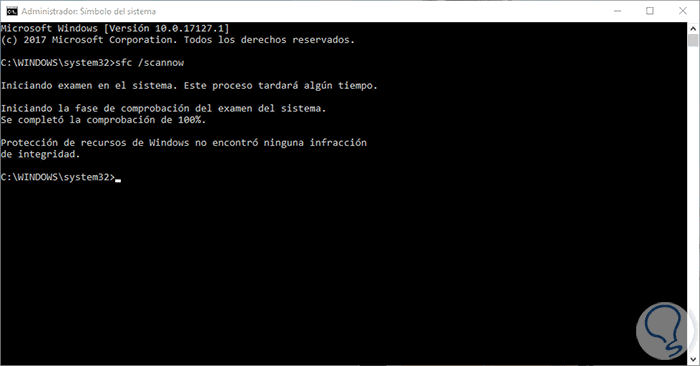
sfc / scannow
This SFC (System File Checker) command is responsible for analyzing file systems to repair internal damage.
At the end of your result it will be similar to this:
Step 4
Now we will access PowerShell from the command prompt by executing the term powershell and pressing Enter, once we access this mode, we will execute the following:
Get-AppXPackage -AllUsers | Where-Object {$ _. InstallLocation -like “* SystemApps *â€} | Foreach {Add-AppxPackage -DisableDevelopmentMode -Register “$ ($ _. InstallLocation) \ AppXManifest.xmlâ€} 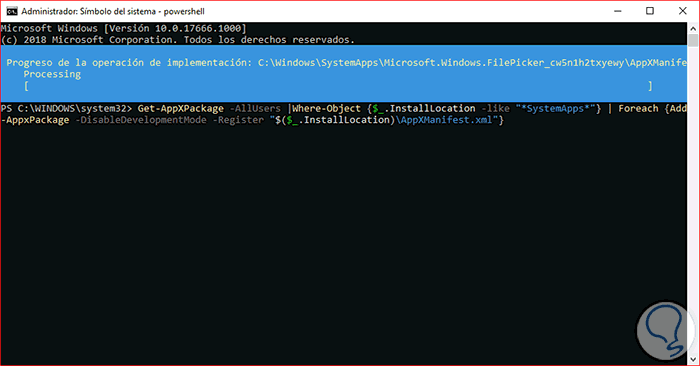
Once the action is completed, we can block the session to verify that the Windows 10 Featured Content works as expected.
2. How to make use of Windows 10 file explorer
Step 1
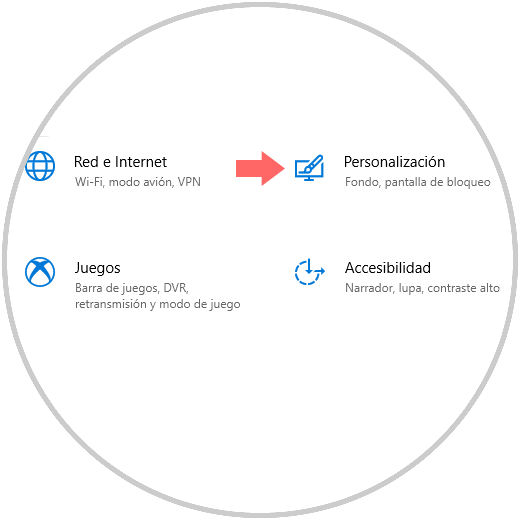
This is another alternative available to solve the problem of Featured Content and for this we go to the Start menu and there we select the Configuration utility, we will see the following:
Step 2
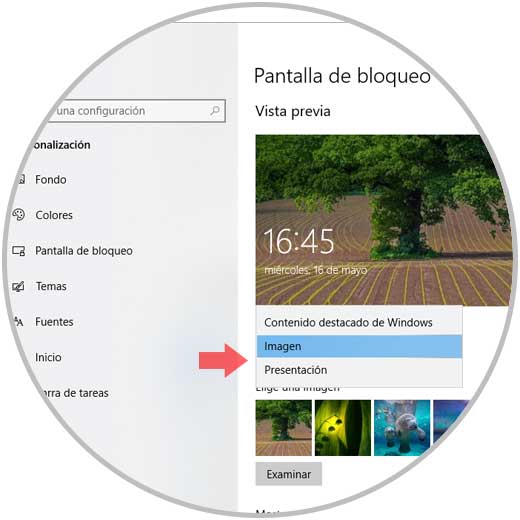
There we click on the Personalization category and in the new window we go to the Lock screen section. There, in the Background field, we select the Image or Presentation option:
Step 3
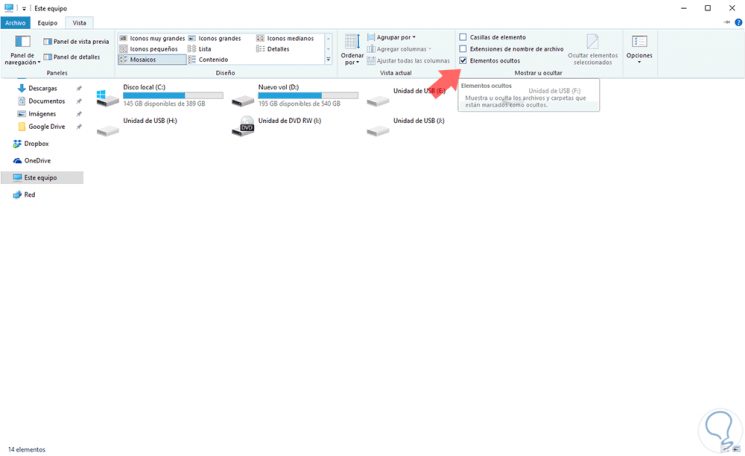
Now, we go to the file explorer and go to the View menu and activate the Hidden Elements box located in the Show or hide section:
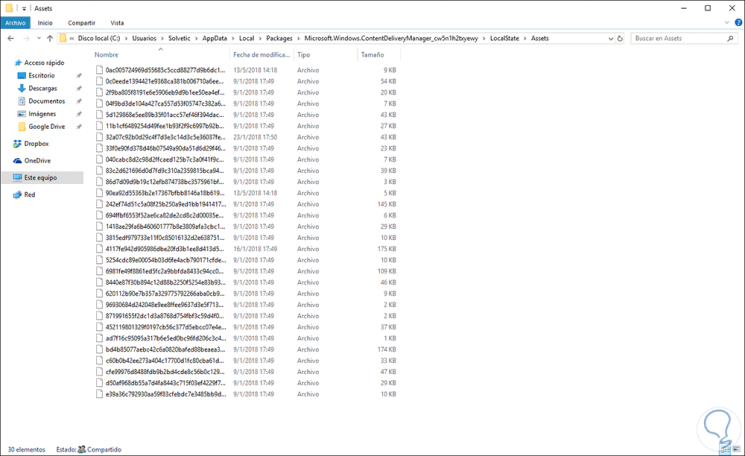
Now, we will go to the following route:
C: \ Users \ user AppData \ Local \ Packages \ Microsoft.Windows.ContentDeliveryManager_ <Package ID> \ LocalState \ Assets
Step 4
We will see the following:
Step 5
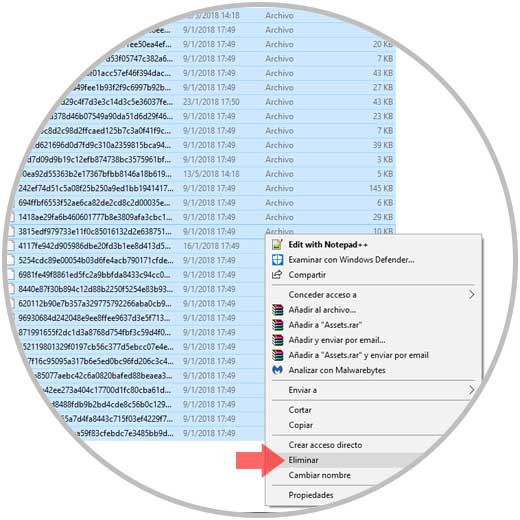
We will select all the files, right click on them and choose the Delete option:
Step 6
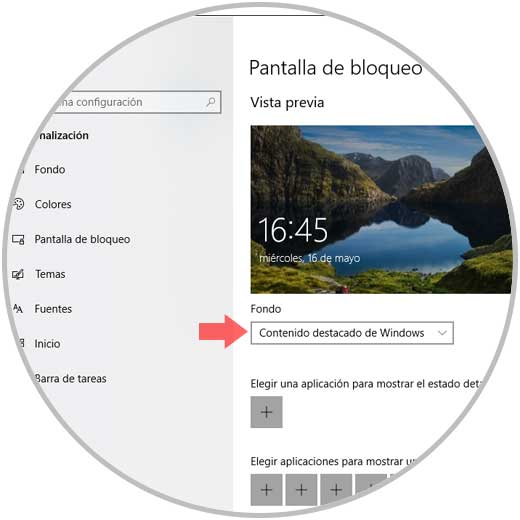
Now we can go back to the lock screen options and there select Windows Featured Content:
With any of these alternatives it will be possible to enjoy a new environment of our lock screen in Windows 10..