The security of our information should always be one of the main objectives to be drawn either as administrators or frequent users since with the powerful threats that are presented on the network we are exposed to be victims of various types of attacks that can affect our data and with it our privacy..
There are several tools to protect data , but when we work with macOS High Sierra, we have an integrated one that allows us to store our information using the best encryption methods, thus guaranteeing the privacy of the information and preventing other users from accessing said information.
TechnoWikis will explain through this tutorial how to create an encrypted disk image in which we can add all the files we want to protect and then access them using the password we assign..
1. Create and mount disk image on macOS High Sierra
Step 1
The first step to take is to access the disk utility using one of the following options:
- In the “Go / Utilities / Disk Utility†path.
- Using the following key combination and in the pop-up window select Disk Utility.
+ ⌘ + U ⇧ + ⌘ + U
- Enter the term discs in Spotlight and there select the respective utility.
Step 1
Once we access the disk utility we go to the “File†menu and there we select the option “New image / Empty imageâ€:

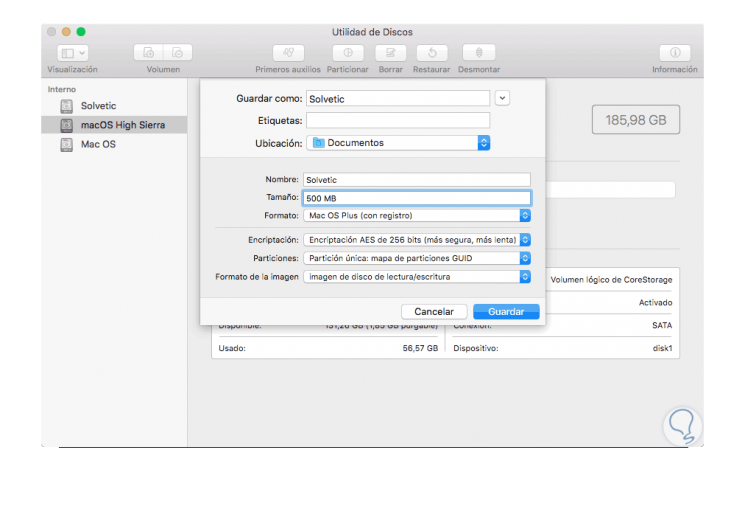
Step 2
In the window that will be displayed we will define the following variables:
Save as
There we must indicate a file name for the disk image.
Name
We can assign a name for the disk image file. This name is added as a descriptive which appears as the name of the container when the image file is mounted.
Size
There we can select a size for the disk image file to be created., Based on the size chosen it will be the storage capacity of the disk, the container file takes the maximum file size immediately.
Format
There we select the Mac OS Plus option (With registration) as the default file system.
Encryption
Through this option we can select the type of 128 or 256 bit AES encryption with which the disk image will be protected. 256-bit AES is more secure, while 128 bits is faster, the AES 256 is more secure.
Partitions
We will select the option Single partition GUID partition map to use a single partition within the disk image file.
Image format
We select the option Read / write disk image so that it is possible to read and write to the disk image at any desired time.
Step 3
When selecting the level of encryption, the following window will be displayed where we will define the password to be assigned:
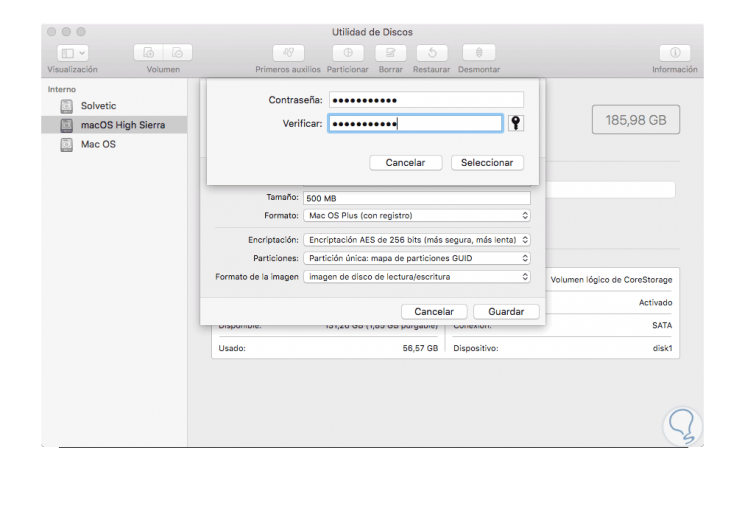
Step 4
Once we click on “Select†we can complete all the indicated fields:
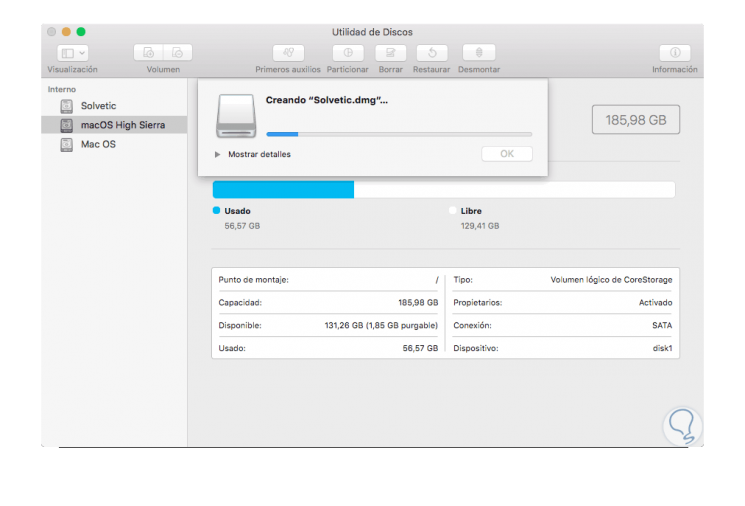
Step 5
Once we complete these fields, click on the “Save†button and we will see that the image creation process begins with its respective encryption:
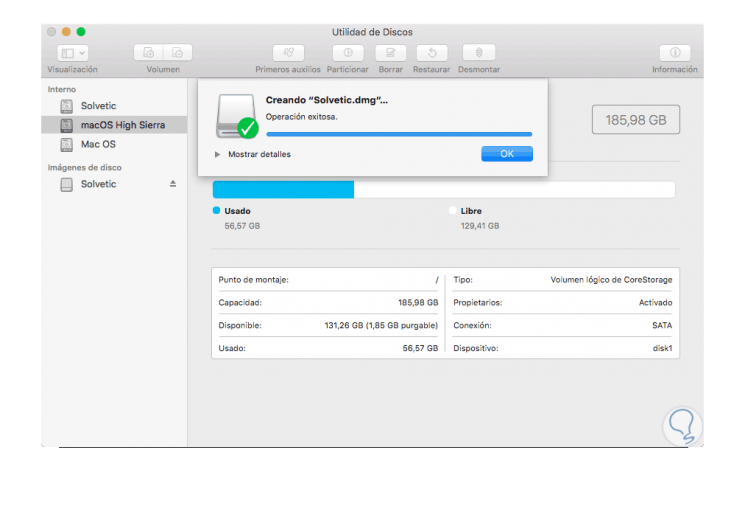
Step 6
Once this process is finished we will see the following. Click on the OK button to close the wizard.
Step 7
It is important that we remember the assigned password since if we forget it it is impossible to access the selected image and it is not recommended to store it in the macOS High Sierra keychain since any user could access the image and manage the elements housed there. We can see that by default the image is mounted on the operating system and we can access the unit to perform the necessary actions:
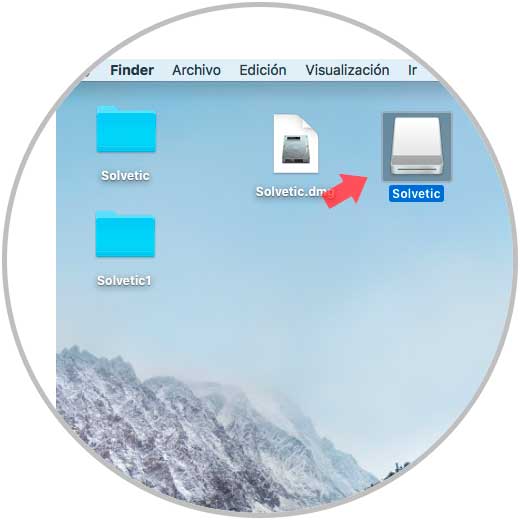
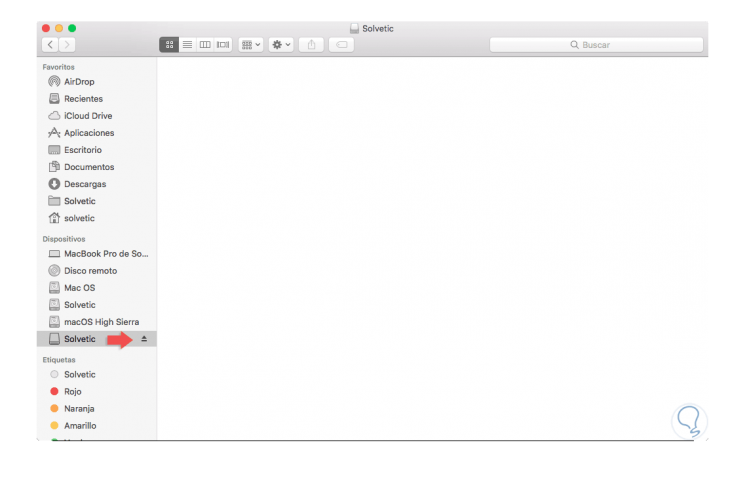
Step 8
Once we have performed the respective actions in the unit, we can go to the Finder and from there eject the image by clicking on the eject icon of the unit located on the right side of it:
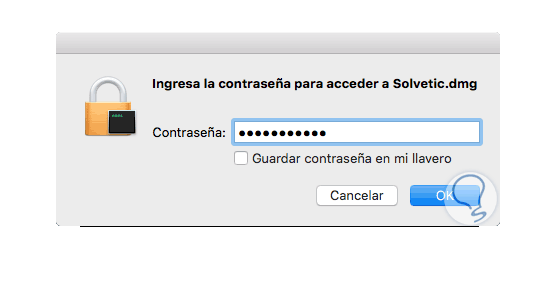
Step 9
To mount the image and work on it, just double click on the .dmg image and we will automatically see the following window where we will enter the assigned password:
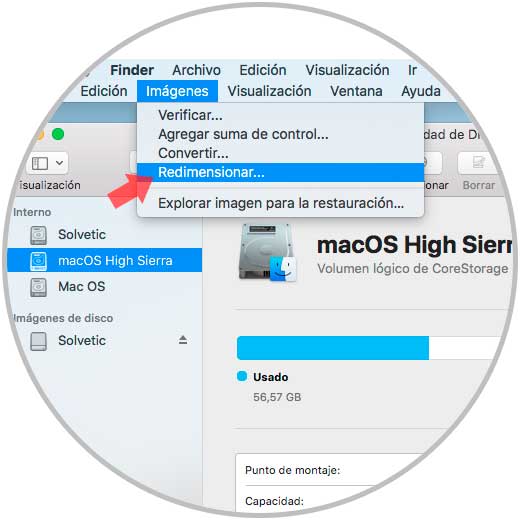
2. Modify the image size in macOS High Sierra
Step 1
In some cases it may be necessary that we need more or less space than originally allocated, if this is the case, we go to Disk Utility and go to the “Images / Resize†menu:
Step 2
In the displayed window we will locate the image that we have created and that has to be resized:
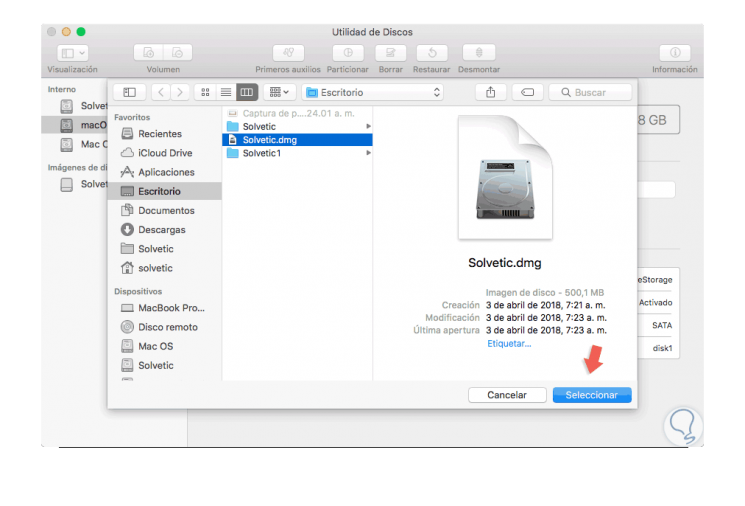
Step 3
Click on the "Select" button and the following window will be displayed where we will define the new image size in MB or GB:

It's that simple to create an encrypted disk image in macOS High Sierra and add more security to our most sensitive information.