Computers have become indispensable devices for most of us, because thanks to them we can perform many functions quickly and easily . Not only do we use them to create and store documents, but we also have the possibility to browse the web in search of information and new content. That is why having a good browser is very important, since it will be what allows us to navigate smoothly and be comfortable when searching..
Safari is the default macOS browser, which offers us various security, execution and modern environment functions for millions of users. Through Safari we access thousands of websites where it is possible that at some point we want to download an image hosted there to keep it, add it to a document or simply for later review.
Storing images is quite common, but depending on the browser this may vary. That is why we will now show you all the steps you must follow to know how to save the images you want to save from Safari, on your Mac..
1. How to copy and save images in Mac Safari
For new macOS users, and others who do not know how it works, we will explain in detail how to copy or save images from this browser.
Step 1
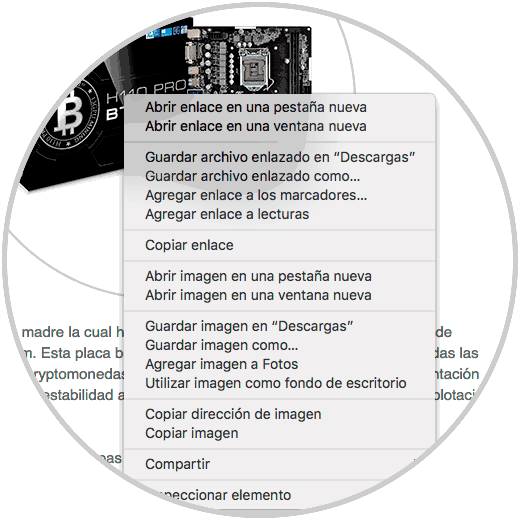
To start this process, we go to the desired website and there we will right click, or Ctrl + click, on the desired image where we will see the following. There we can see a series of options associated with the image where we will highlight the most important.
Step 2
We have the option to open the image exclusively in a new tab or window, but in terms of storage we can:
Store it in the default route
We can see that the default route, in this case, is Download, just click on the “Save image in Downloads†line so that the selected image is stored in that library and then from there we can move it to another location, in some cases the default route can be the desktop or another folder.
Define a new storage path
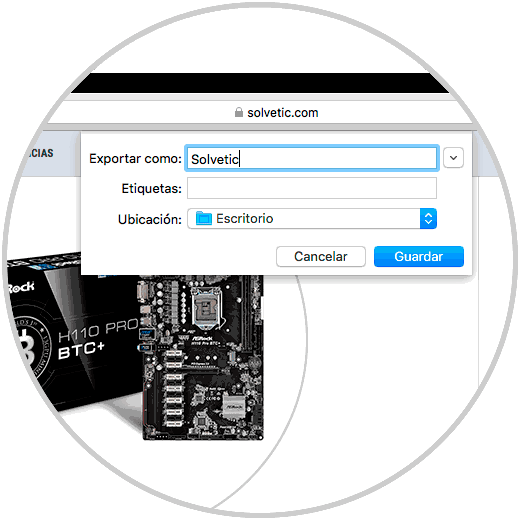
This option allows us to define a new path or folder where the selected image will be saved, for this, we will click on the “Save image as†line which will display a new pop-up window where it will be possible to select. Once this is defined, click on the "Save" button.
- Set the location where the image will be hosted
Add an image to Photos
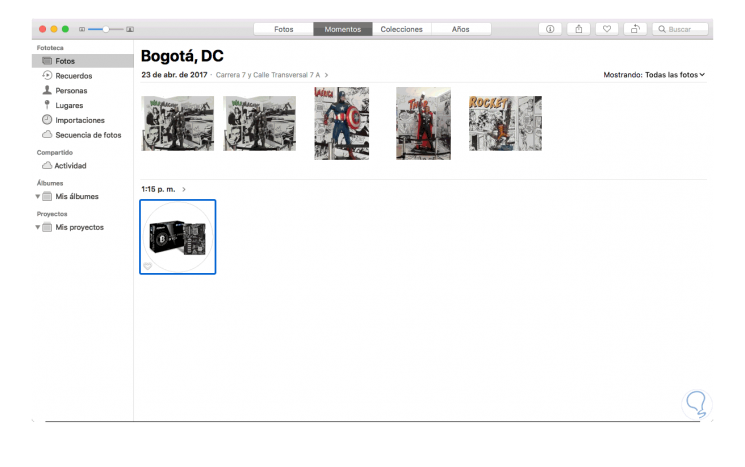
By clicking on the “Add image to Photos†option it will be possible to create a copy of the image, it will be automatically moved to the Photos application library in macOS. Once this is done, we will see the image selected in the MacOS Photos application:
Use the image as wallpaper
As the name implies, selecting this option allows the selected image to be applied as a desktop background in macOS and the system will automatically use the "Image scaling" setting so that the image occupies the entire computer screen, even If the image is not the correct aspect ratio for this.
Copy image address
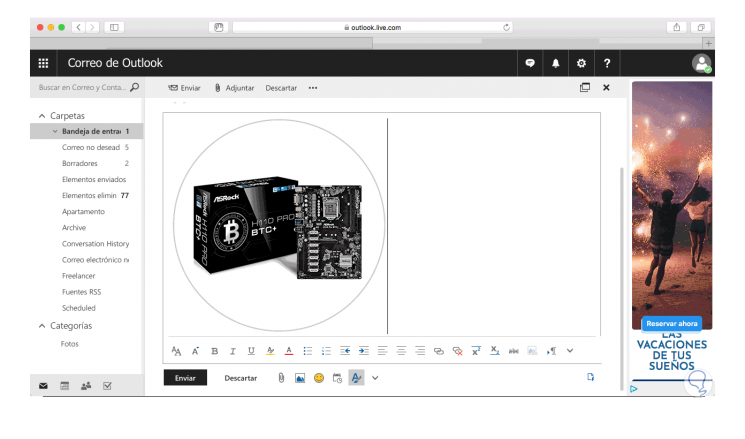
By clicking on this option we will copy the URL of the image to the clipboard and then we can use it for files, HTML documents, emails and more.

Copy image
As the name implies, this option allows us to copy the selected image and paste it into any element such as text files, websites, Word documents, etc. Simply click there and on the destination use the "Edit / Paste" option or use the following keys.
+ V ⌘ + V
2. How to make Mac screenshot to save Safari image
Another option you have if you want to save an image of the Safari browser on Mac, is to make a screenshot of this and paste it in some editor. The screenshots on Mac can be done differently, since there are several modalities.
Thanks to the screenshots, you can select a browser image or also the accompanying text in case you want this. Below we show you a video in which we will be able to see different ways of making screenshots on Mac, step by step.
To keep up, remember to subscribe to our YouTube channel! SUBSCRIBE
In the case that you prefer to see this in text, you will also be able to do thanks to the following tutorial in which all these modalities of screenshot are explained in detail..
Thus, we have multiple options to manage web images in macOS and manage them in a much more special way.