On UNIX-based operating systems, such as Linux or macOS, there is a root user who has full power over the system, its services and its processes..
This user is disabled by default for security reasons because if this command is executed without due knowledge or responsibility we can cause damage to the system that may be irreparable. Hence the importance that this root user should only be used by administrators or advanced users who are aware of what this can be.
Today in TechnoWikis we will see how to enable or disable this user through the command line..
Terminal Access
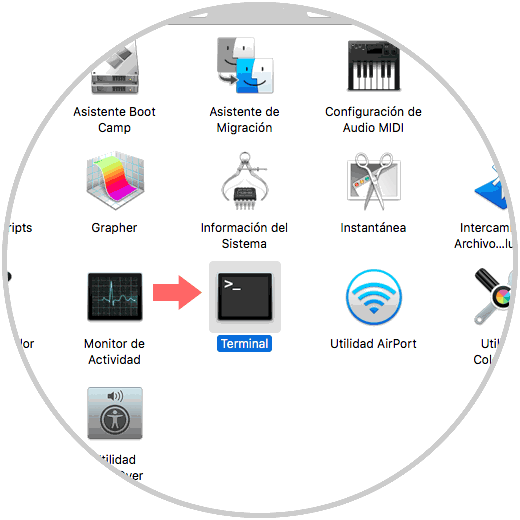
To access the terminal we have the following options. Using the key combination Shift + Command + U or on the Go / Utilities path. In the displayed window we will double click on Terminal:
+ ⌘ + U ⇧ + ⌘ + U
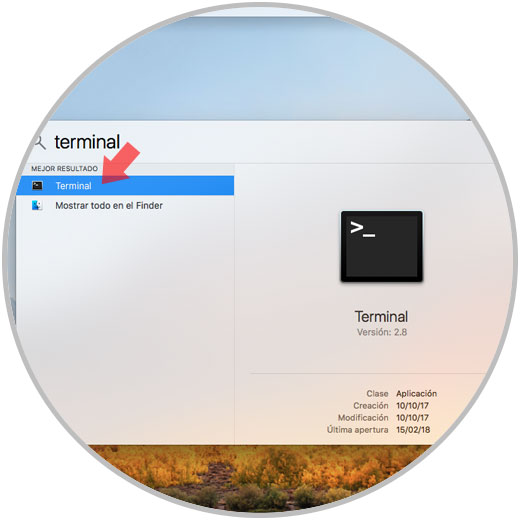
The next option is using Spotlight and for this we will enter the word terminal and select the respective utility:
1. How to enable the root user using the dsenableroot command
To enable the root user using this command the process is simple, for this we execute in the dsenableroot terminal and then we will enter the users password, then enter and verify the root user's password:
dsenableroot
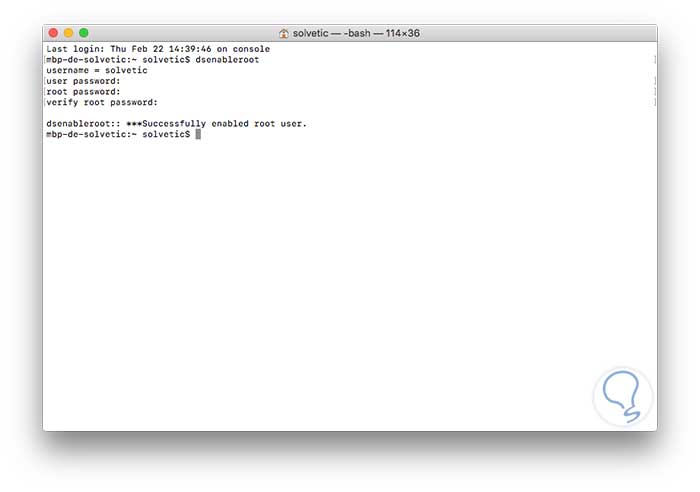
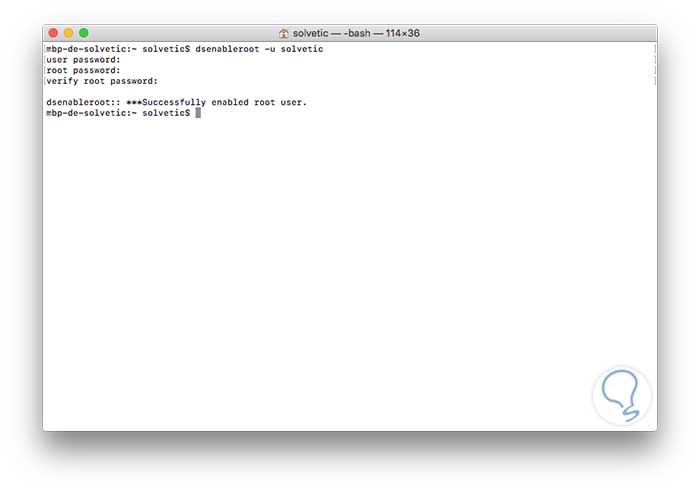
We will see the message *** Successfully enabled root user which confirms that the enablement has been successful. With this command, it is also possible to enable the root user for a single account in particular, for this we must use the -u parameter:
dsenableroot -u "User"
2. How to disable the root user in macOS High Sierra
With the -d parameter using the dsenableroot command, the root user will be disabled universally as follows:
dsenableroot -d
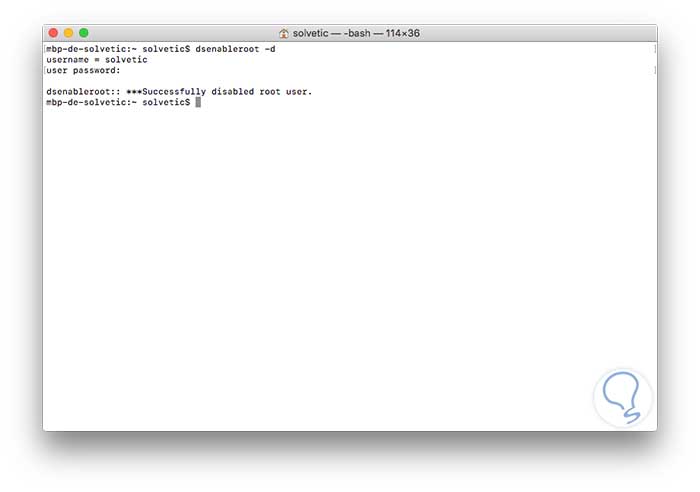
Also, if we want, we can disable the root user for a special user we will execute the following syntax:
dsenableroot -d -u "user"
With this simple method we can enable or not this important user in UNIX environments.