The File Explorer in Windows 10 is one of the utilities that we use daily in Windows 10 since from there we have access to all our files and other system utilities , and as we know, this file explorer in Windows 10 has a bar of tools which have been designed to allow us much faster access to their functions and thus optimize the working mode..
Today in TechnoWikis we will analyze how to customize this toolbar according to our need and thus not limit ourselves to the basic configuration of Windows 10.
1. Change the position of the toolbar in Windows 10
By default in Windows 10, the quick access toolbar is in the title bar of the browser window, but its configuration is possible to be displayed just below the ribbon and in it we find the commands available for be used as follows:
The Quick Access Toolbar consists of a combination of up to 20 specific commands per application or can be selected by the user..
In this toolbar you can include unique commands that are not available anywhere else in the user interface of the file explorer in Windows 10.
Step 1
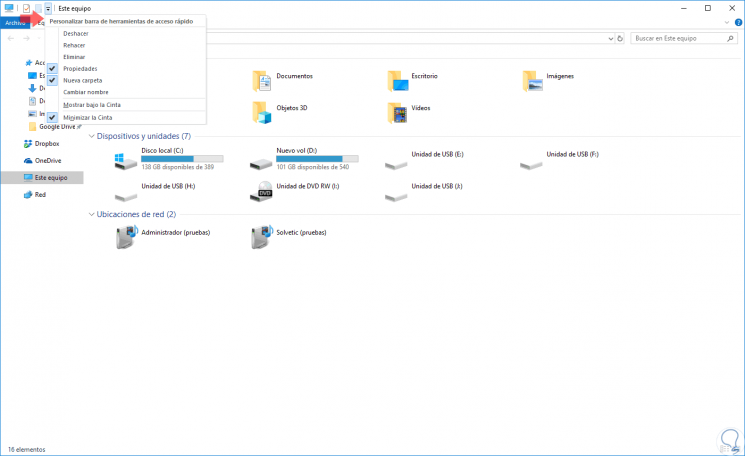
The first change we will make in the toolbar of the browser will be to modify its position, for this we click on the icon of the toolbar and in the options displayed we select “Show under the ribbonâ€:
Step 2
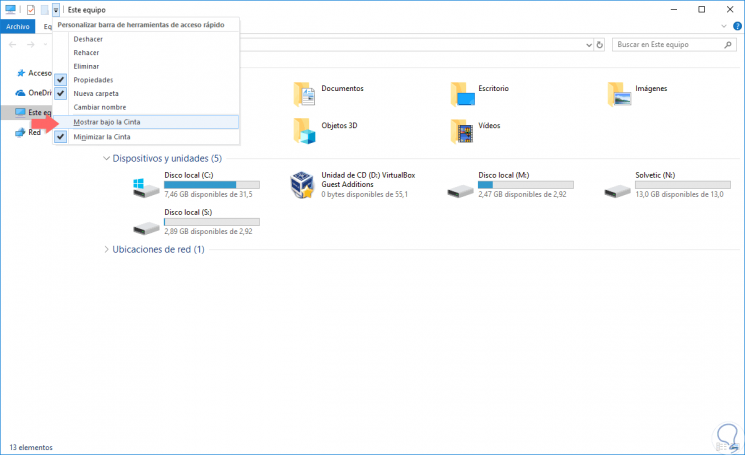
The new appearance will be as follows. If we want to restore the default position, we go back to the toolbar icon and select “Show on the tapeâ€.
2. Add or remove commands from the Windows 10 toolbar
In this case we have two options, the first one is to access the browser toolbar menu and click on the functions to be added or not:
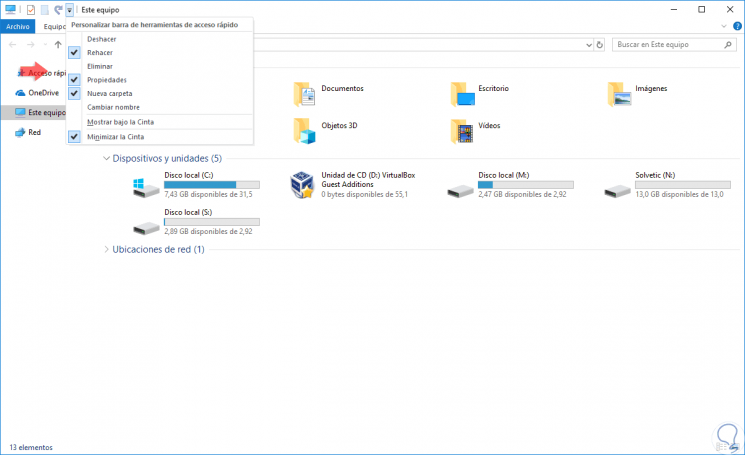
The functions that have a verification sign are those visible, so if we click on any of them it will be removed from the toolbar..
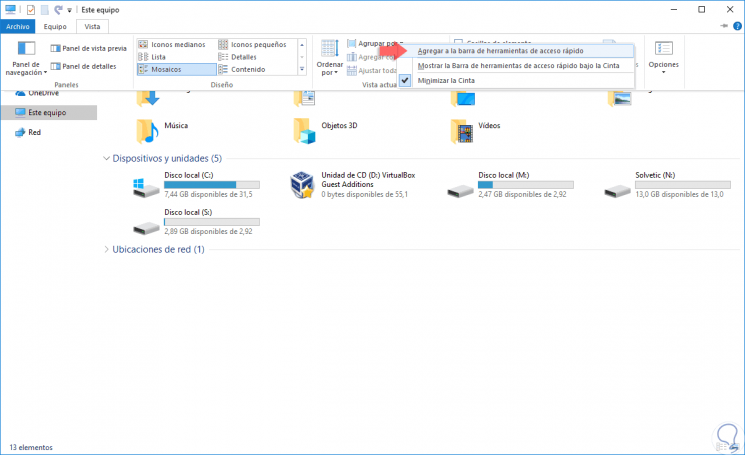
As a second option to add commands to the Windows 10 toolbar, it is simply to right click on the action to be performed and there select the option
3. Restore Windows 10 Explorer toolbar settings
Step 1
If we have made several changes to the toolbar and wish to restore the default value, we will use the following key combination and execute the regedit command.
+ R
regedit
Step 2
In the displayed window we will go to the following route:
HKEY_CURRENT_USER \ Software \ Microsoft \ Windows \ CurrentVersion \ Explorer \ Ribbon
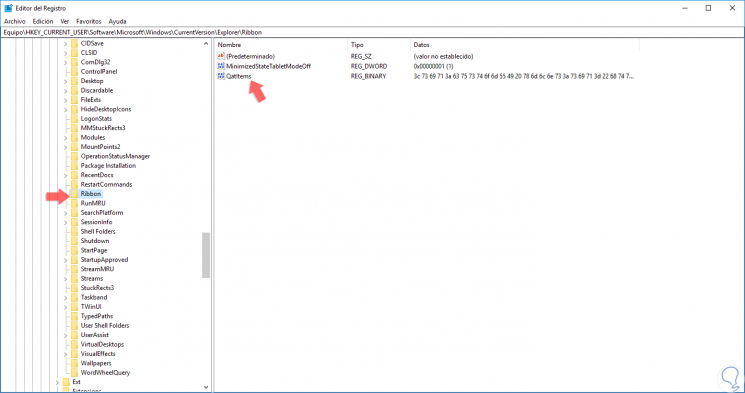
Step 3
There we will double click on the “Qatltems†record and we will see the following:
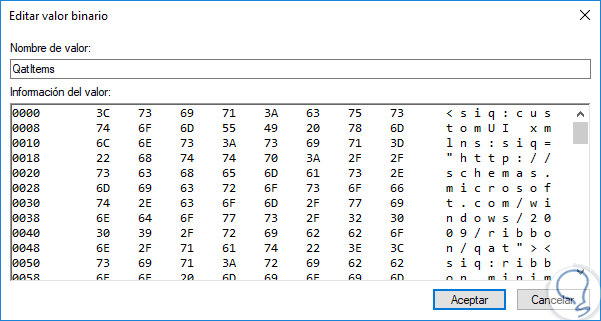
Step 4
This value data from this DWORD allows Windows to remember the preferences that have been selected for the quick access toolbar.
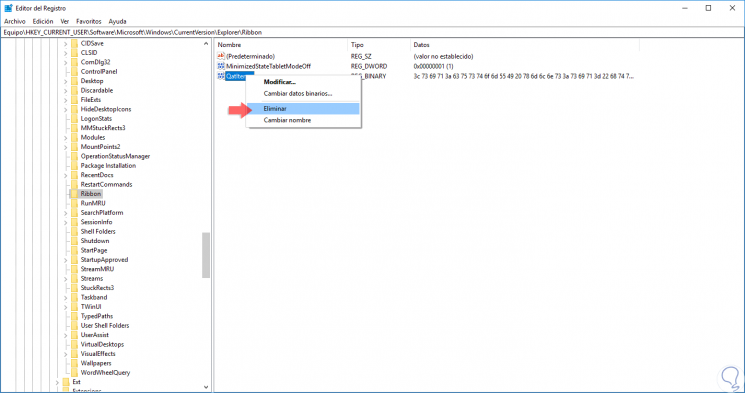
To restore this configuration, we must right click on this file and select the option "Delete":
Thus, when the system is rebooted again, all toolbar settings will be restored to their default value.
With these steps we can configure how to use the toolbar in the Windows 10 file explorer.